10. World 5-2

The 1st half is a clever layout o’ rising & falling Hoopsters you have to weave thru, followed by the most interesting vine-climbing section in the game, forcing the player to weave ’tween both Hoopsters & Snifits. 

Then the level ends with a bullshit drop where you have to weave ’tween spikes you don’t have nearly ’nough time to move round before you see them, making this section trial-&-error. The floor @ the very bottom e’en has holes o’er bottomless pits. Also, the Game Boy Advance remake has an ace coin in a very unnatural place you’re almost certain to miss the 1st time, with no way back up but suicide or restarting the level. 
Fighting Birdo in a waterfall area with hopping Trouters ’stead o’ in yet ’nother cave is refreshing, a’least. 
9. World 1-1
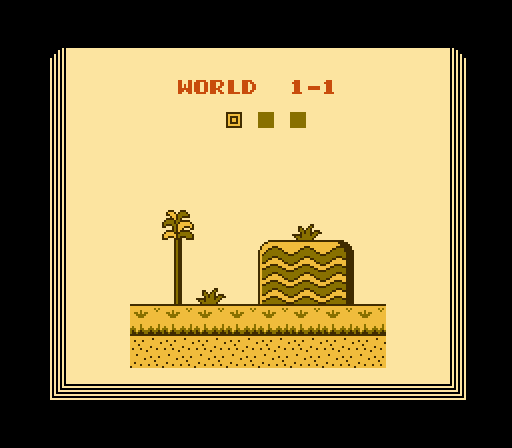
This game’s 1st level is subtly clever, with both a variety o’ themes that don’t feel contrived — including a cave you enter & climb up to reach the top o’ a mountain, which ends @ a vine that you climb up as the mountains gradually end while the clouds come into play. The level has a U shape, entering from a door in the middle o’ the sky ( which is night in the original NES version, for some reason ) & dropping straight down, going straight right on a seemingly normal grassland, & then climbing up a sky area to the fight with Birdo in the clouds. 
The level also subtly introduces mechanics, such as the hill that stands out near the otherwise flat beginning that hides the 1st potion, to the short log-rolling section you can skip if it’s too hard for you so soon, to the POW block just after, & then the cherries spread out that the player will likely collect & likely see the star appear. The level weaves them together into what feels like a normal level, rather than breaking them out into conspicuously separate areas like a modern game would do. 
This level also provides 2 shortcuts for mo’ skilled players, such as a way to jump the mountain in the main room to skip the cave or the door in the cave hidden ’hind a rocky wall that requires timing a bomb throw before it to break the rocks, allowing the player to skip the whole 2nd half o’ the level. 
8. World 4-1
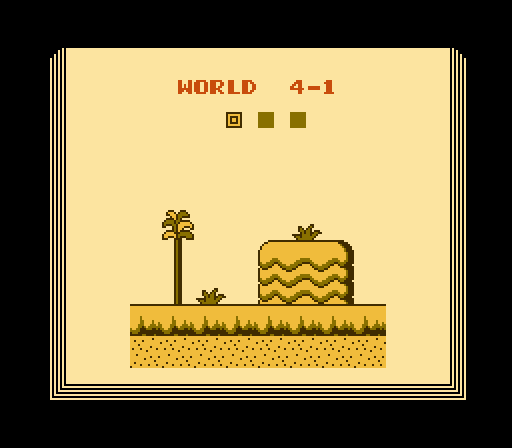
This level introduces the ice theme unique to world 4, which starts by honing your skills dealing with slippery physics with a simply but challenging section wherein you jump from ice-block bridge to bridge, weaving ’tween Flurries who slip round back & forth, trying to follow you & oft o’ershooting their mark thanks to their low traction. 
This is followed not by the typical Birdo fight, but by a long battlezone littered with Flurries & cannon-manning Shy Guys, who shoot you with fireballs as you try climbing up the high ice towers. 
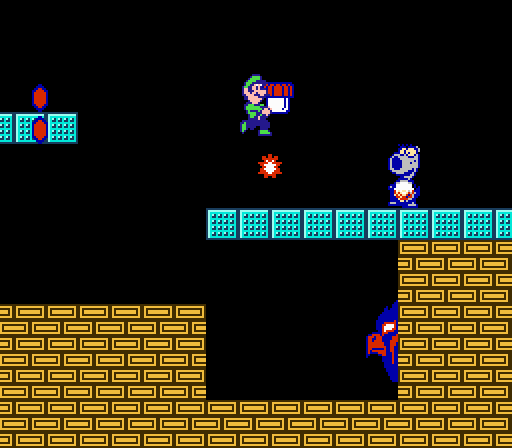
7. World 5-1

World 5 is to world 3 what world 6 is to world 3 in the original Super Mario Bros., with world 3 having a vague tropical waterfall & hill during the day & world 5 having the same theme, but @ night.
This level may have the cleverest use o’ the Panser, challenging you to cross both o’er & under it while dodging its fireballs. 
Most o’ the level takes place in front o’ underground waterfalls wherein the player must hop ’cross falling logs & hopping Trouters, the only time this game requires the player to cross waterfalls in such precarious ways with no way round it. 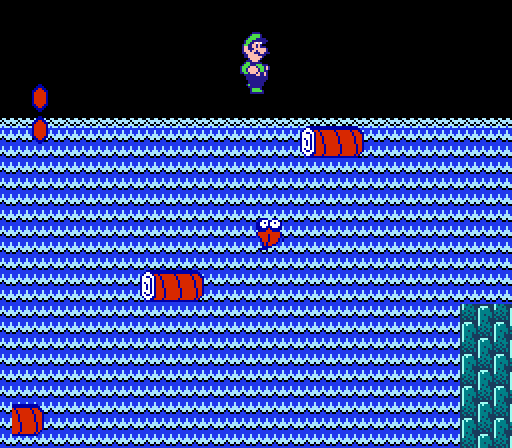
Tho the mushroom halfway thru the section is just a plain platform just after the potion, the last mushroom is a clever puzzle that requires the player to hop up to the ceiling & grab the block to fall down so that the mushroom can fall down when you go into Subcon. Howe’er, this puzzle loses points for having 2 blocks up there, forcing the player to either risk going up & doing it ’gain for the other block or try 1 block & hope they guess correctly. 
6. World 6-2
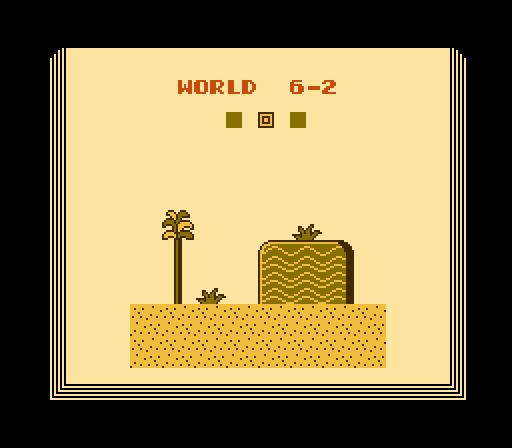
This level has the gimmick I ripped off in Boskeopolis Land’s “Dark Sahara”: ride on the heads o’ flying Albatrosses ’cross the pits far too large to jump o’er. Howe’er, this original version’s has a simpler layout, but still feels much harder thanks to Super Mario Bros. 2’s slippier controls. This gimmick is unique to this level; but since Albatrosses are enemies who have appeared in other levels, & riding enemies heads is something you’ve done many times, if only to pick them up, this gimmick feels like a natural variation to this game general mechanics. 
This is the only desert level to take place @ night on the original NES version — tho 2-1 seems like it’s s’posed to be dusk with the stars in the sky. I’m not sure why they didn’t continue the day/night scheme from the 1st Super Mario Bros. that this game uses for world 5 vs. world 3 for world 6 vs. world 2.
This level’s birdo seems harder than it is, a green ( eggless ) Birdo in a cramped room with just 2 mushroom blocks. Howe’er, Birdo standing on a dais gives you an advantage in that you can just duck on the bottom floor as Birdo shoots fireballs ’bove your head while you wait for Birdo to pause & hop to get up & grab a block or throw a block you’re holding. 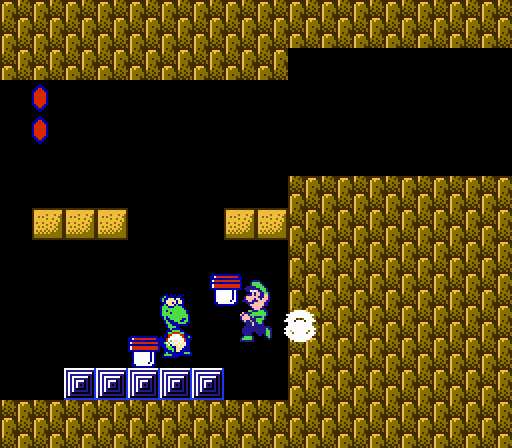
5. World 3-3

While many people complain ’bout 4-2, 3-3 is arguably worse & is definitely the largest difficulty spike in the game.
This level introduces bomb-dropping Albatosses, but there are only 2 o’ them o’er a flat plain, so there’s not much to say ’bout them. Perhaps it would’ve been better to keep them to the levels that use them mo’ thoroughly so that they would feel fresher in those levels. 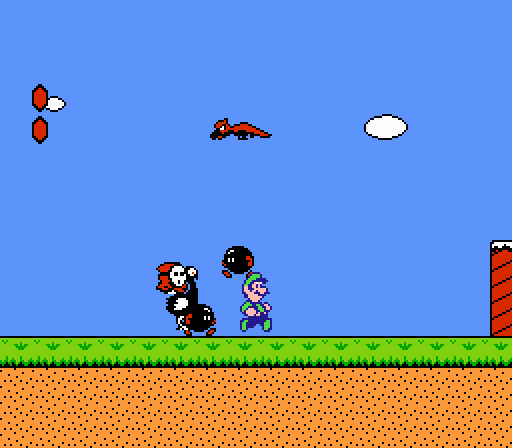
The inside factory area is where the game just fucks you in every way. There are 3 doors, 2 o’ which are unlocked. The top door leads to the key, @ the top o’ a room you have to go up & down, full o’ pots that repeatedly generate Shy Guys. The other door leads to a room that seems to end in a dead end @ a tall cliff you can’t reach — that is, ’less you bring the Ninji from the bottom up to the top, wherein if you stand on his head & high-jump off @ the top o’ the Ninji’s jump, you’ll be able to bypass half the key room. That half you skip is full o’ clever arrangements o’ blocks & Sparks, but a pain in the ass to navigate. 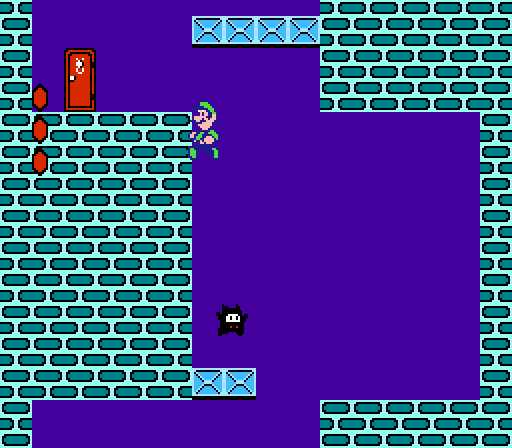
Just after this shortcut is a door whence the key door’s area meets up with this room. What’s bizarre is that if you go thru that door trying to go farther up from the key room leads to ’nother dead end before a tall height gap before farther up in the level, which you can’t skip this time, making this dead end useless. You have to continue upward, which will re-meet with the key room higher up, past the key room’s dead end. ¿Confused? Imagine trying to play this. 
E’en if you take the Ninji shortcut, you still have mo’ tricky Spark arrangements & possibly the hardest Panser challenge wherein you have to dodge 2 Panser’s fireballs while slowly climbing up a chain & then go side to side on chains, trying not to slip off with these chain’s wonky hit detection wherein you need to be right in the middle to be able to climb them. 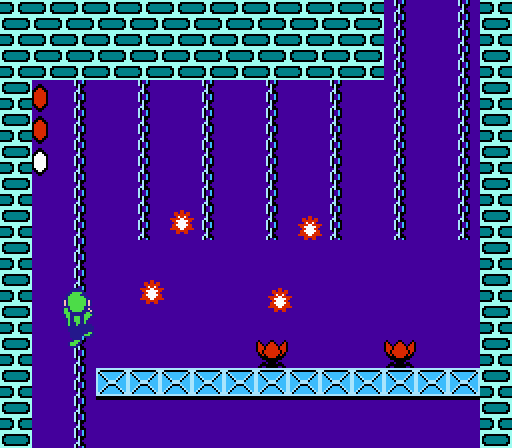
This is certainly a cleverly constructed level, & I e’en quite like the strong castle aesthetics thruout the whole level. But there’s something questionable ’bout having possibly the hardest level in the game before the half-way mark. 
4. World 4-2
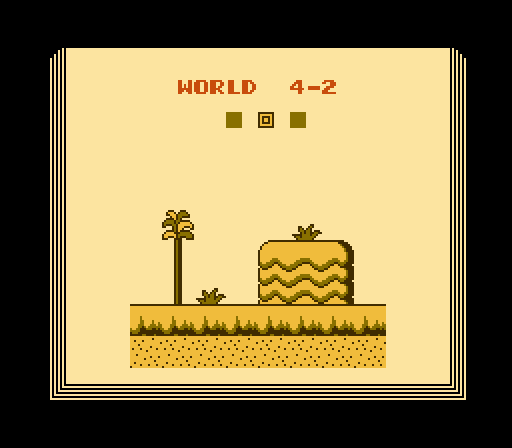
The 2nd ice level evolves 4-1’s simple but challenging beginning with a simpler but e’en mo’ challenging — a notorious roadblock for players — mostly-flat icy bridge that throws Beezos @ you from every vertical position, forcing you to duck & jump with quick timing to weave ’tween them.
My only problem with this level is that your character’s dumb ducking high jump mechanic gets in the way: you’ll usually want to be ducking & sliding to keep higher-up Beezos from hitting you & only jump ( while still ducking to minimize the chances o’ a higher Beezo hitting you will still waiting to land back to ground ) before Beezos @ the very bottom; but ducking too long lengthens your jump height, which not only changes your jump height, but also keeps you in the air longer, where you’re vulnerable to Beezos with li’l you can do to control whether or not you get hit. 
This section is followed by a unique area with whales as platforms, who spit water out o’ the blowhole, which you can use to reach the top section o’ the area. Their tails can also act as platforms & hold this area’s mushroom. While I love this unique theme, & can certainly understand the whale’s water hurting you if you hit it from the side, sometimes the water hurts you if it hits you from below if you don’t jump before it rises under you, which just feels arbitrary & cheap. Presumably, they programmed its hit detection with the same janky “¿is the player’s vertical speed greater than 0?” check that the original Super Mario Bros. uses for testing bonking enemies on the head. 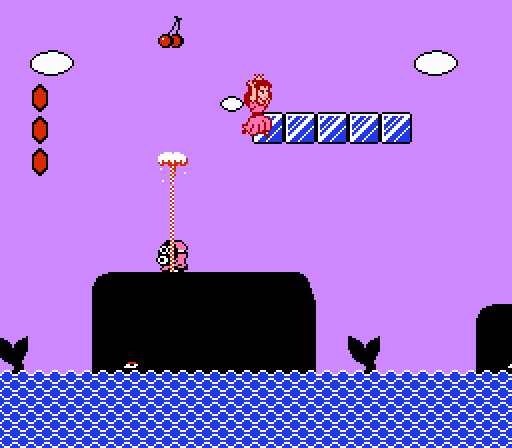
The last section o’ this level requires you to jump on the cannon-manning Shy Guy, throw the Shy Guy off, & ride the cannon rightward past the spike pit. Don’t try riding past the spike pit with the Shy Guy still on, as it just goes back & forth & you’ll just get knocked off the cannon by the low-hanging ceiling thanks to the extra height the Shy Guy gives you. 
While these 3 sections don’t fit seamlessly together, they do a’least all fit the ice theme. My only complaint is that I feel this level squanders a’least 2 great ideas for 1 level, when they could’ve replaced a superfluous desert level — or e’en just replace a superfluous desert world with an ice world, since it’s clear they had mo’ ideas for ice levels than desert levels.
3. World 3-2

This level has an intriguing path shape, with the main room having a unique o’erground/underground counterparts in the same area. The main path involves going to the far right or halfway thru the ’boveground area & then down to the far right o’ the top underground area & then go down e’en further, going down & up ladders as you make your way to the left end o’ the underground area. Howe’er, halfway thru the top underground area there’s a gap going leftward that Peach can float ’cross, skipping a whole room full o’ rocky walls you’d need to bomb thru. 
My only complaint gainst this level is that the 2nd mushroom puzzle is bullshit trial-&-error gameplay. The mushroom is under 1 o’ the 2 rock-blocked alcoves, which is to be expected, but the area only gives you 1 bomb, so you need to guess & hope you’re lucky or look up the answer. 
2. World 7-2

This level starts with a series o’ outside cloud platforms with an onslaught o’ column-helmed Snifits, who are far from the trickiest layout, but a fitting warm-up. 
The bulk o’ this final level is a factory maze with branches here & there, most o’ which act simply as alternate routes to the same end, tho there are 2 that lead to rooms with mushrooms ( as well as bullshit bomb plants, which are surrounded by towers, making it pretty much impossible to throw it & not have it blow up in your face ). Other than that, the way the mushrooms are hidden within this giant maze is a fitting way to make players work for their extra hit points in this end-game level. 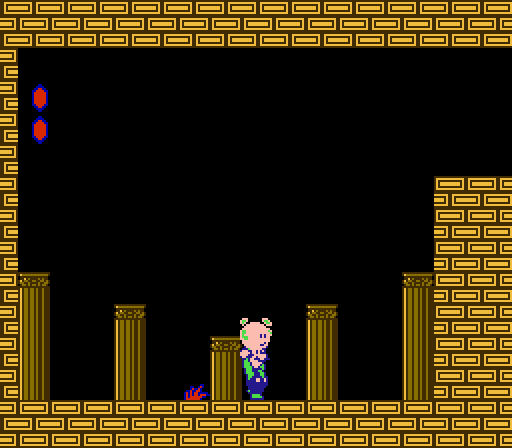
All o’ this level’s main rooms revolve round block & Spark arrangements — tho oddly, none are as challenging as the kind found mo’ than half the game ago in 3-3. Many o’ the rooms present li’l danger, such as the drop down the mushroom block bridges or, e’en odder, the chain climb wherein most o’ the climb you can go straight upward without the Sparks e’en e’er able to hit you. The long climb up conveyor belt platforms @ the end o’ the bottom path & the climb up the teal blocks on the upper path with the upside-down T block & Sparky formations can be tricky, tho. This early the developers had already figured out what is now known to every rom-hack developer: that marathons make for particularly challenging levels. Howe’er, 3-3 was already something o’ a marathon itself, & the tameness o’ these rooms dampens the danger o’ e’en redoing many sections. Unfortunately, many, like the room with the Sparks & mushroom blocks, are mo’ boring to have to redo than difficult. 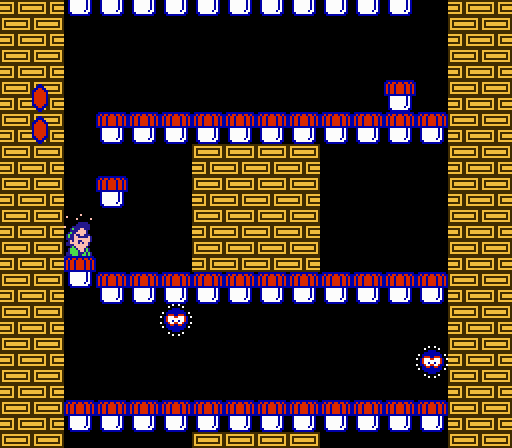
The hardest part o’ the level is the Birdo on the conveyor belt near the end, holding a key needed to reach the end rather than a crystal ball, specially thanks to this game’s bullshit wherein eggs hurt you e’en after they’ve hit a wall & are falling offscreen. 
But ’tween the locked door & Wart is a cleverly designed room with just a crystal ball & hawk face, ominously littered with 2 mushroom blocks & no enemies @ which you’d need to throw them — that is till the player runs into the infamous twist: the hawk face, rather than peacefully opening its mouth & letting you inside as it does on every other level, starts flying @ you in wavy patterns, forcing you to throw a mushroom block @ it 3 times to tame it & continue to Wart. 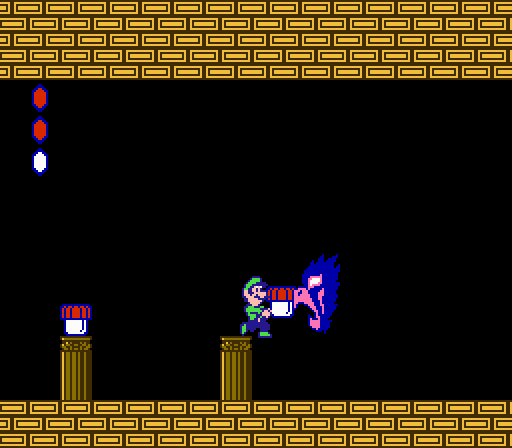
Unfortunately, Wart himself is mo’ tedious than challenging. While the bubbles he constantly spits out are easy to dodge, the speed @ which he spits them makes it hard to toss a vegetable into his mouth before he spits a bubble out & breaks the vegetable, which usually turns this battle into a stalemate, which is worsened by Wart’s bloated 6 hit points. 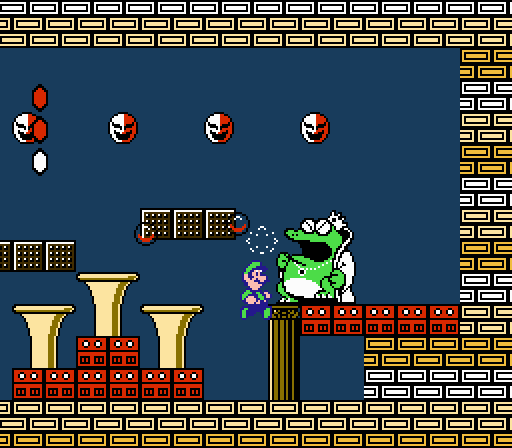
1. World 7-1
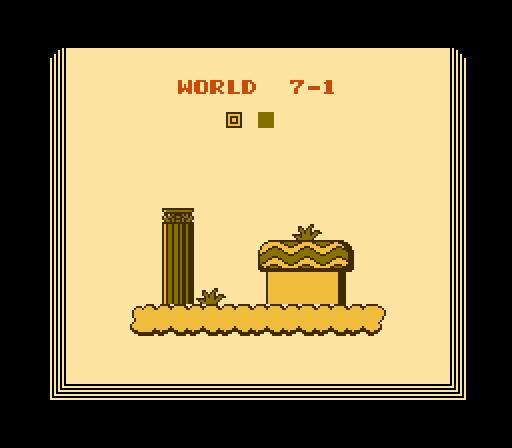
While this game has had cloud sections here & there, including the 1st level, 7-1 is the only level 100% dedicated to its cloudy theme.
The 1st main area is a shorter, less straightforward variation o’ 6-2’s gimmick, which requires the player to ride an Albatross o’er the left wall & past the large gap after it. While most players need to go all the way to the far right to where they can climb up on a hut’s roof to get high ’nough to reach the Albatrosses, Luigi can high-jump up to 1 right @ the start, skipping most o’ this section. 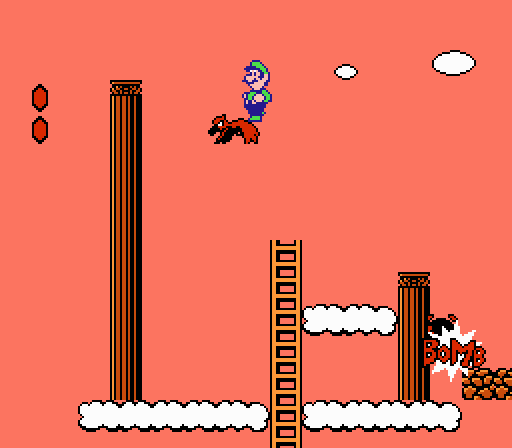
The next section involves a cloud maze full o’ pots that repeatedly generate Shy Guys that zigzags down to go under a tall pole — tho Luigi can just jump o’er the pole by jumping off the Snifit on the pole to the left o’ it. 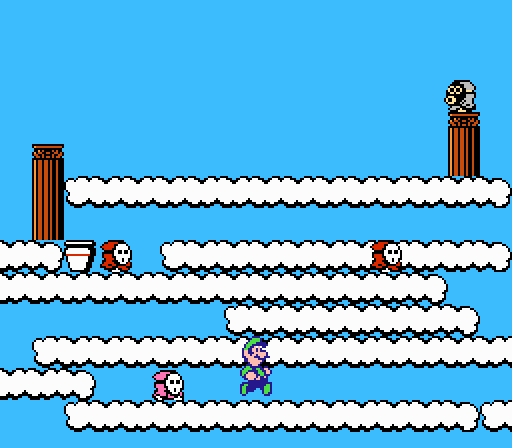
The 3rd section involves climbing up cloud sections littered with circling Sparks, including 1 section that requires the player to stack Mushroom blocks while dodging Sparks if they’re not Luigi. This is slow & annoying, howe’er, so you should just play as Luigi. 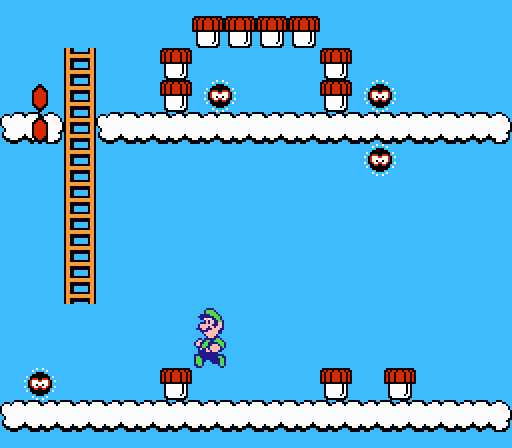
This is followed by short ladder climbs guarded by Snifits & Hoopsters, — a less-developed but better-looking version o’ 5-2’s vine climb — which ends @ a hut @ the top. 
Inside the hut is the least accommodating green/gray Birdo in the game, with just 1 mushroom block with which to throw all 3 o’ Birdo’s hits & tight space to grab it while Birdo shoots fireball after fireball @ you.