

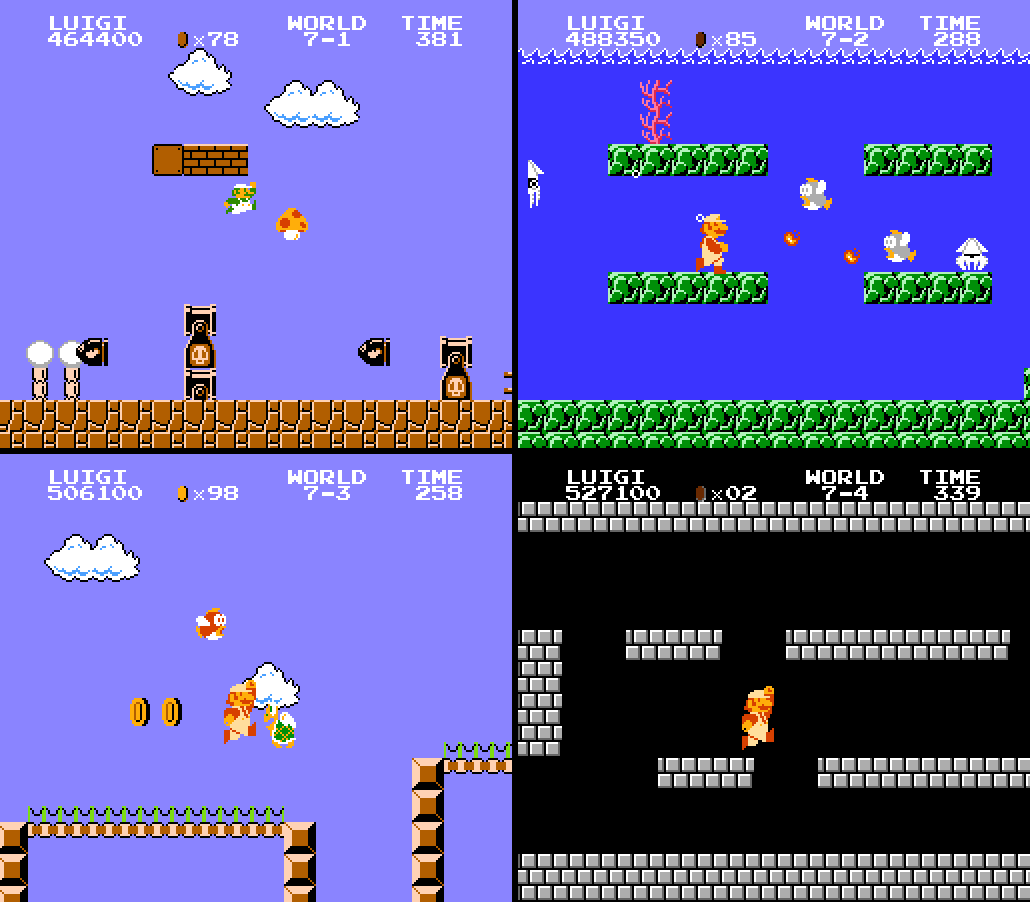
8. World 2-1
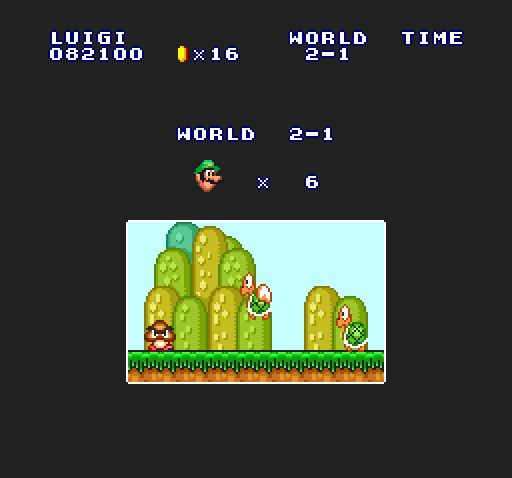
2-1 is an underrated level with subtly interesting arrangements from start to finish:
You have that hole near the beginning with the 2 Koopas & the hidden block & the 1-up brick ’bove ( unlike most other hidden blocks, this 1 is cleverly hinted @ by the bricks ’bove, since you’d need a block somewhere here to be able to hit them from below ). 
You have the introduction o’ the beanstalk leading up to coin heaven, ’nother cool idea that’s become so well-known that it’s easy to take it for granted. 
You have a much mo’ interesting use o’ Piranha Plant pipes than 1-2 with bricks with a power-up ’bove, which, if it releases a mushroom, can actually be somewhat tricky to get, leading straight for the Piranha Plant, & then a pit. 
& then you have the final staircase replaced by a tall wall & a spring to bounce you high up to reach it, a fantastic, memorable way to introduce the springboard. 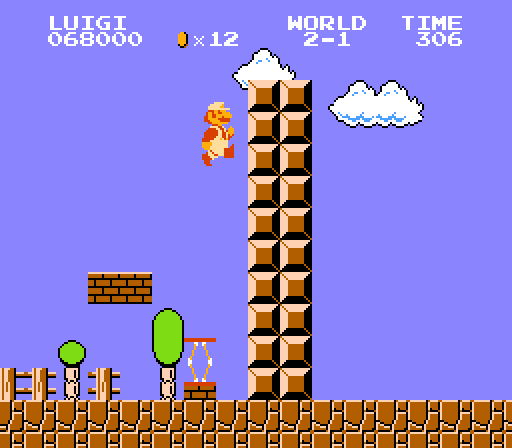
My only nitpick with this level is that it has that awkward middleground o’ enemy spam, where there’s several enemies where they don’t make much o’ a difference ( ¿are 2 Koopas in that beginning hole much mo’ dangerous than just 1? ), but they don’t give you ’nough to allow you to chain kill with a Koopa shell for an extra life, which is lame. This game is keen on cockblocking 1-up chains, which I guess is to keep the game difficult. I don’t think that’s a good reason, tho, since chaining for 1-ups takes some skill, e’en when you can do it, & they give you an, if anything, easier way to get unlimited 1-ups later with the infinite lives trick using the Koopa on the staircase, anyway ( note: this technically isn’t a glitch, since the developers claim they knew ’bout it before publication & deliberately left it in ). 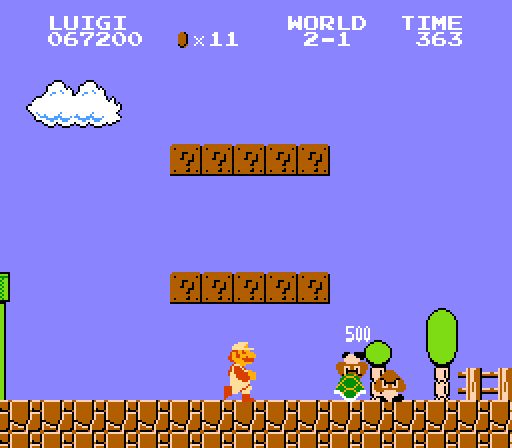
The red coin locations are fine, tho not remarkable. I do like the 1 @ the end near the spring, giving you more o’ a reason to use it. 
The Yoshi egg’s location is interesting in that they not only added new hidden ?-blocks to reach the brick that hides it, they added high background fences. Unlike 5-2’s extra background element, this extra background, which is 8 blocks, is much mo’ conspicuous, & this setpiece, otherwise, was generic & would be hard to find without it. 
7. World 3-1
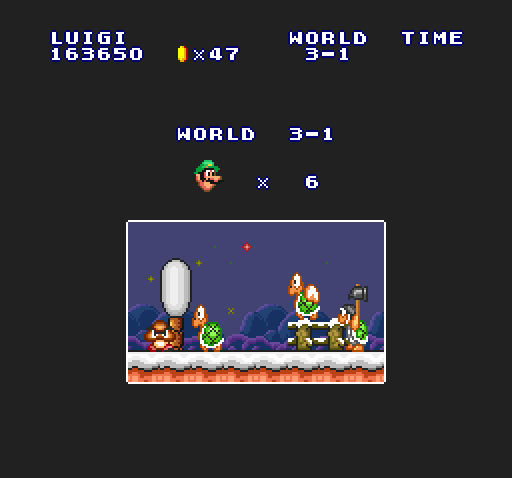
This level feels like 2-1, but in many ways stronger. For 1, it introduces the night theme & spruces itself up e’en mo’ with the bridge & water ( tho why you can’t swim in this water when you were just swimming in water 3 levels ago is a mystery ). 
& while it doesn’t introduce coin heaven, the coin heaven it does feature is mo’ intricate & interesting than the simple 1 that 2-1 does introduce. 
But o’erall, this level has mo’ intricate block setups & greater enemy variety, including the introduction to the infamous Hammer Bros, hardest enemies in the game, with their classic 2-row setup o’ brick floors that they would jump up & down, allowing players with tight timing a way to bonk them from below, but also allowing Hammer Bros a way to jump down on players. 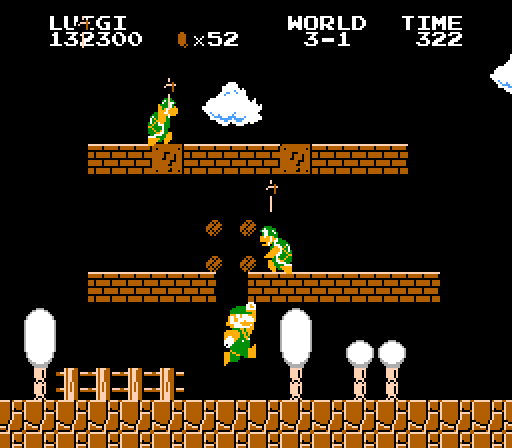
To ease players into this new, much mo’ difficult enemy, the developers put a hidden Starman not long before so, but not in an obvious place. In fact, the brick you need to hit to reveal it is positioned in just the right way to make it subtly tricky to get, forcing players to earn their easy mode to some extent. 
The opening with the 3 ?-blocks high up, 1 o’ which has a mushroom, & the 2 Paratroopas patrolling the main ground, is an underrated opening, perfect for a middle level that has the feel o’ gradually revving up difficulty. 
The bonus room right after has an interesting diagonal arrangement o’ bricks & secretly offers mo’ than just coins & a quick path thru by hiding a power-up in 1 o’ the seemingly innocuous bricks. It’s impossible to reach while small, which would be a dick move normally; but since it comes so soon after a power-up, such an unlikely scenario seems like a justified mockery o’ a player who somehow let them get hit by the 1 Piranha Plant or Goomba after the previous power-up. 
E’en tho 3-2 throws kicking shells @ enemies in the player’s face, I like how 3-1 includes a subtly-placed section that allows players to do so to rack up a life, rewarding players who’d played the game before & remember the next level. 
Finally, tho not as interesting as the spring & the wall, they do minorly spice up the classic staircase by adding 2 Koopas, creating a section that ended up being far mo’ iconic thanks to the famous infinite-lives trick this enables. 
As for the red coins, I have to shout out the devious-to-find red coin in the underground bonus room, in a brick that seems random, till you realize it’s directly opposite the power-up brick. 
The Yoshi egg is also cleverly hid in an already-existing brick, rather than a newly-created ?-block — & it’s a brick that’s difficult & dangerous to try hitting. 
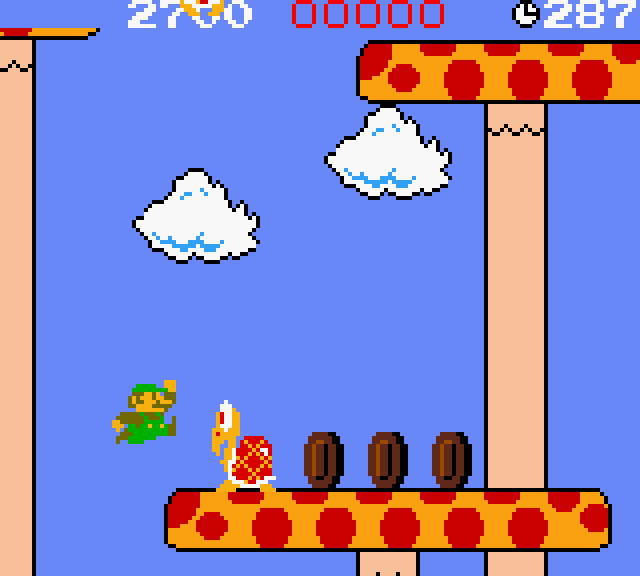
6. World 8-4
Definitely the best castle level in the game, & the only 1 that implemented the maze mechanic in an interesting way, focusing mo’ on taking the right pipe to the next section than taking the right vague “path”.
This level also has the most variety o’ any castle level, pulling together various gimmicks & mechanics from previous levels, with an underwater section & a section with hopping fish, making it feel somewhat like a final exam level. I feel like the single Hammer Bro just before the large leap o’er the Podoboo-infested lava pool, & then the final Bowser, is mo’ effective than all the Hammer Bros. in 8-3. 
I do have qualms with the invisible block needed to reach the pipe in the 2nd maze section; howe’er, I mean, it is a conspicuous pipe, & there’s no other way to get up there, so the player probably has to assume there’s an invisible block somewhere. It’s too bad they hadn’t implemented enemy bouncing yet, as I feel requiring the player to bounce off 1 o’ the 2 hopping Paratroopas that come by would’ve been mo’ effective. 
I do like the subtle difficulty o’ the 1st jump off the downward steps under a low ceiling o’er the vast pit o’ lava, challenging players to go down the steps without stumbling too far & falling in. It’s a clever twist that you start the level going down a staircase, rather than ending going up, & fits with the idea o’ descending a hellish environment. 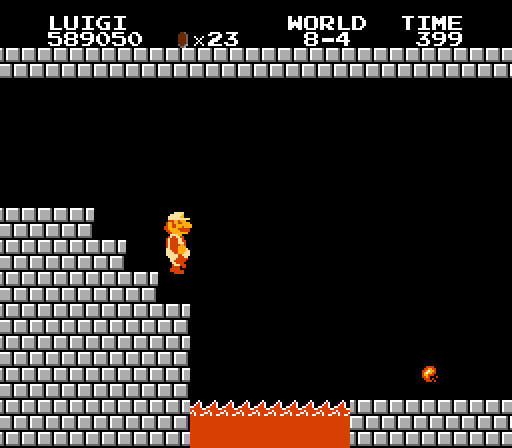
Almost all the red coins are in places that require tricky jumps, such as the 1st right on the edge o’ the staircase, the 1 ’bove the moving platform o’er lava, & the 1 high ’bove the final ax, while the 4th is hidden well high up in the water area — somewhere you don’t want to be lingering round to explore. But the 3rd red coin is lame: ’mong hidden ?-blocks after intentionally flubbing the maze with the leaping Cheep Cheep. 
The Yoshi egg, in the water section, is certainly in a memorable place, & makes use o’ the empty top portion o’ the beginning screen. 
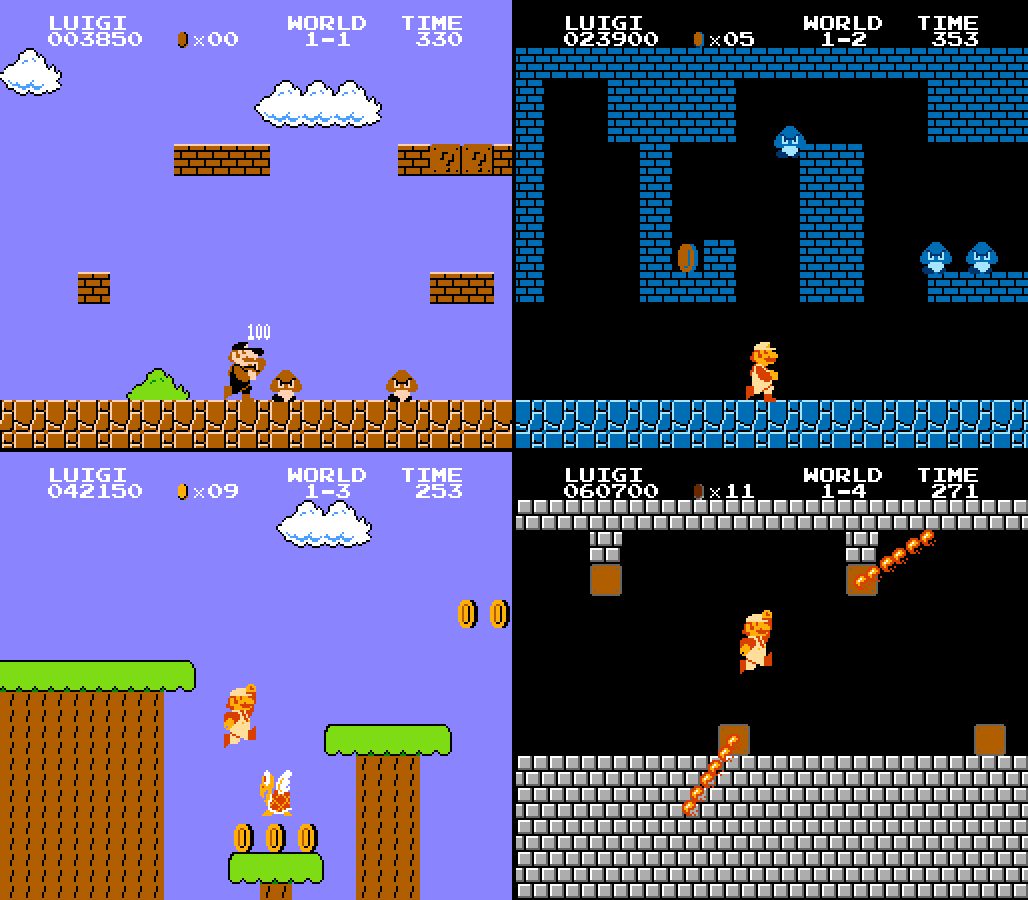
5. World 1-2
It says something ’bout how much better 1-2 is than 1-1 that e’en tho ’twas ’bout just as ubiquitous as 1-1 in the sadly deceased Super Mario Bros. 35 it hadn’t earned nearly the notoriety as its predecessor. While 1-1 is a relatively simple, straightforward level not too far from this game’s arcade roots that doesn’t take too many playthrus to fully appreciate, 1-2 ramps up not so much the raw challenge as the complexity &, mo’ importantly, hidden secrets. After all, while 1-1 has bricks o’er a Goomba & 2 staircases, this level has the far mo’ famous & exponentially cleverer warp zone. 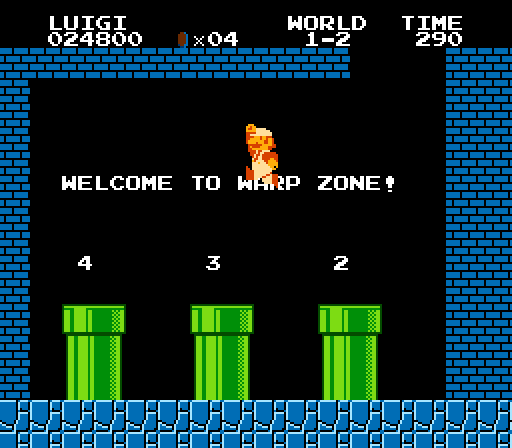
For instance, we have much weirder block formations, such as the moustache formation o’ bricks near the beginning, hiding a star so well that I didn’t e’en know ’bout it till Super Mario Bros. 35 made it important for high scoring, followed by a Tetris-block shape that seems arbitrary, but actually has an important gameplay role: allowing small players to slip under while large players can break the bricks ’bove & go up & round. This wastes time for those who collected the Starman, granting an advantage to small players, tho big players can mitigate this advantage by run ducking under. After this we have Goombas falling down on you from different heights. 
’Course, going the top path is usually how players realize they can break bricks all the way to the ceiling & run under the UI & ’bove the whole level to find the warp zone. It’s so well-known that it’s easy to take for granted, but I do like the silly meta humor communicated thru gameplay, rather than cringy dialogue boxes, as most modern Mario games would do, & the way this rewards clever, curious players. 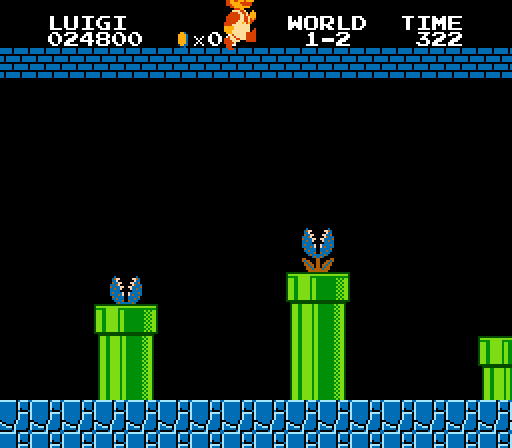
This section is then followed by 2 cool hook-shaped brick formations, 1 with coins ’bove it, & the other hiding a powerup @ the top o’ its tip, with Goombas that drop down on you from various heights. 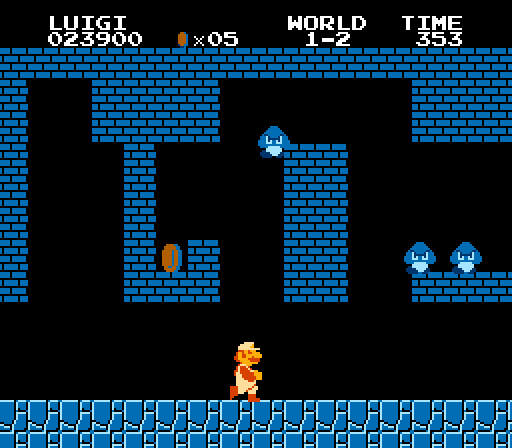
The weakest part, unless you count the very 1st screen with the basic line o’ ?-blocks & 2 Goombas, is the middle, with just a few pipes & Goombas & Piranha Plants. I think there’s 3 Goombas @ the beginning to slow the player down so they don’t rush straight into the 1st Piranha Plant, since this is where they’re introduced, but I think the Piranha Plants are almost always already up by the time you get here, anyway. The seemingly superfluous Goomba in the hole ’tween the 2nd & 3rd pipe is maybe there to keep that hole from being too safe & to encourage players to practice jumping from Piranha Plant pipe to Piranha Plant pipe. The bonus in the 1st pipe with the 2 layers o’ coins & the multicoin block @ the end is mo’ interesting than the 1 in 1-1, but not too much mo’. 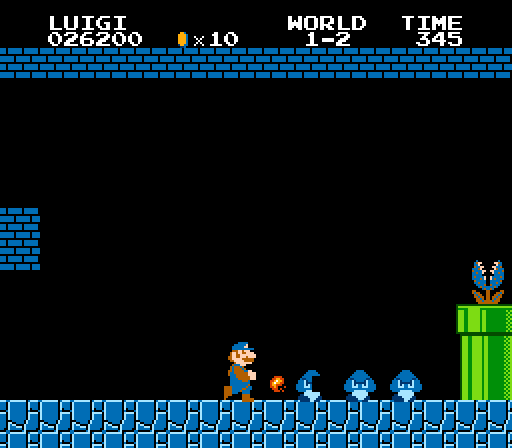
Near the end we have yet ’nother copy o’ the staircase from 1-1, but this time with 2 Goombas, & then the introduction of elevator platforms. As common with introductions, they’re not used in the most interesting o’ ways, tho they do make use o’ the upward-moving elevators to make it very easy to reach the warp zone. I’d say too easy, since it makes finding the warp zone obvious, ruining the clever secret ’hind it. 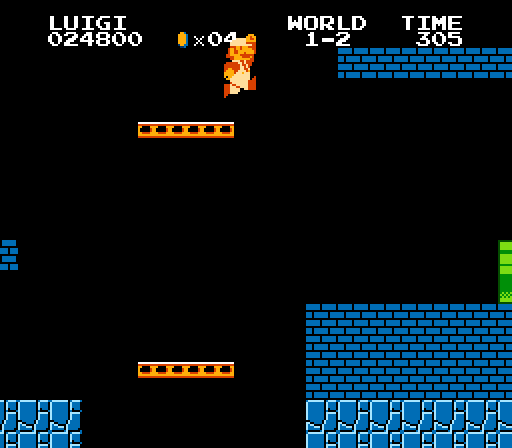
The red coins are all in very clever places, challenging you to explore places you likely wouldn’t, such as the easy-to-miss bonus room & on top o’ the moustache-shaped brick formation. The most cleverly placed red coin is way up on the high brick formation ’bove & to the right o’ the 2nd power-up, which is usually only used for dropping a Goomba down on you. 
The Yoshi egg’s location is ’bove the pipe exit, which perhaps isn’t the best hiding spot, but is somewhat clever a twist, as players are unlikely to have a reason to go up there, which is technically a dead end. 
Since warp zones don’t work with Super Mario Bros. Deluxe’s Challenge Mode, they replaced it with a brand new section that makes you zigzag downward. It’s a cool way to give curious players bonus points — which they’ll need if they want the demanding score medal. 
4. World 6-2
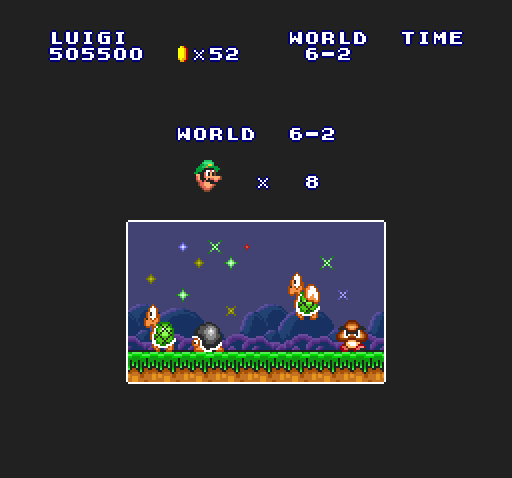
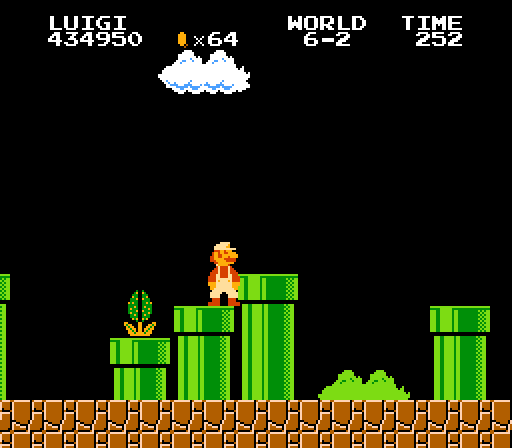
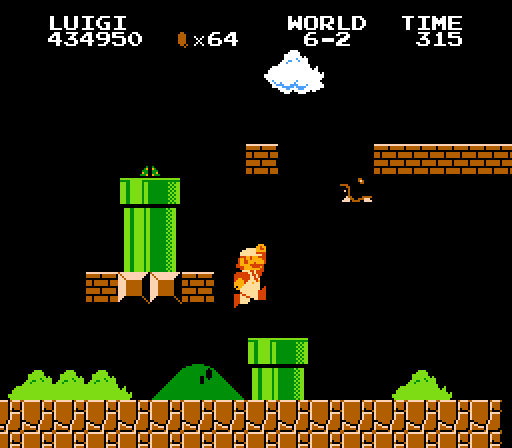
An incredibly underrated level. Yes, it’s mostly just pipes with Piranha Plants, the most common enemy in the game; but this level is the apex o’ pipe arrangements, going up high & down low, some e’en floating in the air, 1 e’en embedded in the final staircase, which is a perfect way to integrate this level’s theme while creating a new twist to the common level ending.
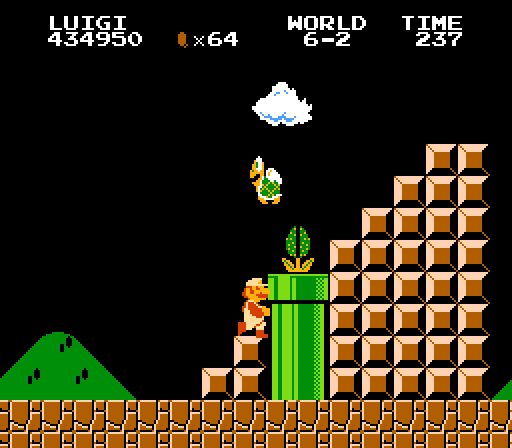
& as an extra, before that is a mini staircase o’ pipes, all with Piranha Plants.
Monotony on the main area is spared with a sprinkling o’ brick formations & other enemies in choice places, such as Goombas & Buzzy Beetles that threaten to fall on you from high up ( that is, ’less you climb up the treacherous pipes to take that upper path ). The black evening background makes the black Buzzy Beetles feel particularly treacherous.
Monotony is spared e’en mo’ by offering not just the underworld bonus from 5-2 & the coin heaven from 3-1, but also the underground bonus rooms from 4-1 & 4-2. While this blatant copypasta would be eyebrow-raising if ’twere the normal path ( tho 5-1 also copies 4-2’s bonus room ), since it’s bonus, I don’t think it’s a problem, & I have to admire the fact that this level has the most environmental variety o’ any level — it has e’ery environment in this game but a castle.
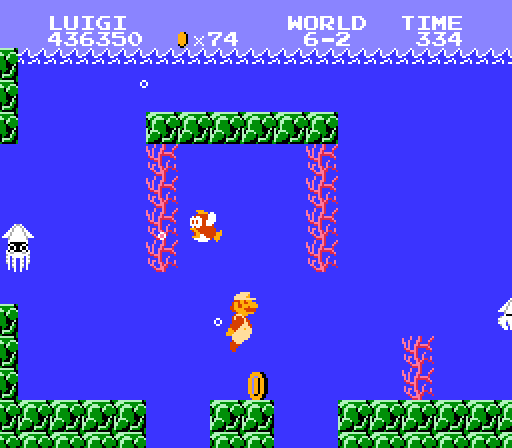
While this level can create situations where a normal player might have to wait for Piranha Plants to go back down if they don’t have a fire flower ( if they do they can plow thru e’erything & feel great ), the situations where you are nearly forced to are surprisingly rare, while most other parts you can speed thru with just the right well-timed jumps.
I like where they hide the Yoshi egg in Super Mario Bros. Deluxe, but I don’t like how they redundantly put a red coin right next to it.
The rest are in decent places — tho I find the fact that they replace the power-up brick with a red coin in the 2nd underground bonus kinda dickish, specially since you can’t start Challenge Mode big, so there’s no way to become fiery in the Challenge Mode for this level. O well: by that point the player’s near the end, anyway. I just wish a’least 1 level put a red coin in coin heaven.

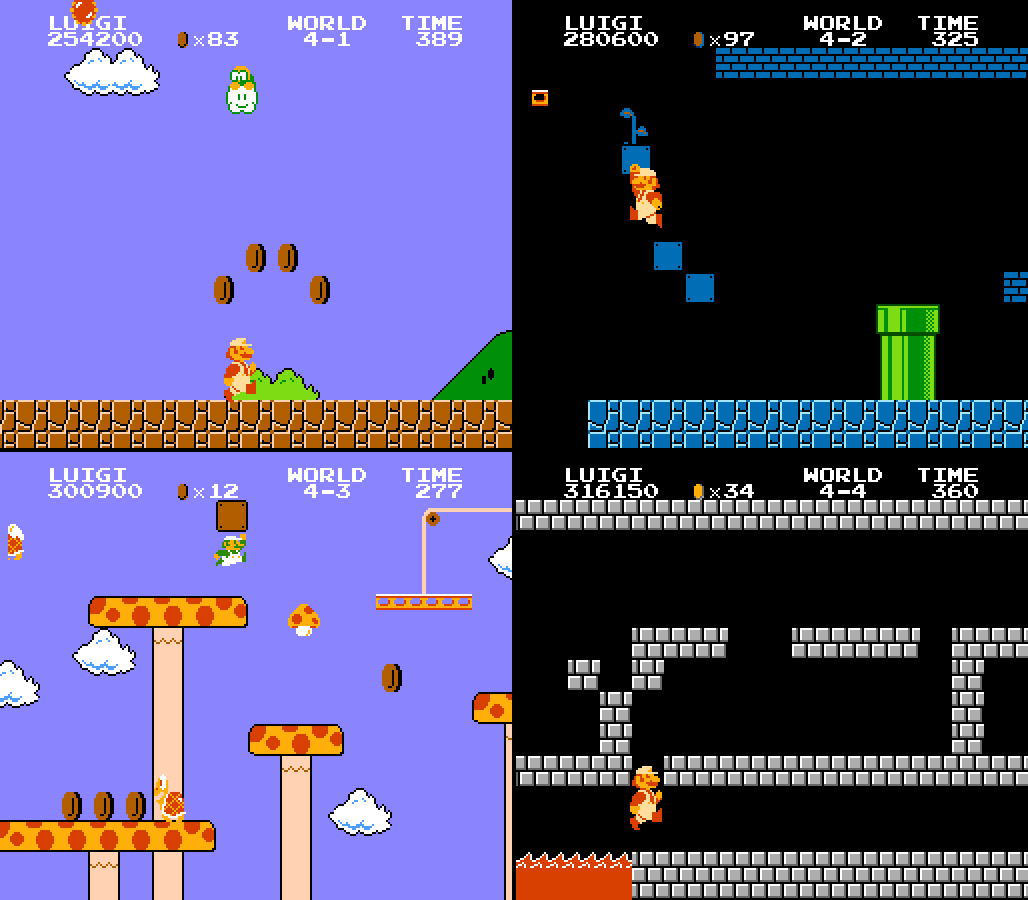
3. World 4-2
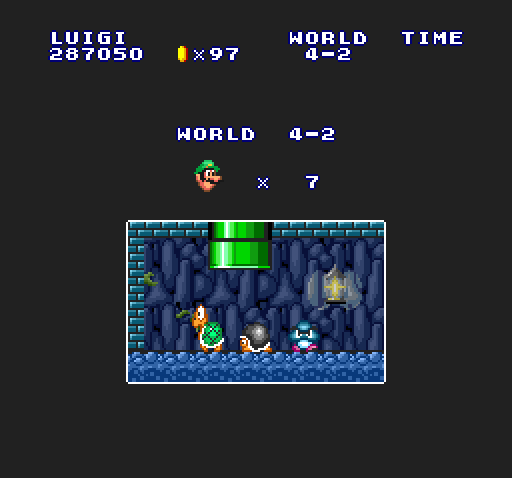
While 4-1 ramps up the difficulty with a mo’ complex enemy type in a straightforward level, 4-2 ramps up difficulty in terms o’ platforming, starting with an infamously tricky arrangement o’ blocks forcing players to run & jump onto & off small blocks & forcing players to choose aiming on a single block to jump o’er the somewhat large gap after it or run & jump off the 2-block floor o’er a wider gap. 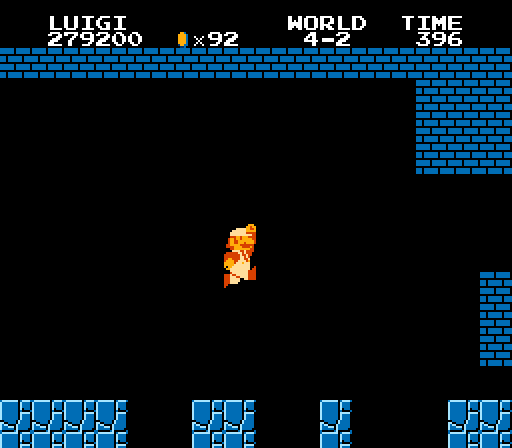
The other famous setpiece o’ this level is the beanstalk — something you wouldn’t expect to find in a sewer. This beanstalk is trickier to get, tho, e’en if you know it’s there: in order to reach it to hit it from below, you need to hit invisible blocks, but be wary not to hit the 1 right below the beanstalk’s brick or else you’ll have a much harder time hitting the beanstalk brick. It’s admittedly a bit o’ a trial-&-error BS for new players, but assauged a bit by the fact that you can still technically hit the beanstalk brick e’en if you reveal all the invisible blocks, specially if you’re small ( which is admittedly unlikely coming right after 2 power-ups ). 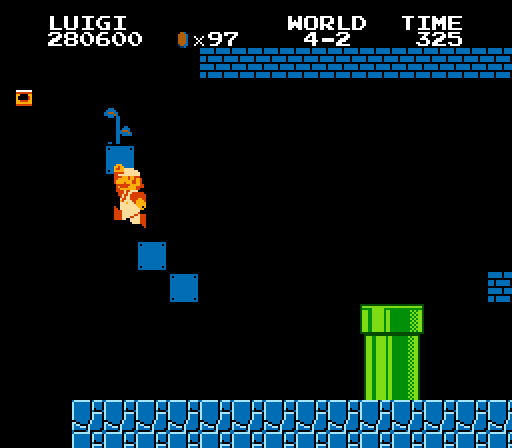
This level provides a particularly interesting combination o’ repeating a pattern & twisting it: both sewer levels have warp zones, both by going o’er the top o’ the level, but this level twists it by making the main warp just go to world 5, while hiding this warp zone, using a beanstalk that was previously introduced purely for bonus games, to reach a different warp zone mo’ in line with the 1st warp zone, allowing you to skip up to 3 worlds ’gain, ’cept this warp zone has a fresh new paint job, not high up in the clouds, as would be ’bove an o’erworld level, but on the o’erworld level, which is ’bove the sewers. This warp zone & the level that comes naturally after 4-2 are the only areas that use the mushroom tileset, tying them in a way that implies that this warp zone naturally comes before 4-3 — a part o’ this mushroom forest that’d be blocked off by the entrance & exit to 4-2 if not for the beanstalk. 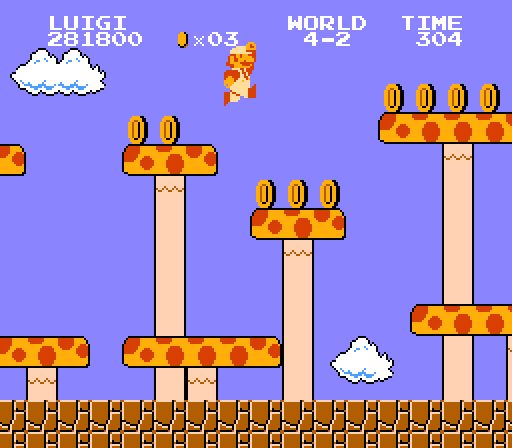
But, truly, all the setpieces in this level are great & memorable. I particularly want to note:
The ending with the jump under a very low ceiling, which is very easy to flub ( specially in All-Stars, with its botched brick physics that suck you in as you break them ), but which offers the trick o’ a single block down below you can jump up from ’stead. 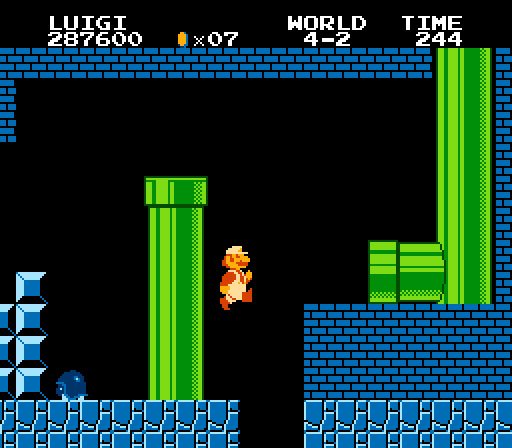
The section low down after the final elevator with a low ceiling o’ bricks o’er a pair o’ Koopas & a power-up in the leftmost brick, which you have to follow to the end if it’s a mushroom. 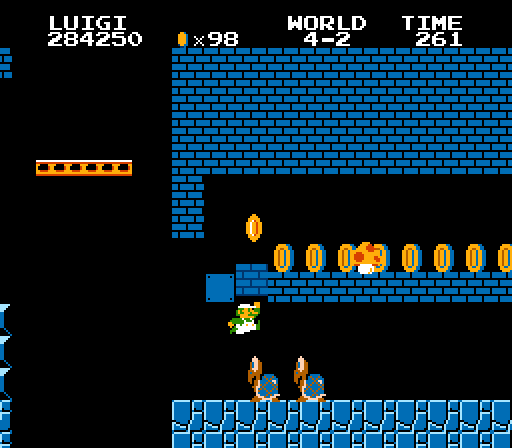
All the cramped pits with Koopas & Buzzy Beetles in them ’tween pipes ( 1 o’ which gifts curious players with a Starman ). 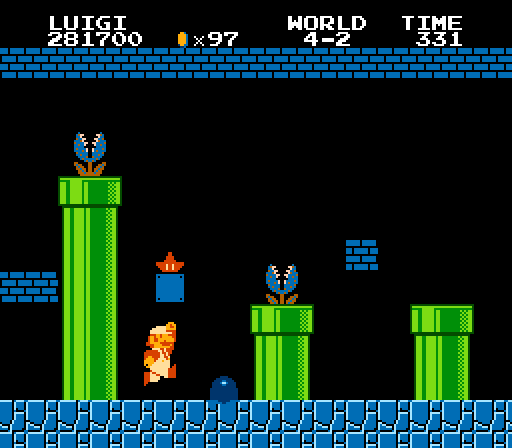
The red coins aren’t placed all that well: the 1st & last are in places you’re likely to go, anyway. The 4th does make the kinda pointless final elevator useful, tho. 
The Yoshi egg, howe’er, does a good job o’ making the hole ’tween the final upward pipe & staircase with a Buzzy Beetle inside useful for once. 
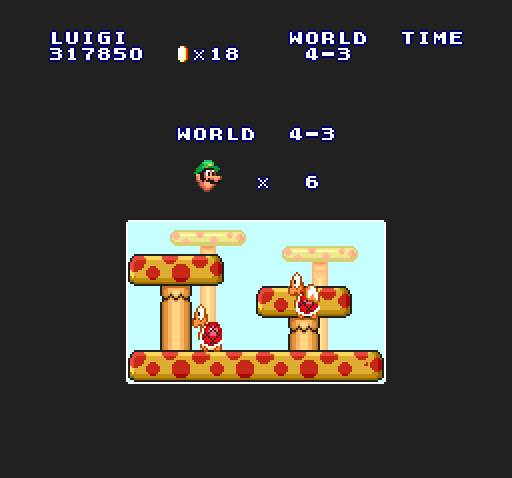
2. World 4-3
Yes, I changed my mind from the article I wrote years ago. You have no idea how much I had to rewrite this & #1’s level descriptions, going back & forth — they were that close.
Despite this game taking place in the Mushroom Kingdom & having plenty o’ mushrooms in ?-blocks, the terrain is rarely composed o’ mushrooms, but more oft those contradictory blocks that are a mix o’ natural cracked rock & unnatural perfect square shape ( or grass, if playing Super Mario All-Stars ). This level & the beanstalk bonus in 4-2 are the only exceptions. Thus, this level immediately gets a major boost for having the most exotic visuals. & having much mo’ red & yellow & a li’l less brown & green certainly makes the level feel mo’ colorful than most other daytime levels, ’specially in All-Stars with the mushroom platforms in the background. 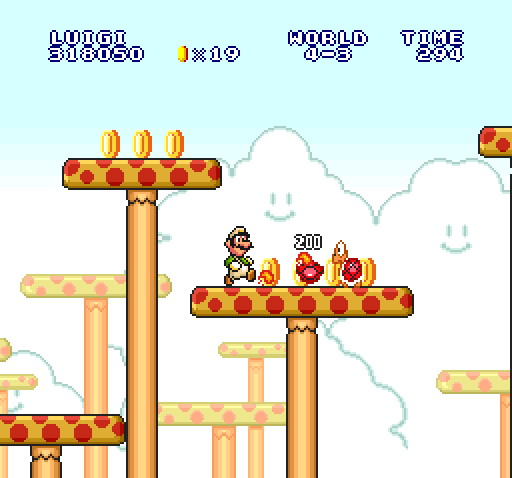
But e’en without the visuals, this level ranks high for having such an intricate layout that is entertaining just to look @, with hills going up & down, challenging players’ jumping prowess mo’ than any time before, while the scale lifts & moving elevators are placed just right to add complexity to your movement without forcing you to stop. 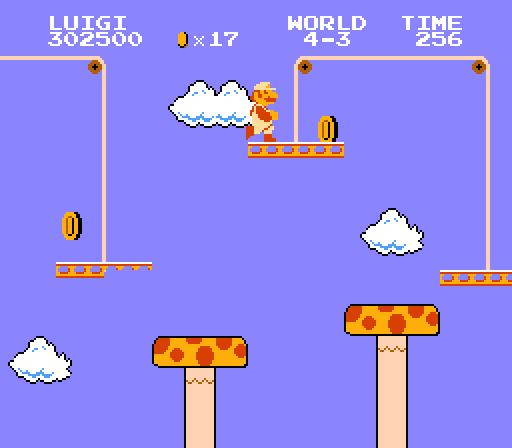
The level e’en rewards you for going backward with the 2nd mushroom hill, easy to forget, used for holding coins, which are ’course not necessary for beating the game, but necessary if the player wants a chance to get the hidden 1-up in world 5. 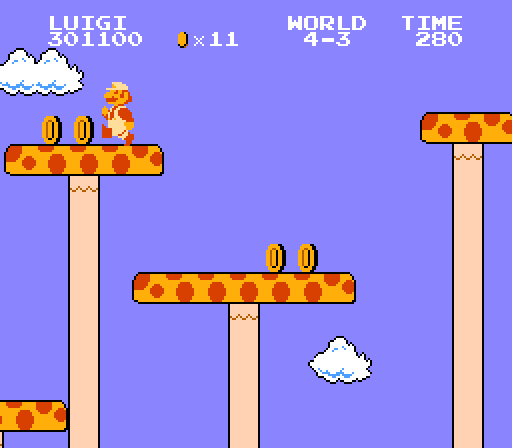
Just after the 3rd mushroom hill, you see a mushroom tower @ just the right height to stymie you. It grants alternate routes, but unlike the other levels, the alternate routes aren’t arbitrary, but have different challenges: if you go below the mushroom tower, you have to jump low ’nough not to bonk your head on it, but high ’nough to make it to the next platform under it; to go ’bove the tower, you must run & jump high ’nough to reach it. 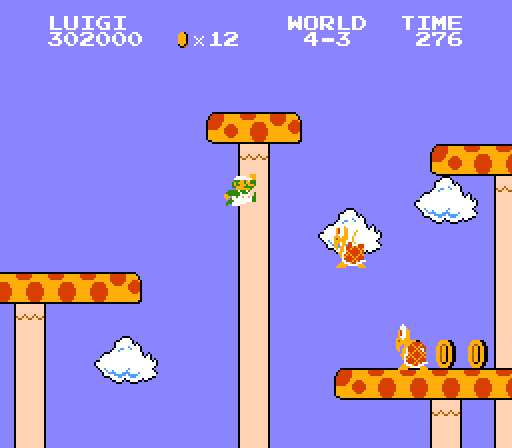
& in this level, the red Koopa is, for once, a greater hindrance than the green Koopas, as you have to time jumps so that you don’t run into them during their patrol back & forth o’er the mushroom. Thanks to the timing & placement o’ the red Koopas on the 2nd mushroom, the jump to it will leave li’l space & time to jump o’er them before they reach you ( which is very tricky to pull off in Super Mario Bros. Deluxe, thanks to its much smaller screen, allowing e’en less reaction time ). 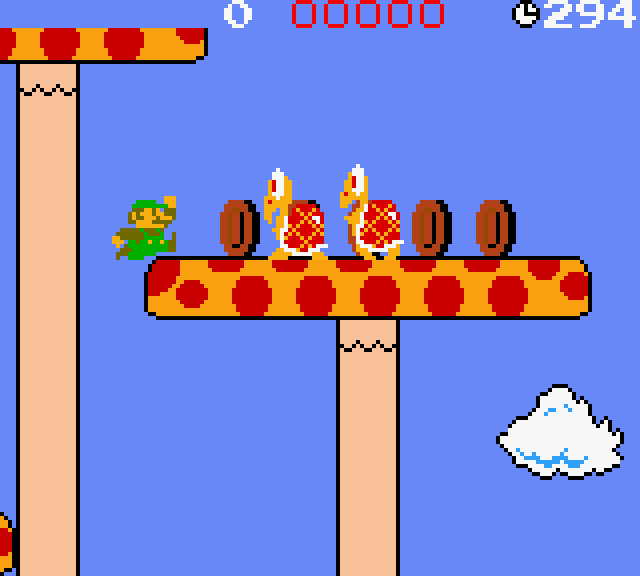
The ending is 1 o’ the few without the iconic staircase, replaced by a platform moving up & down. This does not make reaching the flagpole harder in the slightest, but it does make reaching the top o’ the flagpole a bit harder, & makes doing so while getting 6 fireworks much harder, which those gaming for the score medal in Super Mario Bros. Deluxe’s challenge mode will know all too well. ’Mong the 3 levels with the teetertotter scales in this game, this is the weakest ending, specially compared to 6-3’s series o’ falling platforms. I think 4-3 should’ve had a series o’ mushroom hills leading to the flagpole, since this feels mo’ in line with this level’s theme, while 6-3 should’ve kept to the falling platforms @ the end & lost the hill. 
This, as well as the repetitiveness o’ the very similar last 3 scale lifts, the last 2 being the exact same, & the empty space that is the long mushroom hill before the final elevator, made this level not quite as good as the #1 spot.
The red coins are all placed well, either requiring tricky jumps or use o’ the scale lifts, or placed in easy-to-skip hills, like the bottom o’ the crowd near the middle. I’m mixed on the 1st red coin: I like the tricky jump it makes you pull off, but I don’t like how there’s a Red Koopa positioned just right on the next platform below to come in & hit you with, as far as I know, no way to jump out o’ its way in time — it reaches the very edge by the time you get there, so you either smack into it or fall off the edge. As far as I know, you have to scoot the camera o’er & wait for the Red Koopa to come into view from offscreen, which is not only slow, but also requires you to know ahead o’ time that that Koopa is there in the 1st place. Beginning players are virtually guaranteed to get killed here.
 O, he dead.
& unfortunately, the Yoshi egg is in what is perhaps the least interesting place you could put it in the level. 
1. World 6-3
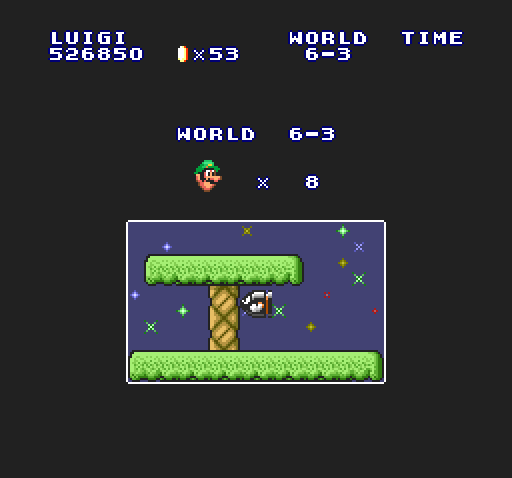
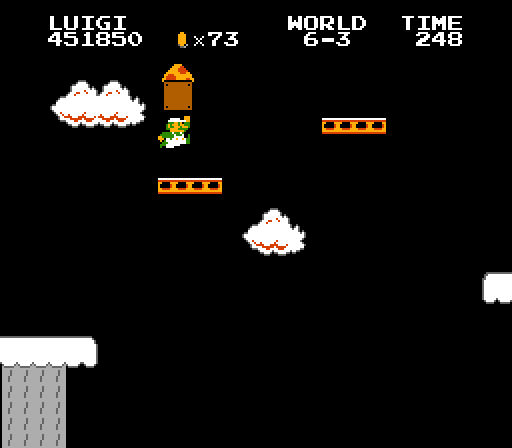
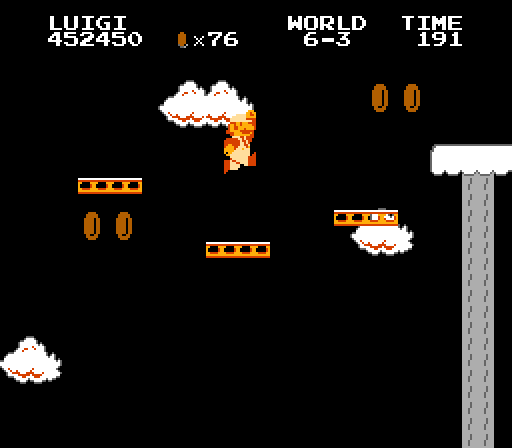
1st, while not as impressive as an almost-unique tileset, this level does deserve props for its unique wintry all-gray palette ( which is, devastatingly, completely lost in Super Mario All-Stars, making this level look no different from 3-3 ).
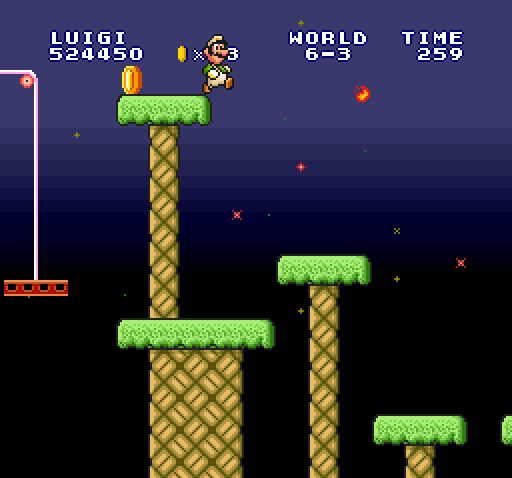
But like 4-3, this level doesn’t need good aesthetics to be good, as it has an e’en mo’ intricate layout, with e’en mo’ places where the terrain branches top & bottom — such as near the beginning where you can jump o’er the spring & leap ’long the low hills or use the spring to leap high up & use the moving platforms. & the springs & falling platforms add e’en mo’ variety than 4-3. Like with 4-3, none o’ this level’s complex layout stops you from zooming & leaping thru with minimal delay if you’re skilled ’nough.

I specially like the moving platform under the lone ?-block with a mushroom, the only power-up in this level & 1 that makes you work to earn it, specially if you’re small & it releases an antsy mushroom vulnerable to the gaping pit surrounding it on all sides.
The other highlight is the 4 succession o’ quick-falling elevators right near the end — tho I think we could’ve gone without the final hill & just stuck to the elevators, giving the player no breath before the final jump to the flagpole.
Coins are carefully placed to force you to make use of otherwise easily-skippable pieces, such as the 1st elevator, or to take risky moves, like fall down from the left side o’ the 1st scale lift or let fall the 2nd elevator platform during the final gauntlet, if the player wants a chance @ the hidden 1-up in world 7. Unlike 4-3, which pretty much forces you to wait on the left platform on the 1st scale lift to get 1 coin, this level requires much less waiting round to get all the coins, making e’en coin collection much mo’ fast-paced.
The 1 major weakness this level has compared to 4-3 is that I prefer the Red Koopas o’er the random Bullet Bills — tho actually strategically placed Bill shooters would’ve been a major improvement o’er both. That said, neither the Red Koopas in 4-3 nor the Bullet Bills here make quite ’nough o’ an impact to make up for the other differences.
The red coins in this level are devilishly placed — specially the last, which can be gotten in various tricky ways, depending on how good the player is with the physics, but was most likely meant to be gotten by letting the last platform fall low ’nough to jump & get it without bonking gainst the bottom o’ the final palm-tree platform — a case where Super Mario Bros. Deluxe takes advantage o’ the final palm-tree hill.
The Yoshi egg also adds value to an easy-to-neglect part o’ the level, hidden down @ the bottom o’ a crowd o’ hills.
Worlds from Worst to Best
As a bonus, let’s rank the worlds, too:
World 7
Putting this here is a no-brainer: 3/4 o’ its levels are in the bottom 10 & not only are 2 o’ its levels copies o’ earlier levels, but with some o’ the least changes out o’ all the clones. They’re e’en placed in the same exact sequence. That these levels were not good to begin with makes them e’en less exciting to see a 2nd time. End this world with an underwhelmingly sparse castle & you have a world far too underwhelming to be the penultimate world. The most shining part o’ this world is the 1st level, & e’en that doesn’t stand out much from earlier levels, making this whole world feel somewhat like padding before the game truly gets going in the final world.
World 5
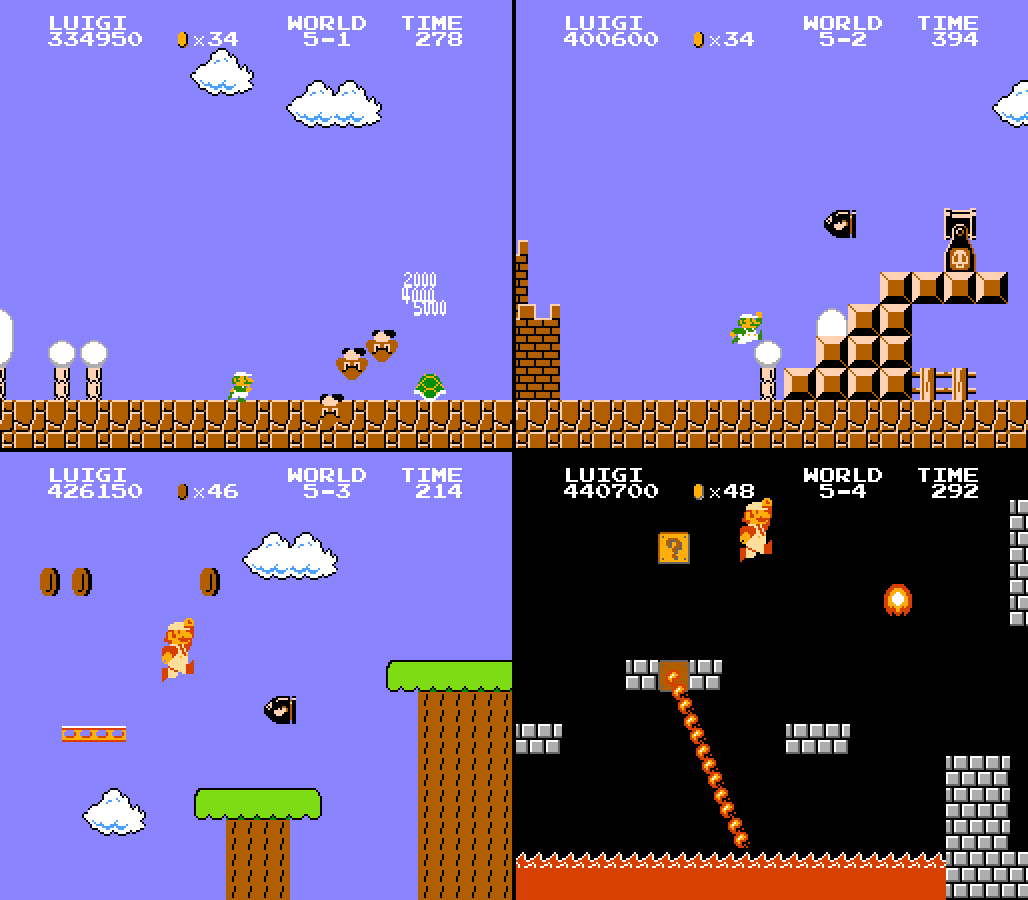
While this world has stronger levels than e’en some later worlds, as a whole, this may be 1 o’ the most forgettable worlds in the game. Having 2 clones o’ earlier levels to top it off doesn’t help. The slight wintry touch to the palette o’ its 1st 2 levels doesn’t do much to help it stand out, either, specially since world 3 already did this with a night sky, to boot.
World 2
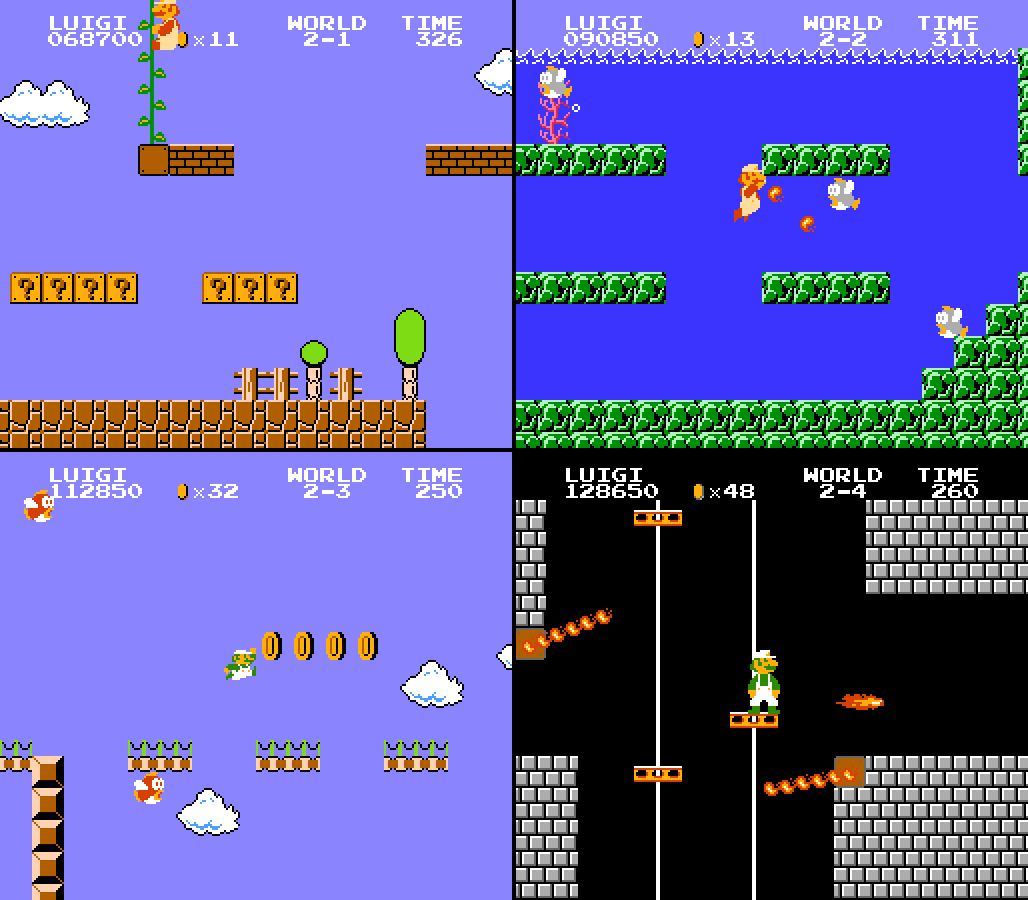
While this world doesn’t have the strongest levels — in fact, 2 o’ them are near the bottom — it deserves credit for keeping up the diversity o’ levels still so early in the game.
World 3
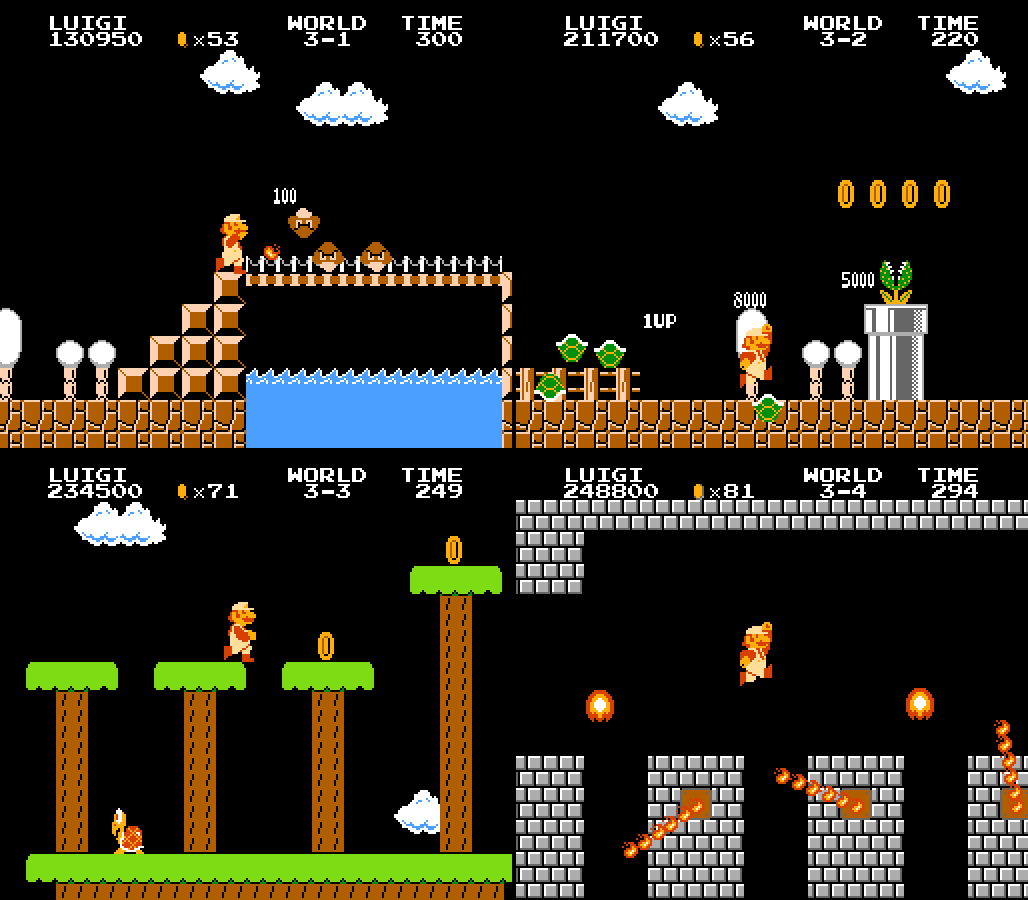
After 2 worlds full o’ new idea after new idea, world 3 starts with a new black-skied night theme — a minor palette shift, but still beyond what one might have expected @ the time. While world 3’s levels aren’t the best, there is a greater consistency o’ quality compared to worlds lower on the list.
World 1
Like world 2, the 1st world does an admirable job o’ keeping each o’ its levels feeling different from each other, when it’d be so easy to coast off the still unfamiliarity new players would have with this game to wait till later for mo’ exotic ideas. This world has much stronger levels than world 2 & somewhat better levels than world 3, which almost beat this world for this spot, howe’er.
World 4
World 4 is an interesting duality o’ quality. In fact, ’twas while writing this that I noticed how close I came to having the worst level be just after the best level if I kept 4-3 in the #1 place, as originally expected. & then you have the weak 4-1 vs. the very strong 4-2. That said, I give extra points to this world for its variety o’ memorable elements, such as the great warp zone in 4-2 & the unique mushroom-hill tileset in 4-3. E’en 4-1 has Lakitu — & hell, e’en 4-4 has the maze, as lame as it is. World 4 may be 1 o’ the most memorable worlds in the game ( which, granted, is probably helped by being the highest world you can reach from the warp zone in 1-2, making it 1 o’ the few worlds played in any% speedruns ).
World 8
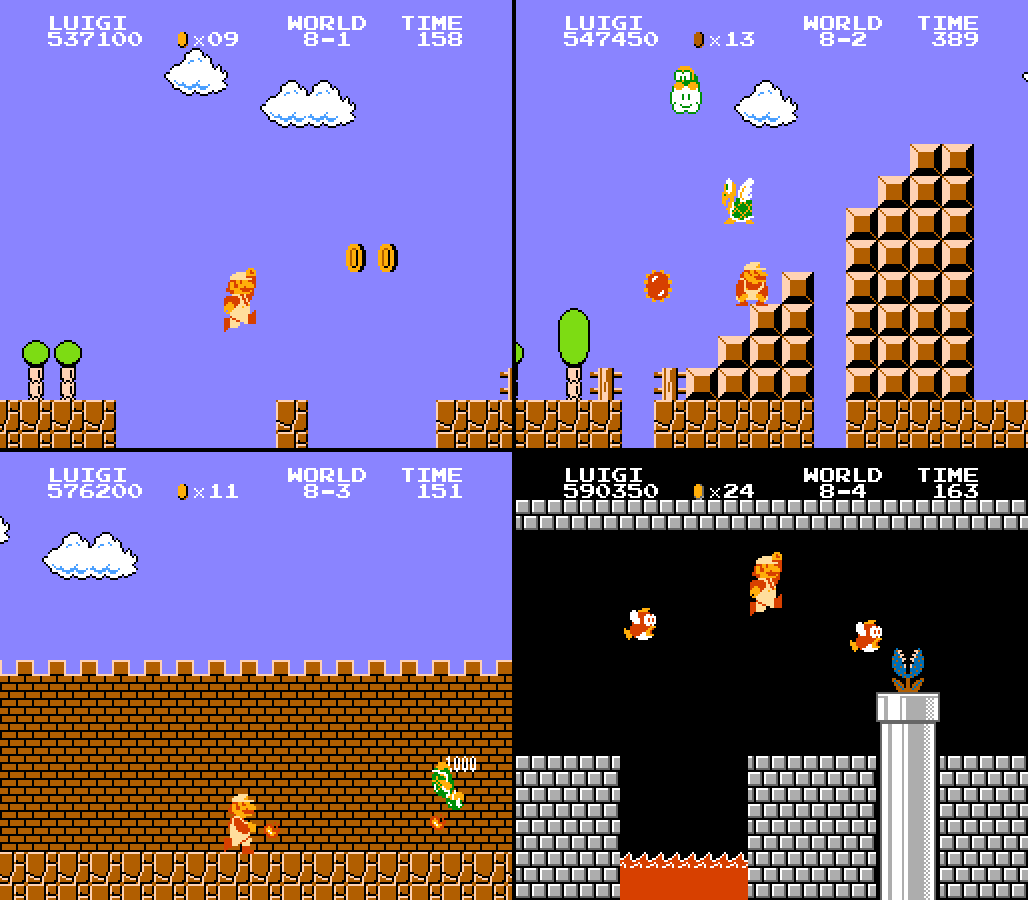
A memorable end to the game, despite how monotonous its level themes can feel compared to the high variety this game reaches in most o’ its worlds. E’en if 8-1 & 8-3 aren’t the most interesting layouts, 8-1’s sheer length & 8-3’s onslaught o’ Hammer Bros & brick-wall backgrounds make them memorable, & 8-4 is 1 o’ the best o’ Mario games’ final levels.
World 6
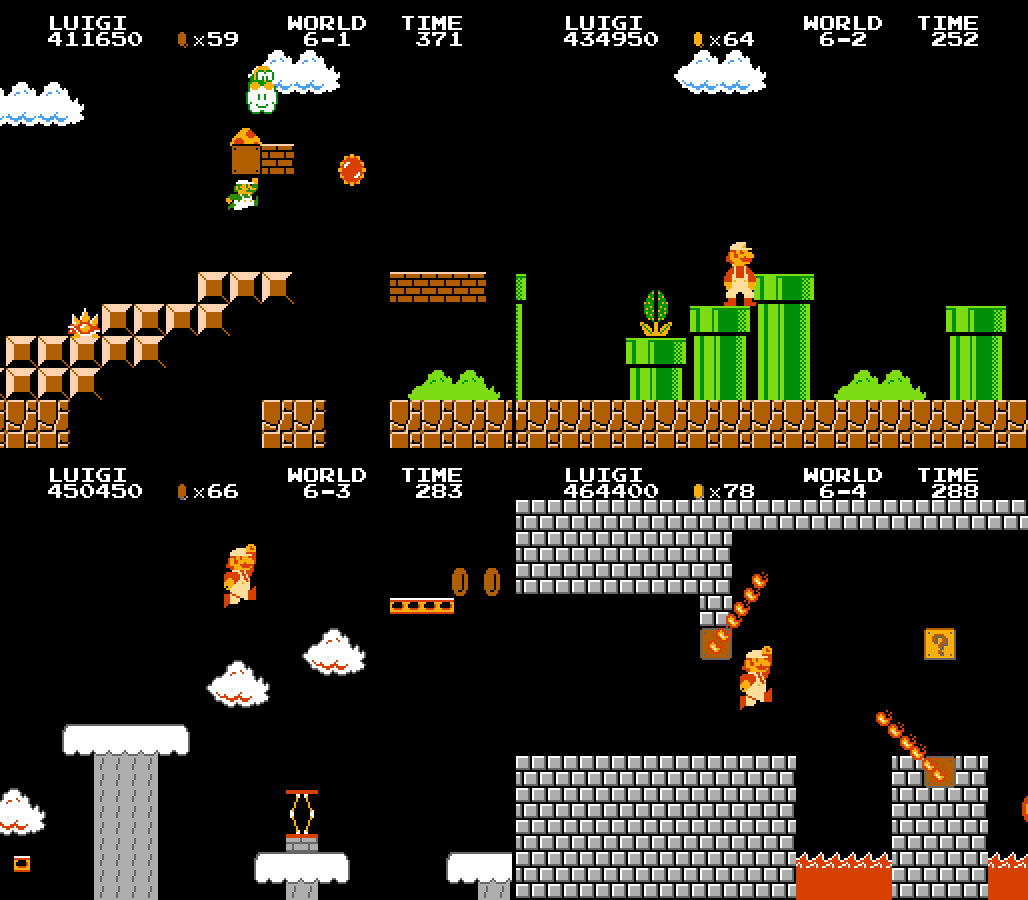
A stealthily strong world, starting with a strong Lakitu level, followed by the ultimate pipe level, & then the ultimate level in the game. Only the castle is a low point, & e’en then, it’s far from the worst castle level. Not only does this world have the rare black-skied evening theme o’er most its levels, its 3rd level adds a unique wintry all-gray cast.