

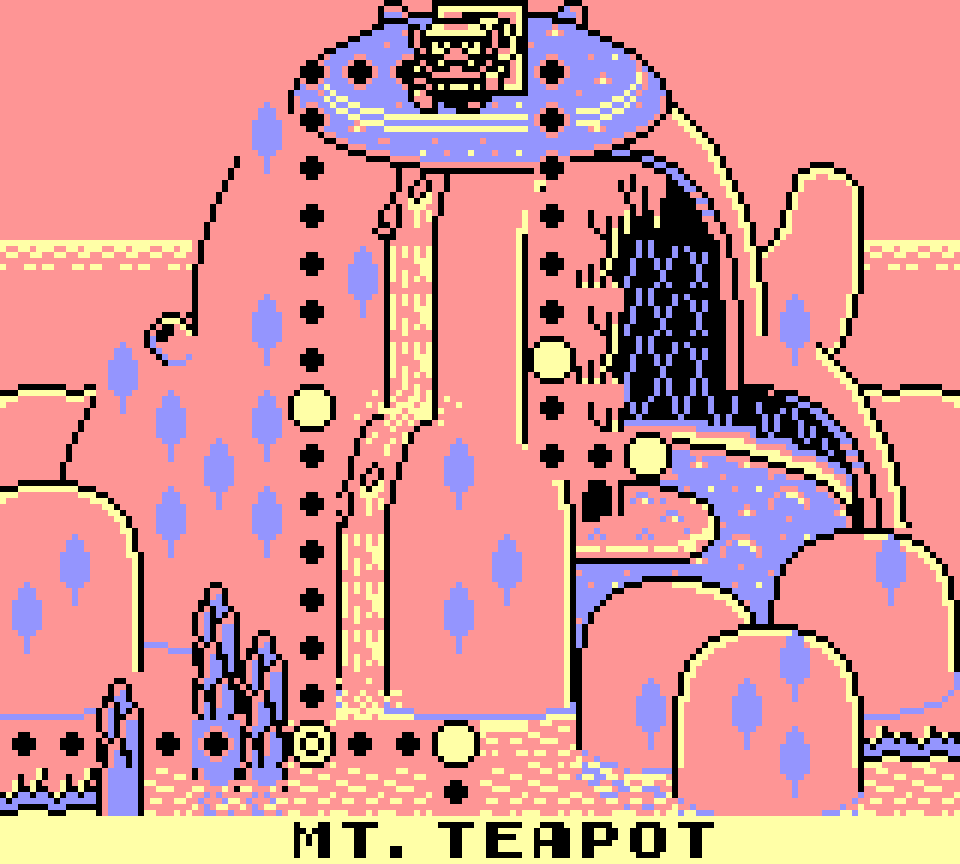
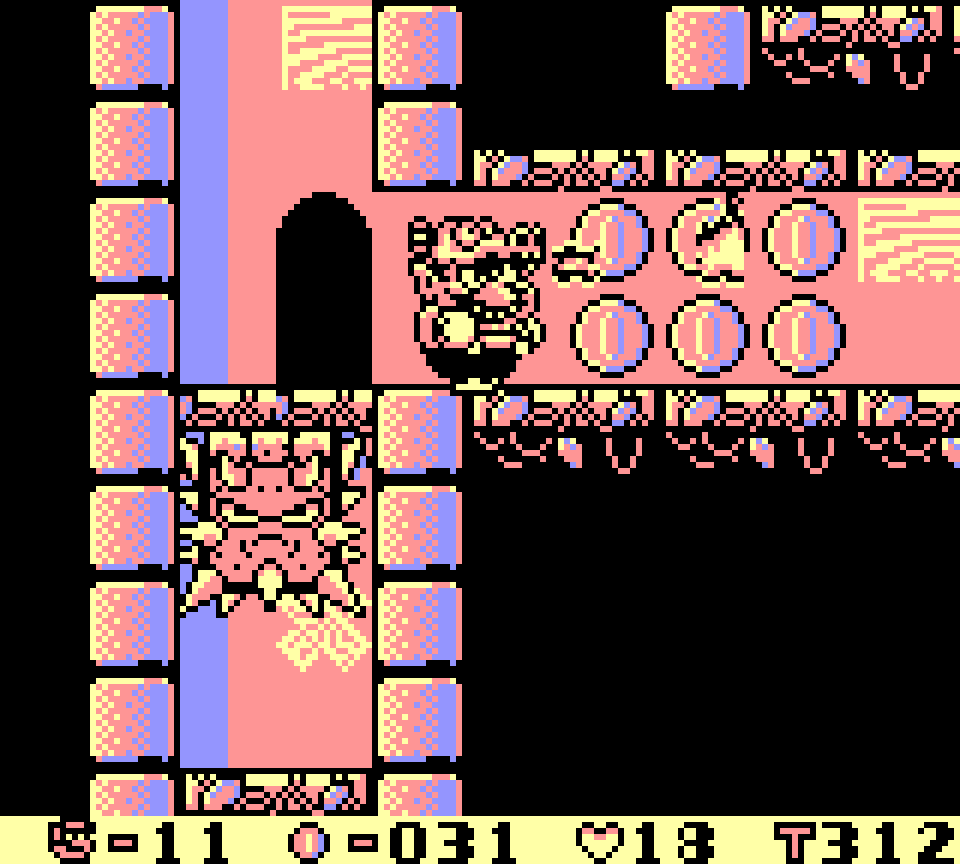
11. Course No. 18
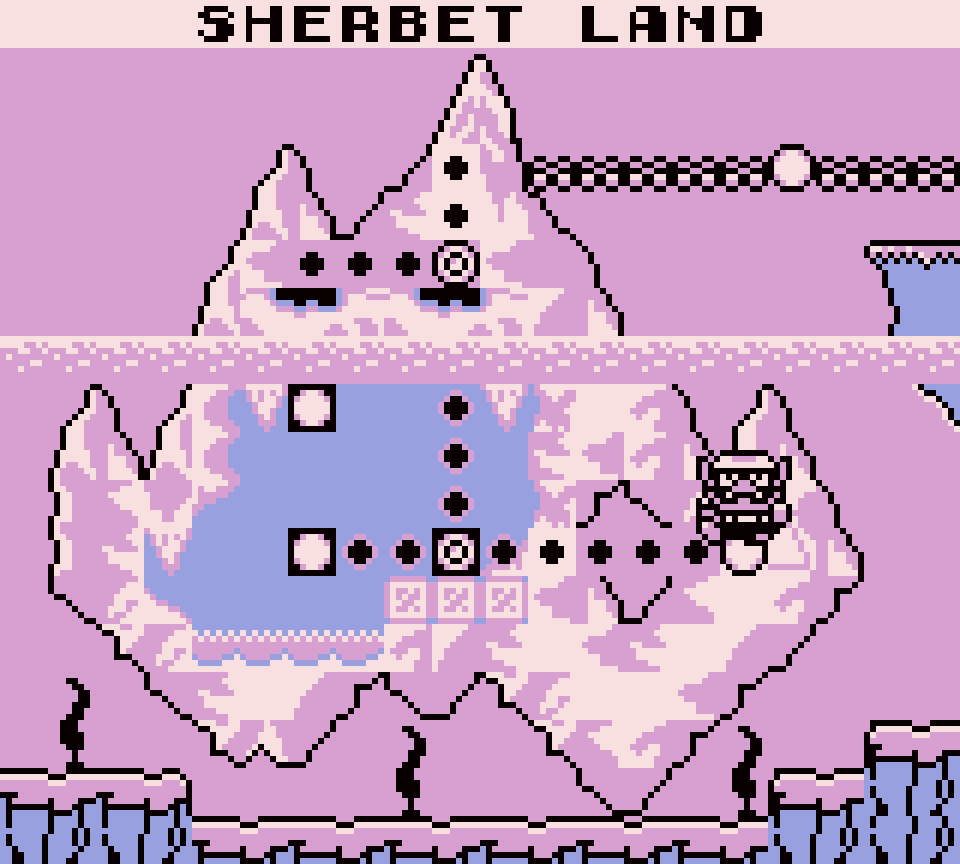
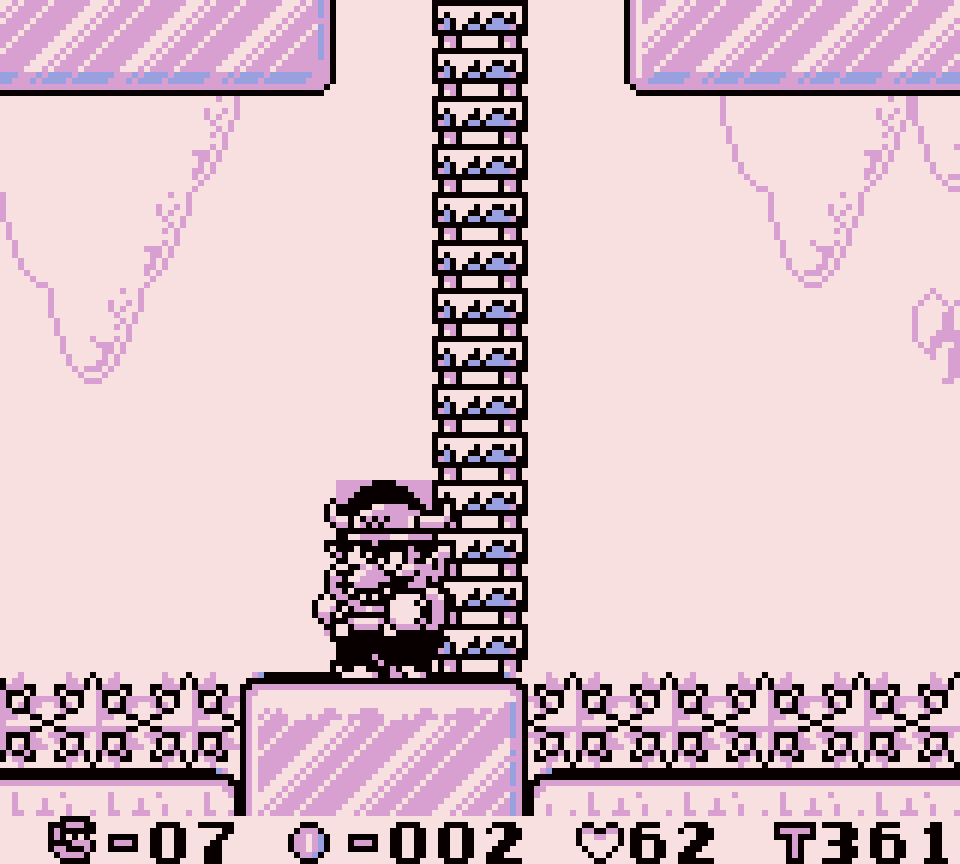
This level saves its best ideas for the treasure, which is fitting, as beating this level doesn’t open anything else. After a bridge o’ switch blocks o’er spikes you reach a long path o’ spikes you can’t cross without taking a hit or maybe using the jet powerup if you have it & a door. @ the end o’ that door’s room is a switch & ’nother door. Going thru this door will seem to lead you back out where you entered, but with a bridge newly created before you, but that’s wrong: this is a repeated setpiece later in the level. If you instead go back to the door in which you entered the switch room & exit that way, you’ll see a newly created ladder just beside the door, leading to the path toward the key.
That key, in fact, is inaccessible, caged by blocks. You can only get it by, you guessed it, going thru ’nother room & hitting ’nother switch.
But this next room is also a mo’ interesting use o’ the switch: your 1st way thru is just a safe fall down to the bottom… safe if you know to stay in the middle. If you follow the coin trail, there’s a good chance you’ll land in spikes as the final coins lead into spikes. This is in contrast to, say, a Donkey Kong Country game, — all much better games than this — which would have the banana trail mark out the safe path. Why this game felt the need to troll players, I don’t know.
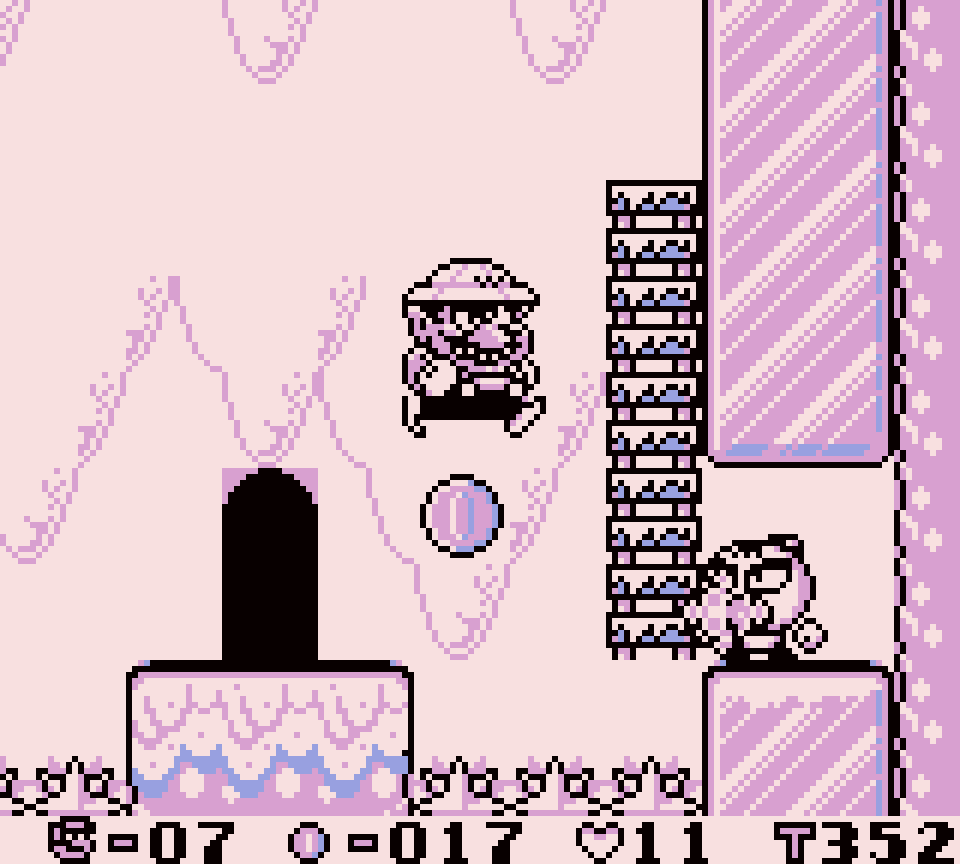
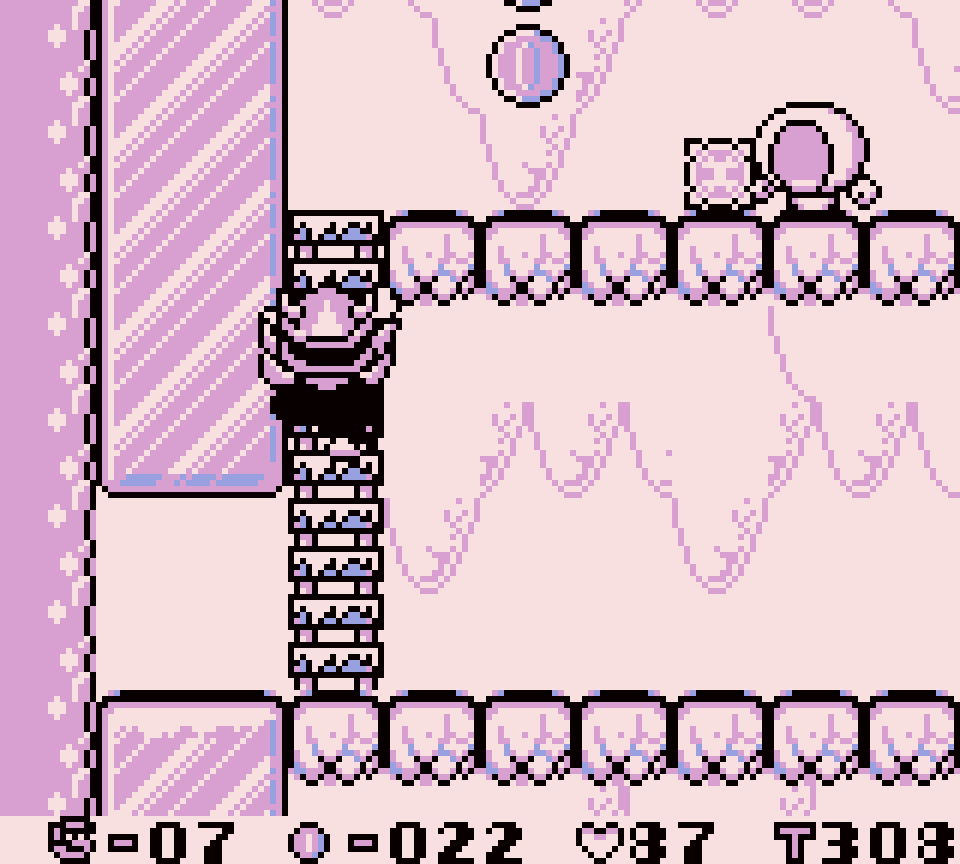
Anyway, after hitting the switch, the way back to the key room radically changes the room to 1 where you have to climb up floors while dodging the ice shots from Bucket Heads, which are a much better form o’ challenge.
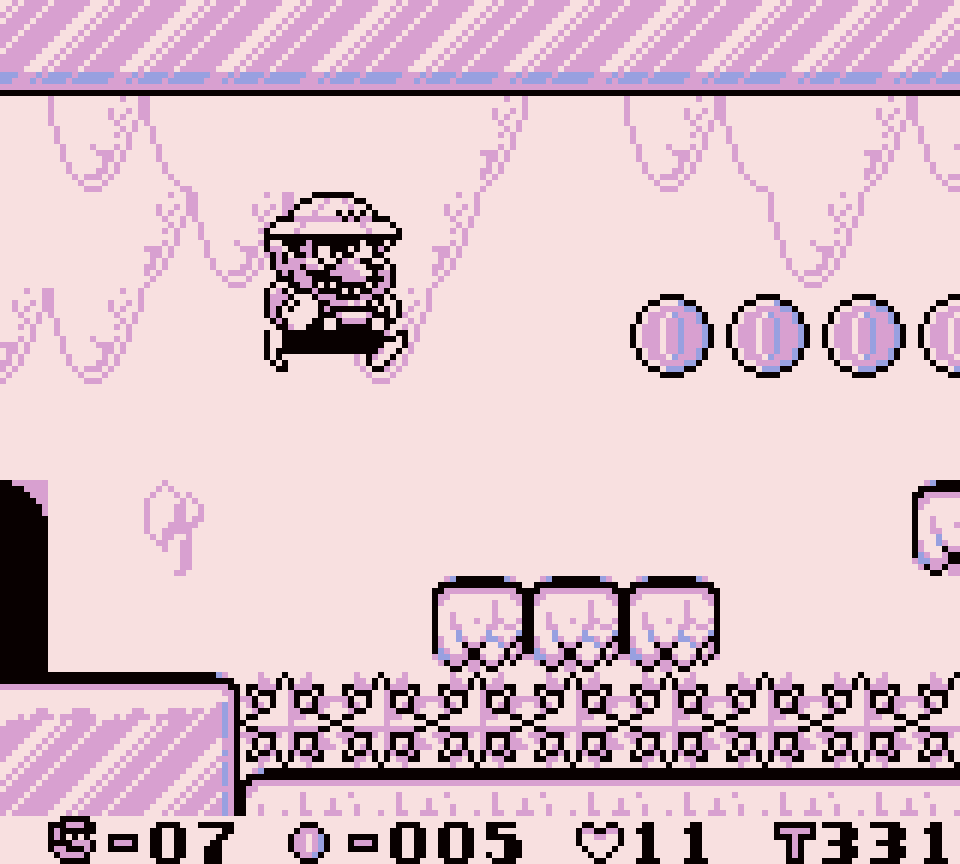
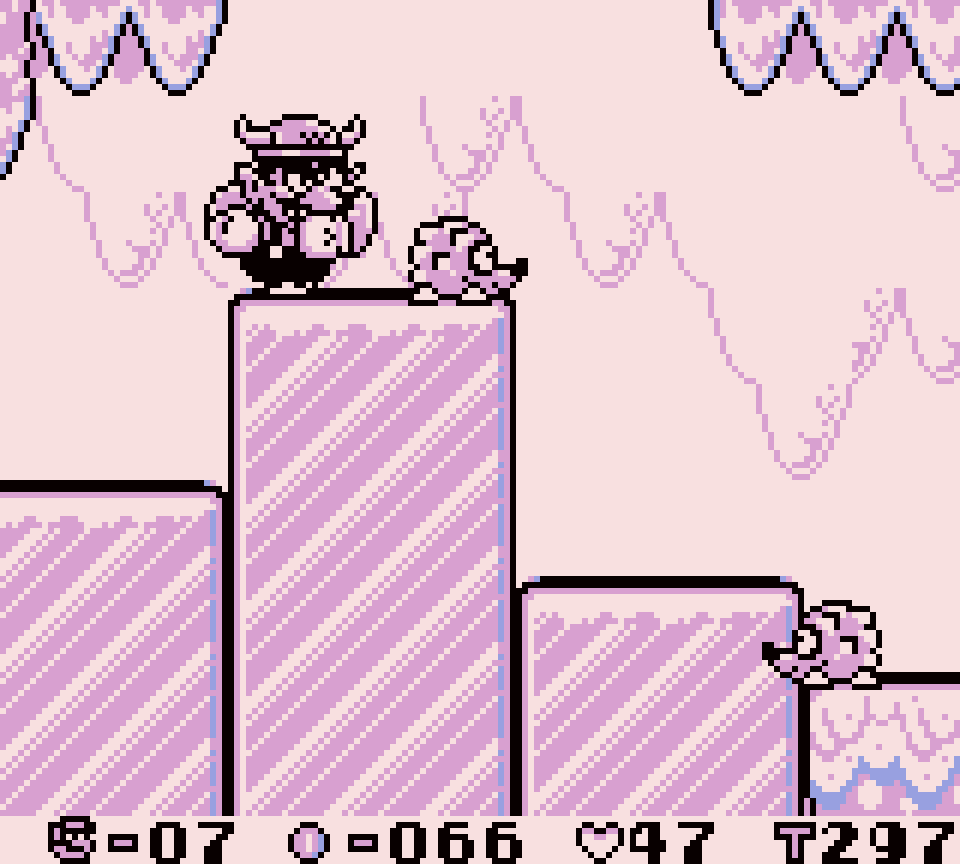
Unfortunately, e’erything after this detour to the key & chest is just hedgehog enemy after hedgehog enemy, which are harmless ’less you stupidly try to jump on them. There is 1 floor under cracked blocks that requires the bull powerup to ground pound thru the blocks ( &, conveniently, there’s an item box with this powerup just after this section ), but it’s not worth bothering, since there’s just a midway point & some coins. To be fair, you get mo’ coins than the midway point costs, so e’en if you take the midway point, you make money; but there are faster ways to make money & the rest o’ the level is free.
10. Course No. 27
Tho a very basic romp thru familiar beach terrain, this level does have some subtly interesting sections, such as the slight twist on the common Droppers by having you dodge them while swimming thru water, which surprisingly doesn’t happen anywhere else in this game. ’Course, if you have the dragon powerup you can just flame them & make them threatless. There are also some interesting block formations in the last room, including an item block that seems inaccessible till you realize you can hit it with the flames o’ the dragon powerup, which is conveniently given just after.
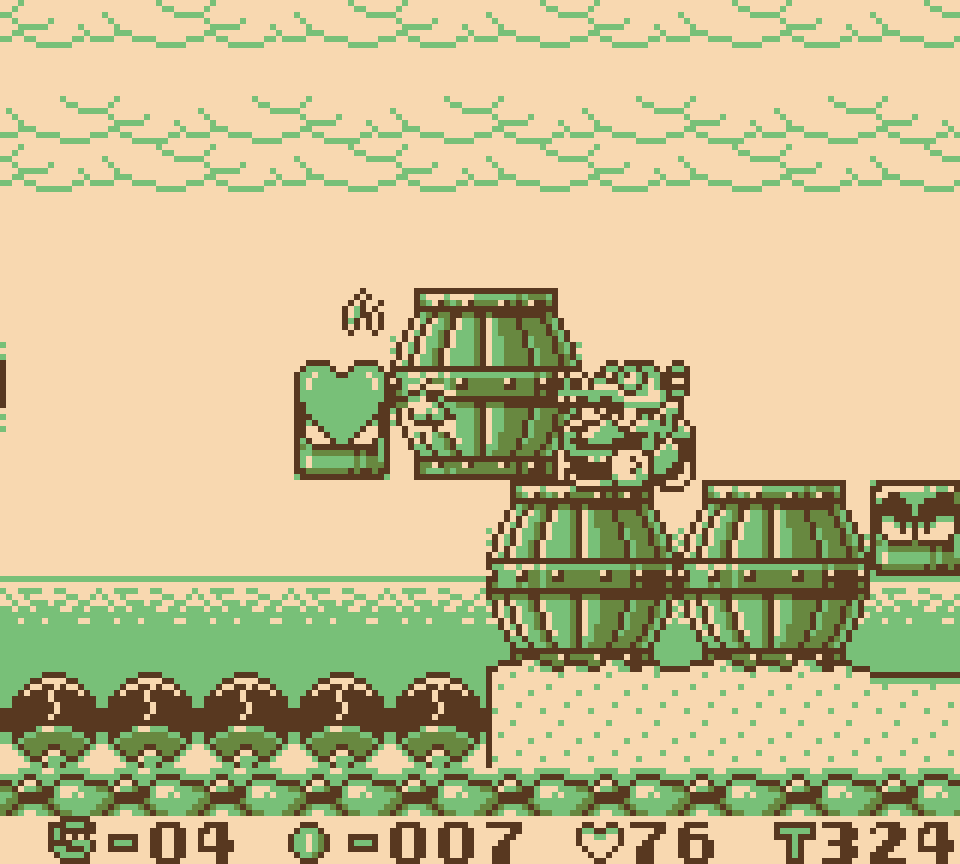
This level has an interesting trade-off ’tween powerups in that, as mentioned, some elements are much easier or only usable with the dragon powerup, while others require other powerups. For instance, the midway point — as well as a bonus 100 coins — requires either the bull horns to grab onto the conveyor belt or the jet to reach, while in the last room there’s a pretty useless star you can only reach by ground pounding thru a block as bull Wario. You might think you can reach the area with the jet powerup, but some hilarious developer put invisible blocks round the side that will block your jet & make you fall into the munchers.
The weakest part o’ this level is the 1st room, which is a lake full o’ harpoon-shooting seal enemies & some paltry rewards that are not worth taking the risk or time to plum for. Like course no. 07, it’s best to just stay @ the top & glide thru with barely any threats.
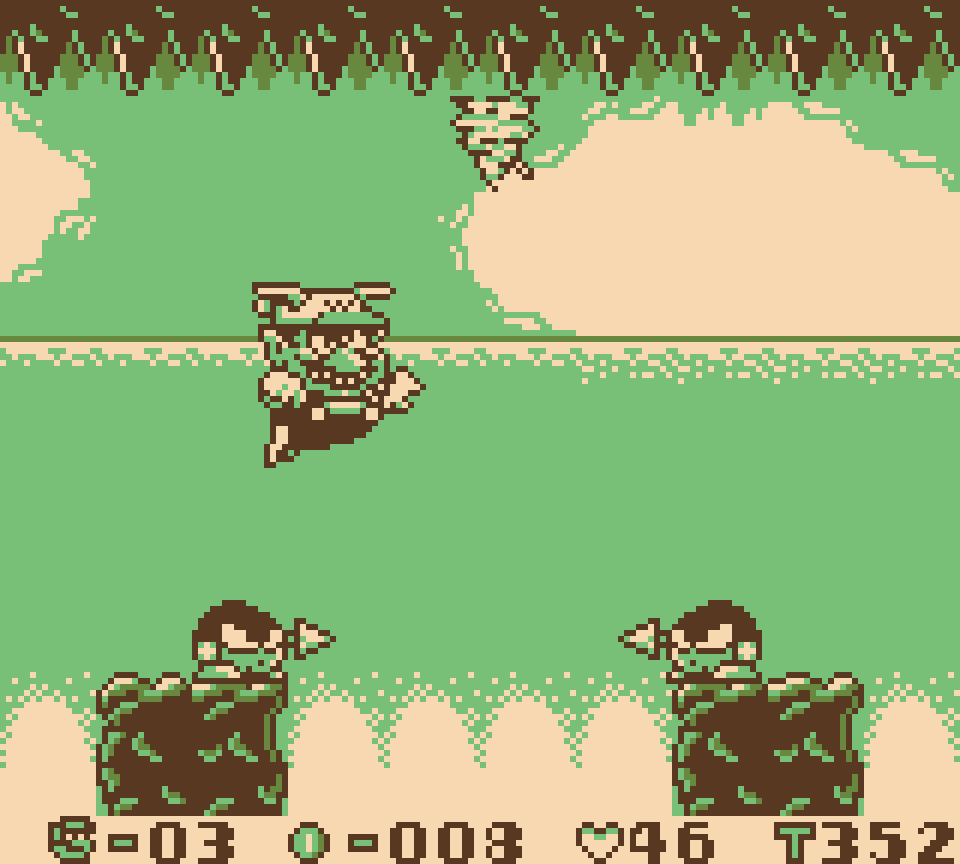
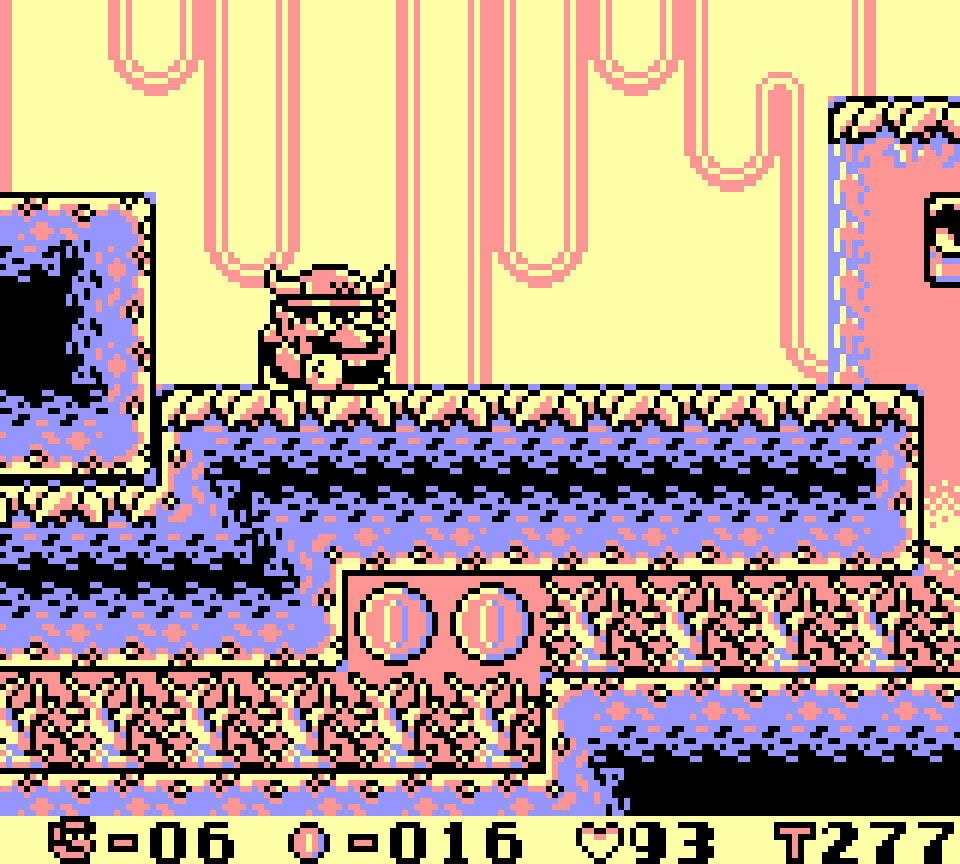
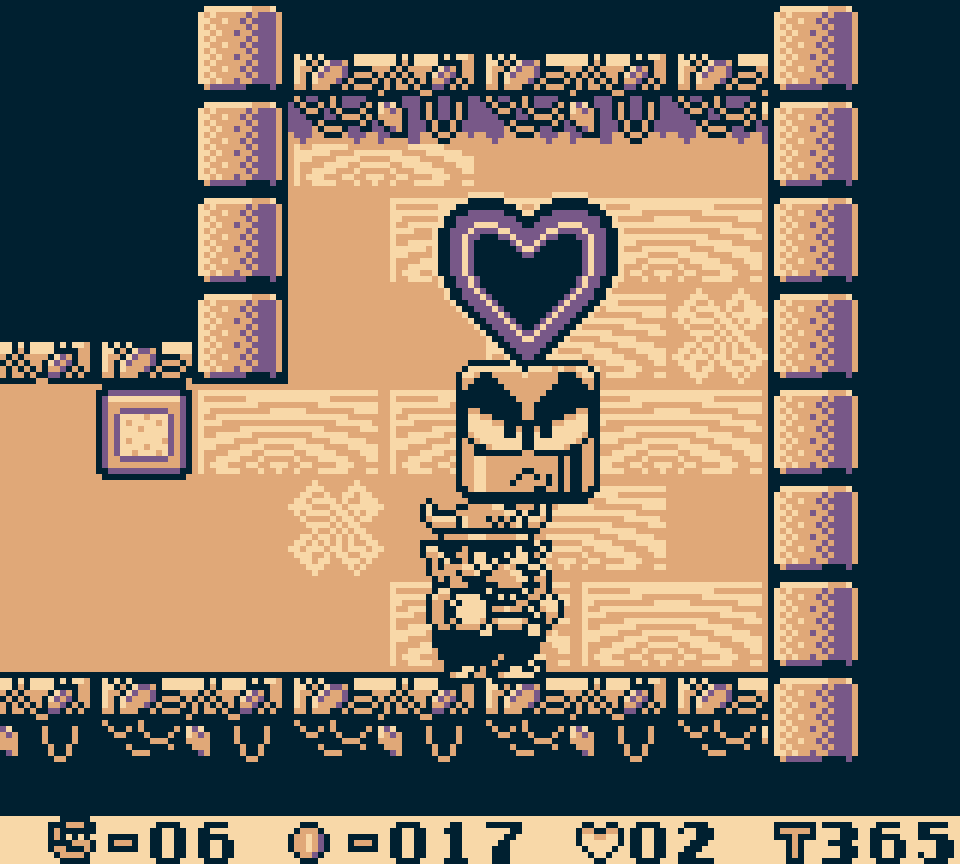
9. Course No. 01
The 1st level makes Wario Land’s simple level design an asset, specially with all the subtle elements it tutorializes, such as the item block on the ground @ the start that can only be broken by Wario’s iconic charge attack, introduced here, the blocks that can only be broken by ground-pounding them, — tho these, bizarrely, only lead down to an area you’ve already likely visited thru 2 ladders before — &, finally, the need to pay to trigger the level goal, shown thru a small cutscene where you see a shades-wearing mole throw a coin toward it.
& yet this level adds complexity & replayability by flooding it after beating a level near the end o’ its world, opening up access to a room that was previously blocked off by Munchers, a striking foreshadowing o’ the level-changing dynamism that forms the core o’ Wario Land 3. It’s unfortunately much rarer in this much-mo’-straightforward game; but that also makes its use in the 1st level all the mo’ memorable. I also think ’twas a missed opportunity not hiding a treasure down here ’stead o’ just a large heart.
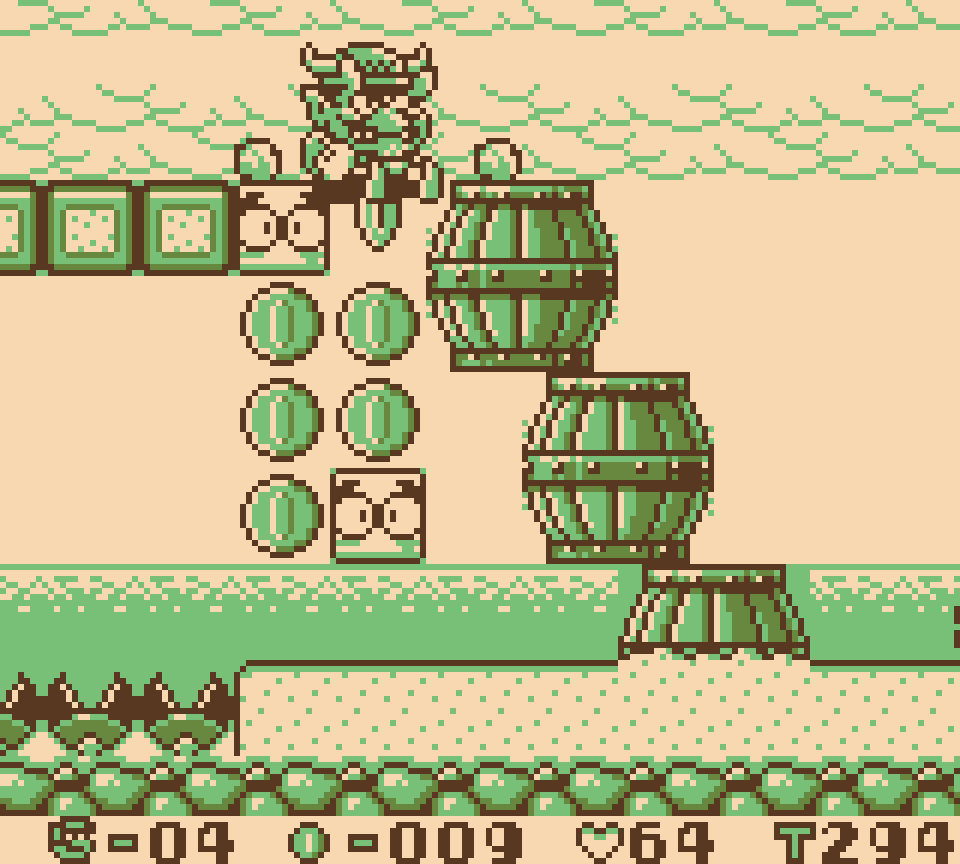
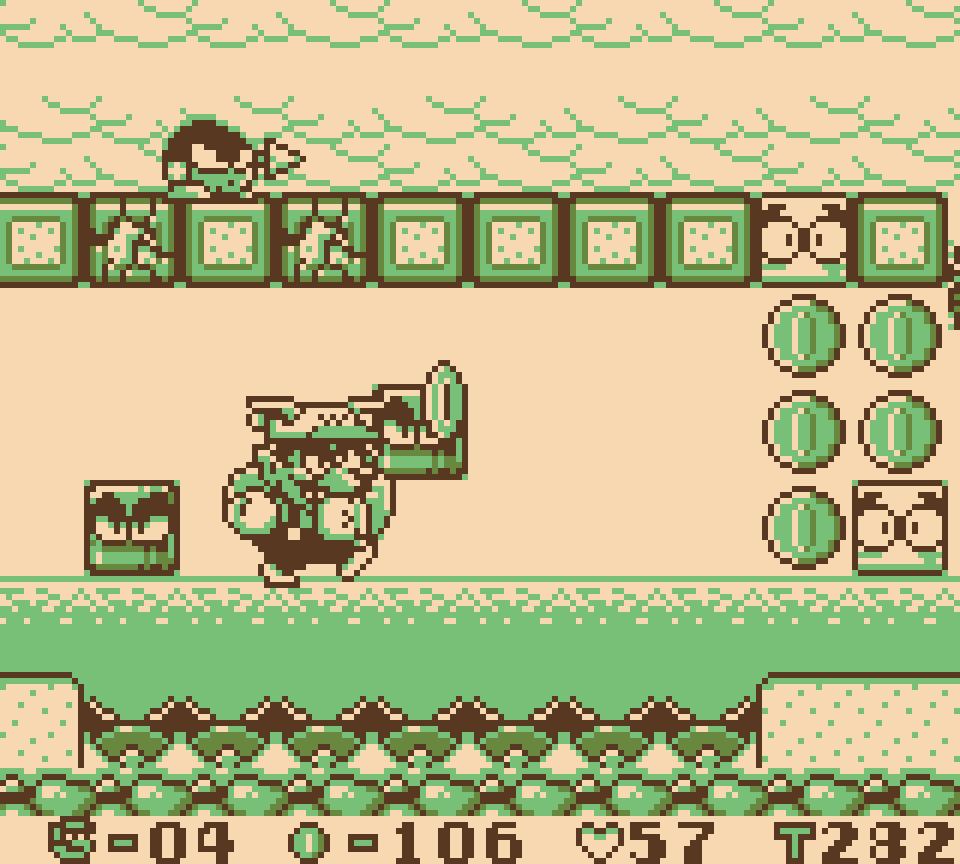
8. Course No. 23
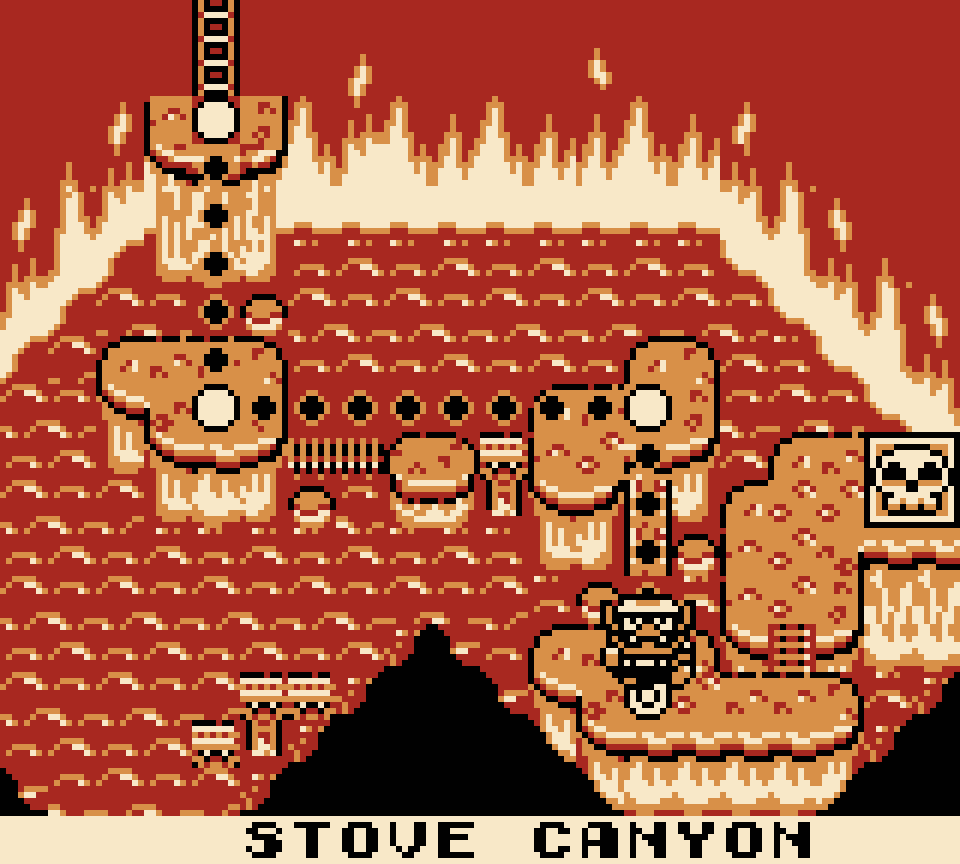
In course no. 23 “Stove Canyon” takes a break from the constant Bō & rising & falling hills to introduce mine carts, which are not amazing mechanics, but are mo’ interesting the aforementioned mechanics taken straight from Mario, are mo’ fun, & were pretty fresh back when this game came out, 1 year before Donkey Kong Country would popularize automoving mine carts.

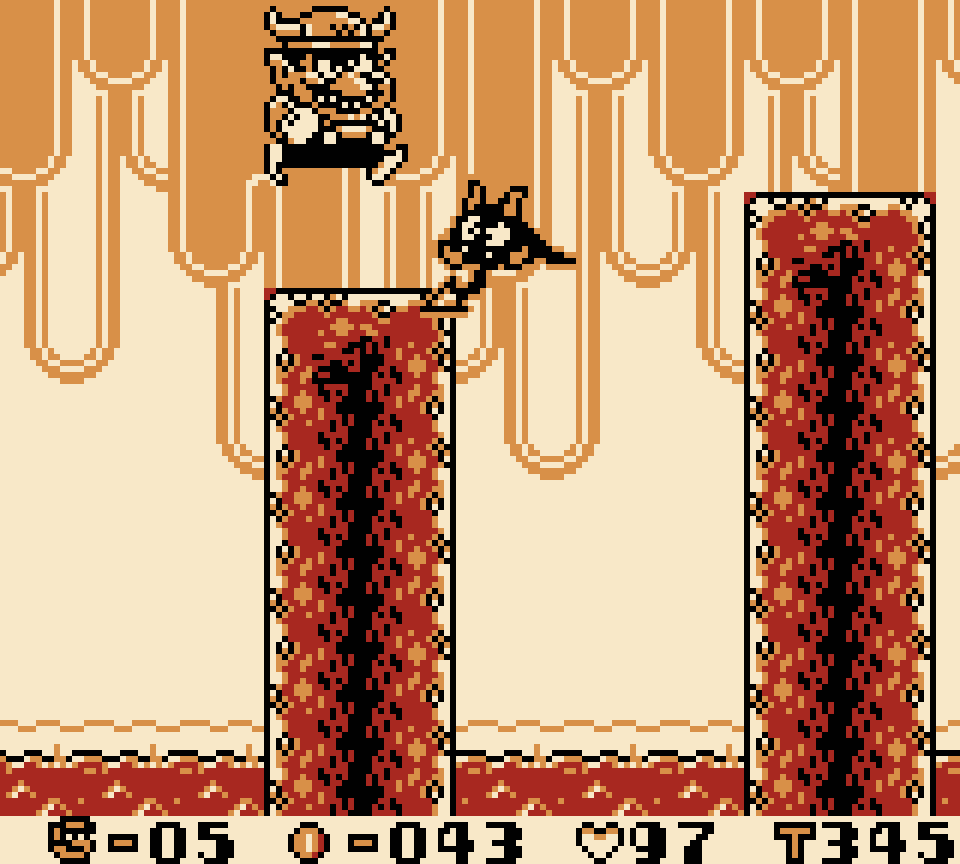
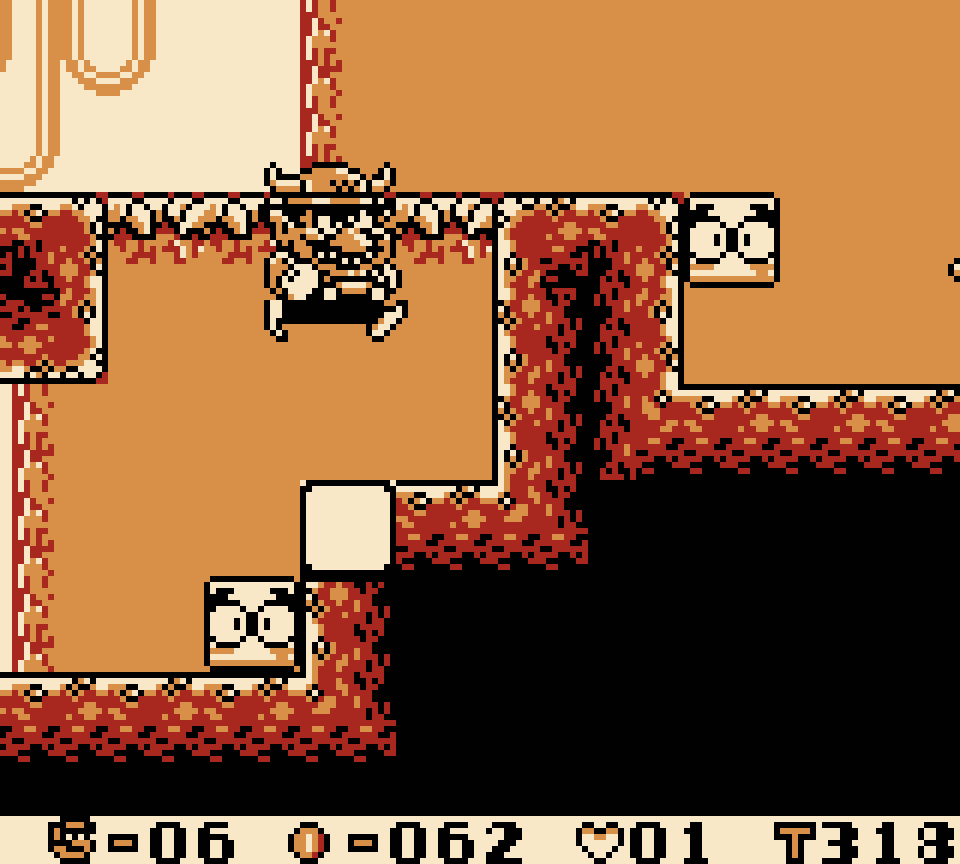
Strangely, despite coming many levels before course no. 32, the other level with this mechanic, this introduction’s much mo’ complex, including twists like the part where you have to jump before a Demon Bat just before a pit, making you liable to fall into the pit as you try to land back on the mine cart, also falling down the pit, as well as the introduction o’ those smiley-face bouncy blocks. Luckily, this refusal to make graphics indicate what they do is mitigated by placing the smiley face in a safe place where the player is liable to step on it… if they don’t suspect it’s damage. They also break up the mine cart sections with some regular platforming o’er cliffs while dodging Demon Bats, which still feel relevant to the level & don’t go on too long.
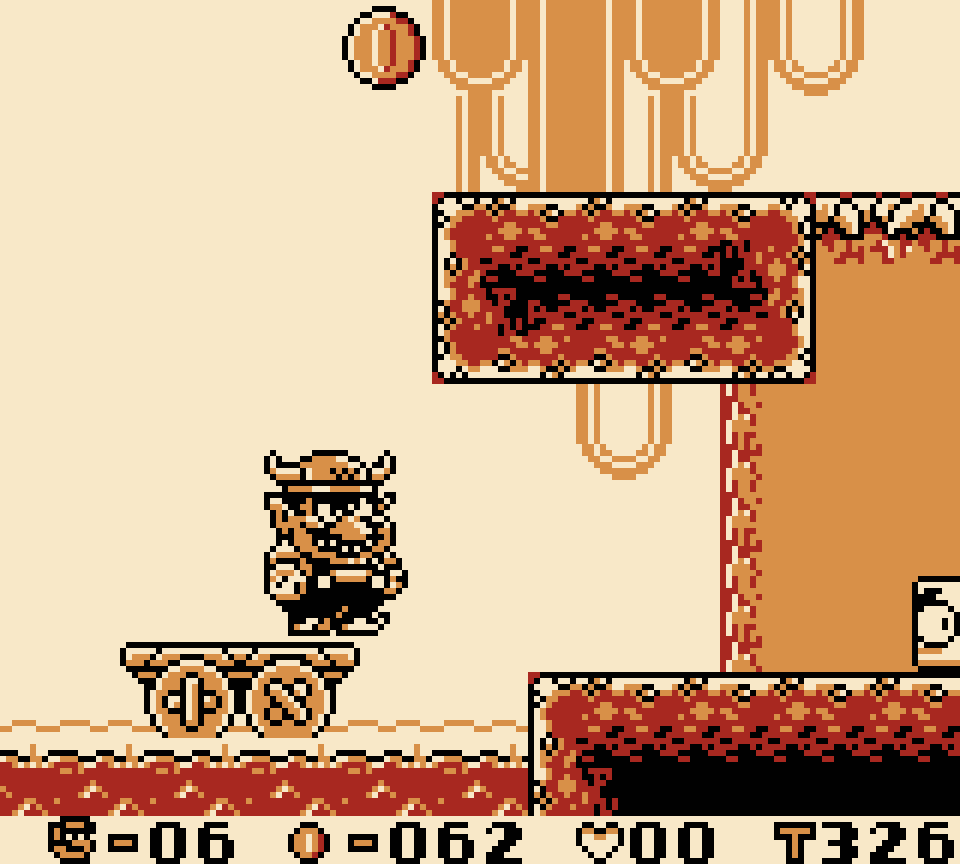
& 1 thing this level succeeds @ is actually having itself end with a climax that culminates this level’s mechanics, rather than introducing some irrelevant mechanic implemented in a simplistic way: while the main exit just involves a big jump, as you make that large jump you see a lower section you can only reach by taking a risk & riding the mine cart down toward the lava & making a precise jump off it just before it plummets. Down there is a smiley bouncy block that can propel you up to a cliff you can’t reach from the main path & from there the secret exit. While the fact that this lower path isn’t revealed till it’s too late to reach it may seem unfair, you have to take the regular exit eventually, anyway, so it’s no real punishment… ’cept that you have to replay the whole level ’gain for ’nother exit, which, as mentioned for course 08, is lame.
7. Course No. 13
This level has 1 o’ the mo’ inspired layouts, specially with the way the crab enemies are positioned in a way that is both visually appealing & somewhat tricky to maneuver round & the aesthetics o’ the volcanic rock walls smashed into each other, specially @ the dead end on the far right side.
I specially like the very small lake ’long the floor, which both looks nice & makes the spiny seadragon Pinwheels somewhat o’ a threat by not allowing you to just swim round them but forces you to time a jump o’er them — a’least for 1 o’ them @ the end: the 1st 2 you can just wait for them to swim to the left side & drop down from ’bove to its right.
I also like the extra detail o’ the coral under the dirt; & tho I don’t know if I would call it good or bad design, for some reason I find the 2 coins you can’t access below the dirt funny. ¿How can Wario live with himself, knowing that those 2 coins will be fore’er out o’ his reach?
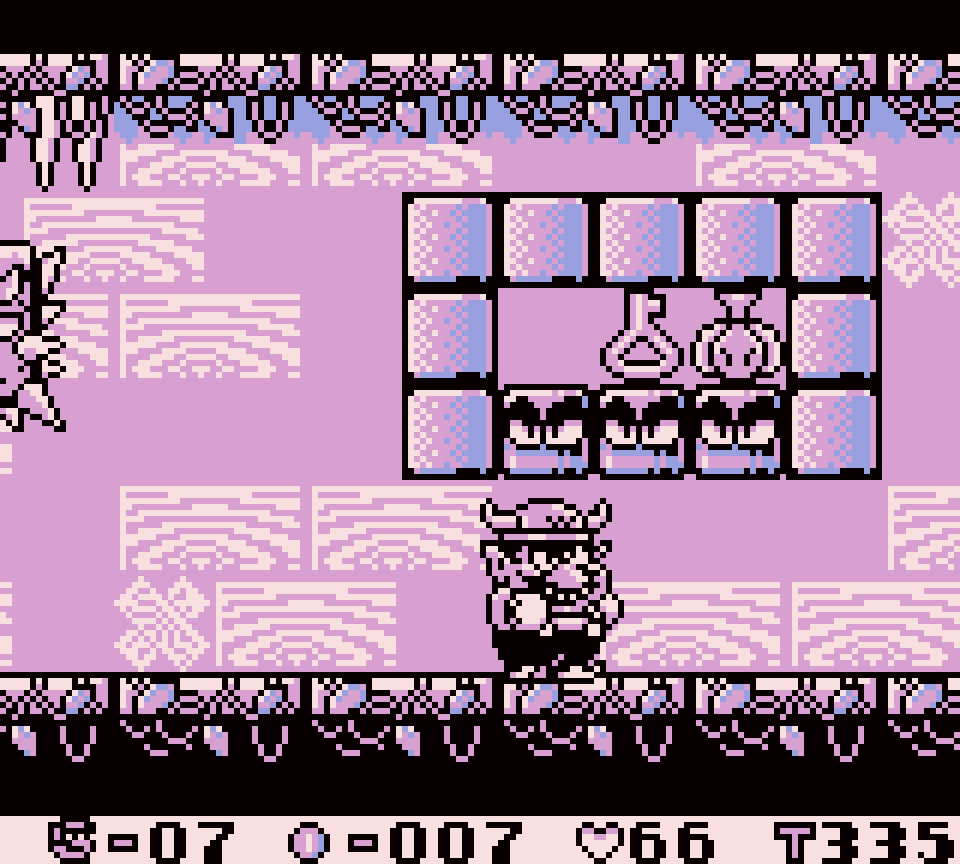
@ the end you have a unique puzzle where you take a Pouncer elevator up a series o’ floors & can pick 1 to go down & hope you get good prizes. None o’ the prizes are amazing, so it’s not too much o’ a loss if you pick badly, but just acts as an interesting bonus before the boss. Granted, it has nothing to do with the rest o’ the level; but that has been a problem for pretty much e’ery level in this game.
This level’s weak point is its boss, who is e’en worse than the 1st boss & also easier. Its main attack is to grab you & try throwing you into the lava; but you can just hold in the opposite direction & land back on land. In contrast, trying to attack it is baffling: sometimes you just get bumped off, sometimes you stun it & can pick it up. Also, you only need to throw it into the lava once to win, in contrast to the 3 hits you need to give the 1st boss.
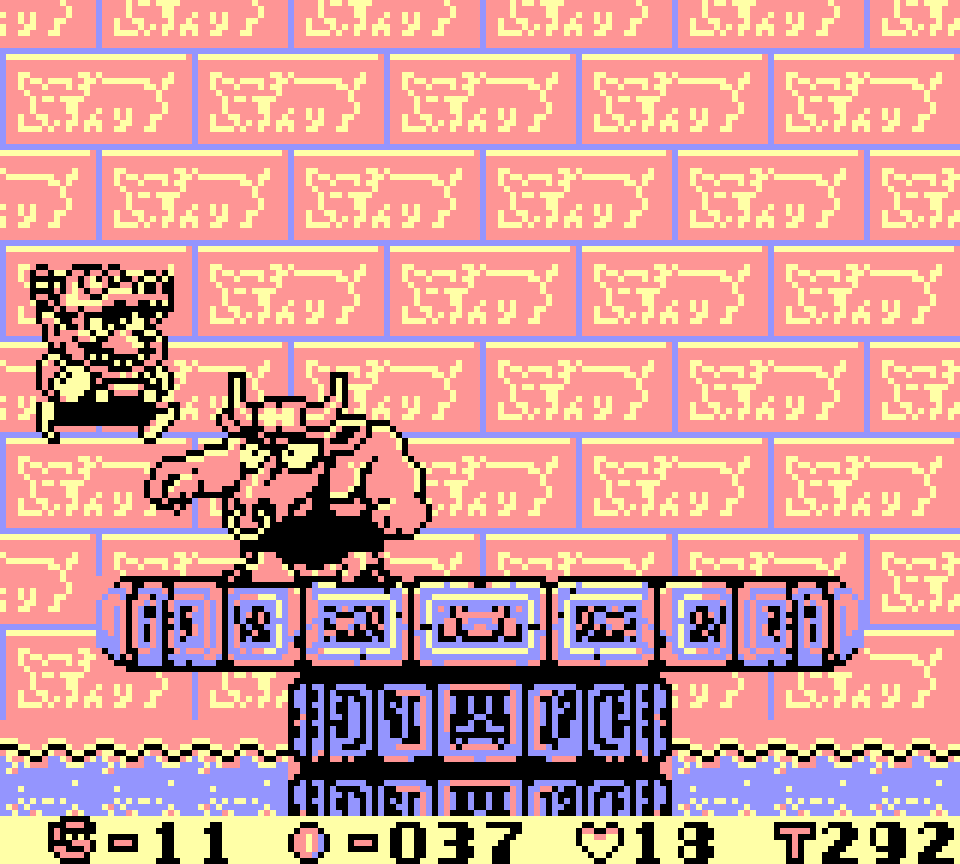
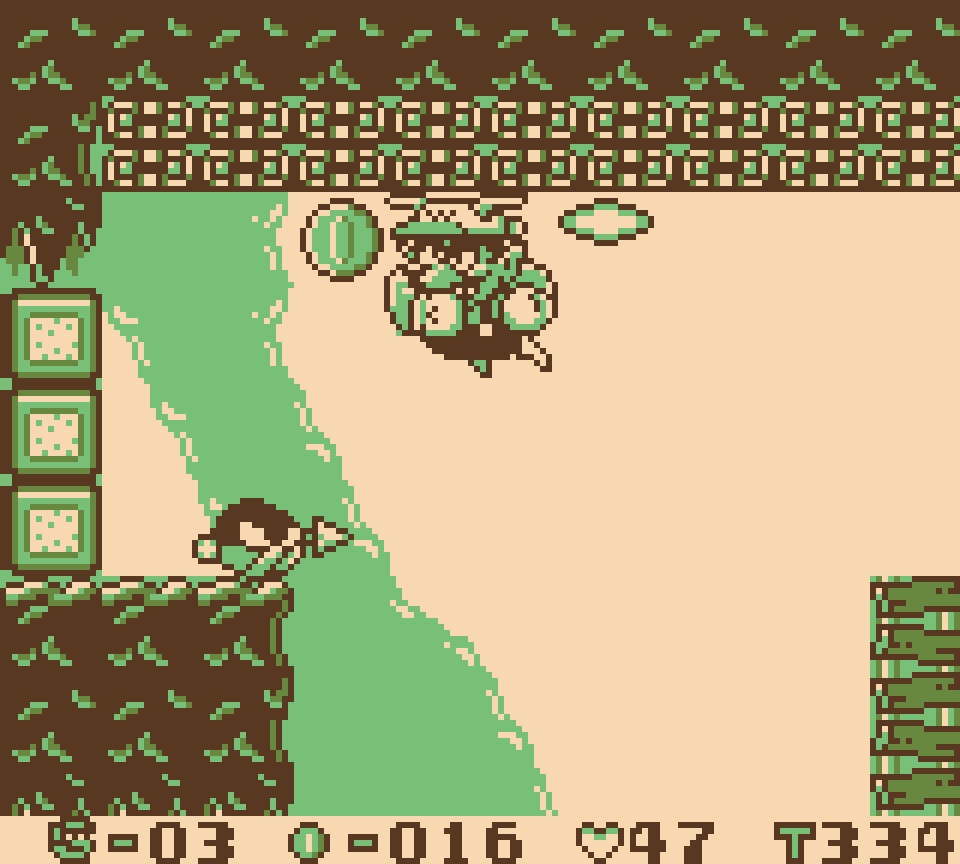
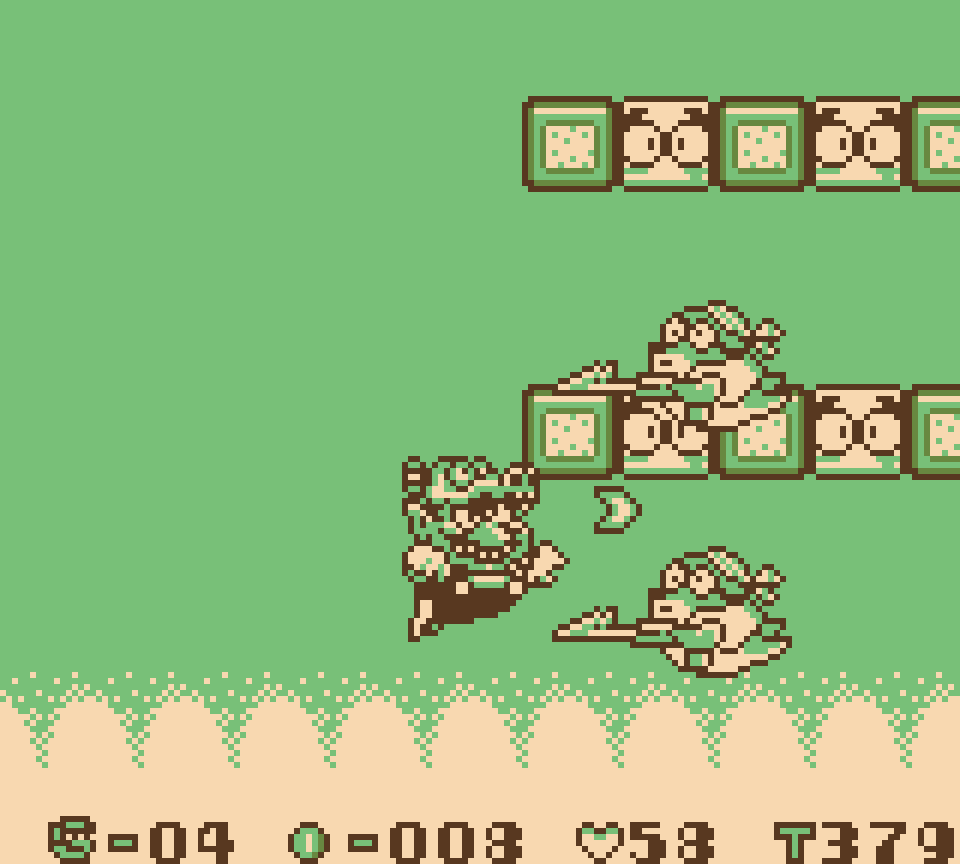
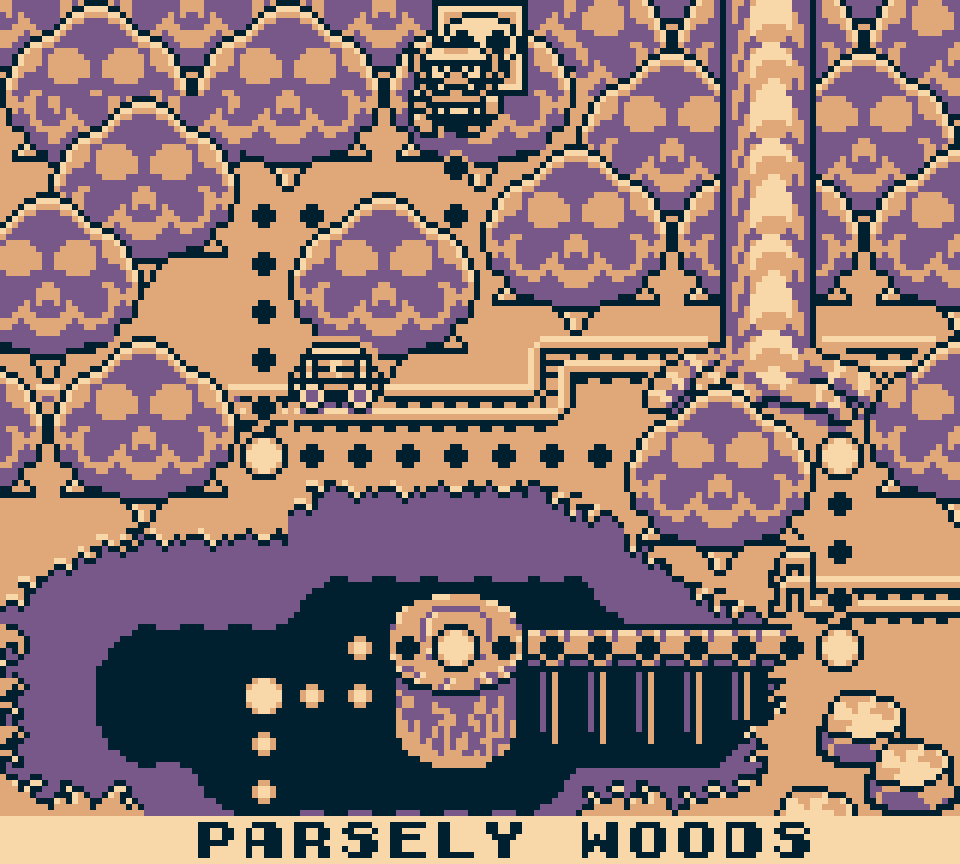
6. Course No. 36
The combination o’ the lightning cloud & spike balls is interesting, so it’s too bad this level only does so once @ the very beginning & during a short section near the end o’ 3 identical setpieces o’ a spike ball falling down on a short platform o’er a bed o’ munchers.
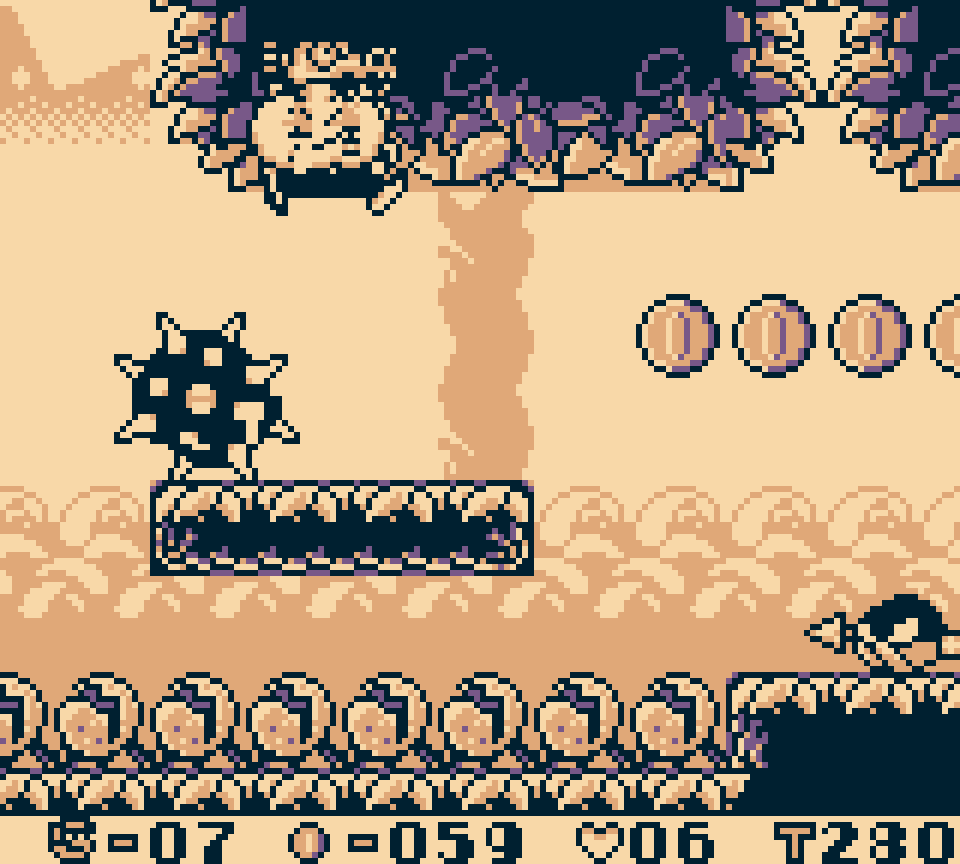
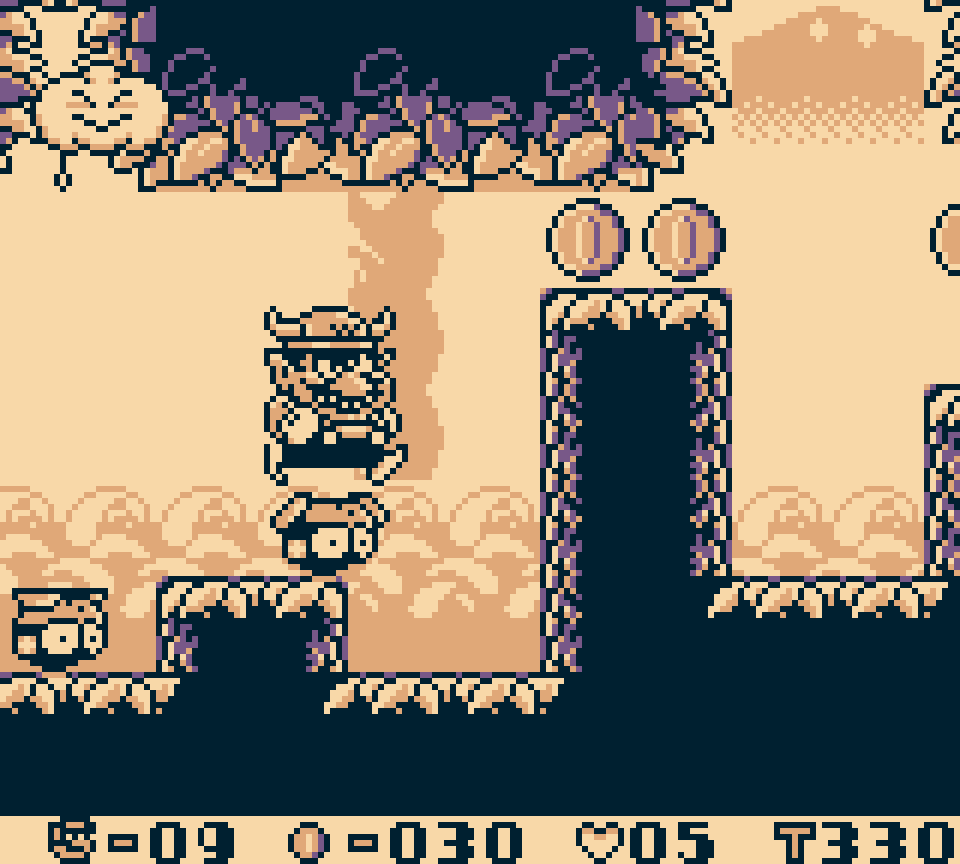
Still, e’en the sections where you’re just running from the lightning cloud have a mo’ interesting layout o’ platforms & Pirate Gooms, but 1 that still allows you to go thru without stopping, oft hopping from low Pirate Goom to high Pirate Goom.
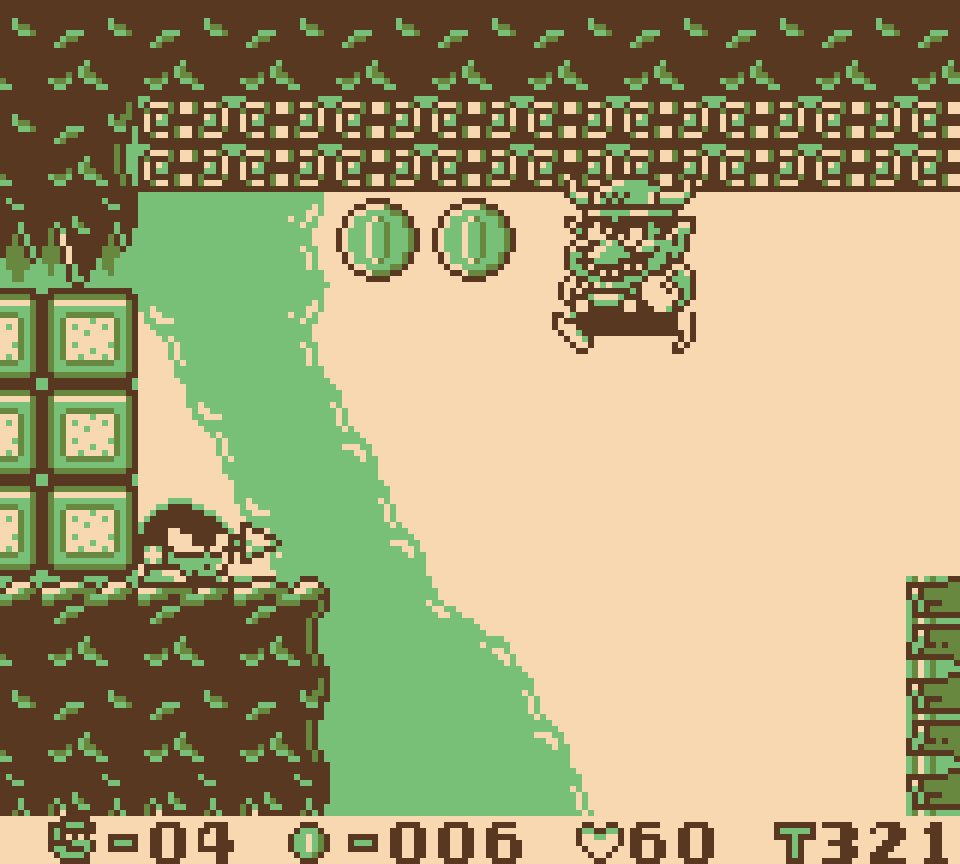
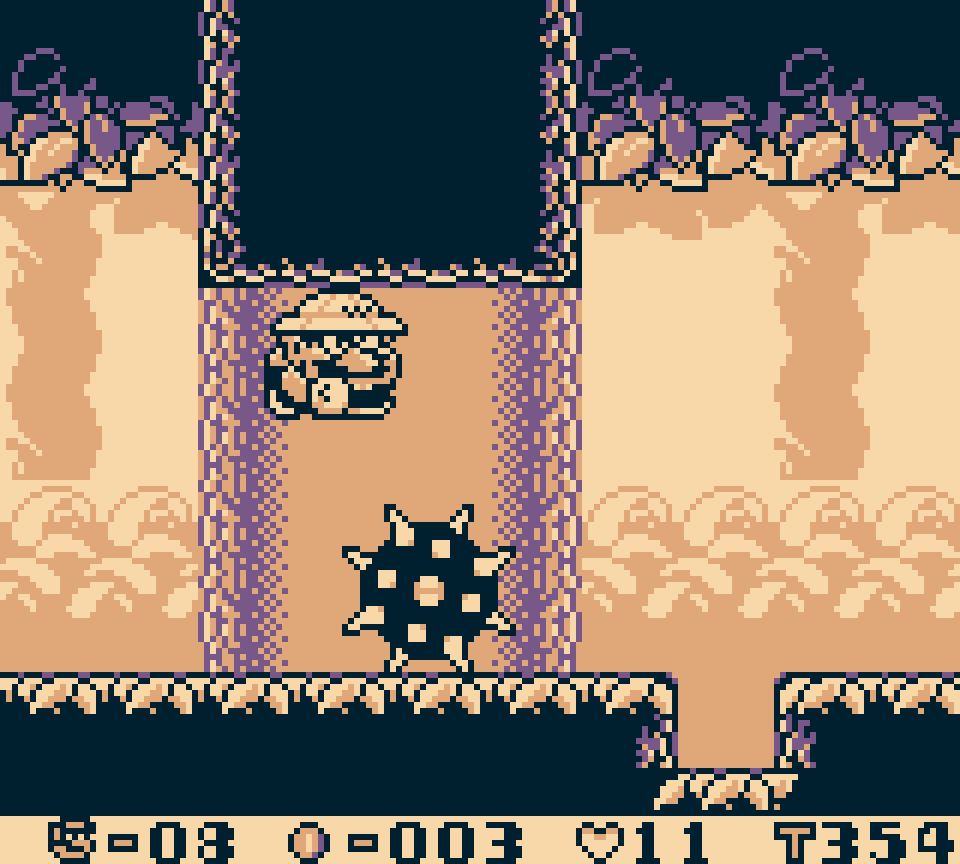
Similarly, the falling spike ball sections after the midpoint are inspired, tho you can oft just run backward & let the spike ball just run into a wall. While the space ’bove the spike balls leaves hardly any room for big Wario, players can thankfully duck jump to give themselves mo’ space — albeit this requires lateral thinking, given how rare requiring duck jumping is in Mario games outside o’ rom hacks made decades later, & probably could’ve been better tutorialized somewhere in this game.
They e’en made the seemingly useless cracked blocks strewn round the middle o’ the level actually hide something: a giant 3-up heart. ’Course, it’s still not worth the risk getting & it’s still best to just ignore all these blocks, but it shows greater thought than all the levels with blocks thrown round that hide absolutely nothing.

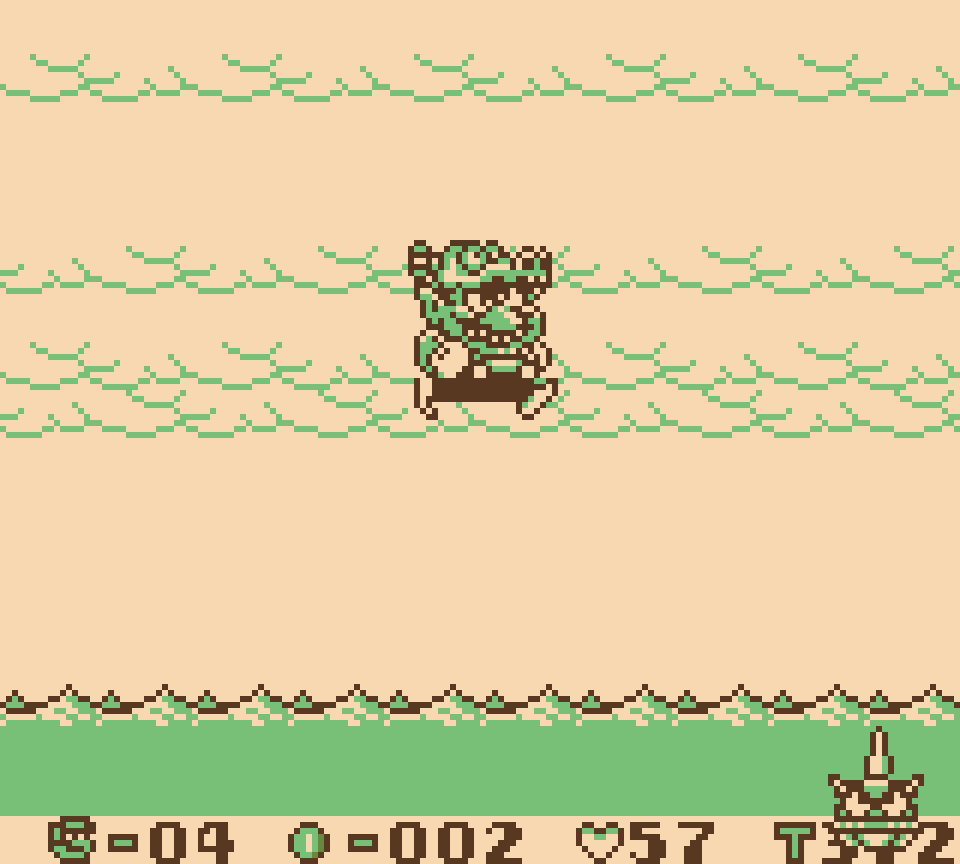
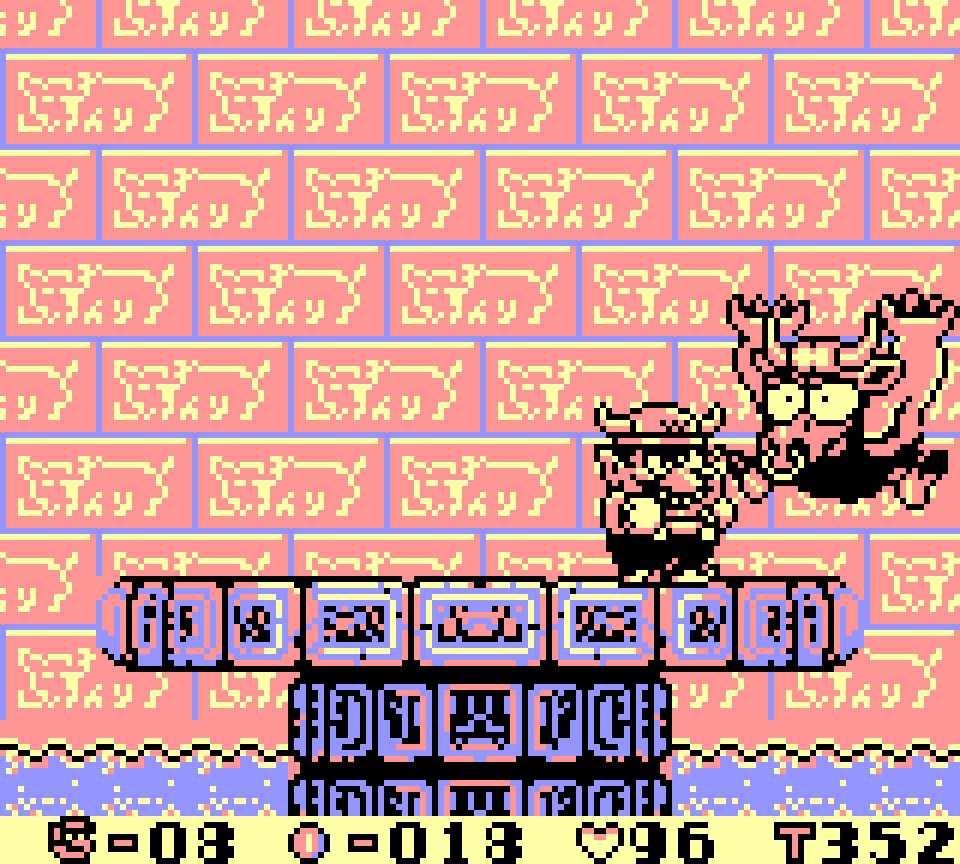
The boss feels very cheap the 1st few tries, thanks to its o’erzealous hitbox where if you touch the space next to its body you get hit & your character’s abysmal movement speed, specially compared to it. It can swoop round & touch you, freezing you, while also dropping a coin that turns into a ghost @ any moment — & whether or not touching a ghost from above or below hurts you or hurts it feels random. Luckily there’s a cheese where you can duck & avoid the ghost completely, so you only need to rise when the small ghosts are spawned to grab them & throw them @ the boss. E’erything in this boss still feels awkward &, given how oft the boss spawns a ghost in a place where trying to grab it, will likely just get you frozen by the boss whose giant hit box is flying back & forth all o’er, can also very slow. E’en if these weird grabbable ghosts — oft from your feet, which makes no sense — have appeared before in this game, they ne’er stop feeling off, especially since you could just ignore them earlier in the game.
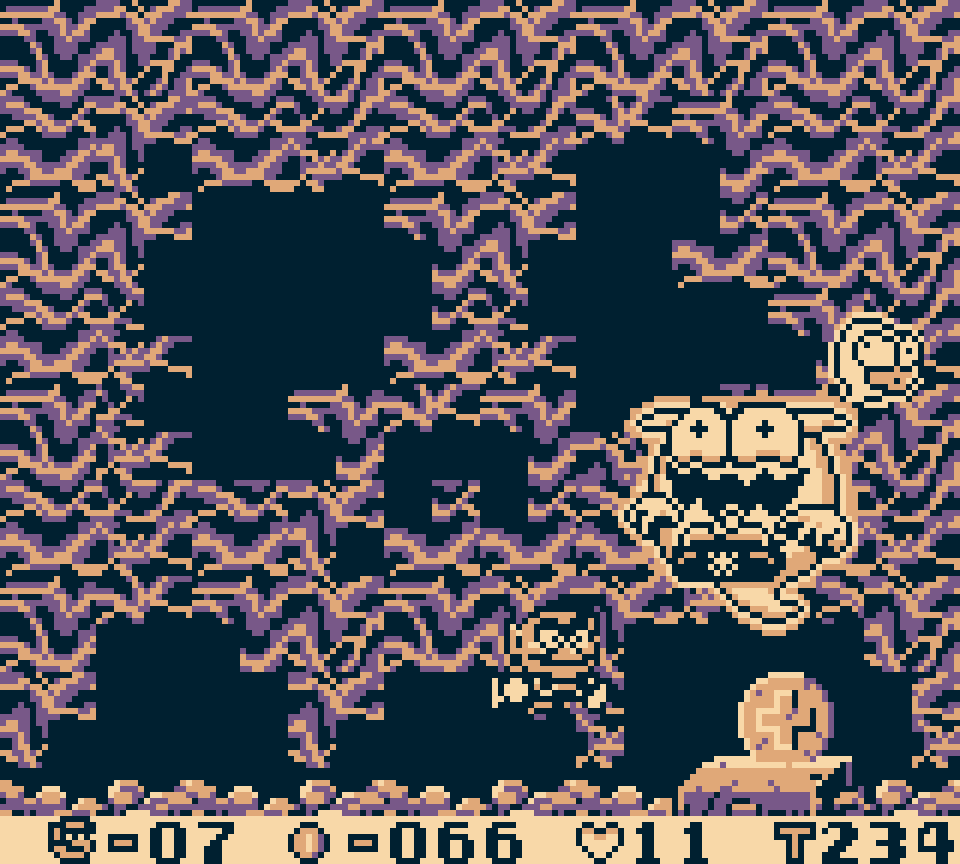
Also, while putting the coin o’er the grave is creative, & the ghost itself has great expressions, ¿what the hell is all that junk all around the background? It looks choppy & buggy, like the game is being corrupted.