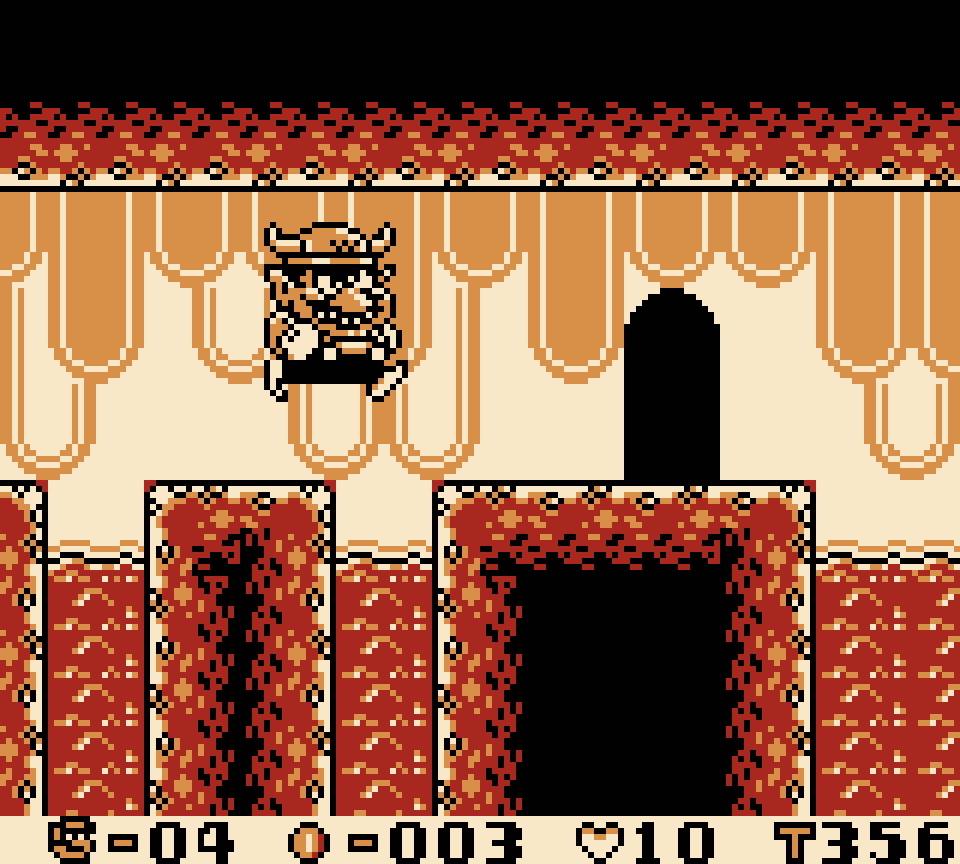
5. Course No. 11
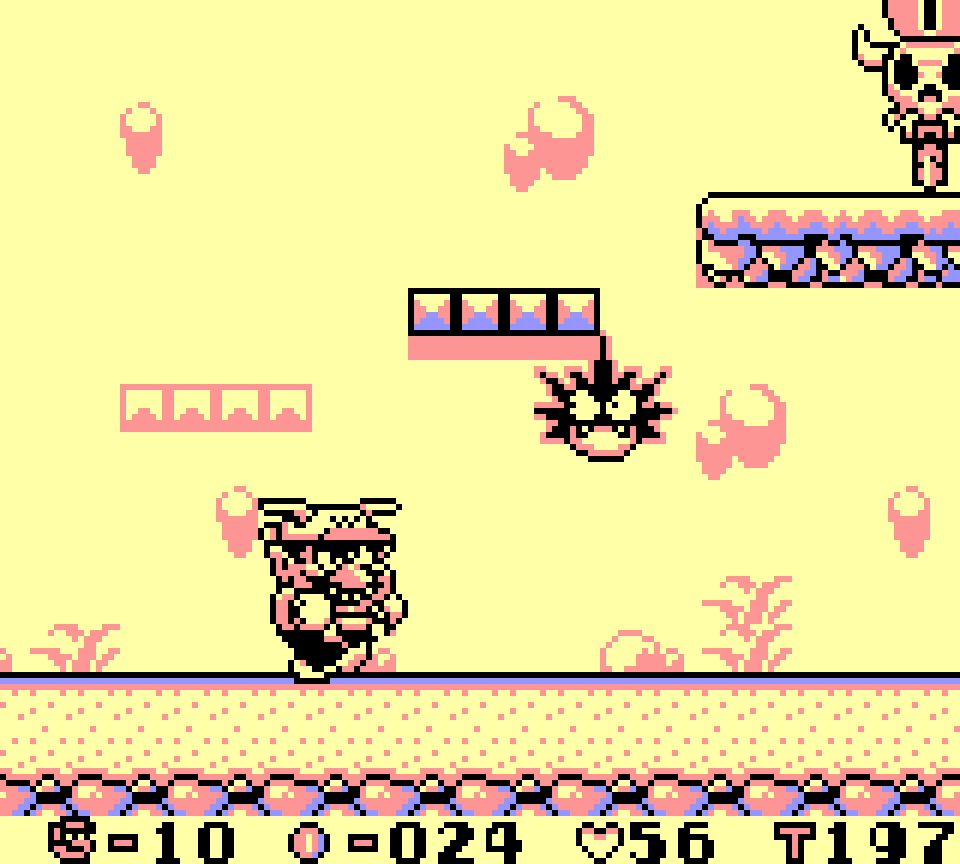
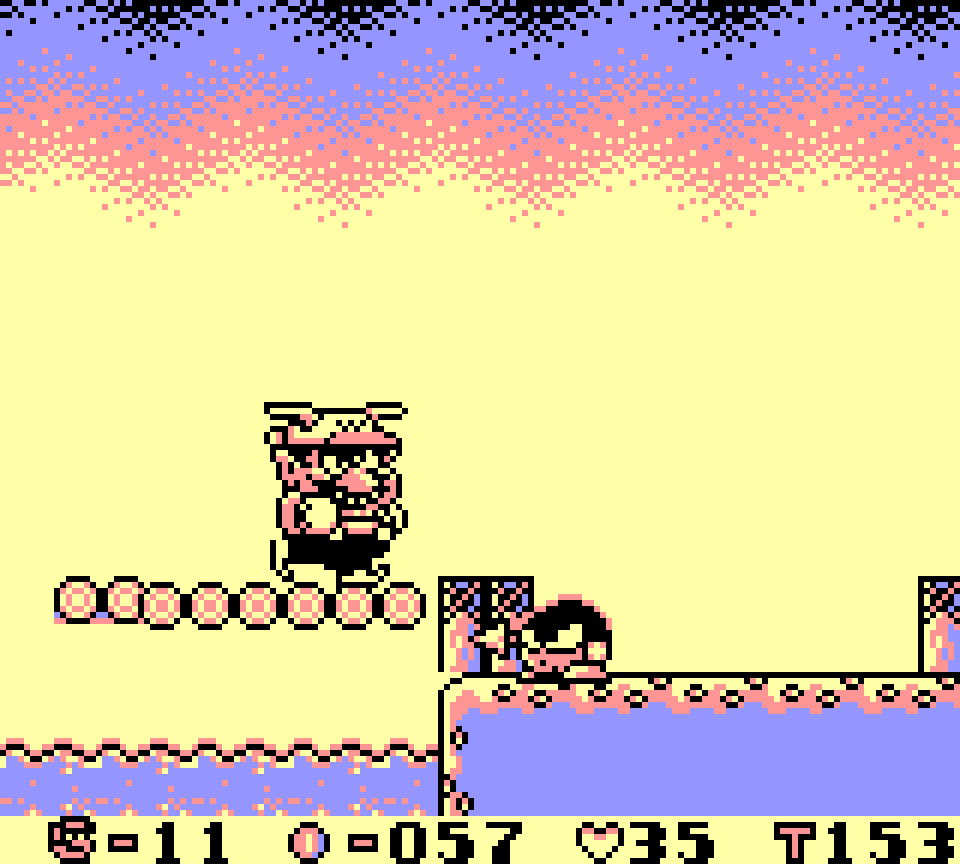
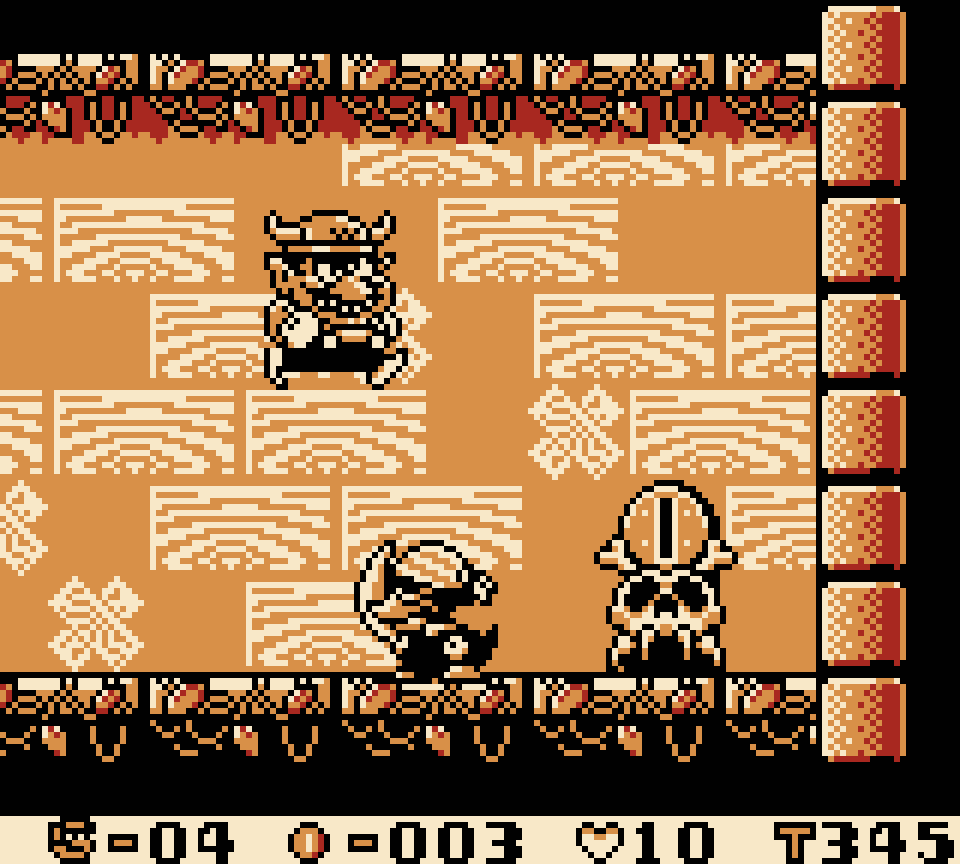
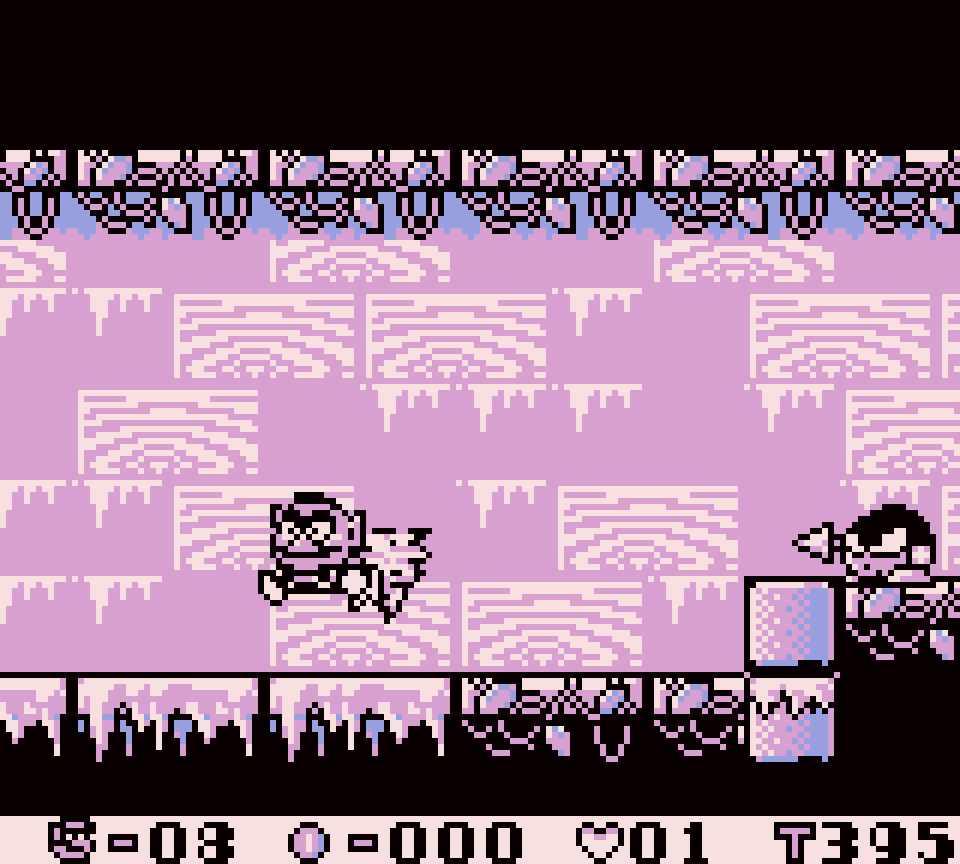
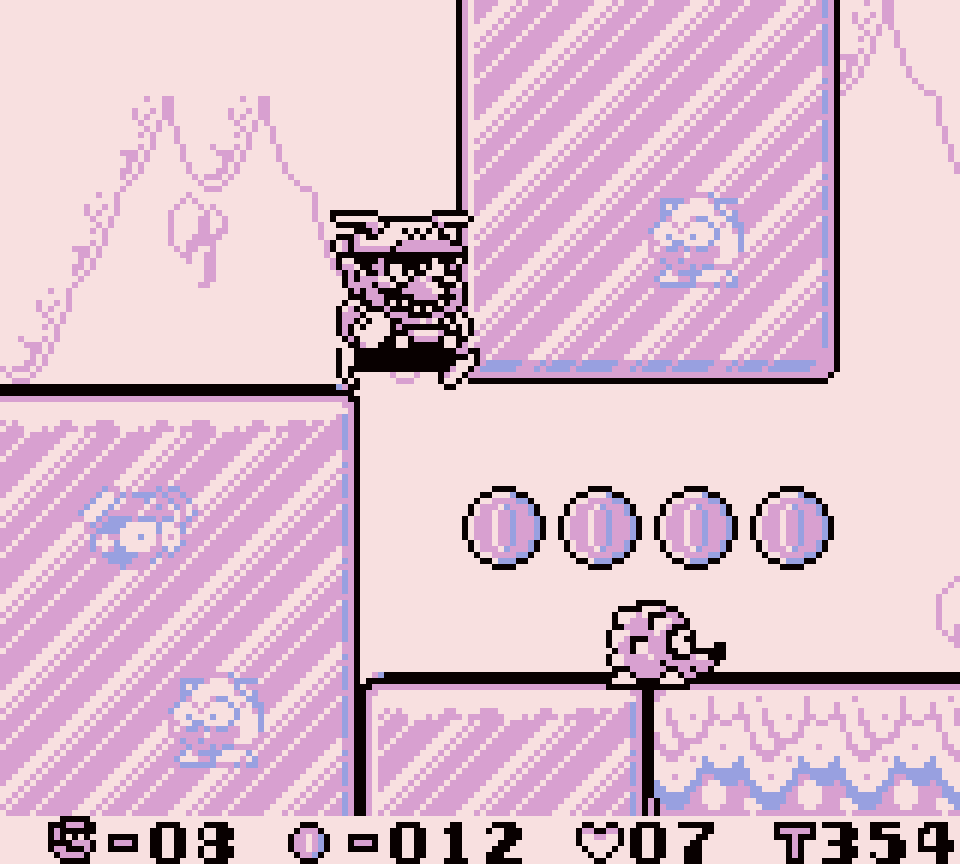
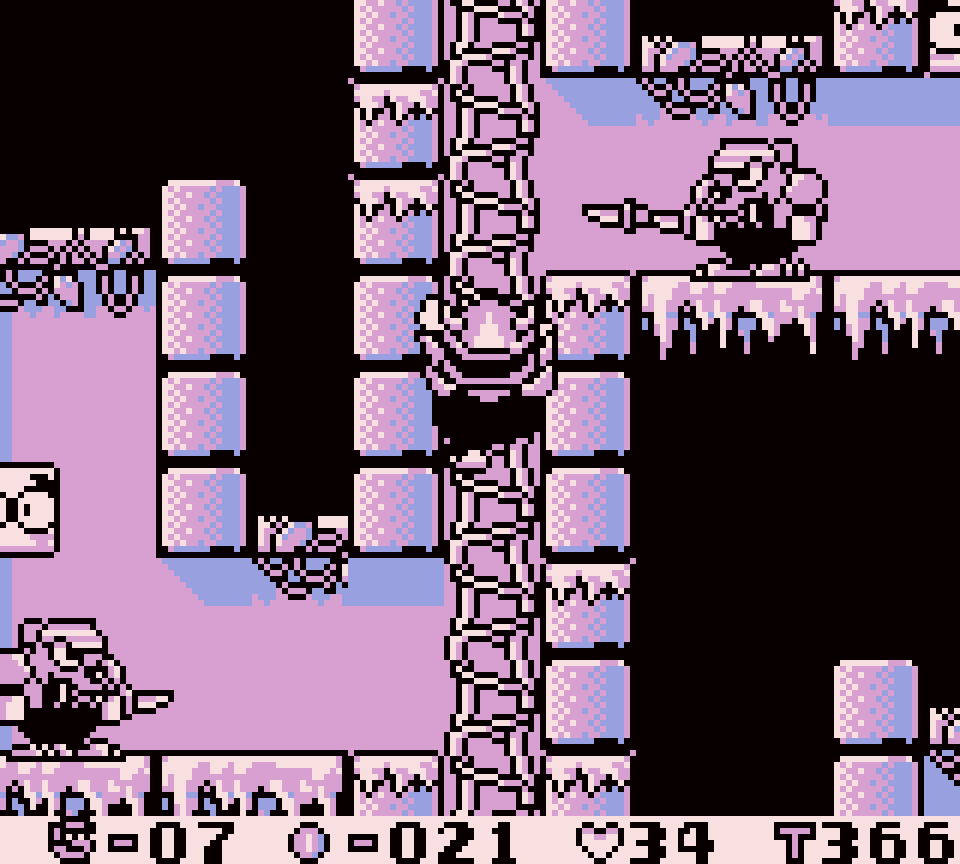
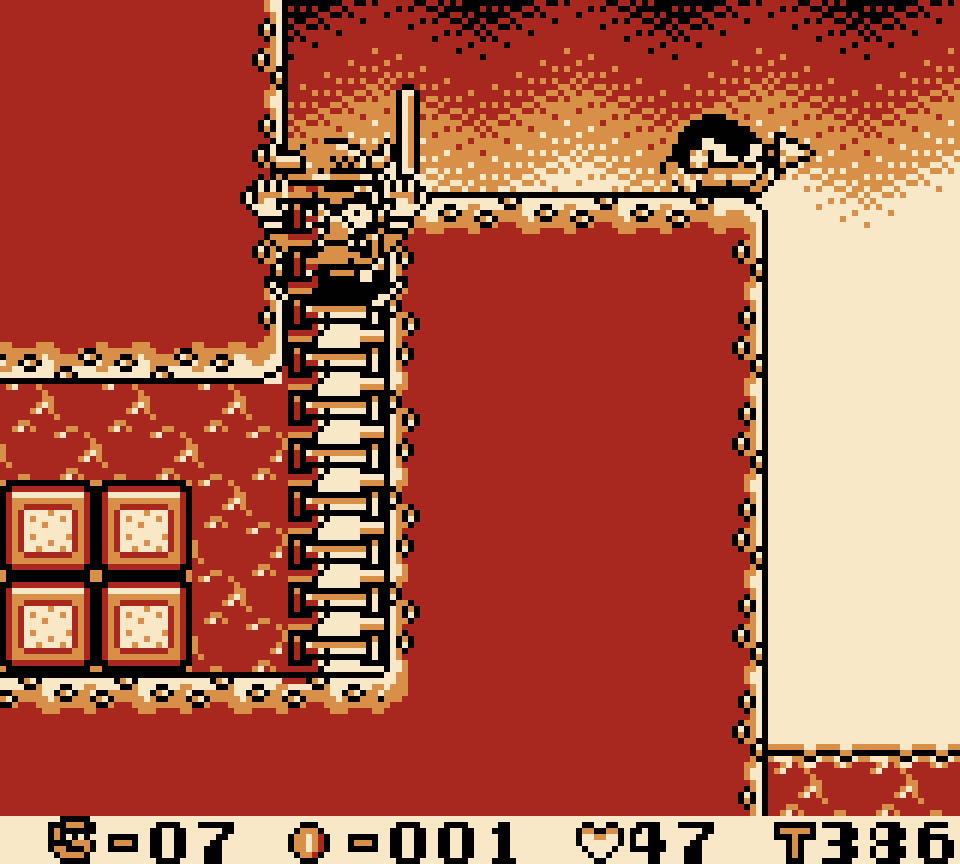
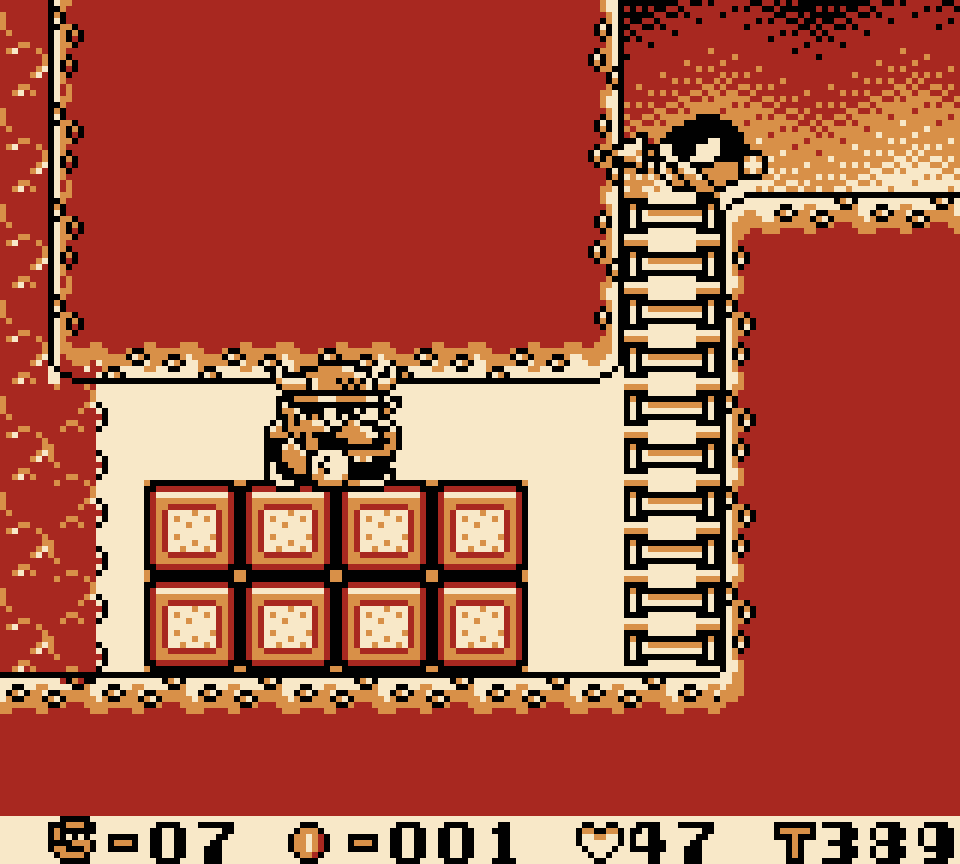
Like the level before this, this level’s shape fits its position on the o’erworld: much as the previous course was @ the peak where you go up & down, this level continues the downward trajectory. Howe’er, this level has mo’ interesting challenges. The 1st room challenges you to climb down a series o’ thin platforms while dodging the Pirate Gooms. Not the hardest challenge @ this point o’ the game, but it a’least feels fresh.
E’en better, later on in this level they build on this by having ’nother room where you go down thin platforms with Pirate Gooms, but this time they give you a star & let you just ram thru them for free hearts.

’Tween these sections they build on this pattern o’ descent in a different way by having you dodge Pirate Gooms while on ladders.
But the best part o’ this level is its treasure chest location: both the key & lock are located on opposite sides o’ cliffs that go high up & can only be reached by gliding back & forth ’tween cliffs on either side. Then, once you get the key, you need to jump to the other side, since you can’t glide without throwing the key, & throw the key up the cliffs & eventually up @ the lock.
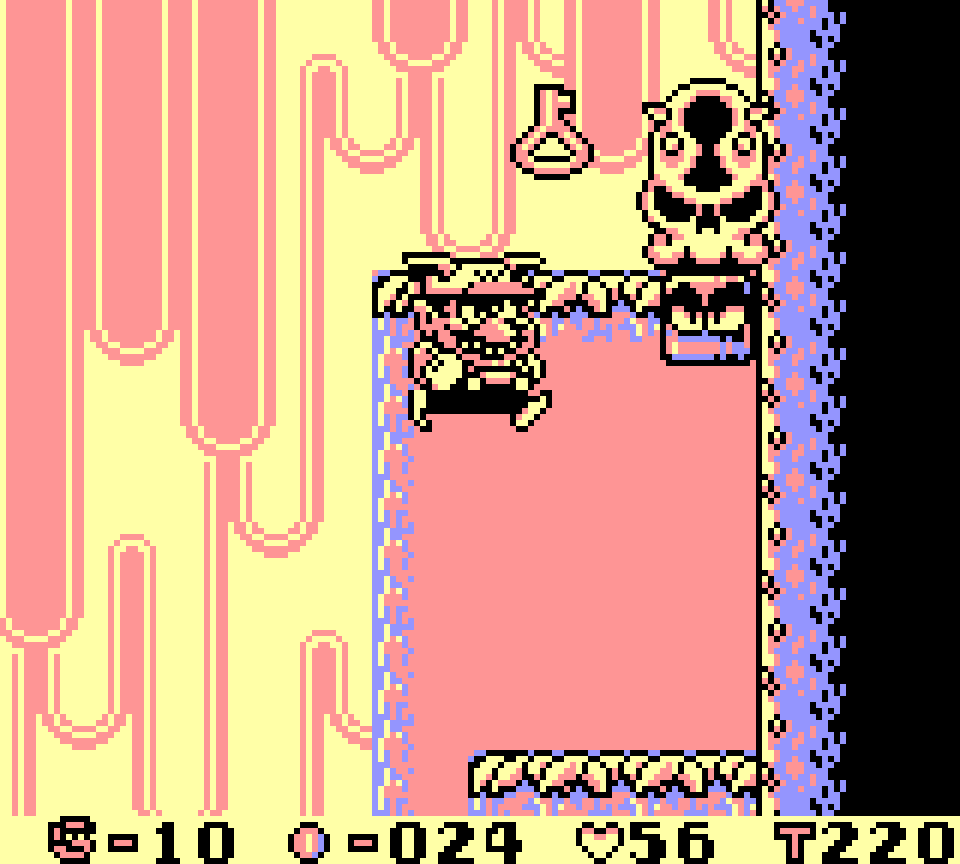
E’en the use o’ the Pinwheel in the 2nd room is better than virtually all the other usages, as you actually have to sneak past it to continue thru the level rather than just to get bonus coins that aren’t worth the risk — tho they do put coins on your path, & hardly fewer than in the “bonus” areas.
That said, like course no. 08, this level’s padded out with unnecessary irrelevant rooms. We have the inexplicable return o’ the bouncing spike enemy, Togemaru, & appearing & disappearing platforms from course no. 02 guarding the midway point, I guess, but much easier than that level.
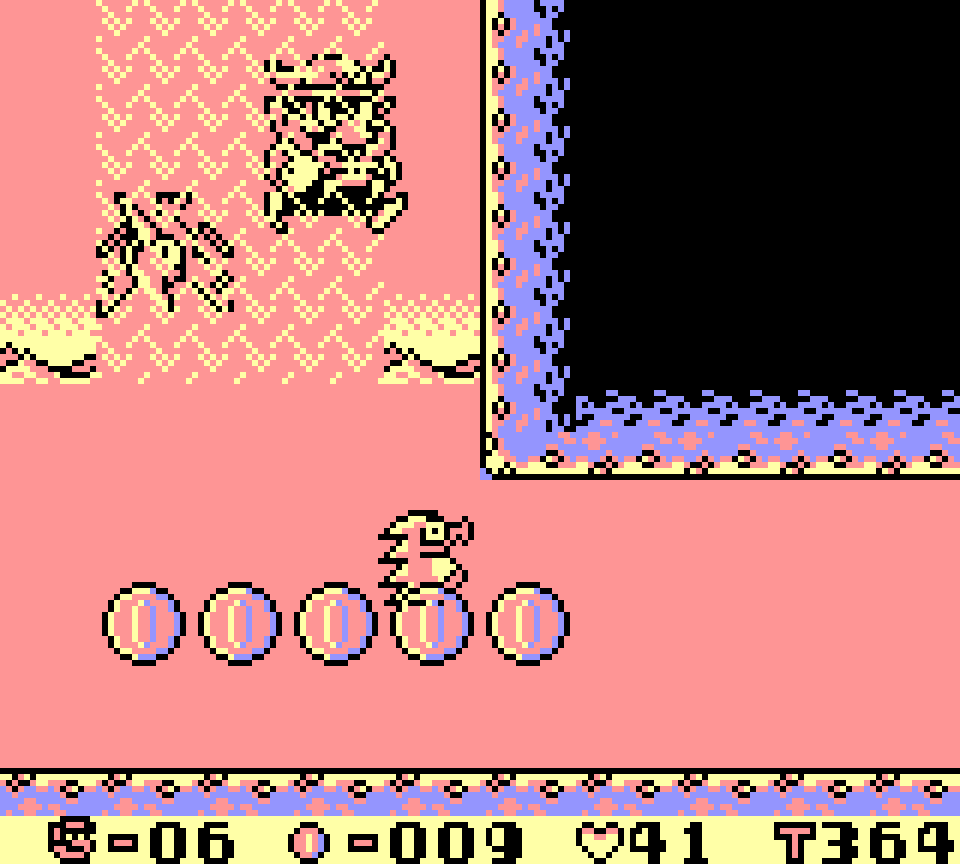
Then we have the introduction o’ 2 new mechanics: 1st, Floaters, which are essentially the moving arrow blocks from Super Mario Bros. 3 that change direction when you jump on them. They default to going right & you can just go straight right, so ’less you’re desperate to get e’ery coin you can & are willing to risk falling into a pit, — & lose all the coins you gathered — then it’s best to just jump on the platforms, wait, & then jump off @ the end, making this section & mechanic pointless. Contrast its use in Super Mario Bros. 3, where ’twas an integral part o’ its level layout. Also, being a pipe level, it fit thematically with its level.
The other new mechanic is better but less original: bridges that break as you cross them. & like many other levels, it’s introduced @ the end in a simple, almost free form, hinting @ the lava levels that come after this level — & which are, themselves, hints o’ the world that comes after Mt. Teapot ( well, excluding the hidden bonus “Sherbet Land” unlocked in an earlier level ).
4. Course No. 24
Out o’ all the levels in this game, this is the most prescient o’ Wario Land II, being less focused on straightforward platforming puzzles gainst regular enemies — tho you do encounter the same Pirate Gooms, D. D.s, & Penkoons you see all o’er this game here, including 2 really annoying Pirate Gooms who get in the way o’ the halls with low ceilings ’tween the doors in the main hall — & more on navigating this level’s various doors ’tween hitting switches, raising & lowering the water level so you can access certain paths. Granted, it’s prescient o’ the weakest, most boring levels from Wario Land II, with plenty o’ back & forth around a mechanic that already appeared in multiple classic Mario platformers, as well as probably many other series, most o’ which just for a bunch o’ coins; — & unlike Wario Land II, this level, as per Wario Land 1’s habit, is very stingy with its reward for going thru a door — but this is certainly 1 o’ the 1st Wario Land’s mo’ inspired levels.
This is specially when one realizes the clever trick to this level: the exit doesn’t involve any o’ the doors or the switch @ all, but is in a small room in the door hidden just after the entrance to the central hall past a few small jumps o’er lava, which on 1st playthru I ignored in favor o’ the mo’ enticing ladder sidetrack that was so involved it made me think ’twas the main path & made me forget ’bout the lava route till I’d already exhausted all the other rooms.
Less clever is that they do a similar trick with the key, placing it in the last door right next to the switch block, & thus likely the 1st the player will check afterward. It would’ve made mo’ sense to hide the key a bit better to make the other doors feel mo’ important.
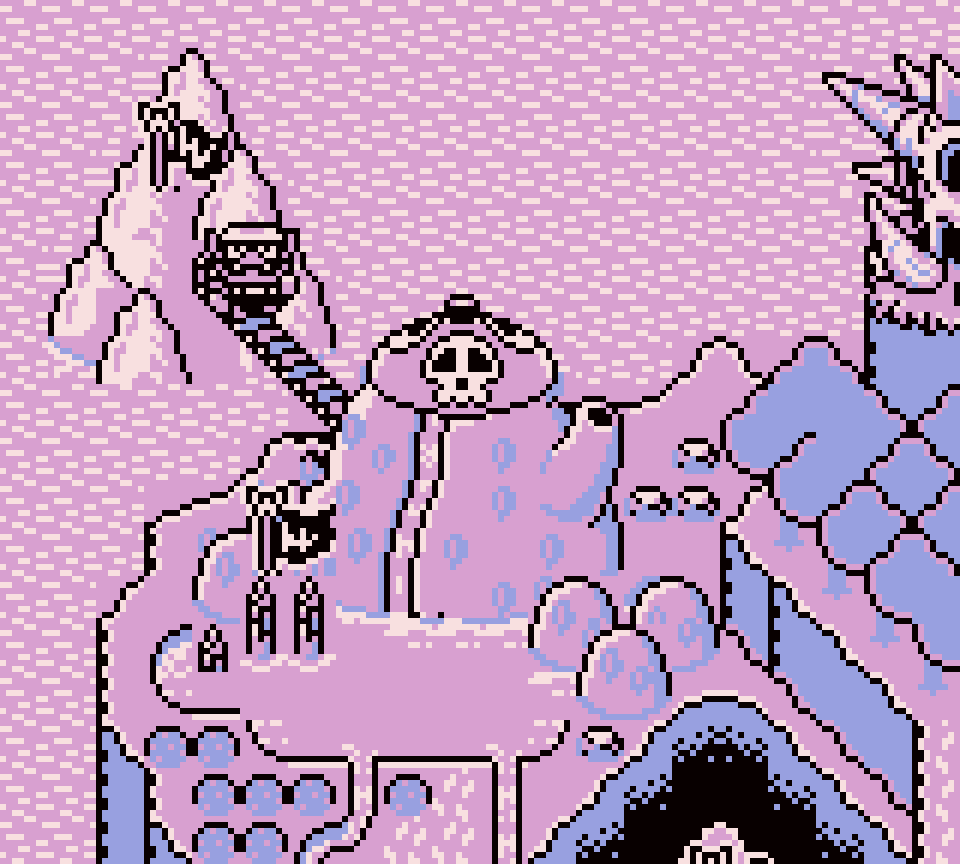
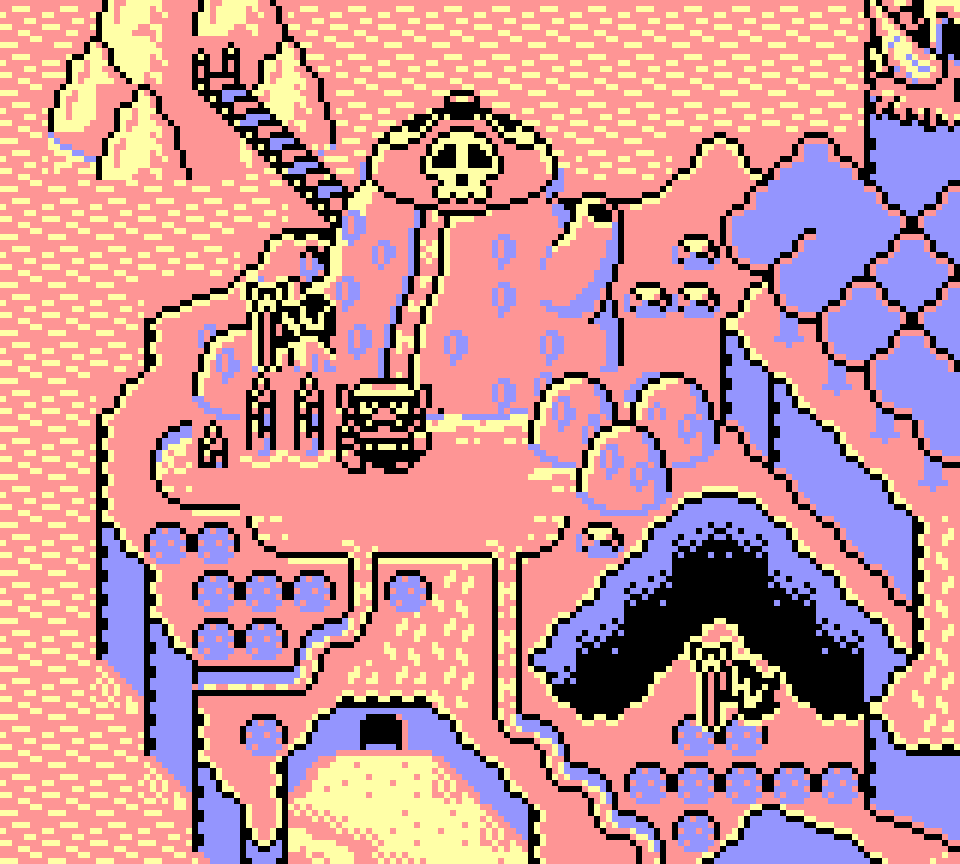
3. Course No. 15
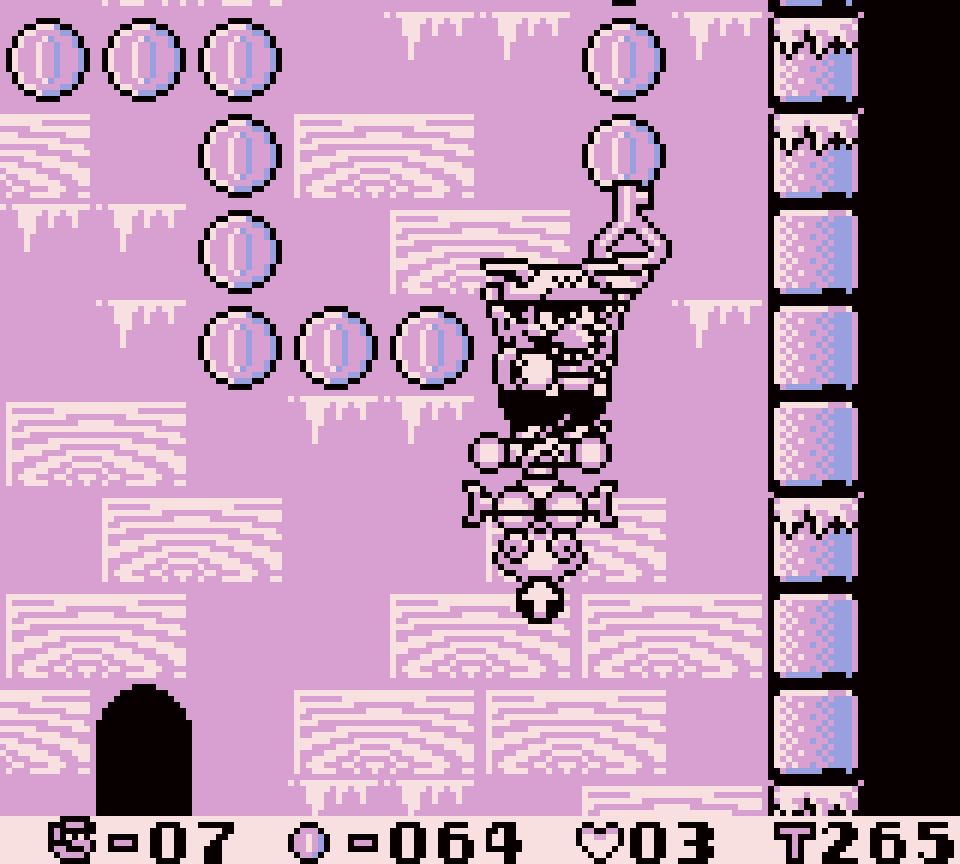
This level does a better job o’ having a variety o’ mechanics, while still tying them together with the general ice theme, than most levels in this game. Right @ the beginning you have a trap where you see the common Dropper, whom you would be used to going near & letting drop just before you in many levels earlier, but it’s easy to get tripped up on the slippery ice & let it drop on you. Later you have to cross rather large gaps with spikes, which means you have to wait till you’re closer to the edge before jumping without waiting too long & letting yourself slip right into the spikes — tho this is made easier if one keeps one’s jet powerup & can just glide o’er these pits.
This level ends with a simple “puzzle” — if one wants to call it that — with the exit & several D. D.’s trapped ’hind solid switch blocks. Unfortunately for the player, the D. D.’s can throw their boomerangs thru the switch blocks; fortunately for the player & less fortunately for the developer, they take so long to finally throw their boomerangs that the player has to be intentionally waiting round for no reason to risk being hit. @ the end o’ this area is a door that leads to the switch, which frees the D. D.’s, who are just as threatless as before, & finally the goal.
Much mo’ interesting is the secret exit just a bit beyond the level goal: there is a staircase o’ coins that, after the switch is hit, become solid. The puzzle is that the player needs to realize that is a staircase & not collect too many coins when going past it toward the switch. After that we get a room with a single knife-throwing enemy ( tho 1 much mo’ dangerous that the D. D.’s ) & a needless repeat o’ having you get to the end o’ a room to hit a switch to reach the goal in the previous room.
While I find the discovery o’ the secret exit interesting, its placement o’ this secret exit isn’t great: it’s near the end, which means you have to go thru the whole level a 2nd time & is the most cliché secret exit location. Tho it would’ve taken e’en longer, I’d go far ’nough to say that placing it earlier while still having the switch @ the end would’ve been better since it would’ve put mo’ onus on the player to remember it.
This level has a bit o’ irrelevant fluff that could’ve been removed, but less than most. The worst is the checkpoint room with a single spike-throwing mole. Pointless, but too short to notice. Near the beginning there’s a repeat o’ the Pirate-Goom-dodging ladders in course 11; but I thought this was a pretty good setpiece, so I don’t mind doing it a 2nd time. Still, this level, which already has plenty o’ elements to fulfill a level, could’ve ameliorated the aforementioned problem o’ having to play this level twice by cutting this fat out.
1 thing I will say ’bout this level is that it has excellent visuals, specially the extra detail o’ having solid ice blocks filled with enemies with looks o’ horror on their faces.
2. Course No. 17
The main mechanic o’ this level, a chasing cloud that drops harmful lightning, seems a common trope in platformers, but I can’t think o’ a game that did it before this game’s ’93 release; & the way they used it here is better than you would expect: there is a 1st section where you go thru a mostly normal series o’ icy cliffs, dodging hedgehogs, — & since you can’t just wait for them to get out o’ the way, the there is a greater danger o’ accidentally landing on them — while the 2nd section is a mo’ inspired layout where you have to break thru blocks in the way while still dodging the lightning. Granted, I’m not fond o’ the way they put the key before this section, so if you’re big you have to leave it there & come back for it after you clear e’erything out. Luckily, they were generous to put small holes ’bove the breakable blocks to give small players an advantage ( & make it possible for them to continue @ all, since small Wario can’t break blocks ).
The detour to the key is less impressive: it’s yet ’nother section where you have to climb up a ladder while dodging knife throwing enemies; but like D. D.’s, they’re so slow that you can just go straight up without stopping & ignore them.
A later room is a mo’ clever variant where you have to climb up ladders & cross floors with low ceilings littered with hedgehogs. If you’re small you’d think this is dangerous, since you would have no choice but to jump o’er them… ’cept you can bonk them from below as they cross the ladder, which takes mo’ lateral thinking than just noticing how slow the knife-throwers are.
There are also subtly tricky sections where you need to stop near the edge o’ platforms to jump & break blocks so you can jump up to the next platform & a downward staircase, which both build on the challenge o’ the slippery terrain introduced earlier in the world.
Like many levels in this game, this level is full o’ a bit too much fluff, in addition to all the stronger elements I just discussed, which would have sufficed for a full level. In addition to what I’ve mentioned, the chest room has a platform that can go in all cardinal directions & you can collect coins. Or you could just go straight up &, if you have the jet powerup, just jet thru the coins & skip the slowness of operating that platform. Later there’s a short water section rehashing the use o’ mines & the spiky seahorse enemy, Pinwheel.
&, like many other levels, this level ends with the introduction o’ a new mechanic used in a basic way; but here it doesn’t introduce any broad theme, except for maybe water, & the mechanic, a seal enemy with a harpoon, while ironic, doesn’t amount to much but a watery Pirate Goom who’s e’en easier to dodge.
1. Course No. 20
The lava world fittingly starts with the unique gimmick o’ being chased by a wall o’ flames, which would seem cliché, but remember, this game came out in ’93, just after Super Mario World & a full year before Donkey Kong Country would make these kind o’ gimmicks mo’ common. & this level does a remarkable job o’ keeping itself focused on this gimmick while providing a variety o’ clever layout twists that challenge you to keep ahead o’ the lava wall & knows when to end when the level has run its course without adding irrelevant fluff found in many other levels.
The beginning path is full o’ impediments with ways to get round them faster, such as the 1st wall o’ blocks, which seems like they require you to slowly break thru them as big Wario till you realize you can just duck & jump into the thin passageway atop. To test your memory, or to add parallelism, they repeat this setpiece @ the very end.
Other routes become more obvious given the circumstances: when faced with a faster path above & a slow path thru block walls, the answer becomes obvious to quick-thinking players when trying to carry a key thru the level, as it’s obvious you can’t drop the key, break walls forward, & go back to retrieve the key when it has already been devoured by the lava wall.

Speaking o’ the key, they place it in a subtly clever place when you’re going back to make a turn, where you need to hurry or have a comfy lead o’er the lead wall to jump & pop the key out o’ its block & jump up & grab it before the lava wall catches up.
One could complain ’bout the different paths being a bit o’ trial & error difficulty, — tho the 1st split path is the aforementioned 1 & one has to question the player’s lack o’ curiosity if they skip the item block with the key, given how suspicious it is & how well-known the key-&-lock mechanic should be by this point — but e’en if the player takes the slower routes, they’re paced so that players who don’t dawdle can still get thru them & live, just with less o’ a head start ahead o’ the lava wall.
& as a fun breather @ the end, they give you an invincibility star just before a series o’ ladders & Pirate Gooms so you can plow thru them while racing ahead o’ the lava wall.
Worst to Best Worlds
7. Syrup Castle
“Syrup Castle”, the final & shortest world, is disappointingly bereft o’ any real identity beyond just being a castle, which is the most cliché theme to have for your final world. Why they didn’t save the pirate ship theme for the final world & have you fight Syrup there, I don’t know.
Nor are the levels all that competent. This world starts with an inferior clone o’ a level from the previous world & then proceeds to regurgitate mechanics & elements that have gotten stale by this point, or mechanics that aren’t all that interesting. E’en the final level couldn’t help just throwing in small rooms with the same basic enemies. The only new mechanics this world had were moving platforms, the most basic o’ platforming mechanics, & a boring knight miniboss.
6. SS Tea Cup
What should’ve been the most interesting theme in Wario Land turns out to just be a hodgepodge o’ well-worn themes, including the beach o’ world 1. For 1 level, a return to the beach after so long would be a fun return; but you spend just as much time on the beach as on a ship, & as much time in caves. & the main beach level in this world is terrible. Hell, e’en this world’s name reuses “tea” from “Mt. Teapot”.
Whereas “Syrup Castle”’s levels oft fell into incompetence & tedium, “SS Tea Cup” oft felt empty: an empty maze, an empty mast, a level that just copy-pasted birds several times. Nor does this game do anything with the ship theme: you’re still just fighting the same ducks, moles, & Pirate Gooms. Thankfully, Wario Land II will do much mo’ interesting things with this theme.
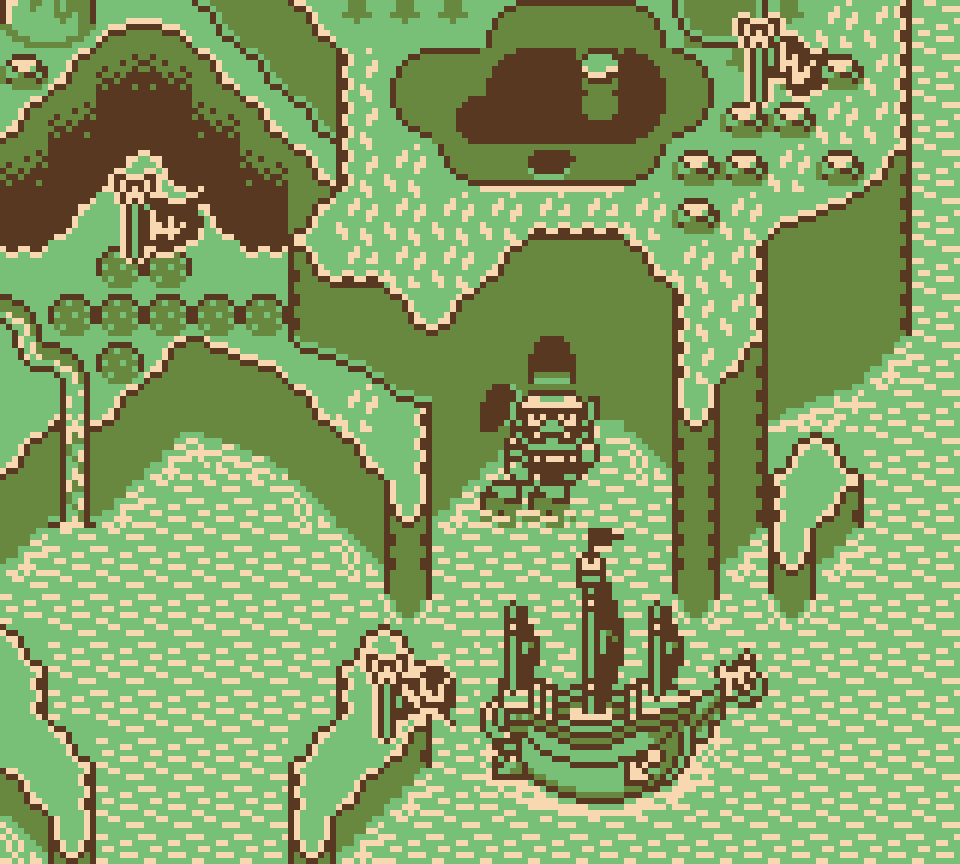
5. Parsley Woods

Tho the graphics look nice in this world, Wario Land doesn’t do quite ’nough to make its forest world stand out, with only its final level with the boss ghost as the only real memorable forest level. It’s too bad they didn’t do mo’ with the theme they use in course no. 34. It’s also weird how half o’ this world is mine cart levels, tho, I think this makes a mo’ interesting twin theme than the thematic cacophony that “SS Tea Cup” has, & these levels were mostly solid.
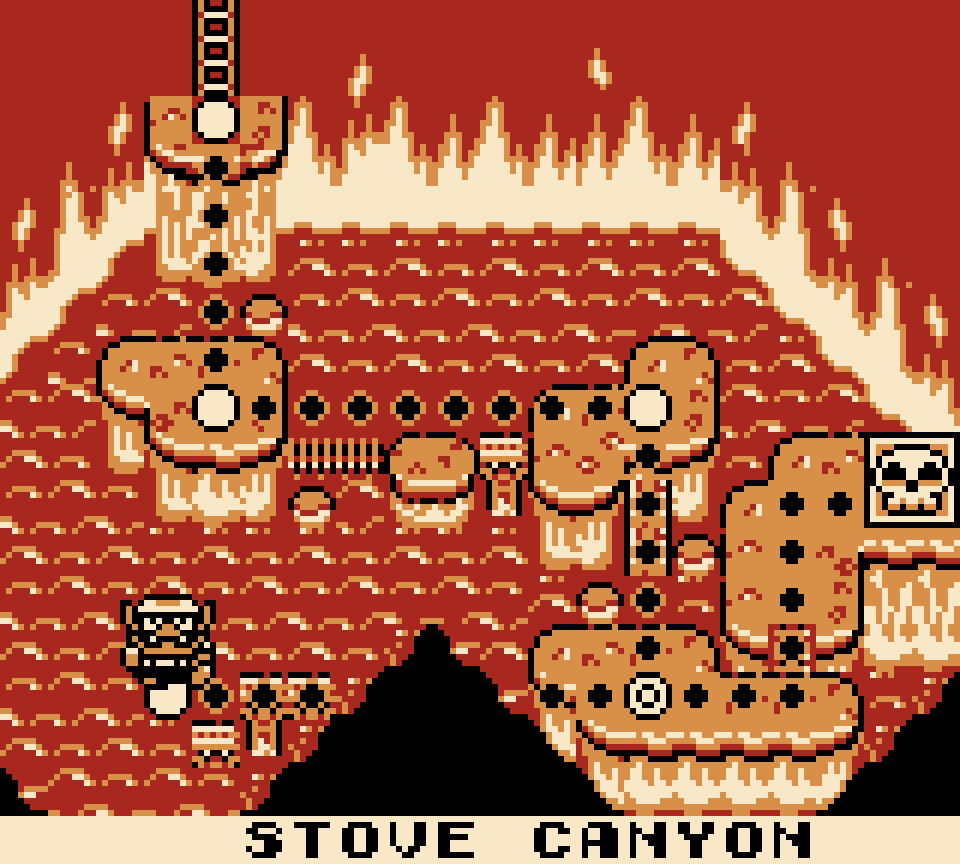
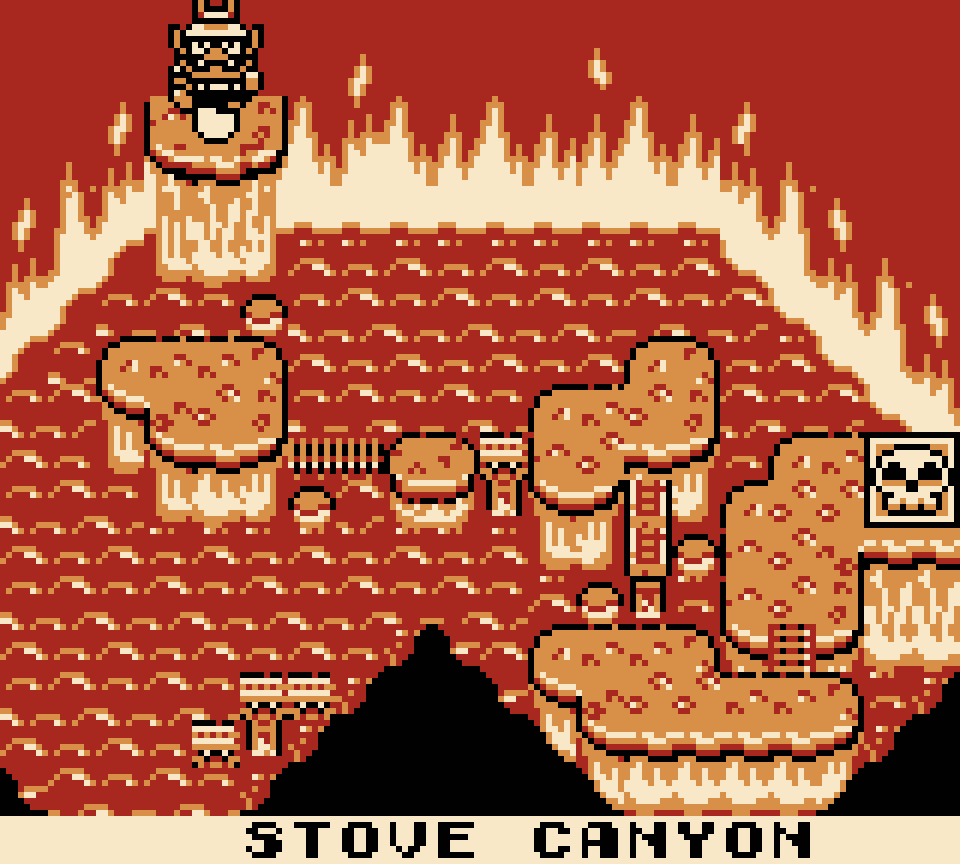
4. Stove Canyon
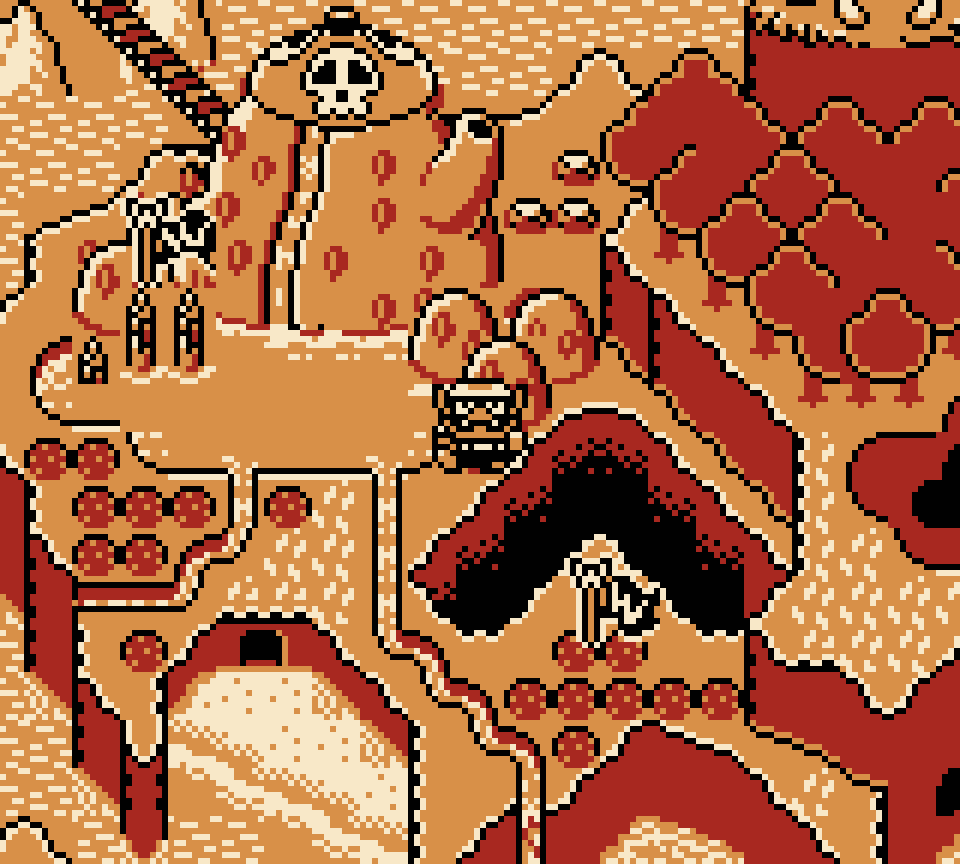
“Stove Canyon” is weird in how some o’ this game’s best & worst levels are from this world. Howe’er, only 1 o’ this world’s good levels actually feels all that tied to this world, while 1 was just a clever maze, & the many levels that repeat the banal Podoboos & rising & falling hills bogs this world down. A’least this world does a better job o’ feeling thematically coherent than most others, tho @ the price o’ variety.
3. Rice Beach
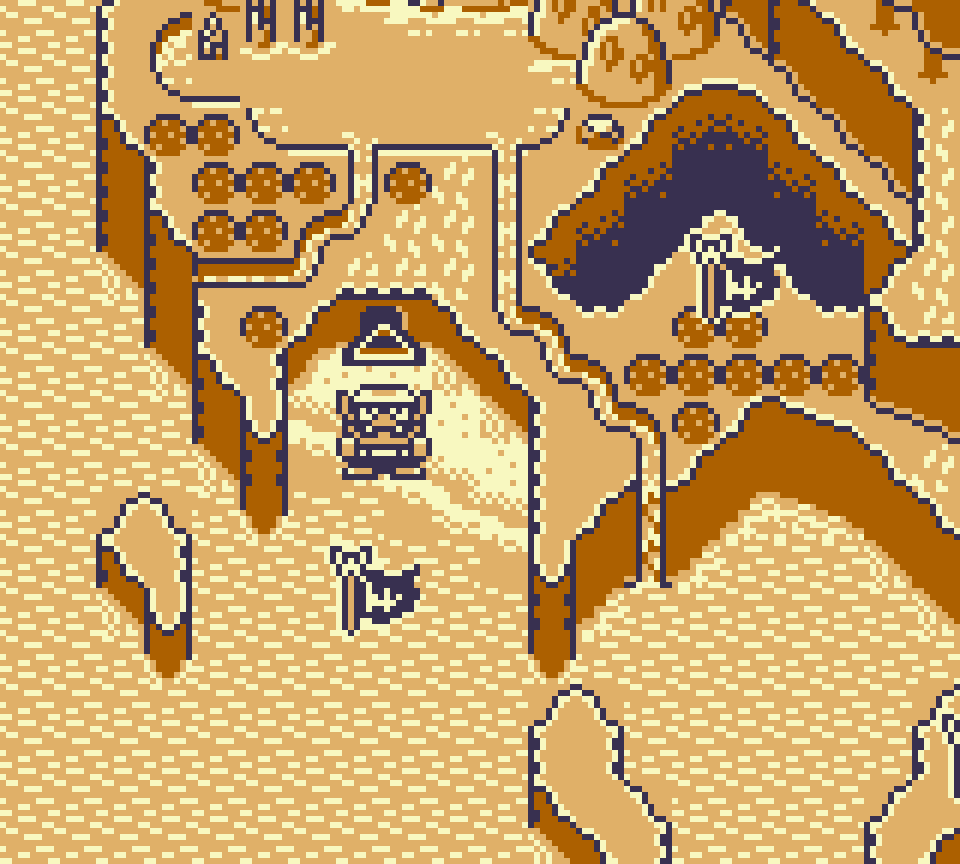
The beach made a fitting but also creative theme to use for the 1st world, as it fit well with flat, simple levels. I give points for this world adding the twist o’ flooding levels to add replayability to them, tho they could’ve came up with a better cause for this flooding than hitting some random switch. Howe’er, this world loses points for not doing much with its theme & having difficulty balancing issues.
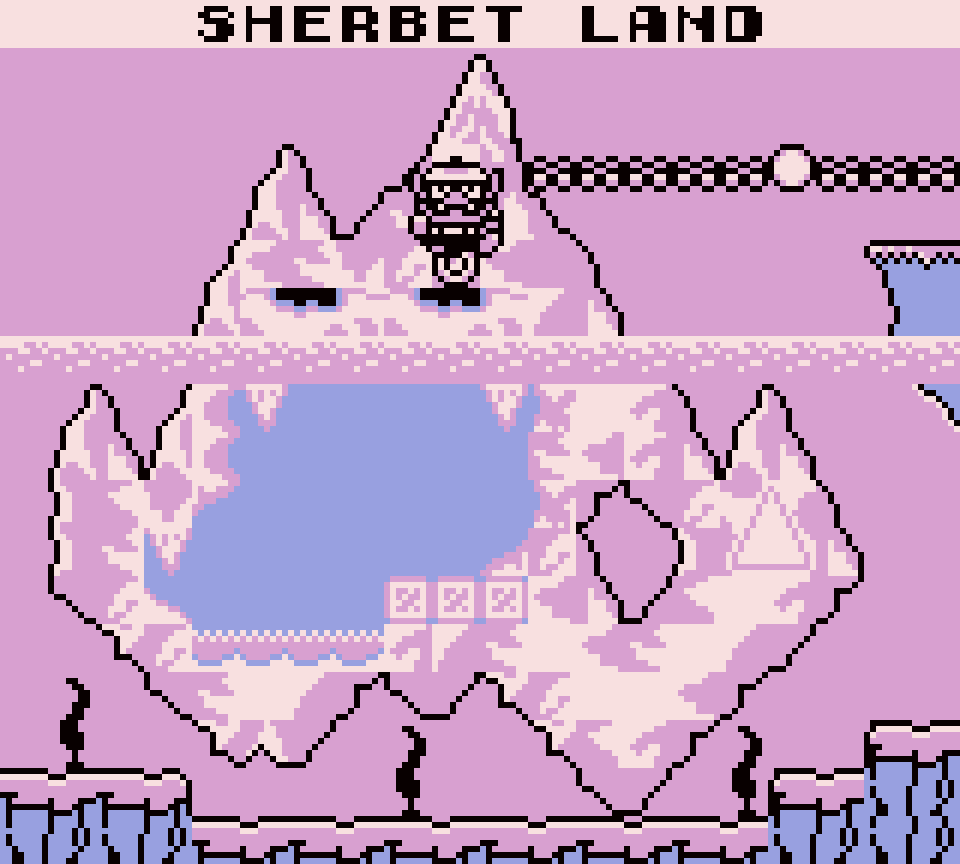
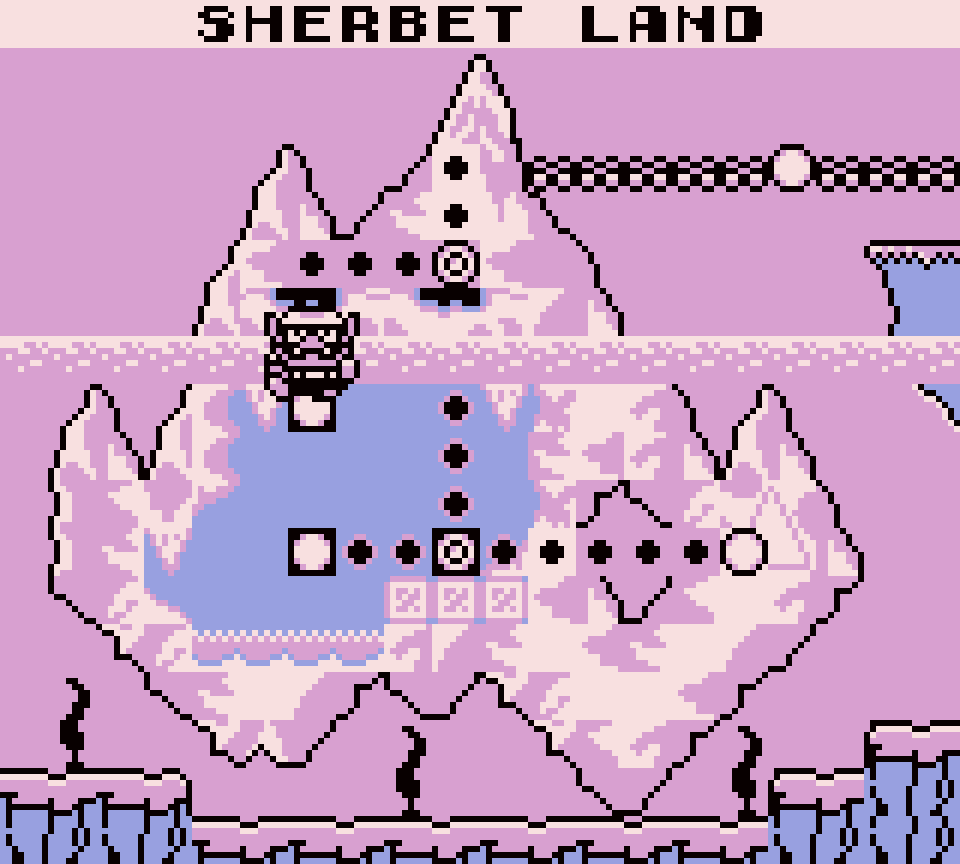
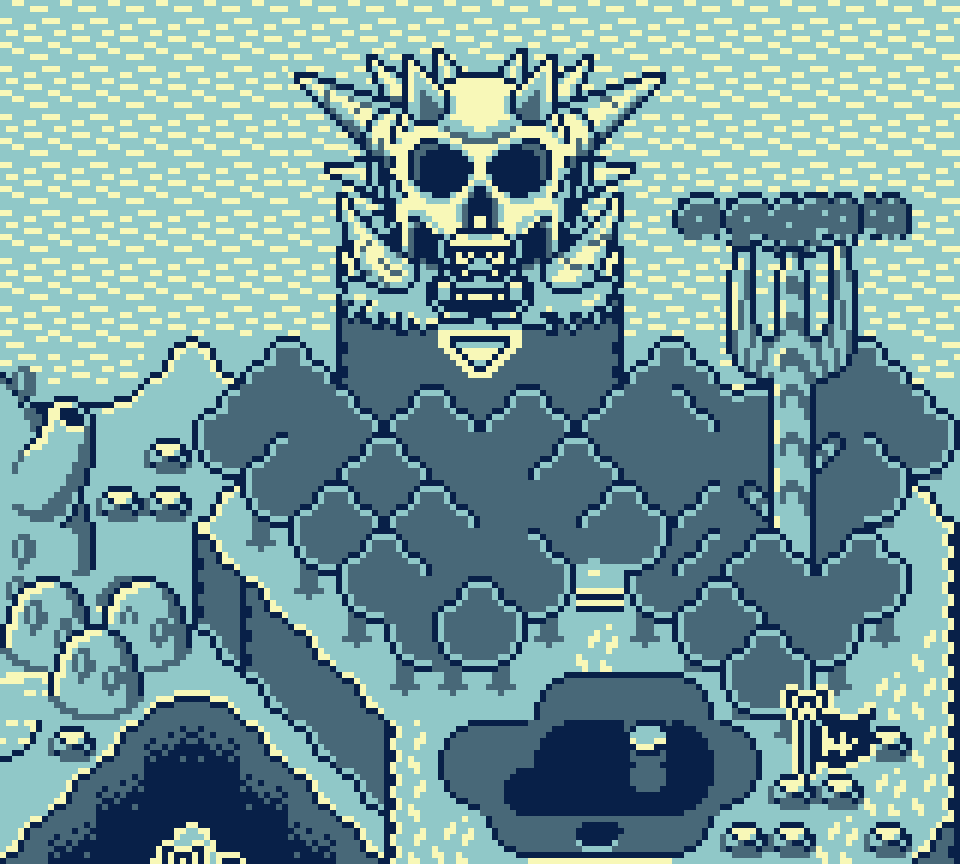
2. Sherbet Land
While ice isn’t the most original theme, this world balances that out by having some o’ the most inspired levels in this game. Plus, this world manages to add its own take on the theme, with the morbid joke o’ the enemies frozen alive inside ice blocks & the opening on the windy, starry-night bridges.
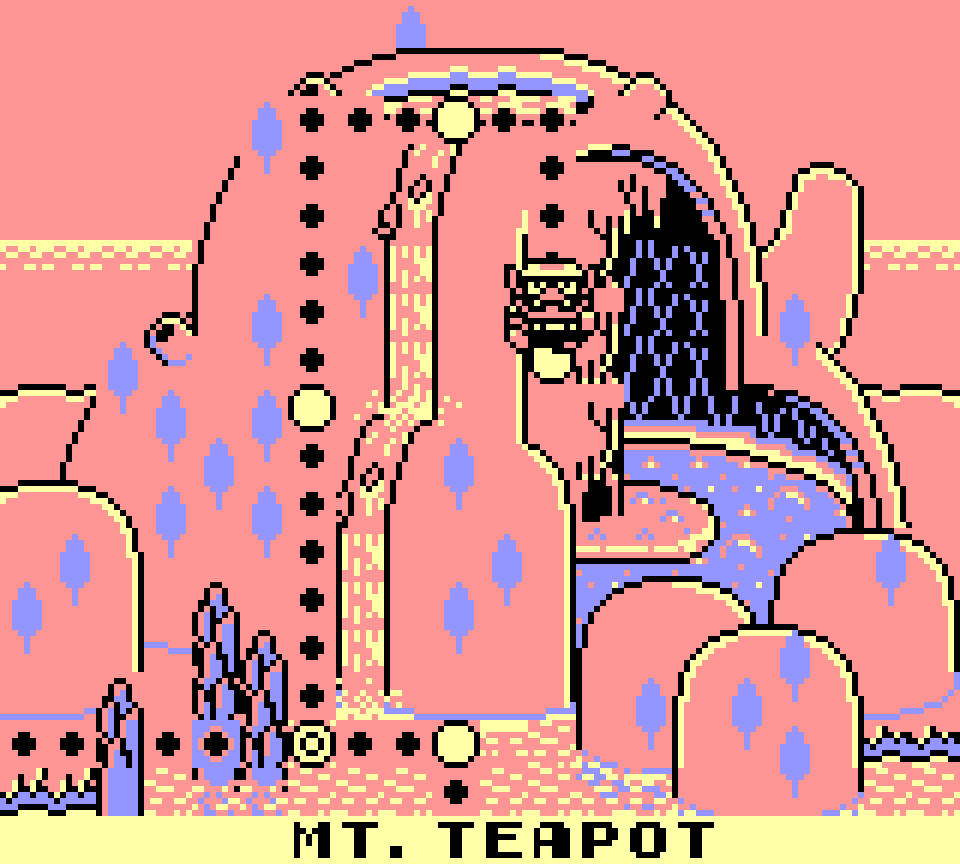
1. Mt. Teapot
While “Mt. Teapot” doesn’t have the best levels, — tho its levels are far from the worst — the idea o’ a giant-teapot-shapred mountain spewing tealike falls from spoutlike openings is far-&-above the most interesting world idea in this game, especially with the twist o’ unlocking the final level by causing the teapot lid to crash back down on the summit.