

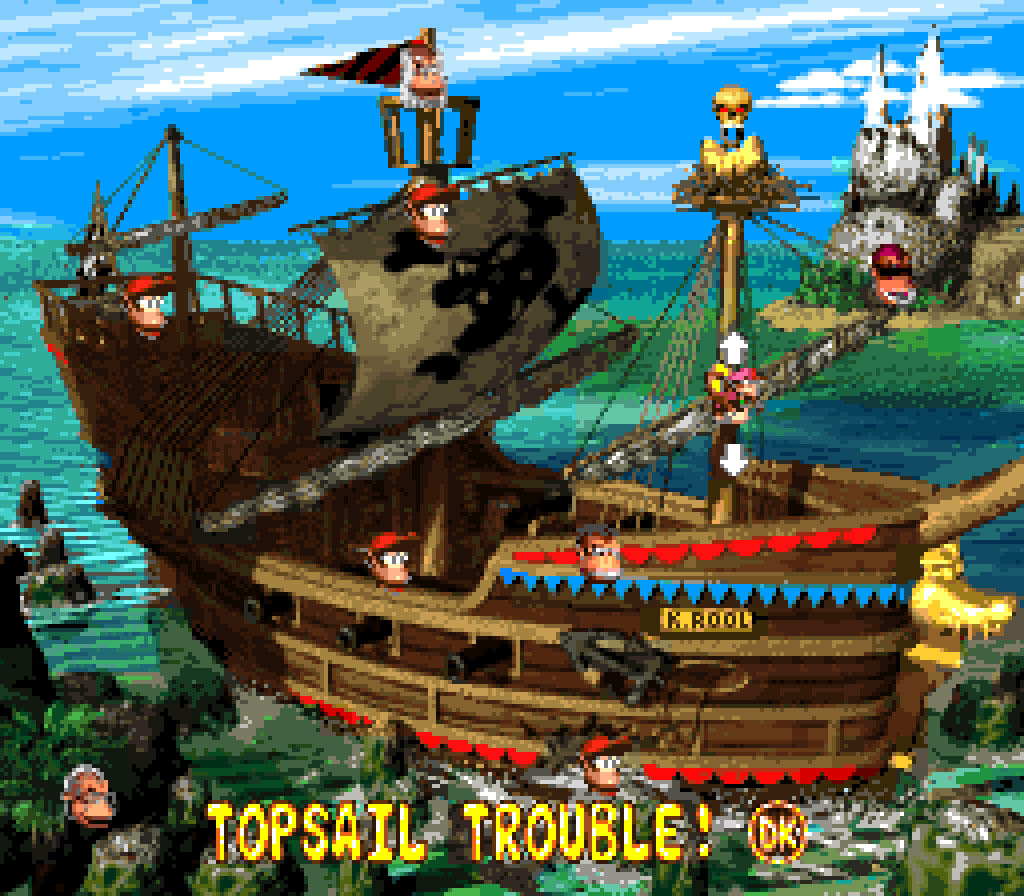
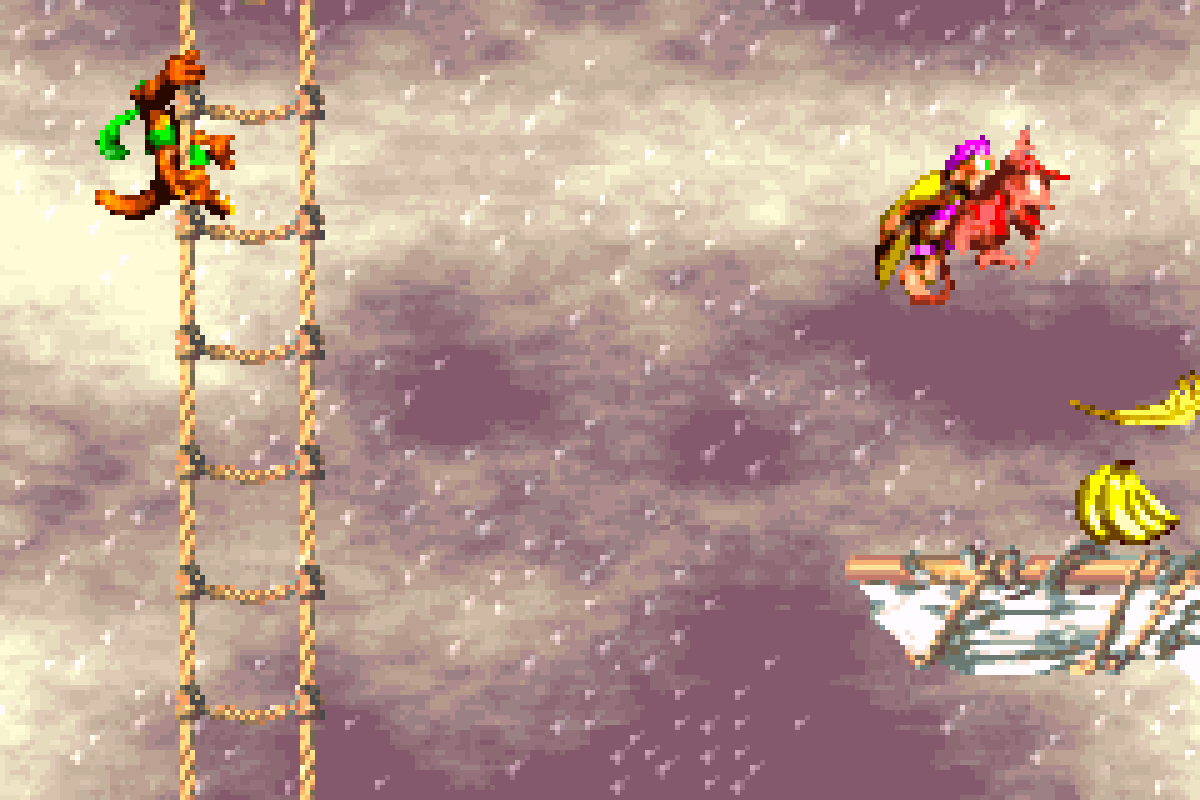
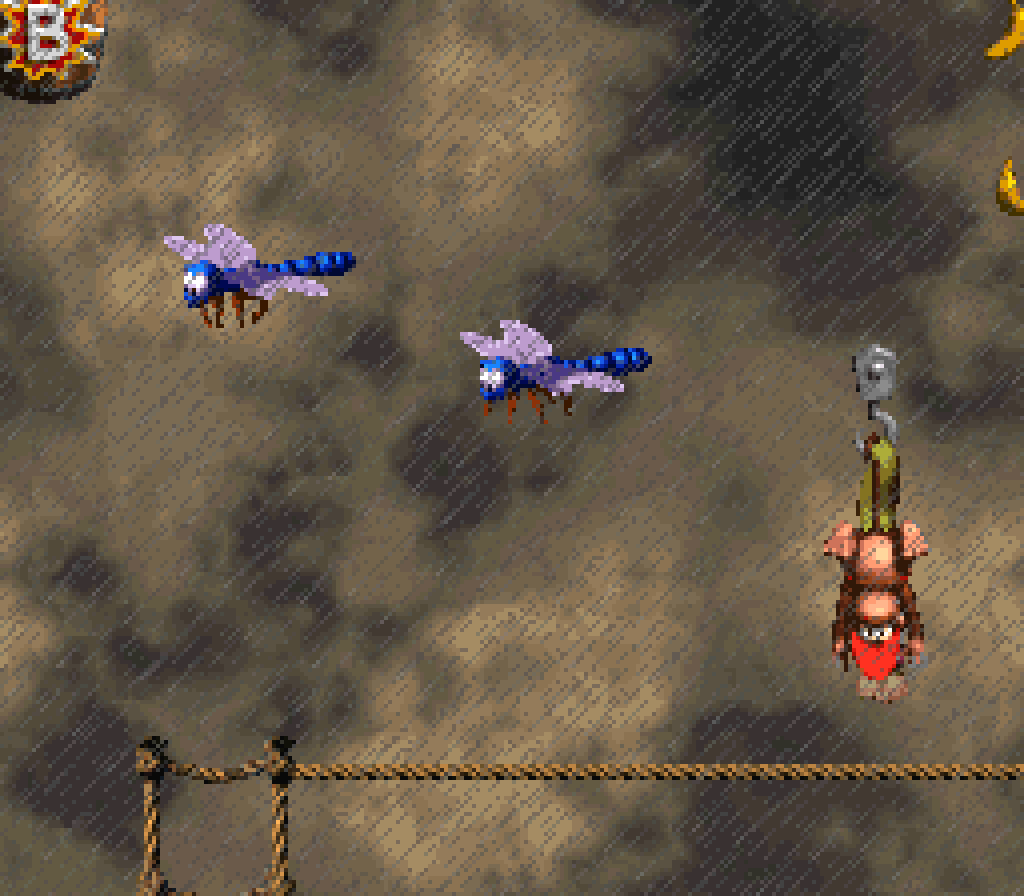
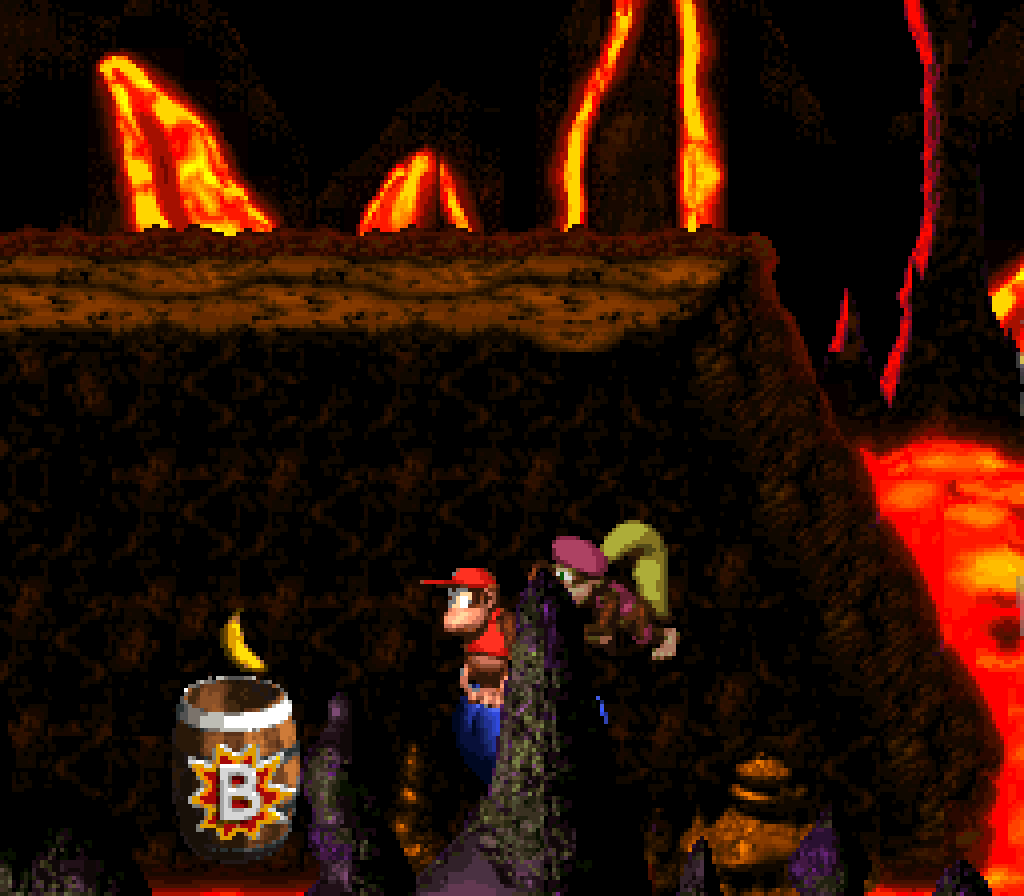
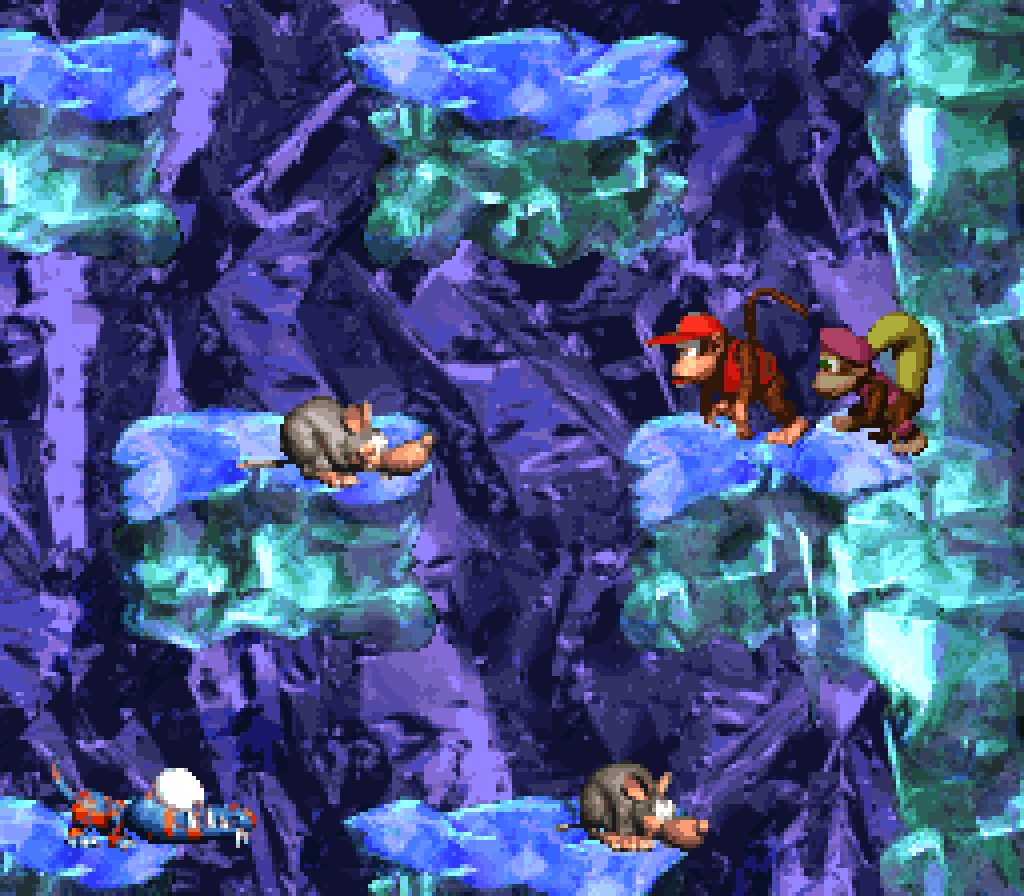
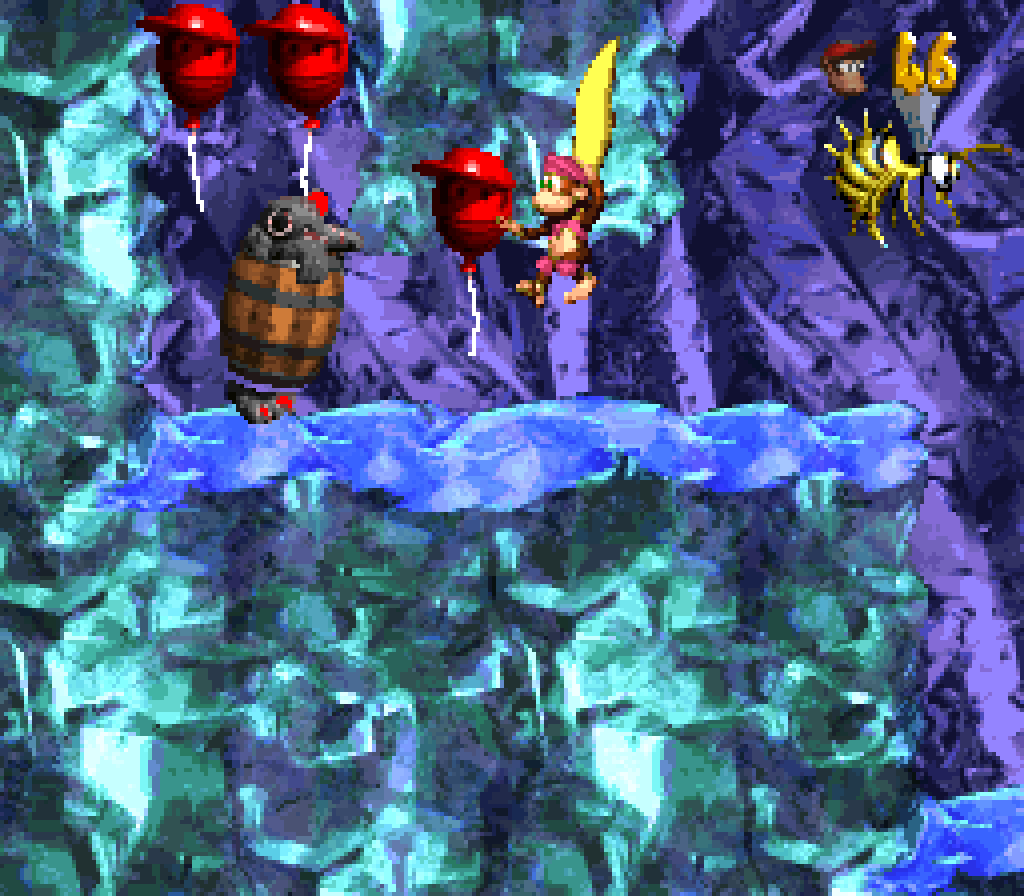
23. Topsail Trouble
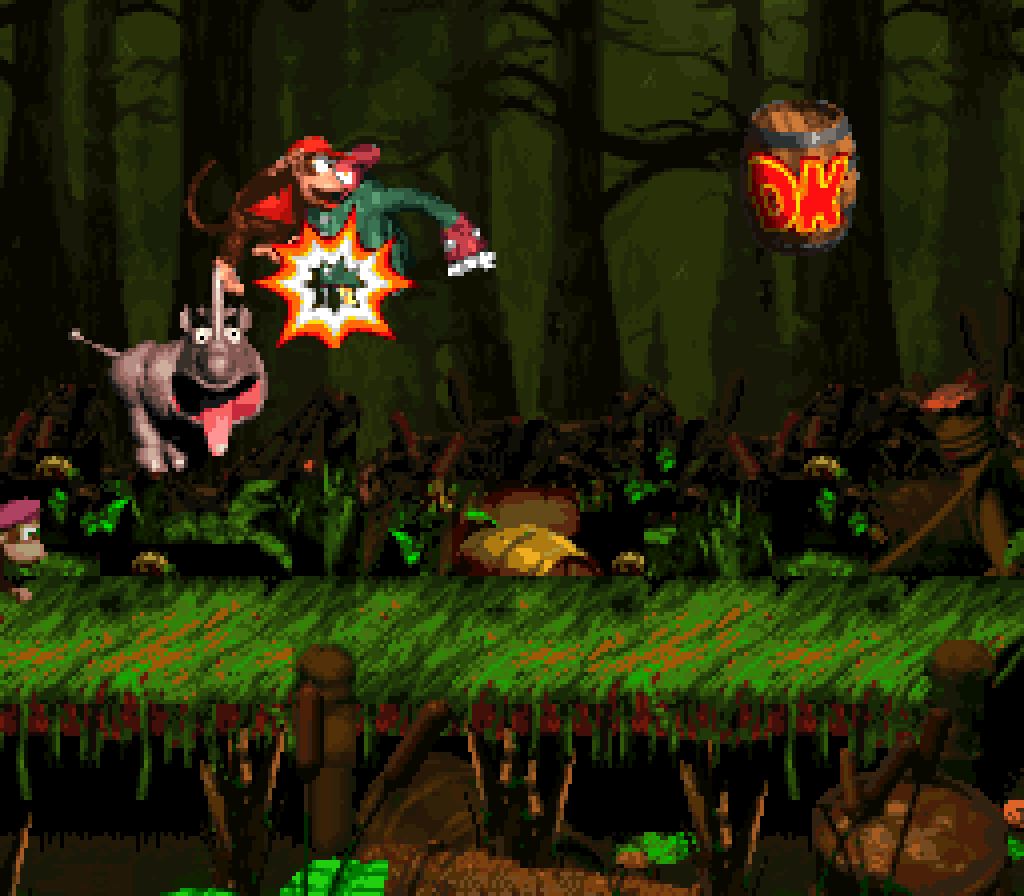
“Topsail Trouble” feels like 2 different levels joined @ the midpoint, with the 1st half acting essentially an introduction to the animal buddy Rattly & the 2nd half basically being a harder version o’ “Mainbrace Mayhem”, with its nets & ropes littered with far mo’ enemies — & with a greater focus on the mo’ dangerous Zingers, whom you can’t jump on, than Klingers — in much tighter clumps, leaving much less room to maneuver thru them. This 2nd half would’ve probably worked better if it didn’t come only 3 levels afterward — both in terms o’ providing a better reason for this leap in difficulty & for better variety. Then ’gain, maybe a slight rise in difficulty is a good way to end a world, e’en the 1st. I don’t think as a kid I e’er found this level that challenging for where it is — not on the same level as, say, “Red-Hot Ride” or e’en the end o’ DKC1’s 1st world, “Barrel Cannon Canyon”. Jumping & weaving ’tween tightly-packed, fast-moving Zingers is certainly funner than waiting for the slow-moving Klingers to get out o’ your way. Part o’ me feels like this level would’ve worked better if they a’least mixed the disparate elements, but I can see how it would’ve been awkward to keep getting & losing Rattly. Such a stark split would’ve worked better as a rare contrast if it weren’t done on a few other levels, such as “Rambi Rumble” — & e’en that was mo’ memorable. Then ’gain, this level is still somehow mo’ coherent than “Mainbrace Mayhem”.

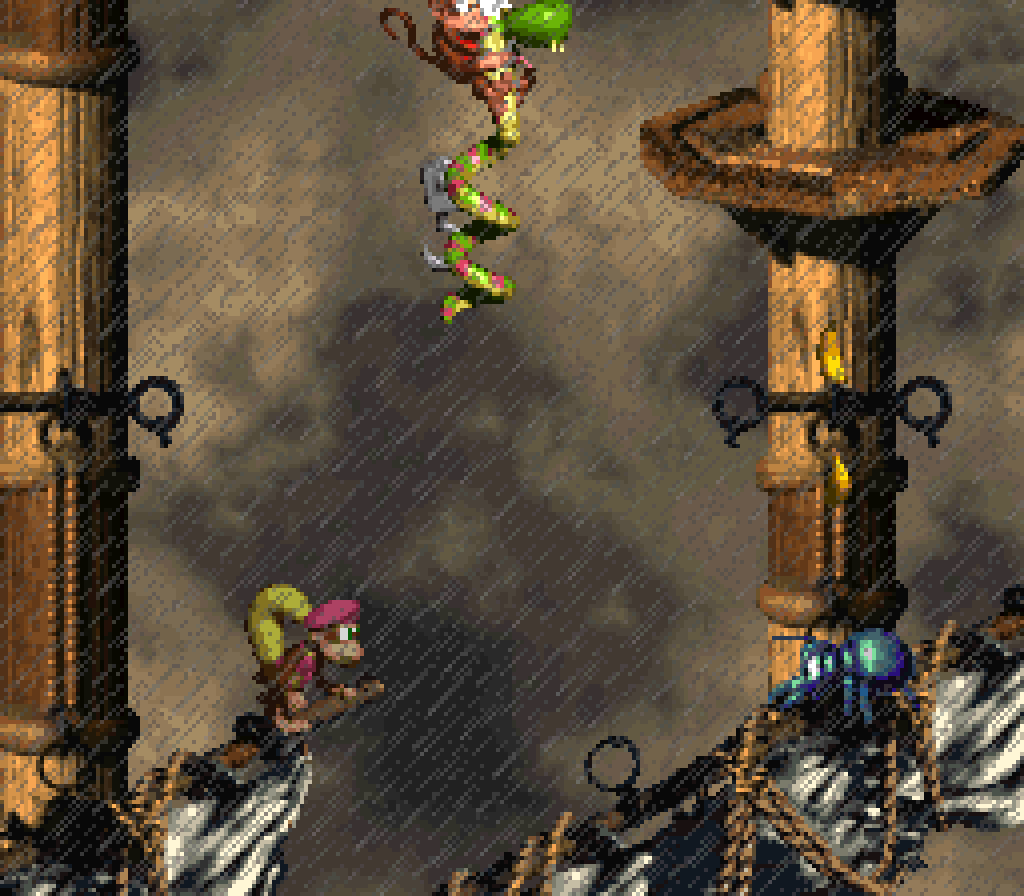
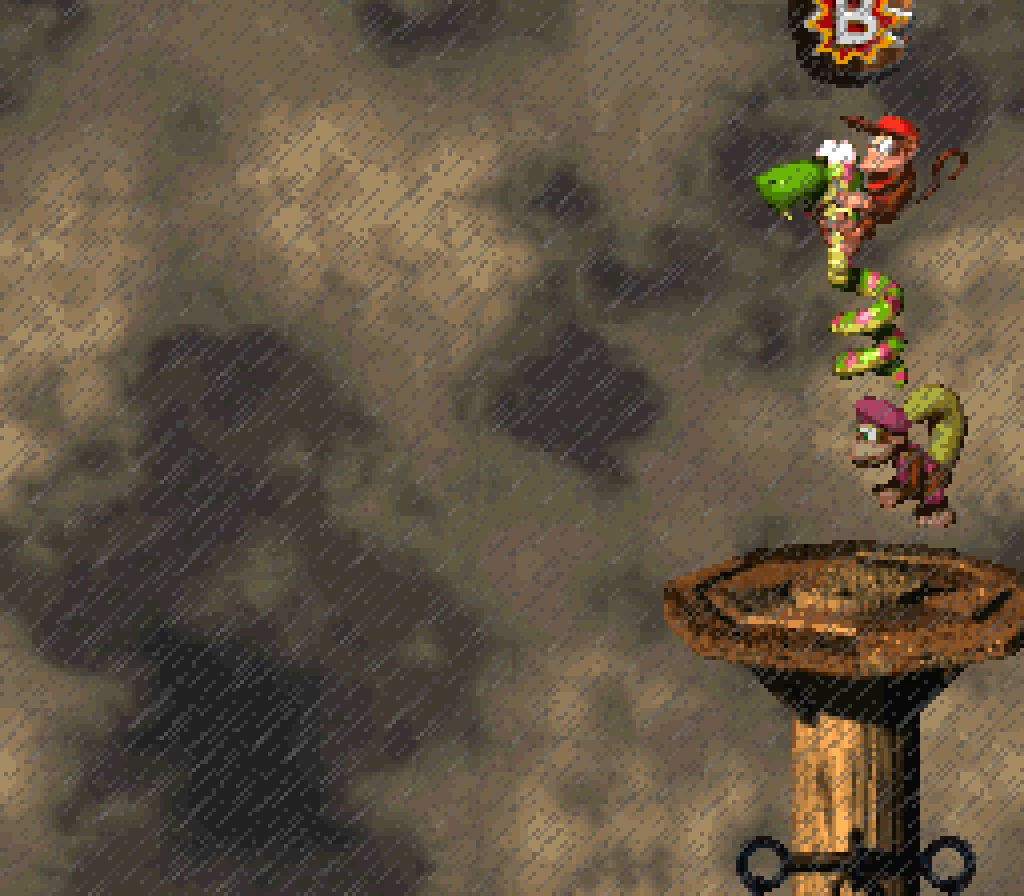
This level’s 1st half does make an effective introduction to Rattly before he truly shines 2 worlds later in “Rattle Battle”: while a snake may not seem to fit in with a level that focuses on ship sails, the vertical nature o’ these mainbrace levels make this a place where Rattly works well, making this a great place to practice & get used to his controls, in contrast to later levels less accommodating to his playstyle. It’s certainly a better introduction than what Rattly’s forecousin, Winky, received in the 1st DKC in the forgettable “Winky’s Walkway”, or what Squitter gets in this game with his awkward introduction in “Hot-Head Hop”. The developers were particularly wary that the player might lose Rattly, as they scatter hooks round the 1st half, which is a great backup… but I wonder if they could’ve created extra coherency if they used nets or made the latter half focus on hooks ’stead o’ nets.
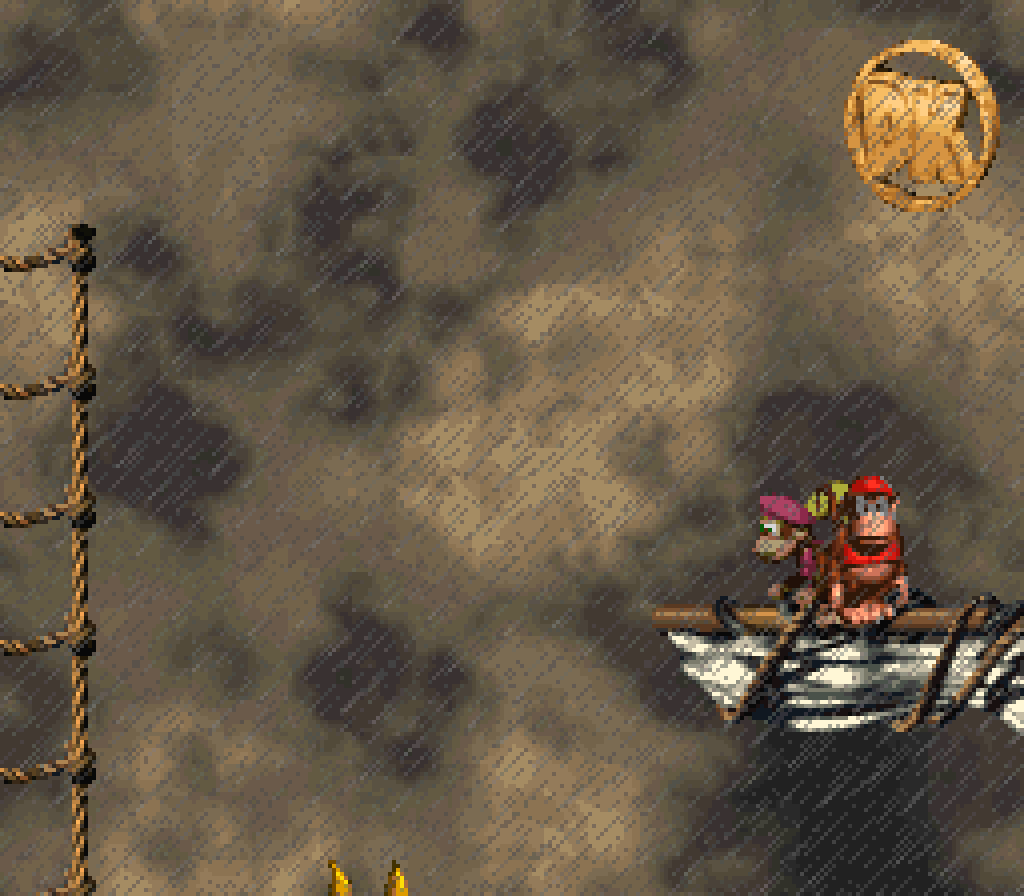
In addition to this level’s different elements being much less intertwined than “Mainbrace Mayhem”’s, its level layout is far simpler. Yes, it zigzags round, but it’s still a straight path without many branches or hidden areas. & yet, it does manage to actually hide its hero coin — up on a topsail that you can faintly see as you go up the main path, but need to make a wide leap to the side to reach — rather than just throw it @ you as an extra reward after a bonus.
Granted, the feather is hidden in a similar way to the feather in “Mainbrace Mayhem”, off on a side platform you need to jump to from a rope.
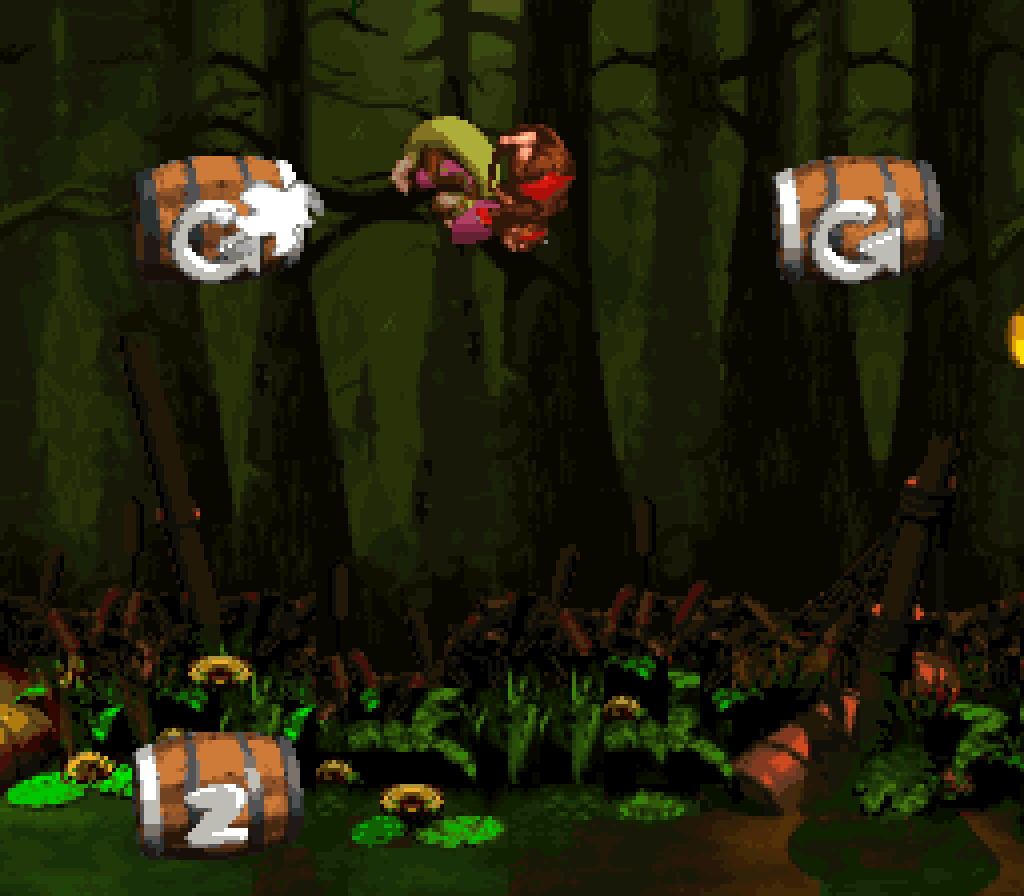
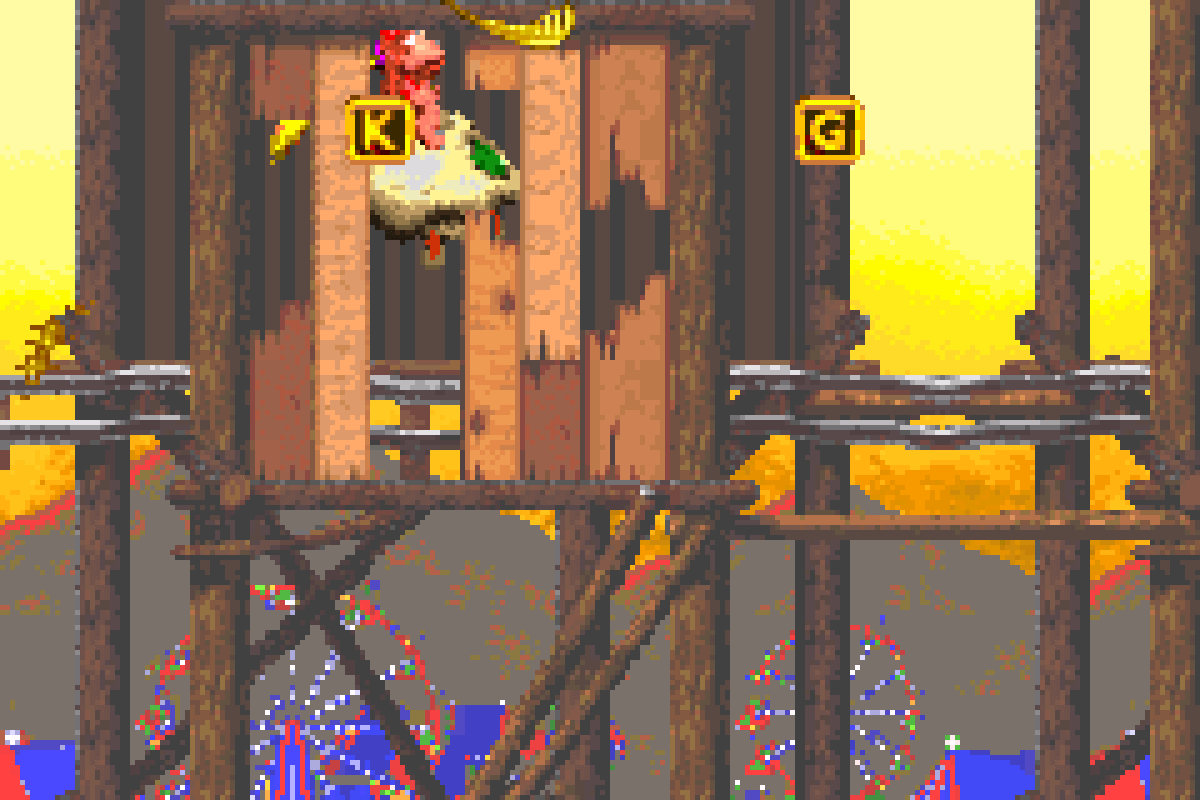
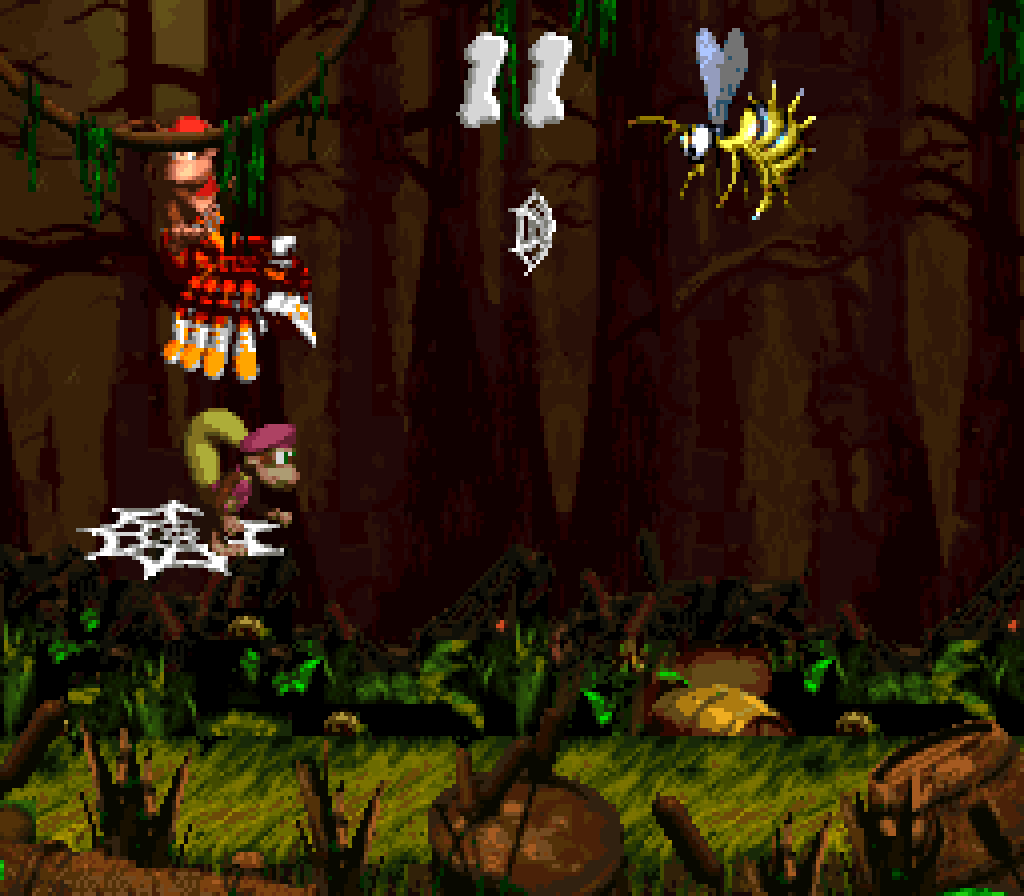
For the photo, they make use o’ an originally empty platform up in the top left, where they now put a Click-Clack, an enemy associated with these levels ( tho arguably mo’-so in “Mainbrace Mayhem” than this level, ¿but who’s truly to say? ). As it so happens, this makes it a bit mo’ challenging to defeat it & take its photo — a nice, lucky coming together o’ pieces that work well, since this platform was already this thin in the original SNES version.
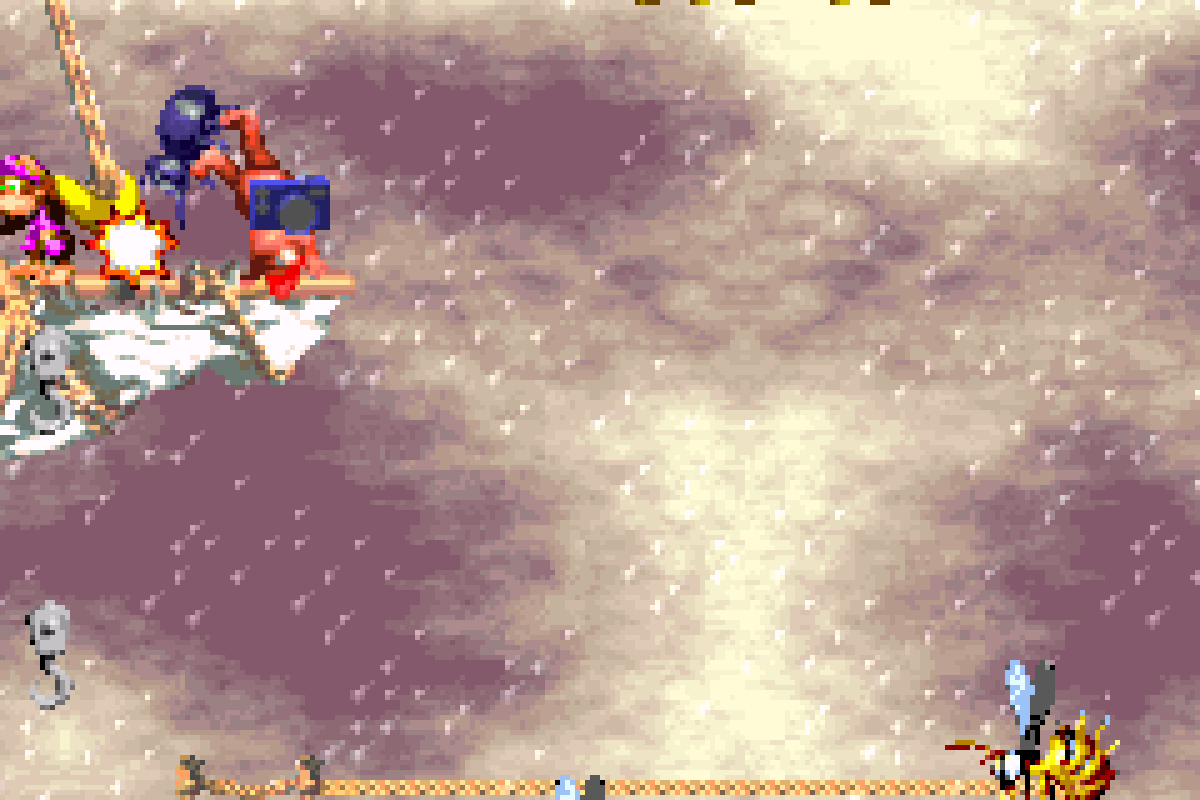
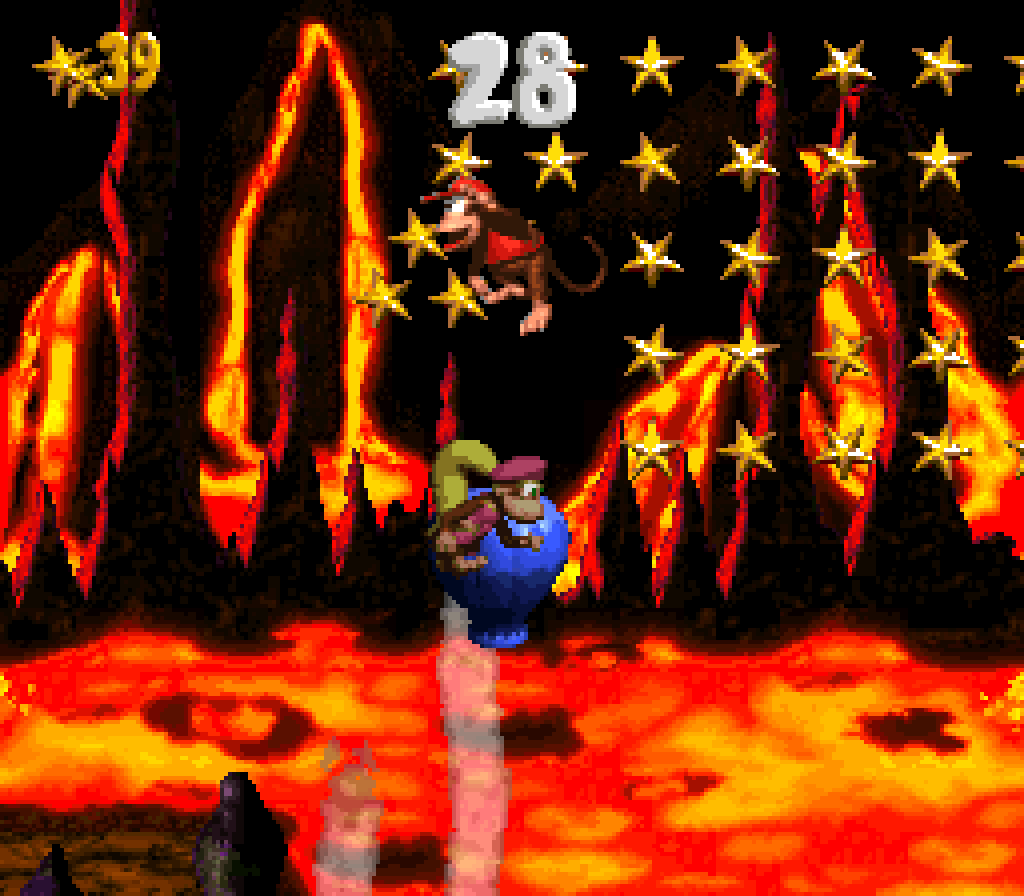
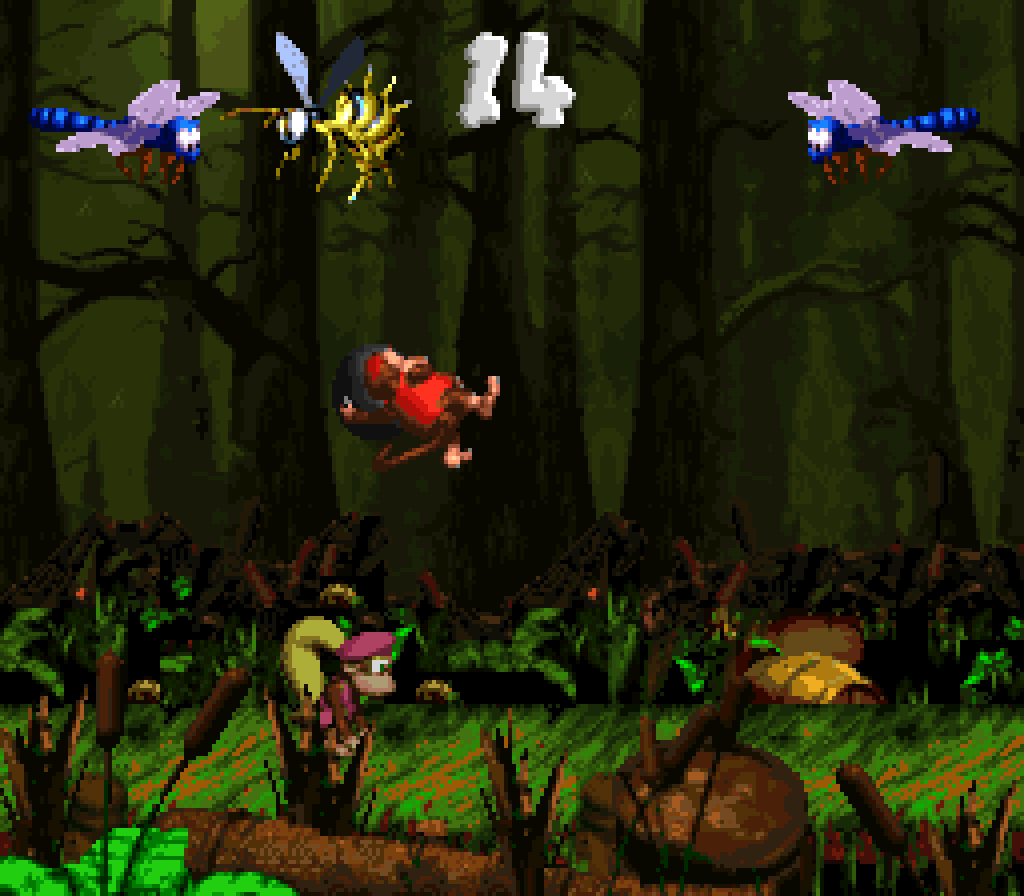
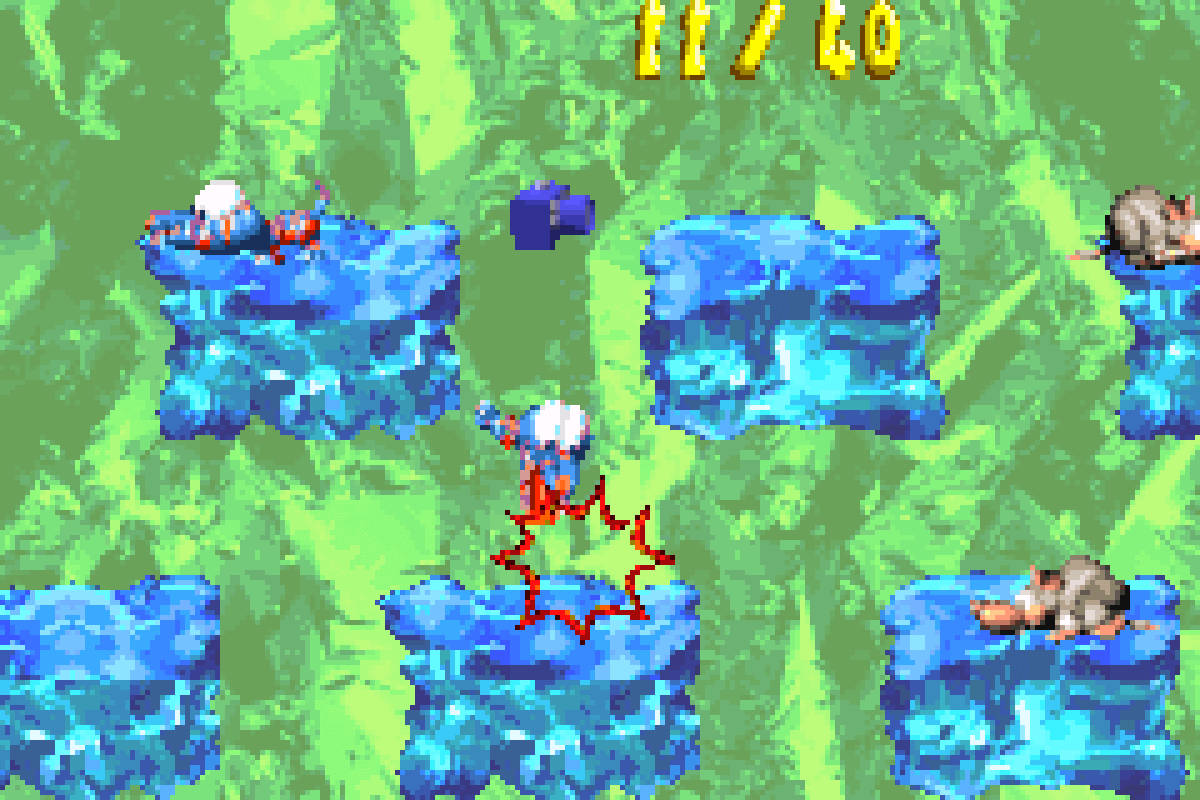
It also has better bonuses: tho “Find the Token!” bonuses are usually mo’ common & generic than “Collect the Stars!” bonuses, in this case I think weaving ’tween Flitters is far mo’ exciting than just collecting stars, like in “Mainbrace Mayhem”. E’en moreso goes this level’s “Destroy them All!” bonus starring Ratly hopping on Flitters, which feels much mo’ fast-paced than having to throw cannon balls or barrels @ the Klingers, specially if you don’t know the fast strategy for defeating them all @ once, which most players won’t intuit on their own.
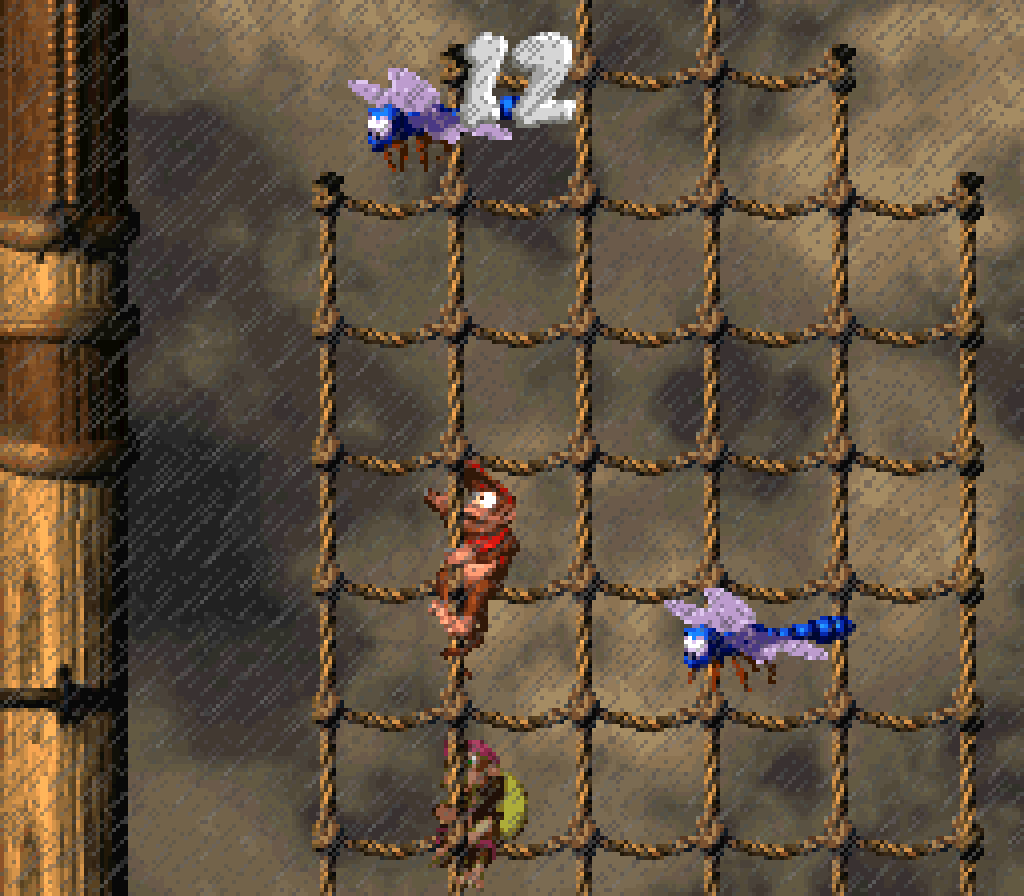

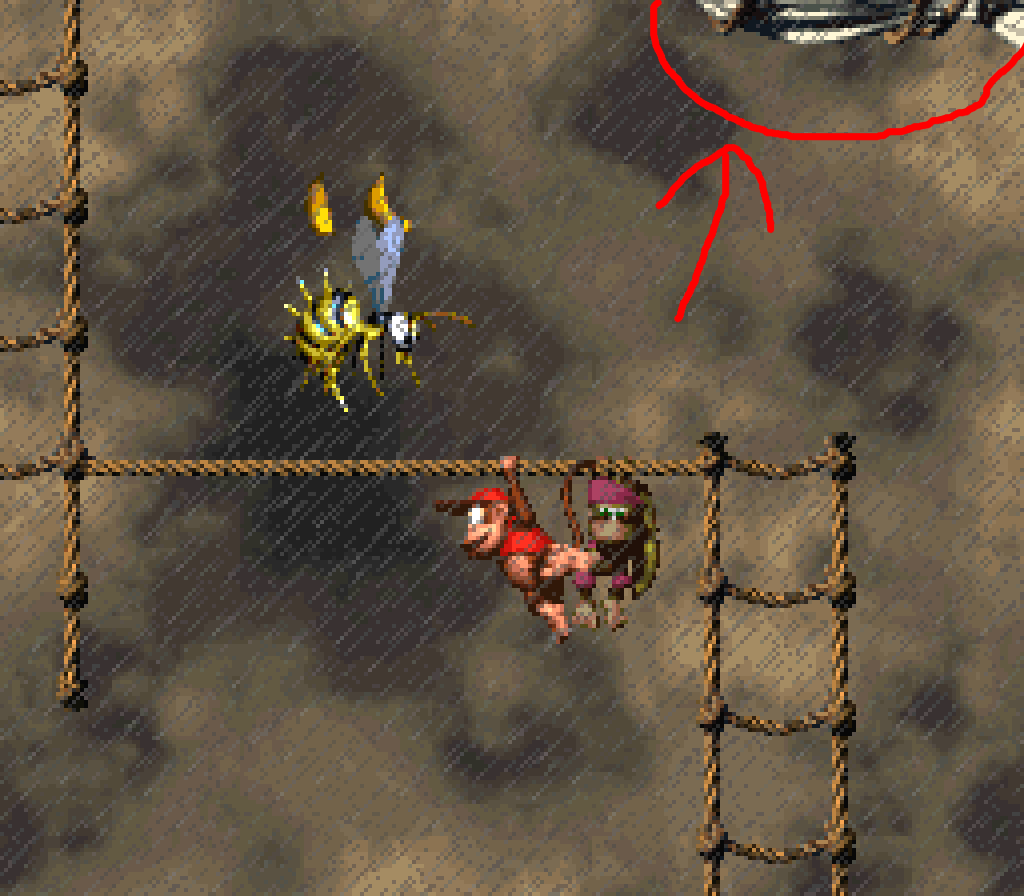
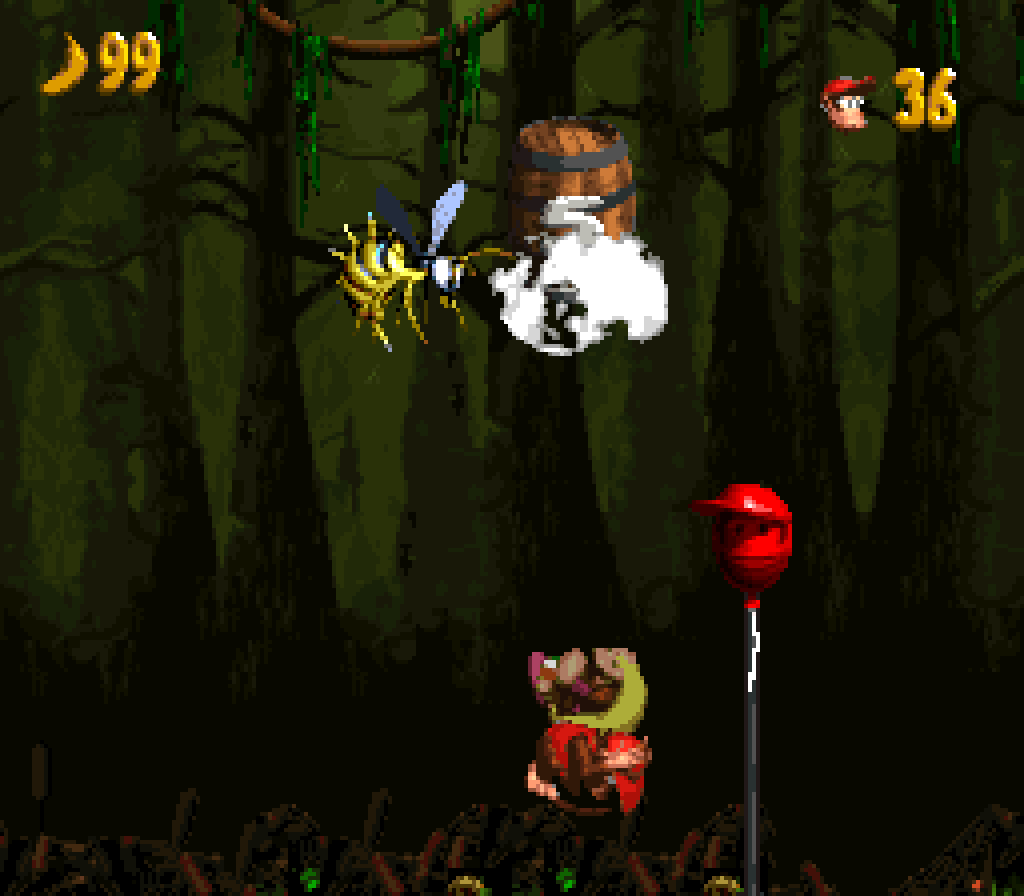
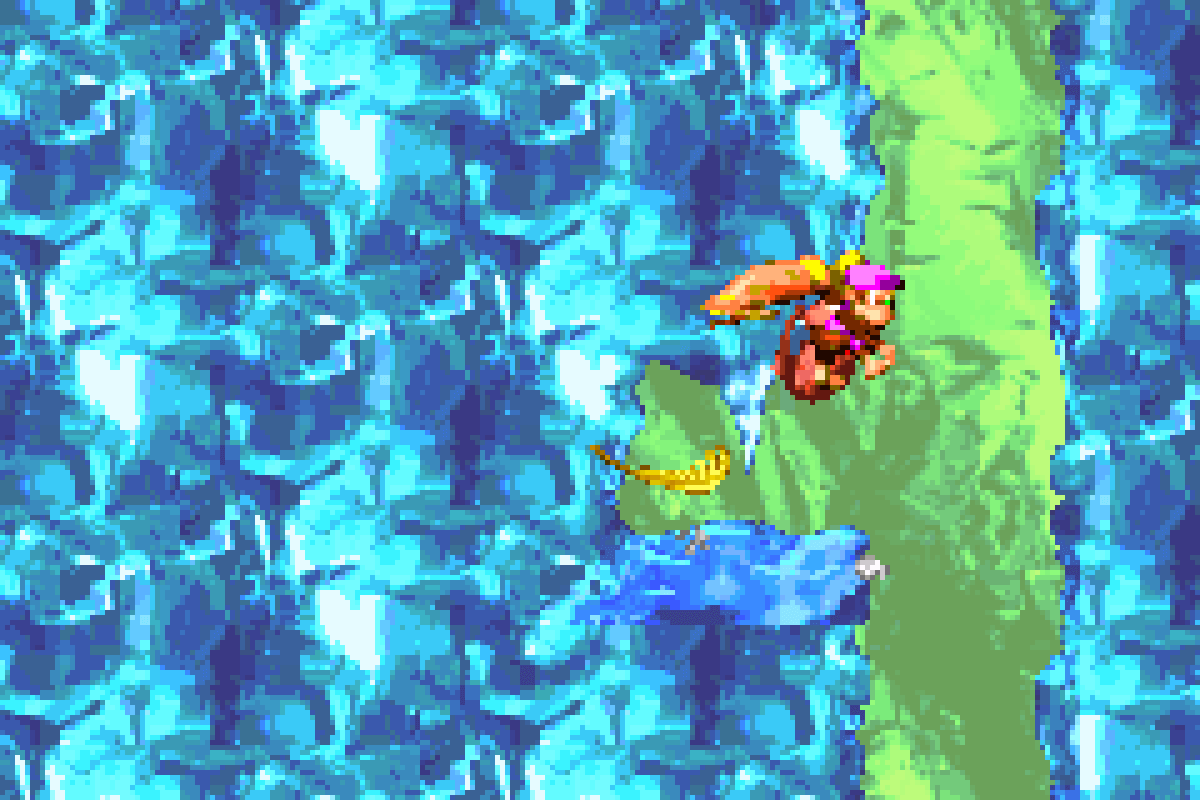
While I think the 1st bonus’s location is in a fitting location, up on a secret high crow’s nest you can only reach with Rattly, I don’t know ’bout the other bonus location, where you have to grab an invisible hook, indicated only by the 2 Flitters flittering ’bove… ¿Would it have been that hard to put the Flitters low ’nough that you could reach them from the rope & just jump up them? That would’ve been ’bout as much a puzzle without outright cheating.
Finally, this level’s rainy gray-brown visuals are much cooler than the peaceful, normal blue skies o’ “Mainbrace Mayhem” & make a great way to cap off a world.
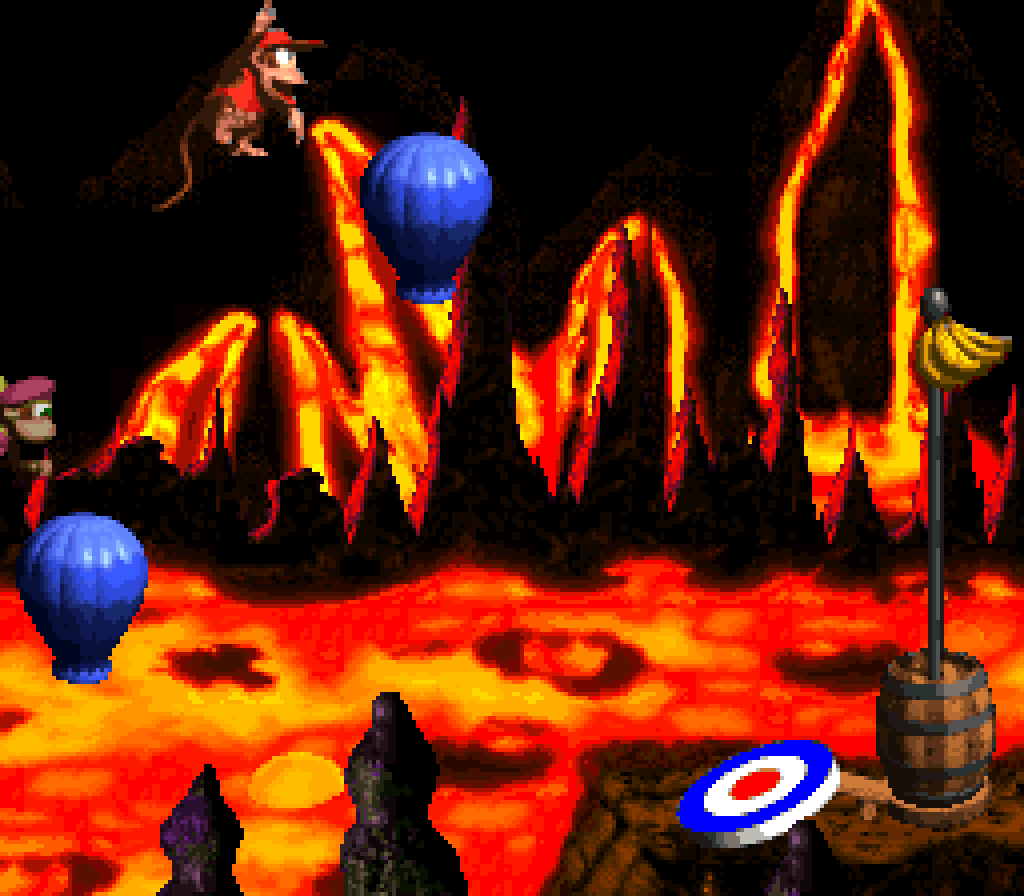
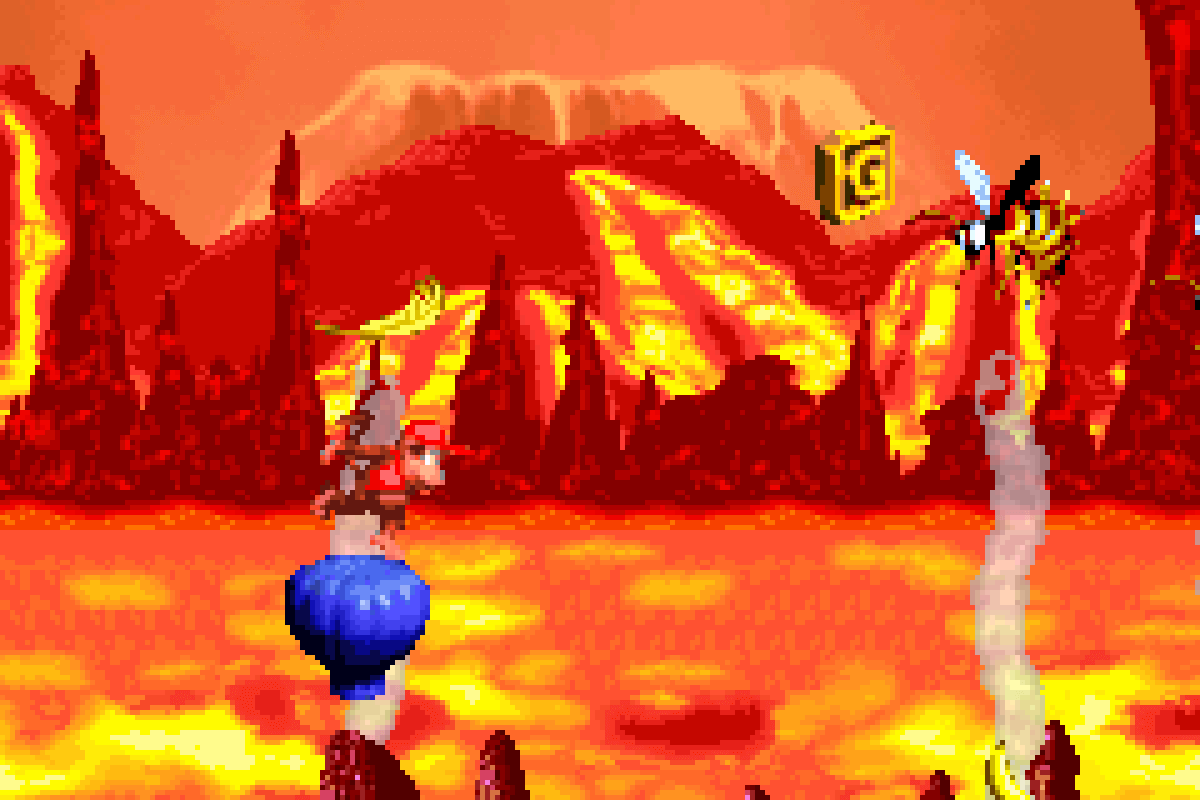
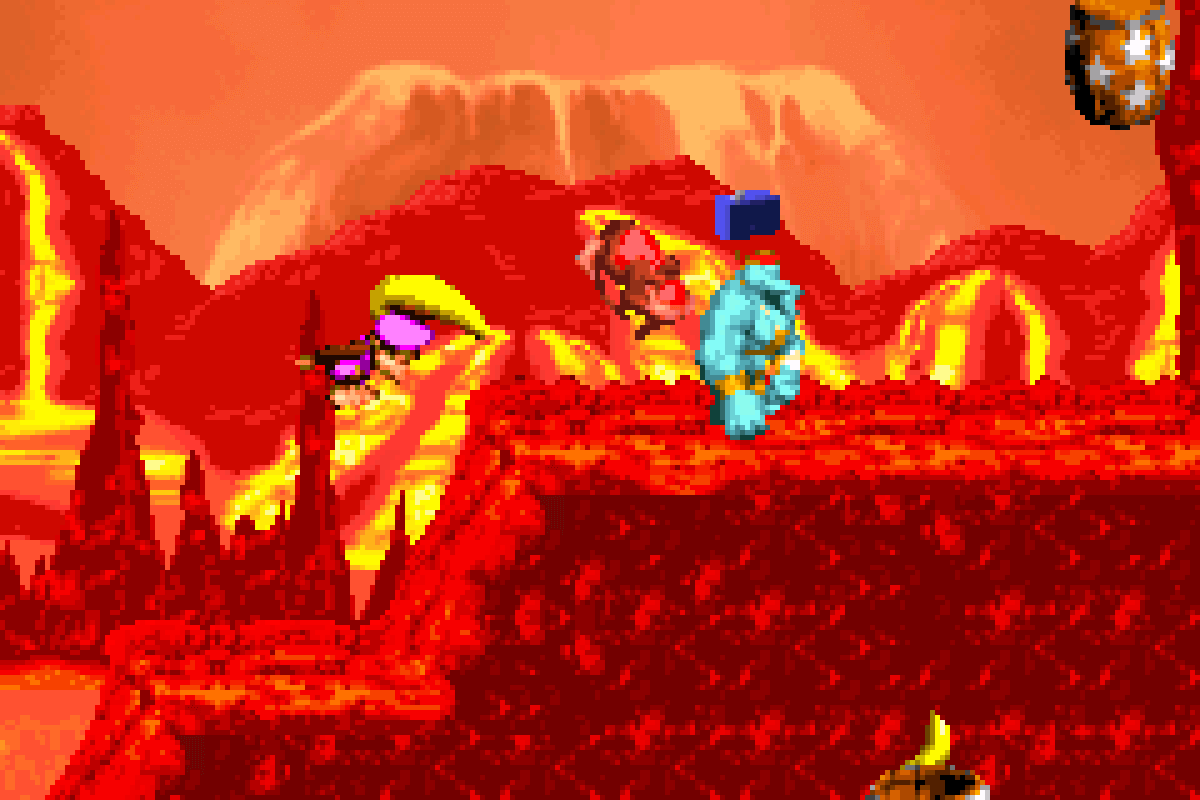
22. Red-Hot Ride
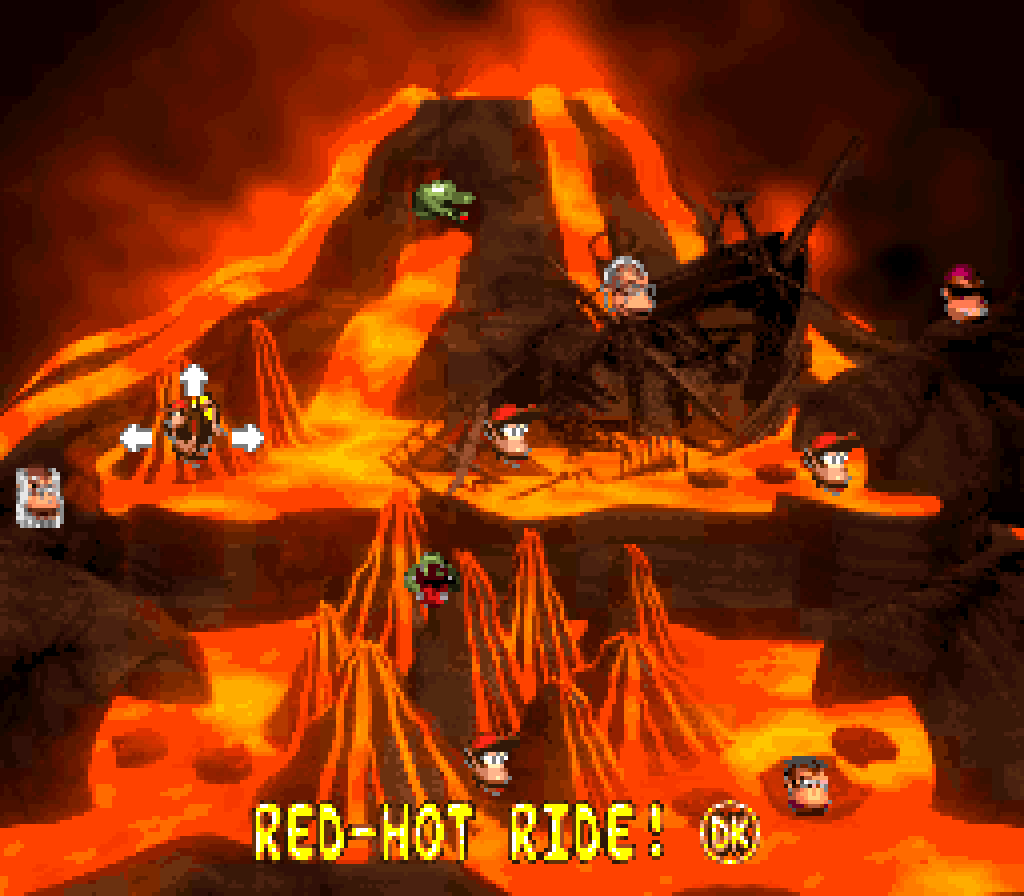
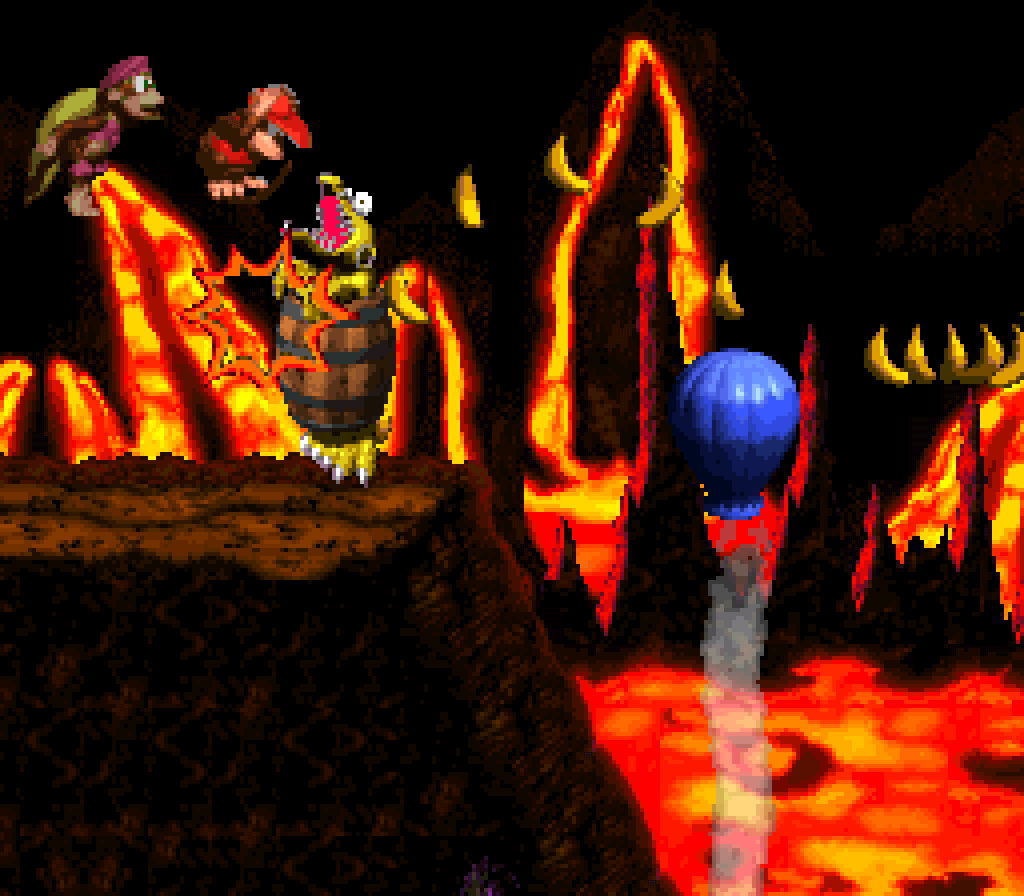
I’m going to have to admit that riding the slow-moving hot-air balloons ( which have questionable hitboxes in a game that usually has very good hitboxes ), as interesting as it is as a gimmick, isn’t my cup o’ coffee. To be fair, if you know what’s coming up, you can skip many sections using Dixie’s ponytail twirl & Rambi’s horn charge attack, but that’s no use for 1st-time players. I do kind o’ like the subtle timing you have to make ’tween rising on the steam sprays & drifting outside o’ steam. This is a mechanic that would be improved on a huge scale if the balloons moved much faster. Then ’gain, maybe that would’ve made what is already a bit o’ a difficulty spike for where it is e’en harder.
I do have to appreciate the solid layout o’ this level, with a variety o’ setpieces with Zingers & Krunchas & the Squeek here or there laid out in different formations. Granted, this is a level that sticks a bit too much to its gimmick & could’ve developed the other parts mo’. There is a bit too much time spent slowly maneuvering round Zingers — an enemy that is common all throughout this trilogy. The non-balloon sections mostly just focus on basic terrain with Klobbers & Krunchas, neither o’ whom are new or used in particularly interesting ways.
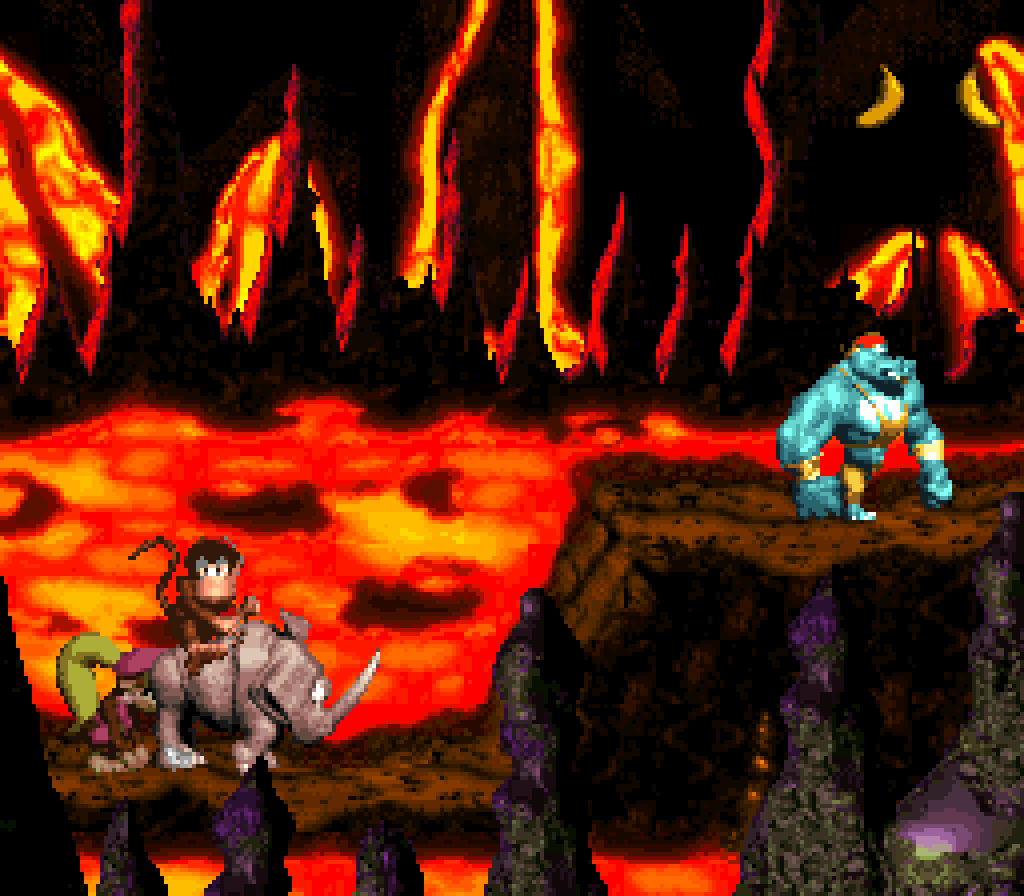
Rambi works well here as not only a way to add variety, but a way to add a double-edged sword in terms o’ help, thanks to its power to charge thru obstacles but also its clunkier, wider hitbox that makes it easier to miss platforms.
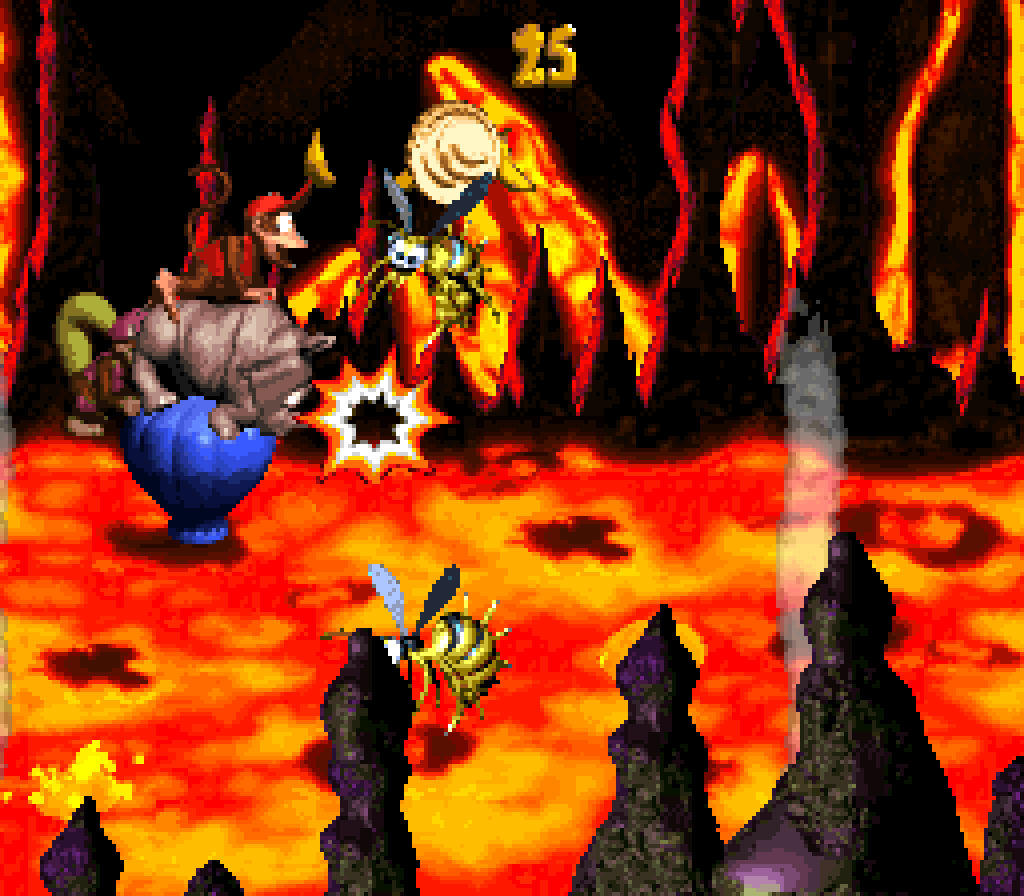
The level doesn’t start to truly get interesting till the latter half, where you have to jump from falling balloon to falling balloon, — specially @ the end goal, where you need to jump up to a balloon falling from the top o’ the screen to hit the end goal hard ’nough to get its reward — race ’bove a Zinger, weave ’tween 2 zingers close together, & duck under 3 Zingers o’er steam, being careful to time & measure your movement so you don’t go so low as to fall into the lava but not so high that you hit a Zinger, made e’en harder by the difference ’tween the general falling & rising when on the steam & the delay as falling gradually changes to rising in the steam.
This level’s bonuses are strong, tho. The hero coin is a somewhat clever puzzle that is hidden just by having it offscreen, but in a place where anyone paying attention should be curious. The puzzle is that you need to go past this tantalizing setpiece to find a TNT barrel & then go back & hit the top Zinger — which is harder than it sounds, since you also have to maneuver on the hot air balloon & not fall into the lava. Probably 1 o’ the better hero coin puzzles in this game that integrates with the level’s theme well. As an extra twist, there is an N visible just below where the hero coin is hidden, making this hero coin a reward for players actually bothering to go for the KONG letters: players who aren’t will probably assume that’s all there is & not bother. Arguably a mean trick to play on players, & would could argue that putting 2 significant collectibles in 1 area is questionable level design. Honestly, I think it would’ve been better if there was nothing there, as that would be very conspicuous & mo’ curiosity-inciting.

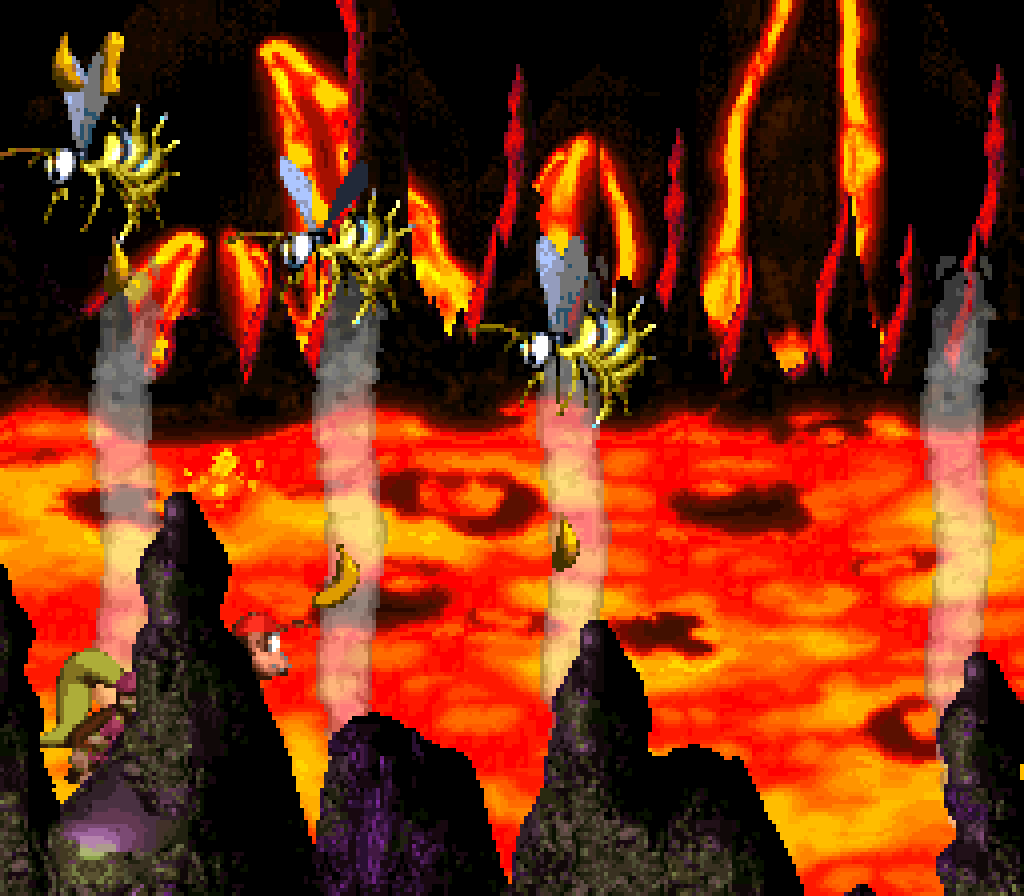
This level’s 1st bonus, hidden ’hind a wall that Rambi has to smash thru, isn’t amazing, but it makes a good incentive to keep Rambi. I don’t have any problem with them not telegraphing its location: by this point players have gotten plenty o’ signals that they can break walls with Rambi to find bonuses & should already be in the habit to try it out on any wall they find — specially since there aren’t many walls thruout the limited Rambi section. The bonus itself is Rambi ramming thru enemies, with a few jumps o’er lava on Flitters. I’m torn whether or not I find this to be a needed refreshing break from the main gimmick or whether it would’ve been better if the bonus also tied to the balloon gimmick. Part o’ me thinks they should’ve kept the balloon out, but had the bonus focus mo’ on hopping on Flitters o’er lava to a’least better integrate this bonus with the lava theme — maybe do what 3rd bonus in “Kannon’s Klaim” does. But then, since that level wasn’t too long before this, maybe that would also feel repetitive.
The 2nd bonus is much mo’ clever: careful-eyed players will see it hiding under the ground below the midway point, with a spinning banana o’er it to give an extra tell. The player needs to go backward from the next balloon & fly into the ground to reach it. The bonus itself is jumping up & collecting stars while riding the balloon.
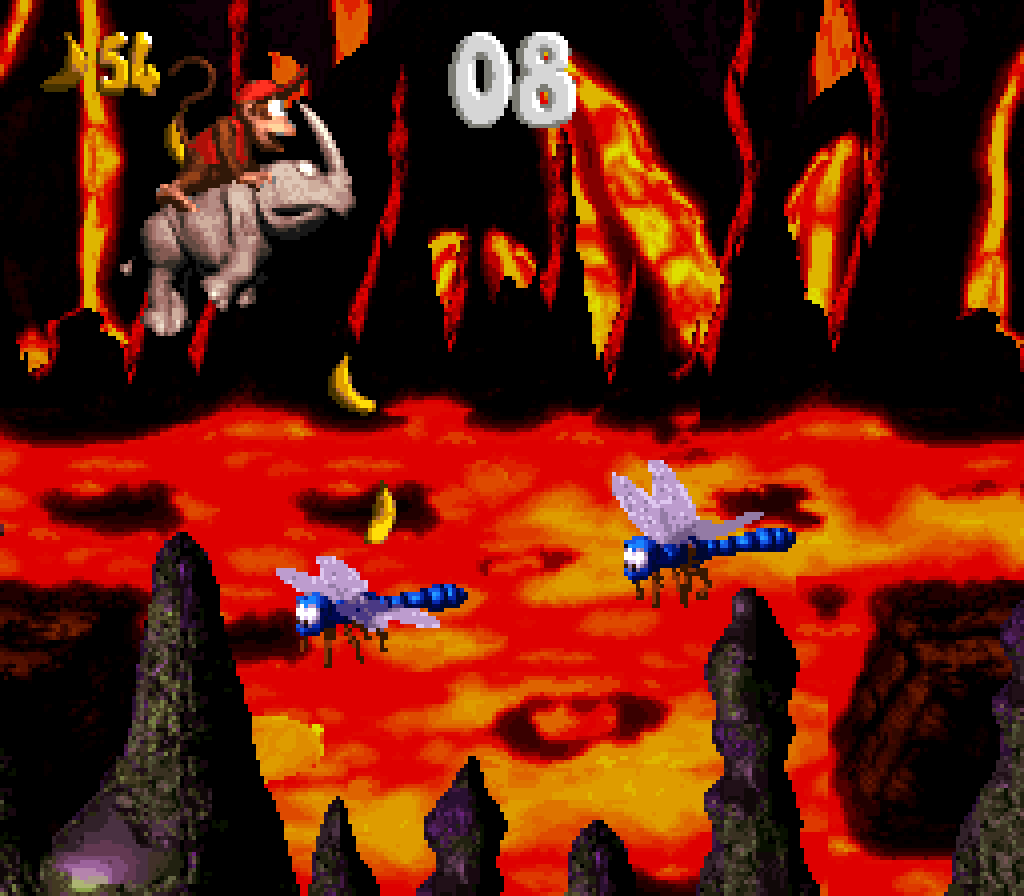
The feather is just… somewhere on the main path, hard to miss. I guess you have to wait a bit on some steam to rise up ’nough to reach it. Surely there were better places to put it. The photo is just by defeating a Kruncha with your team attack, which isn’t exactly well-hidden, but arguably makes it 1 o’ the most useful photos for the main game, as it tutorializes the ability to defeat Krunchas with your team attack, since that’s the only way to defeat this Kruncha, coming just after you lose Rambi.
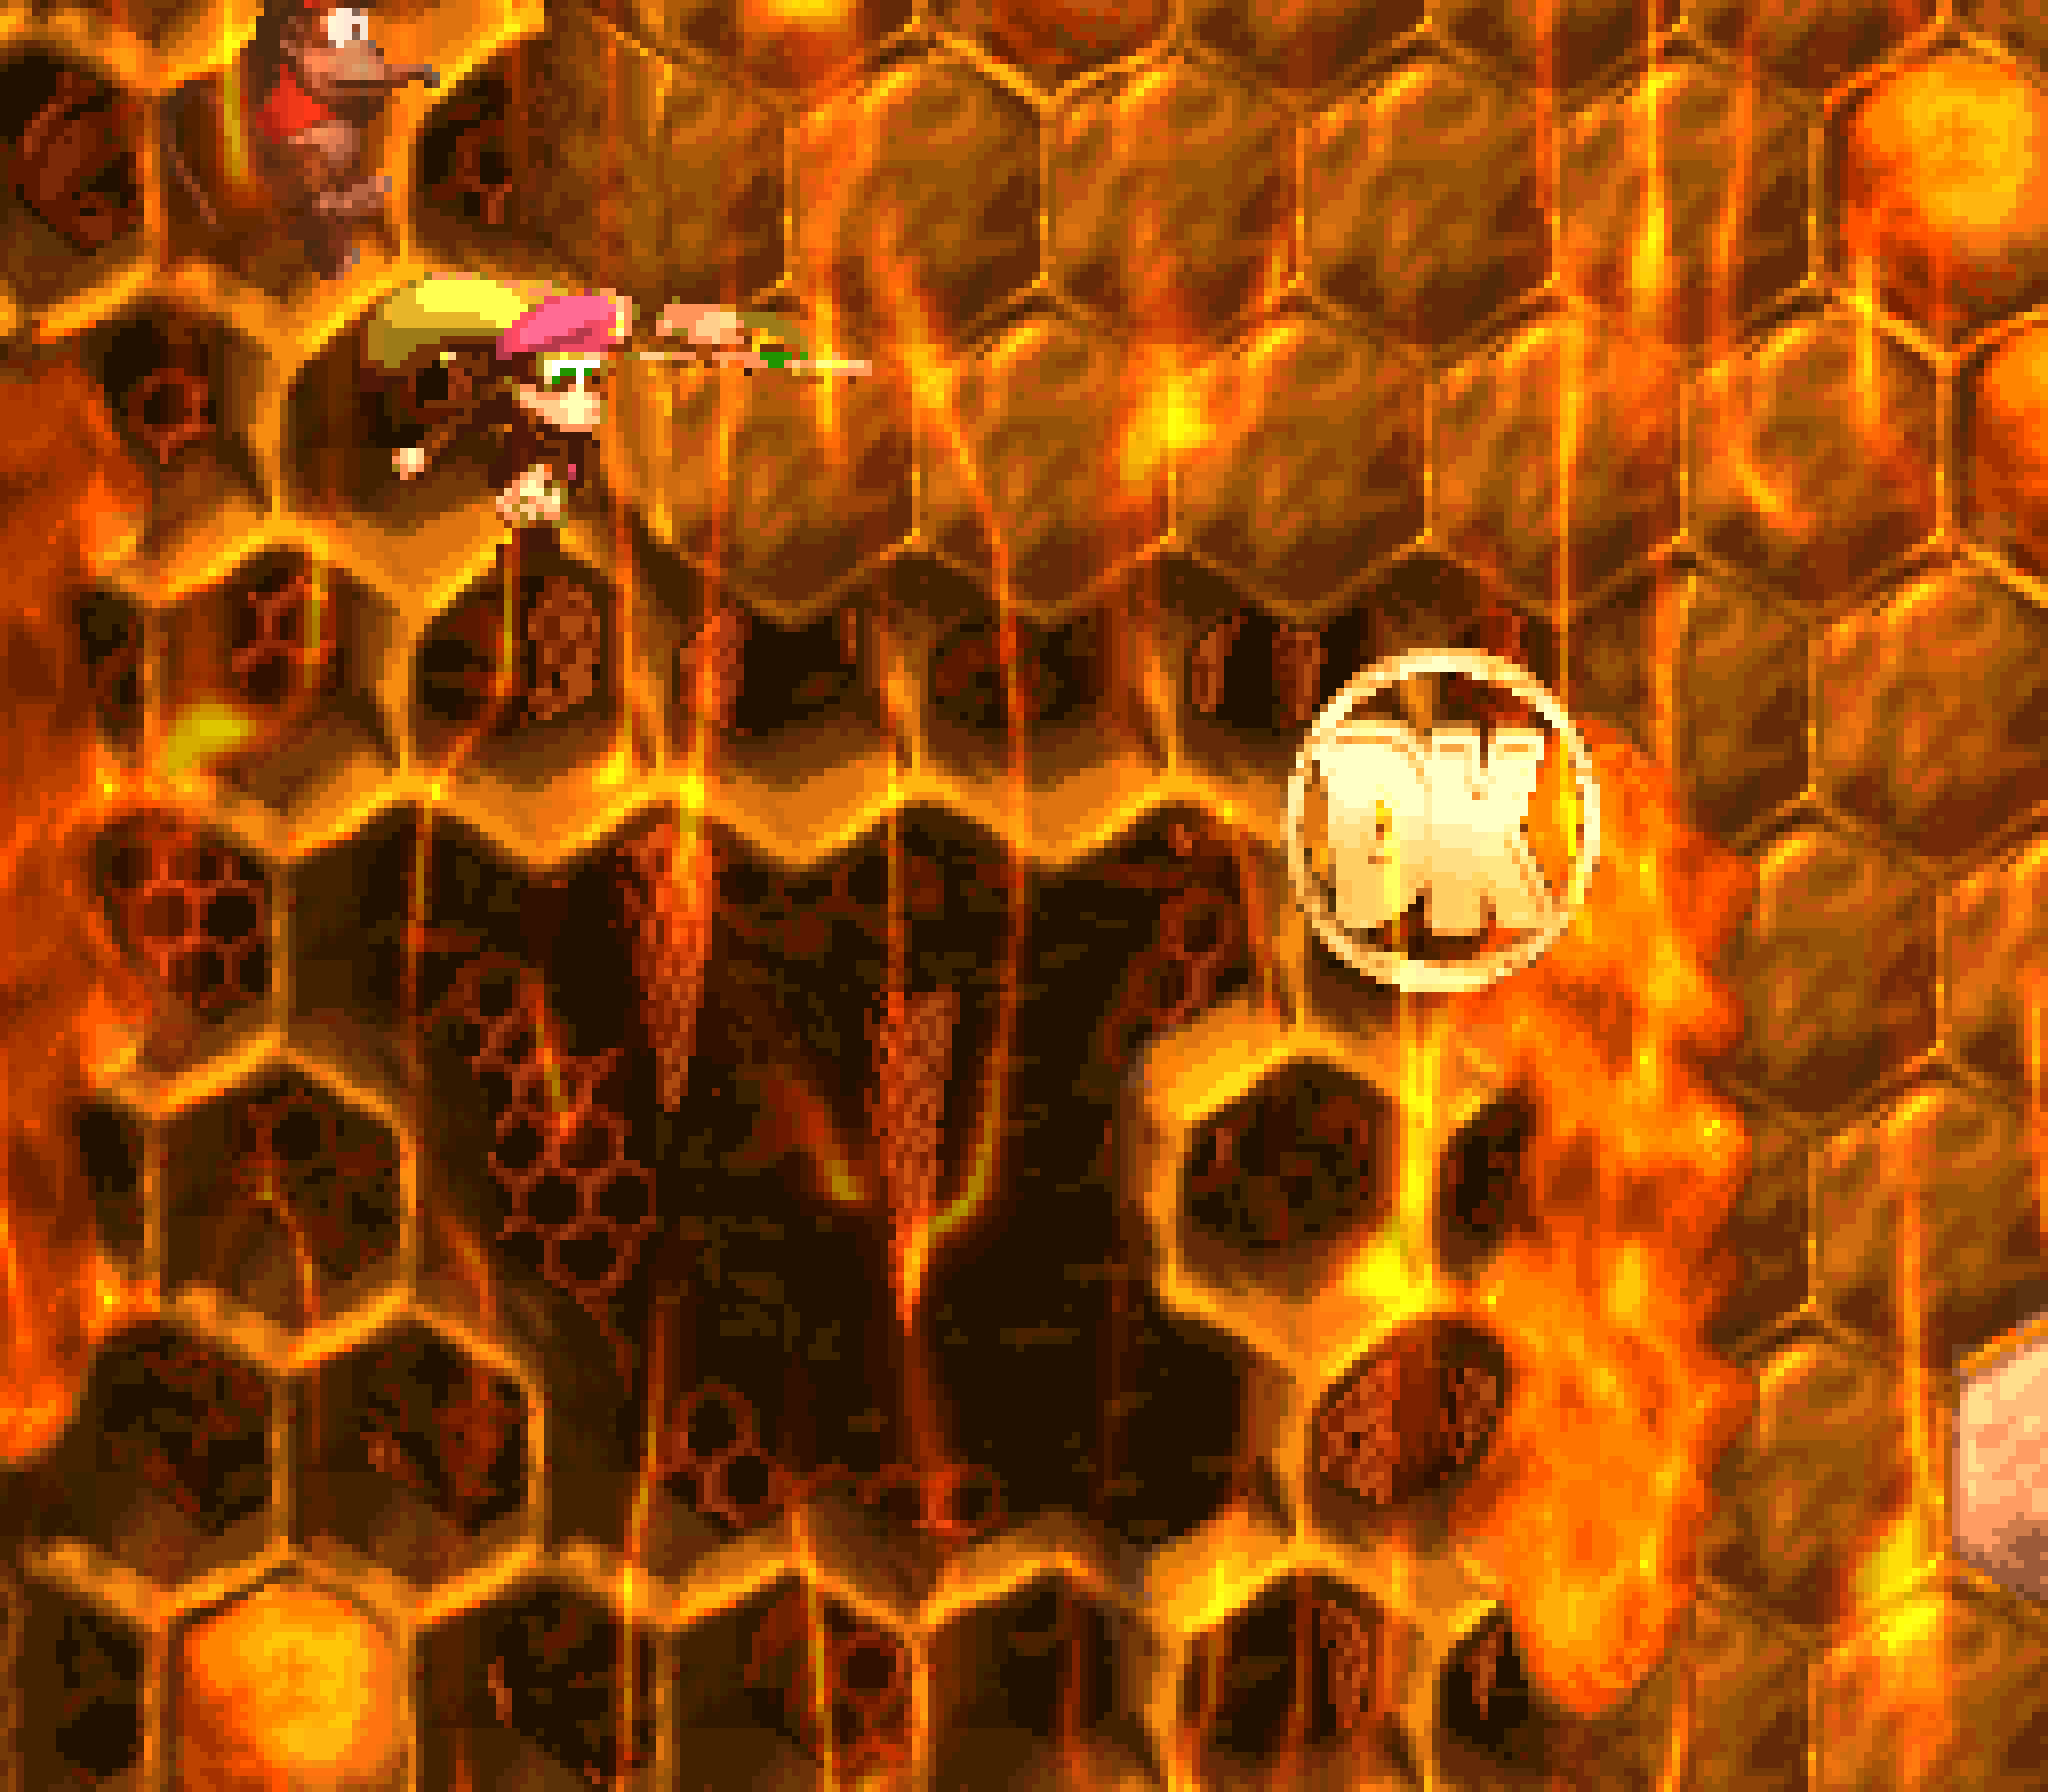
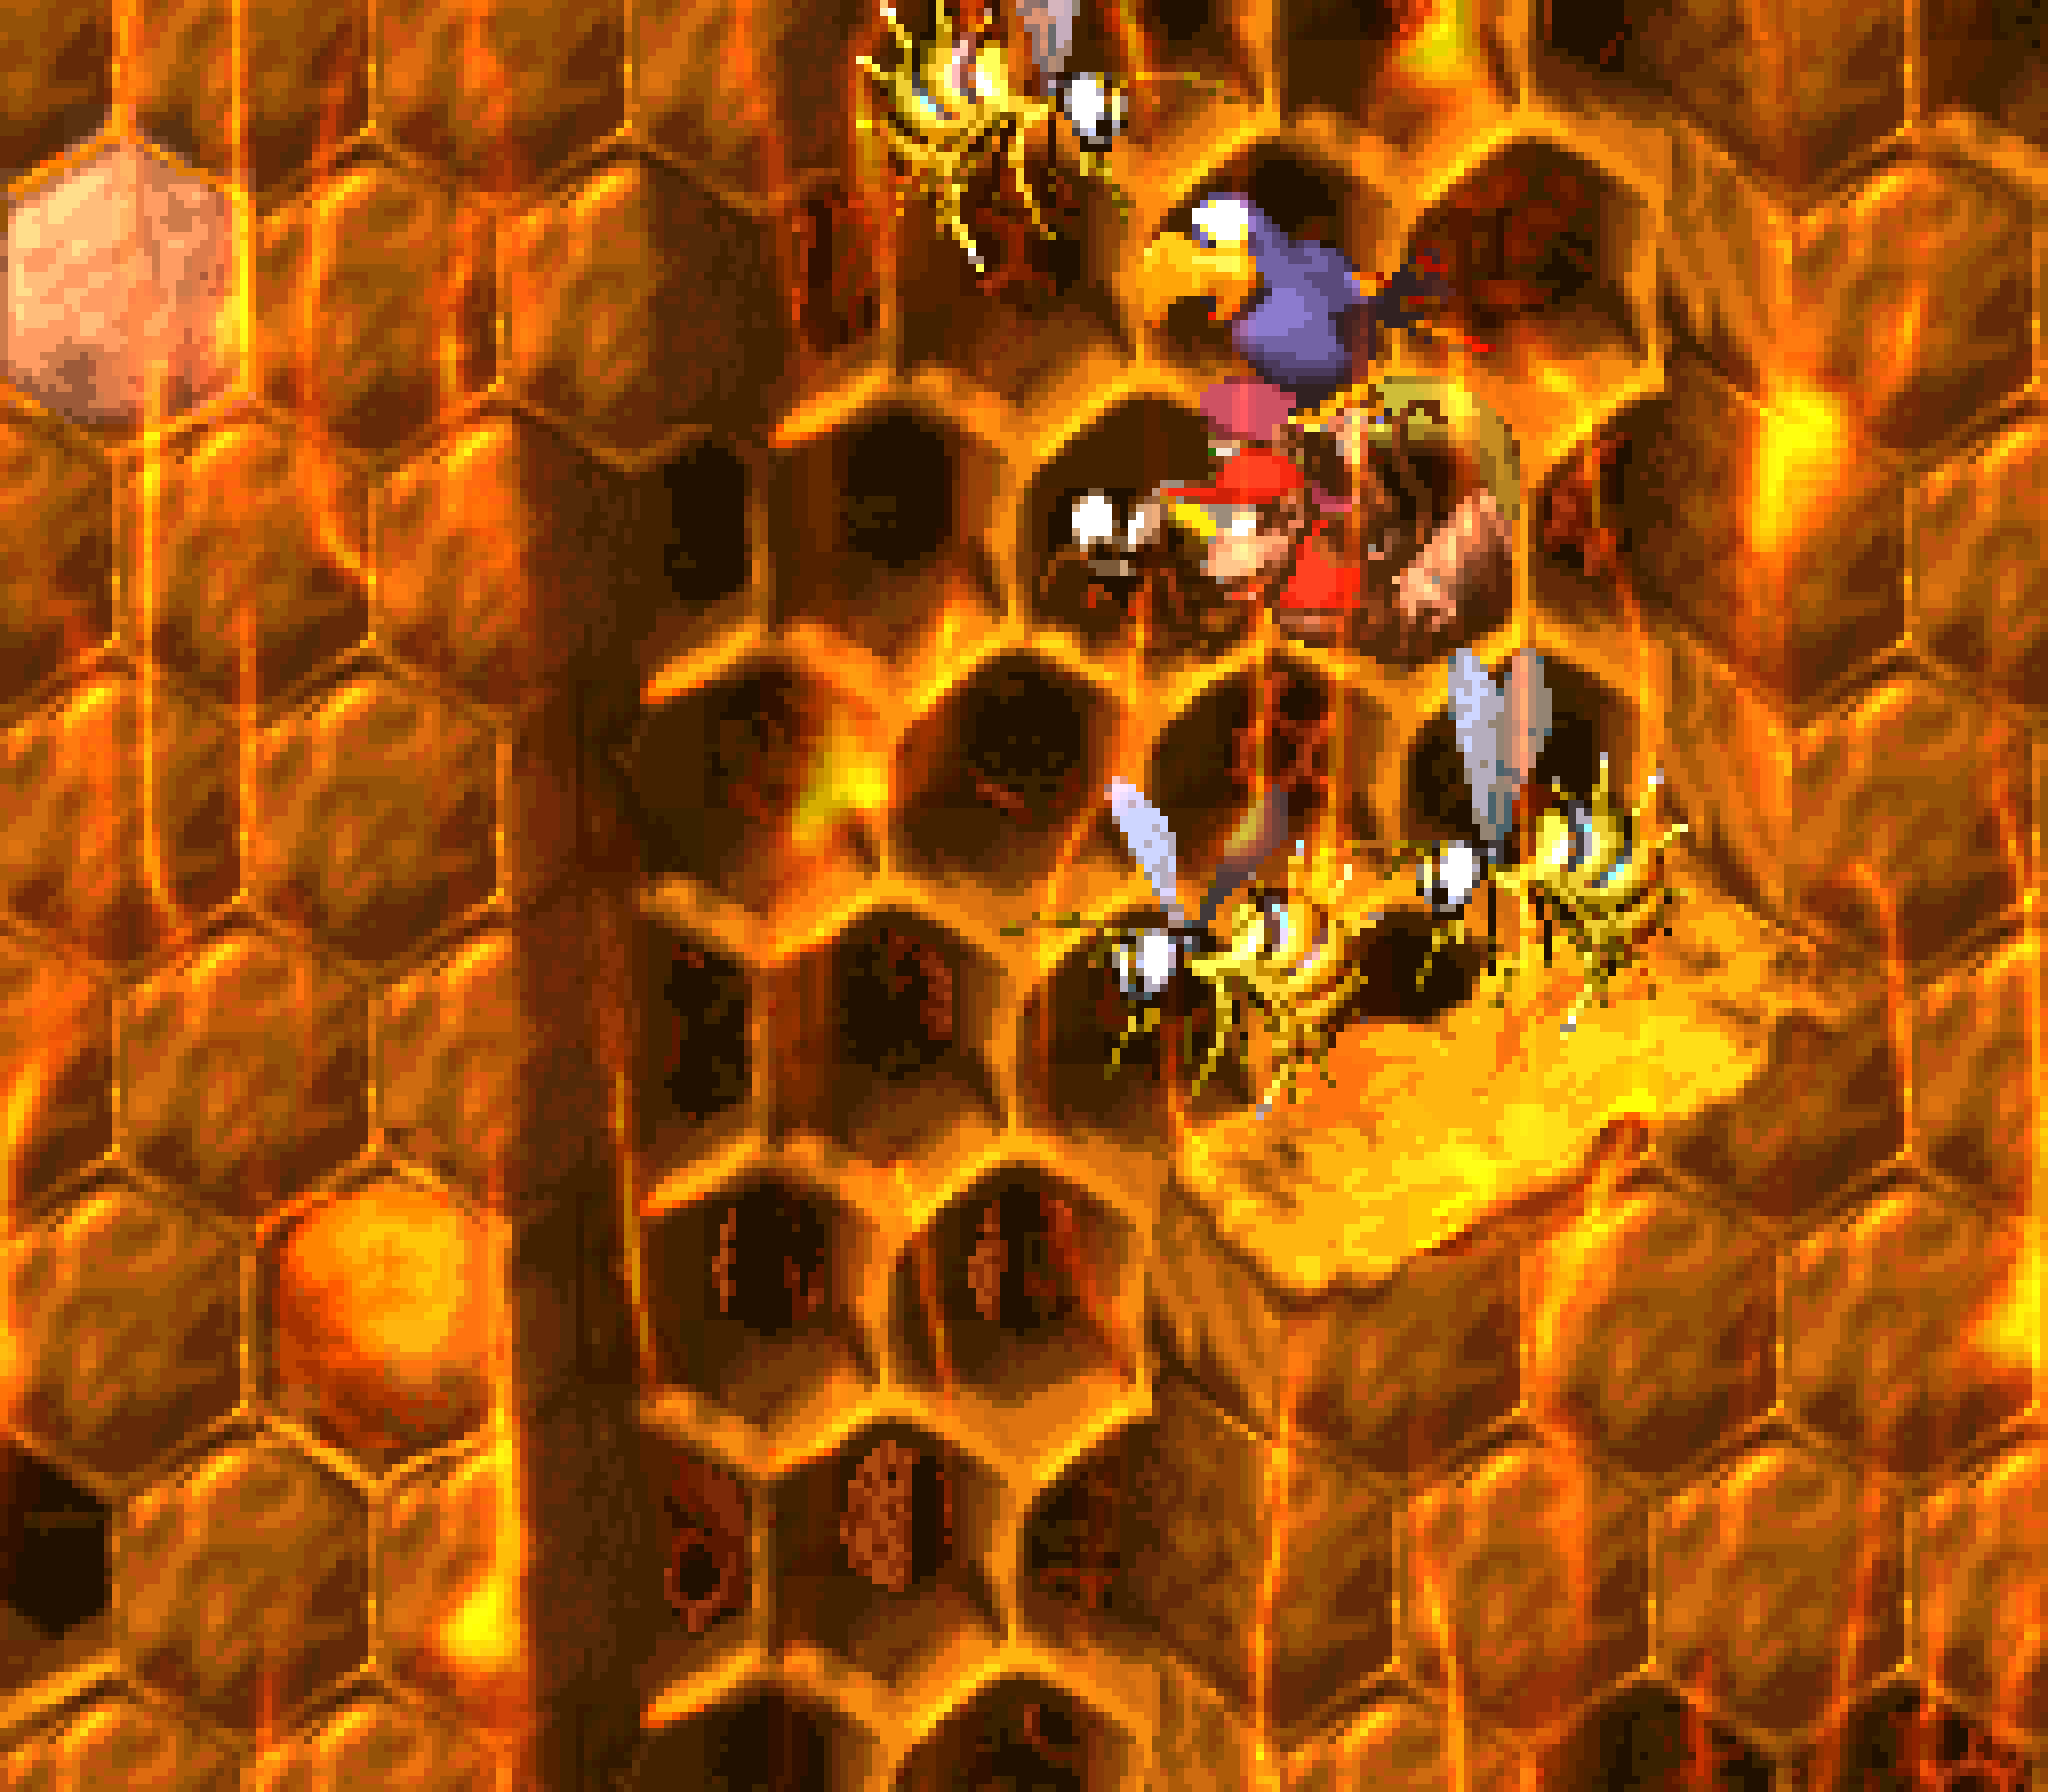
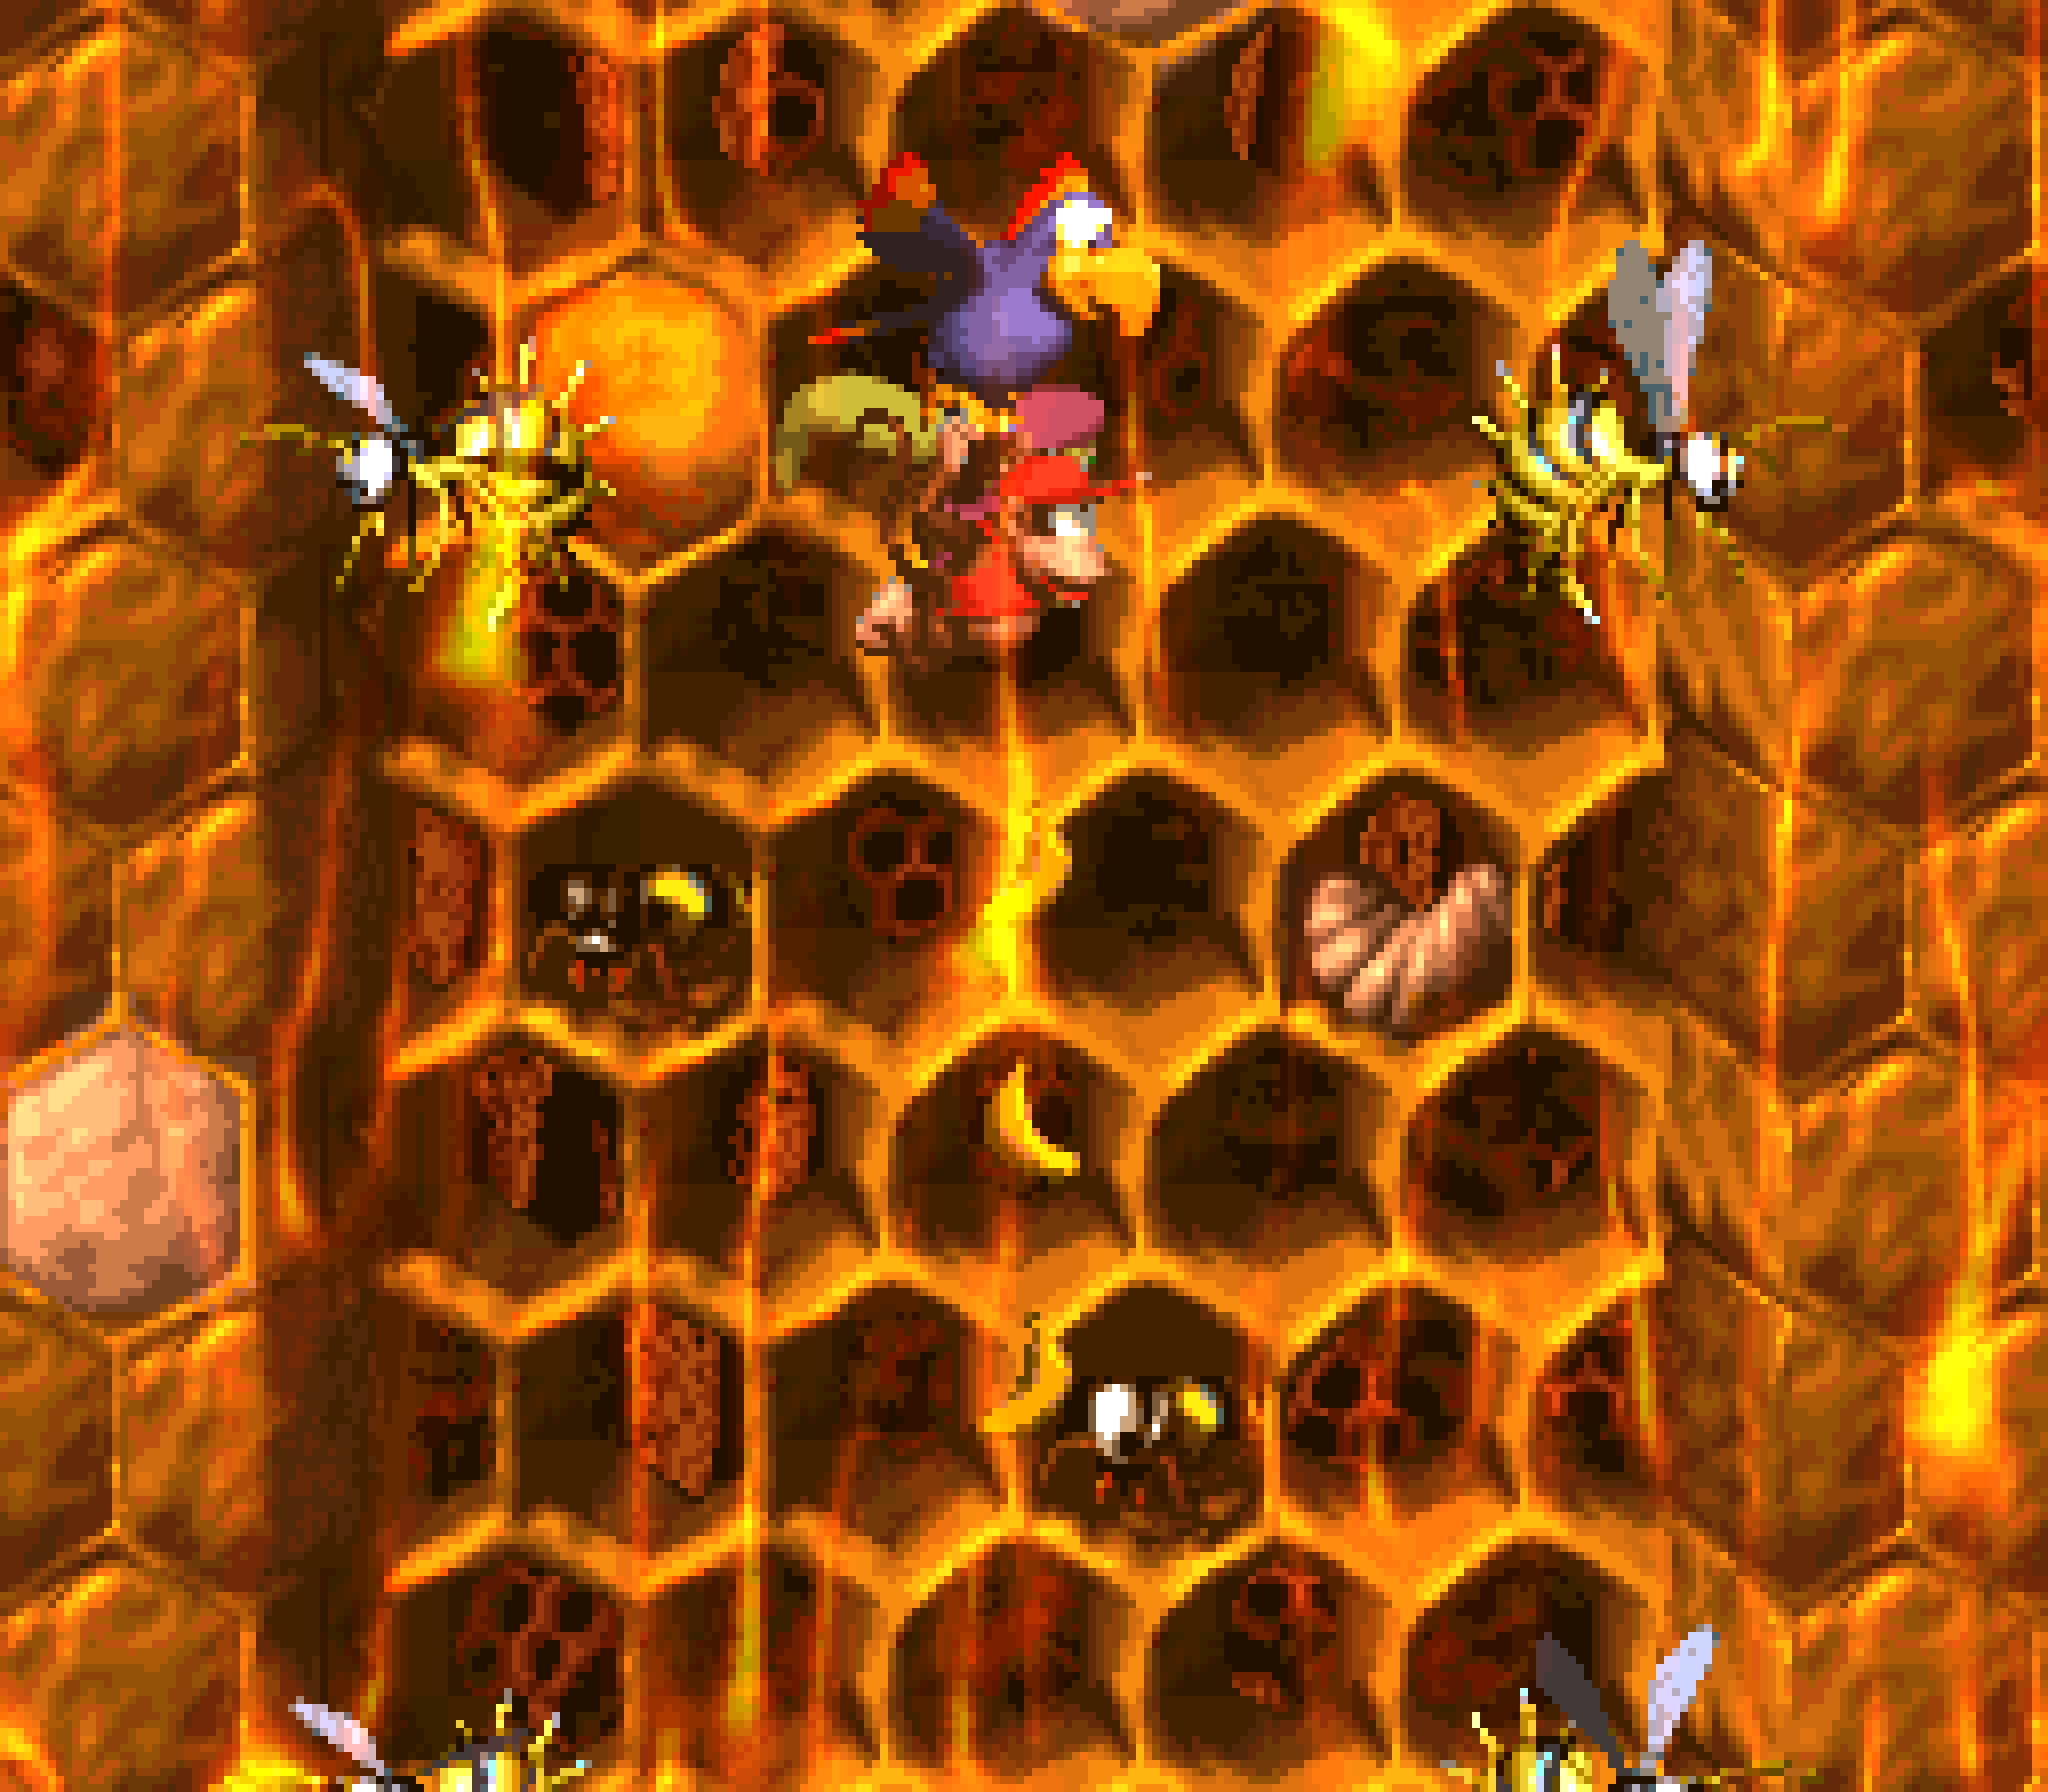
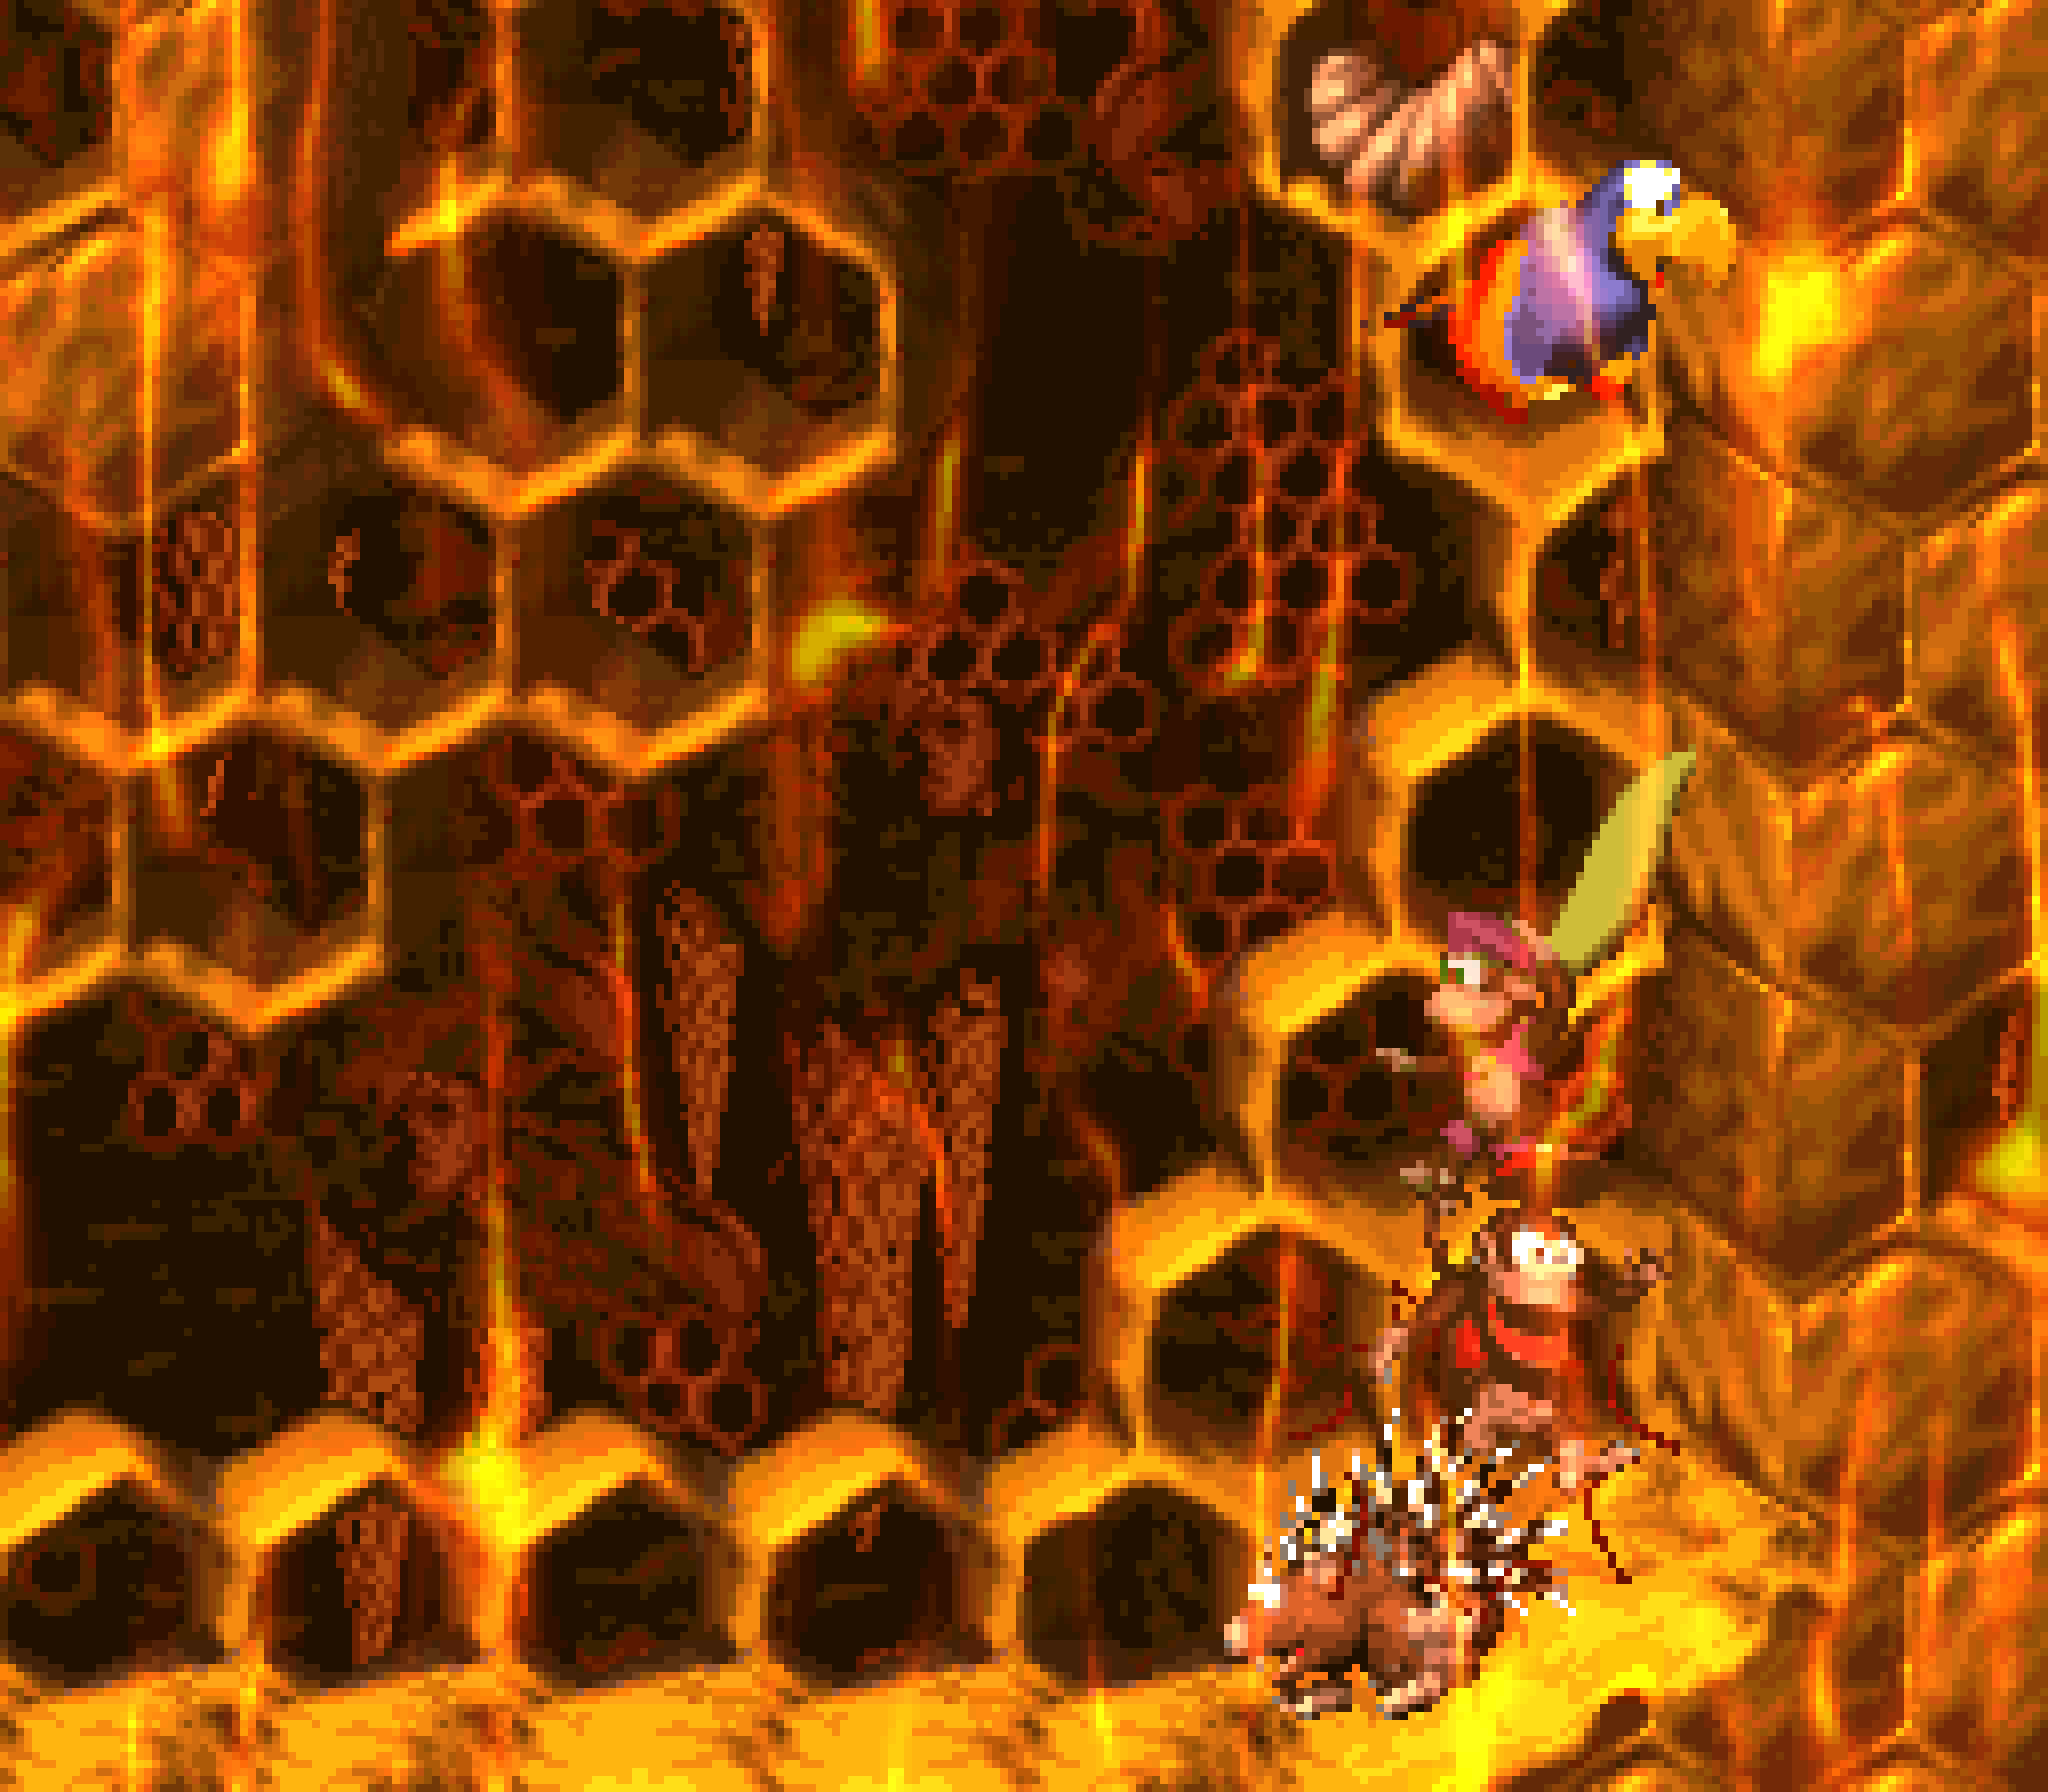
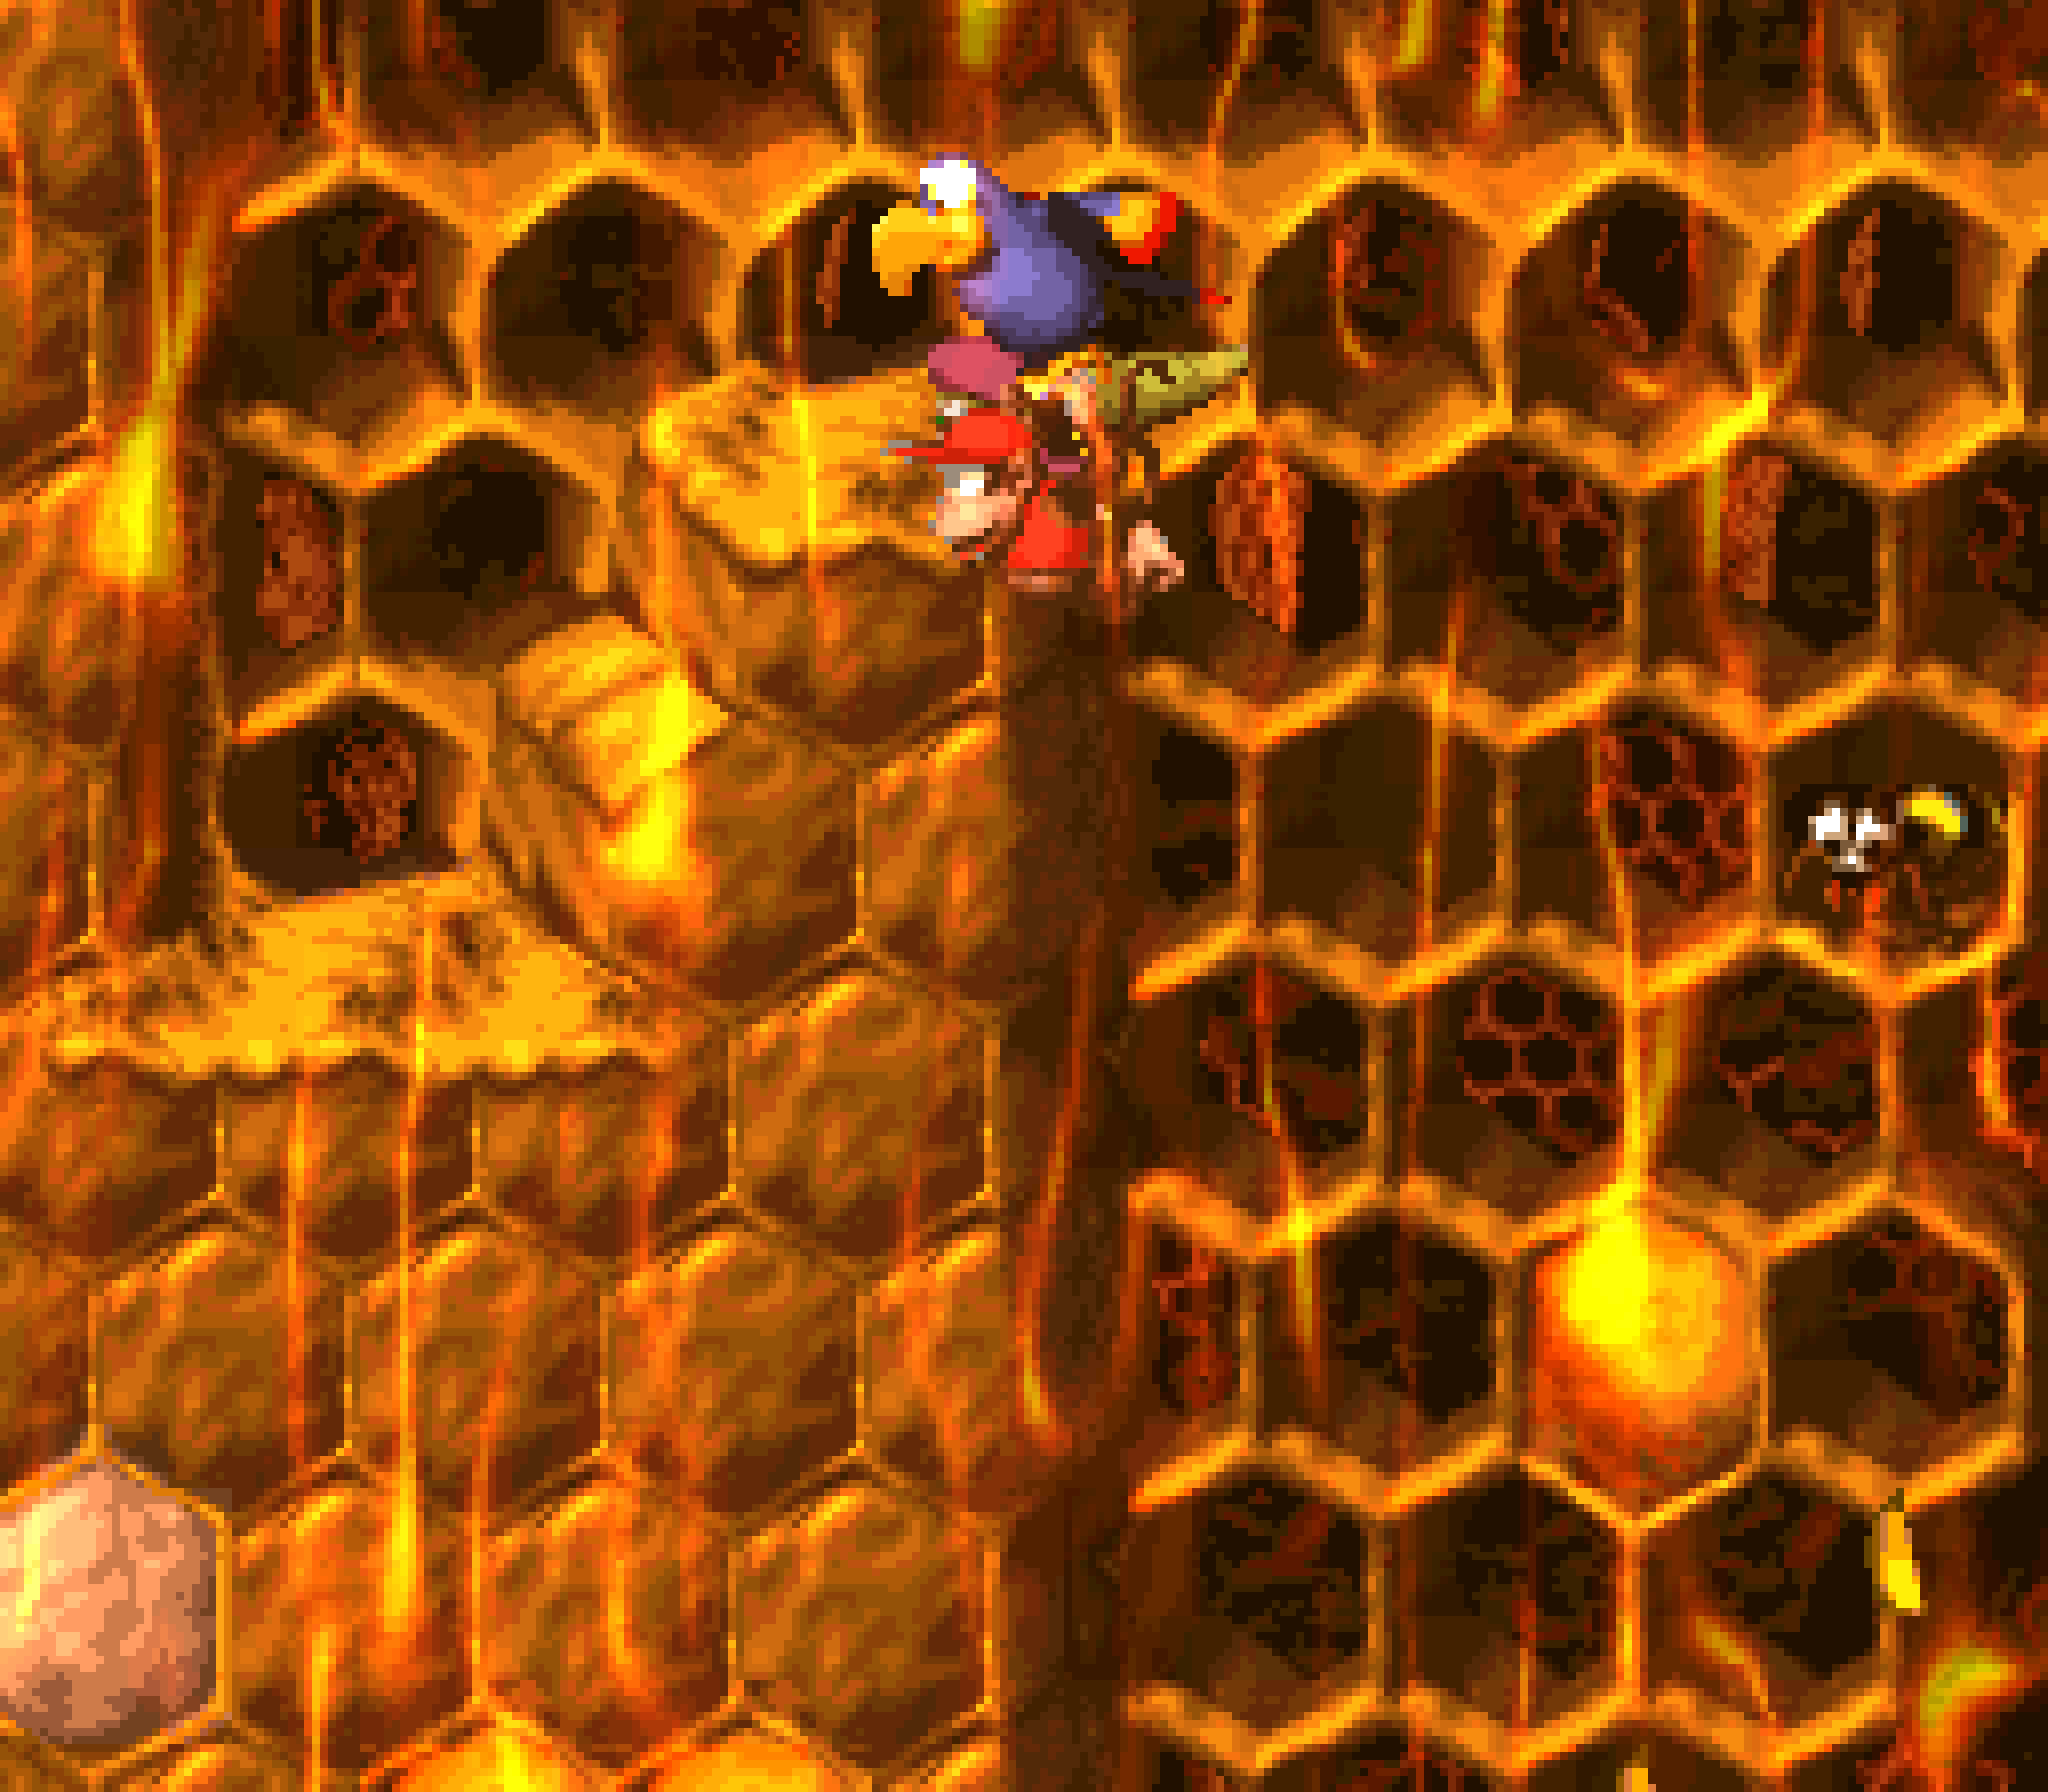
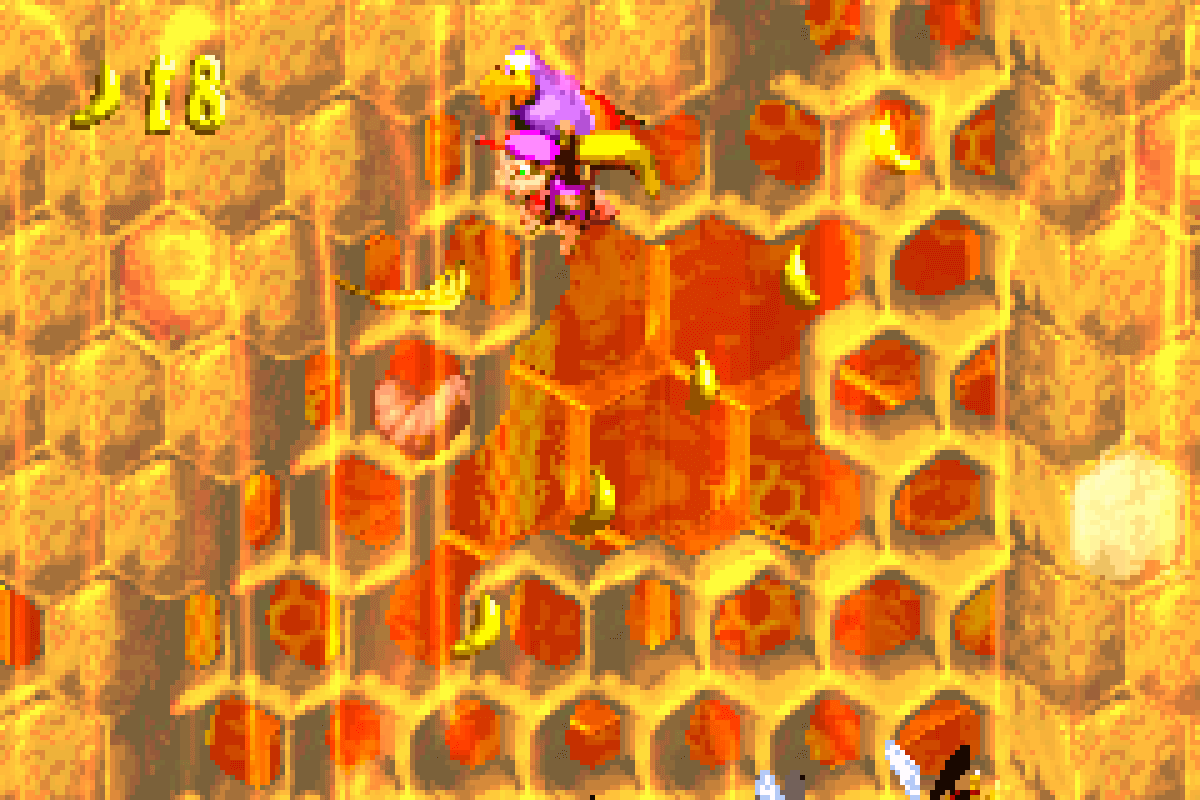
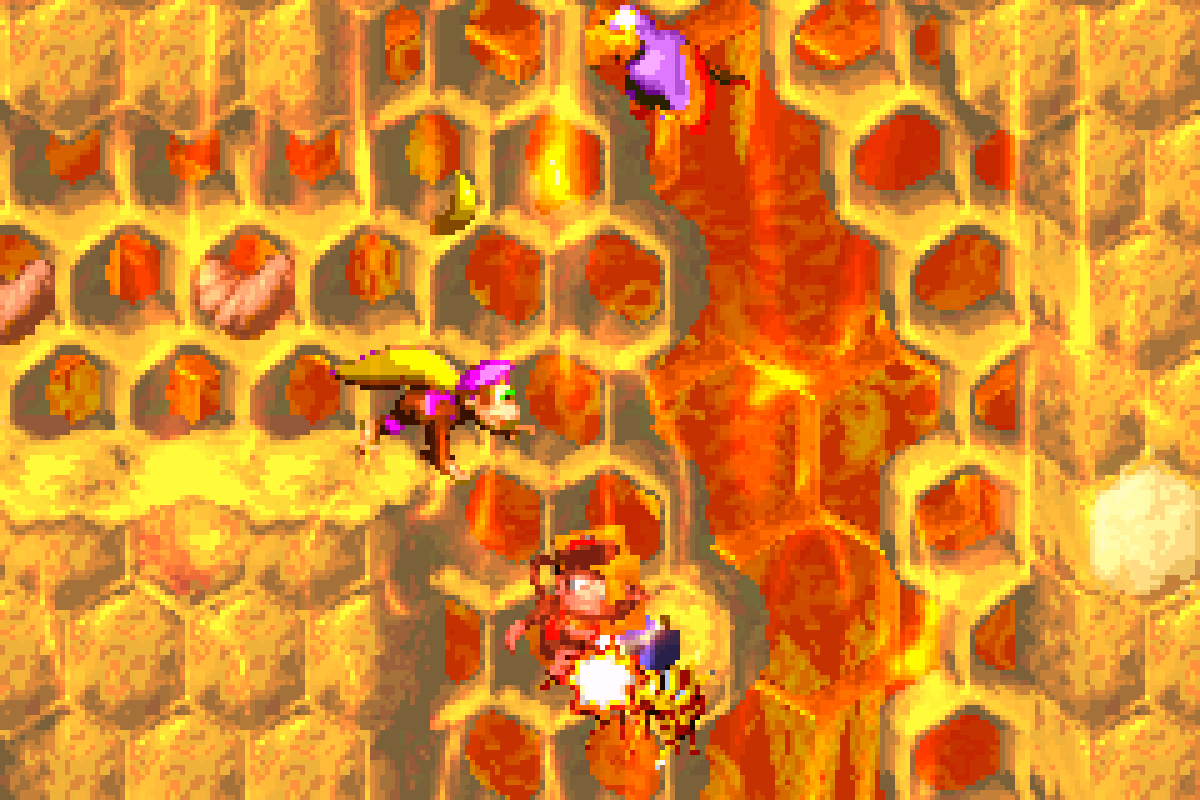
21. Rambi Rumble
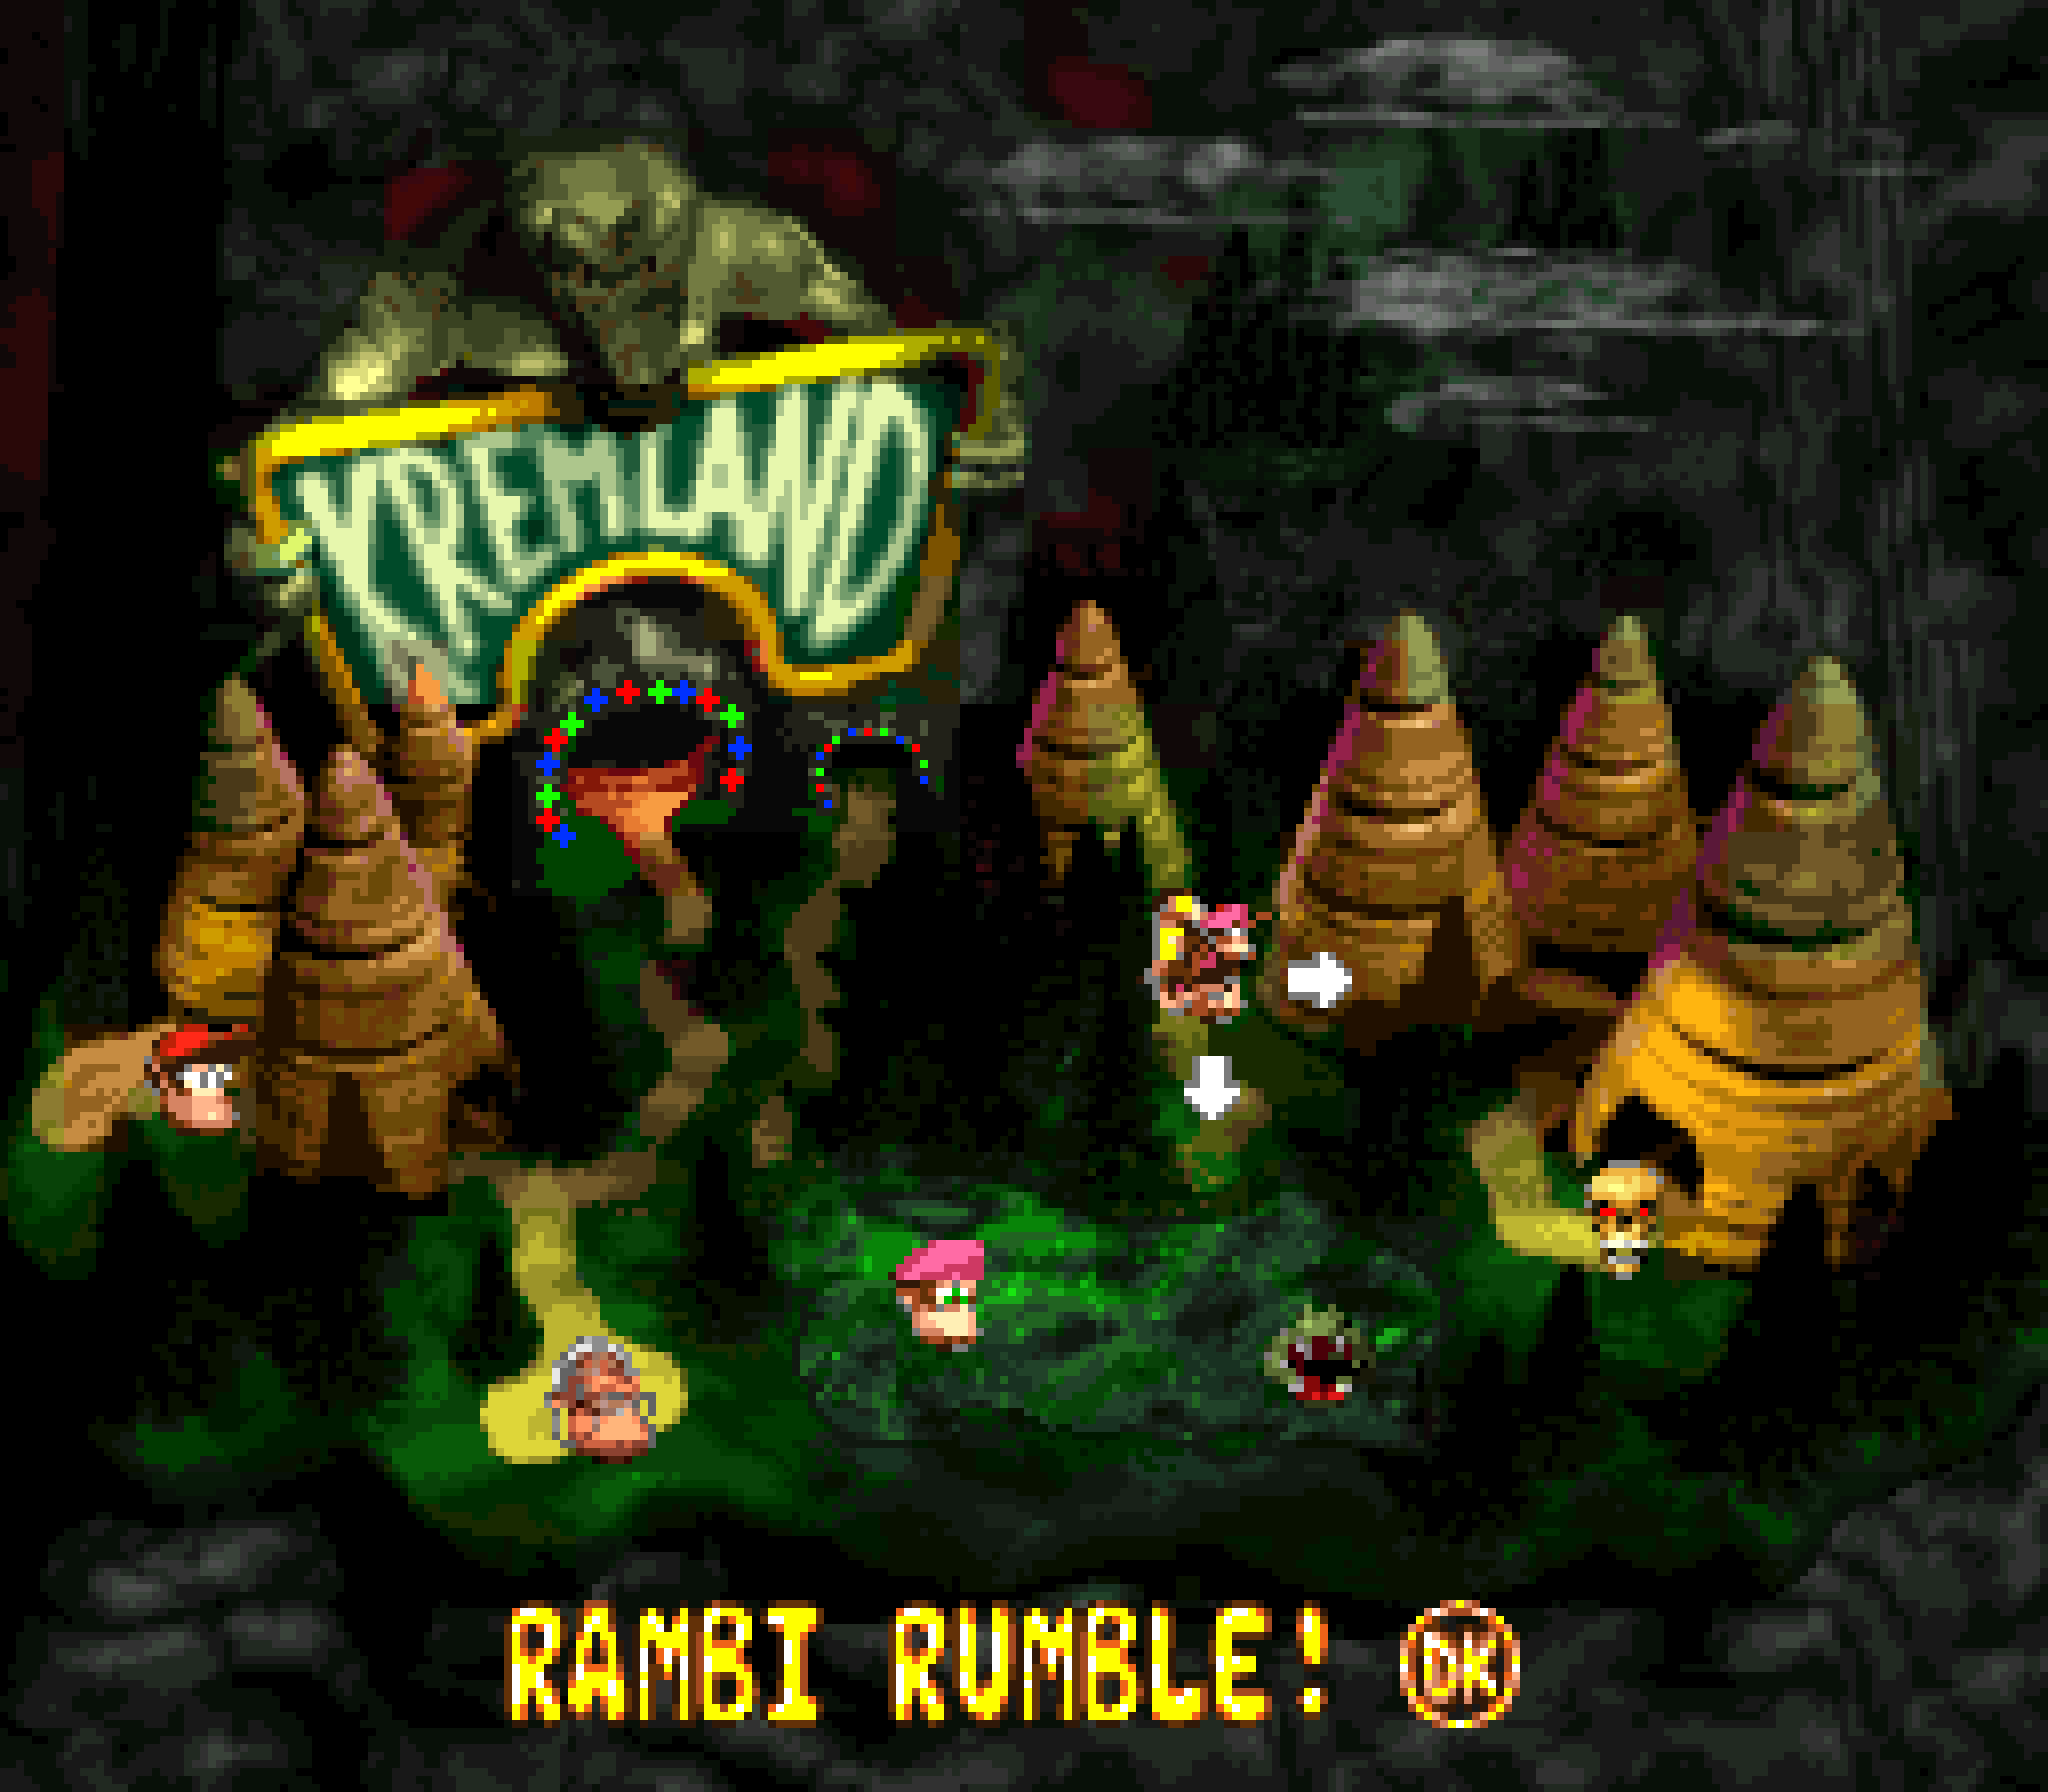
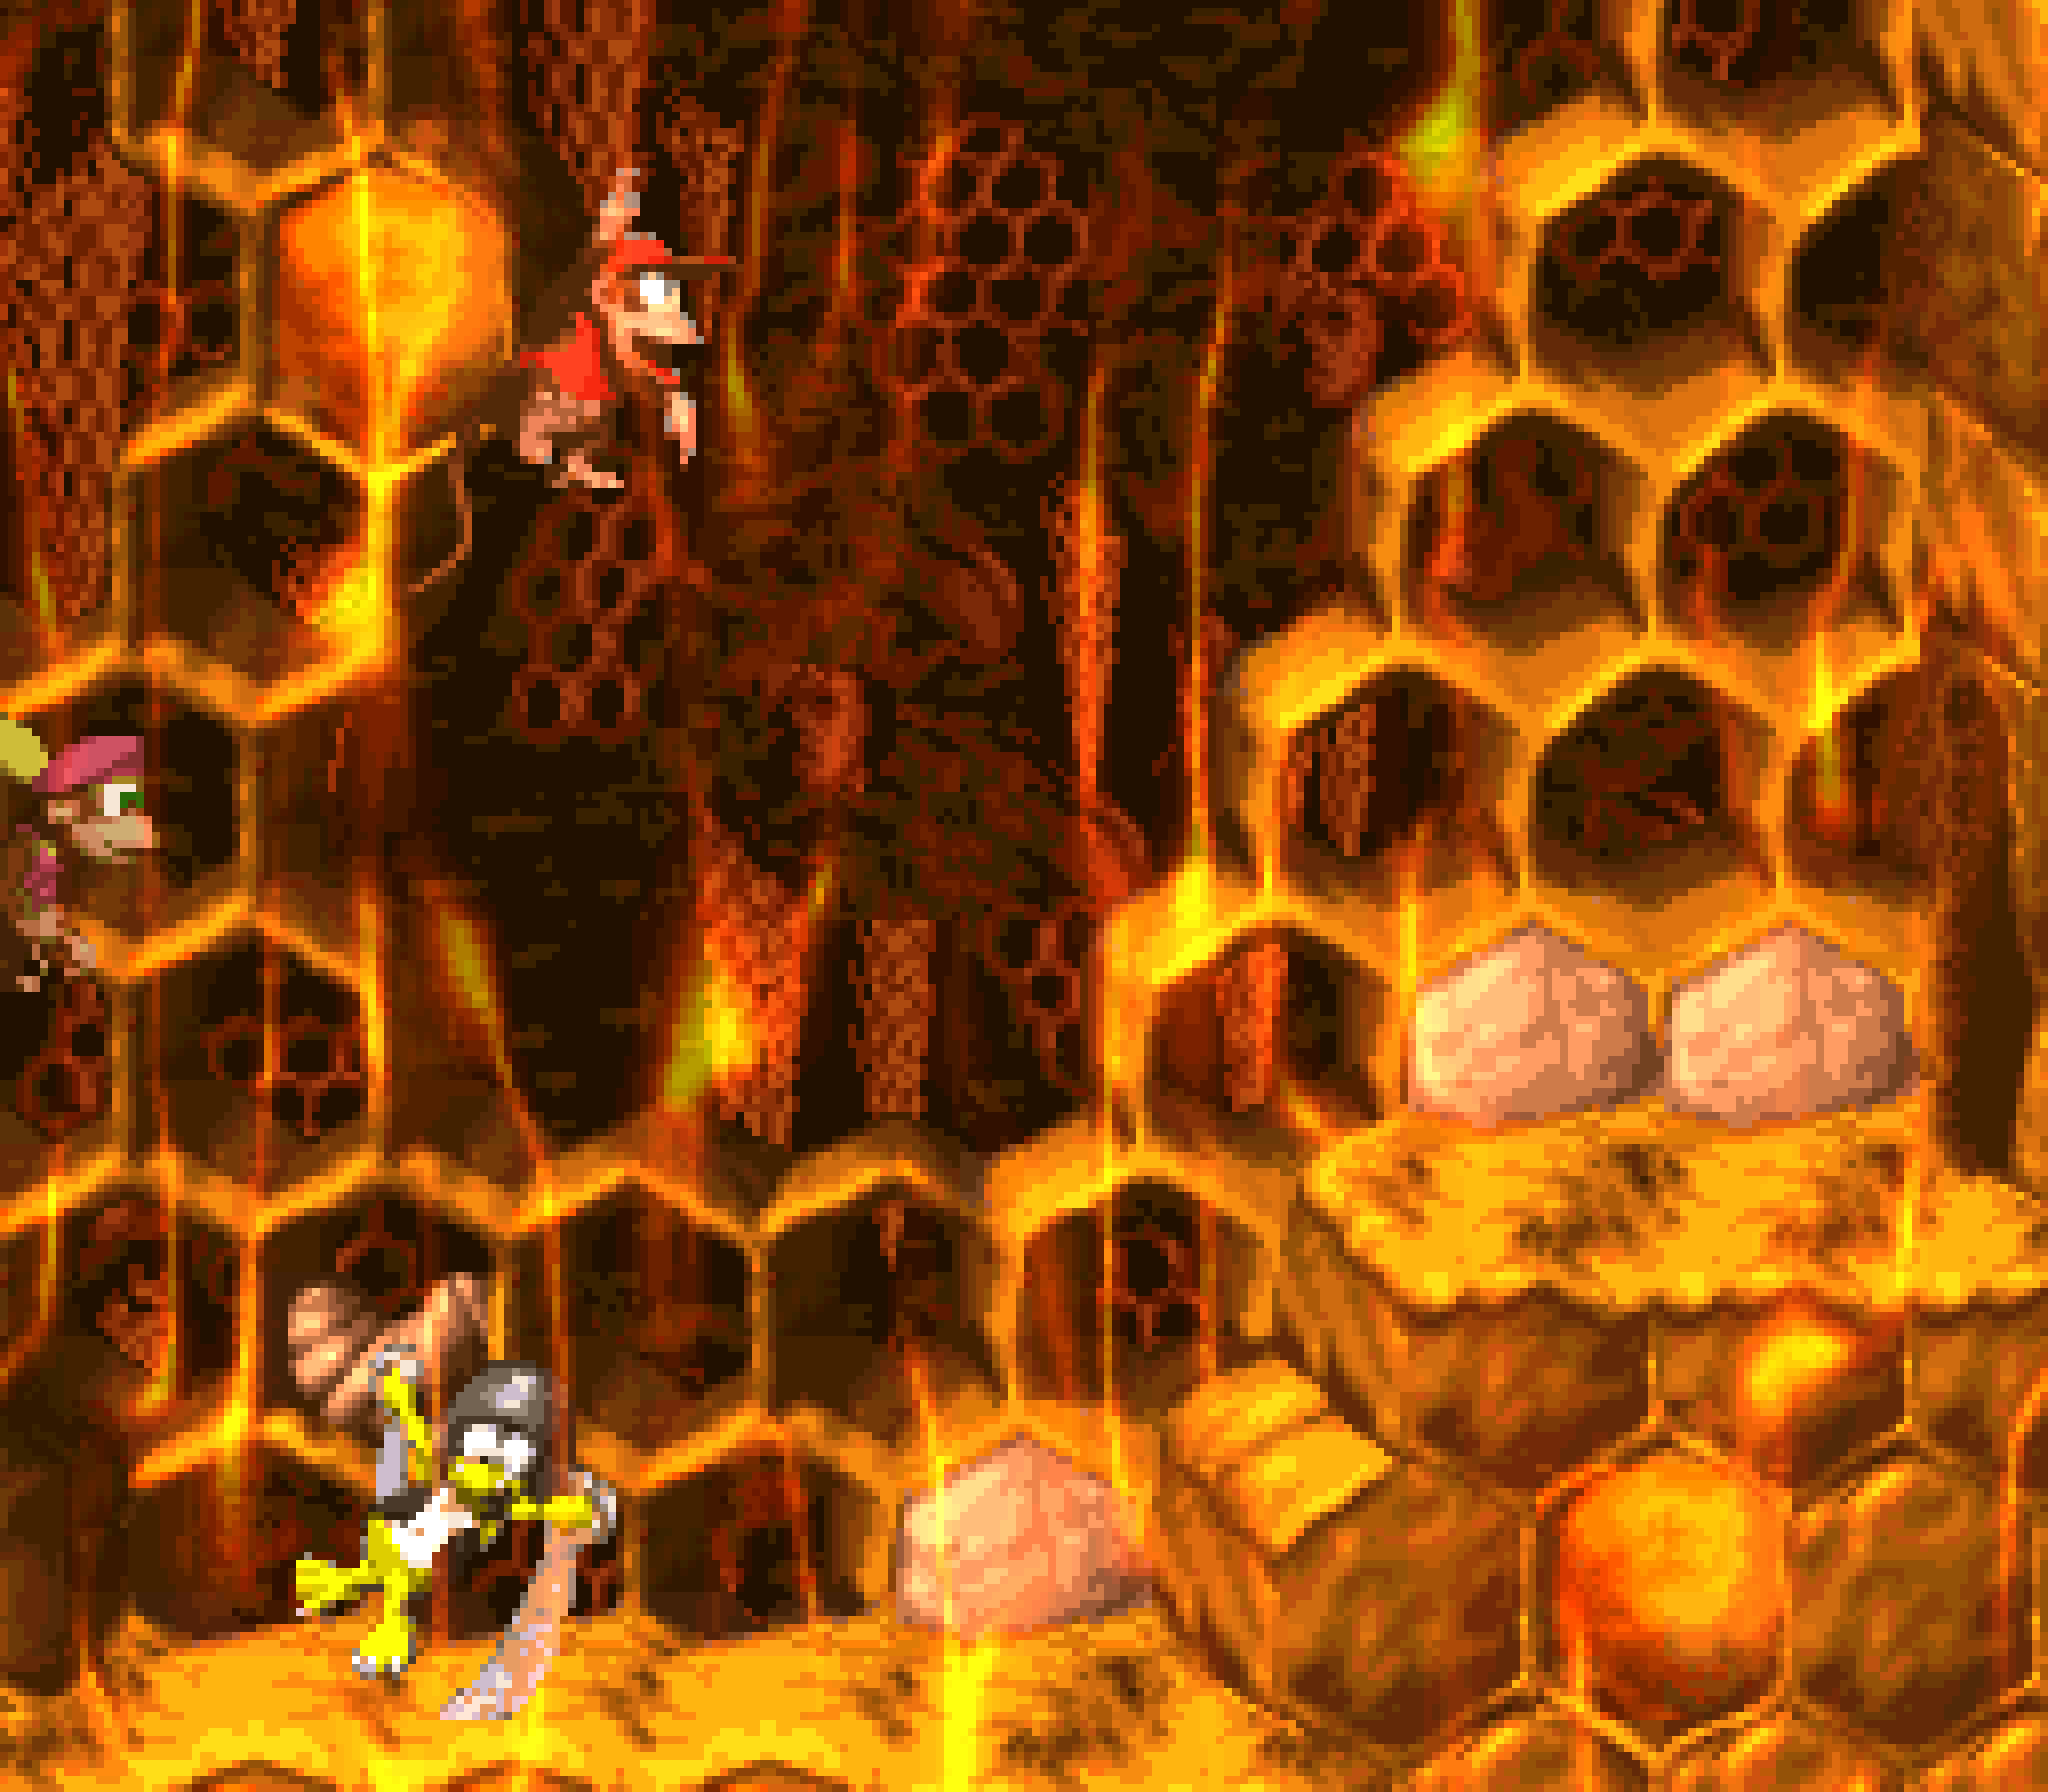
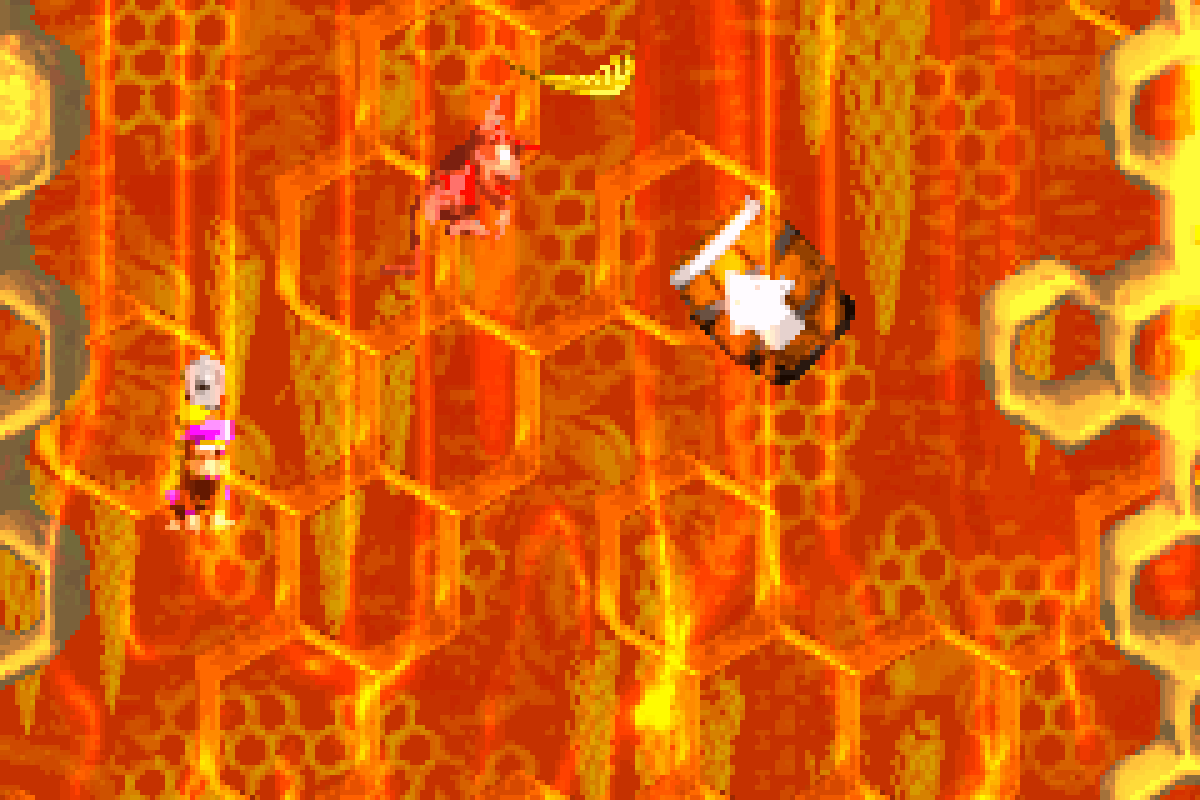
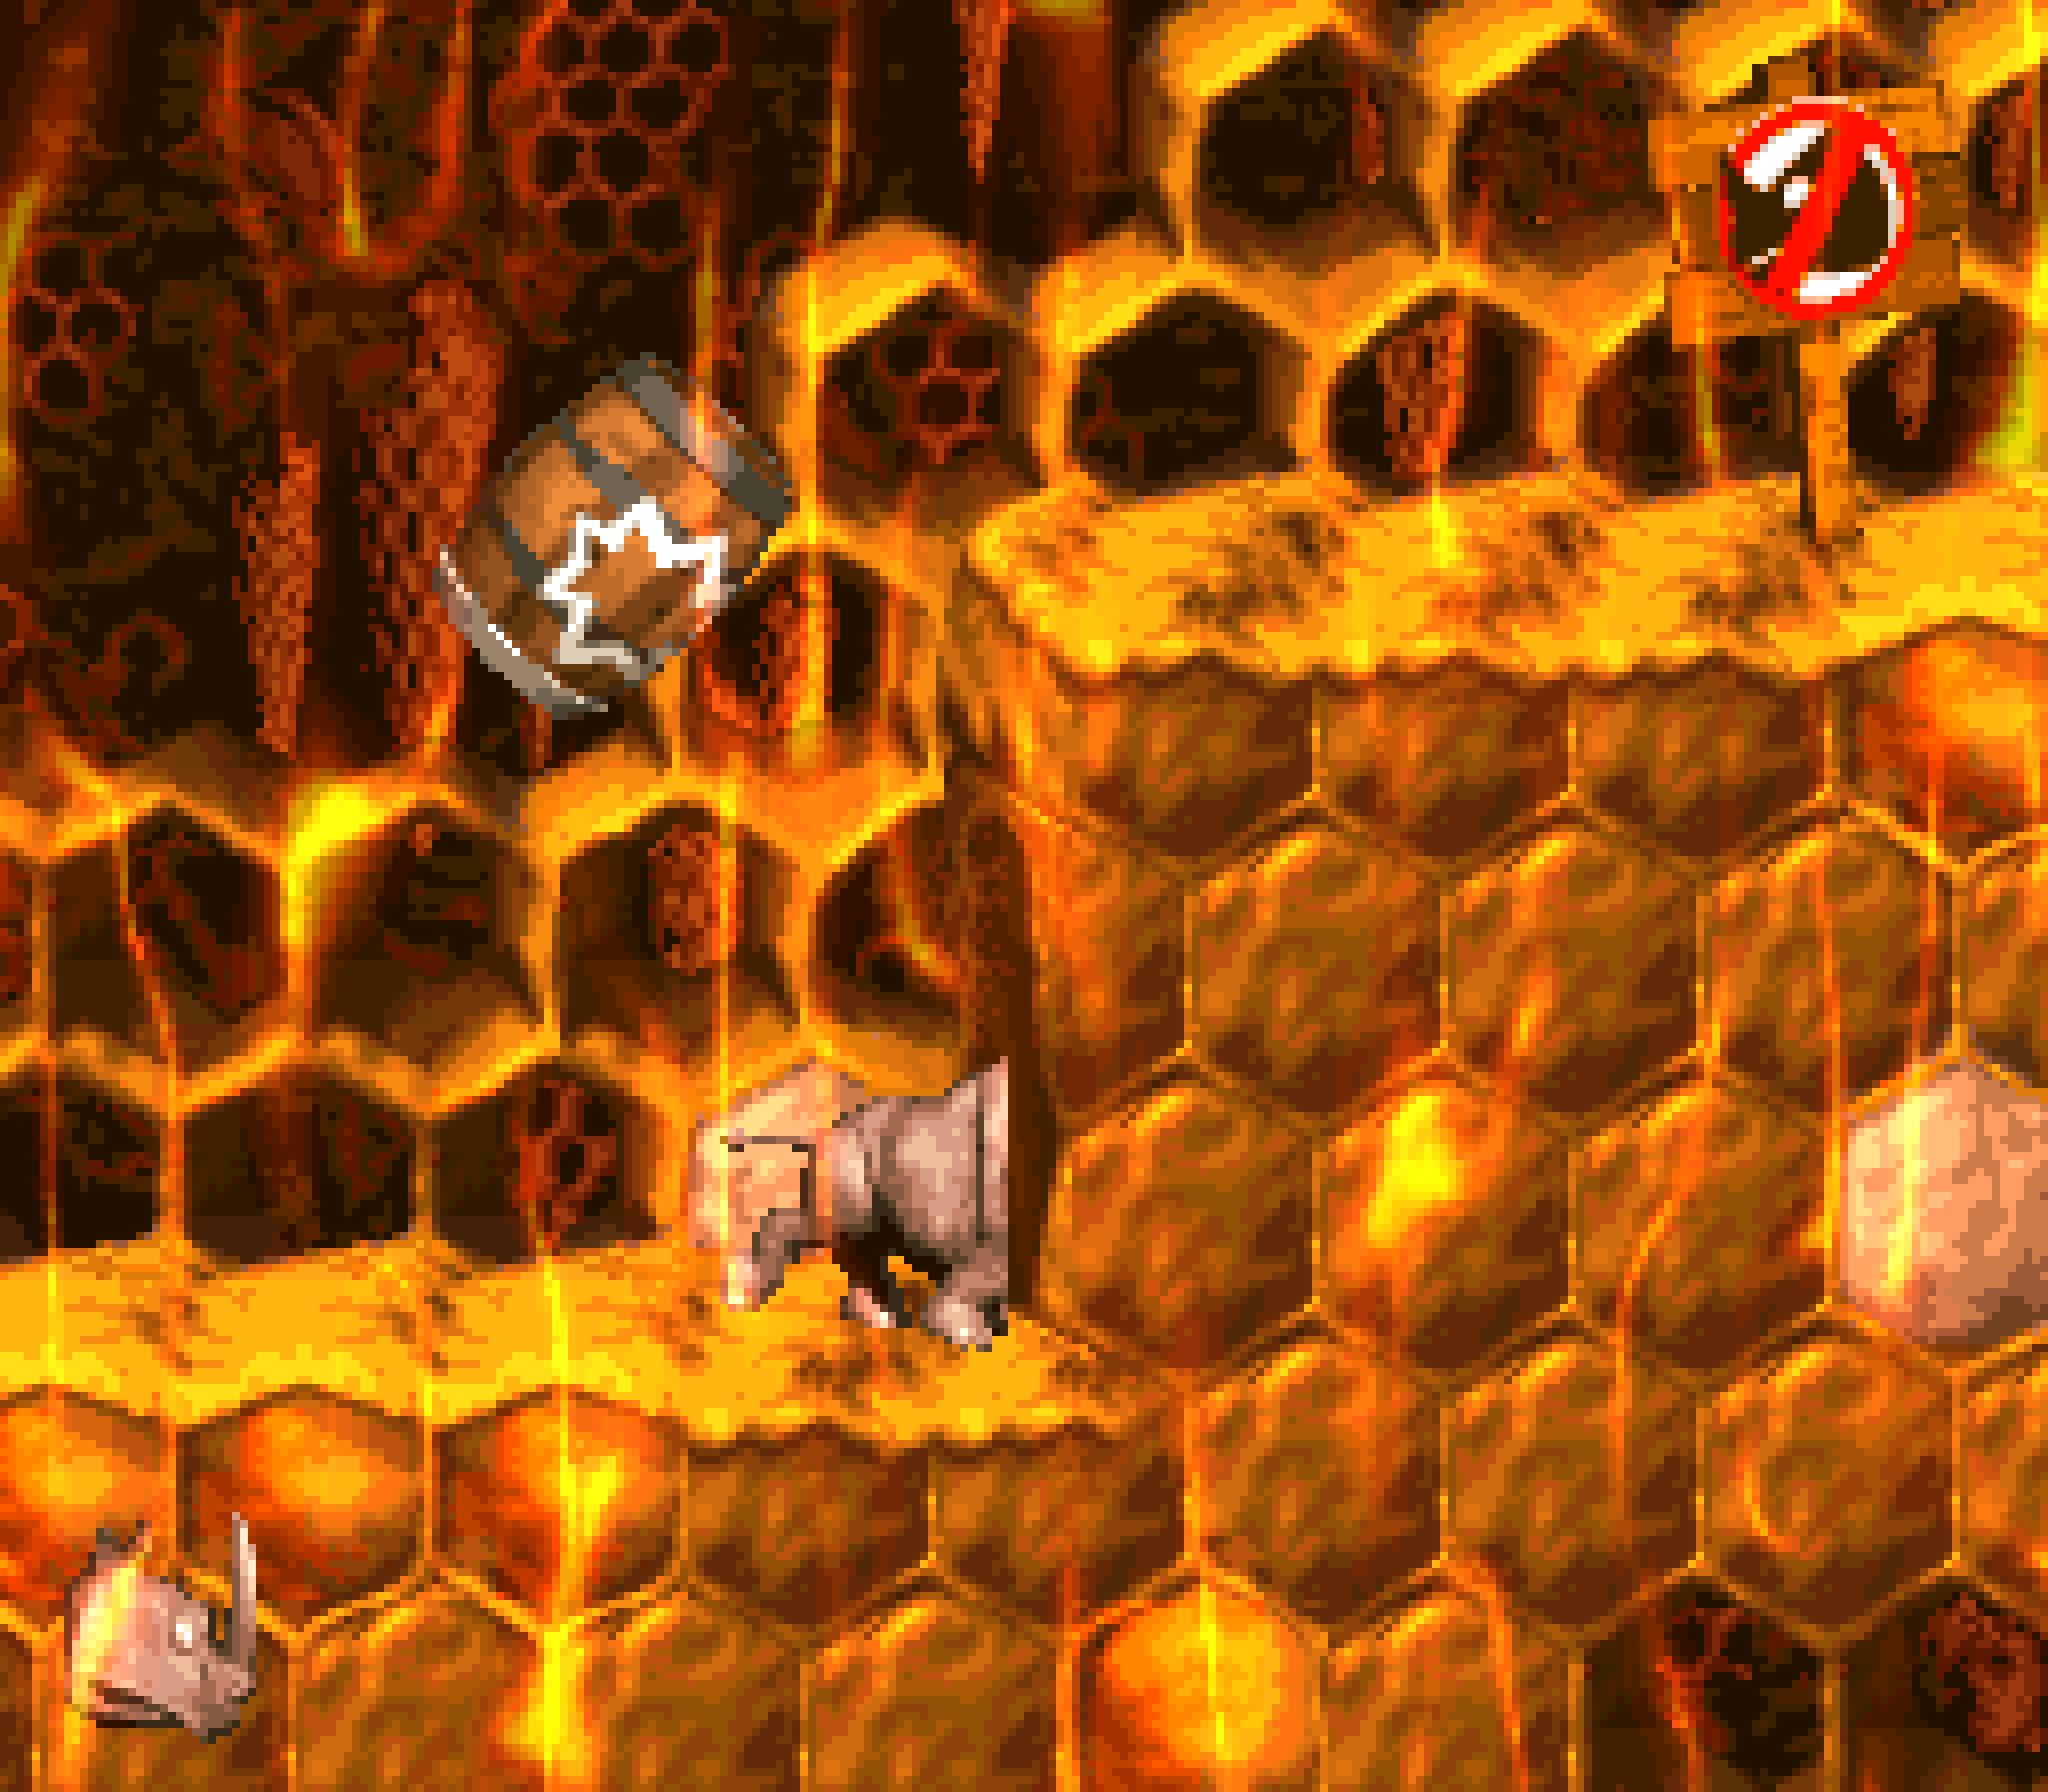
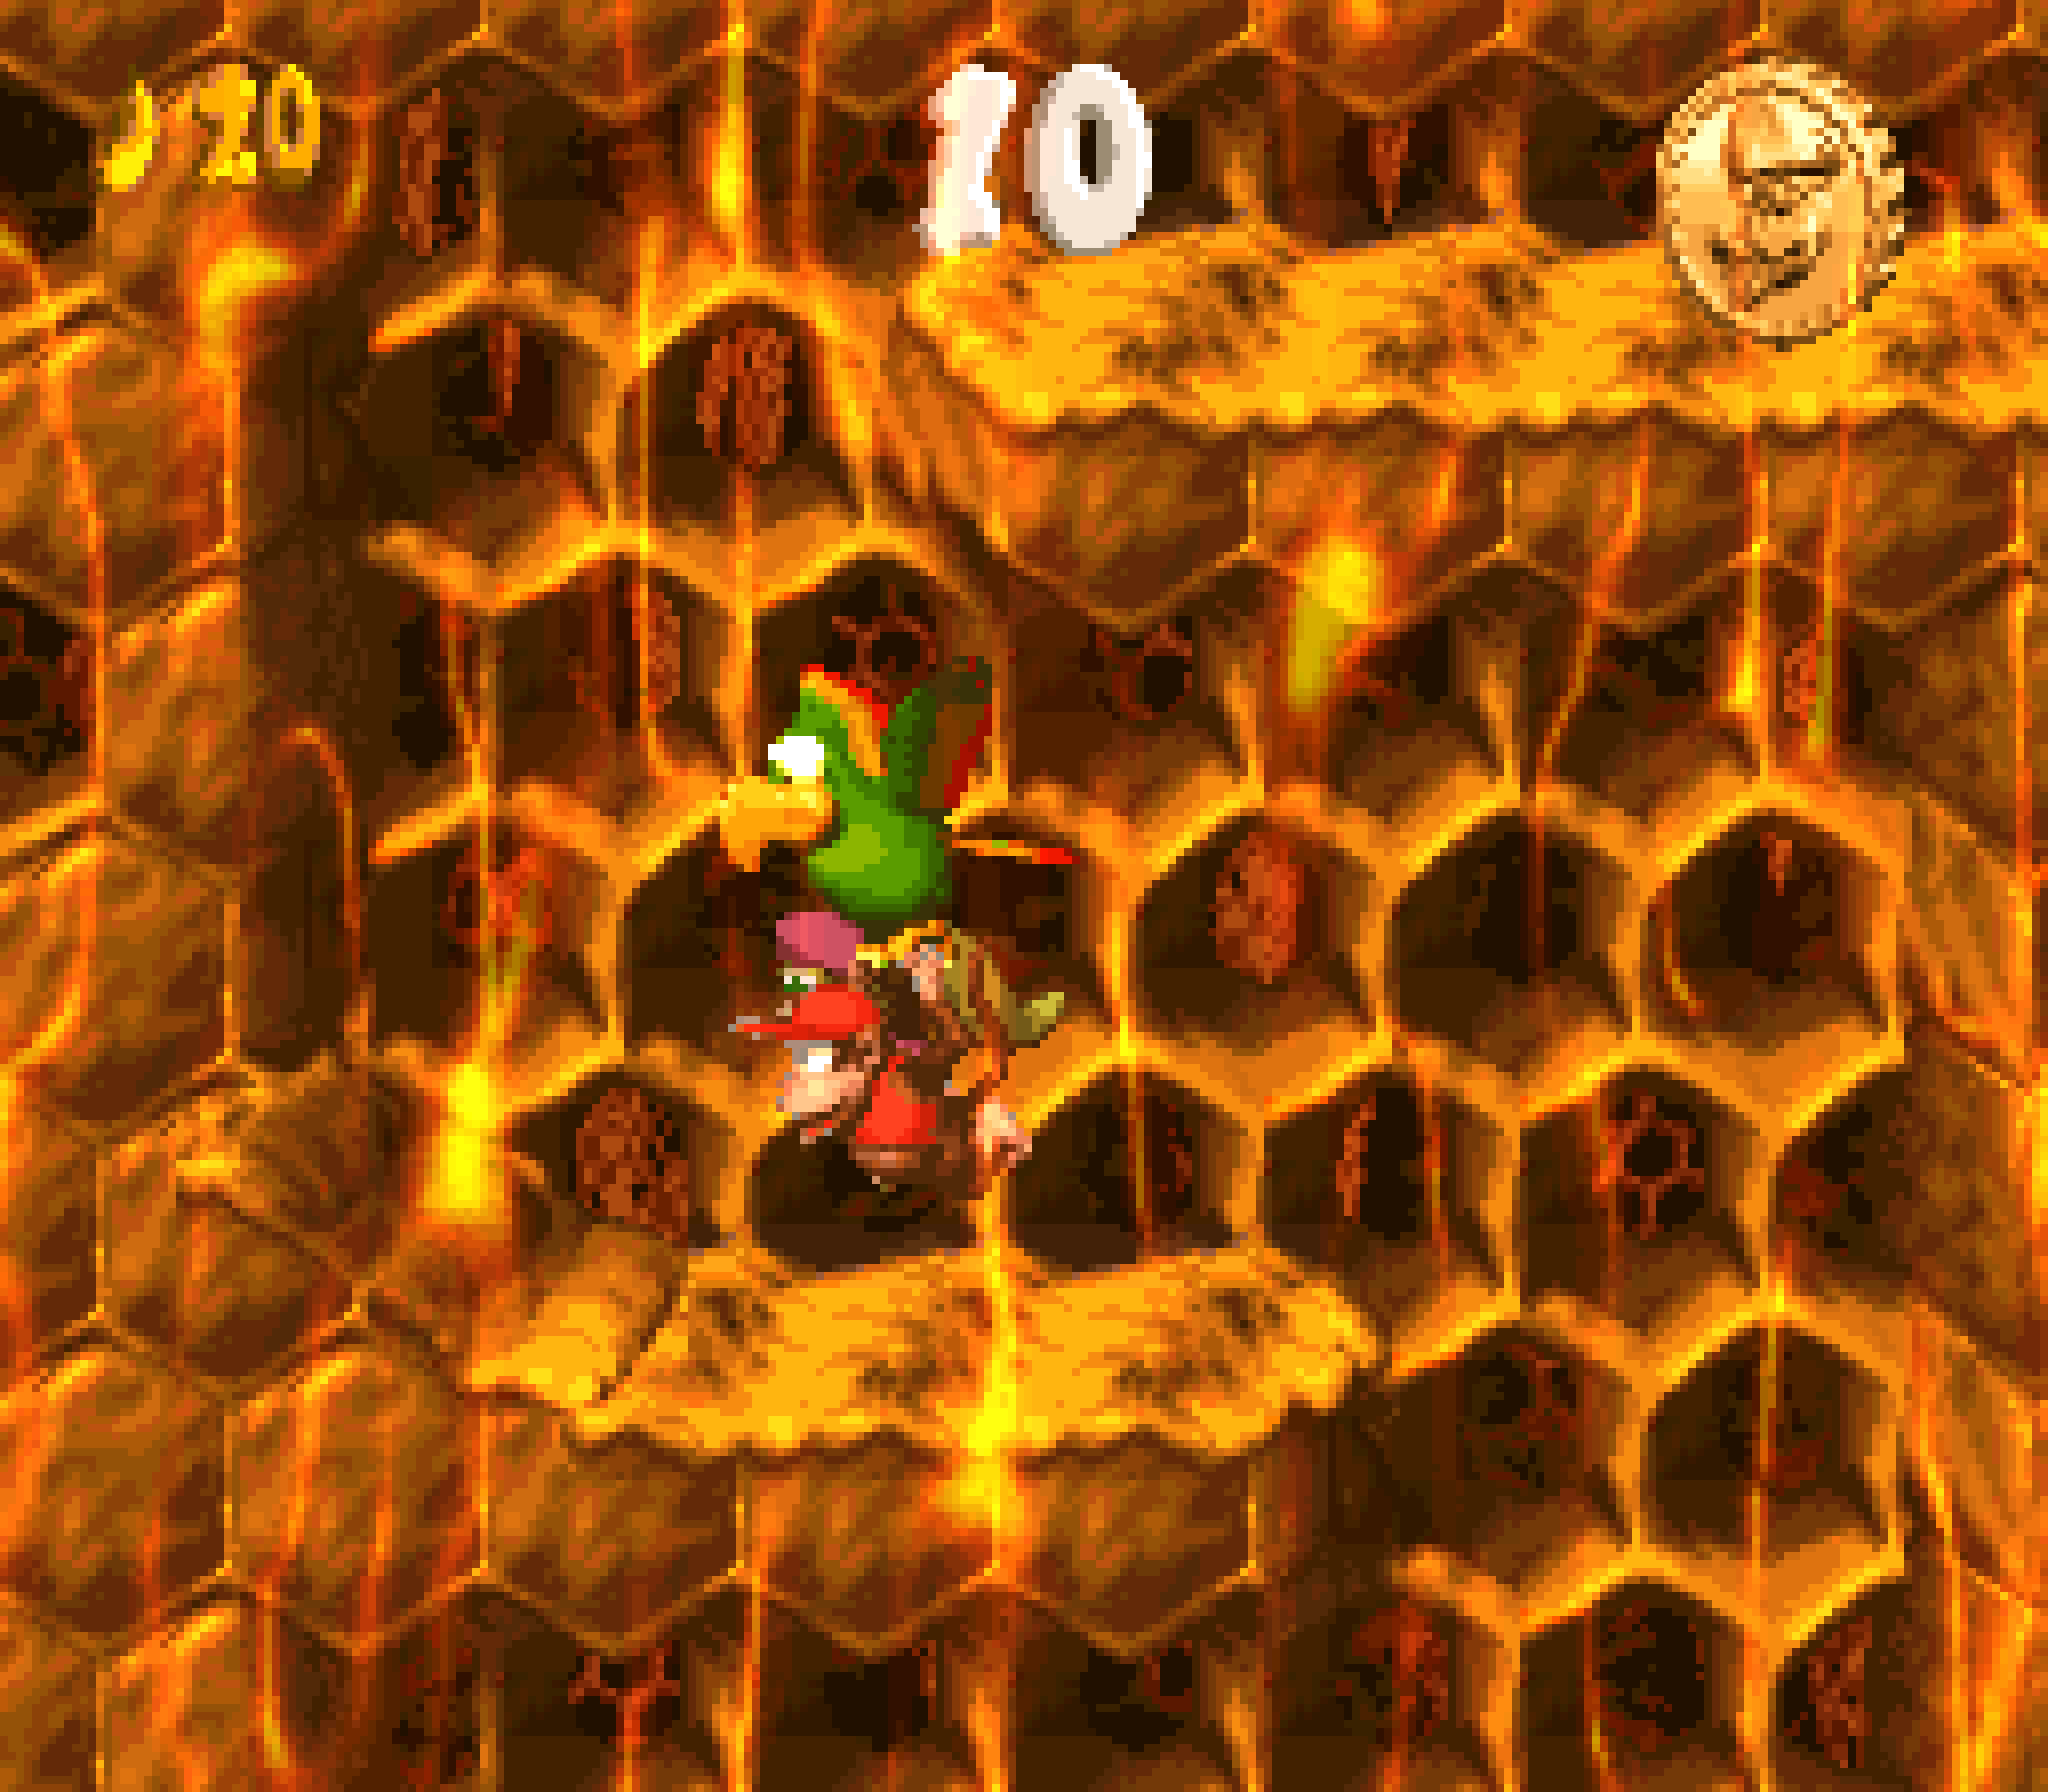
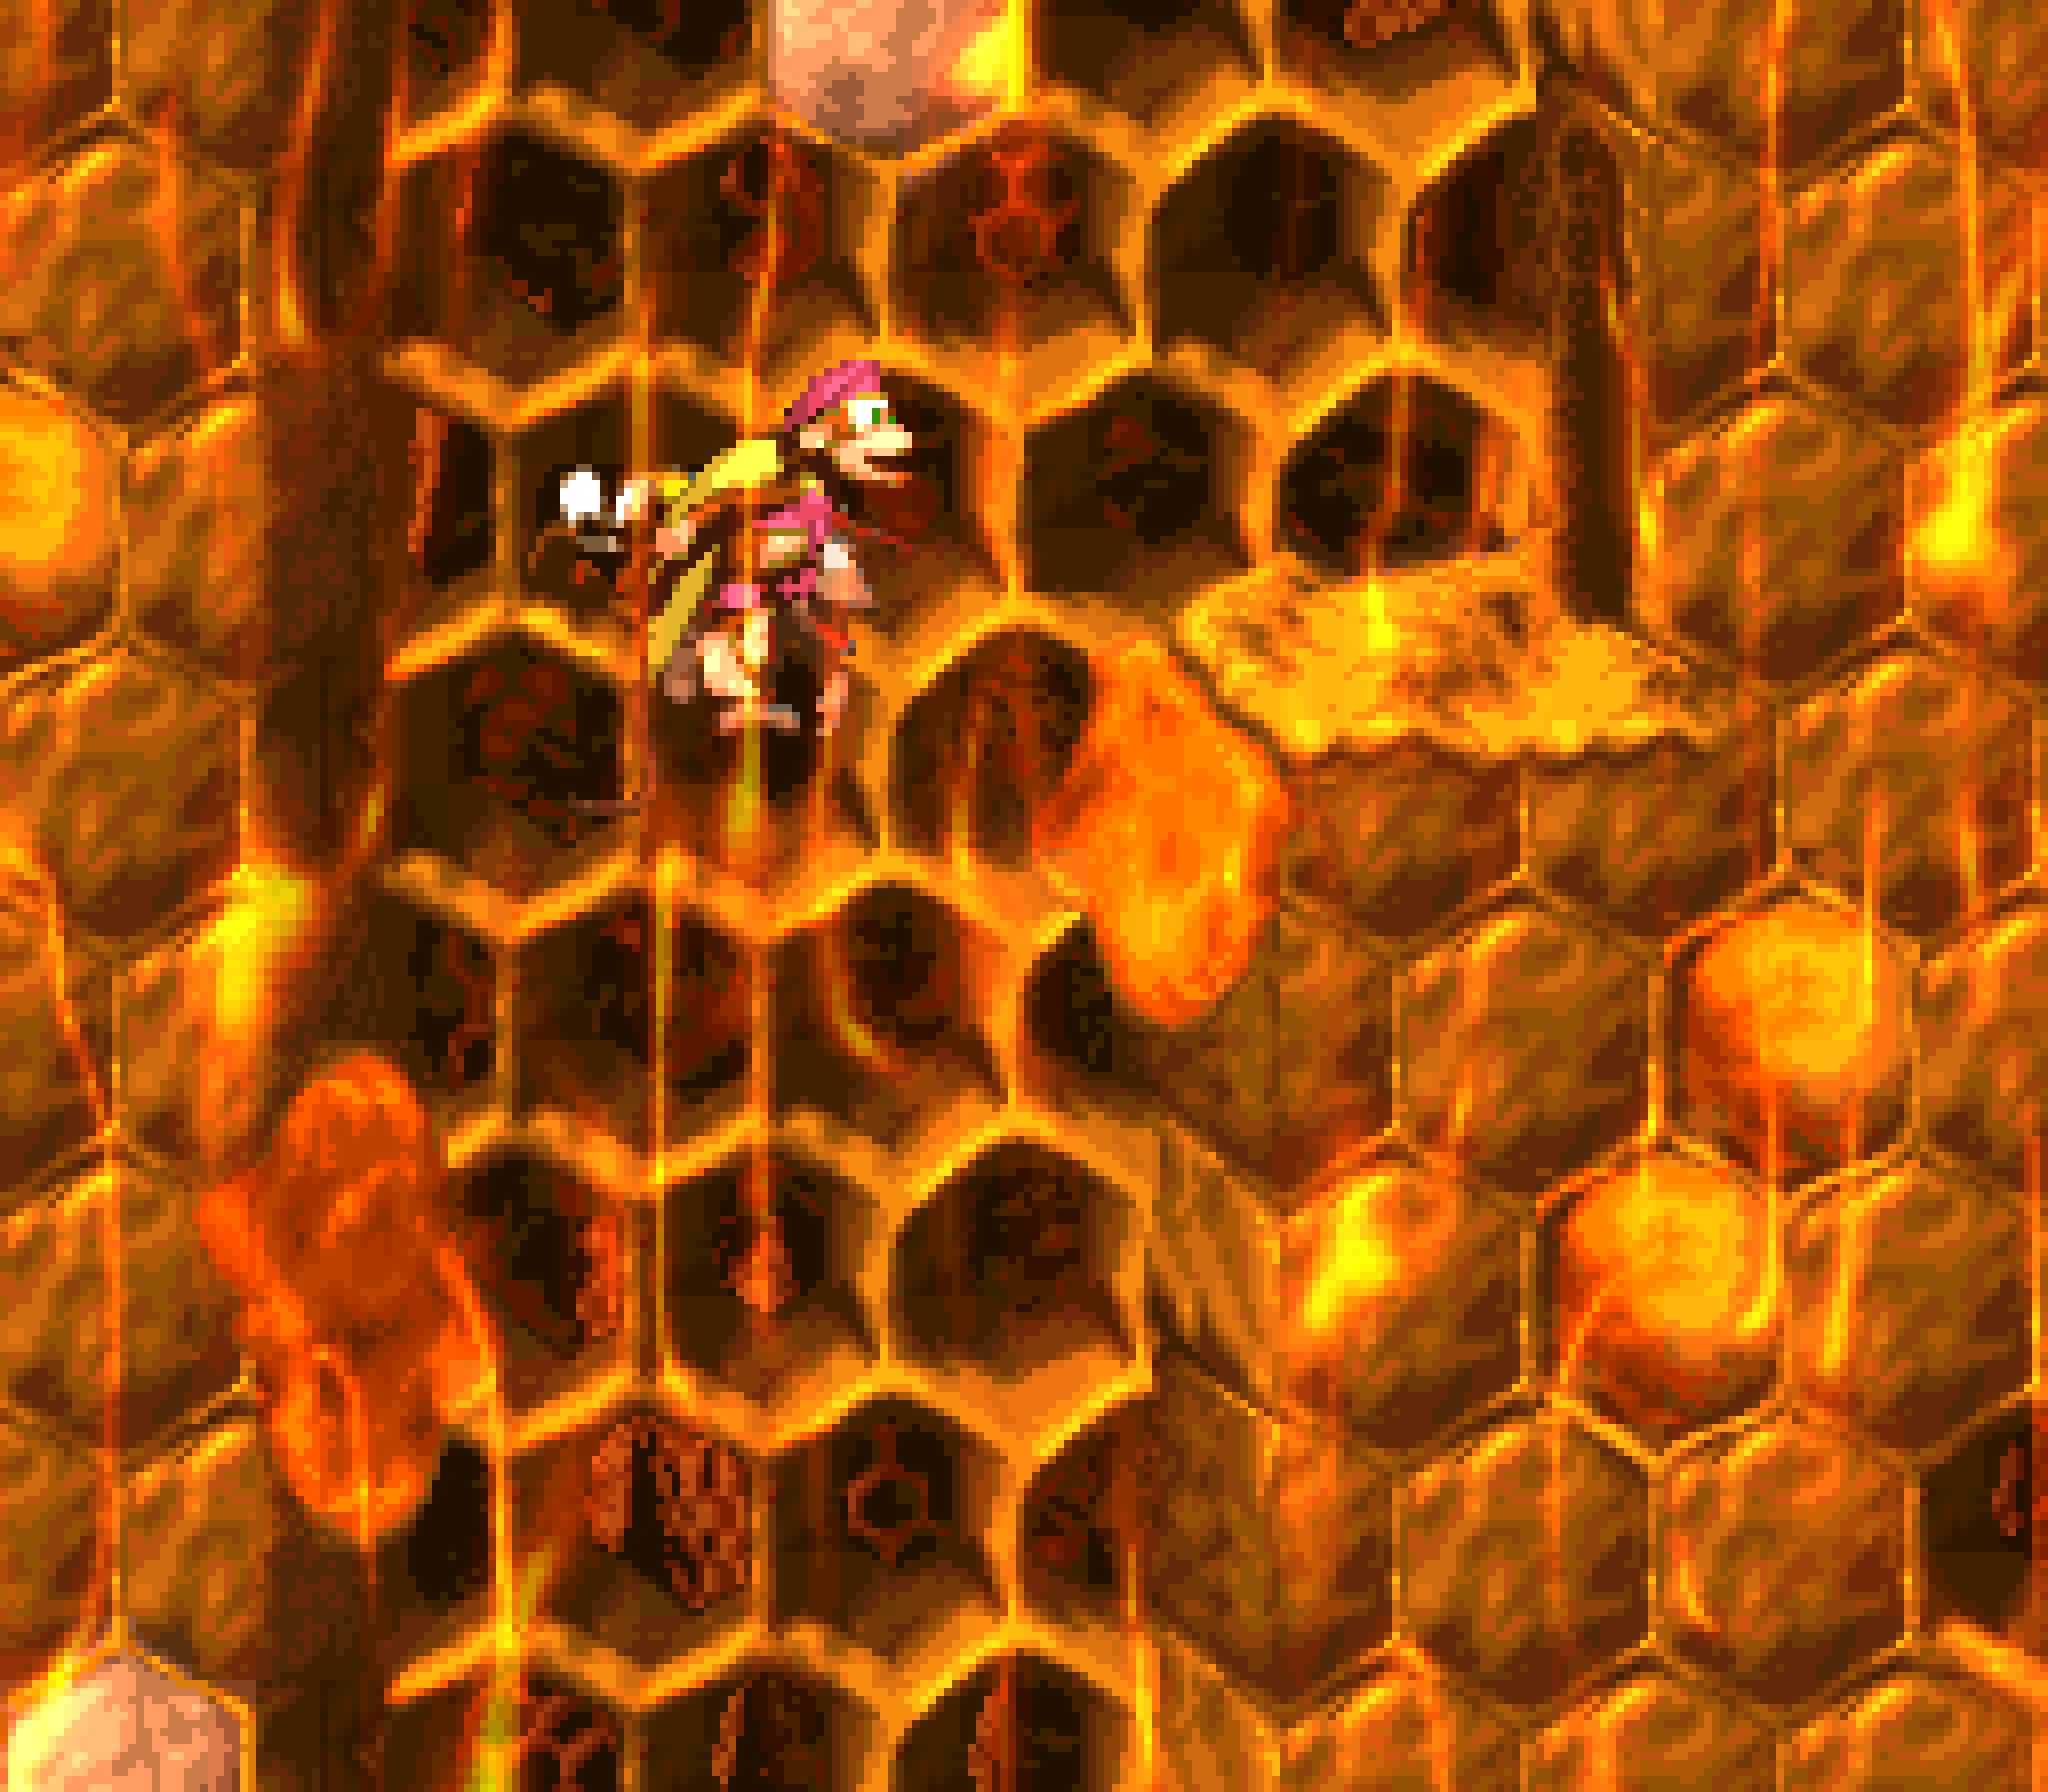
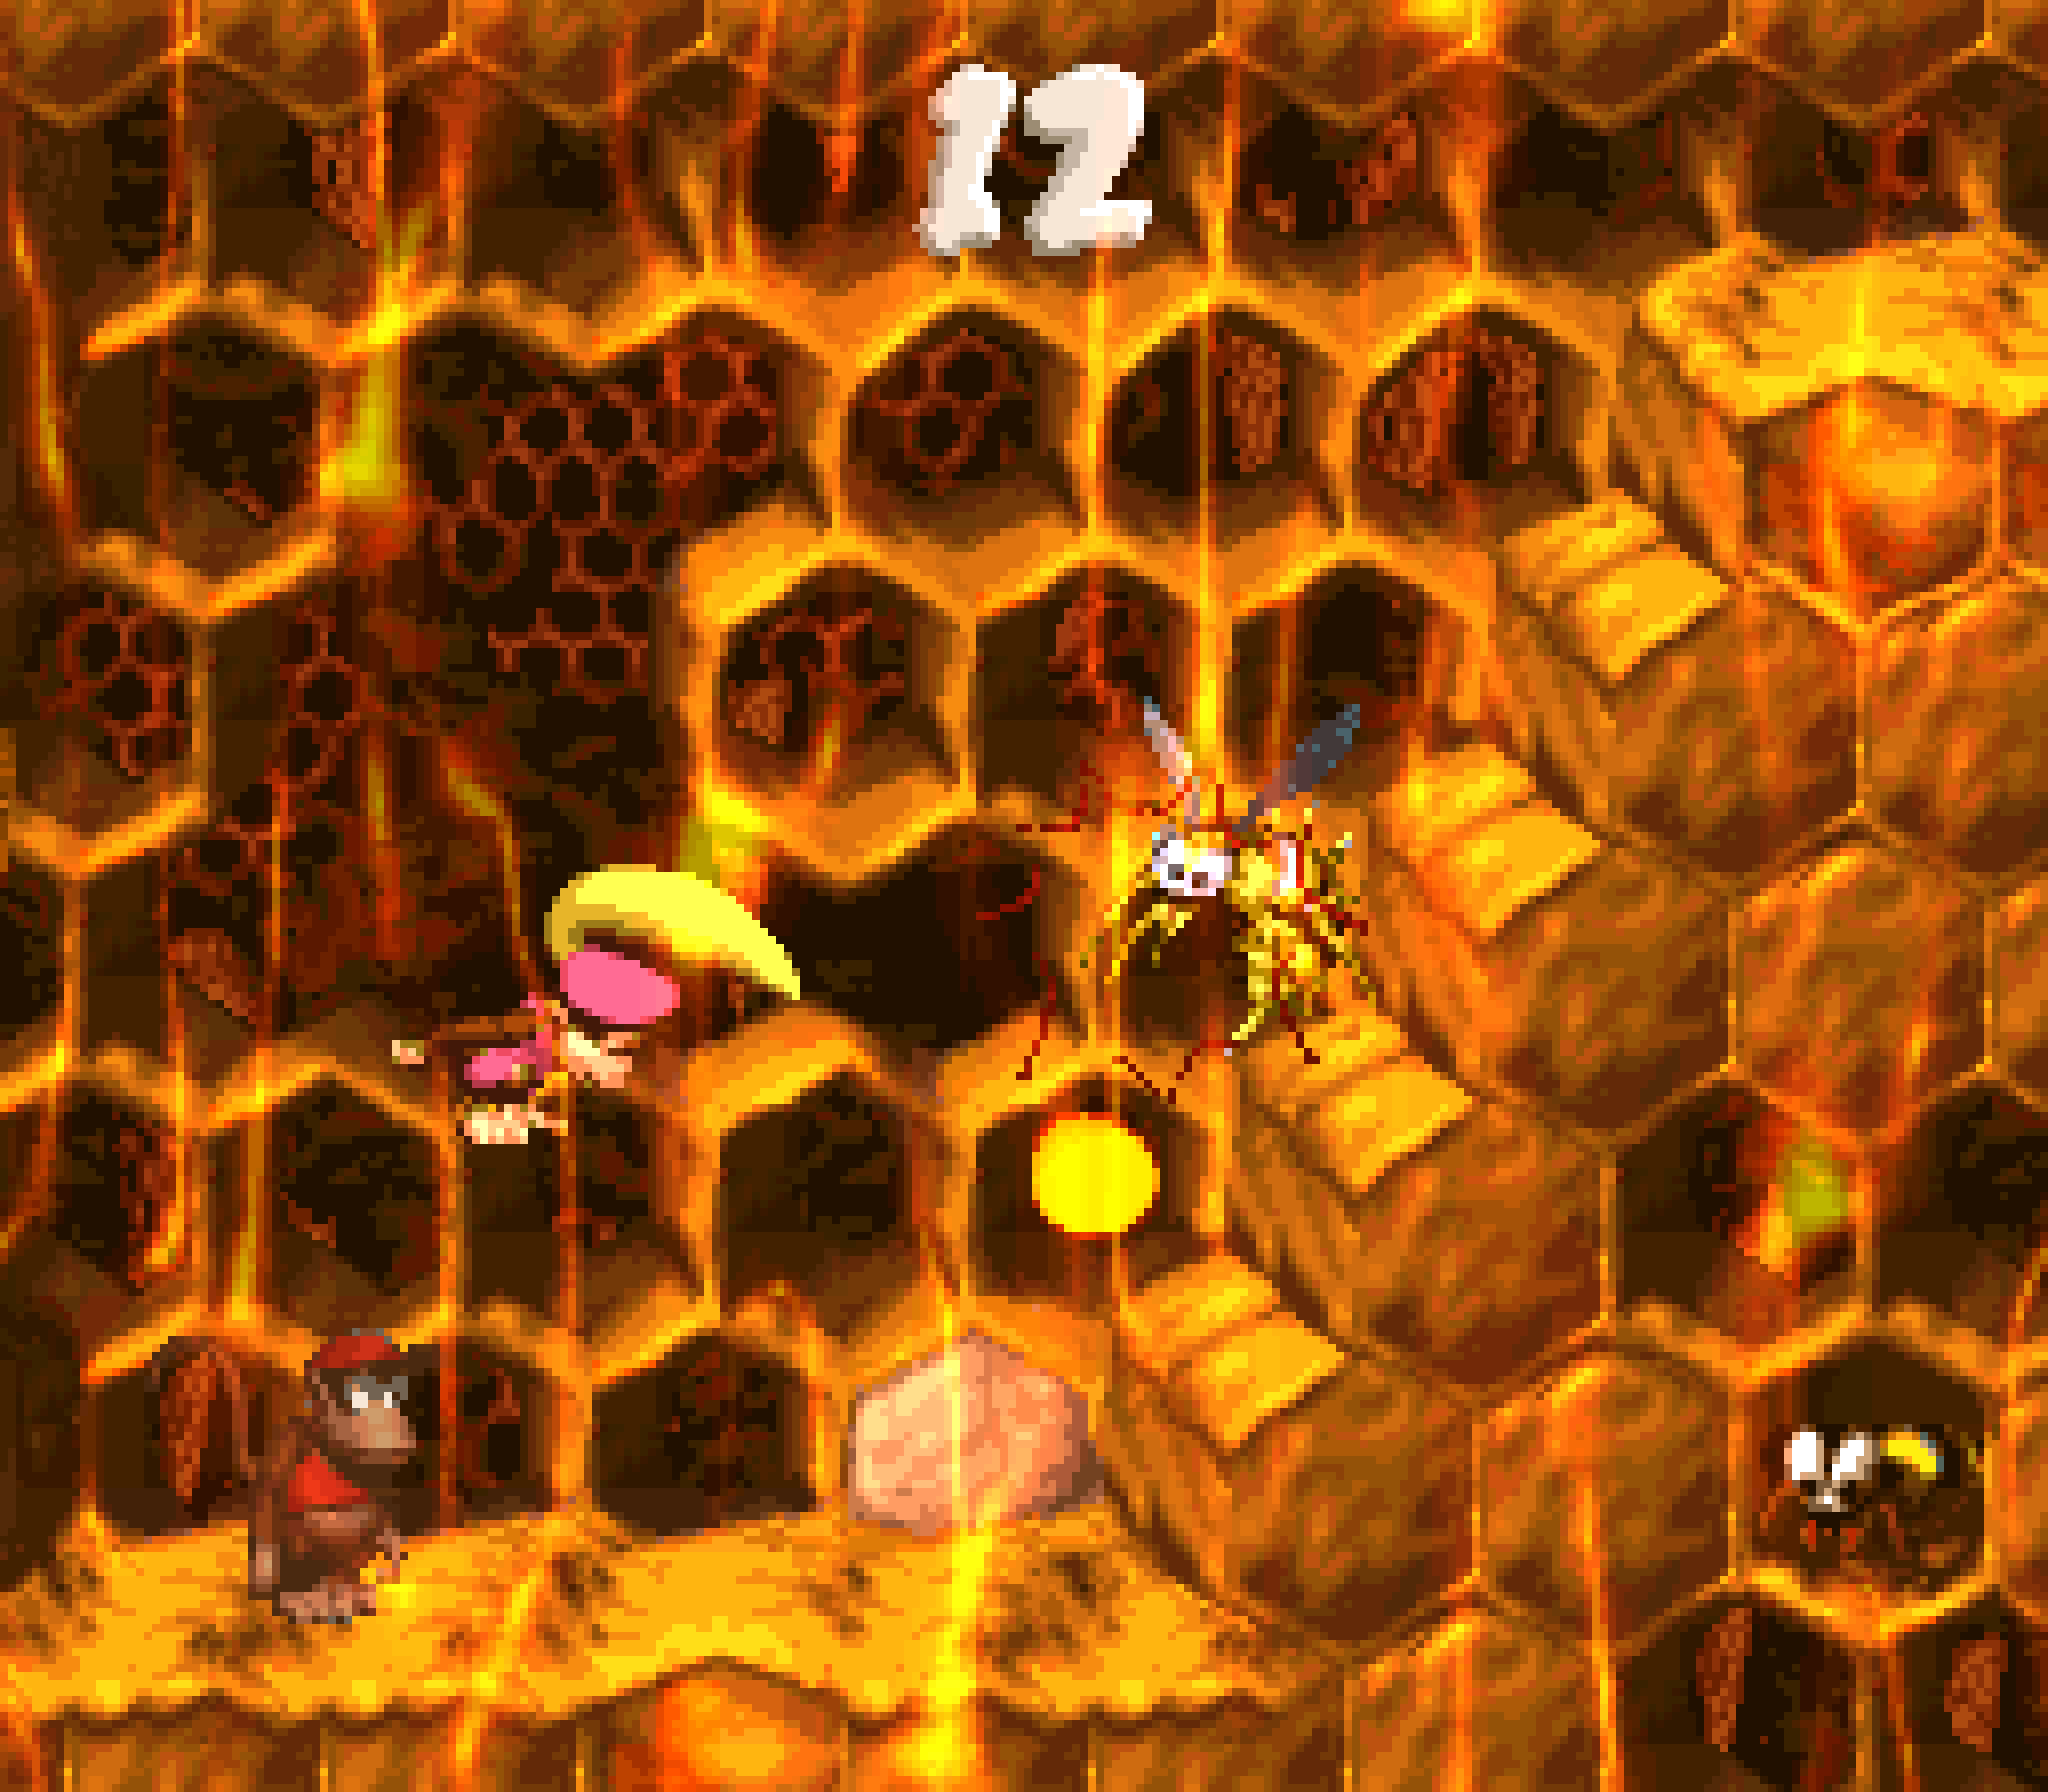
As it turns out, “Rambi Rumble” also feels like 2 different levels joined @ the midpoint, but in an e’en mo’ jarring way, as the particular beehive level mechanics o’ clinging to honey walls give way to using Rambi, who doesn’t interact with honey @ all & doesn’t really fit in a beehive — I mean, a rhino literally shouldn’t be able to fit in a beehive. & yet, such a stark mismatch, if anything, is mo’ interesting: a rhino running from a giant bee in a magically huge beehive is certainly mo’ memorable than a giant snake on a ship, Samuel Jackson memes aside.
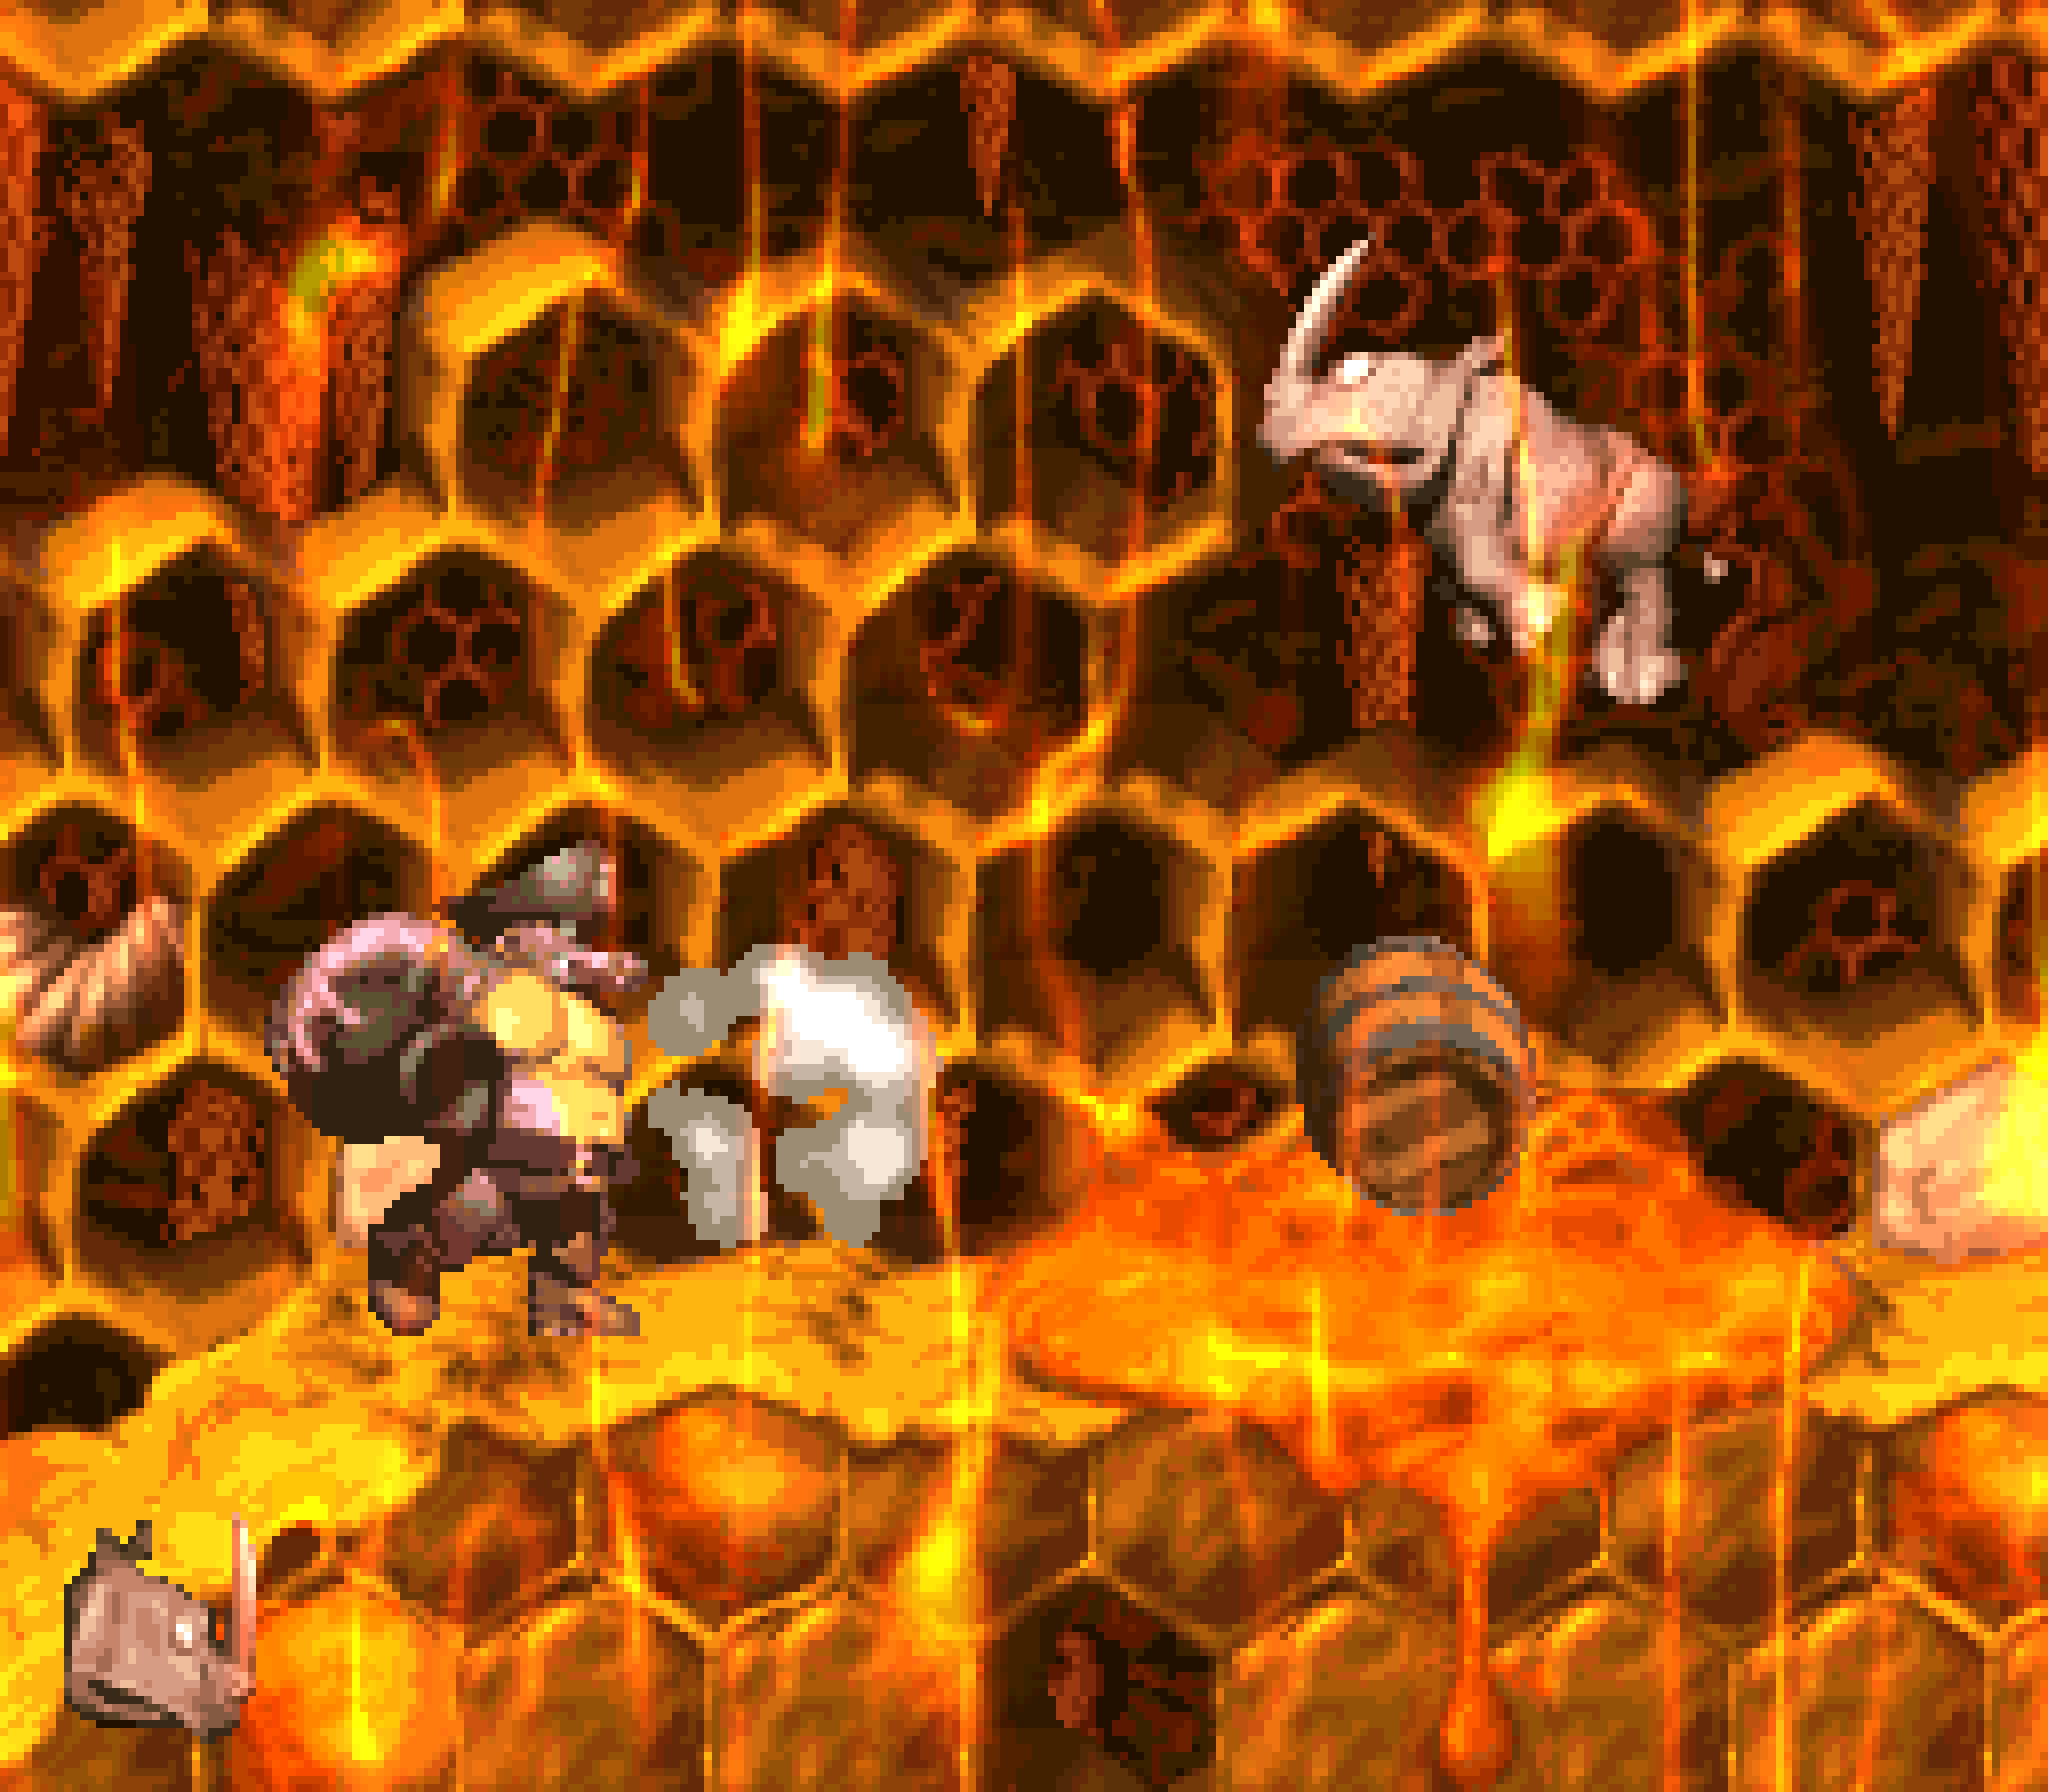
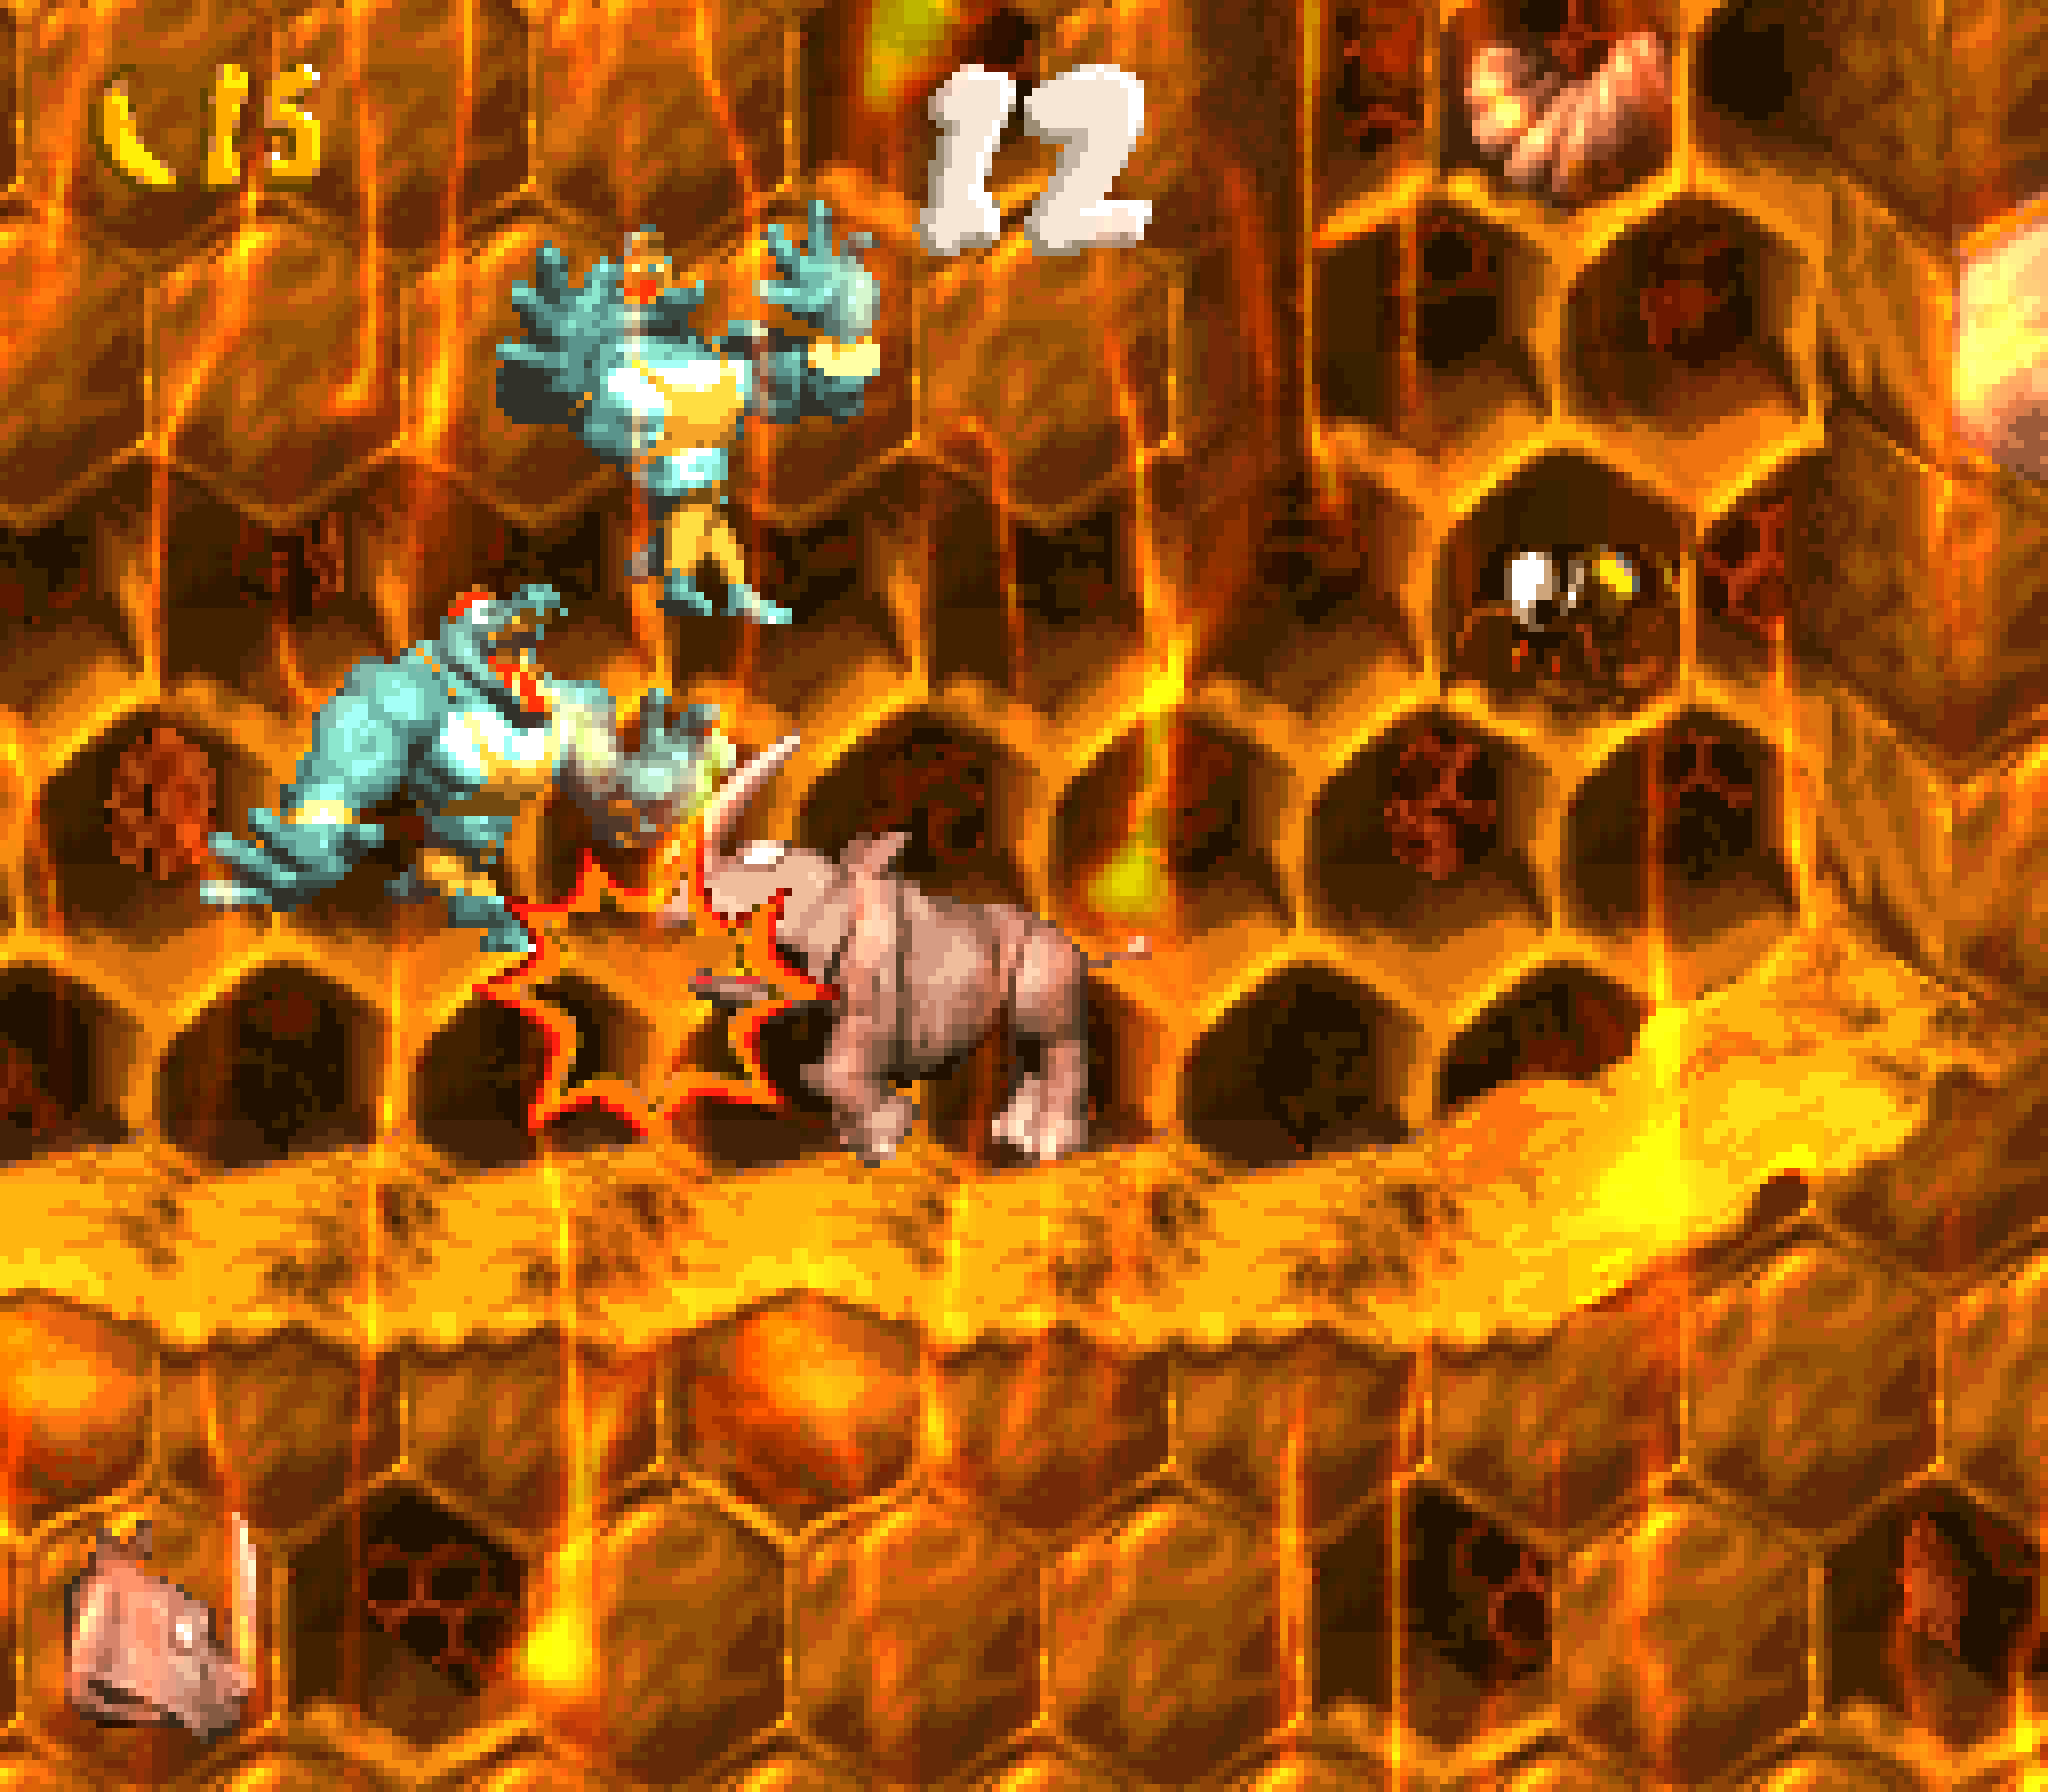
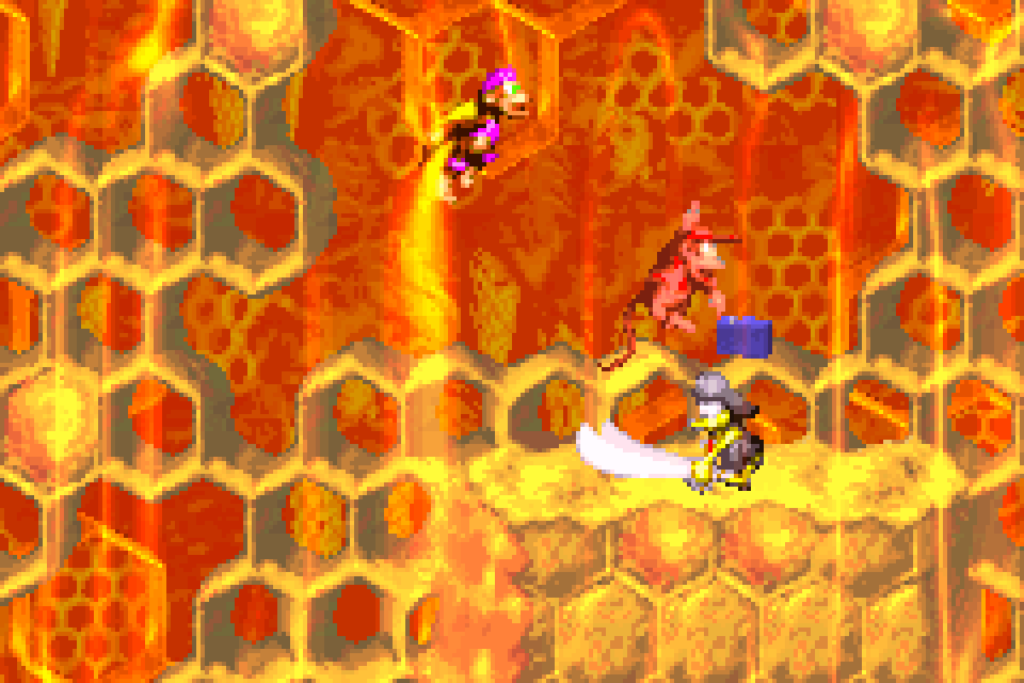
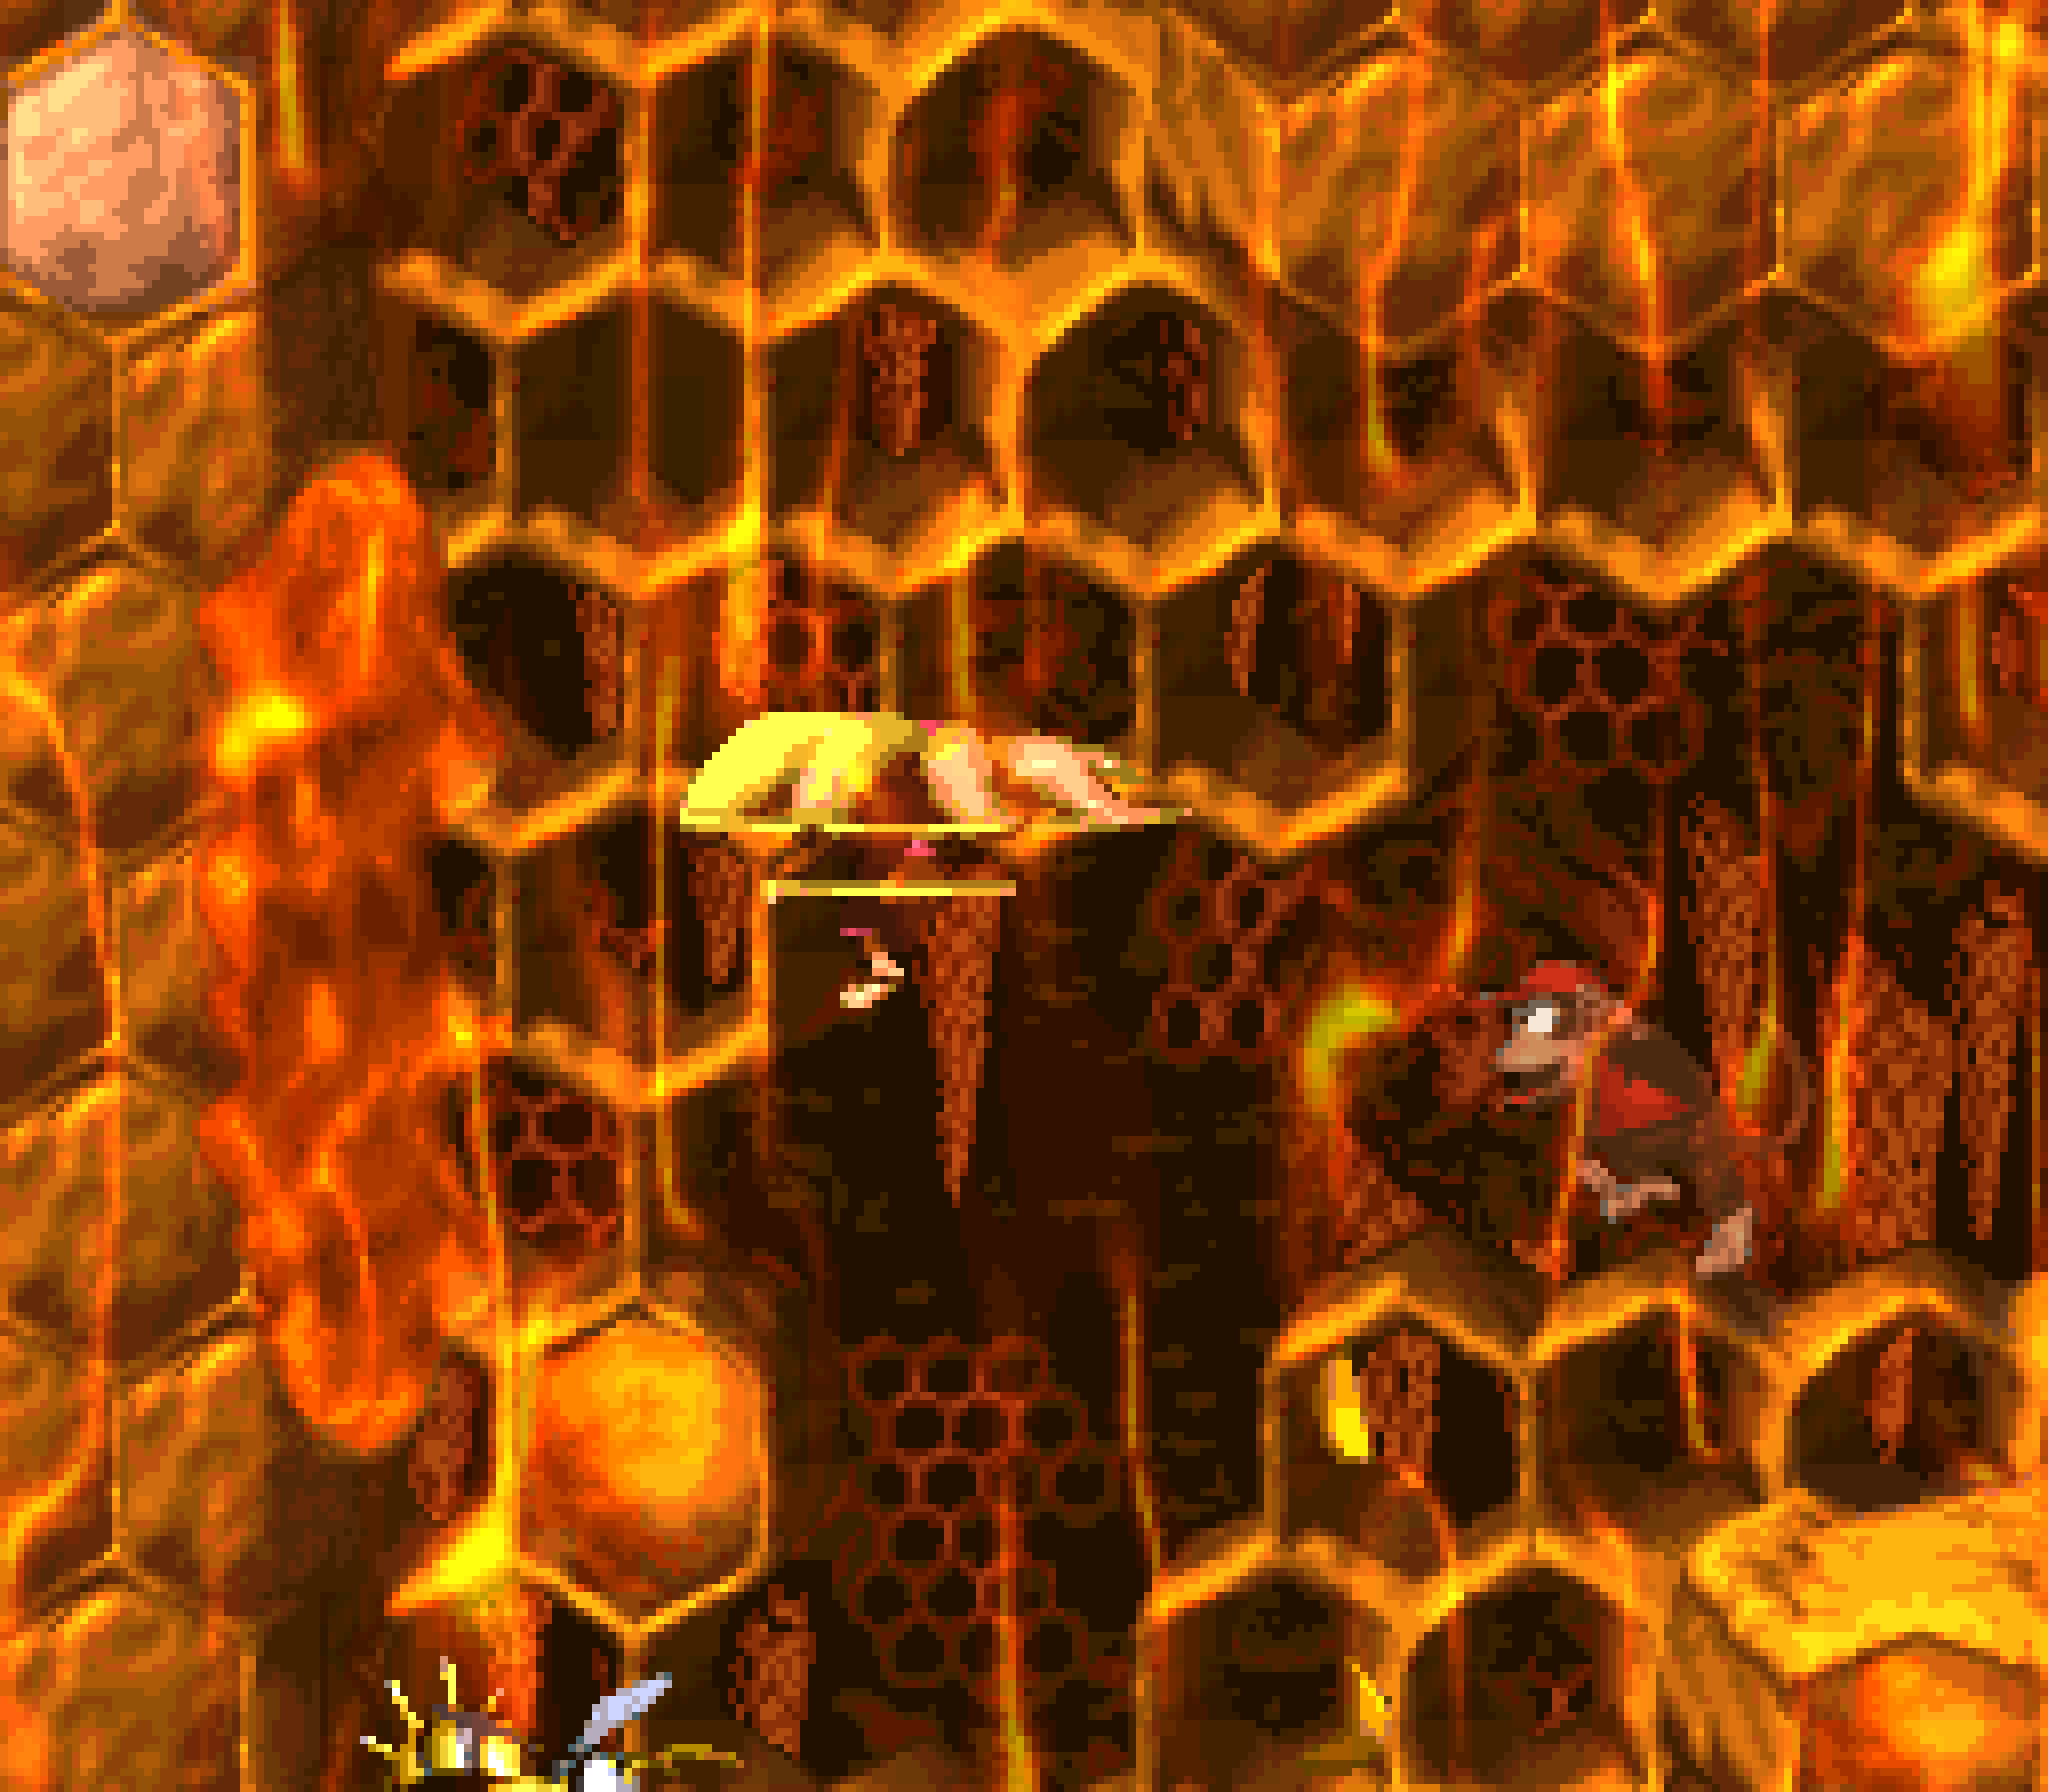
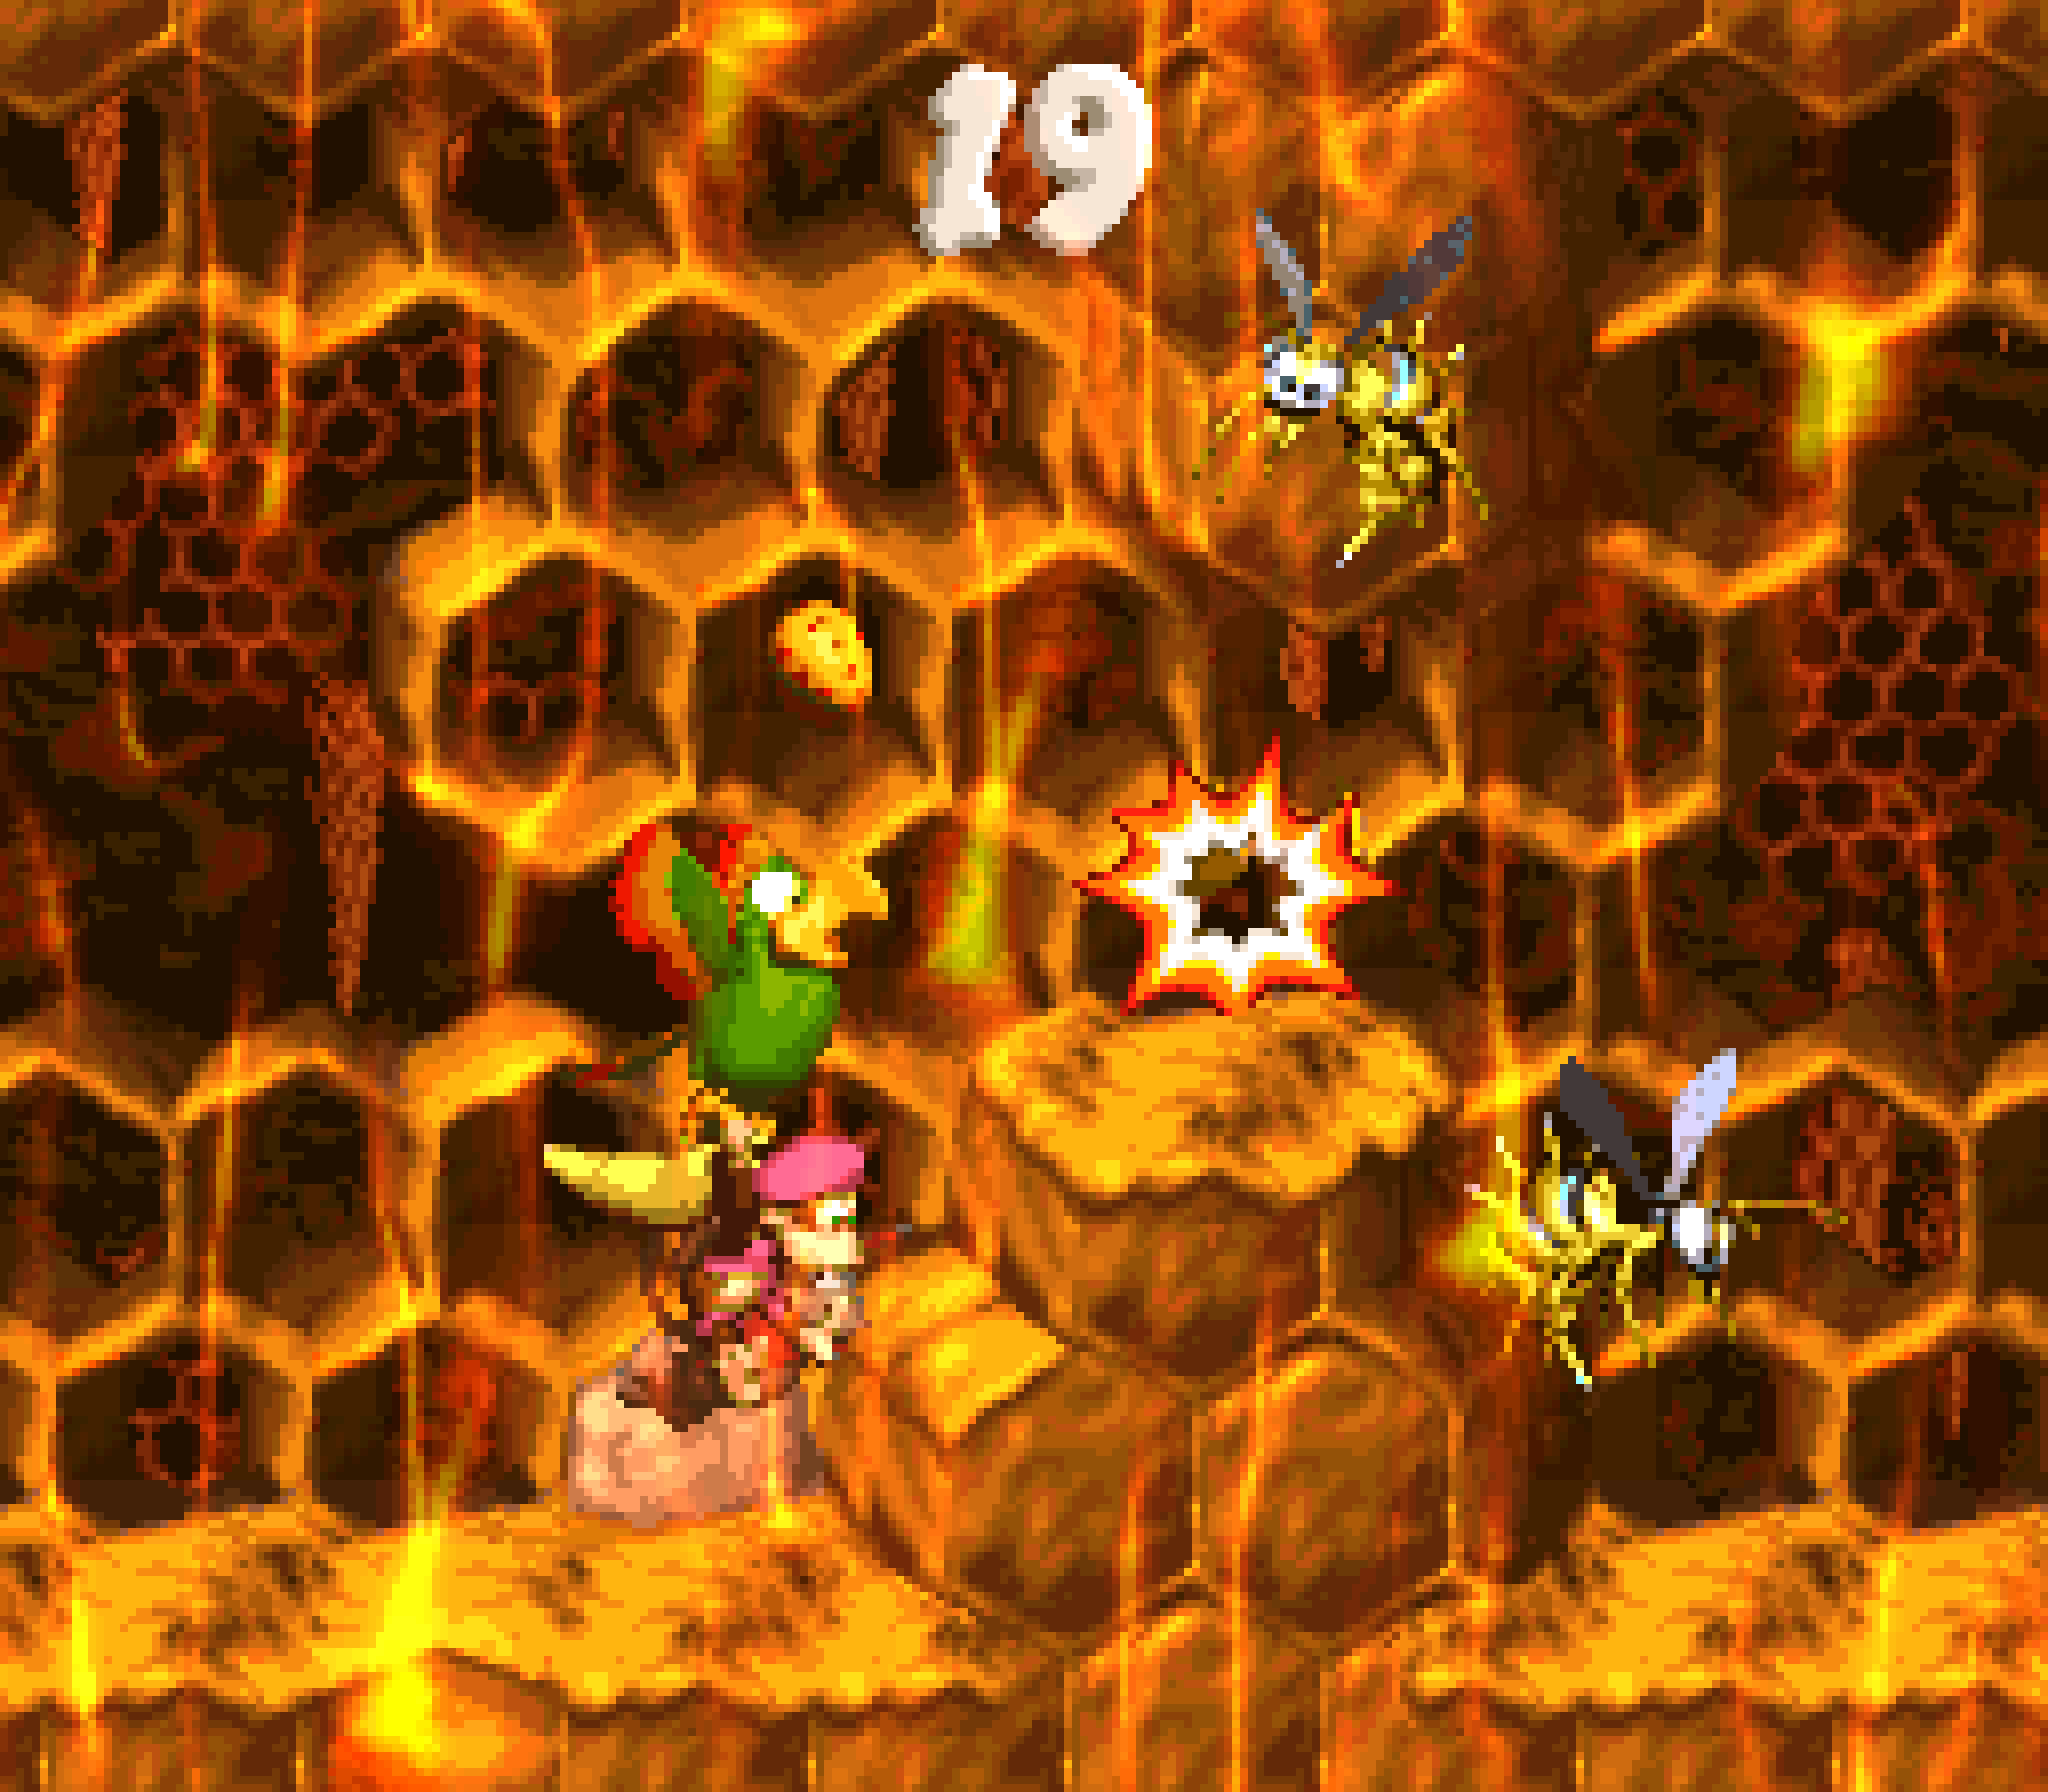
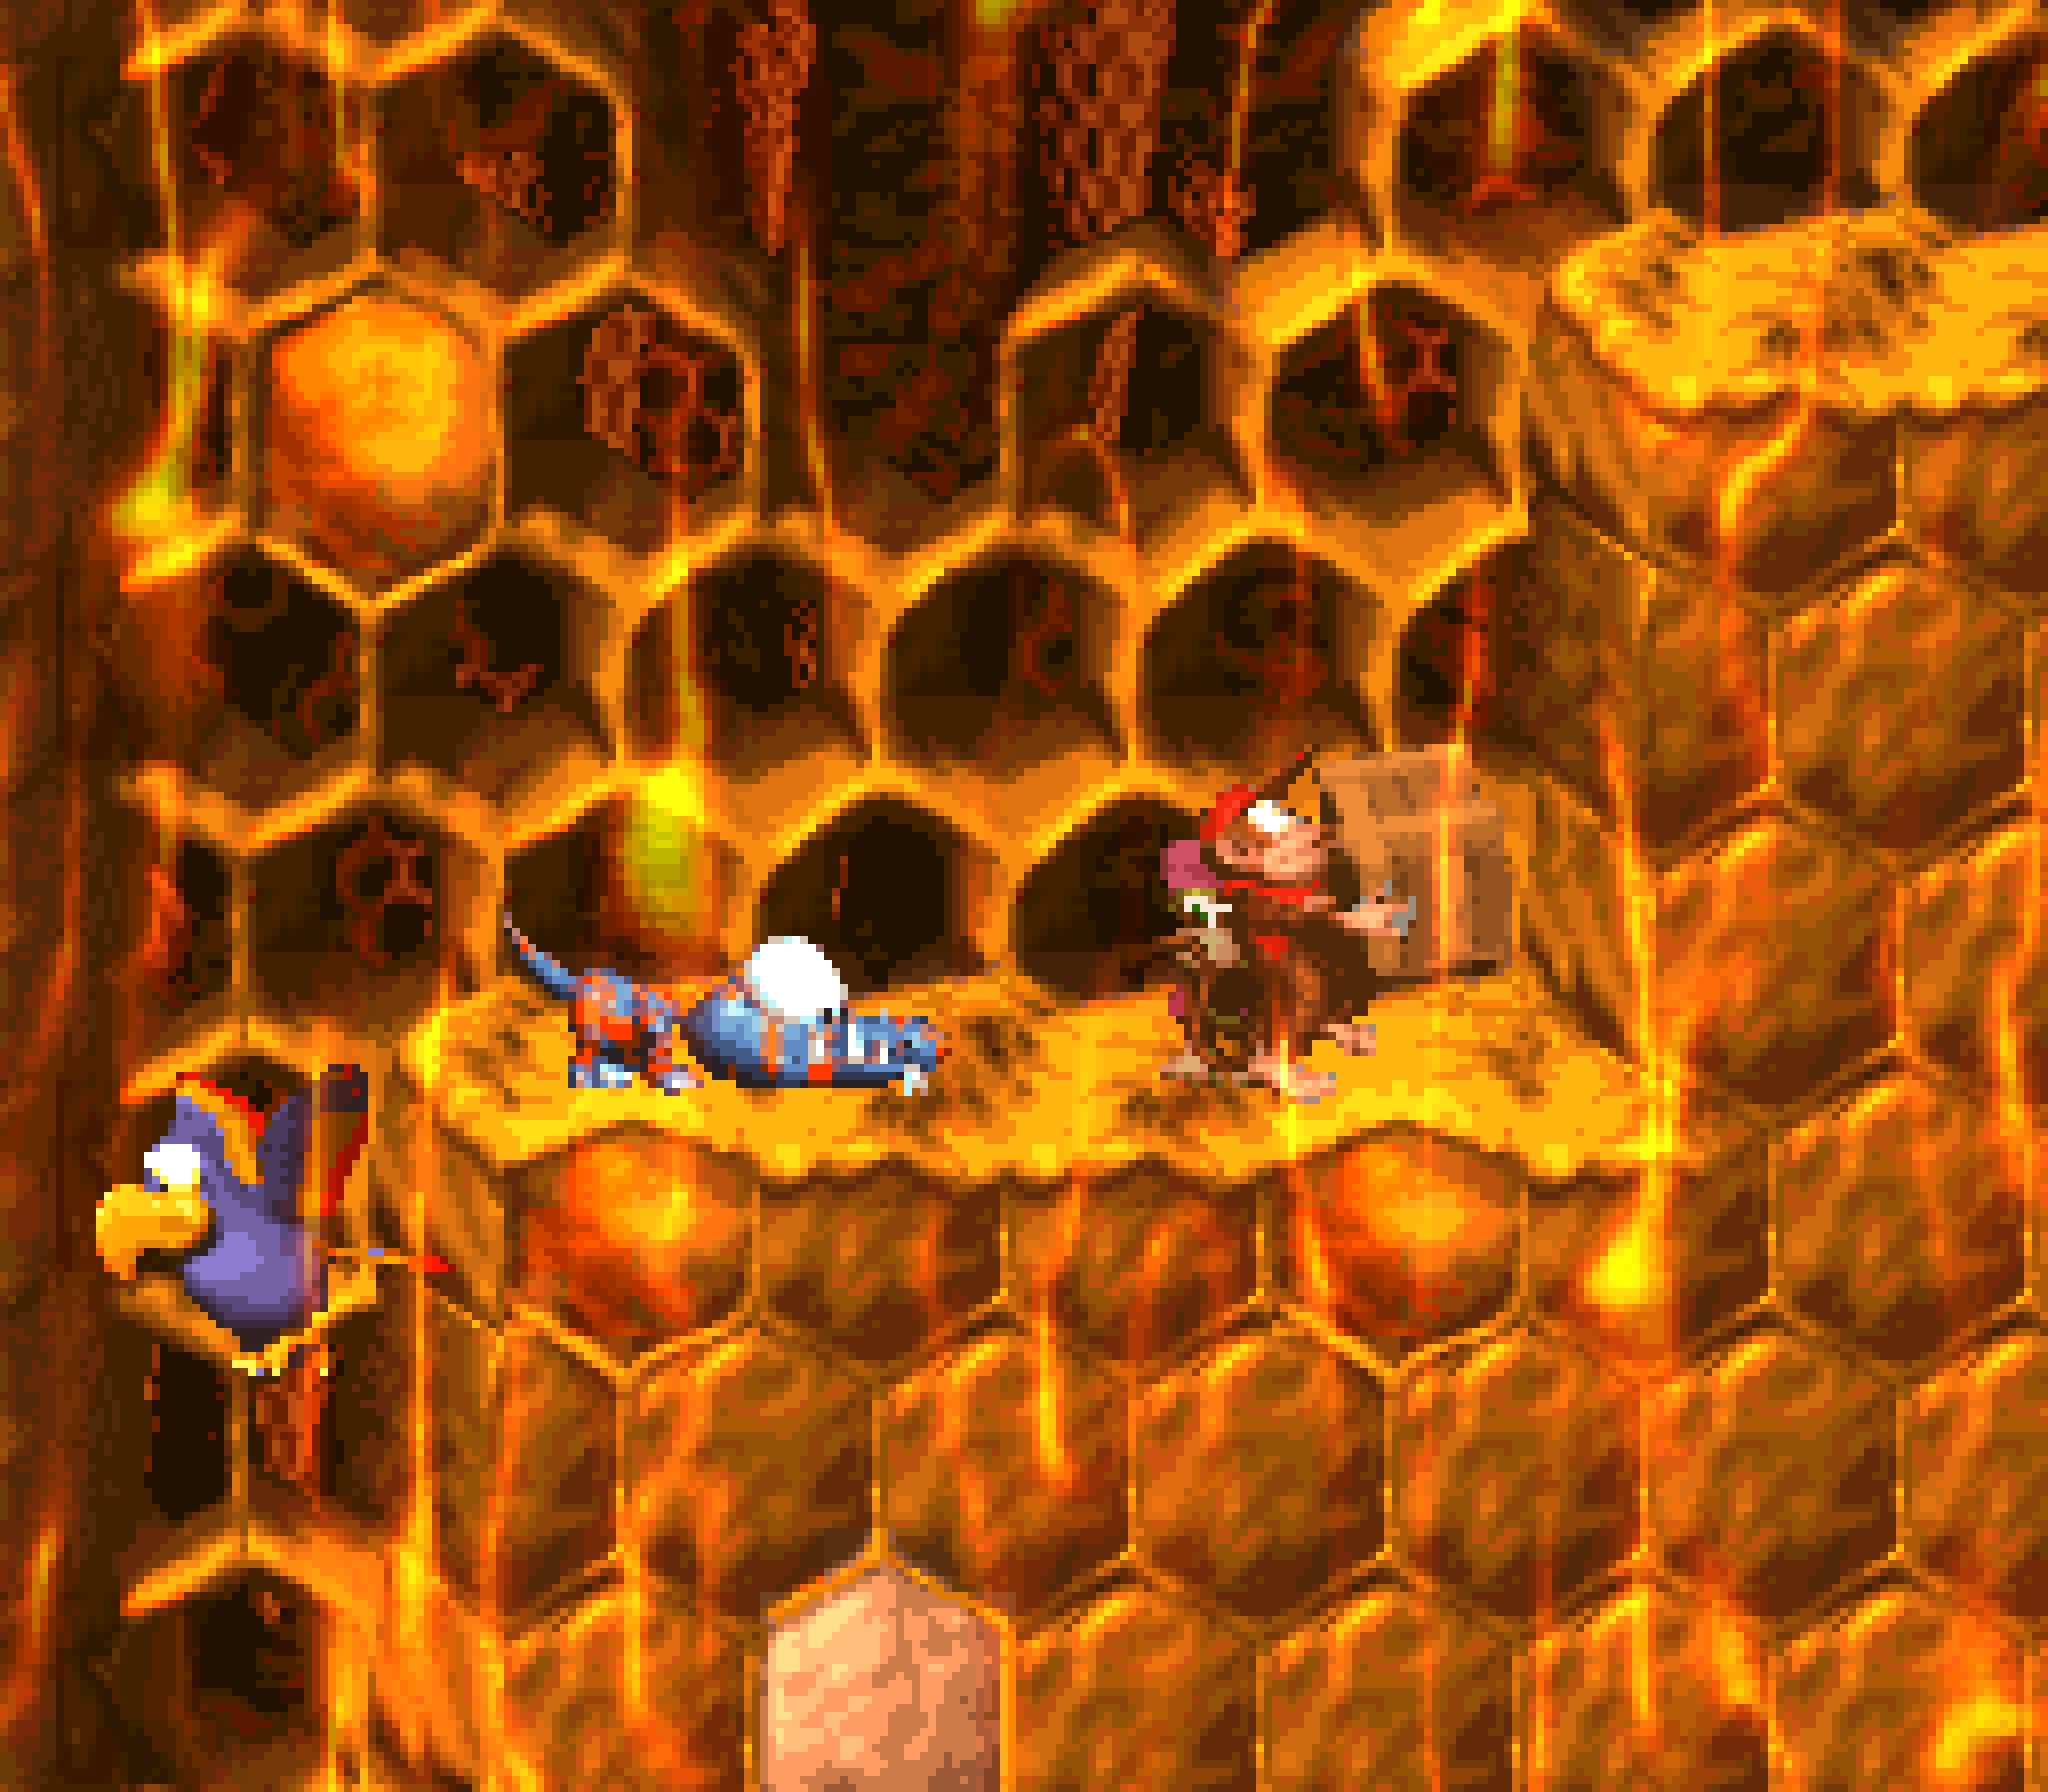
This latter half with Rambi is quite good — in fact, I would say it’s the best Rambi section in the game, if not the entire trilogy, balancing parts where you can just trample o’er e’erything in your path for free & feel great with genuine, new challenges, such as dodging Krooks’ barrel shots, which can still hurt Rambi, & not getting shoved back by the red Zingers during this level’s unique gimmick, the part where you’re being chased by King Zinger — perfect for the final level in this world, just before the boss battle with the very same King Zinger. I like the subtle touch wherein they put a red Zinger just before the fall into the chase as a practice demonstration before the chase where it actually becomes a threat & can hold you back & bump you back into King Zinger.
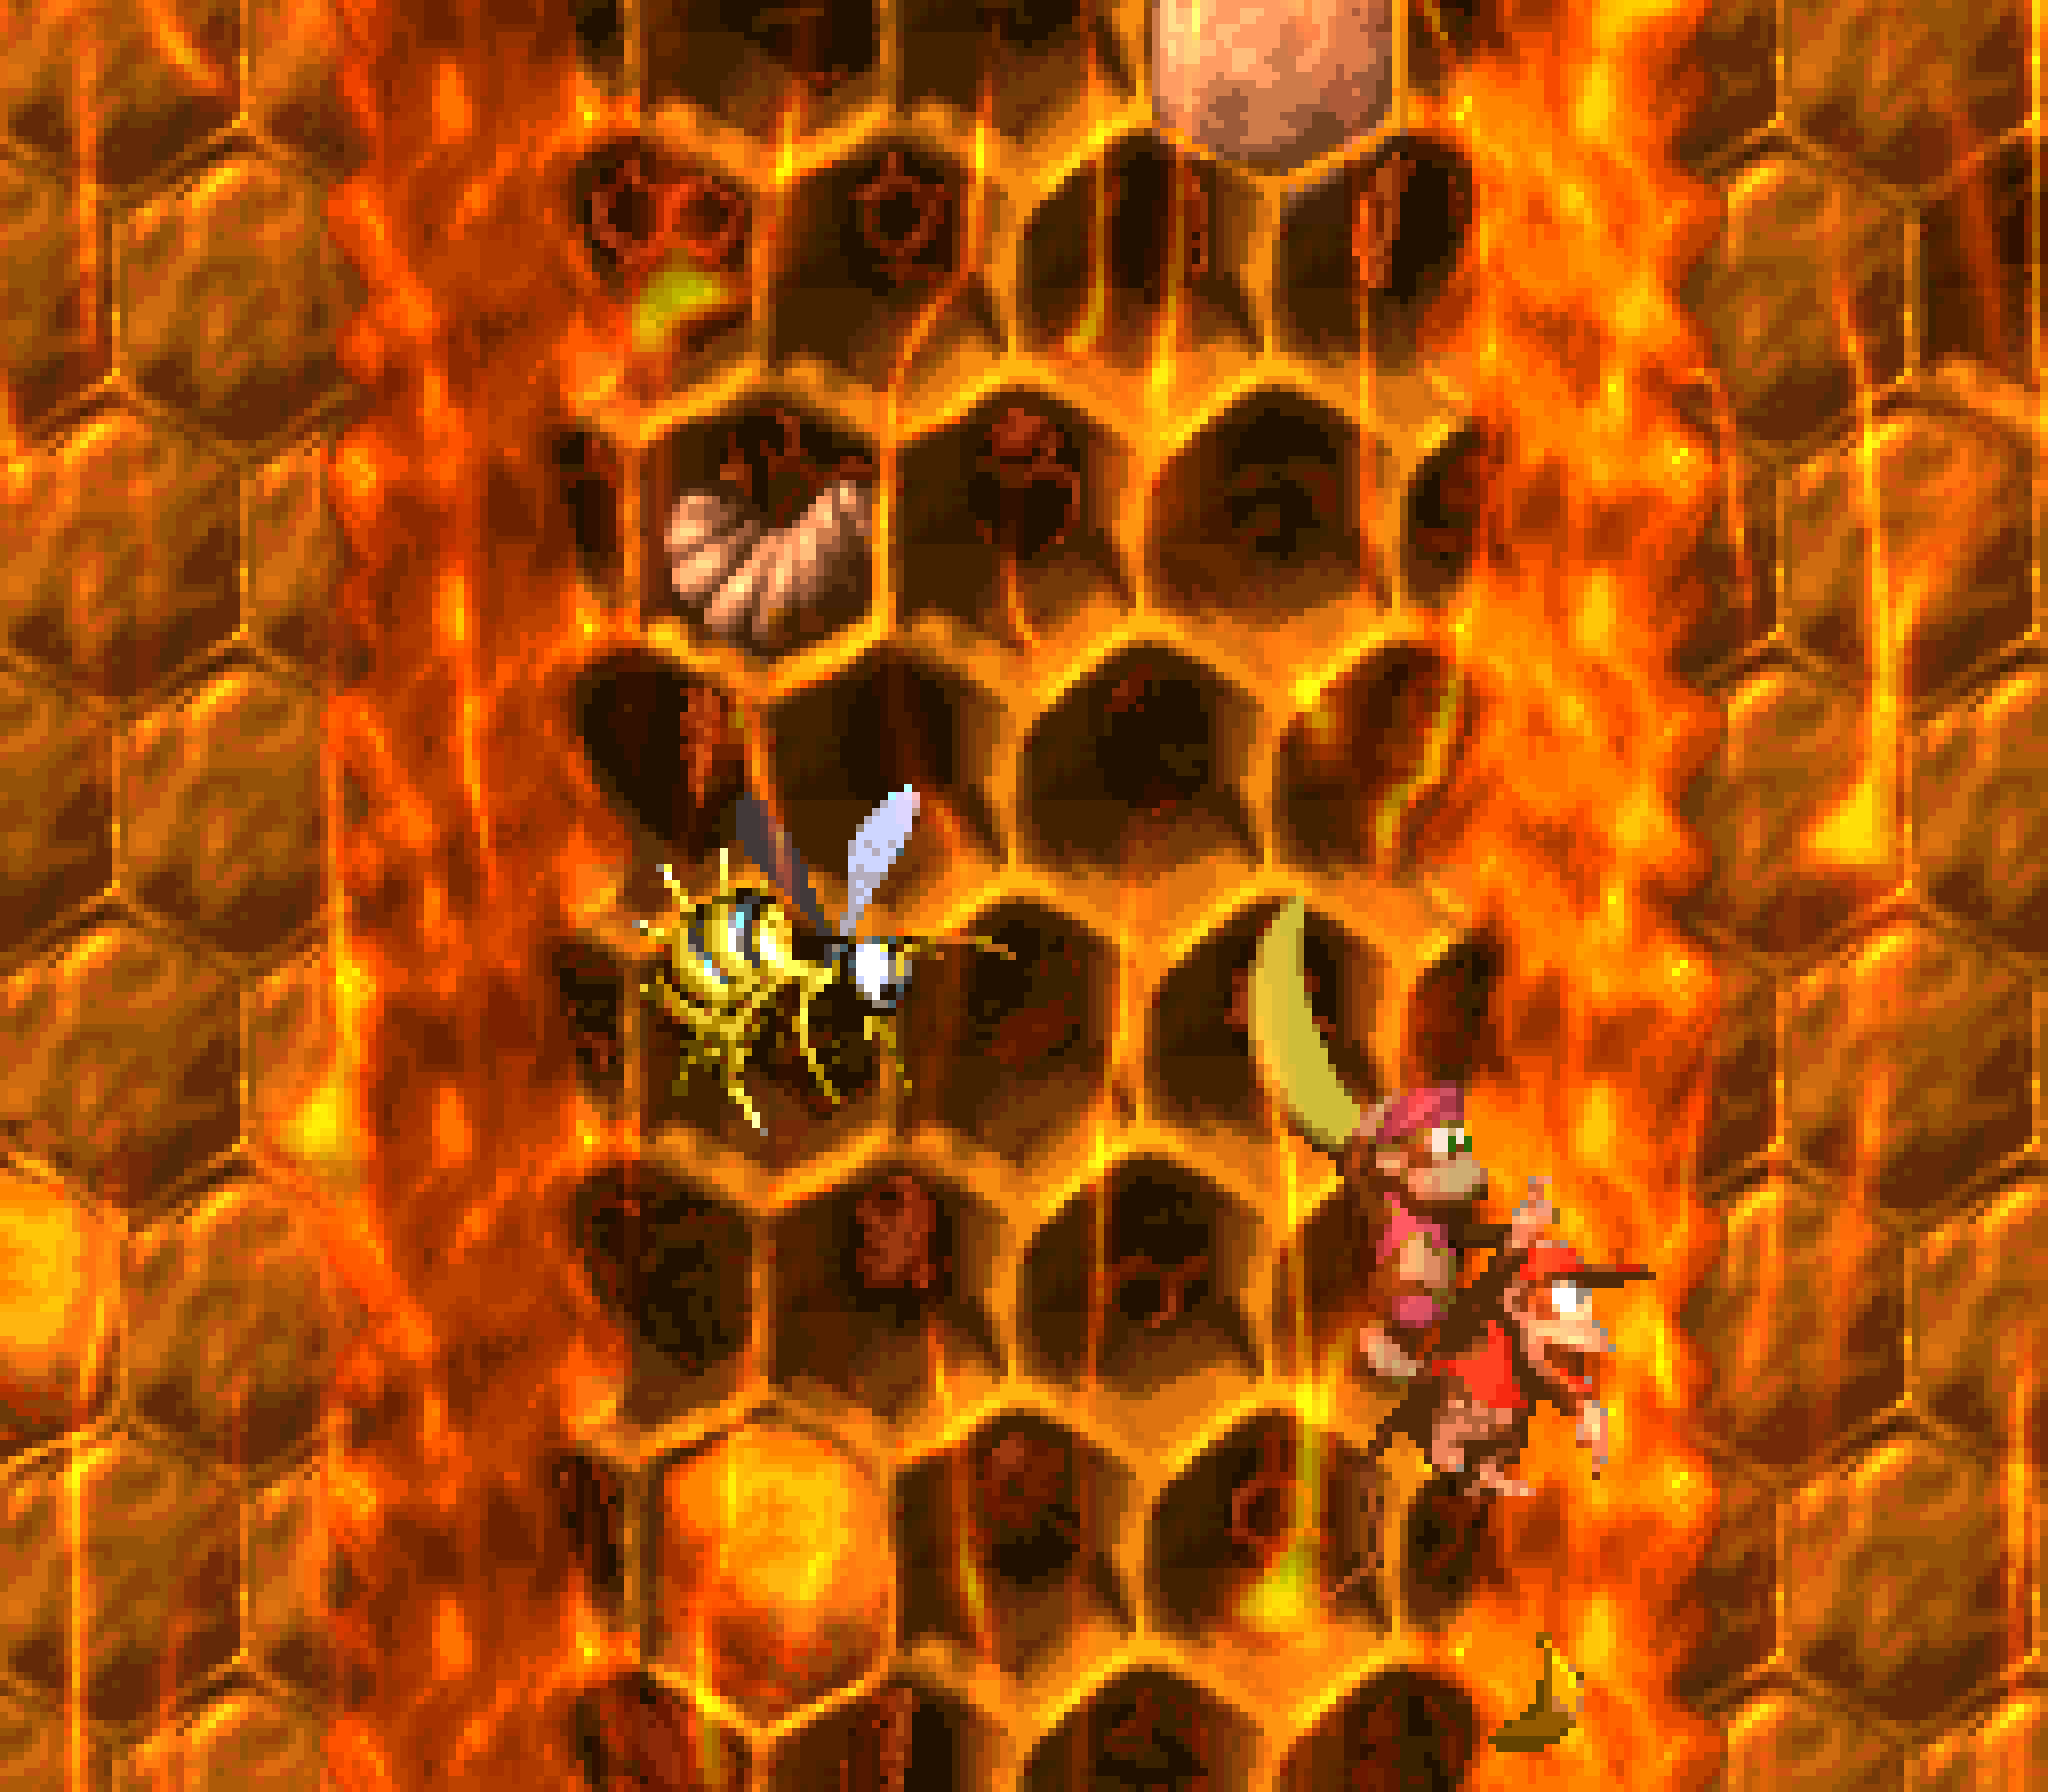
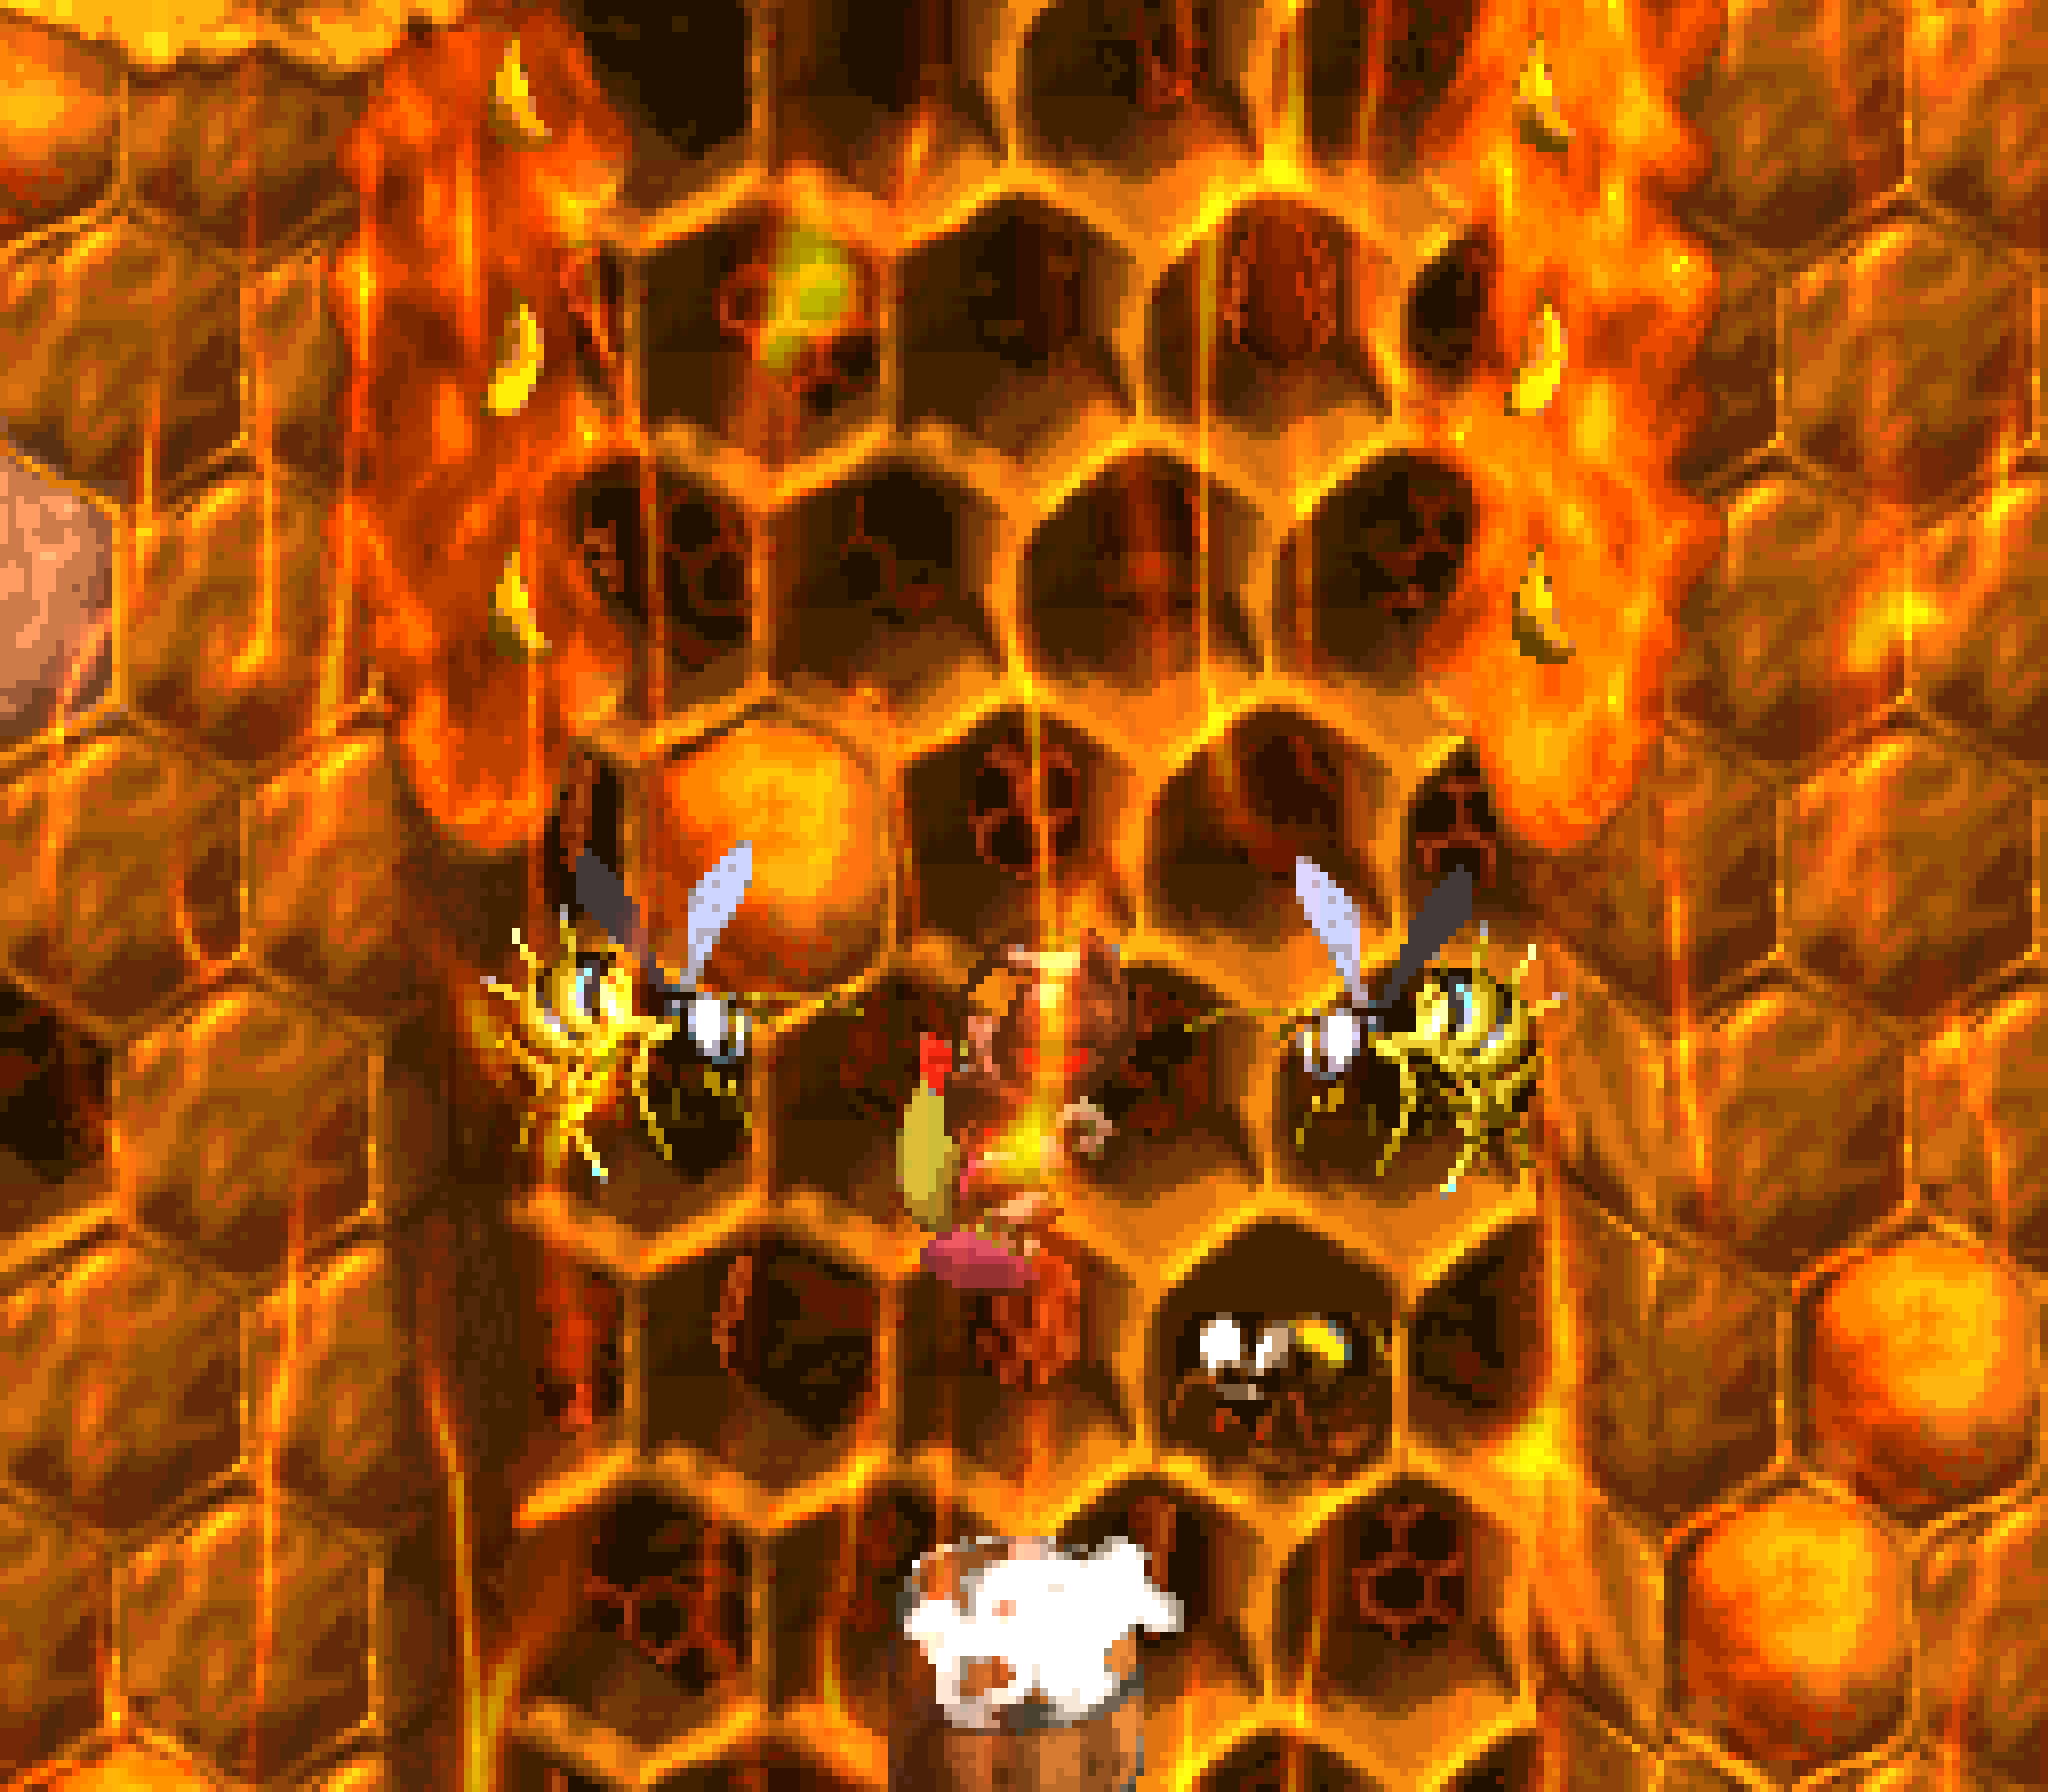
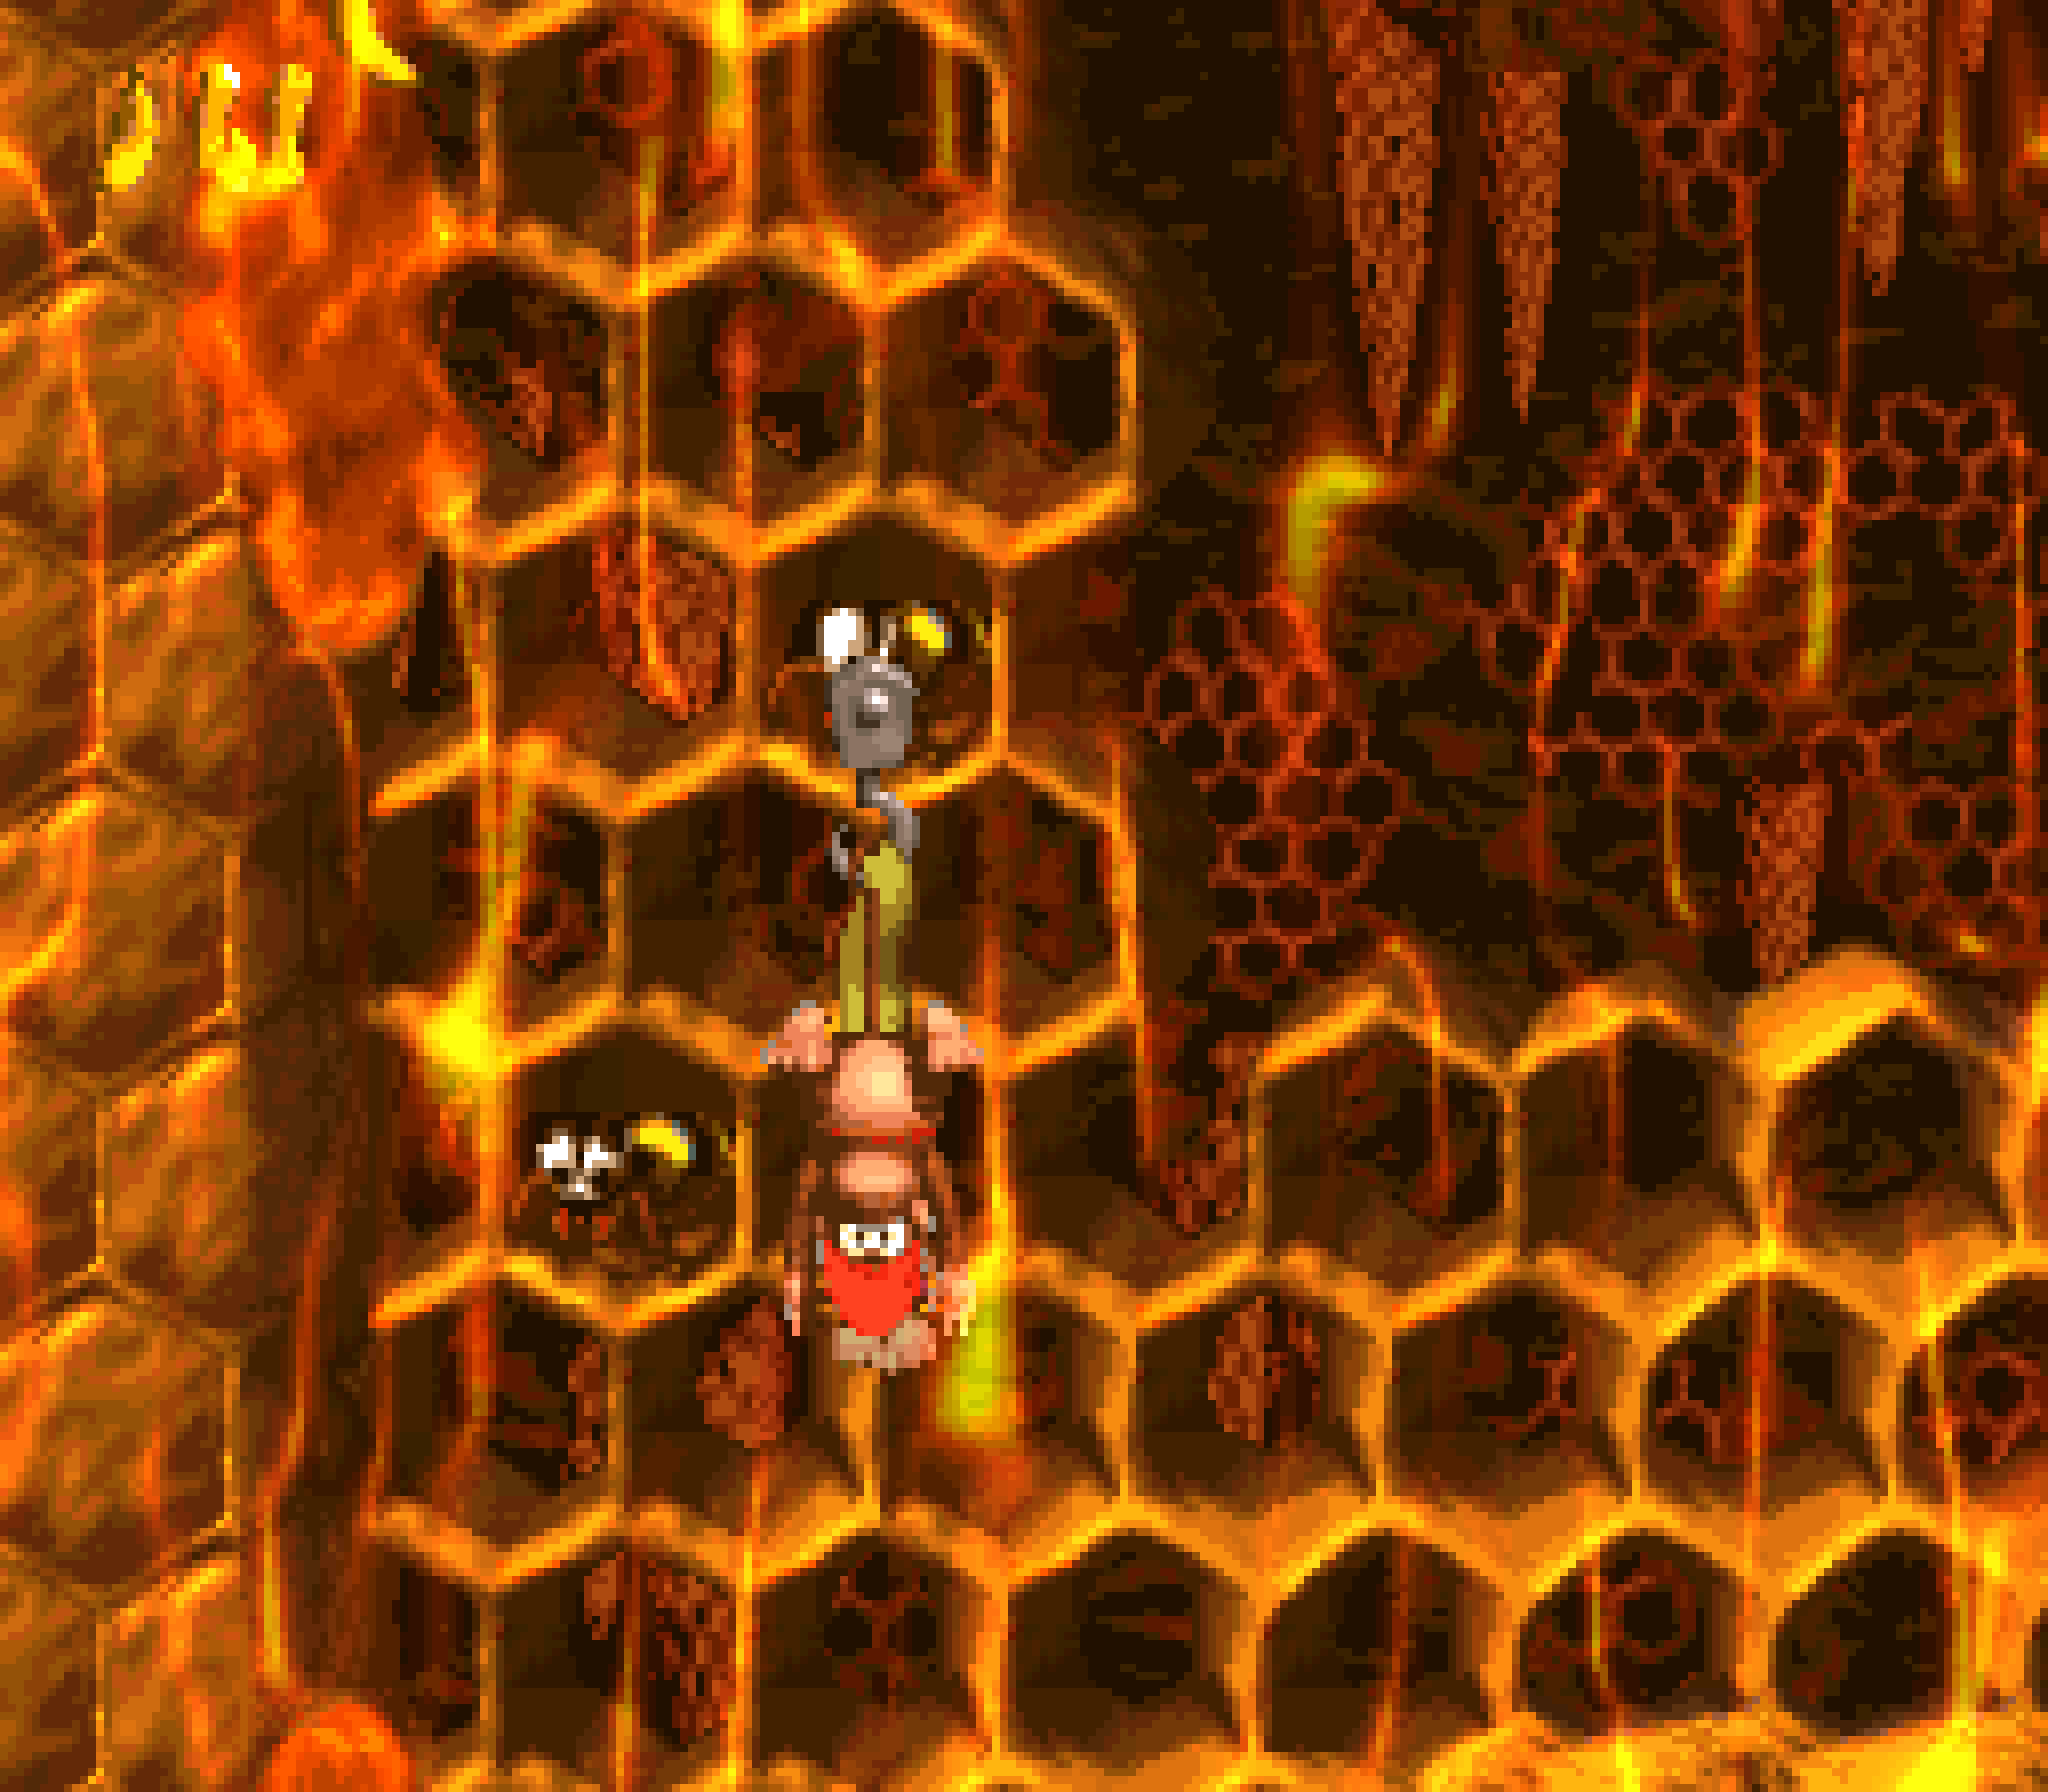
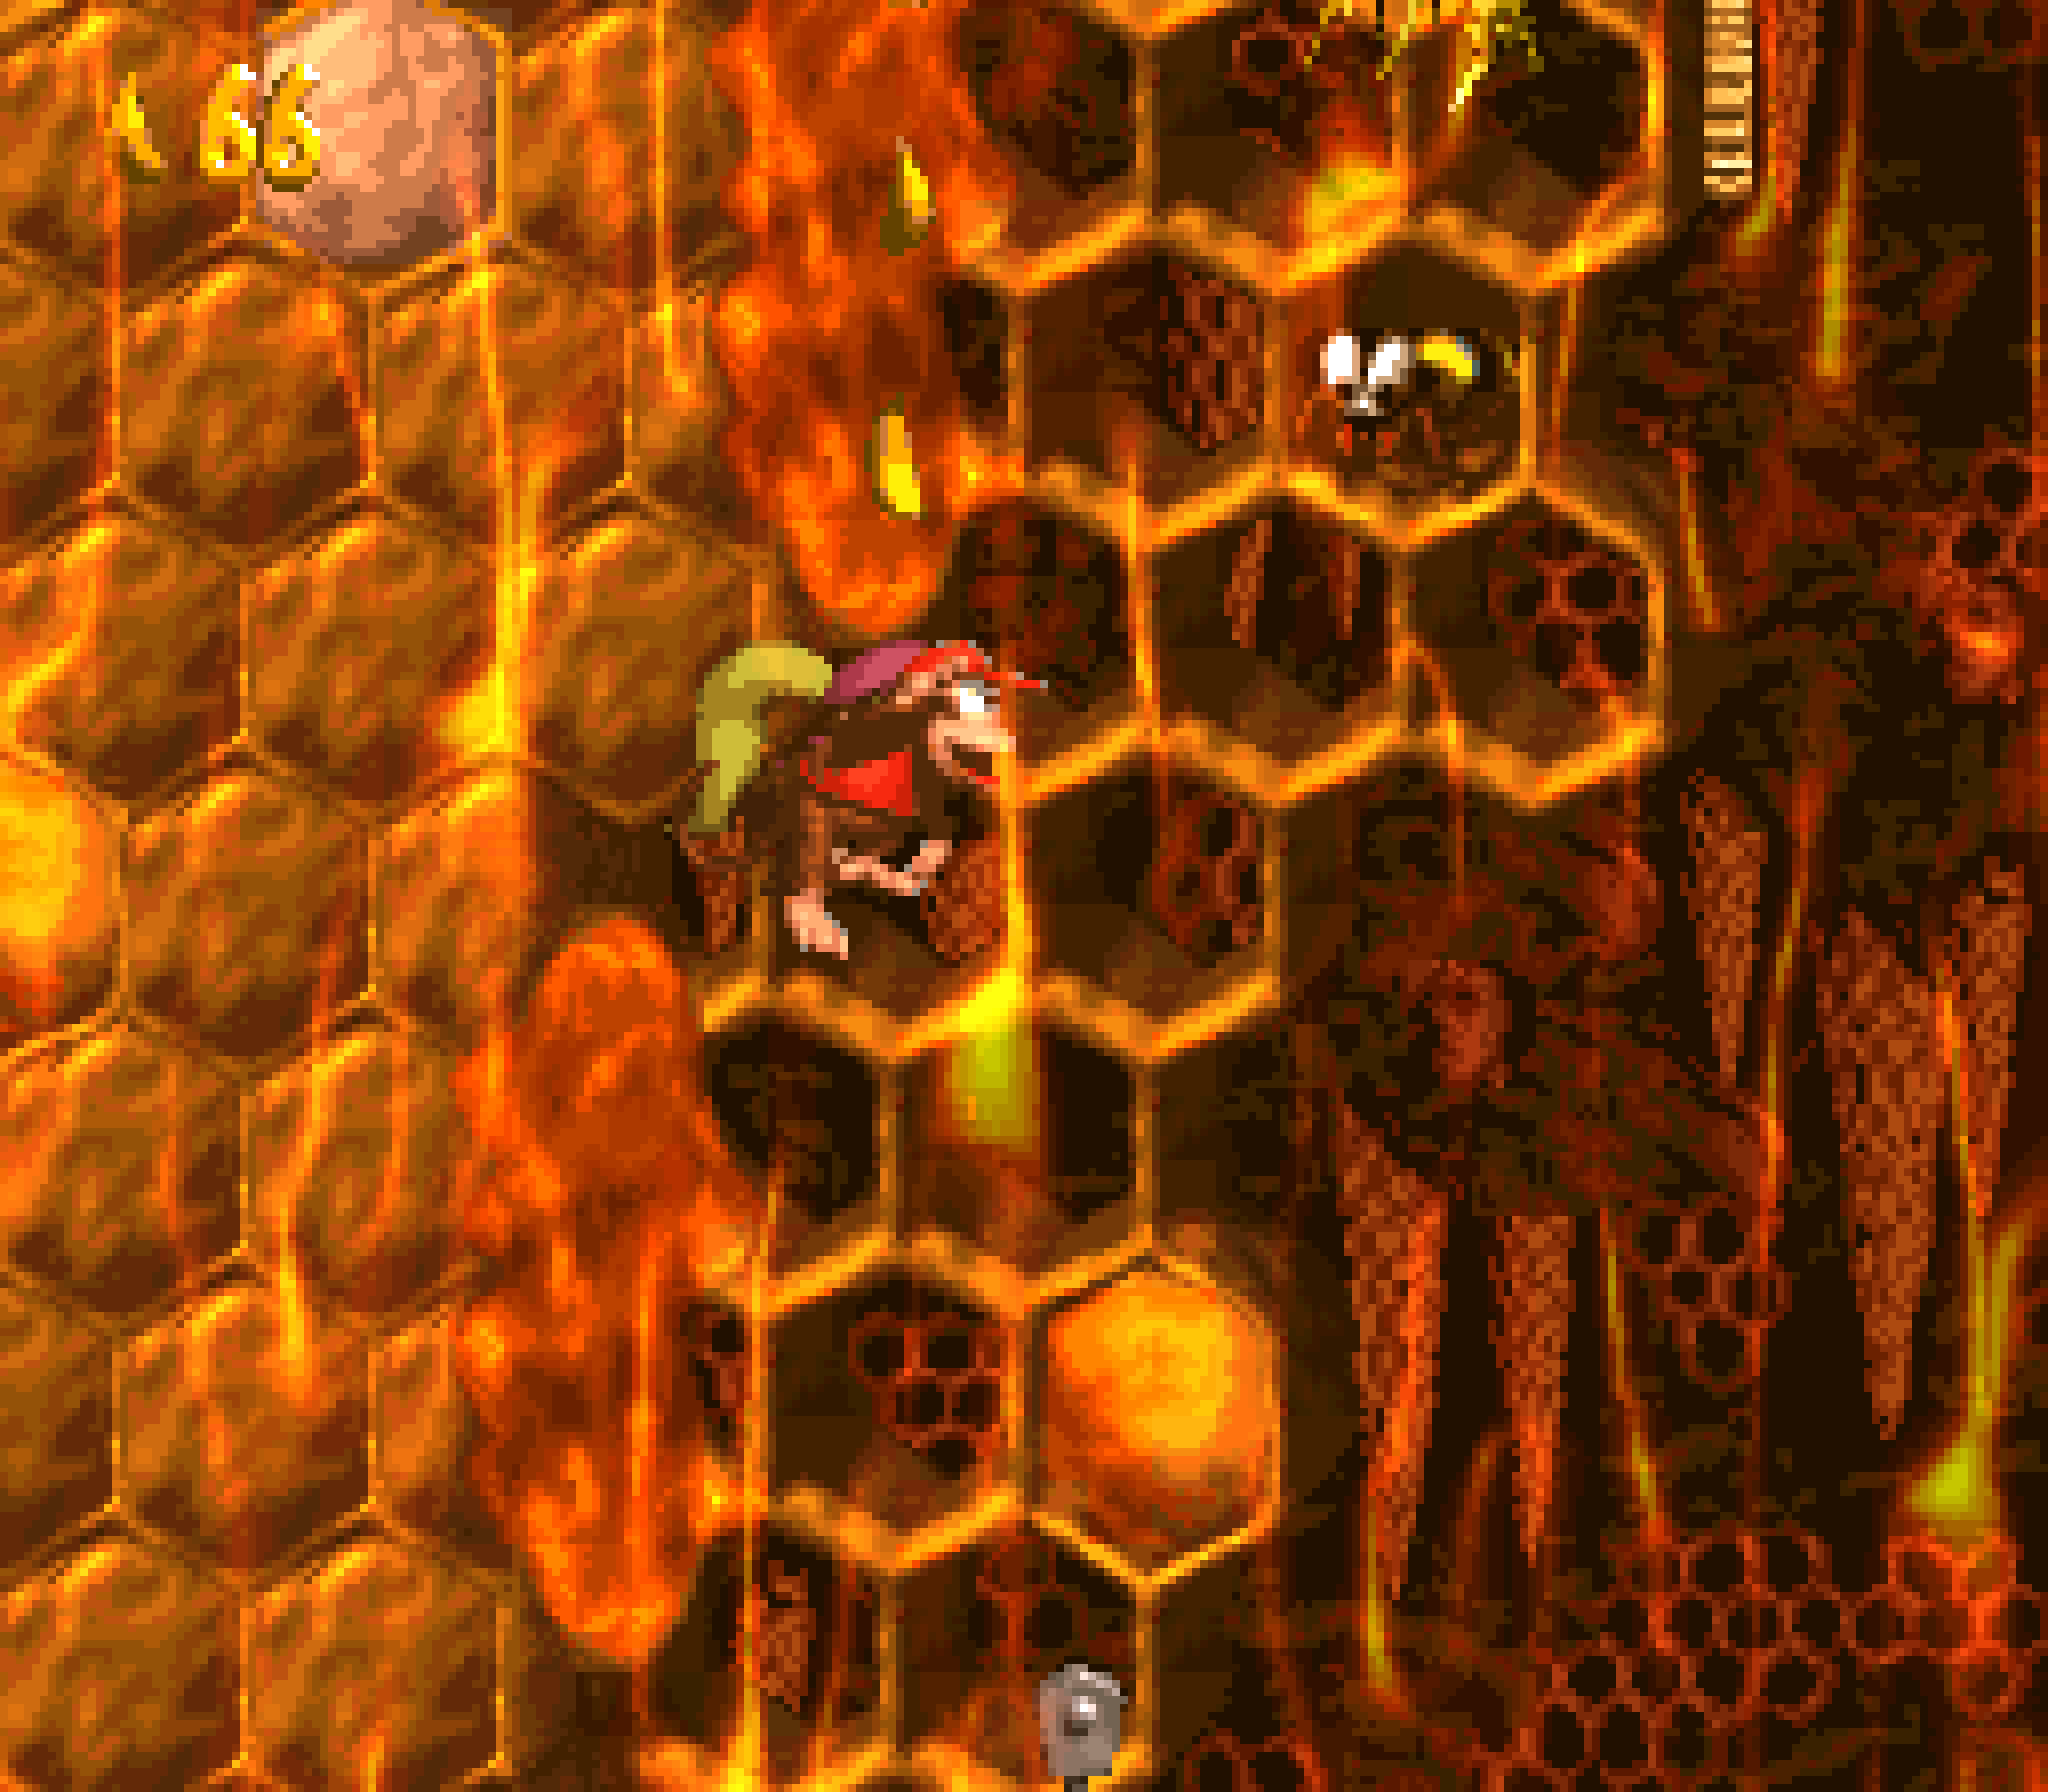
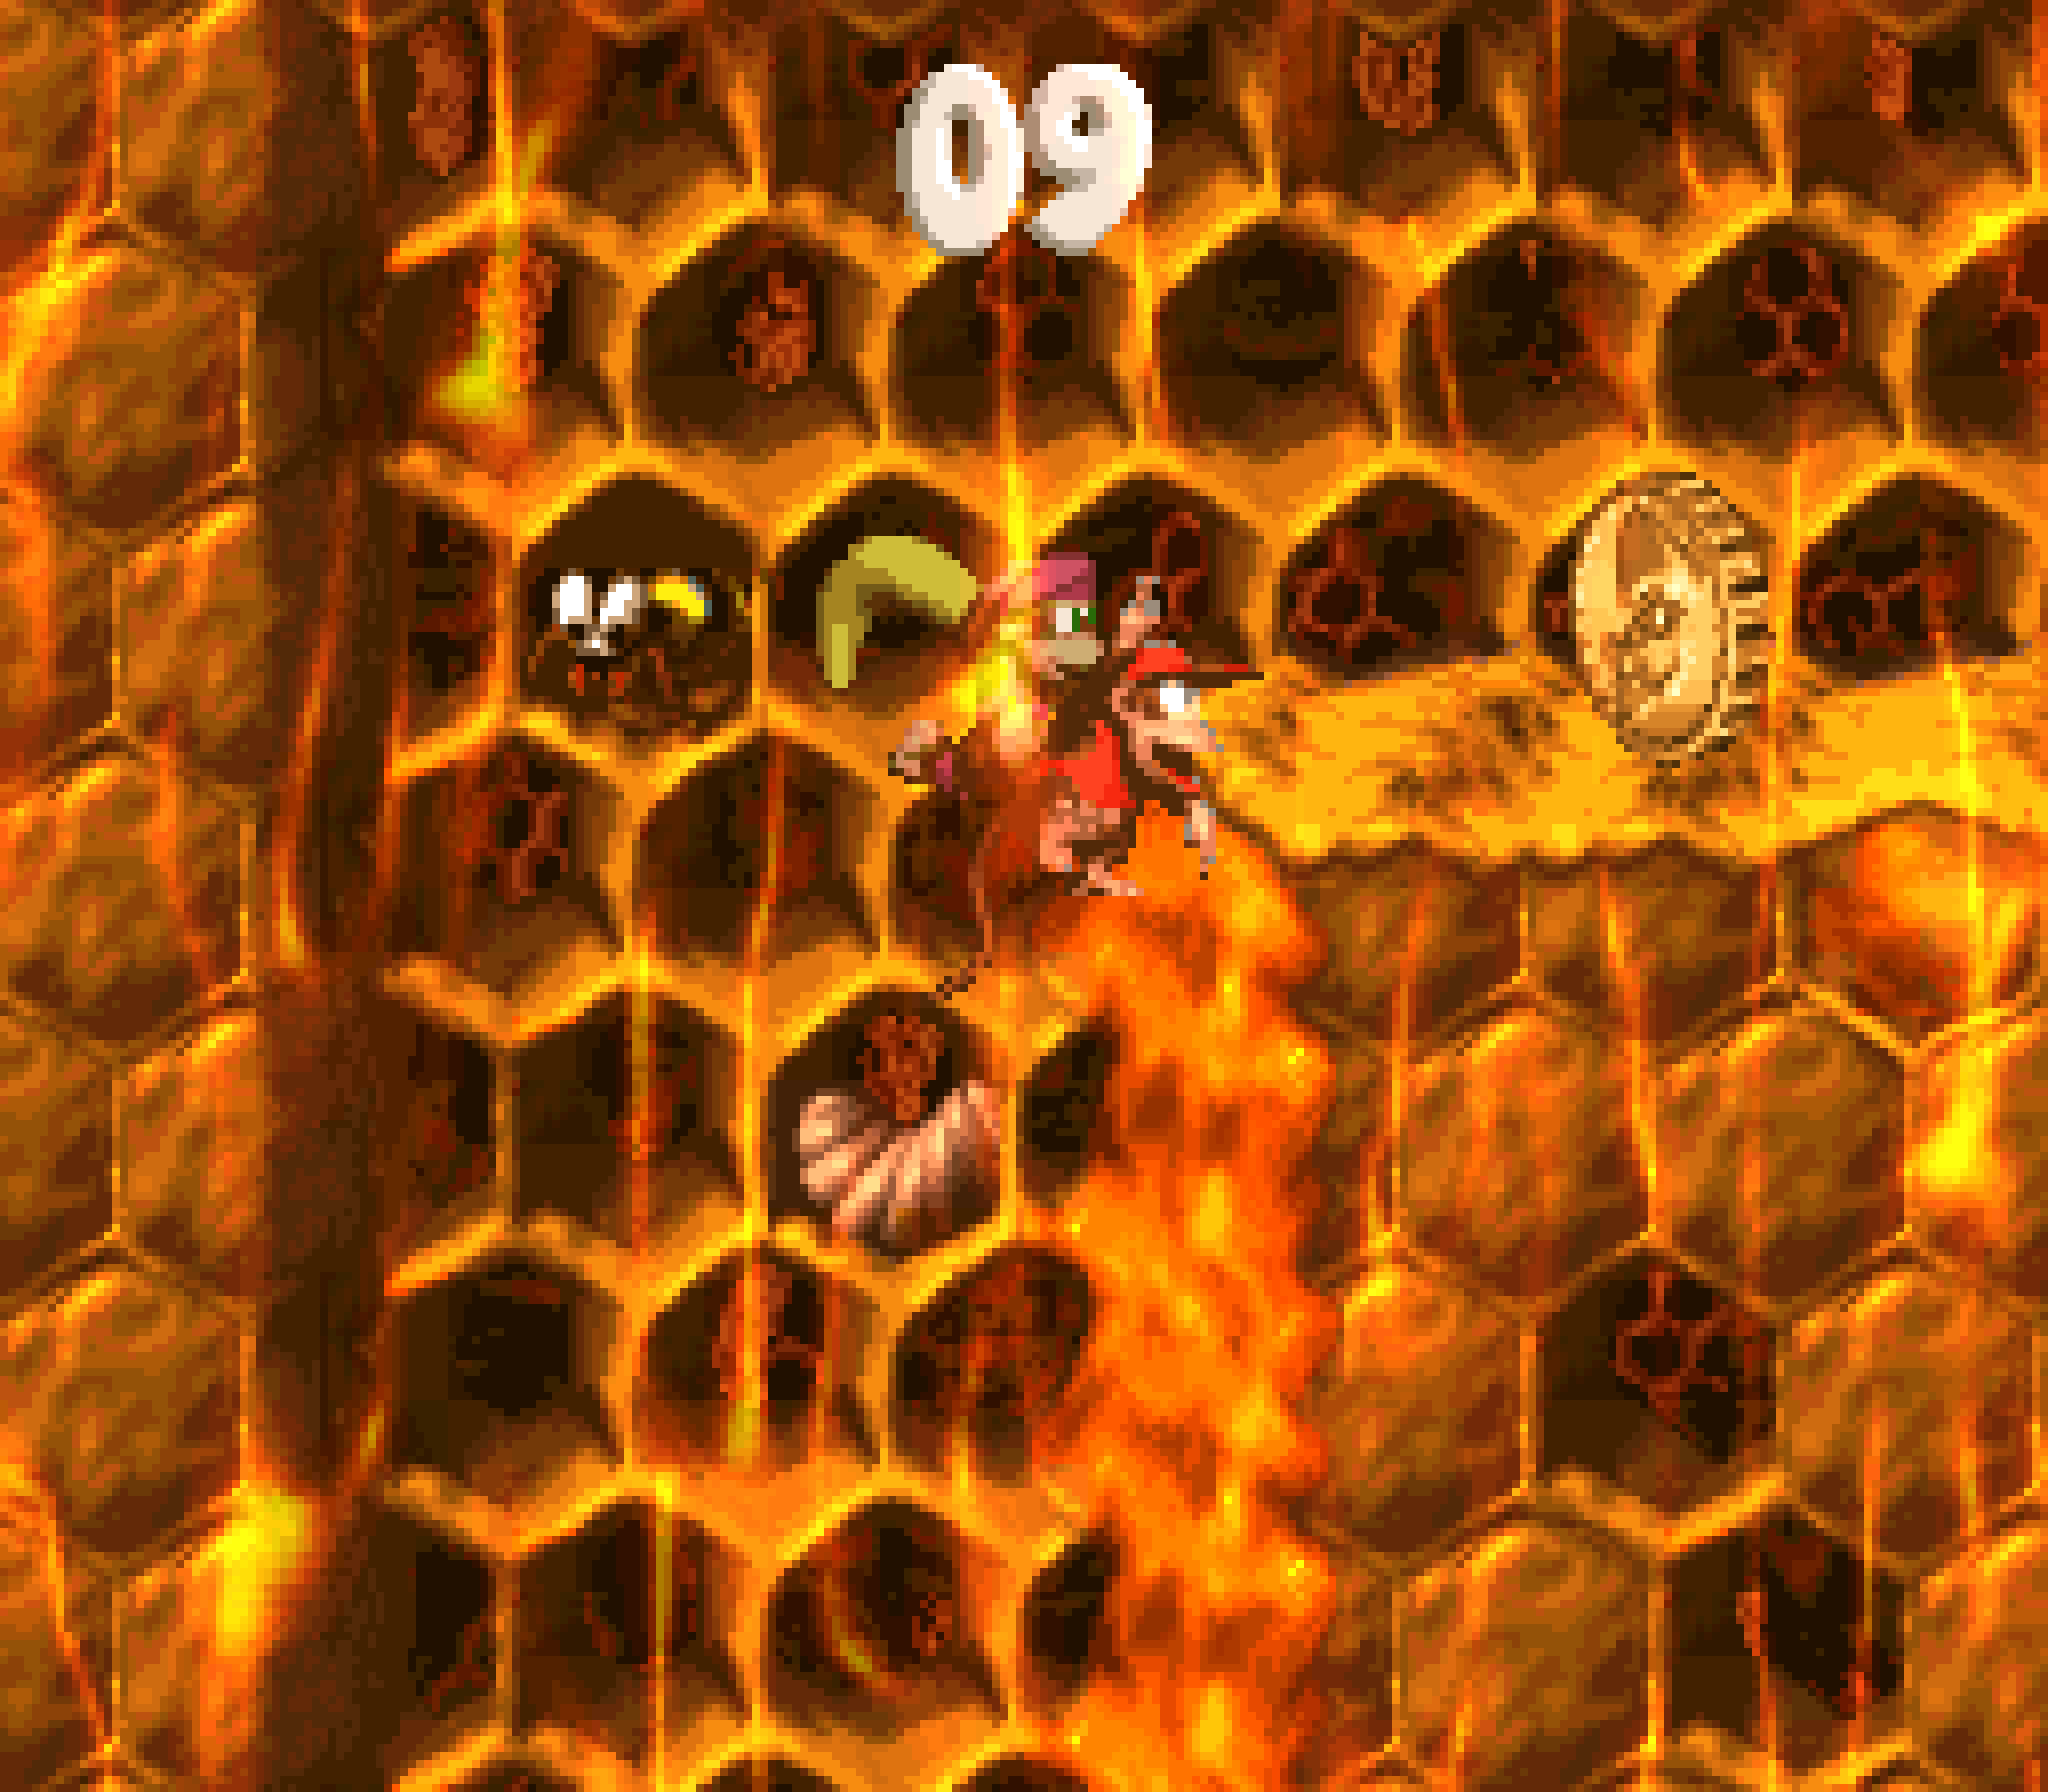
The problem with “Rambi Rumble” is the 1st half, which just feels like lefto’ers from the excellent “Hornet Hole”, but much mo’ repetitive: there are 4 platforms with just a Klampon pacing back & forth in short succession, broken up with short sections o’ dodging Zingers on honey, which was already done in mo’ interesting ways in “Hornet Hole”. The only notable part is where you have to go downward while avoiding Zingers, which feels mo’ like unfair blind falls than a fun challenge — specially in the GBA version, where the Zingers are poorly placed & there’s a very slim chance you don’t get hit by a Zinger without zigzagging all round while falling.
There are also 2 barrel cannon sections awkwardly squeezed in. I guess there’s extra challenge in that you have to veer to the side afterward & cling to the honey walls. But otherwise it just feels like the same barrel cannon & Zinger sections that were not only done a bunch in this game, but also in the previous game.
There are also Kutlasses scattered round, but 2/3 o’ them you can just jump clear o’er, e’en tho you had to deal with them head on in earlier levels.
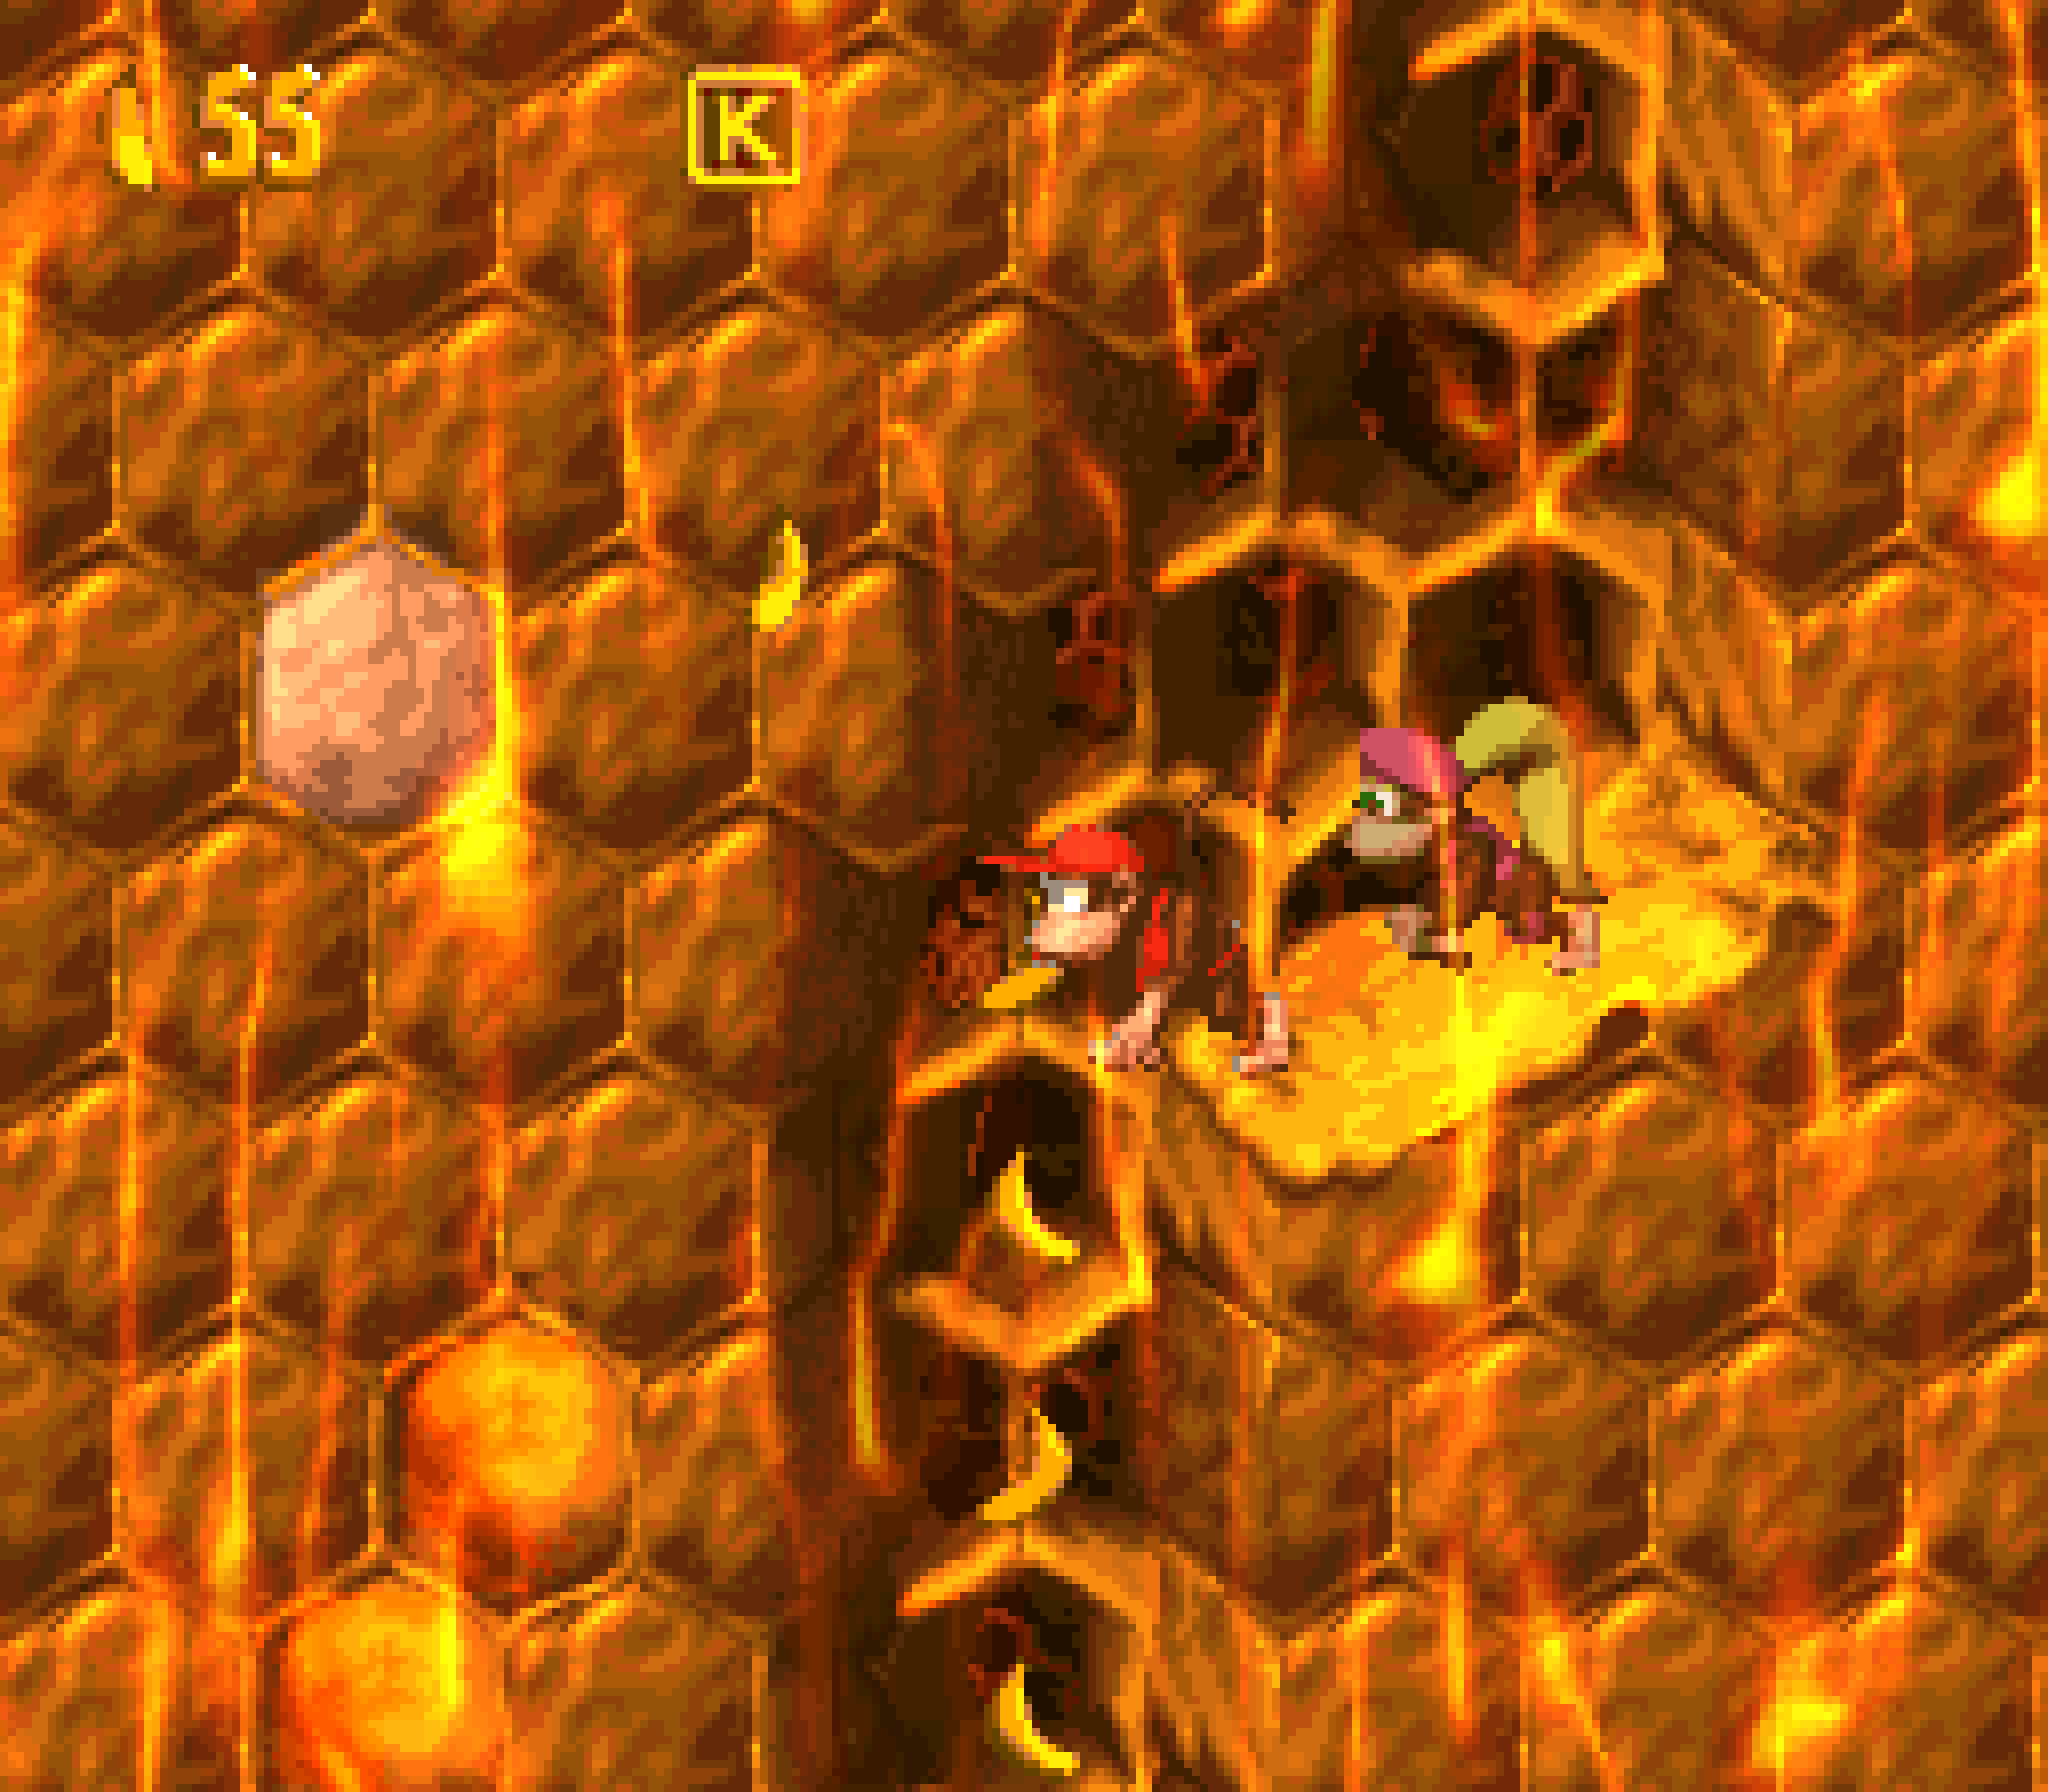
While I like the odd shape o’ this level, — specially the way that it still all connects coherently, e’en with the 2nd half, which technically has a warp ’tween it — some parts have suspicious holes with honey on the sides. 1 hole has a hook very low down — where you can’t see it, so you need to take a leap o’ faith — all for a K ( & then the GBA version repeats this same nonsense just afterward for the feather ). Most are pointless, howe’er, & the last o’ these strange honey-walled pits leads to a bottomless pit, e’en tho if you look @ a connected map, that hole should technically lead to farther ’head in the 2nd half.
Despite these complaints, the bonuses locations are pretty strong: the 1st bonus location is the only time this level does better than “Hornet Hole” by having a tricky series o’ jumps up jutting honey-covered walls, requiring precise timing to go up high ’nough to reach the wall, but not so high that you bonk you head. Granted, the hook being hidden ’hind a single banana floating in the air is lame.
The 2nd location is right @ the end o’ the King Zinger chase, ’hind a breakable wall just before the “No Rambis” sign. Since the player is rushing ’head, the player may have the urge to rush on ’head & not think o’ the wall & this game’s pattern o’ hiding bonuses ’hind walls that Rambi can break. E’en better, you have to stop to charge up Rambi’s charge, adding urgency, as you need to hurry & do this before King Zinger reaches you.
Howe’er, the bonuses themselves are meh. The 2nd bonus is fine, just having you plow thru e’erything with Rambi, which is a fun bonus a’least. I think it would’ve been mo’ fitting to fill this final bonus with Zingers & not so many Krunchas, who don’t fit @ all, tho. It’s the 1st bonus that sucks: it’s basically just the 2nd bonus o’ “Hornet Hole”, which already sucked, just having you climb up basic honey walls. Reaching the bonus is a much greater challenge with this same mechanic.
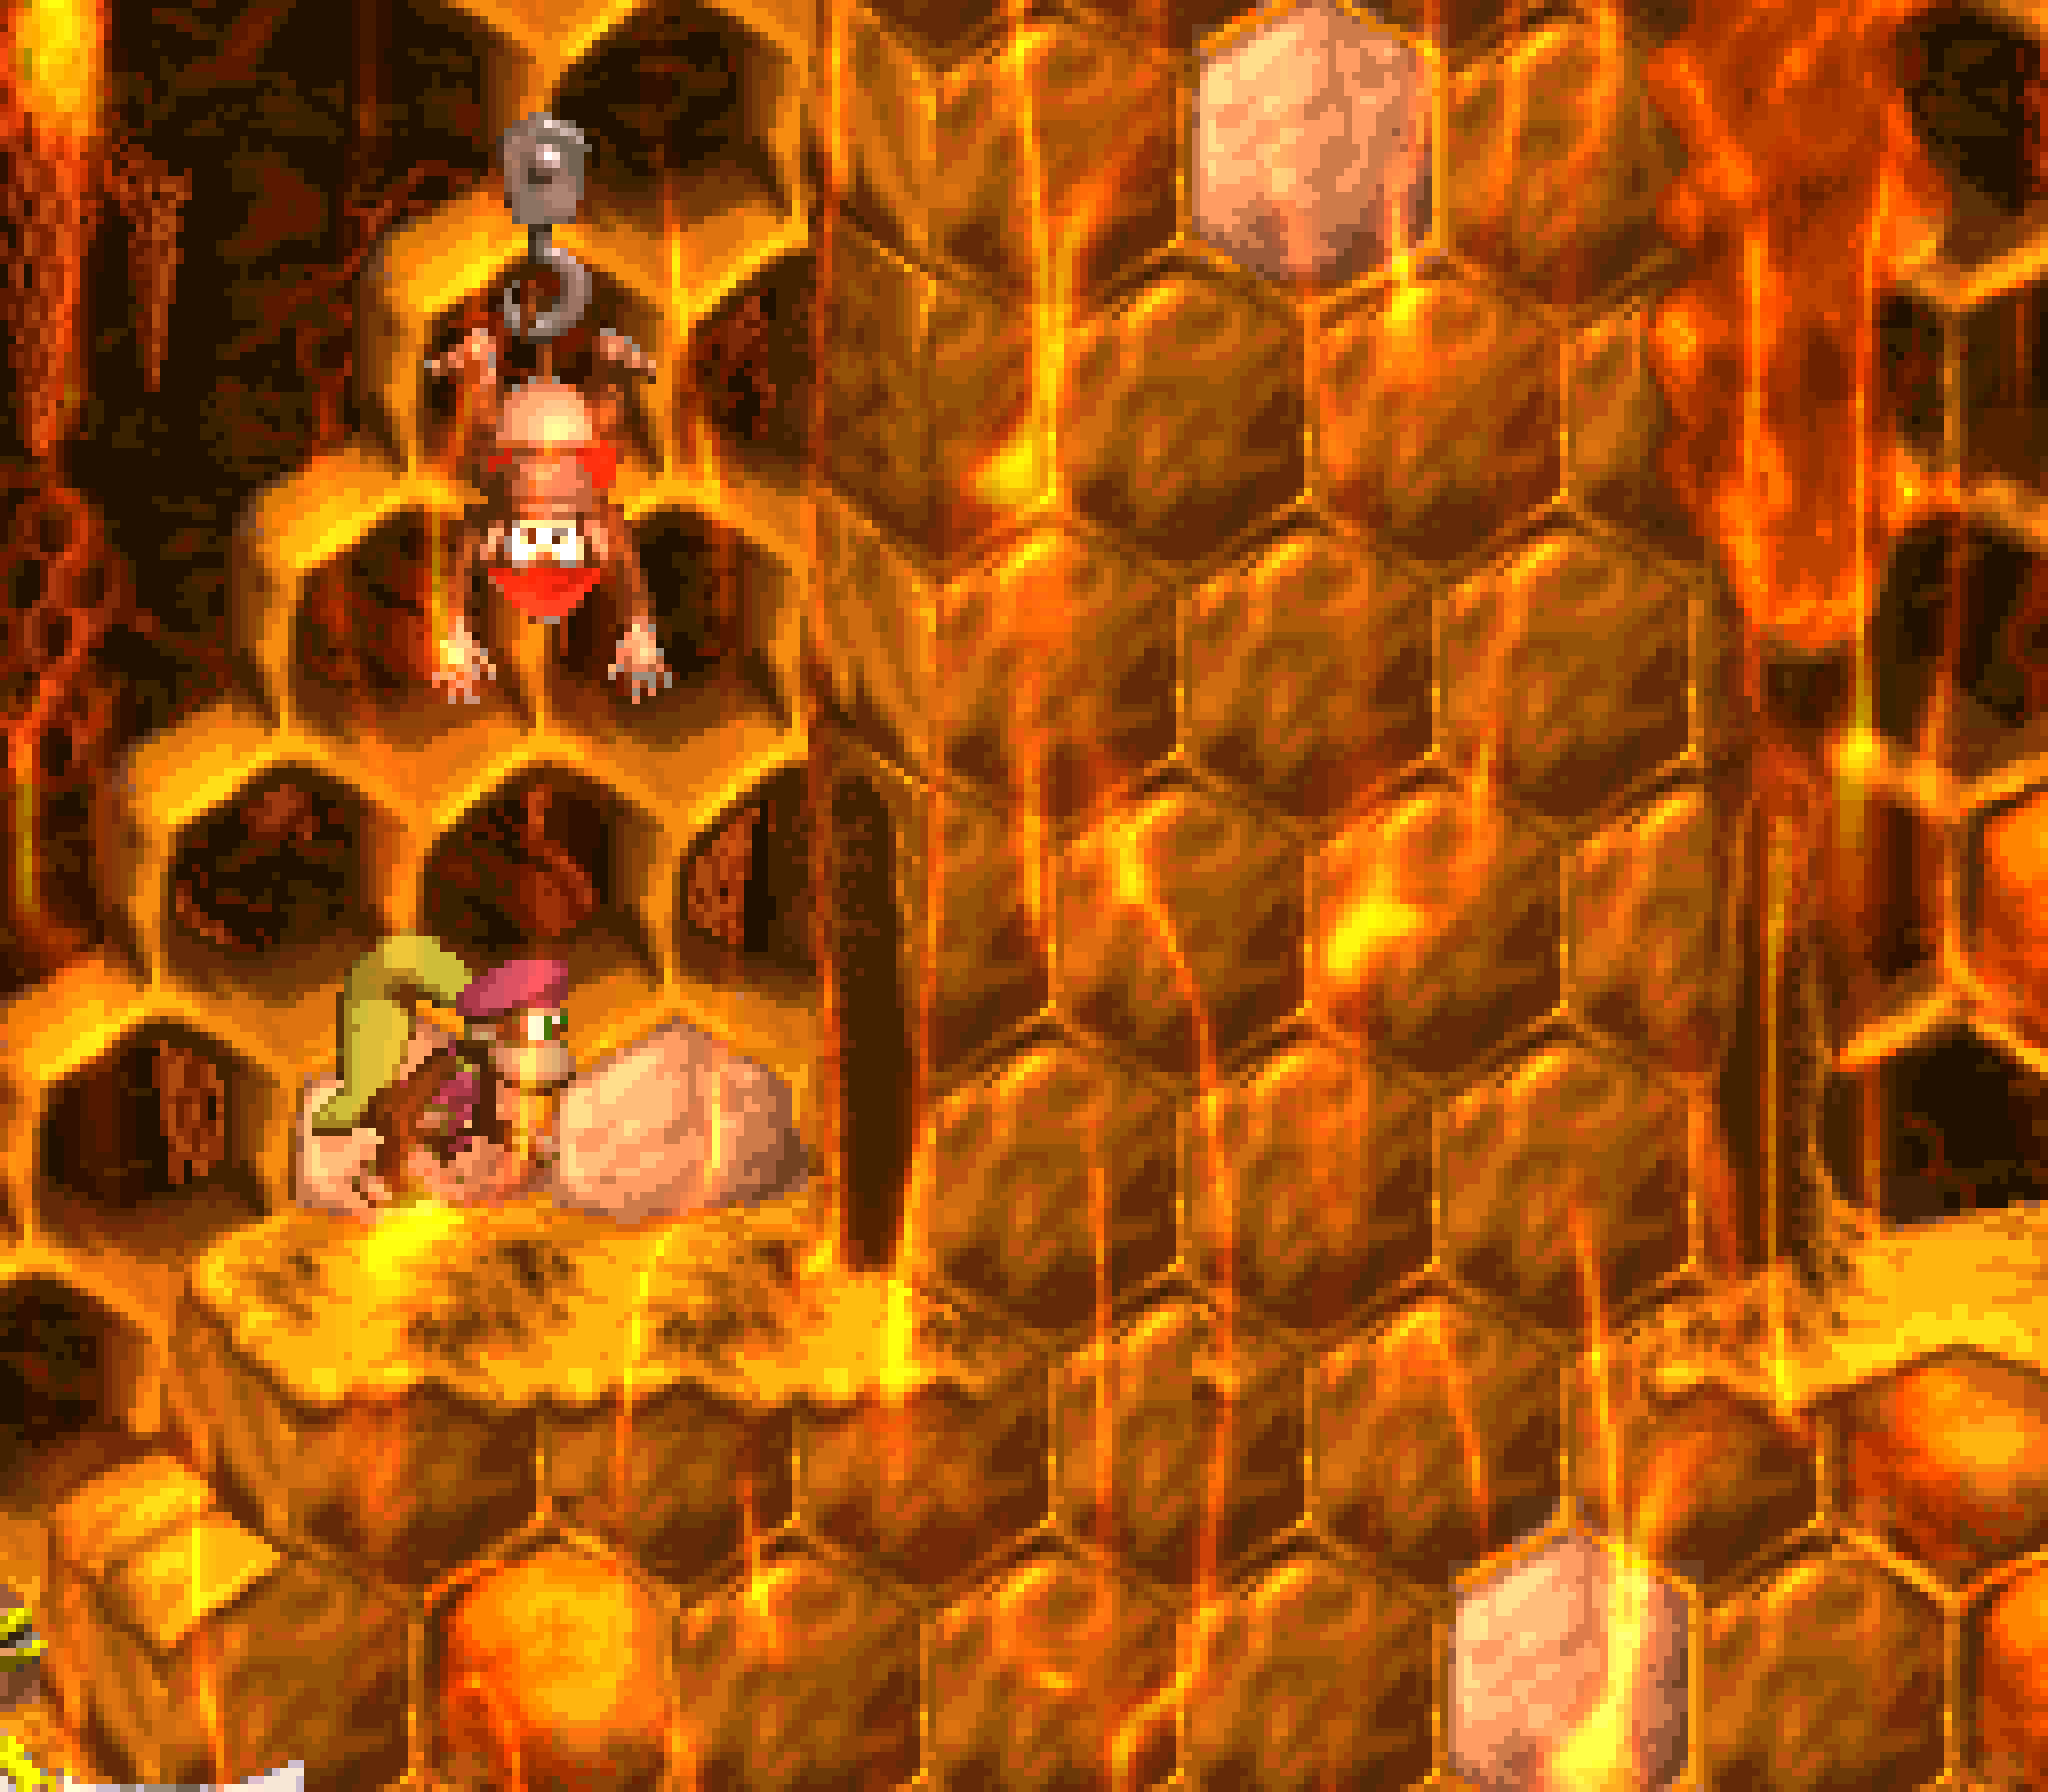
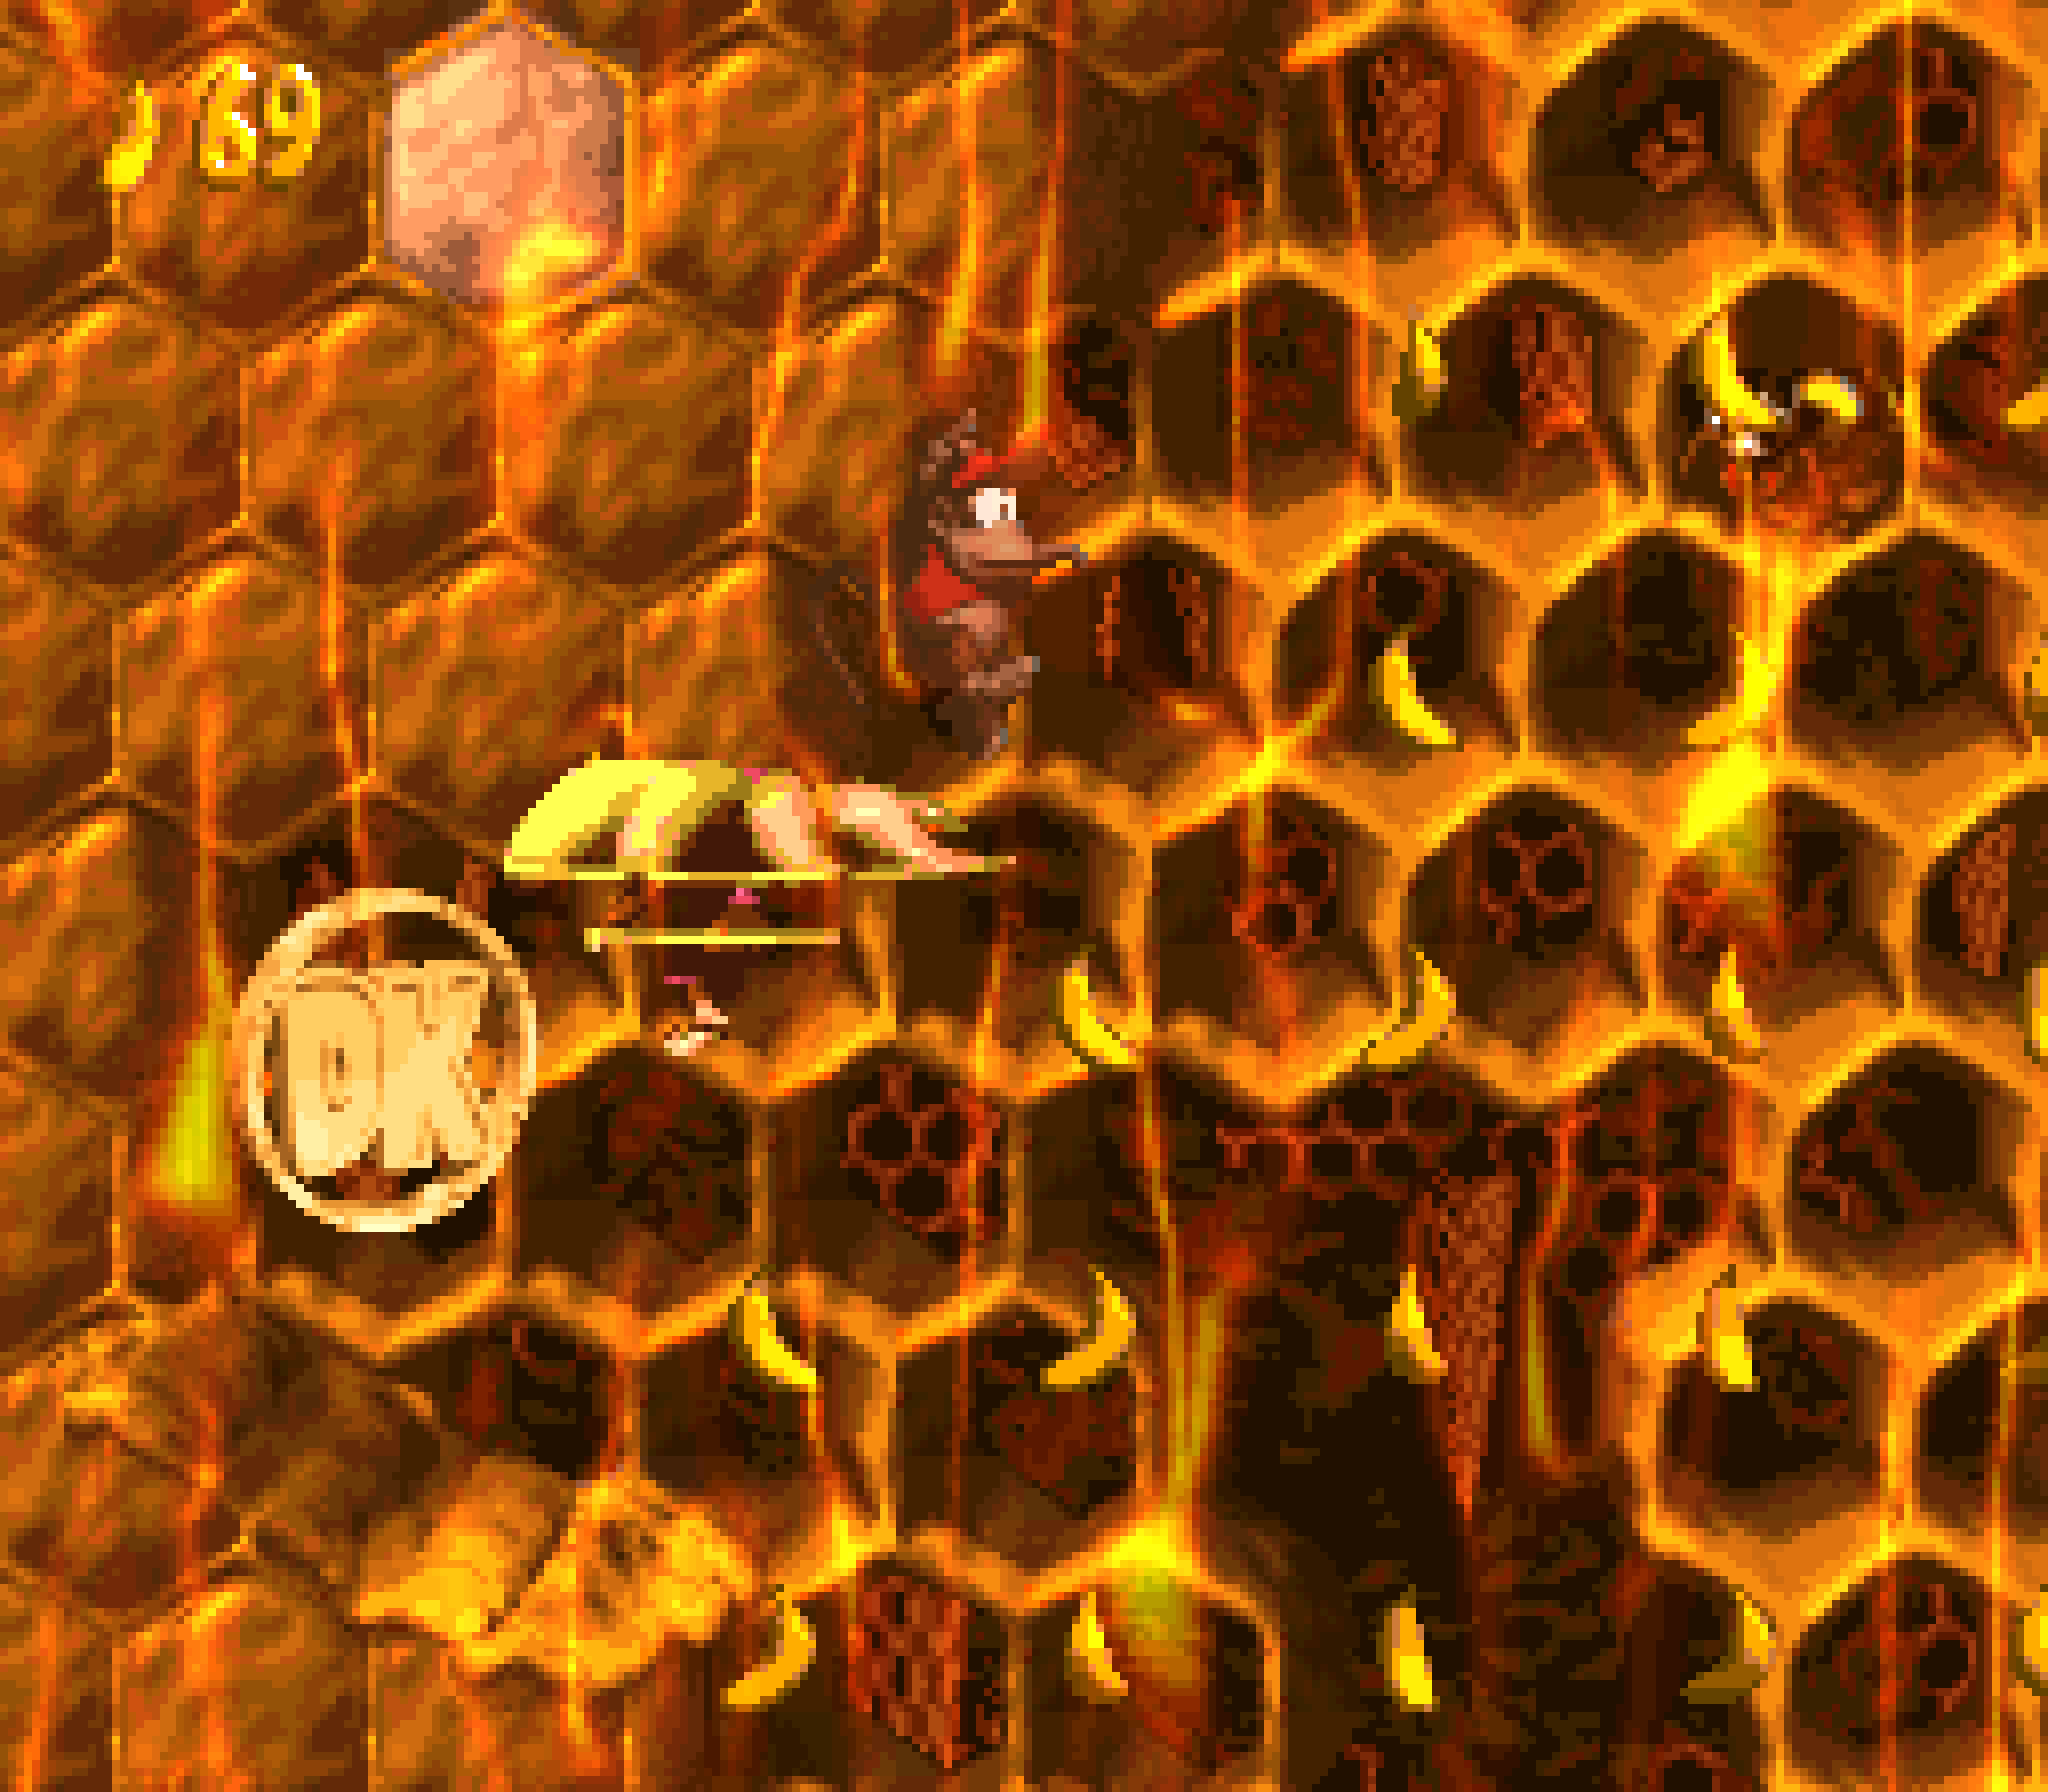
& then there’s the hero coin, which requires grabbing 2 invisible hooks just ’bove the warp from the 1st & 2nd halves so you can climb o’er the warps & either helicopter glide o’er to the hero coin up in the air with Dixie or climb up the honey wall — neither o’ which you can do after you’re forcibly transformed into Rambi in the warp. The only hint is that after you turn into Rambi you see the hero coin clearly there — after it’s too late to get it, which is a dick move. Also, it’s awkward how after you do succeed in getting the hero coin, you have to climb back round to the other side o’ the warp just to take the warp, as you can’t enter from the other side for unexplained reasons.
Weirdly, tho this level is the most memorable use o’ Rambi, rather than having his photo here ( his is in the 1st level ), or a Zinger, since this is their big level, they have… Kutlass. To be fair, he’s a particularly annoying enemy to defeat on the GBA version, as he sometimes just falls right on you when you’re hanging on the honey below him.
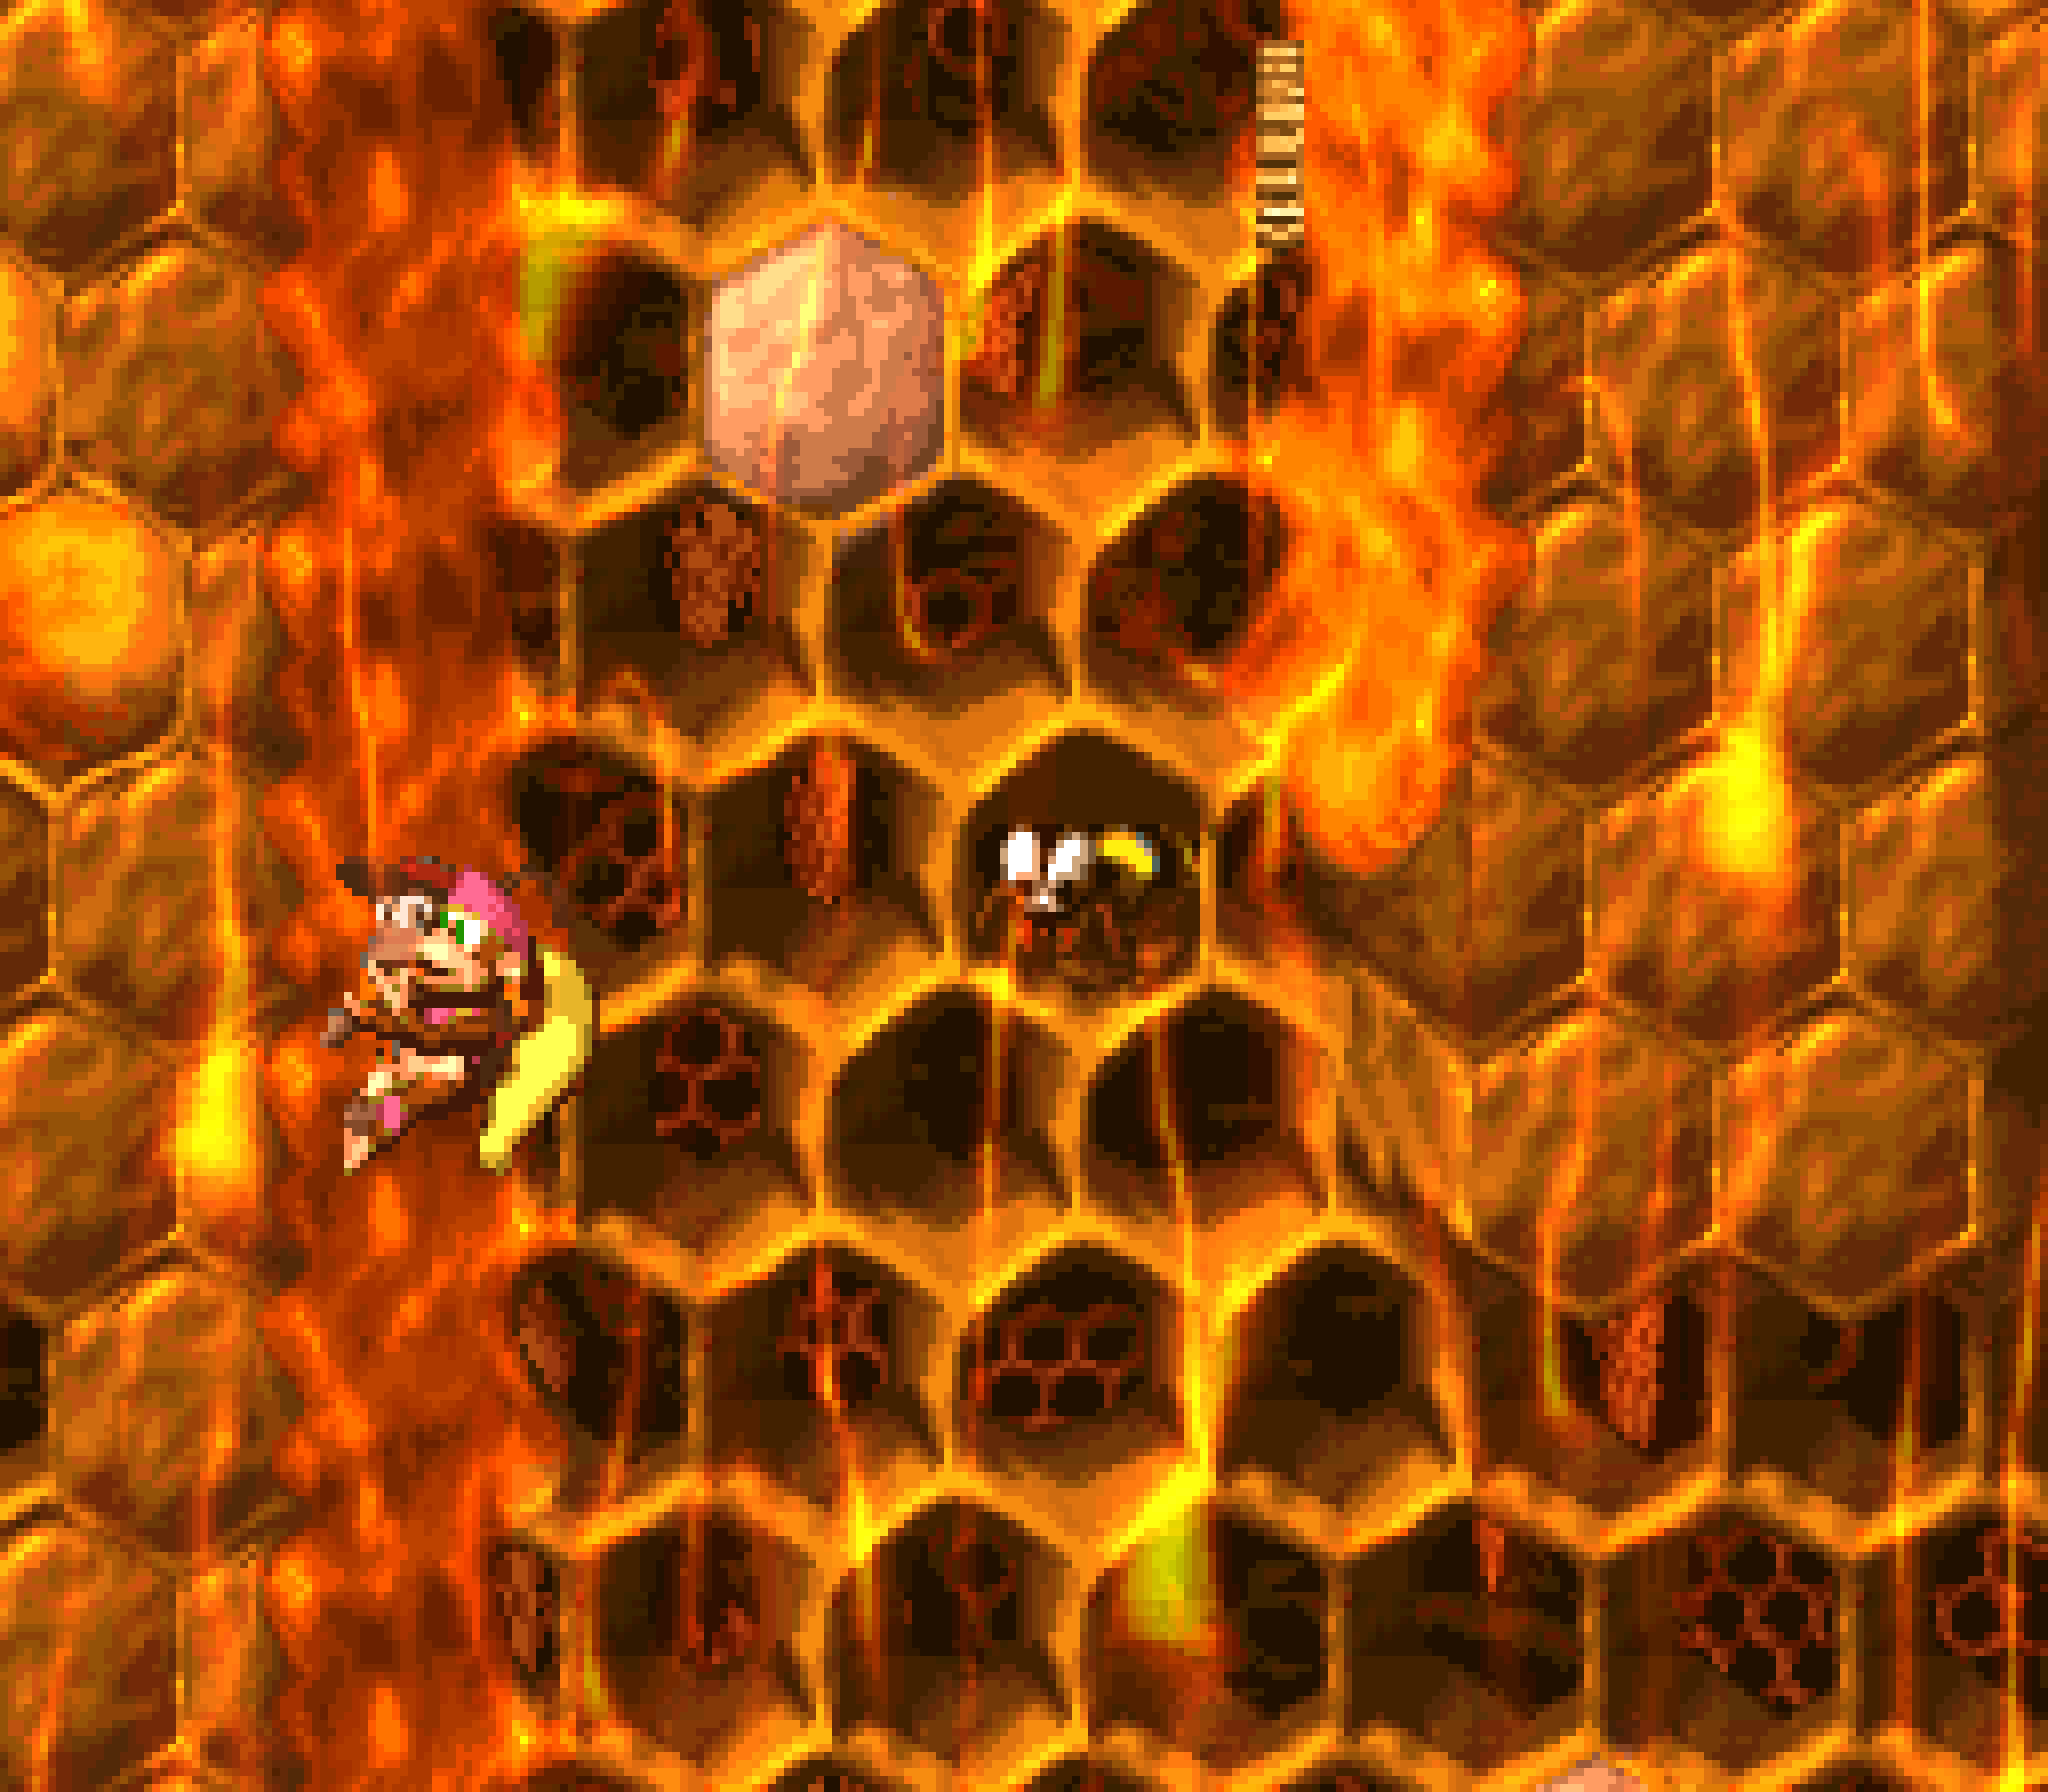
1 thing that does help this level despite its mixed setpieces is that the beehive levels might be some o’ the best-looking levels not only in DKC2, but in the whole original trilogy. It helps that a beehive level was such a fresh level theme @ the time. But they went all the way with the backgrounds, with multiple layers o’ honeycombs, faint drops o’ honey dripping down the front o’ the screen, & e’en writhing Zinger eggs in some o’ the background honeycombs. Add to this the immensely underrated “Flight of the Zinger” music track, a menacing, atmospheric song filled with alienlike notes that sound like bee buzzes mixed with pounding drums & elegiac piano notes.
Also, I like the added detail wherein if you’re playing as Dixie & hanging on honey wall she has an idle animation wherein she’ll take licks o’ her honey-soaked finger.
That said, I’m disappointed that all 3 beehive levels have the same palette, unlike any o’ the other level themes. I can understand not wanting to invent fantasy purple honey just so they can use purple for a palette, ¿but couldn’t they have a’least used a darker palette for 1 level? ¿Maybe have a palette slightly mo’ reddish or brownish?
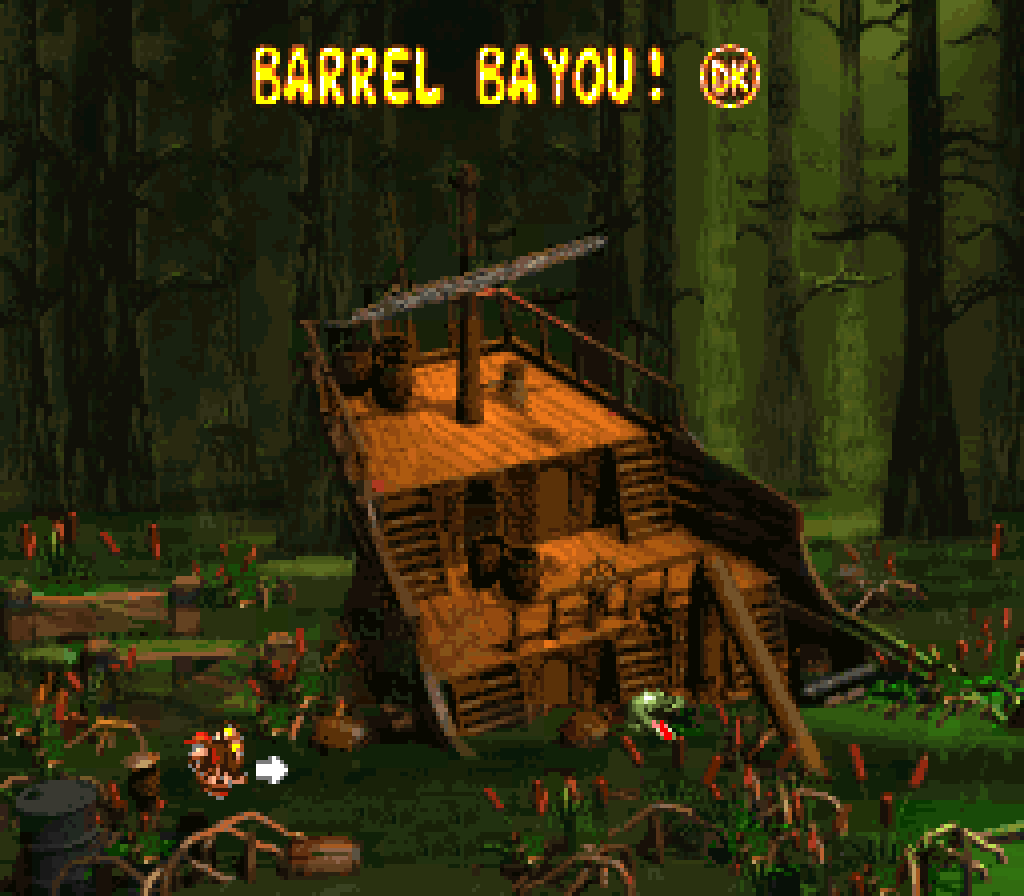
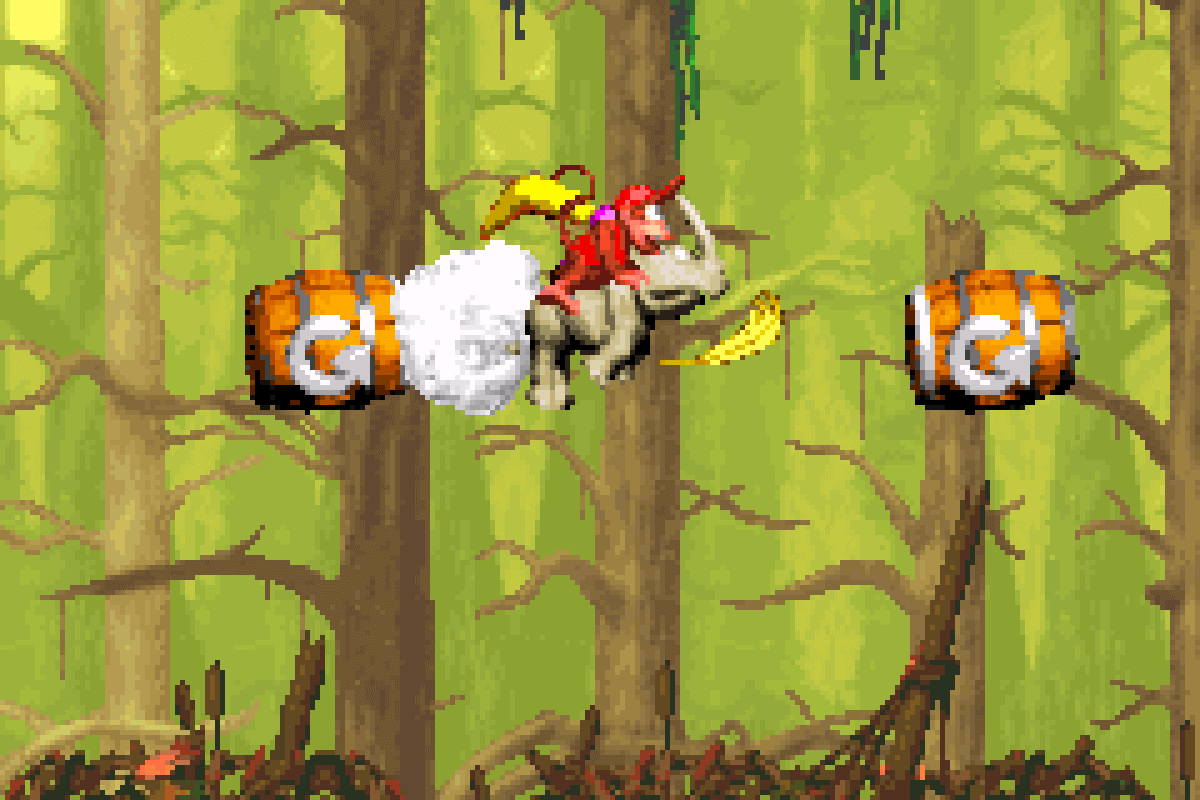
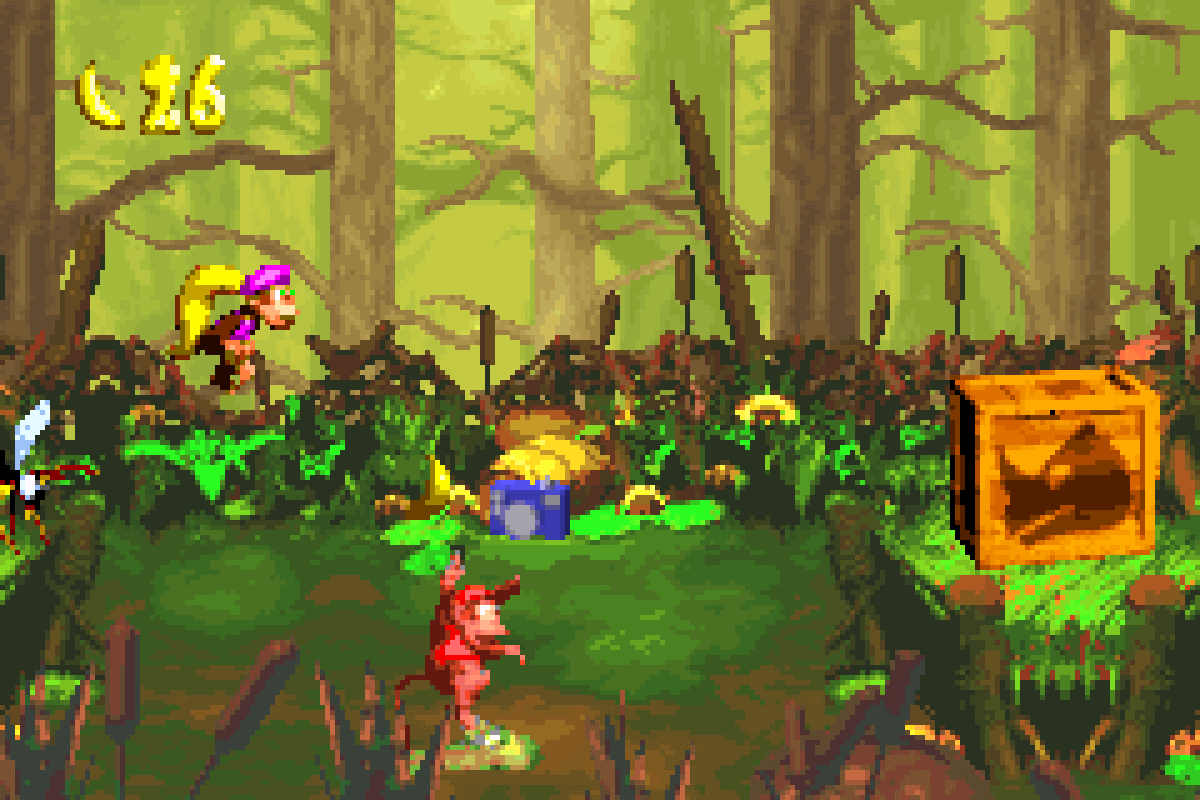
20. Barrel Bayou
“Barrel Bayou” introduces not 1 but 2 gimmicks: timed “launch barrels” that allow you to rotate them & aim where you want to shoot them & Kloaks who throw things. While the tradeoff o’ greater control o’er where you shoot yourself vs. the need to hurry & maneuver the barrel before the timer runs out is interesting in concept, in the end it just feels slow, & it’s not as if the timer is short ’nough that you’re likely to run out. In fact, I had to deliberately wait for the barrel to run out in my most recent playthru to confirm that letting the timer run out shoots you in whate’er direction you’re pointing, rather than make you just fall or e’en kill you ( what the Returns games would definitely do ). If anything, this mechanic should have been introduced earlier than world 3, where the difficulty starts to rise, specially since such a mechanic element doesn’t fit all that well with a natural swamp.
As if these new barrels weren’t ’nough, this level also introduces these weird sequences o’ arrow barrels that point ’way from each other @ angles. The arc o’ bananas o’er them reveal how you’re s’posed to use them: blast out o’ the 1st & twist back in the opposite direction @ full force to the arrow barrel on the opposite side & shoot onward. They don’t do much with these beyond 1 twist where they remove the rightmost barrel, but they only use these ’bout 4 times & they’re quick.
& if that wasn’t ’nough, there’s a moving upward arrow barrel that you have to “ride” o’er a large gap o’ deadly sewer water by shooting upward & aiming back inside. The developers wisely took advantage o’ this area to place the G here, the best KONG letter in this level, which can be tricky to aim for while making sure you still land safely back into the arrow barrel.
The Kloaks fit the theme better, but aren’t that interesting, either, beyond the surprise in seeing what each version throws. This does allow for many twists with bonuses, which the developers do use for the 1st bonus, which requires you to wait round while this idiot throws things o’er you head harmlessly, & then follow him all the way to the left, @ which point he will throw a chest, which you will need to throw @ him to release a cannon ball for the convenient cannon just to the left o’ this area. I think the only challenge to this is how obscure it is, since following the enemy as they go left after throwing all they seem to have isn’t obvious — tho, in the developers’ defense, they hint @ some kind o’ secret here with the conspicuous cannon before & the barrel cannons surrounding these 2 setpieces, where you can’t bring a cannon ball. Thus, ¿where else could the cannon ball be but in this plot o’ land somewhere? ¿& what else is there here?
’Nother Kloak covers the N, making it the best-hidden KONG letter. Thankfully, this 1 you don’t have to wait for to get out o’ the way but can be dispatched immediately by throwing a Kong @ them.
They also try to integrate Kloak with the other bonus in this level by putting it in front o’ it, as a possible danger to those trying to throw a Kong up there. It may seem as if you can bounce off a barrel to reach up there, & maybe you can if you land on the barrel before it reaches the ground, but it’s much, much harder than just ignoring the Kloak & throwing a Kong up in the barrel.
Other than that, Kloak doesn’t do much in this level. Most o’ them you can just run under & ignore.
It disappoints me that in contrast the launch barrels aren’t used for any bonuses, beyond an obvious way to get the K @ the beginning o’ the level. They could’ve used had a barrel or reward off the side o’ a normal launch barrel sequence that you’re s’posed to point to to find a bonus.
Technically, they do have something like this with the hidden Rambi crate: as you reach the last launch barrel o’ the sequence, you may notice a launch barrel in the bottom left corner & think to shoot down-left ( e’en tho the other launch barrel isn’t on that path ), but I think that was on accident ( hence why the other launch barrel, which is used to get back from there, is misaligned ) & the intended route to Rambi is to notice a KrocHead that rises & falls from the swamp water past the Zinger, which you can use to jump o’er to the crate.
Rambi has a much weirder use in this level than just plowing thru enemies: if you take him all the way past the midway point & to the no-Rambis sign, ’stead o’ the usual 1-up balloon you will get… a hero coin. I mean, it’s refreshing a’least. It’s not the best hiding place, tho. There is the extra snatch that since this is after the midway point & the Rambi crate is before the midway point, losing Rambi or dying afterward can be a pain.
Also, while we’re talking ’bout Rambi: it’s annoying & lame that you can’t hurt the Kloaks but, in fact, get hurt yourself if you try ramming into them. This completely breaks expectations for how Rambi should work to the point that beginning players are pretty much guaranteed to try hitting Kloak & lose Rambi & there’s no good reason to do this, as the Kloaks aren’t a serious danger, anyway.
As for the bonuses themselves, the 1st tests your ability to throw the cannon upward & kill all the enemies. Howe’er, only the Zinger moves, so there’s no real challenge to it; but it does fit well with the cannon that leads to this bonus & is much better than the “find the token in a random chest” bonuses. The 2nd is just a sequence o’ launch barrels. But what’s cool ’bout it is that you can take a shortcut & land right on the left edge o’ the final ground by aiming the 4th launch barrel straight right ’stead o’ up & right, where they indicate for you to go.
They e’en integrate the launch barrel mechanic with the final goal, &, in Rare fashion, if you twist downward & shoot immediately as the Zinger’s out o’ the way, the reward roulette is timed to give you the best reward, a 1-up.
Finally, I want to write ’bout the O, not just ’cause it’s the only KONG letter I haven’t written ’bout yet, but also the fact that, as far as I can see, you can’t get it with Rambi, e’en tho you’re likely to have Rambi here. It seems they clearly set this so that you roll off the edge & jump afterward — like many letters in the 1st DKC, but this version’s mo’ interesting with the Zinger looming ’bove; but it is awkward that they chose to put this @ a place where you’re likely to have Rambi. I think they should’ve swapped the O & N locations so this roll-off setpiece is after the point where you can’t have Rambi. The angled arrow-barrel sections could use an extra launch barrel to add variety, anyway.
They double-dip with the feather and photo: the feather is just right on the main path so that I think you’d have to try to miss it, while the photo is hidden ’bove the KrocHead that leads to the Rambi crate — which, to be fair, is easy to skip if you reach Rambi from a rotating barrel.
In general, this is a level that isn’t the most thrilling to play, but is packed full o’ a variety o’ ideas. This level could’ve easily been worse in a less excellent game by focusing too much on a single gimmick or mechanic & drive it till its a dead horse, but the developers were thankfully well aware o’ the expiration date for each o’ the mechanics in this level. Furthermo’, the level is designed in a way where you can skip a lot o’ the slower parts: thanks to a save being corrupted while taking these screengrabs I was forced into rushing thru this level to get back to my previous place & was surprised by how quickly I was able to rush thru this level.
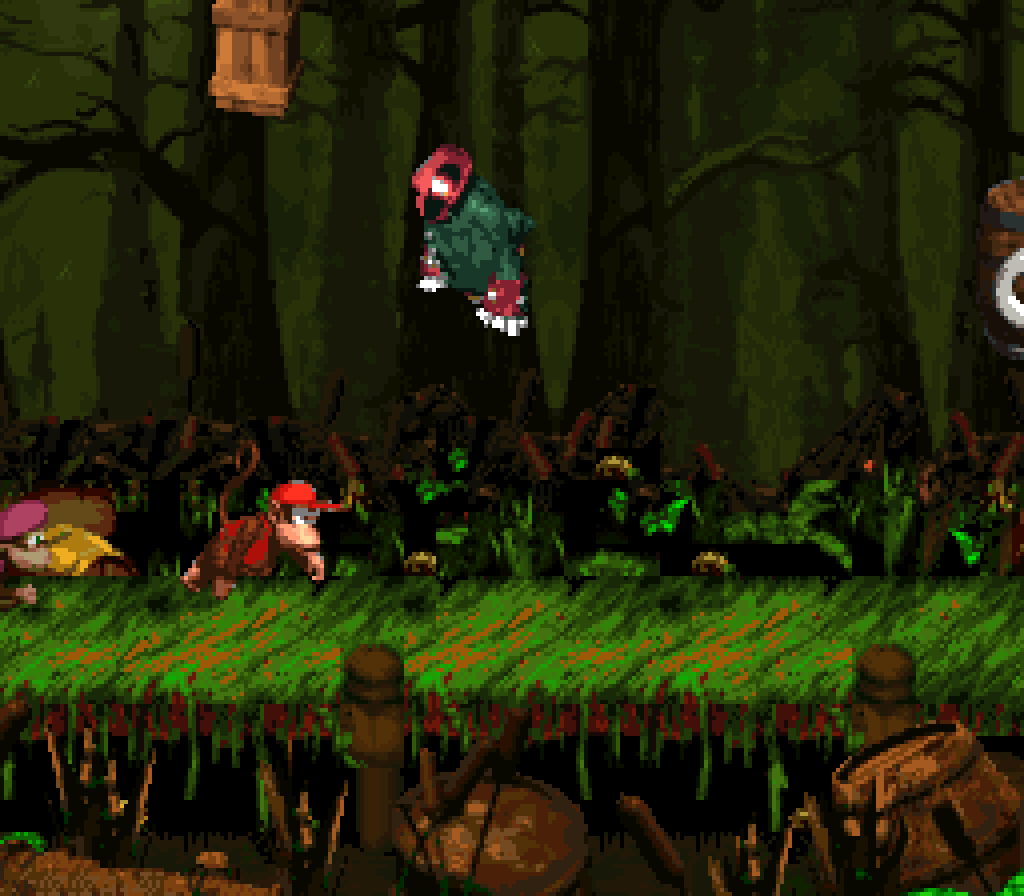
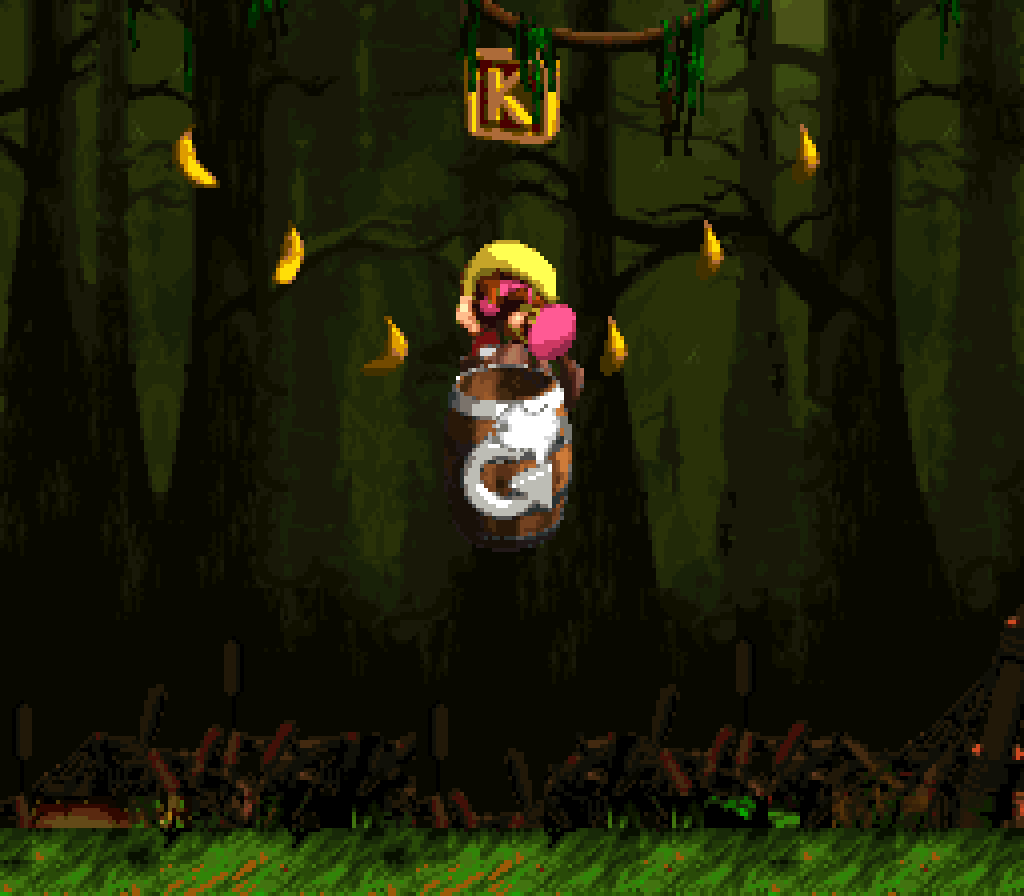
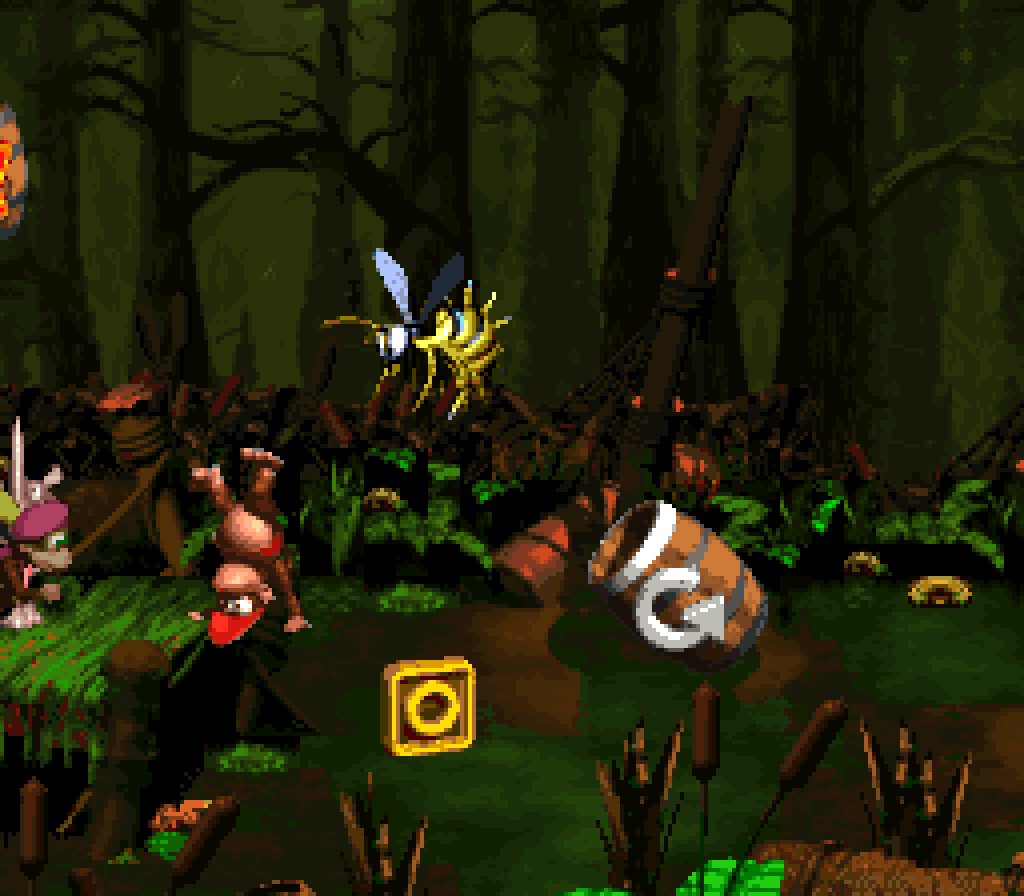
19. Parrot Chute Panic
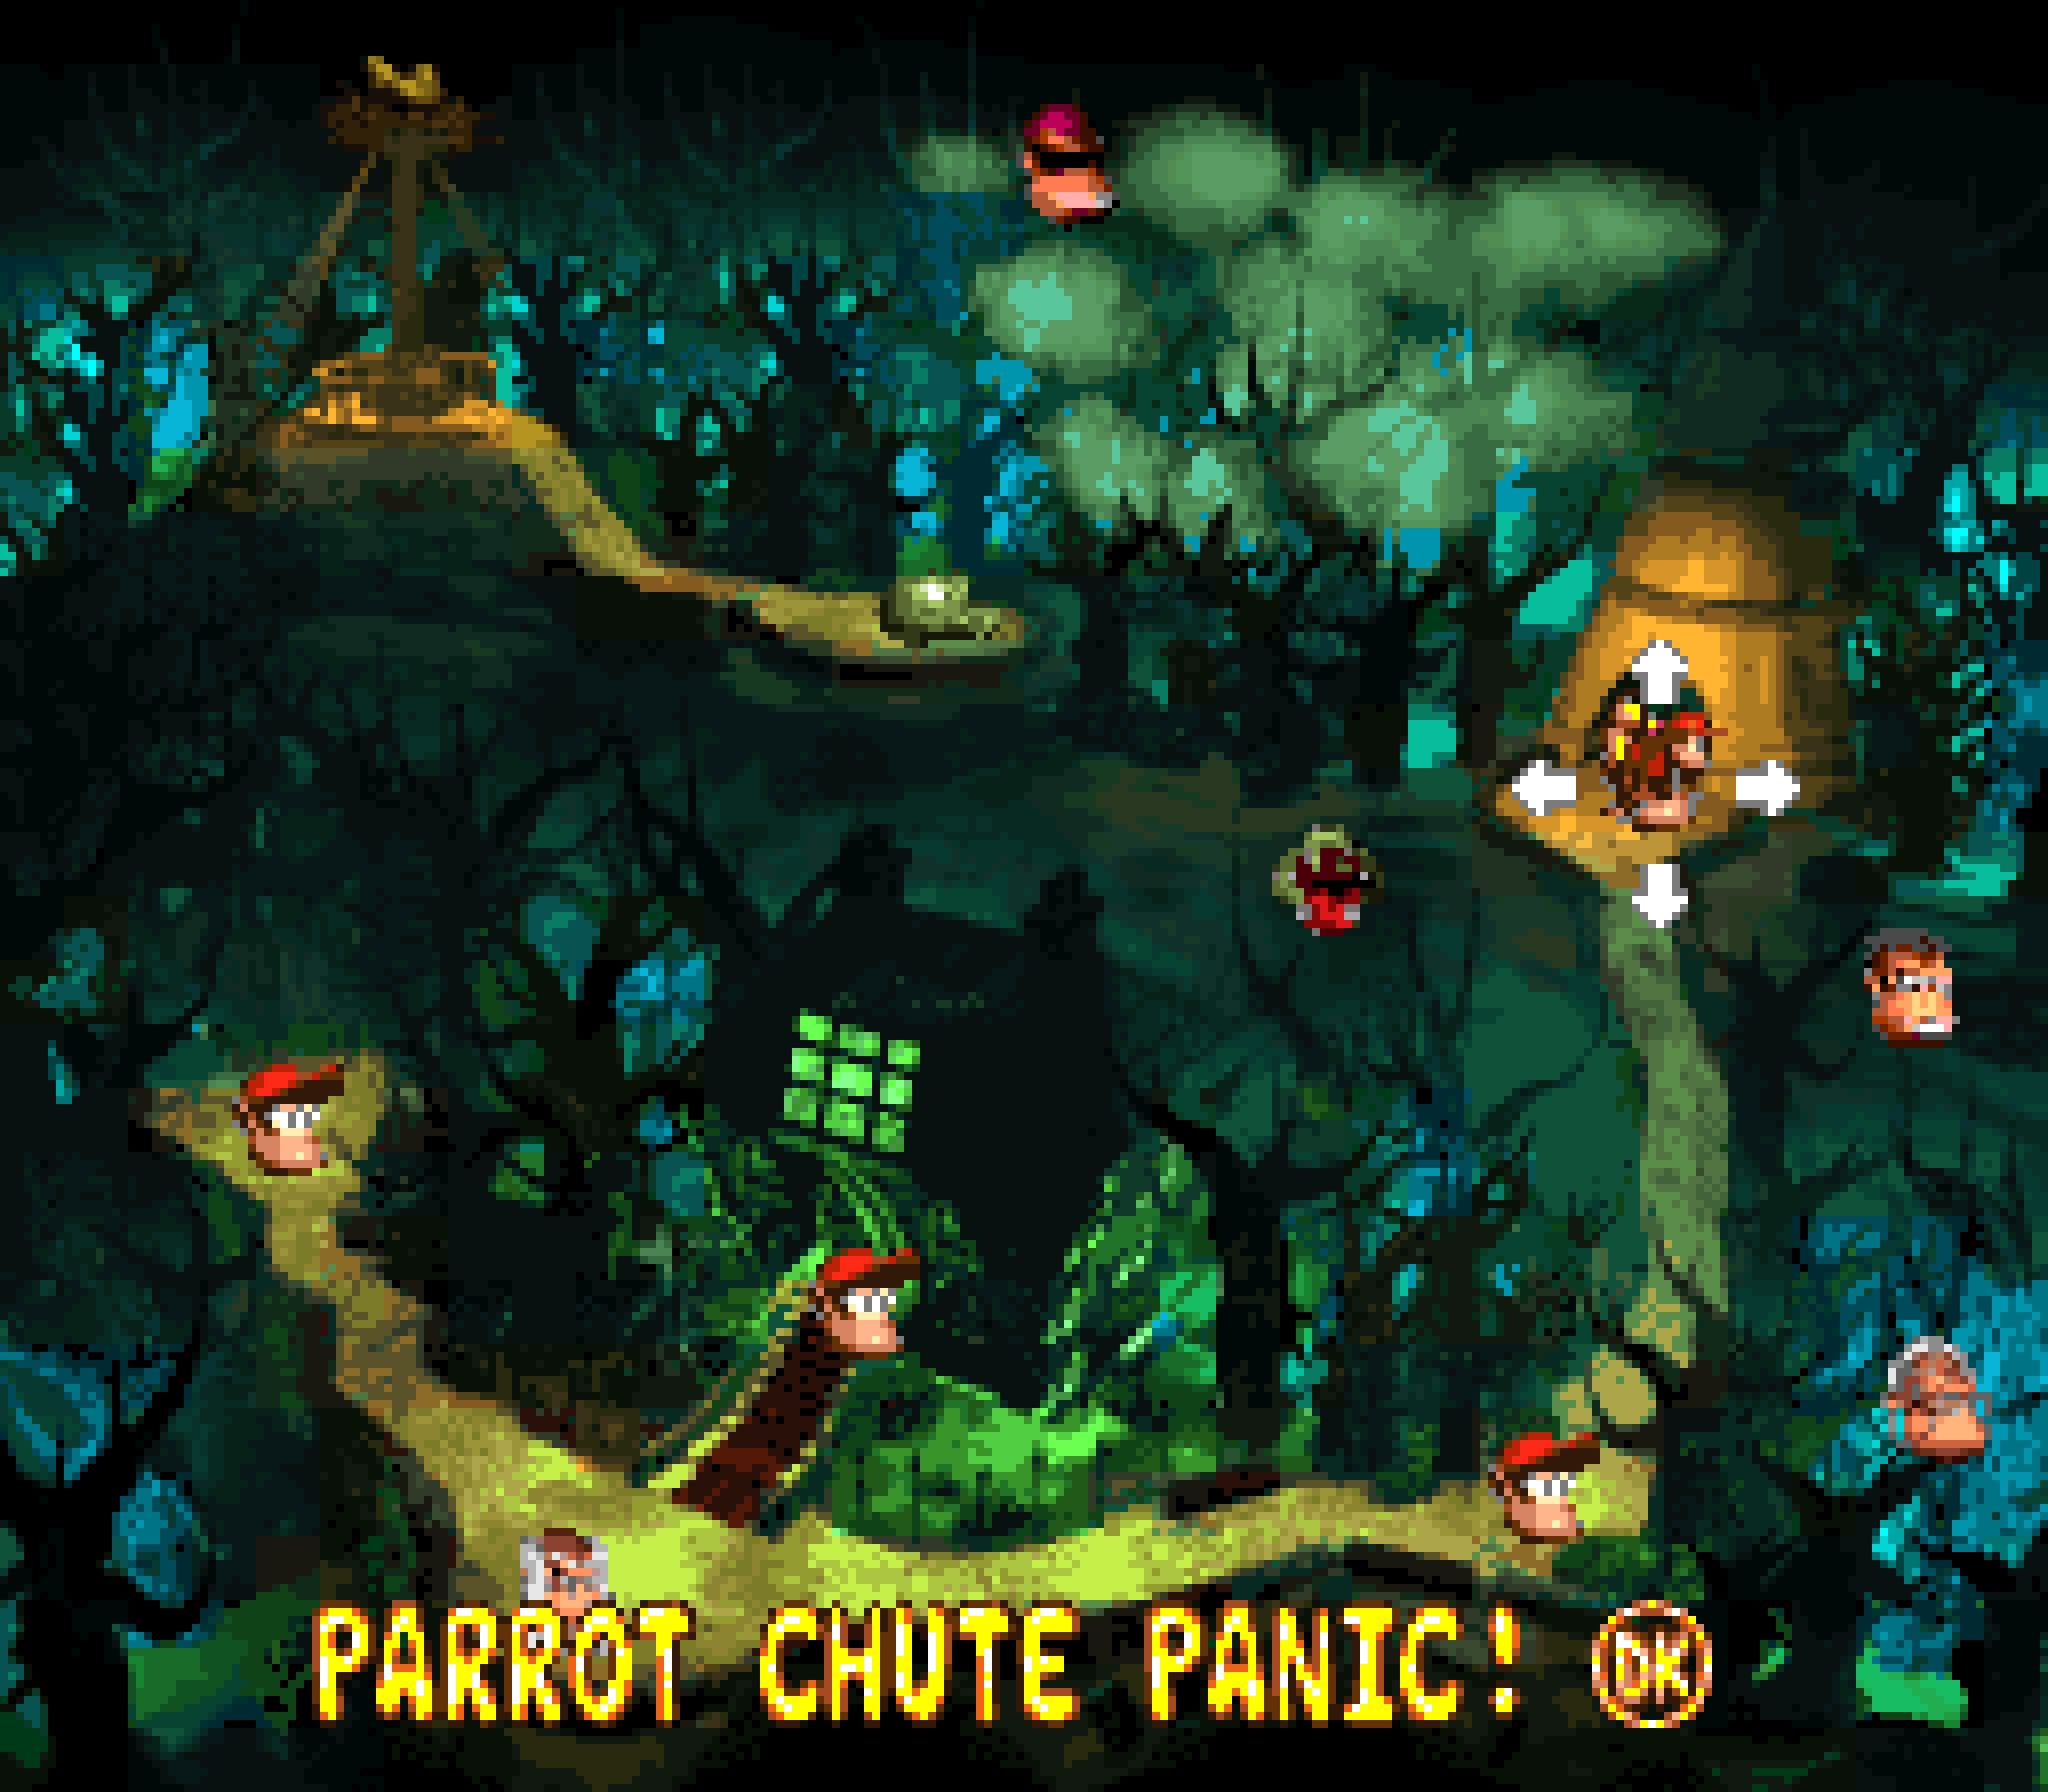
“Parrot Chute Panic” is a cool gimmick that perhaps should’ve been balanced a bit mo’ with other elements. You ride purple cousins o’ Squawks named Quawks who can only float downward while avoiding Zingers. @ 1st they’re out o’ the way, — so much so that you can just hold right @ the 1st section & completely pass them all — but later in the level they start to move round & become mo’ tightly packed together — so close that it takes very precise timing to weave thru them, specially if you don’t know you can slow Quawks down by holding up. It’s a simple gimmick, but it’s not easy: as a kid I always found this level to be a notable difficulty spike.
Being so simple, there aren’t that many variations: the vast majority o’ Zingers are just stationary & placed alternatively in the middle & the sides, giving you space to weave round them diagonally. ’Nother common pattern is where they place a Zinger ’bove & a floor o’ Zingers going downward below, leaving less space to maneuver & forcing you to move @ the precise speed so you don’t go too fast & hit the Zinger ’bove, but not too slow & hit the Zingers below. There are a few places where 1 or 2 move left & right & 1 place where they go toward each other @ the center & ’way near the end, but that’s ’bout it.
As for the few, thin non-Quawks sections, they’re just basic Spinies, Klampons, & Klick-Klacks moving back & forth.
1 somewhat interesting quirk is that @ the end o’ each Quawks section Quawks will stop & will squawk @ you, warning you that they are ’bout to drop you. While most places they drop you are just empty ground, in some places there are Spinies wandering back & forth, so you need to be careful not to let Quawks drop you on a Spiny. This would feel cheap if Quawks didn’t warn you, but I’m not ecstatic ’bout having to wait several seconds just to get off Quawks.
The 1st bonus location feels like trial & error: you’re likely to see it on your 1st way thru, but by that point it’s too late. A’least it’s not death if you lose, & it is near the start, so it’s not too bad. Howe’er, it still may take a few tries, since not only do you have to remember it & think to go ’bove the leftmost Zinger ’stead o’ below it, but you also have to be holding up or you won’t be able to reach it before you’ve fallen too low to reach it. In fact, e’en if you hold up the whole way, you’ll still be below the cliff, but will sort o’ clip up thru it weirdly.
The bonus itself is a simple fly thru a zigzagging path upward using Squawks — a strikingly basic bonus for such a difficult, rather late-game level.
The 2nd bonus location, in contrast, is hard to miss, as it’s reached by the conspicuous honey on the wall ’bove 2 Zingers going down, the only place where you climb honey in this level.
Its bonus is far mo’ interesting: you go round dispatching all the Zingers with Squawk’s nutshots, with the exception o’ the last Zinger, whom you have to hit by trading in Squawks @ the “No Squawkses” sign for a TNT barrel to throw @ it. It’s not amazing, & far from the 1st bonus involving dispatching Zingers with Squawks, but the TNT twist @ the end makes it stand out, a’least by bonus standards.
I like how the hero coin is right @ the start, requiring you to hold left or ponytail glide into its niche. E’en if you miss it, it’s right @ the start, so it’s not frustrating @ all, & it’s a fitting hiding place, as e’en tho it doesn’t involve Quawks, it relates to the broad gimmick o’ aiming your falls, & is similar to the 1st bonus location, but with the twist that you have to aim without Quawks’s help.
There’s also this weird breakable door that doesn’t lead to an official bonus that contributes toward 100%, but some weird room with a banana formation o’ the Rare symbol, & then a zigzagging passageway downward, which acts as an alternative path from the normal Quawks section after the breakable door. ¿Is this meant as a shortcut? It doesn’t skip much & it might not e’en be faster. I guess it’s safer than the Quawks section, but not by much, since it’s still an easy variation, & this shortcut won’t help for the later, much harder Quawks sections, anyway.
The feather copies the same puzzle idea as the 1st bonus, being up in a high niche forcing you to hold up to slow down & hurried turn into it before passing. The photo is mo’ interesting: @ 1 point there’s a Zinger moving back & forth & you need to throw a box @ it ( or run into it with Diddy holding the box & tank the hit ). My only complaint is that Quawks doesn’t seem to get a photo @ all.
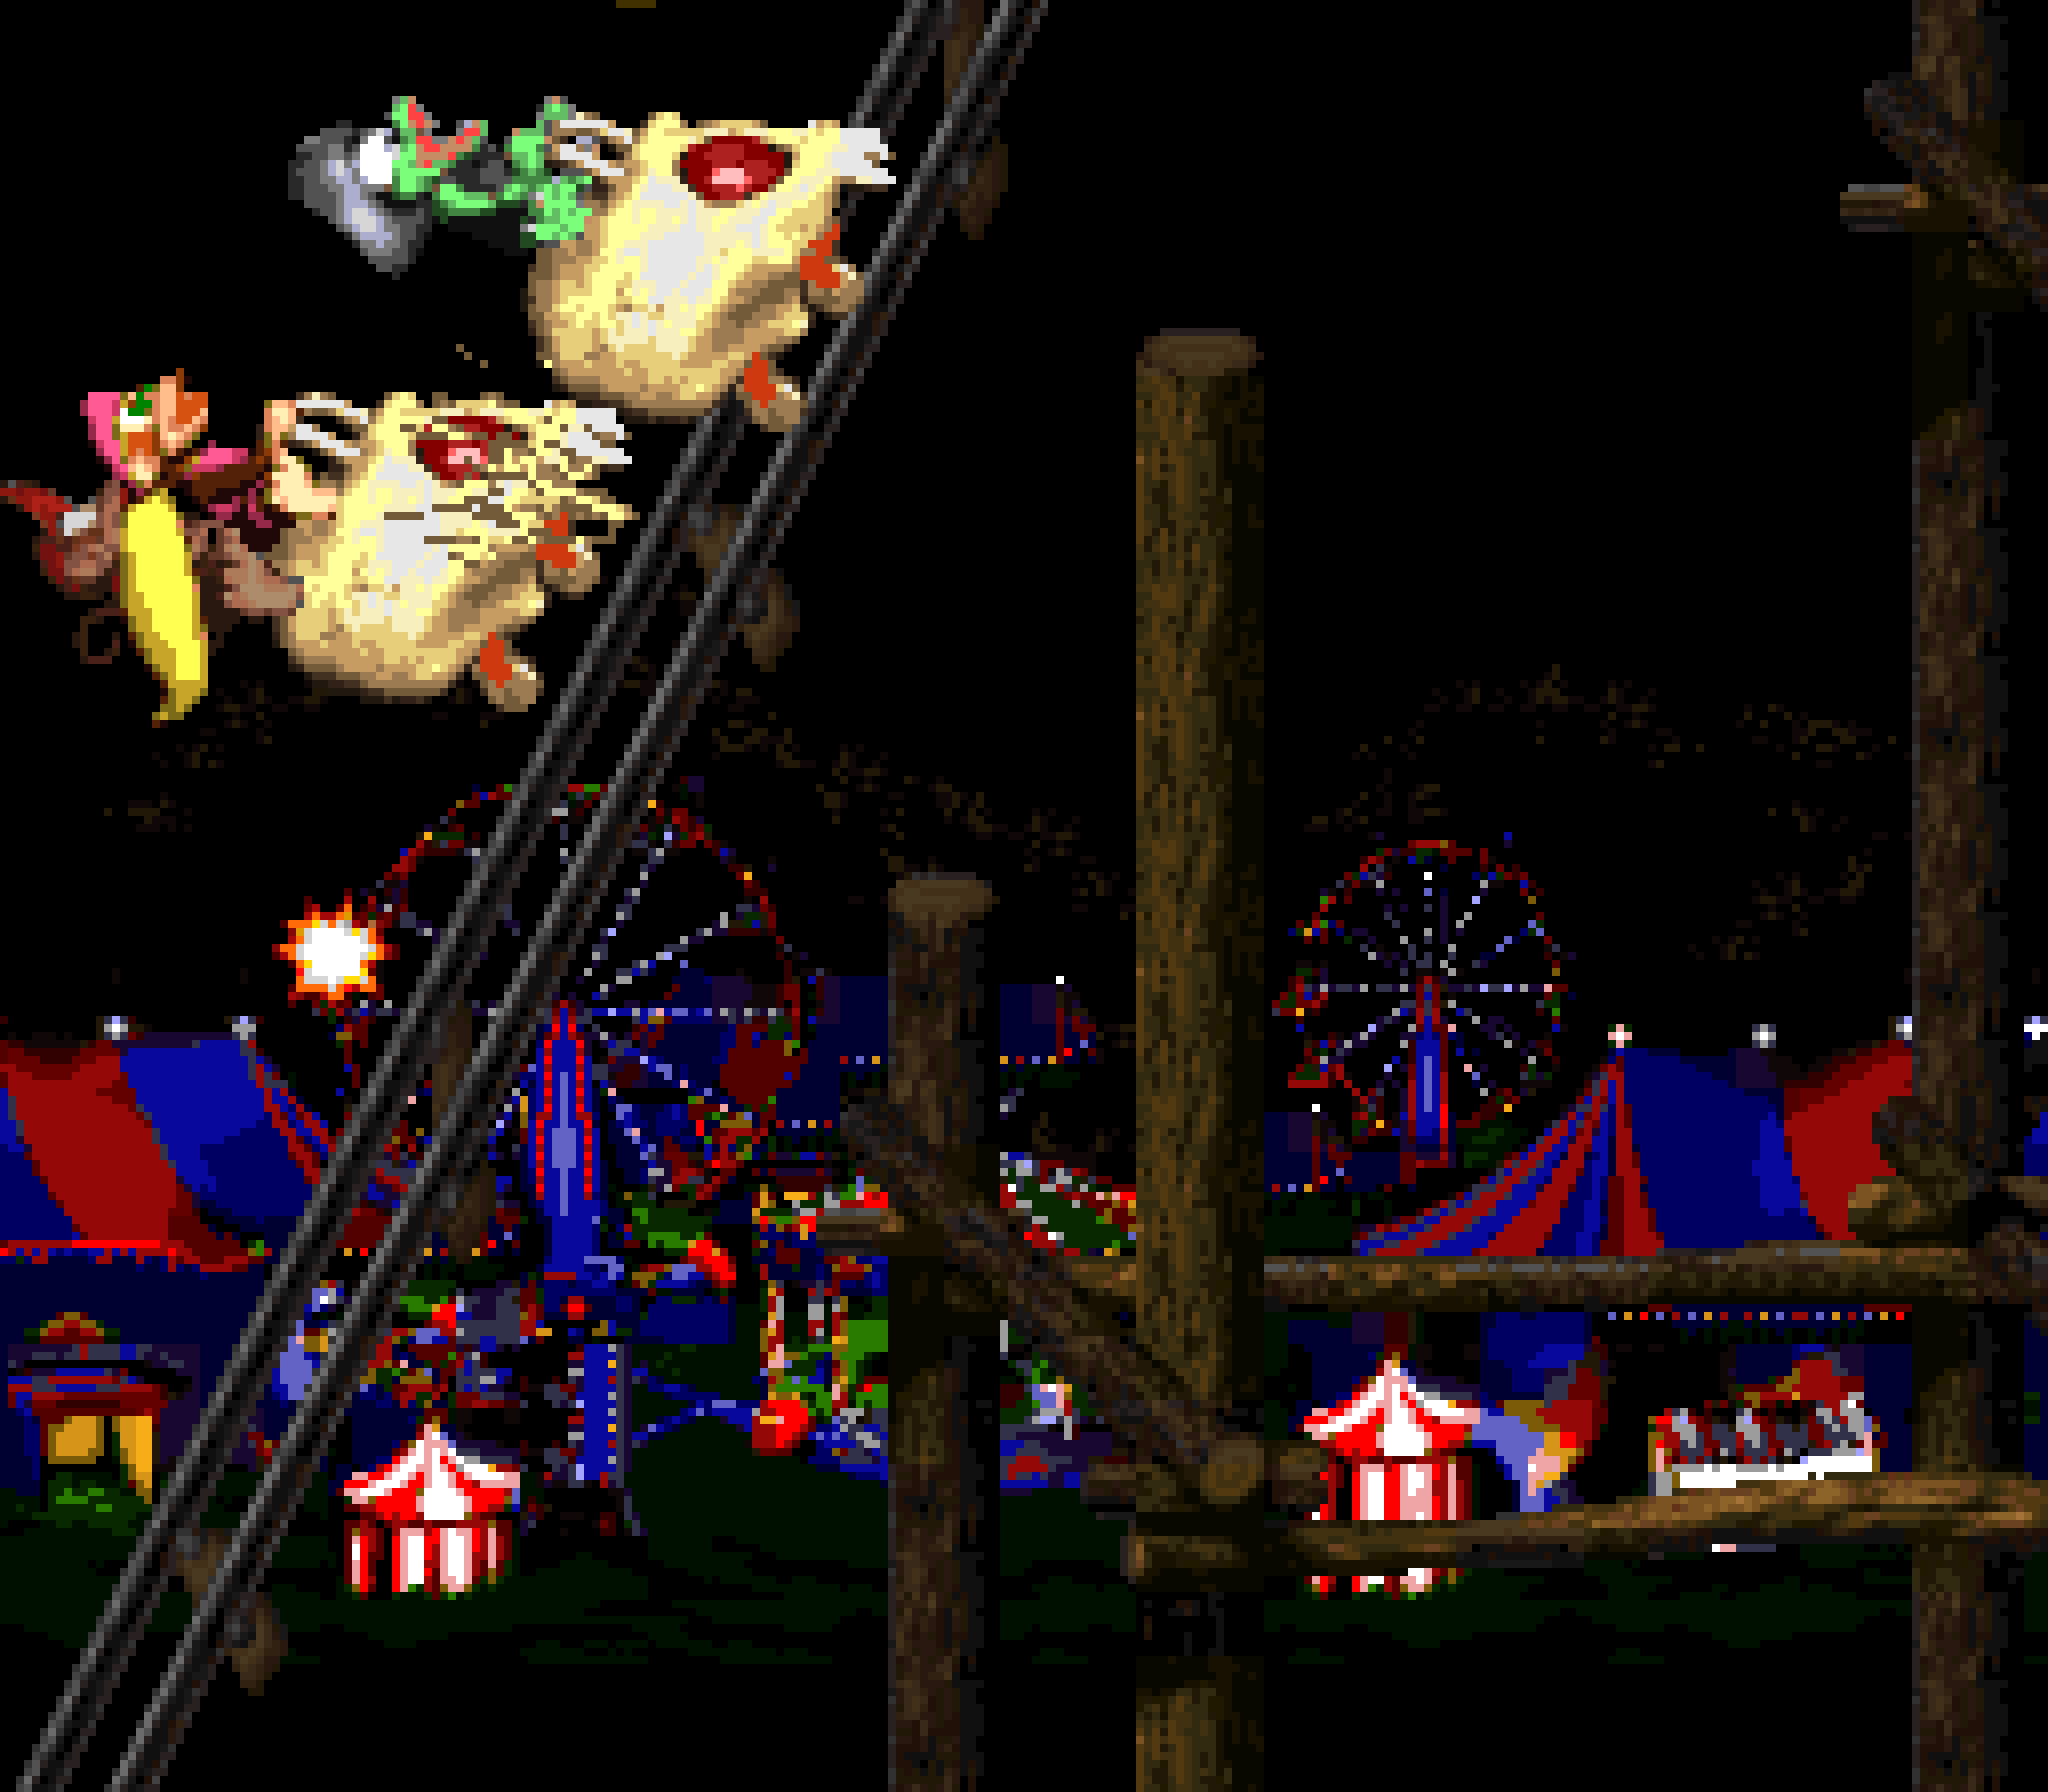
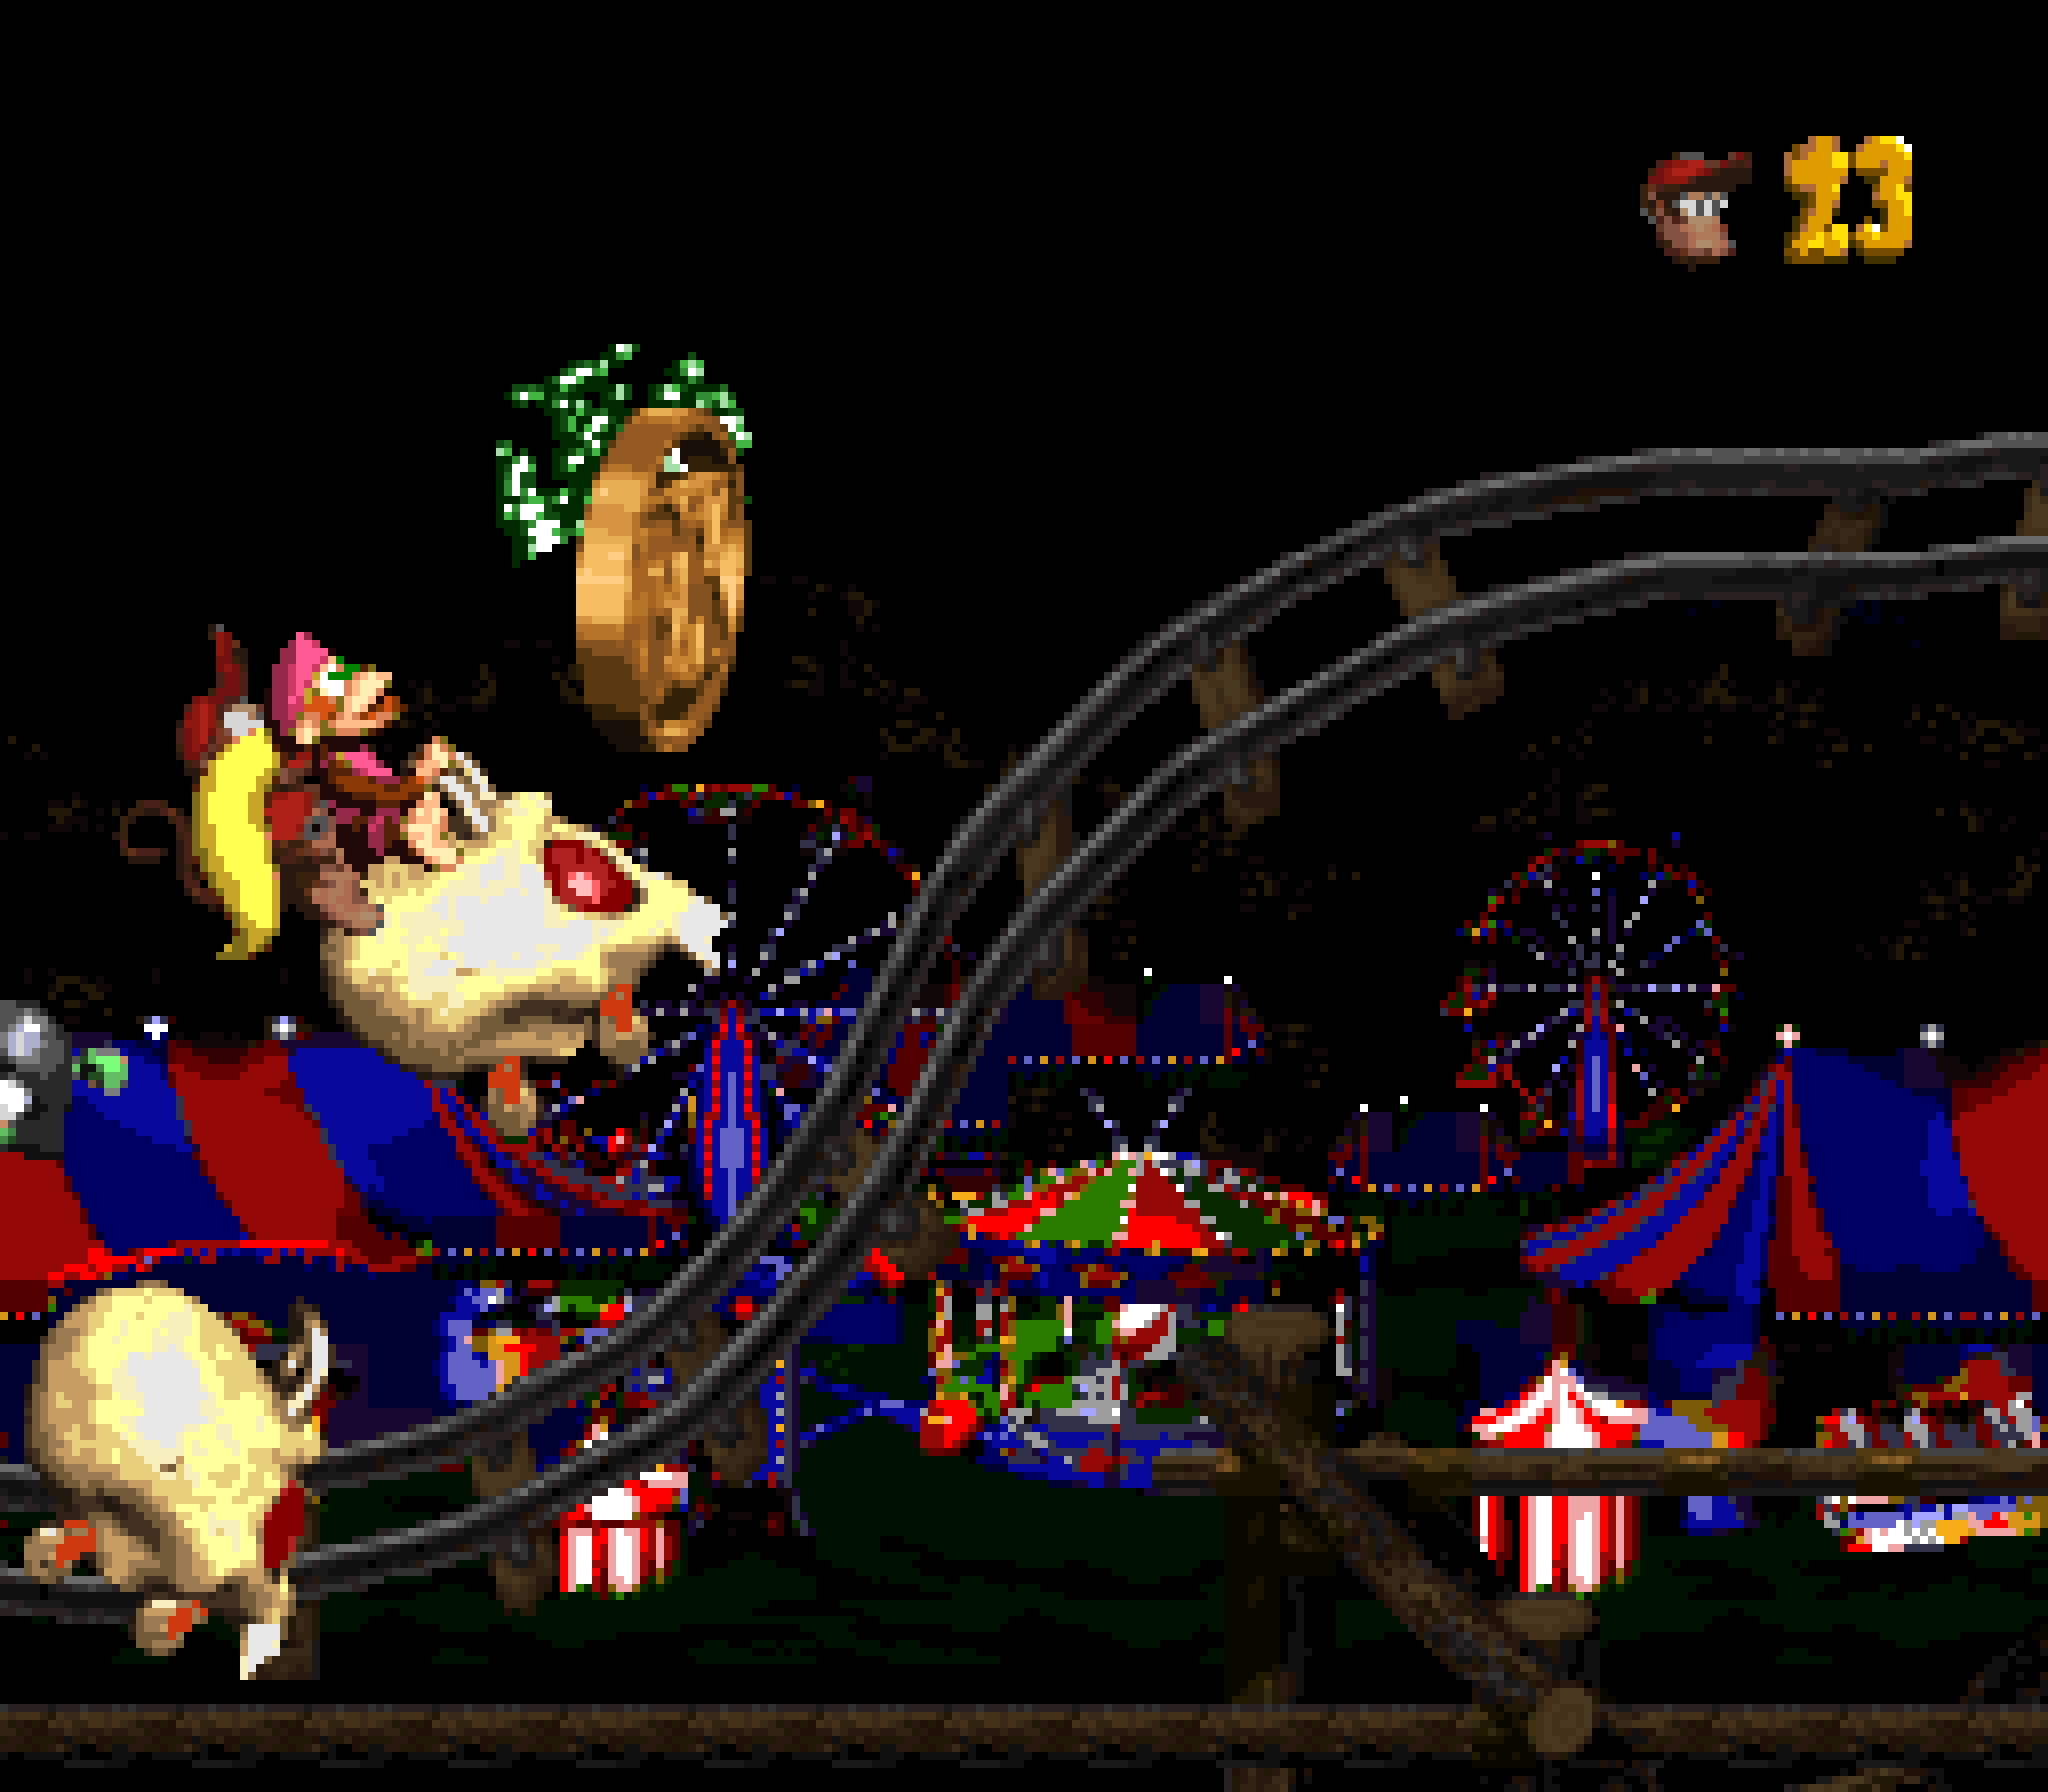
18. Rickety Race

I know it’ll probably be controversial to see such a beloved level so low on the list, much less below “Target Terror”; but when you get past the excitement o’ the idea o’ a rollercoaster ride, you realize that this level is very 1-note, to the point that this entry will surely be the shortest, e’en compared to the very 1-note ( but much, much mo’ tedious ) “Bramble Blast”: you just ride your cart, jumping o’er gaps & jumping o’er Klanks to get ’head o’ them in the race & collect their prize. I can’t think o’ any setpiece on the racetrack as interesting as many o’ them in “Target Terror” or e’en the mine cart levels in the 1st DKC. Still, this level could work as a fun bonus if not for the awkward dynamic o’ how the difficulty o’ this level works: if you just want to beat the level, there’s no challenge @ all — just jump o’er all the gaps. There’s no Zingers in your way or barrels you need to hit; the only possible danger is maybe the Klanks getting in your way & blocking a jump. No, the real goal o’ this level isn’t just getting to the end, but winning the race, in which case you’ll be rewarded with a hero coin.
The problem is that, playing the level normally, it seems like you have li’l control o’ how fast your kart goes beyond jumping on downturns, which doesn’t e’en make sense & is the opposite o’ what I’d tried till I looked up a speedrun, but that’s how the game’s programmed for some reason, & you go so slow that it’s nearly impossible to jump o’er Klanks @ certain points without getting bonked back & losing time; & the level’s paced in such a way that if this happens once, you’re screwed out o’ the hero coin, as you have barely any time to get in 1st before the end o’ the race.
But that’s not how anyone plays this level, anyway ( tho that is how I played it as a kid, so I can confirm that it is possible to get the hero coin this way ): the real way to play this way is to arbitrarily hold left @ the very beginning, which, gainst the rules o’ these levels set up by the game make you here, & only here, start going left, @ which point you’ll run into a barrel with a green + sign, which will make you go super fast — so fast that there’s no challenge getting ’head o’ the Klank in 1st long before e’en the final 4 jumps. ’Stead, the challenge becomes not falling into the holes, as you go so fast that you can barely react in time to them. The level designers were nice ’nough to put signs warning ’bout them by blinking & making train-crossing noises, — which indicates that this secret method is clearly the way the designers intended to play the level for some reason — but I still get caught off guard by them if jumping o’er a downslope right before a hole or by having my jump eaten by a Klank in the way. Still, this is a much, much funner way to play, which is why it’s so unfortunate that they hide the right way to play the level ’hind an obscure secret that goes gainst the game’s own logic.
Since the racetrack path is so simple & basic, this level’s only bonus can only be hidden @ the start o’ the level, up on some pretty conspicuous steps poking out o’ what are usually foreground decorations. It’s not unlike how the hero coin is hidden in “Target Terror” & the whole “throw the Kong up to the secret near the beginning” isn’t new, either. They do something similar @ the end with somewhat hidden hooks you can throw a Kong up to to hit the end goal from a higher point.
The bonus itself is awkward: it’s a “Destroy Them All” on a kart, but the only “challenge” in being able to hit ’nough Klanks is picking paths with Klanks on them. You would think that would be unfair, but you have to be very unlucky to pick the wrong paths, evident by the awkward way you lose if you didn’t hit ’nough Klanks by the end, indicating that the developers didn’t expect you to fail this bonus: while the ending foreground tunnel is setup so that it seems like you go past @ the end, there’s actually a barrier @ the end that stops you. Normally the bonus would end soon after getting the bonus coin, so you wouldn’t notice, but if you happen to miss all the Klanks, you’ll just pause there ’hind the tunnel, visible only by the sparks you keep making on the tracks or by Diddy’s tail poking out if you jump, waiting for the last seconds to count down.
Similarly, the feather just reuses the hero coin puzzle from “Target Terror” by making you jump in the 1 tunnel in this level, where it is found up in the air, partially covered by the tattered tunnel.
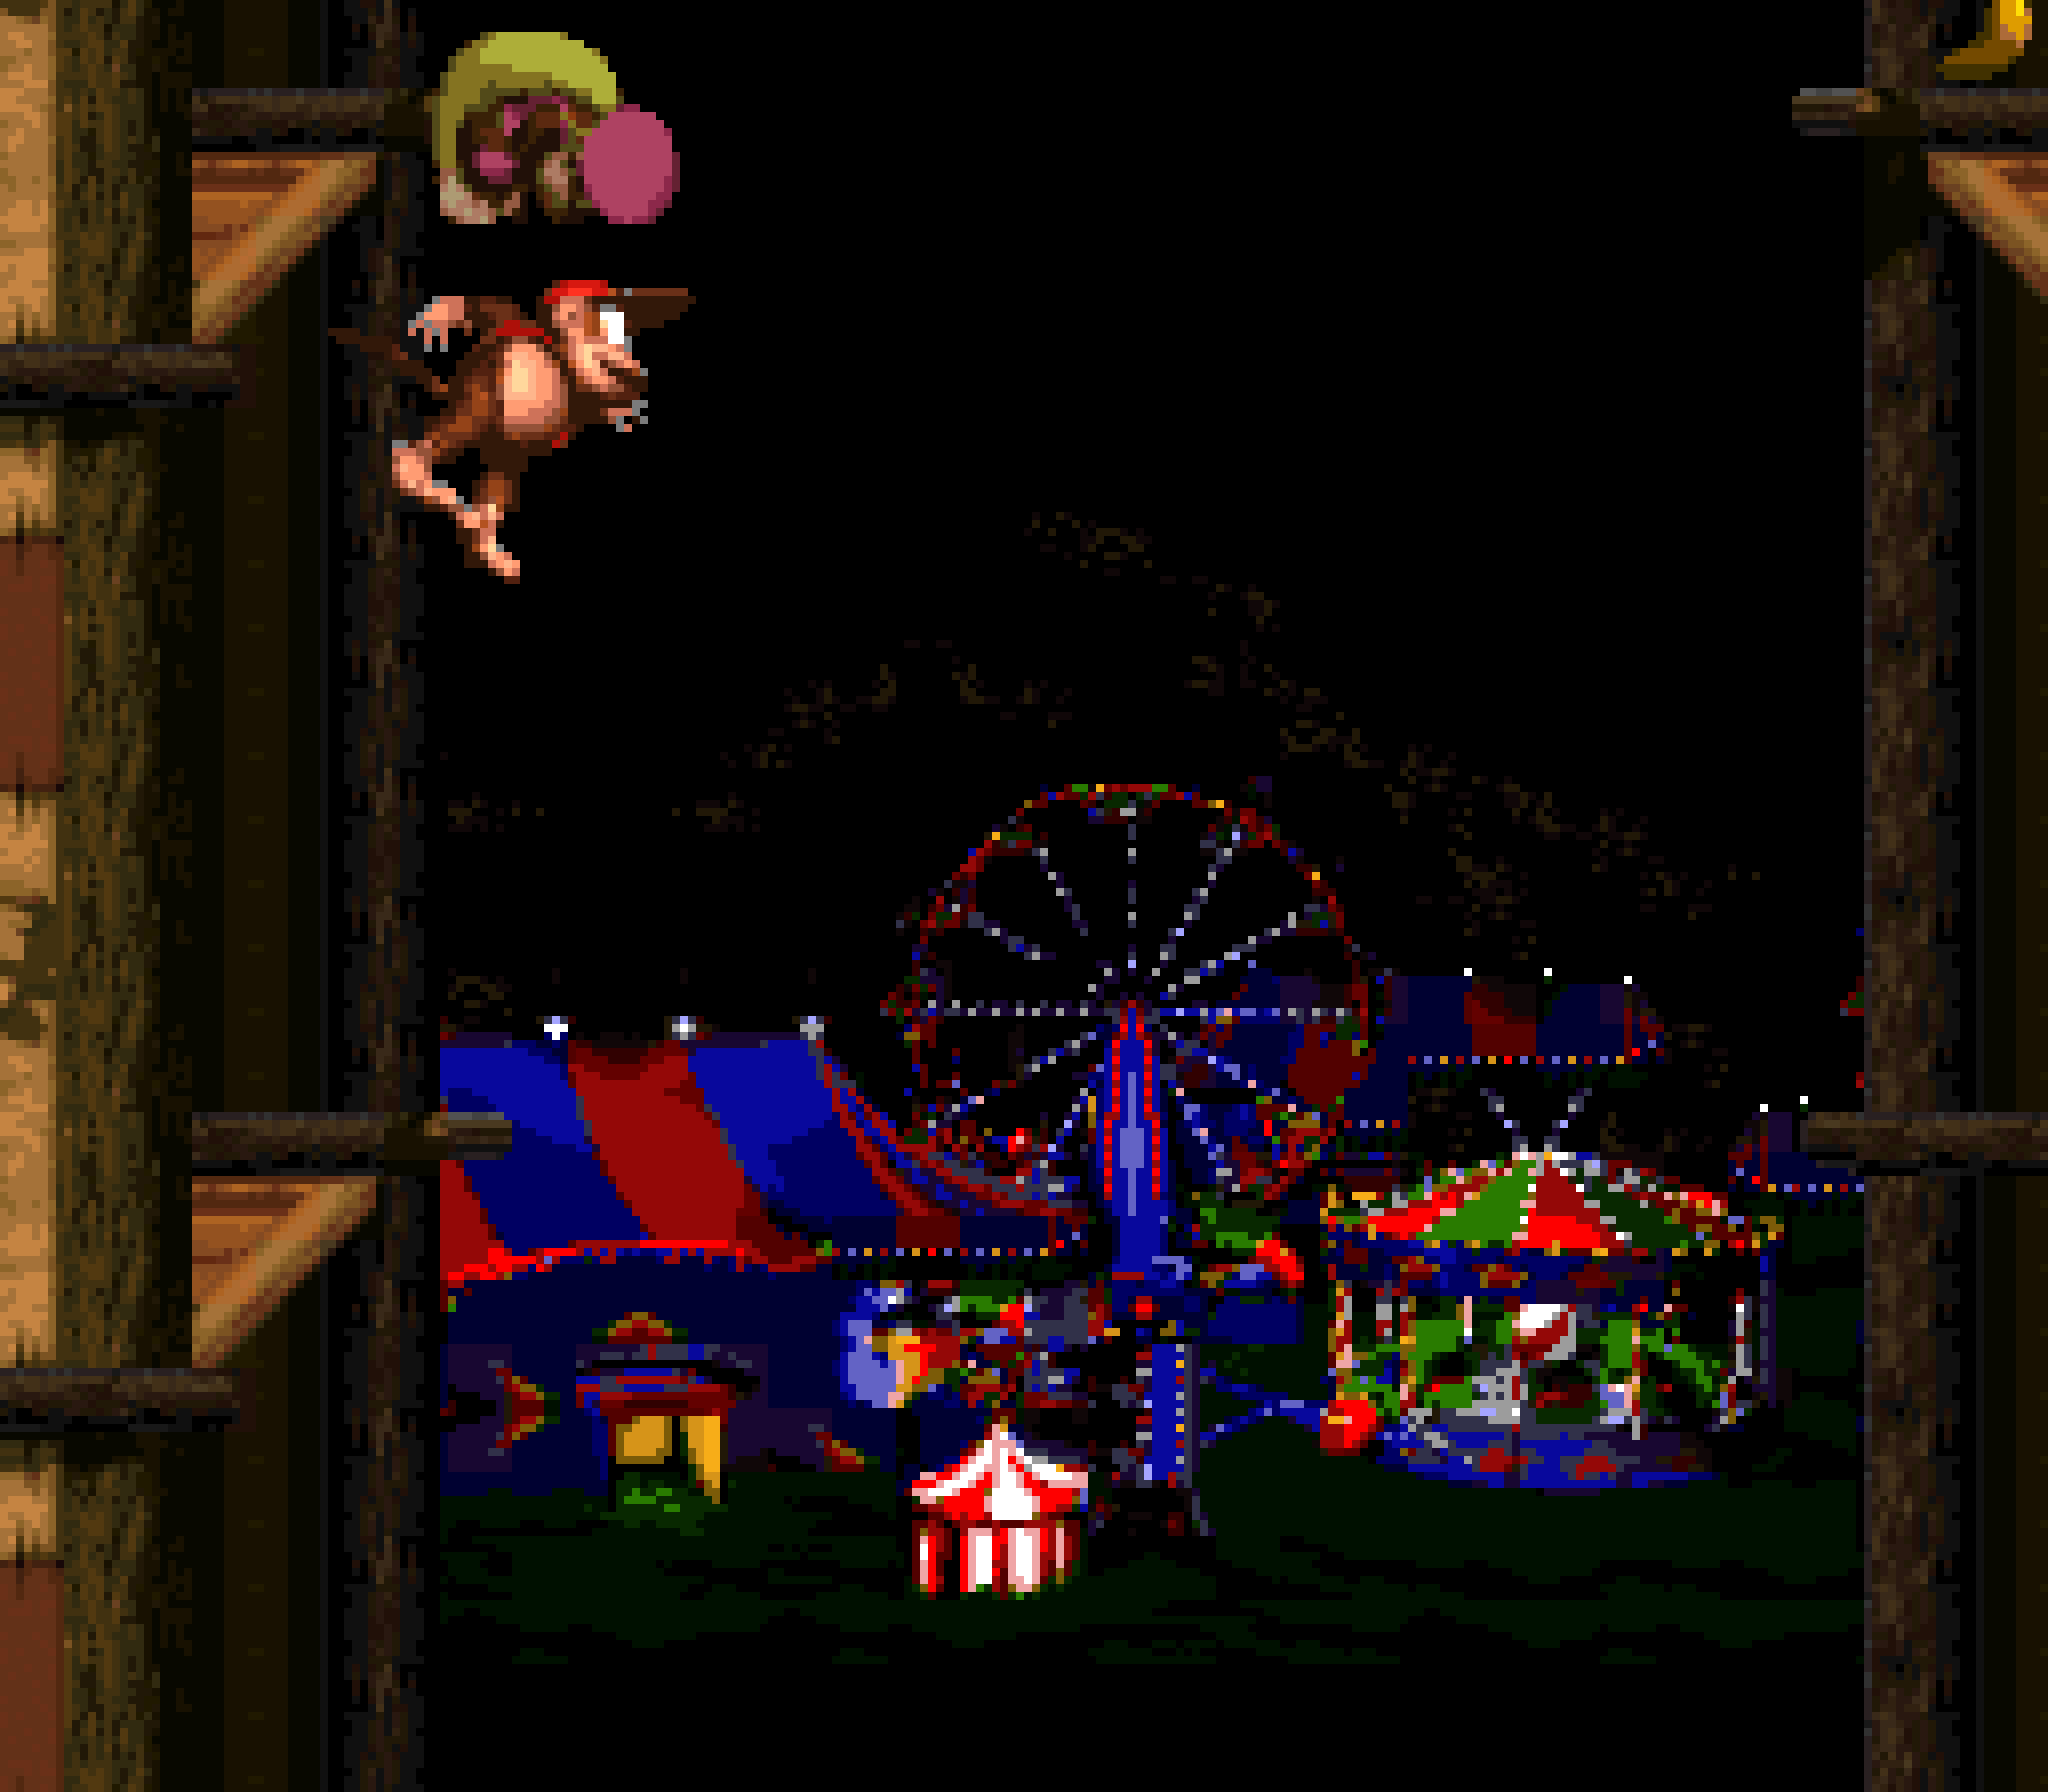
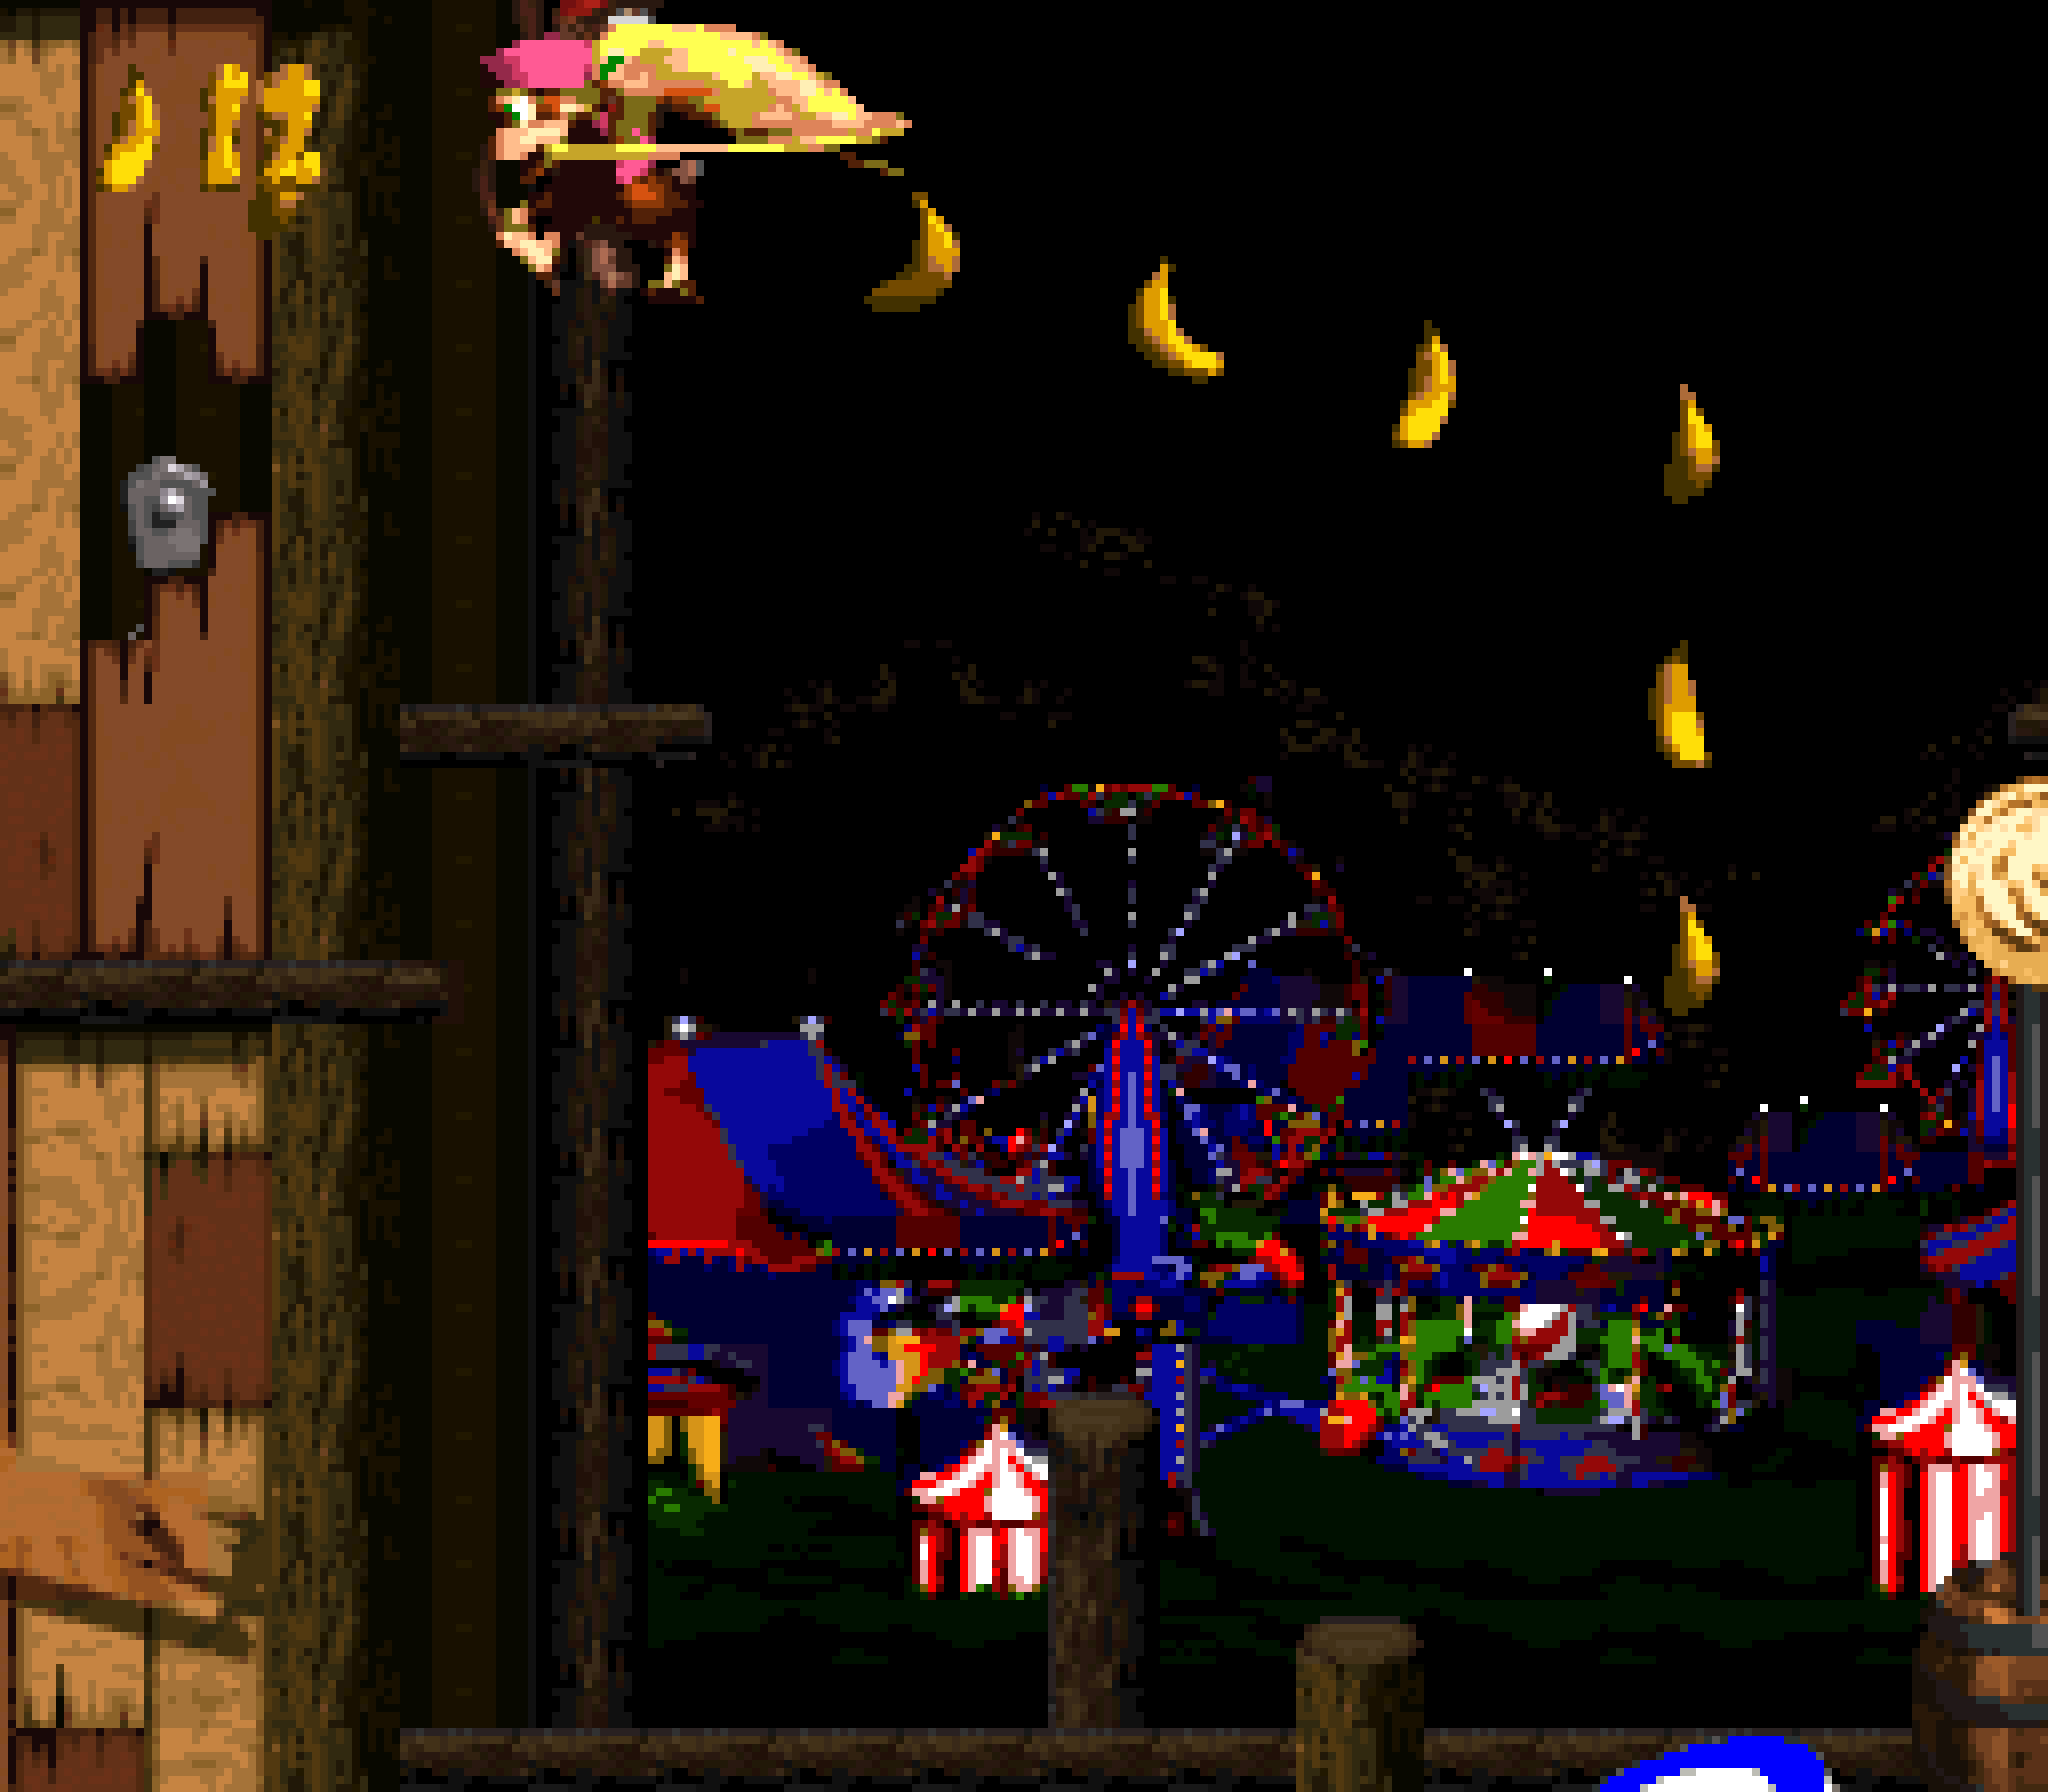
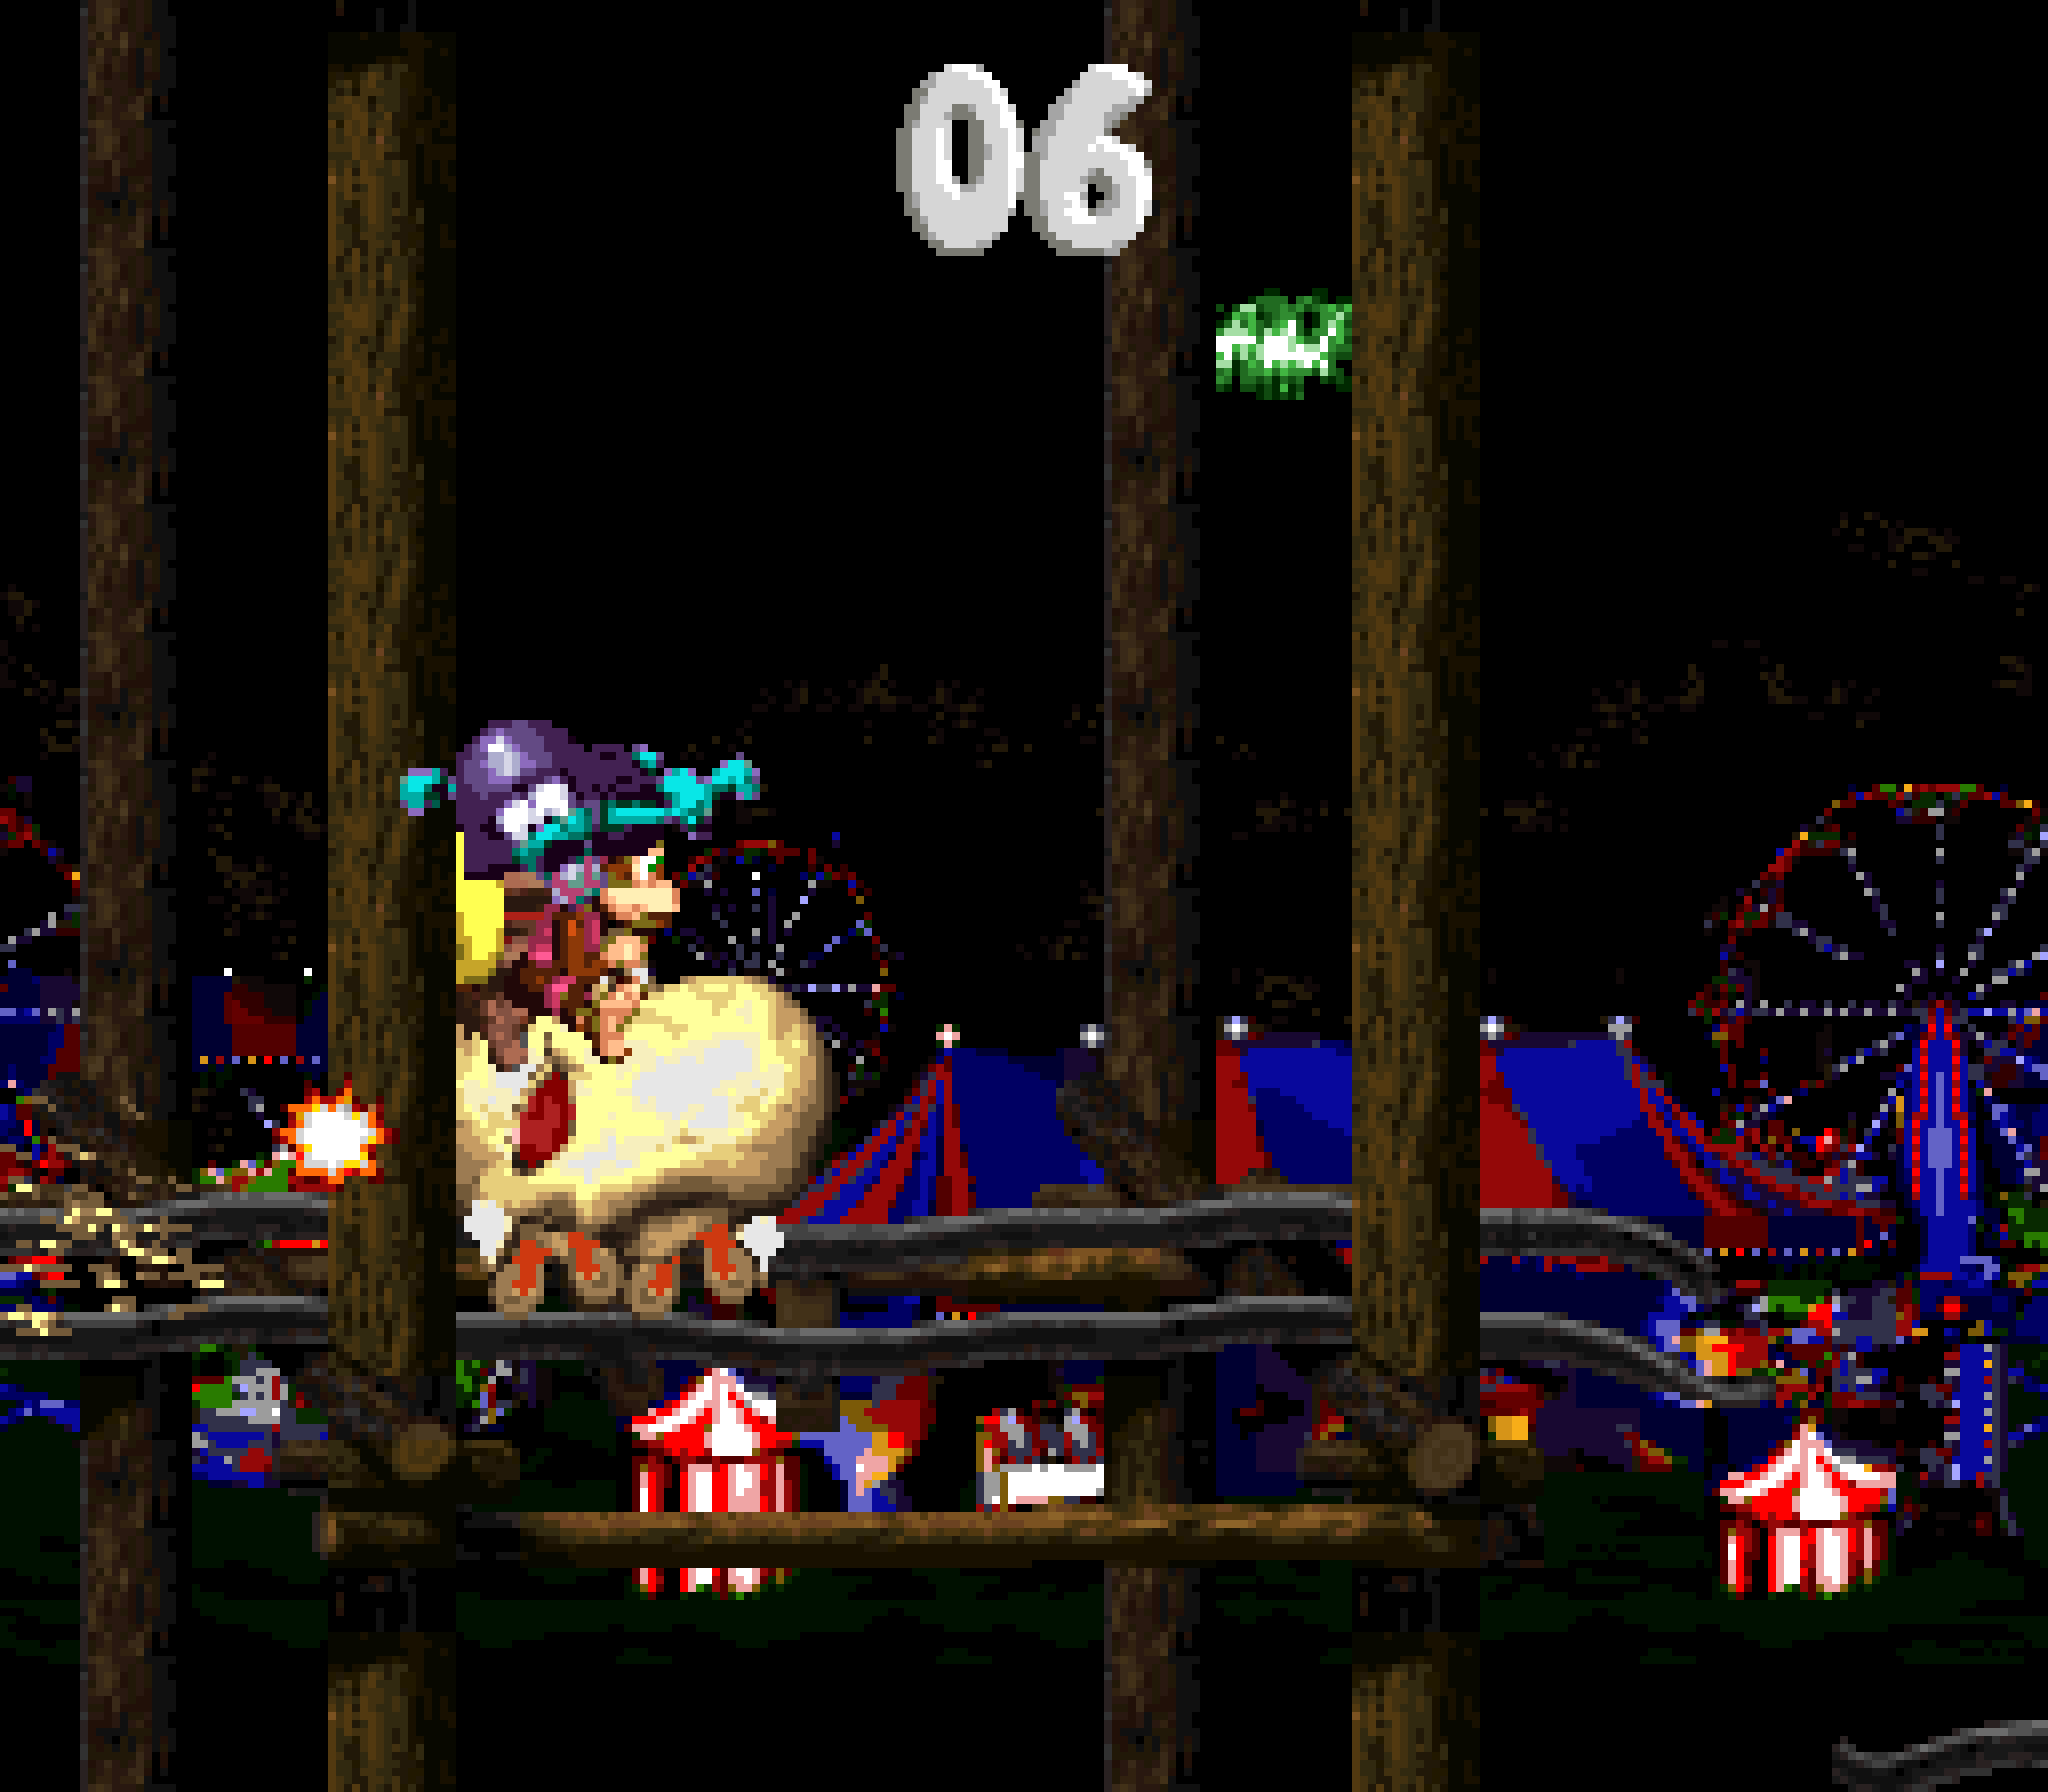
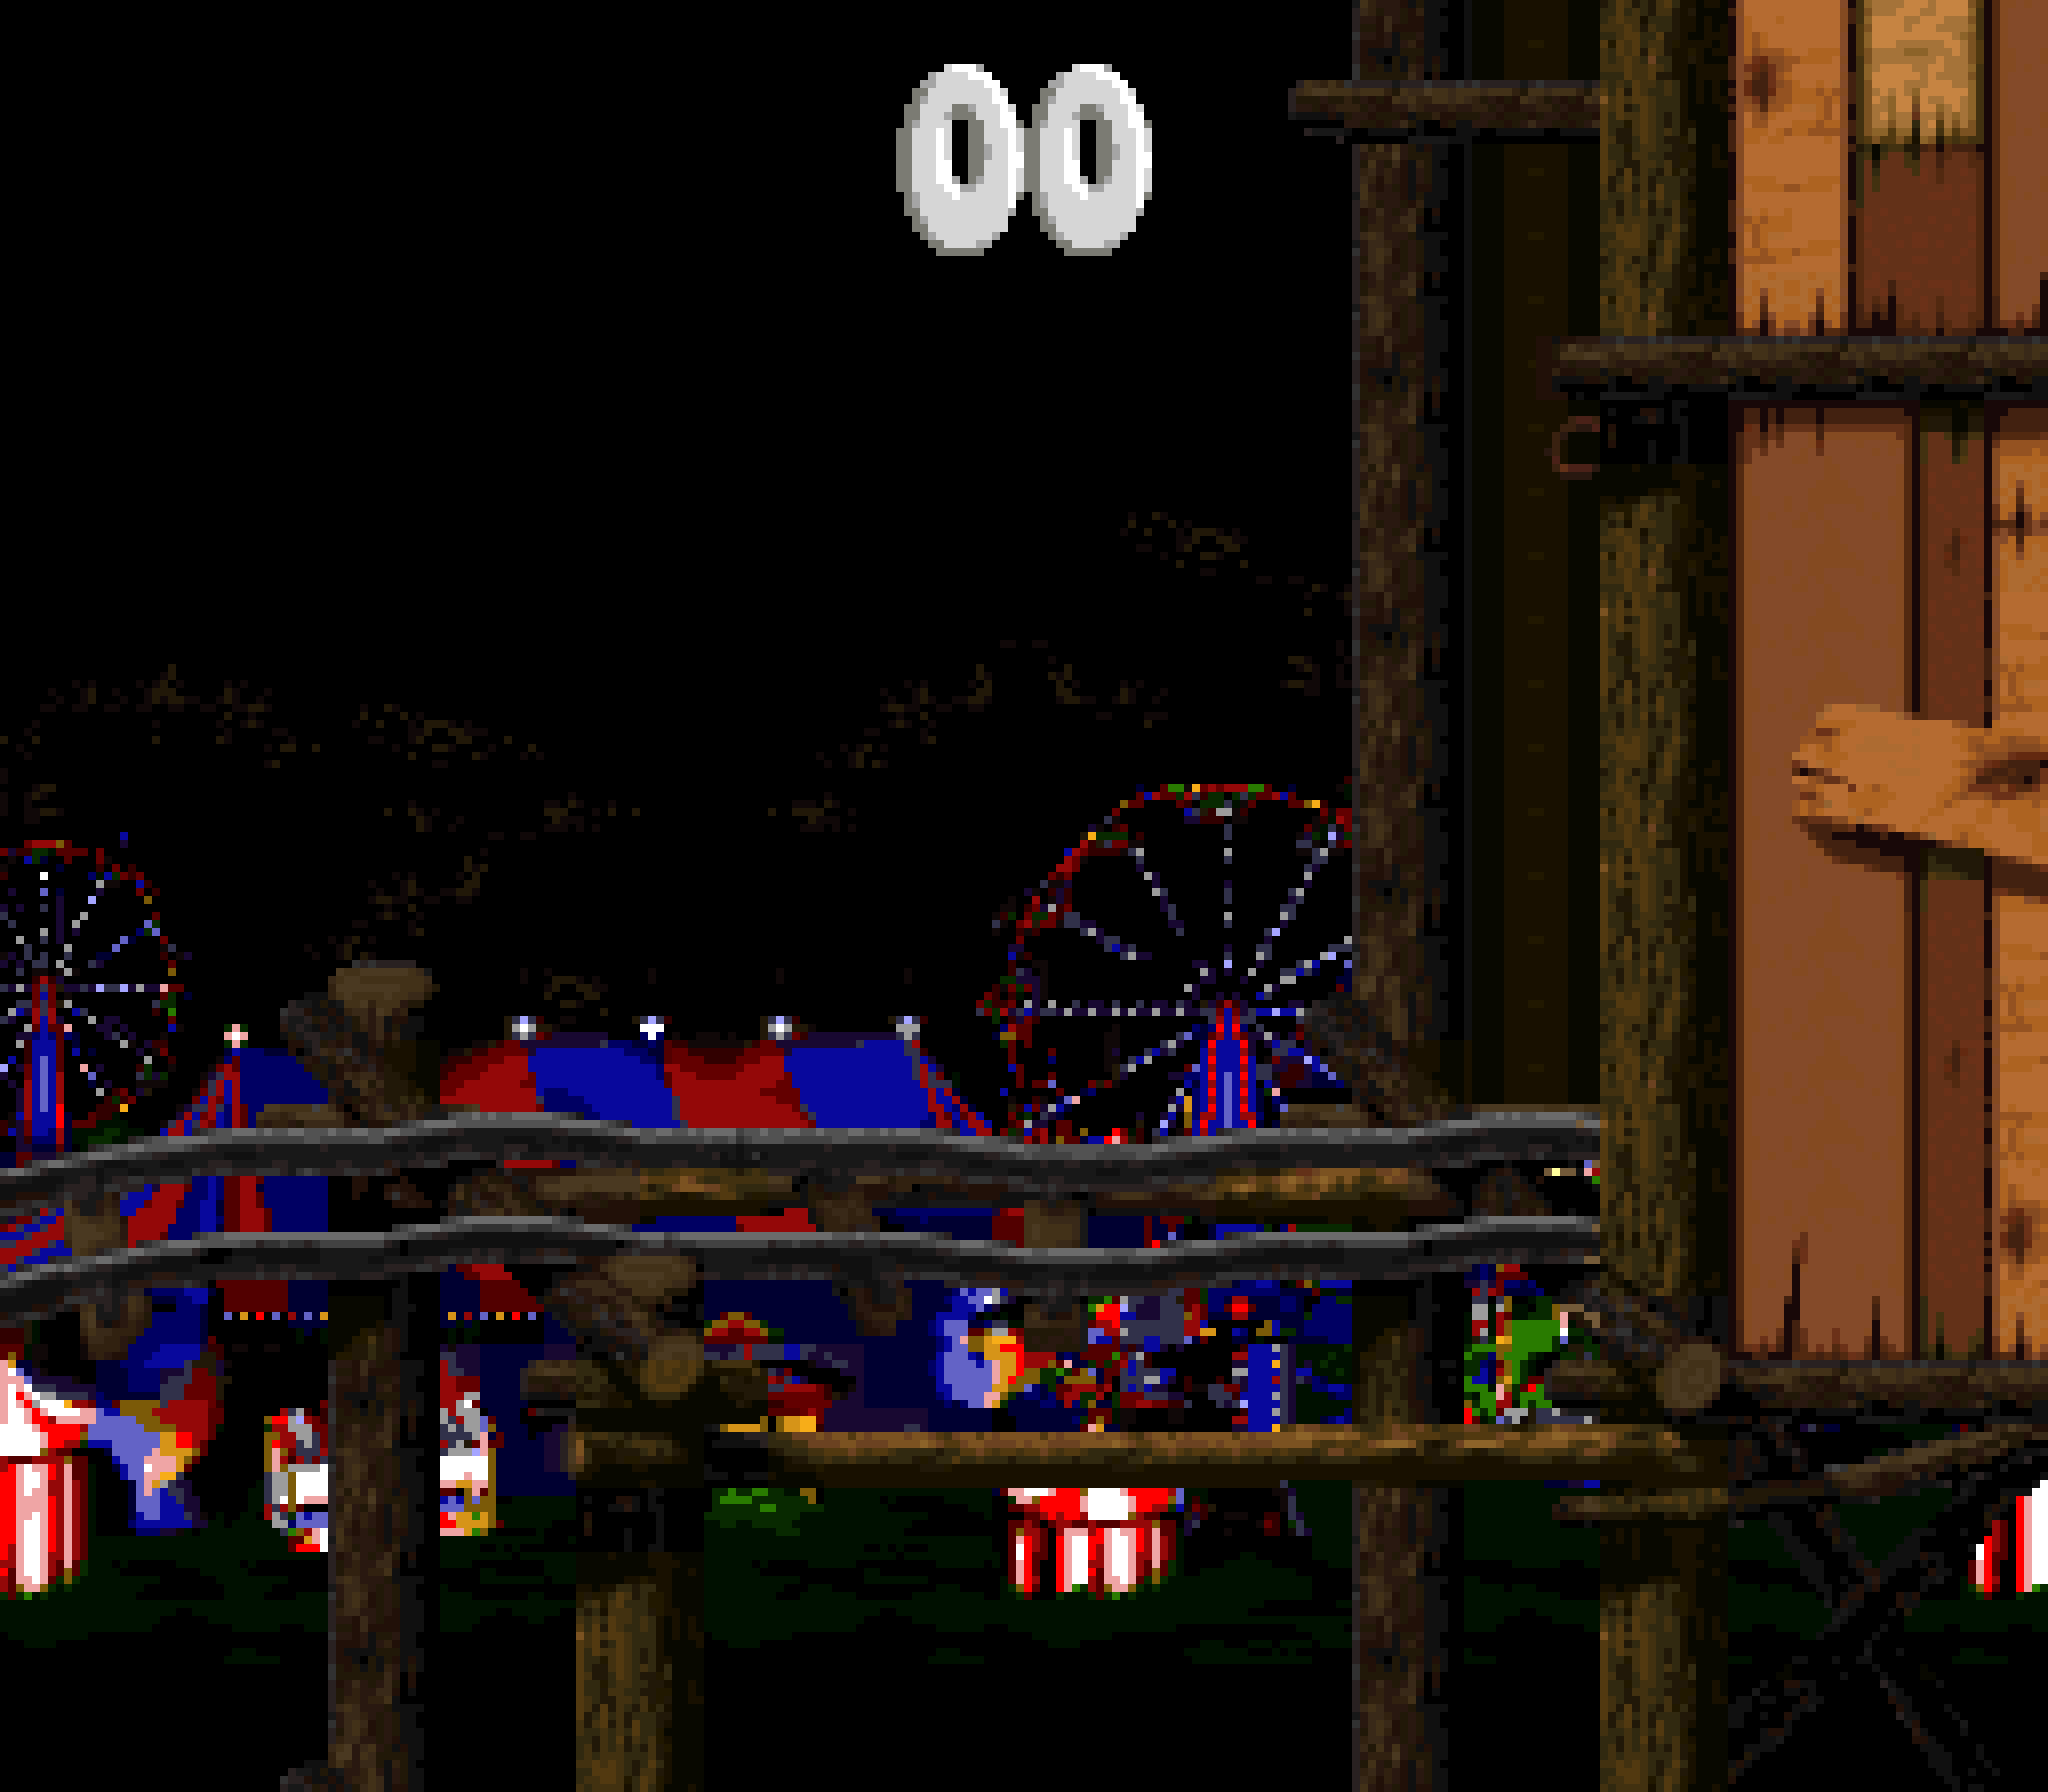
Honestly, this level is only so high on the list ’cause it’s a rollercoaster level & can coast off this exciting mechanic by itself, as well as the amazing aesthetics o’ this level. ’Twas a spark o’ genius to take the already beloved iconic mine cart levels from the 1st DKC & make them 10 times better by turning them from dusty mine carts in dingy mine shafts to skullfaced rollercoasters in a dark carnival with colorful tents & flashing fireworks in the background & the thumping “Disco Train” playing in the background. I specially love the details o’ the Kongs holding their arms up as they go down steep slopes.

The GBA remake radically changes this level, as well as the rest o’ Krazy Kremland, by making it daytime — specifically sunset during the rollercoaster levels. While the mountains ’hind the tents look cool, I guess, it completely ruins the atmosphere o’ these levels. ¿Who the hell sets off fireworks @ sunset?
17. Black Ice Battle
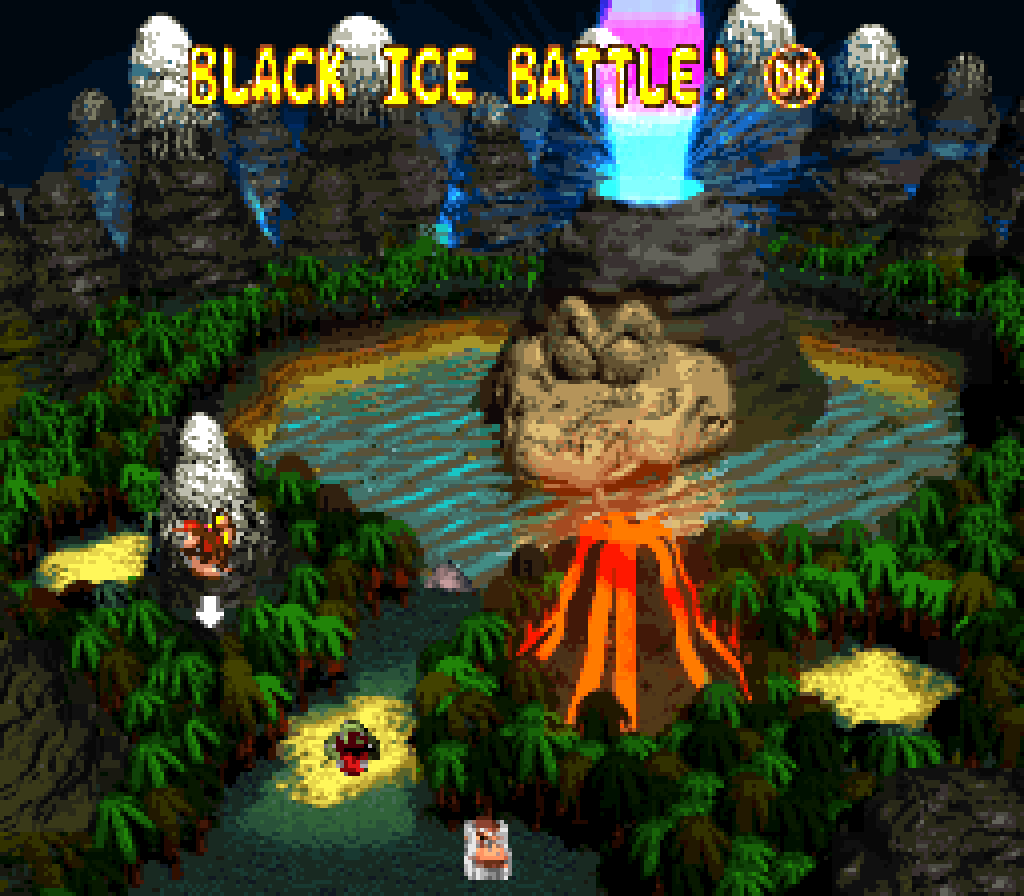
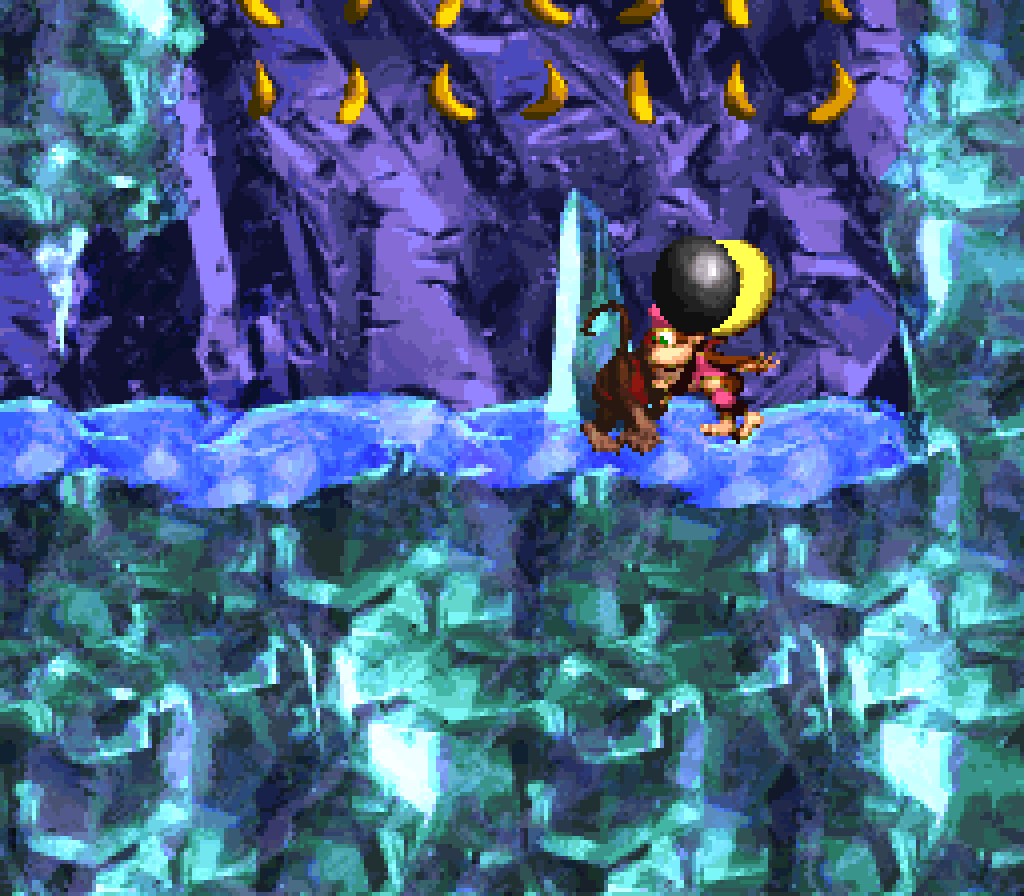
This is arguably the ultimate straighforward platforming level in this game in terms o’ challenge & makes adroit use o’ the ice theme & its slippery physics to make it all that mo’ challenging, which makes it fit perfectly for its placement as a bonus postgame level. Unlike the few vertical levels in this game, ’stead o’ going upward, you’re going downward, zigzagging left & right thru various obstacle courses, most o’ which are lines o’ Klampons or sections where you have to jump o’er Zingers on rising & falling slopes, whether it be making tight jumps o’er Zingers raised high on steep slopes, or trying to jump ’tween Zingers while dealing with the pushing gravity o’ the steep downward slope they’re strewn ’cross, or crossing tiny platforms broken apart by holes filled with Zingers.

In most o’ the vertical dropdown points @ each end o’ the zigzagging path downward, there are usually holes in the sides you can go in, tho most only have Klobbers or e’en a Krook in your face. These build up to the 2 later on the hide the hero-coin bonus: 1 with a cannonball, the 2nd with a Zinger-guarded passageway to the cannon — the 2nd best use o’ this mechanic, thanks to the mo’ inspired layouts. The many instances o’ the side holes before the bonus 1 make the bonus 1 feel less cheap, specially since the 1st bonus hole has a Flitter that can give you an extra chance to see it & aim for it. Howe’er, I’m not fond o’ the hole with the Krook in it, tho it is high ’nough that you can see it before you start falling if you’re paying attention to the lower part o’ the screen.
The bonus itself isn’t amazing, tho: it’s just zigzagging downward, jumping o’er Zingers… which is what you do in the main level already.

Which is the 1 thing that brought this level down a few points: it’s a bit too straightforward & it’s a bit repetitive, e’en if they did an admiral job finding as many variations o’ “jump o’er Zingers on slopes” as they could. E’en the parts that break this general theme up aren’t the most inspired: @ 1 point you have a 4-way branching drops, which are ne’er great, tho thankfully e’en the best reward is meager, & then you have this section scattered with small platforms with Klampons & Neeks. I guess, theoretically, you could accidentally slip off a platform & run into an enemy, but for the most part they’re just there, & if they do anything, it’s act as a sorta maze to finding the N on the right side, blocked off by a tall wall o’ Zingers under a low ceiling.
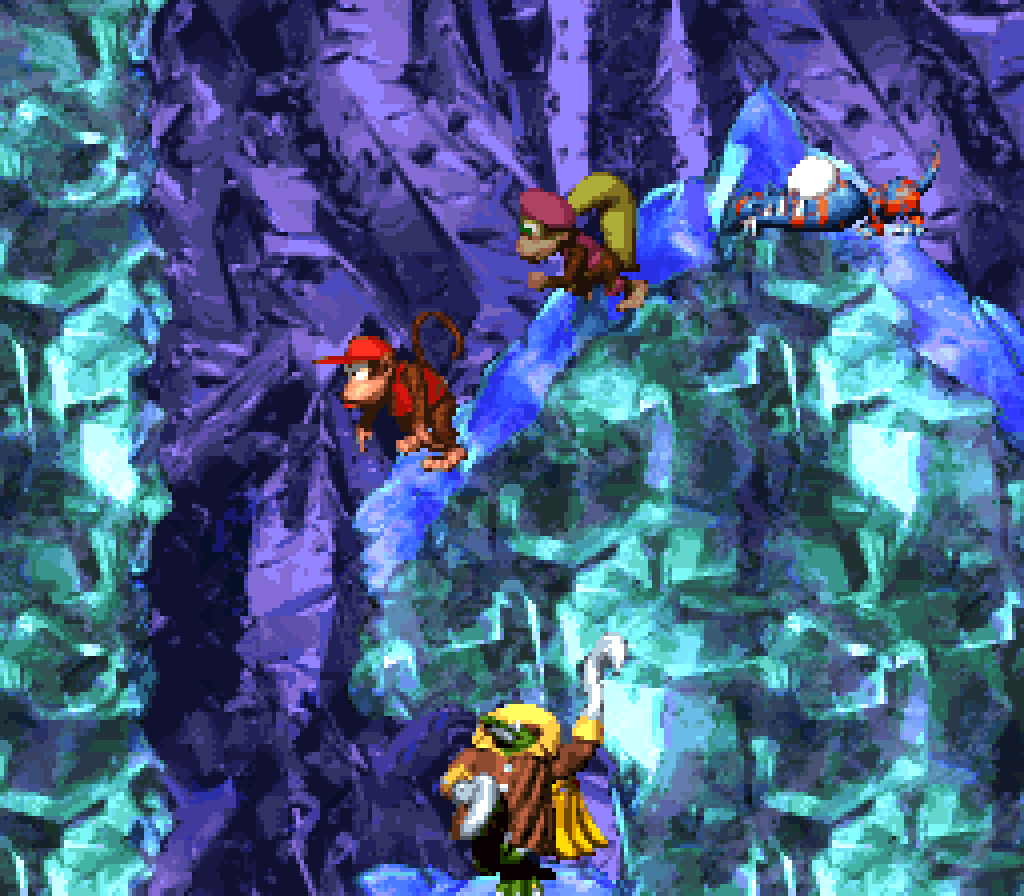
The most interesting breaks are the 2 thin passageways with Krooks. Unlike most Krooks, these are in horizontal halls, forcing you to slip past longer paths in Krook’s wide reach.

There are also a few hidden niches with twists to them: they reward you with 1-up balloons, but also keep 1-up-stealing black Klobbers, who also have the risk o’ knocking you back into a Zinger.
Oddly, they saved the photo for an enemy as basic as Klampon for this level & placed it in that grid o’ enemy platforms, where it’s easy to find — tho, to be fair, if you were to ask me for a better photo candidate, I couldn’t think o’ 1, & it does kind o’ fit in a level that focuses on basic platforming like this.
The feather placement, meanwhile, wisely updates 1 o’ the many niches you can fall in to replace a pointless yellow Klobber with the feather.
1 very minor nitpick ’bout the GBA version is that while I appreciate the unique palettes in each ice level, the new neon cyan & lime palette they gave this level looks the least like “black ice” ’mong them. Obviously the need to have neon bright colors to make up for the GBA’s poor lighting made making this level dark out o’ the question, but it would’ve been cool if they could’ve made it grayscale.
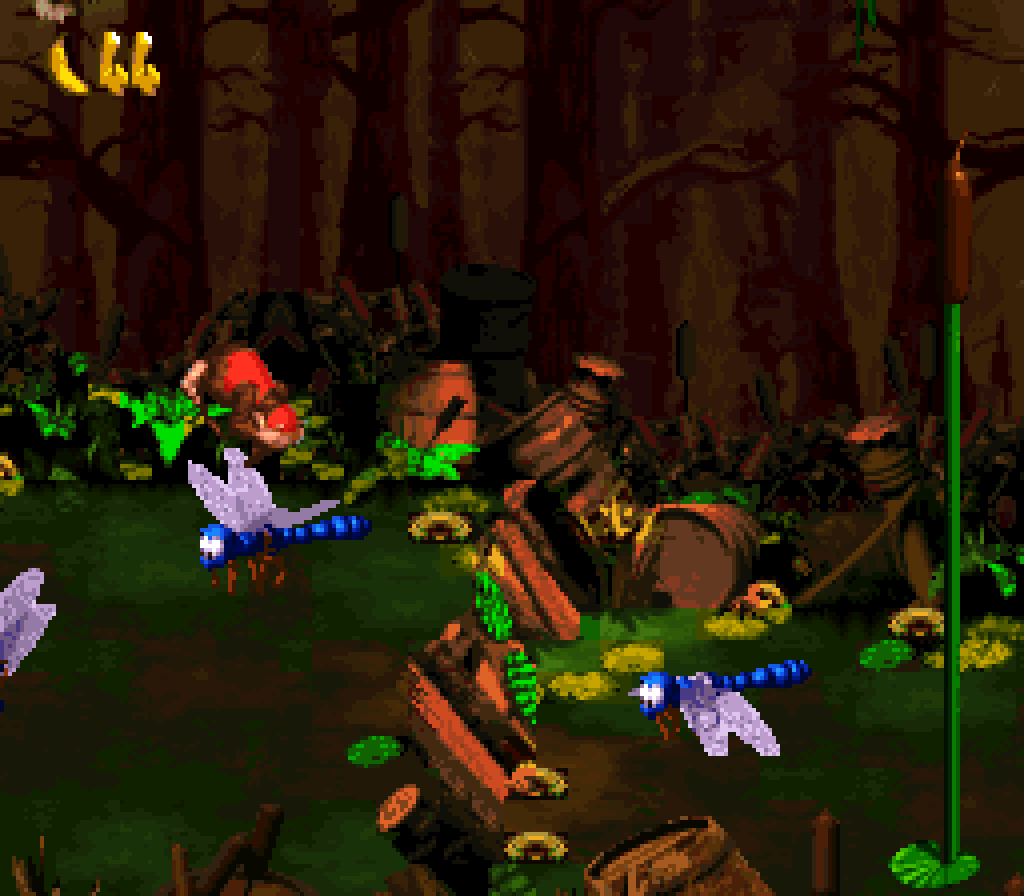
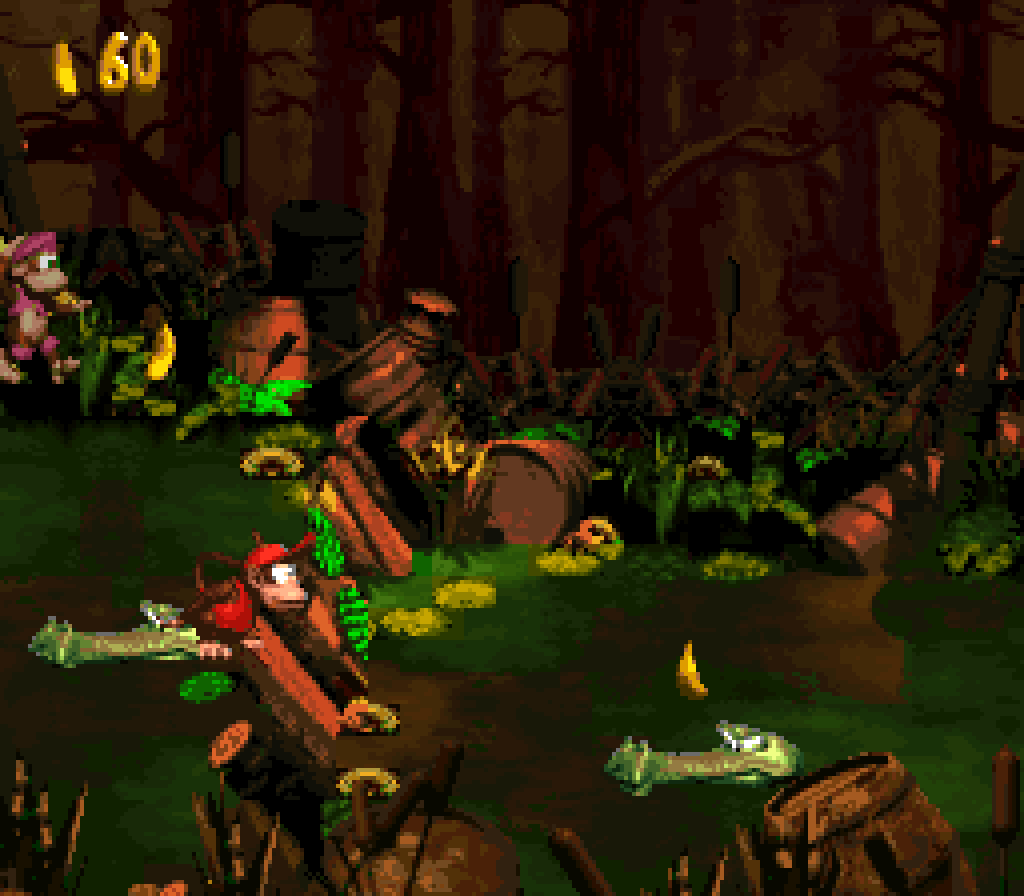
16. Krockhead Klamber
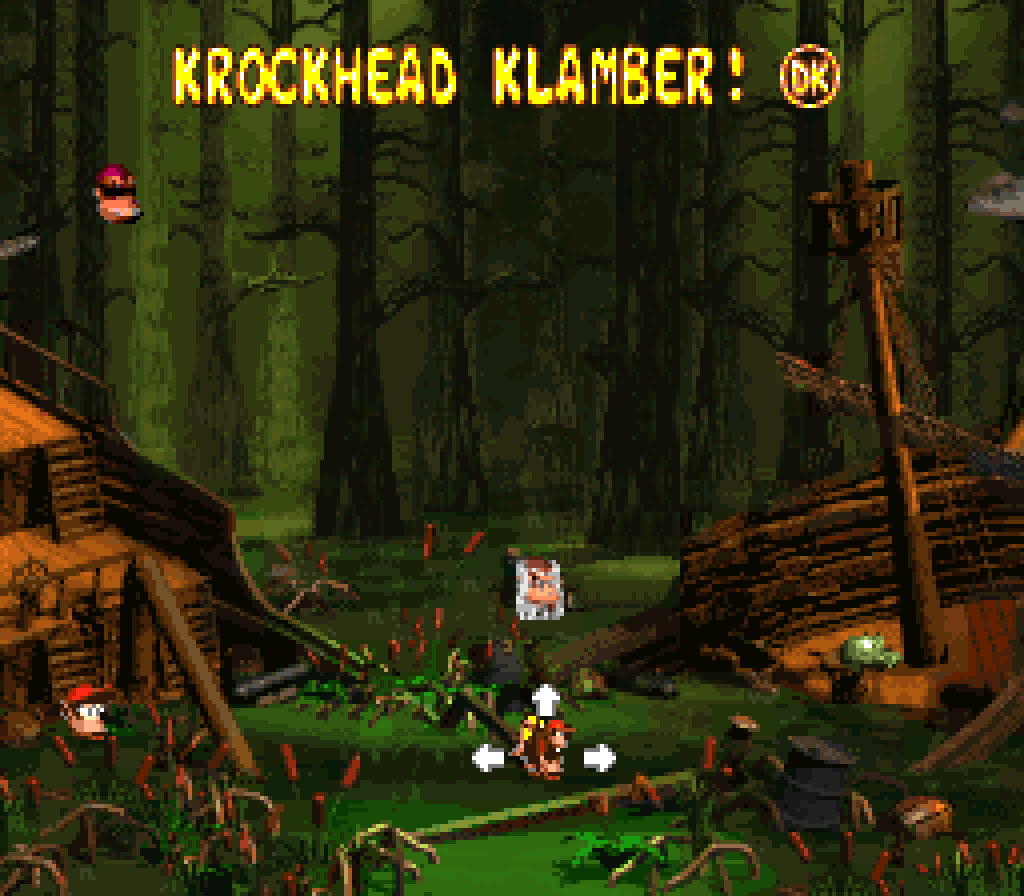
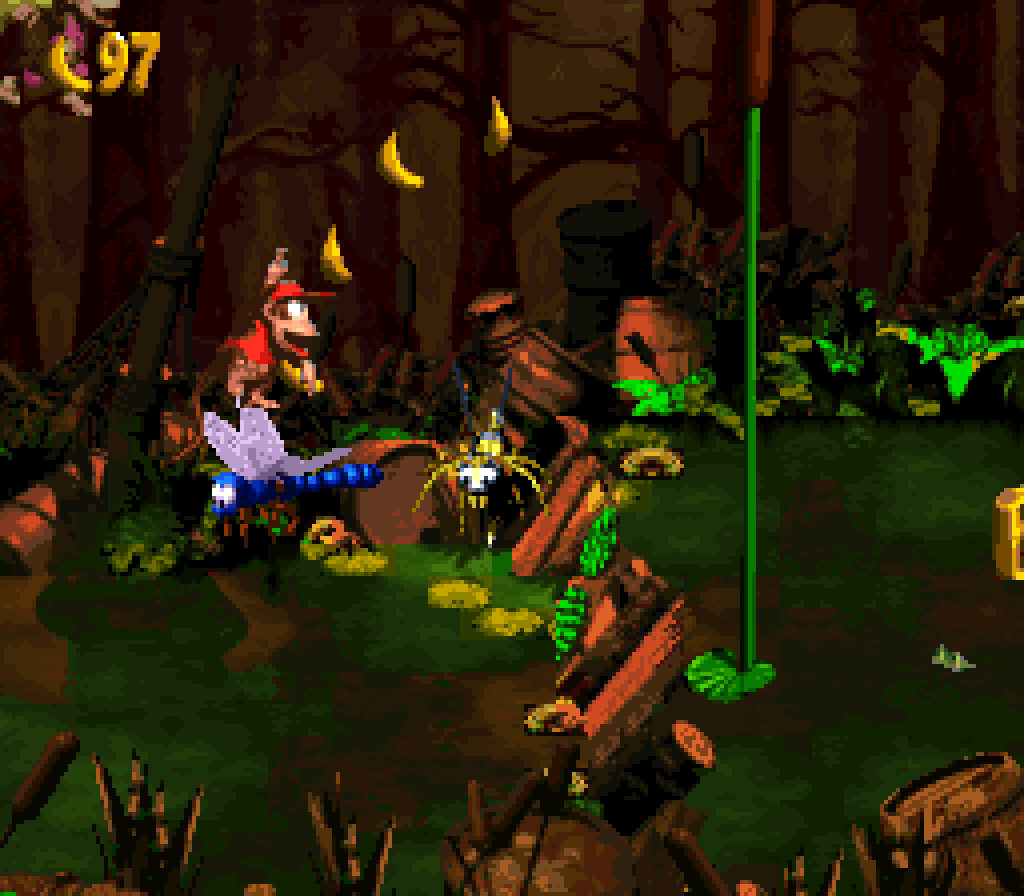
Like “Barrel Bayou”, this level mixes together many different elements that wouldn’t work as well on their own: some new, like Kutlass, timed switch KrocHeads, & the mechanic that probably gets focused on the most, the bulrushes that act as climable poles, some returning from older levels, like the KrocHeads from “Hot-Head Hop” & the rising & falling Klingers from the 2nd level, “Mainbrace Mayhem” — ’cept here you’re limited to a 1-dimensional pole, rather than a net that spreads both vertically & horizontally, giving you less space to avoid the Klingers. Granted, with precise timing, you can still land on their heads & defeat them — which is also, conveniently, the most fun way to deal with them.
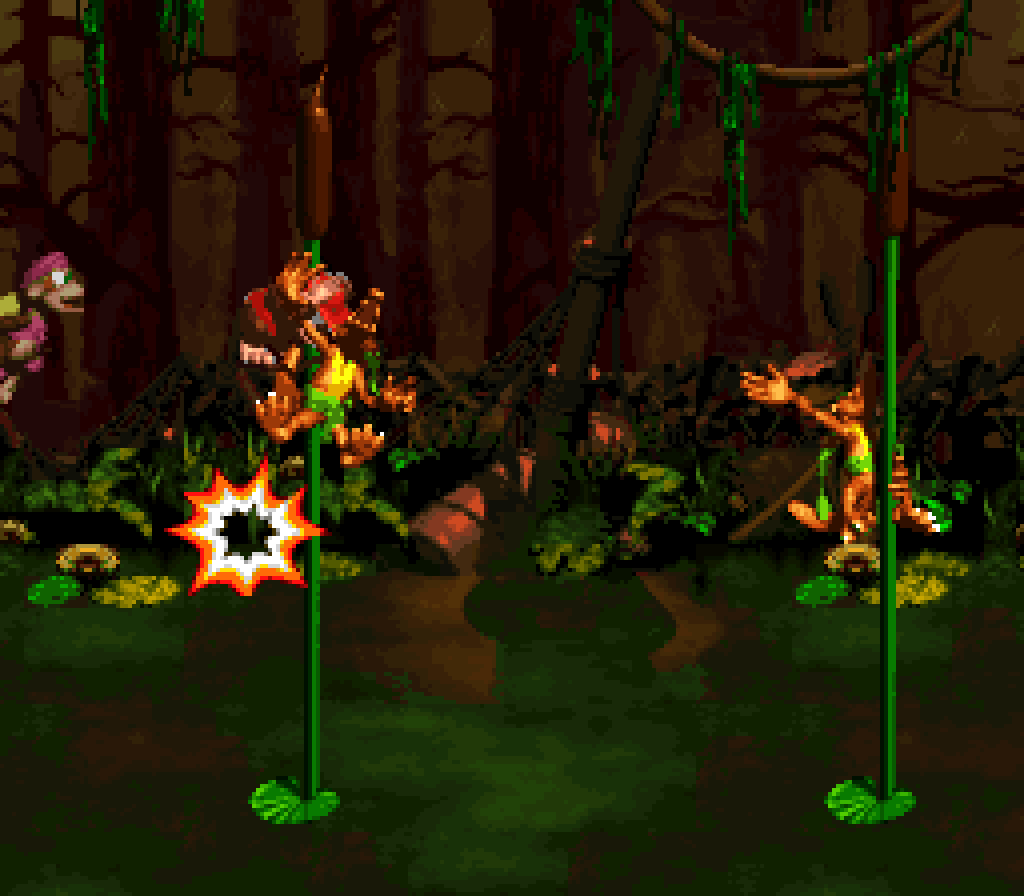
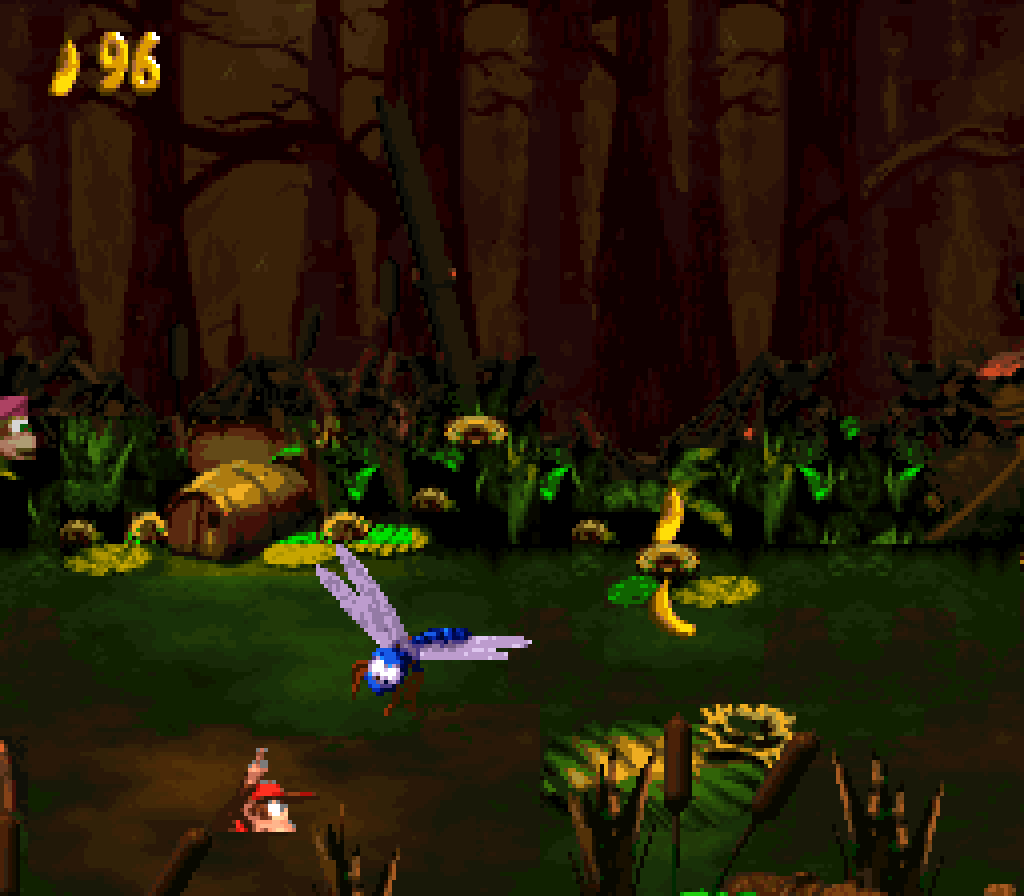
While one could debate which level has the mo’ interesting mechanics, what is unquestionable to me is that “Krockhead Klamber” is much mo’ exciting, faster-paced level where good players can race from tadpole to tadpole & bulrush to bulrush without stopping; & yet this long series o’ platforms & poles & enemies moving in all different paths keeps the player’s path interesting, specially when going fast, so that racing thru this level feels almost like an intricate dance. Since this level focuses to a greater extent on basic platforming, it is arguably the best spotlight on the fundamentals o’ DKC2’s fast-paced, intricate level design that mixes just the right variety o’ elements to keep it from feeling too monotonous or incoherent. Particular highlights have to be the parts where the level mixes up Flitters & Zingers right before the midway point or mixes timed KrokHeads with moving Zingers, forcing players to react quickly to sudden changes.
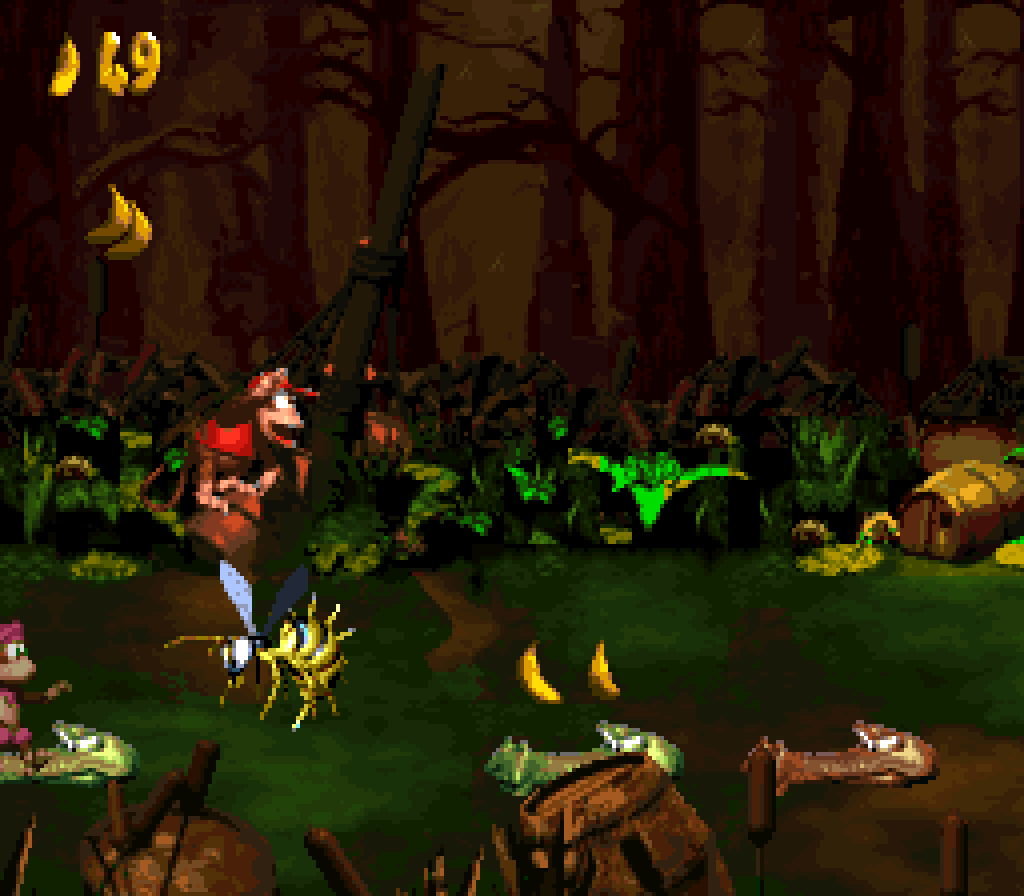
That’s not to say that this level’s design is perfect. There are a few places where there are a few too many Flitters or KrocHeads just 1 after the other in a row with no variance, specially with the KrokHeads, where the aforementioned moving Zingers & alternating Flitters ( who are already all o’er this level ) are the only “twists” on them this level offers.
Also, there are a few cheap shots gainst the player — something that’s surprisingly rare in this game, specially compared to its predecessor & sequel — such as a Kaboing that can jump @ you from offscreen while you’re already in the process o’ jumping to the same platform they’re jumping to, giving you no way to react before being hit, or a troll Flitter whose path is much shorter than expected, which can lead players to try aiming their jump in anticipation to where they think the Flitter will be when they land, only for the Flitter to turn round prematurely & the player to fall into the deadly swamp water.
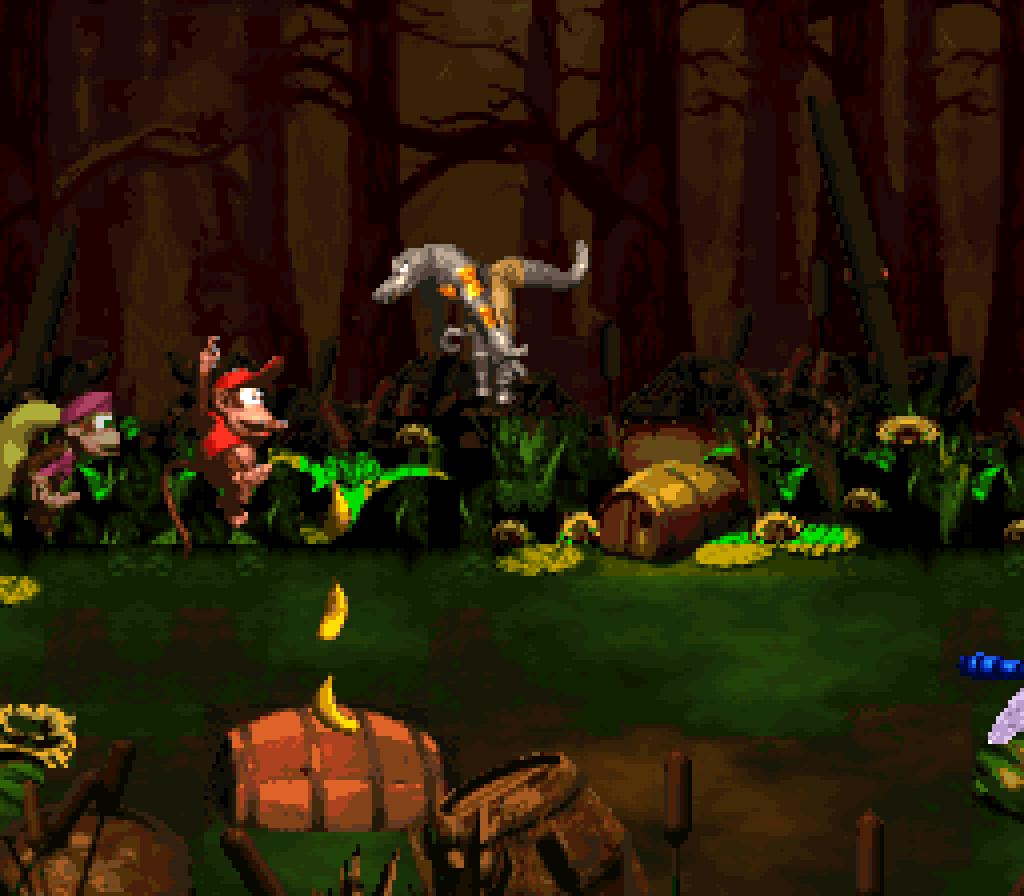
This level’s 1 bonus is also very underwhelming, found by throwing a Kong up an in-your-face arrow o’ bananas pointing upward. The bonus itself gives you Squitter to defeat a bunch o’ Zingers just like you did with Squawks in “Squawk’s Sprint” — ’cept as that level’s name indicates, that level actually focused half o’ itself on Squawks, whereas just after this bonus you have to give up Squitter for a 1-up balloon. ¿Why have him in this level @ all, then? I guess a level this linear doesn’t offer many opportunities for hidden bonuses; ¿but couldn’t they have hidden a bonus barrel up high, visible only in the corner o’ the screen & reachable from the top o’ a bulrush? Maybe they could’ve added a Flitter up in the air like they did in “Topsail Trouble”.

Neither the feather nor photo are all that hidden, either: the feather is just ’bove a KrocHead switch, where you’d have to go out o’ your way to try avoiding it, while the photo is just on 1 o’ the many Flitters you hop on, right in plain sight.
They did find a better hiding place for the hero coin: requiring a series o’ tightly-timed Kong throws ’tween Zingers & a tight roll jump under a Zinger & o’er a pond to find a chest you need to break open on all 4 Zingers on the leftmost platform to reveal the hero coin. Thankfully they were nice ’nough to offer a blast barrel so you don’t have to go back to the start manually. I think arguably the most linear level made the best choice for this “go left @ the start” twist.

The menacing red cast in the sky & the yellowing seaweed on the decks looks cooler than “Barrel Bayou”. Also, this level’s focus on bulrushes & tadpole platforms better fits with this level’s theme & makes me feel like I’m actually in a swamp, rather than the generic barrels in “Barrel Bayou”.