

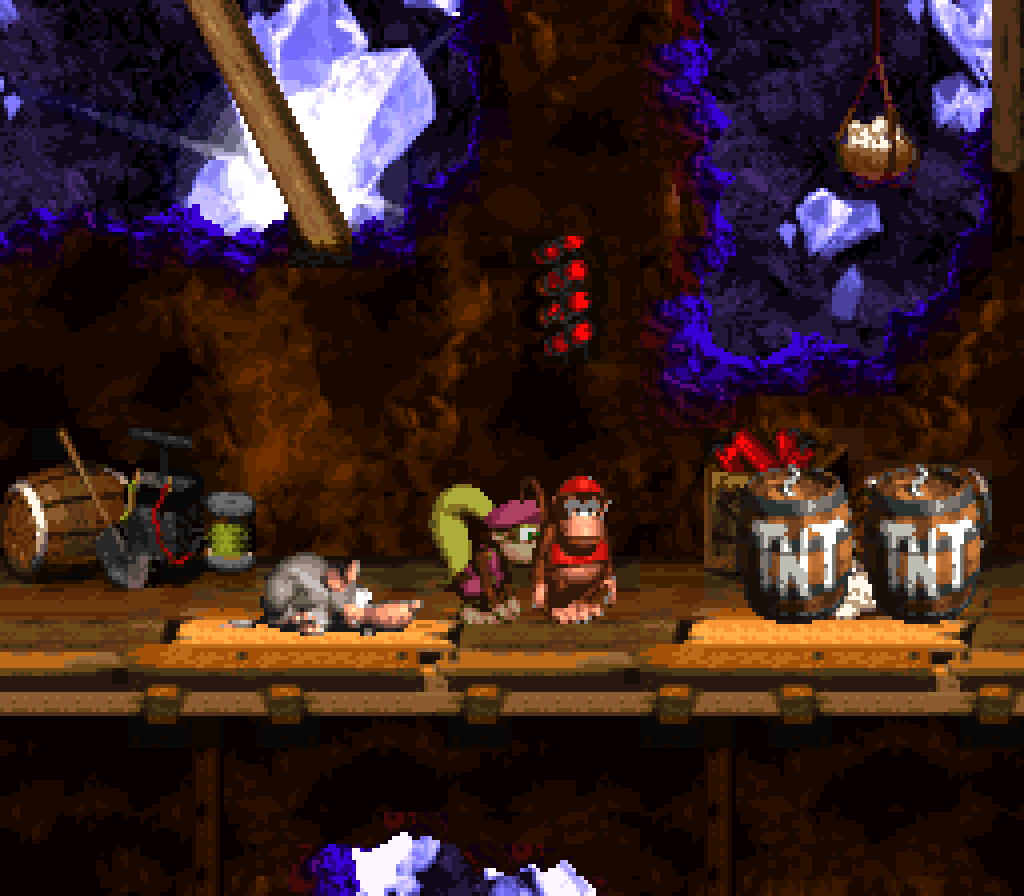
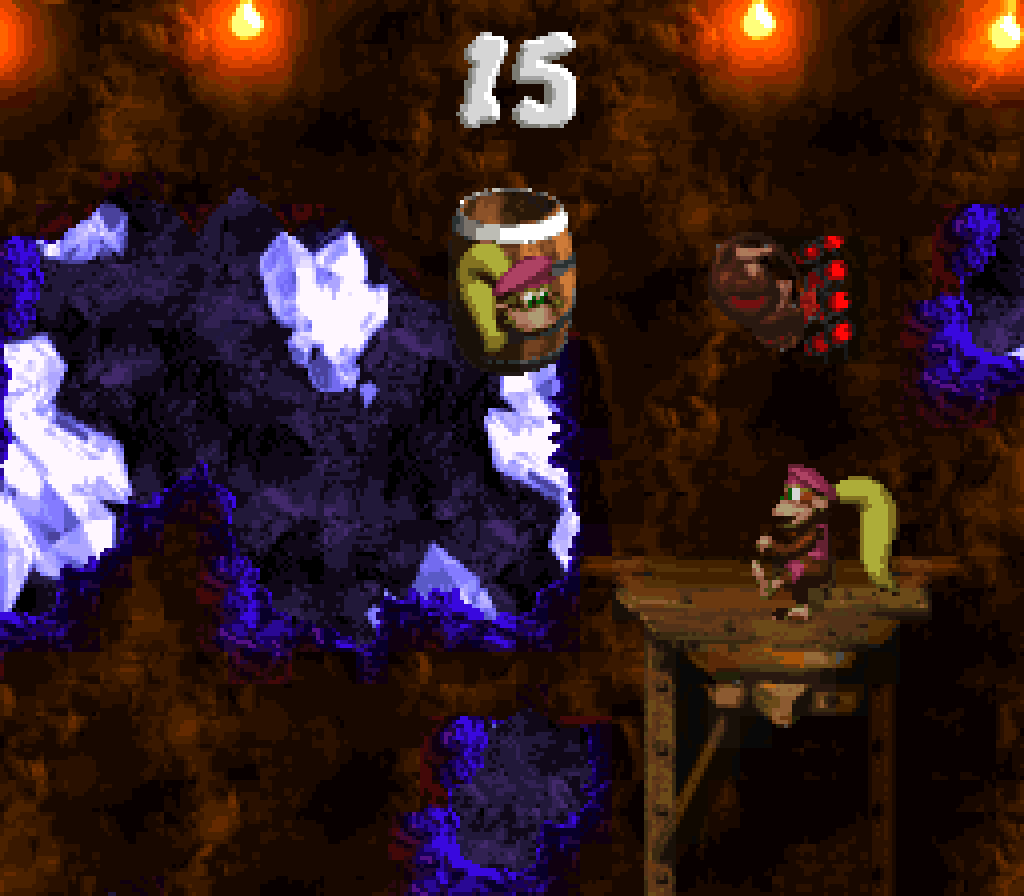
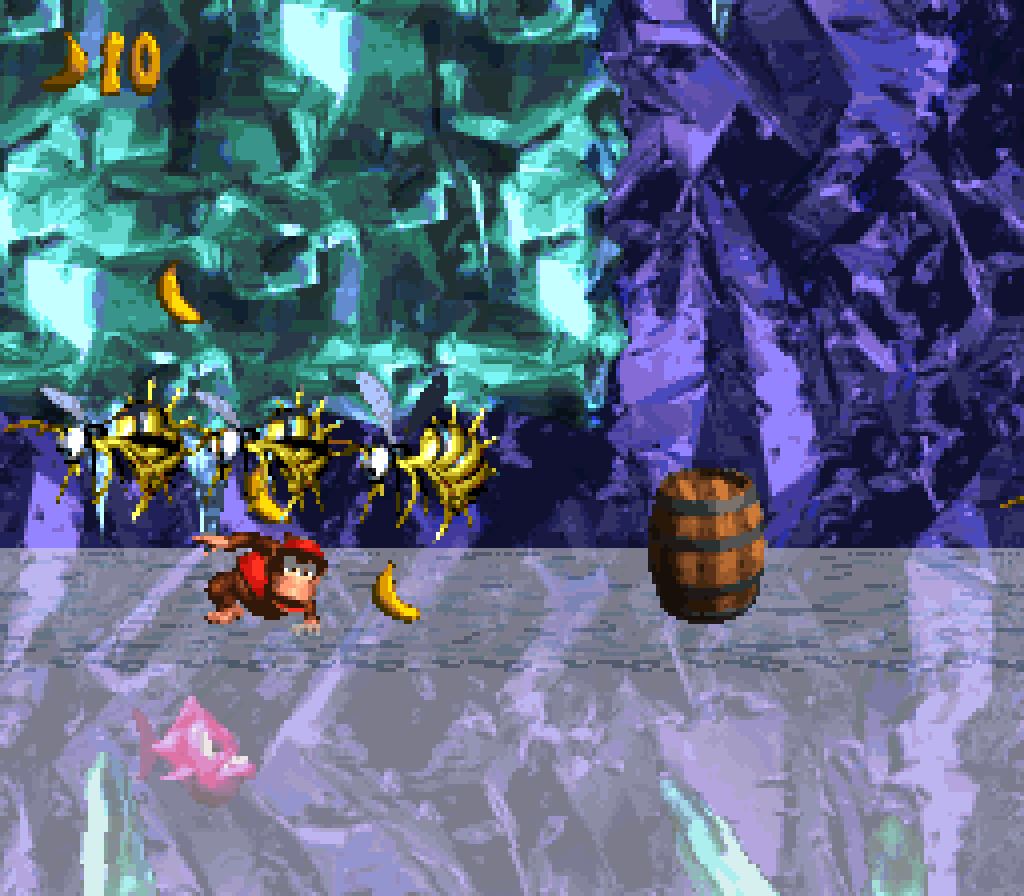
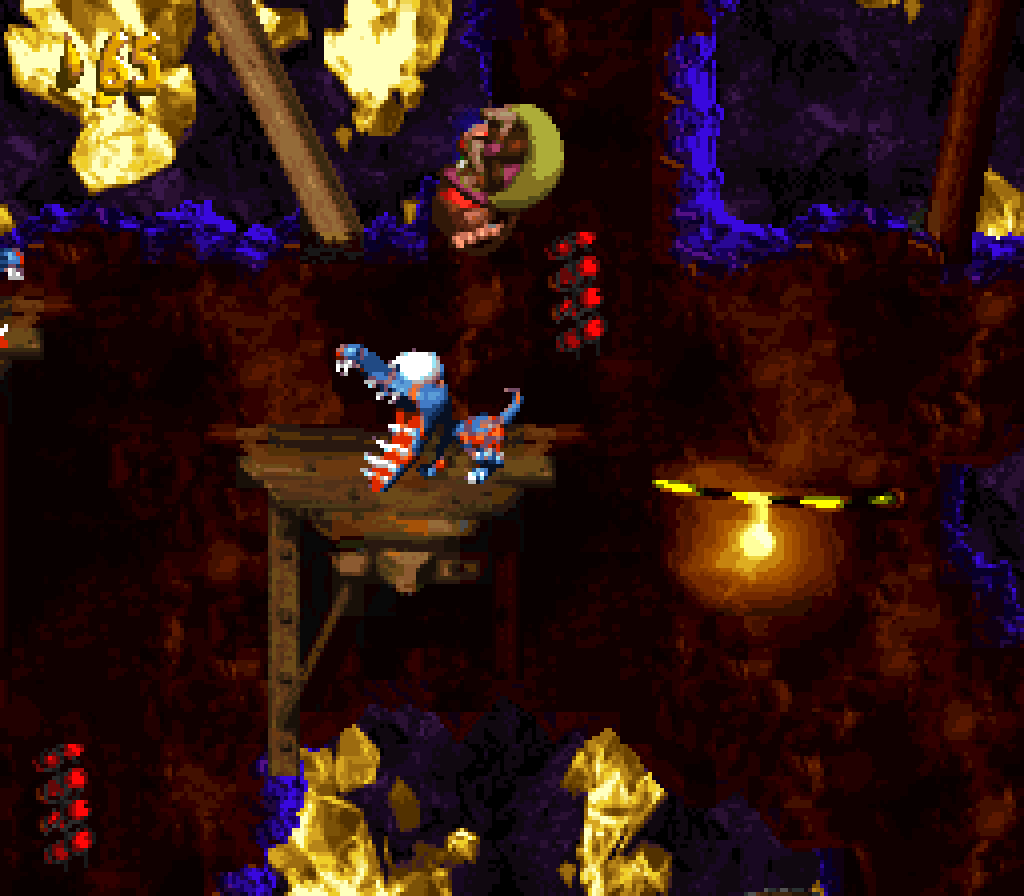
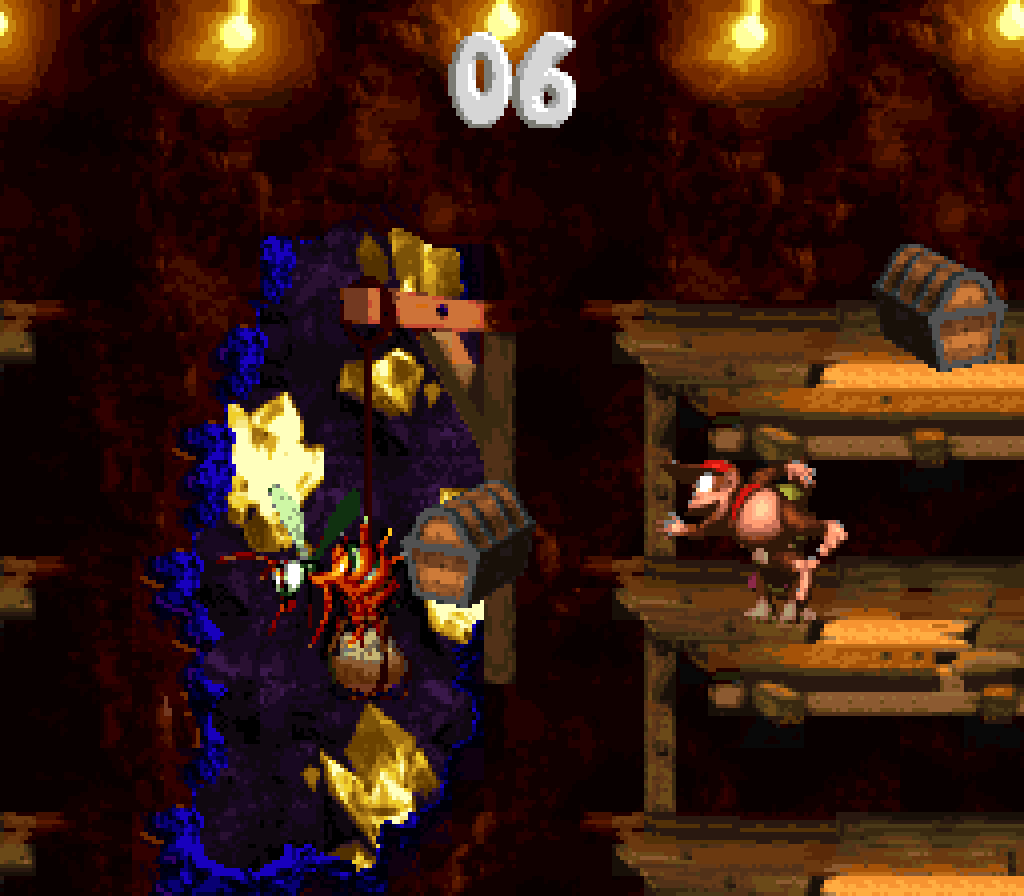
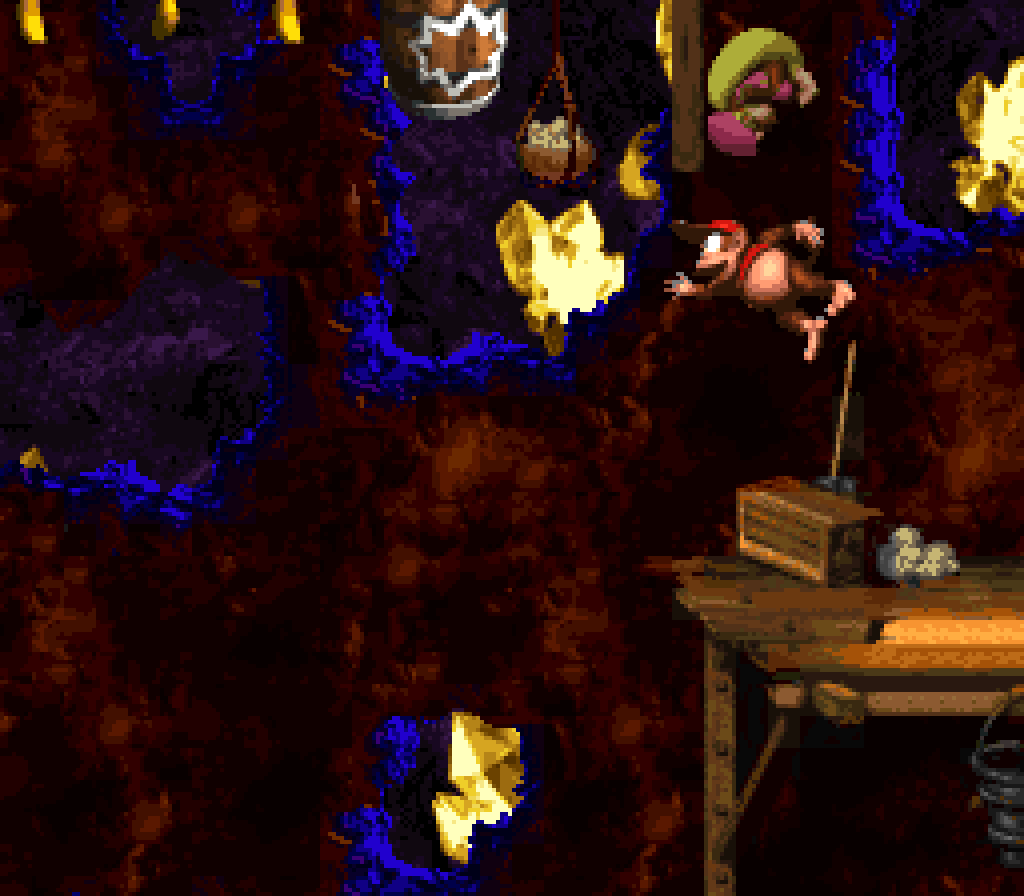
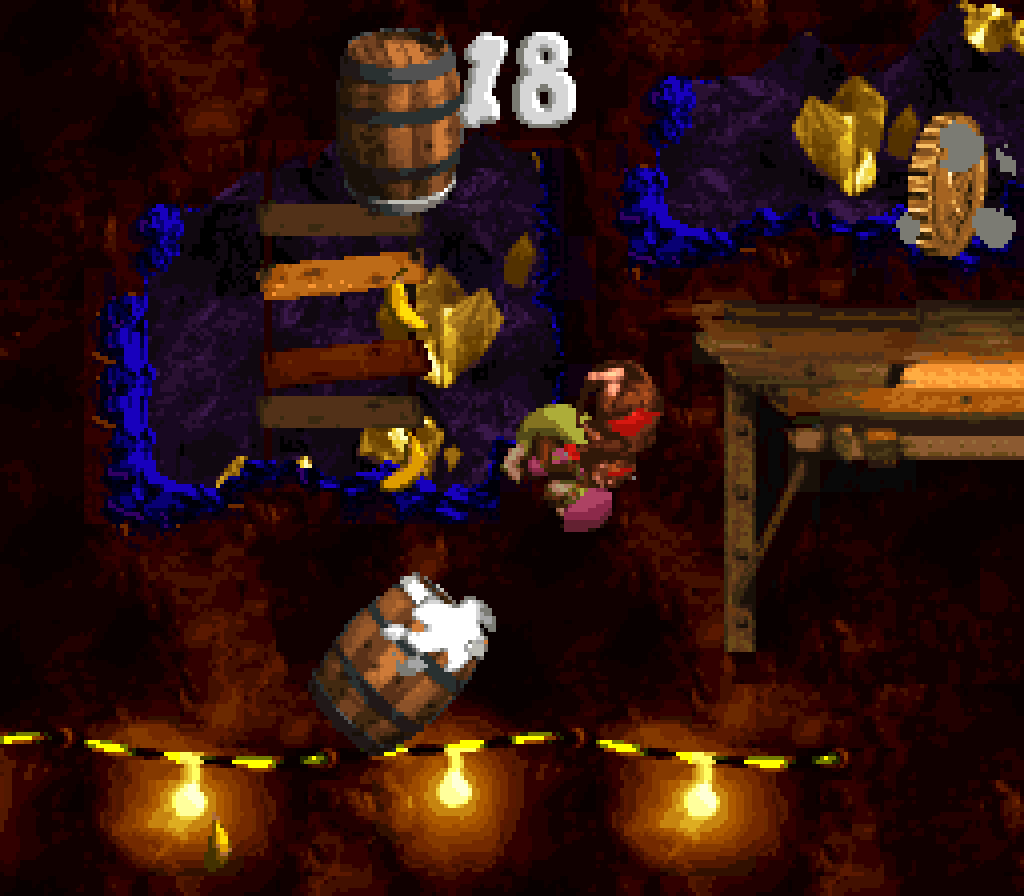
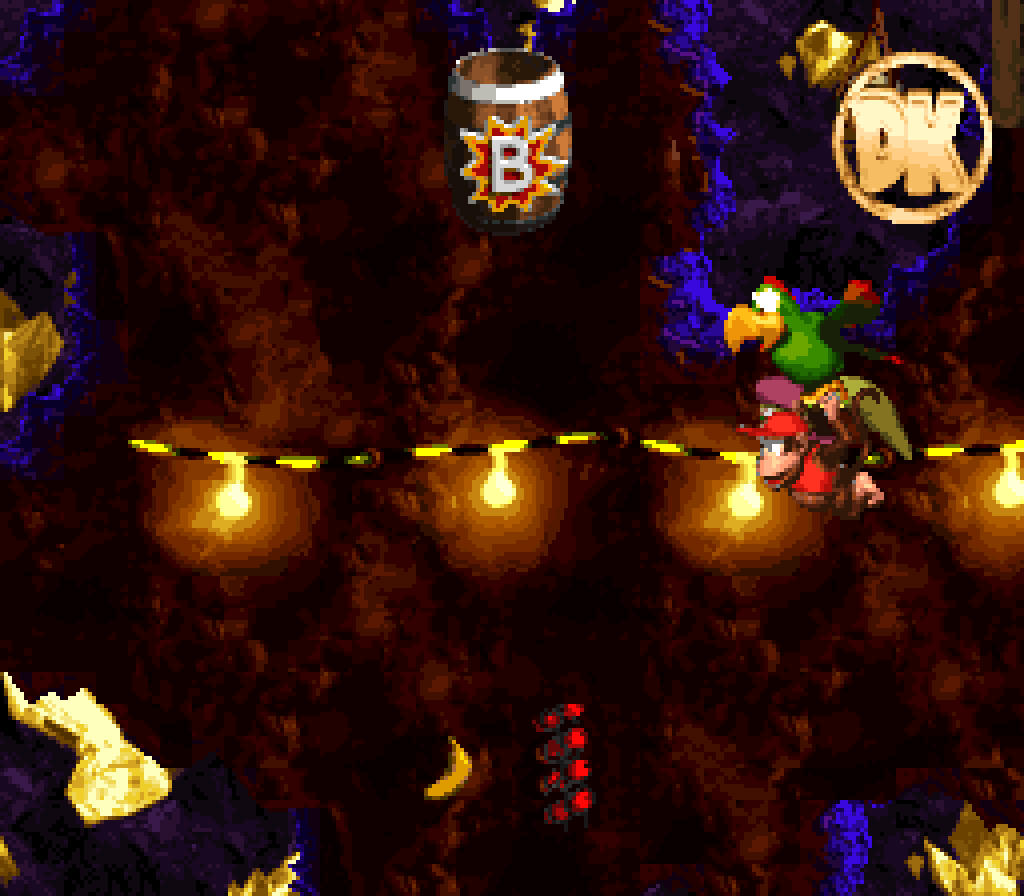
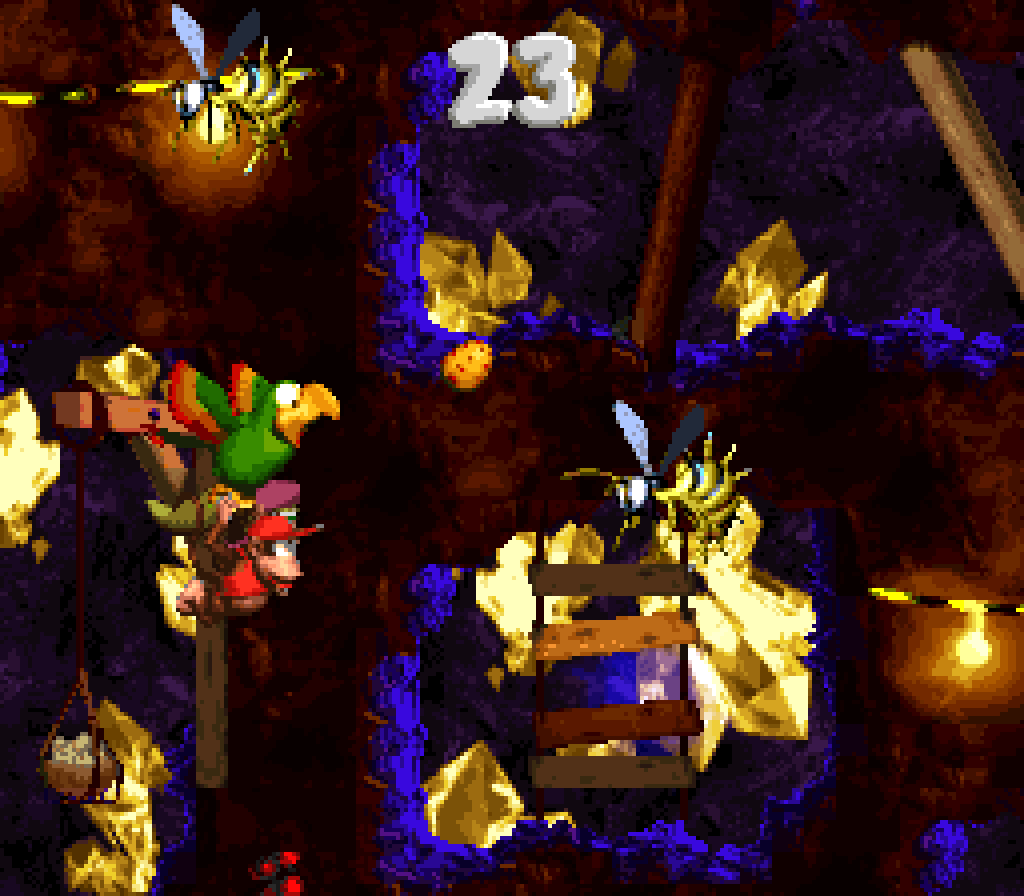
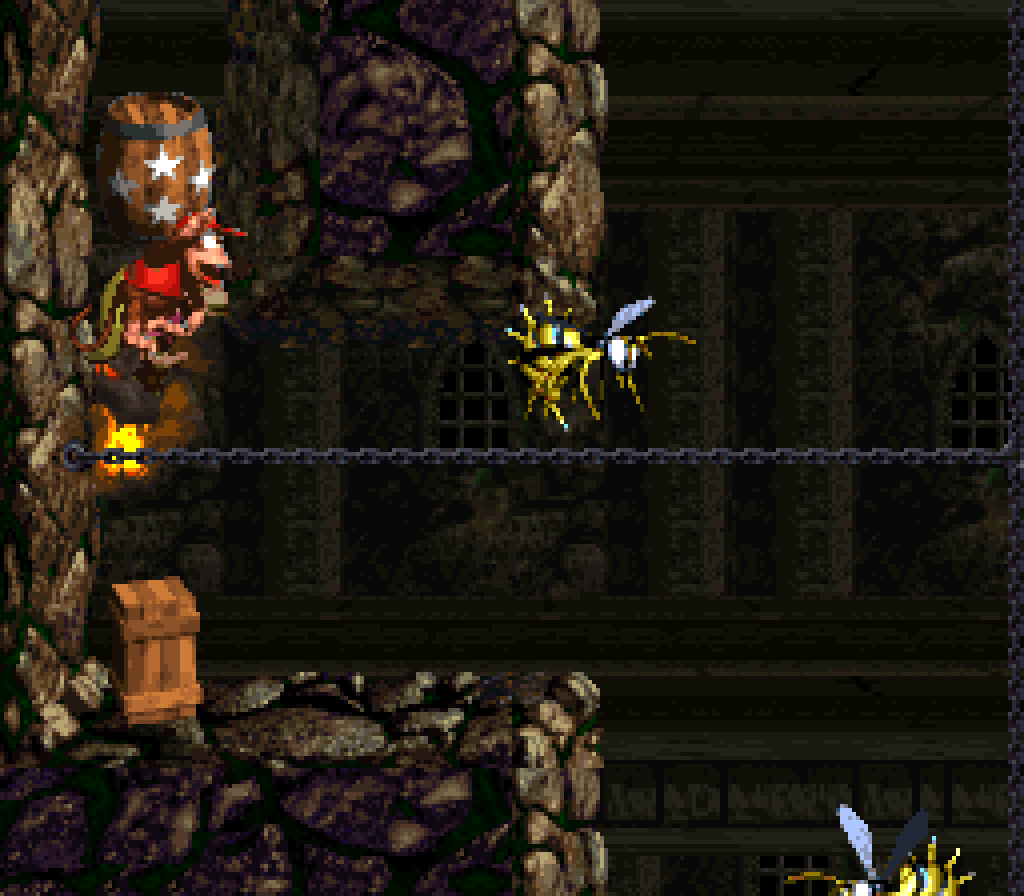
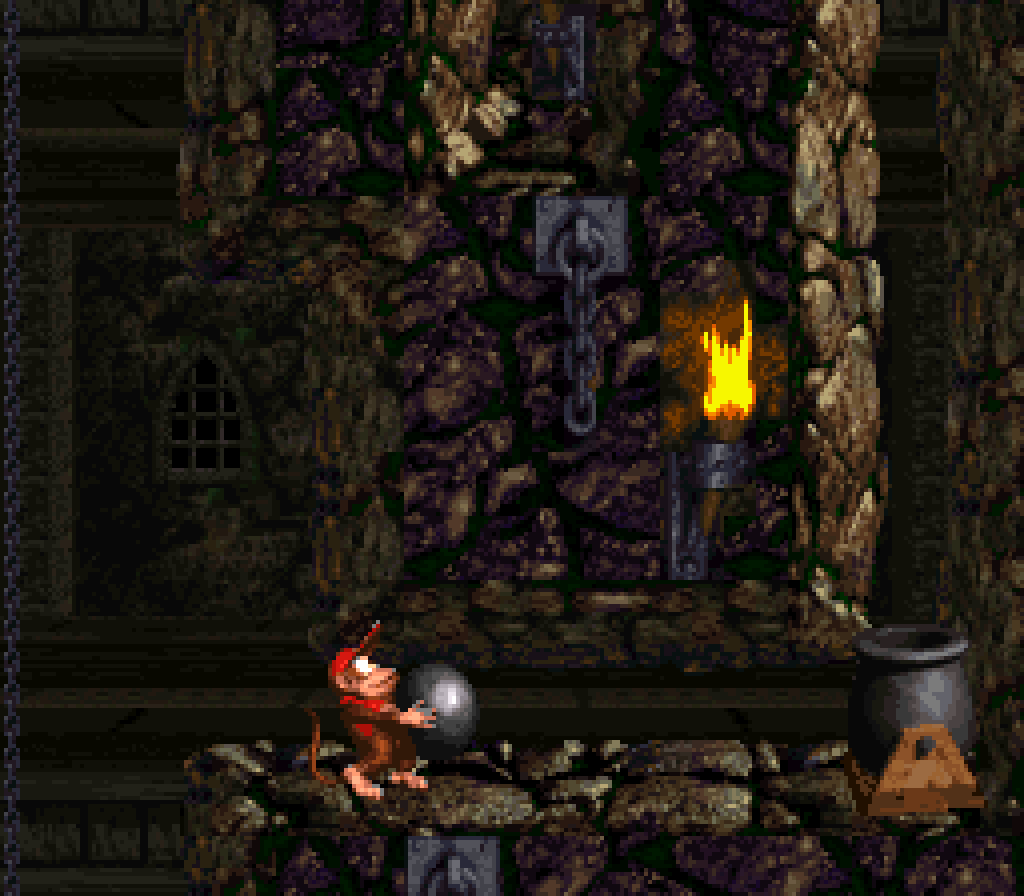
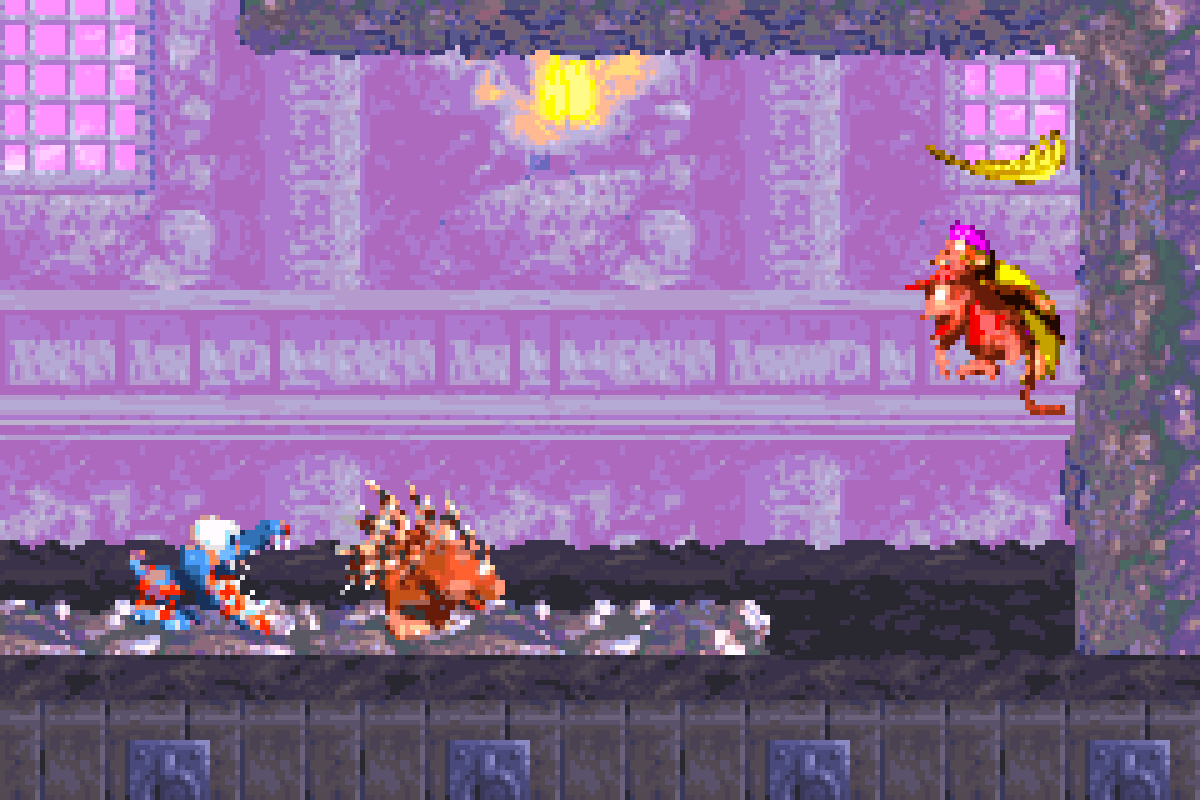
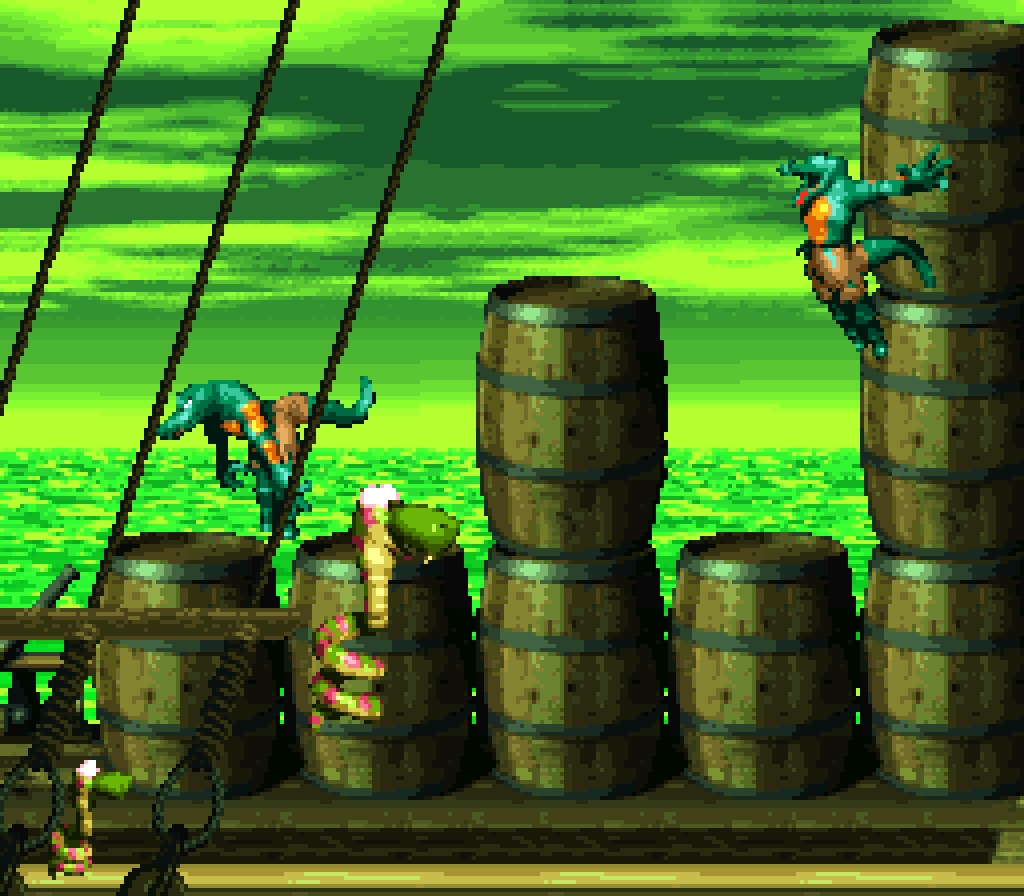
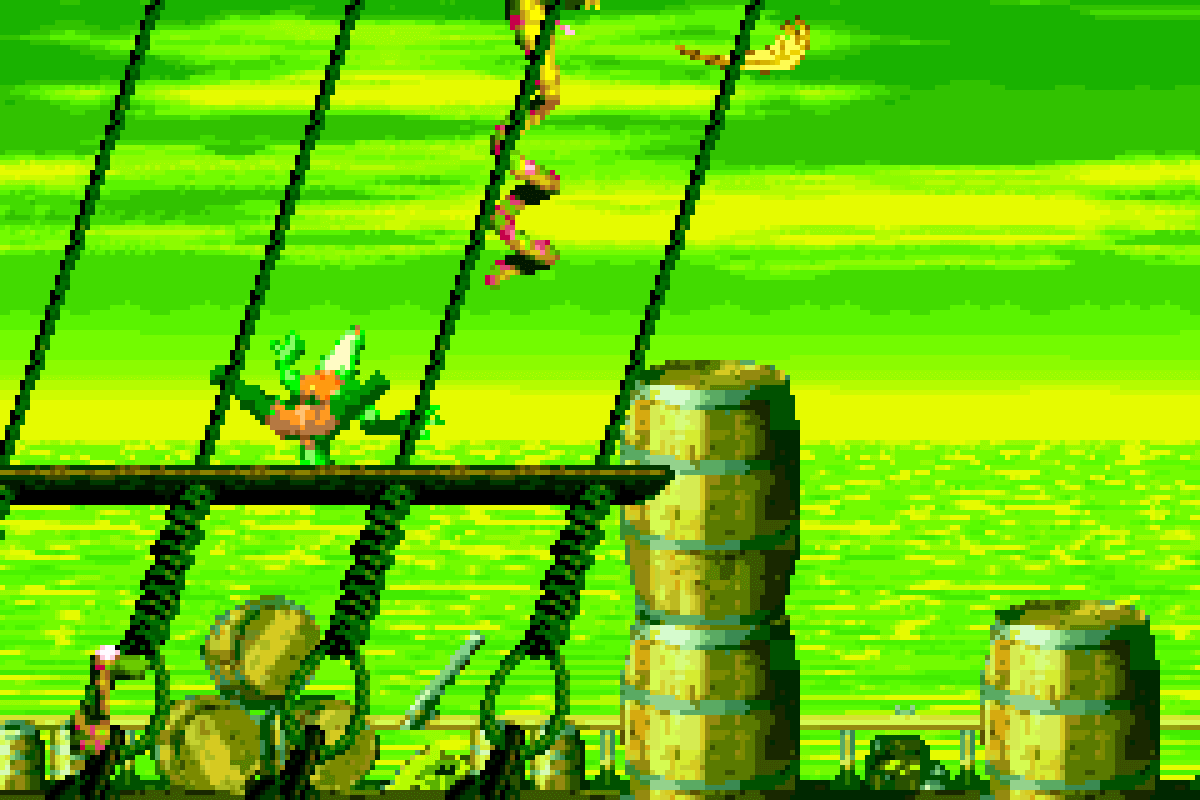
15. Kannon’s Klaim
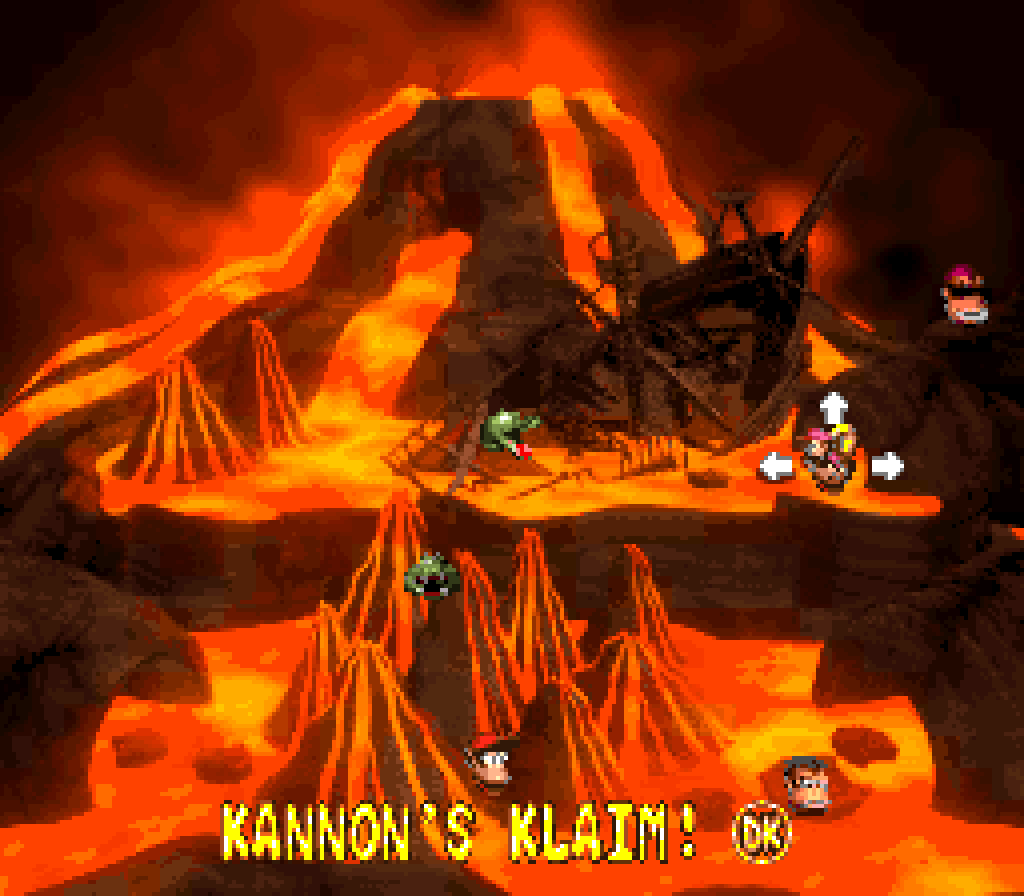
Thanks to its focus on platforming & barrel cannons, this level is much funner than it is to write ’bout. Howe’er, unlike levels like “Hot-Head Hop”, this level’s platforming is a bit mo’ intricate — as well as harder. You have subtle touches like the transition from the upward-shooting barrels under the K to the small platform with the Klomps, where you want to land on 1 o’ the Klomps & bounce onto the head o’ the other 1, but are @ a high risk o’ landing ’tween them & getting hit.
On 1st glance this level doesn’t seem like it has much coherency & can seem like just a bunch o’ elements thrown together into a level, but it does focus on cannons, — both the cannon-shooting crocodiles who bestow their name on this level & the arrow & blast barrels — with only the diving Mini-Neckies as a 2ndary gimmick, but intertwines them & mixes them in a way that keeps me from getting tired o’ them. It helps that the developers did a good job o’ bending the environment to create interesting challenges with them: the Kannon goes from leaving plenty o’ space to jump o’er his cannon, to smaller space, to being off to the side, shooting barrels you can jump on to reach him & the bonus barrel he’s guarding. The Mini-Neckies help you get the 2nd bonus if you don’t have a 2nd Kong, help you break open a chest hiding the G with their face, & act as a springboard to land on the end goal from high ’nough to get its prize.
E’en the Zingers & arrow barrels, tho not laid out in particularly brilliant arrangements, mostly sticking to having you time your movement from arrow barrel to arrow barrel while Zingers move either vertically or horizontally, don’t o’erstay their welcome, &, mo’ importantly, are laid out in that classic Rare way so that you can go thru these sections without waiting if you go immediately as soon as the arrow barrels 1st shoot you, rewarding brave players.
The only questionable setpiece are the 2 TNT barrels before 2 Neeks & a Kruncha. I guess there’s 2 in case you waste 1 on the Neeks. ¿Then why not just get rid o’ the Neeks? Weirdly, this is the only use o’ Kruncha in this level & the Neeks are only used on these 1st few platforms. I guess they wanted to add variety. I don’t feel like a level like this needed any mo’ elements thrown in.
This level also has the cleverest hero coin in the whole game: hidden just to the right o’ the 1st bonus stage — the only hero coin hidden in a bonus stage, which is perfectly fair game, since nowhere does the game so much as imply that hero coins can’t be in bonus stages. This should be contrasted with the infamous bonus hidden in a bonus in the 1st DKC, which was stupid not ’cause ’twas a bonus inside ’nother bonus, but ’cause it required you to intentionally get a single banana 3 times, which is arbitary & breaks the rules o’ how this bonus works. Here, there are no implied rules being broken. I specially like how the designers tip their hands a bit toward the hero coin: not only is it found by helicopter-hairing o’er to it from the left side, the bonus in which it’s found is found this same way.
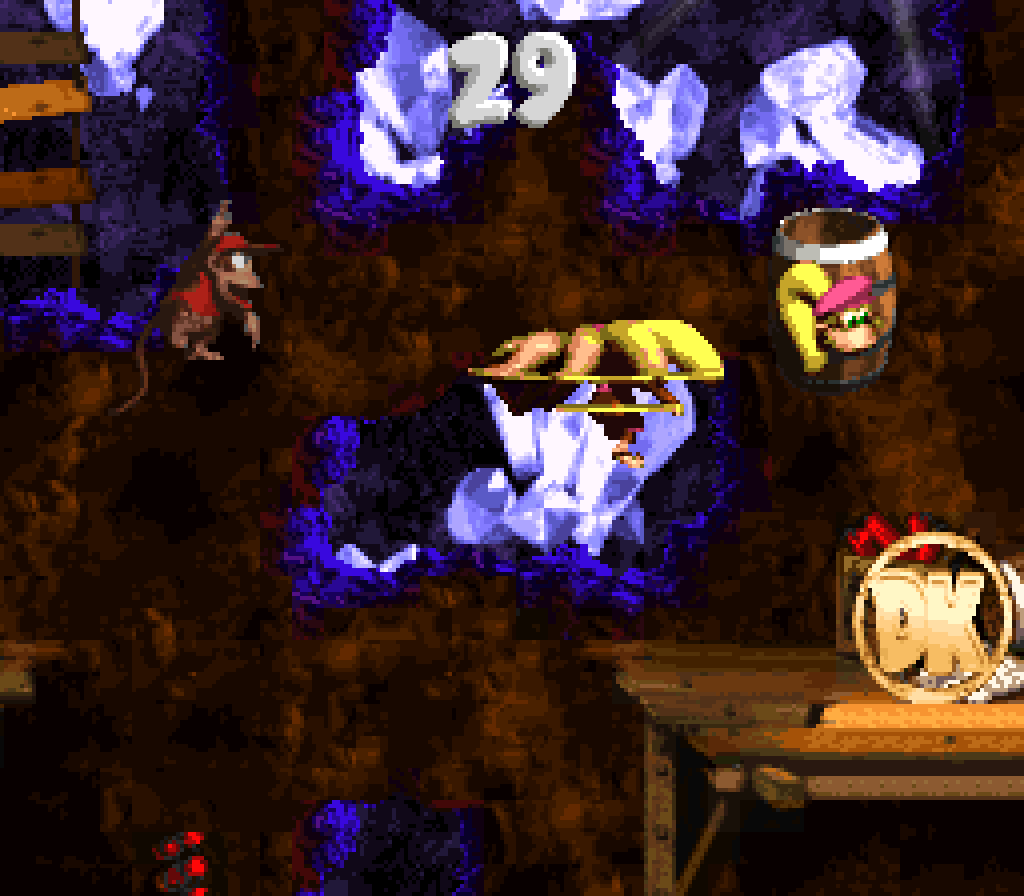
The bonuses themselves aren’t so strong, howe’er. The 1st 2 bonuses are just challenges where you have to go upward from blast barrel to blast barrel. The 2nd are just regular arrow barrels, without e’en any Zingers, making this bonus much mo’ bland & generic than the level itself, which feels like the opposite o’ what a bonus should do; the 1st bonus uses barrels with either Diddy or Dixie Kong’s face on them, which only that Kong can use. There’s no difficulty: you just keep slowly switching Kongs & then jump into the next barrel. A’least they put a DK barrel @ the start so this bonus isn’t impossible if you happen to enter it with only Dixie.
The 3rd bonus is just hopping on Flitters to reach the bonus coin @ the end, which feels like an inferior copy o’ the 1st bonus from “Topsail Trouble” not that long ago. You don’t e’en have to bop them all. Also, ¿what does this have to do with the level? There’s like 1 Flitter in the level proper. ¿Who no bonuses with Mini-Neckies or Kannon — you know, the guy whose name is on the level?
Both the feather & the photo in this level double-dip on other bonuses: the feather challenges you to jump off a Mini-Necky just before the end goal to reach it, which is what you also need to do to get the end goal’s prize, while the photo is gotten by defeating the Kannon whose shots lead you to the 3rd bonus.

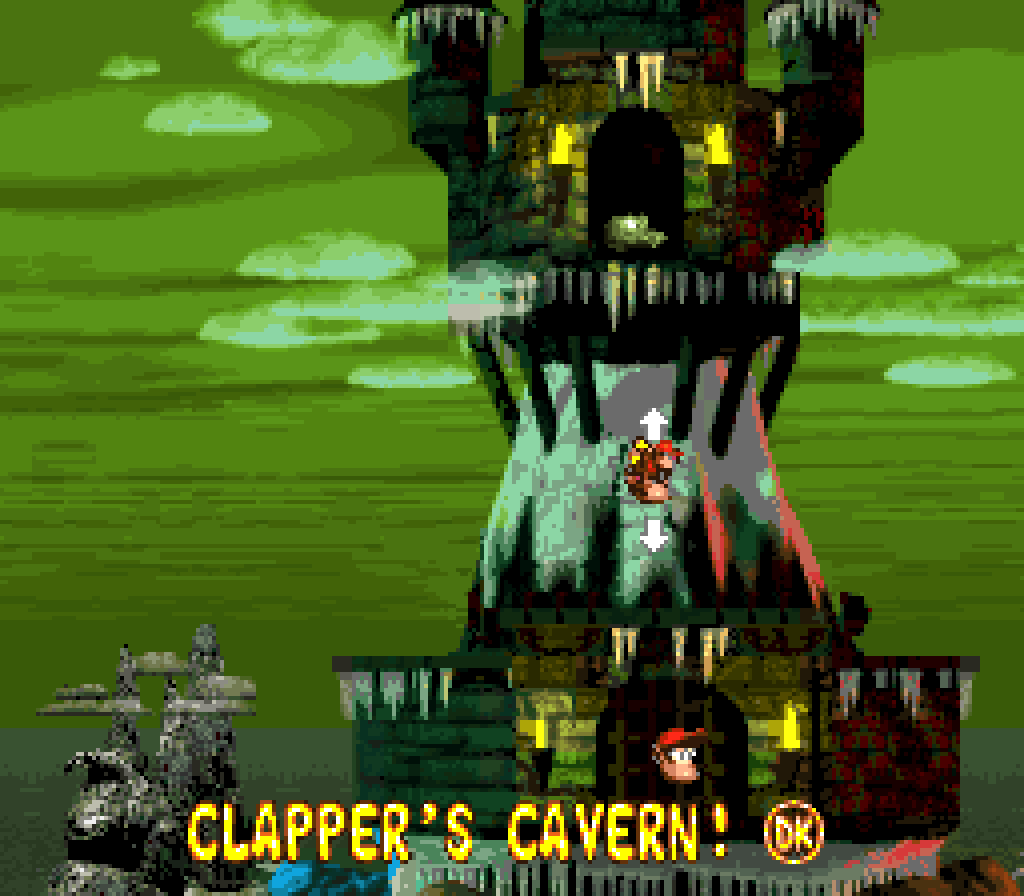
14. Clapper’s Cavern
A very solid level based on a very solid gimmick. While temporarily turning water to ice isn’t the most inspired idea in itself, the way they implemented it is, not only in terms o’ style by bringing back the mechanic o’ abusing seals from “Lava Lagoon”, but this time to make them squirt water that is somehow frigid ’nough to turn other water to ice despite not being ice itself, but also in terms o’ gameplay by mixing in ’nother ol’ friend, Snapjaw from “Slime Climb”, & making it a race to the end before the ice melts back to water & you fall into Snapjaw’s jaws. While having you quickly react to various enemies by either rolling into them, jumping on them, jumping o’er them, or ducking under them, based on who they are or where they are, is the sum o’ all the setpieces used in these relays, this level is short ’nough that it doesn’t get tired by the end. This level is a good contrast to “Arctic Abyss” @ the start o’ this world: both are something o’ breather levels, but whereas that level was slow, monotonous, too long, & just a repeat o’ what you’ve already done many times before, this level is a new gimmick that’s a quick burst, &, unsurprisingly, much funner ’cause o’ it.

It helps that this level does a better job o’ adding other elements as palate-cleansers, such as regular setpieces o’ enemies on solid ground, & e’en a very short section with Enguarde underwater, which is as long as a section like this needs to be. I do feel this level could’ve benefited from a bit mo’ platforming than fighting enemies, since you already fight enemies during the ice parts, as well. It would’ve been an interesting deviation from the main gimmick o’ temporary icy floors, while still integrating with the connected gimmick o’ avoiding the water, by challenging you to do platforming o’er the water, with the risk o’ getting hit for missing a jump.
The closest the level comes to this is a section where you have to jump up a series o’ hooks before the water reaches you, which is mitigated by an invincibility barrel sloppily hidden in a single banana just before — hardly a necessity this late in the game, specially for such a short level.
The bonus locations aren’t bad, but aren’t great, either. The 1st is hidden up hooks @ the start o’ the level, faintly visible @ the top o’ the screen, while the 2nd is hidden in the short Enguarde section, ’hind a wall telegraphed by a single banana, just like other bonuses in other water levels.
The bonuses themselves are mo’ interesting. The 1st challenges you to jump ’cross tiny slippery platforms — or to throw a Kong up @ the last platform from the bottom floor if you didn’t lose a Kong on the enemies ’tween the hooks & bonus.

The 2nd bonus is a race to the end as the water falls. This isn’t nearly as interesting, mainly ’cause the time limit is so generous that e’en if you don’t use Enguarde’s super charge to go forward before the water beaches you on the ground, you can still just slowly squirm forward down all the ground areas & still make it with a few seconds to spare.
I’m not too hot on the hero coin location: it’s in some secret area only accessibly after the 1st bonus, which just warps you there. You need to throw a Kong up to a hook offscreen. It’s not too arbitrary, as there is a clear hole up there, broken by the lower ceiling to the right, which is suspicious — the the giant B made o’ bananas inside the left wall is confusing, as you team up with A, not B. I guess you do need to press B to jump & reach the secret K, but I don’t see why they felt the need to communicate this: I’m quite confident players who made it this far figured out how to jump. I feel like just having this secret area you get warped to is a cop out: it’s both redundant, since it just requires finding a bonus, but also feels arbitrary, specially since it feels like the hero coin isn’t truly integrated into the level proper. I could think o’ many better places to put the hero coin. E’en if it’d be a repeat o’ “Kannon’s Klaim”’s hero coin gimmick, hiding it down in the bottom area o’ the 1st bonus still would’ve been cleverer than just having the 1st bonus warp you to a secret area with the hero coin. I’m shocked they ne’er hid anything beyond banana coins in the water, e’en round the invincibility barrel. I think it would’ve been clever to hide the hero coin in the water before the invincibility barrel, challenging players to go back & check that area, which would require lateral thinking, but wouldn’t be arbitrary or unfair.

This level has 2 photos, a mid photo for defeating a random Puftup that you’re bound to find on the way to the 2nd bonus, & a mo’ cleverly-placed photo that makes use o’ the invincibility barrel & an underwater passageway — & thankfully 1 free from any magical move-thru terrain — that previously just had banana coins, which, fittingly, gives the photo for Clapper.
The feather is much less inspired, being in plain sight when you find the hero coin, with the only twist being that you need both Kongs to get it by team throwing up to it.
13. Squawk’s Shaft
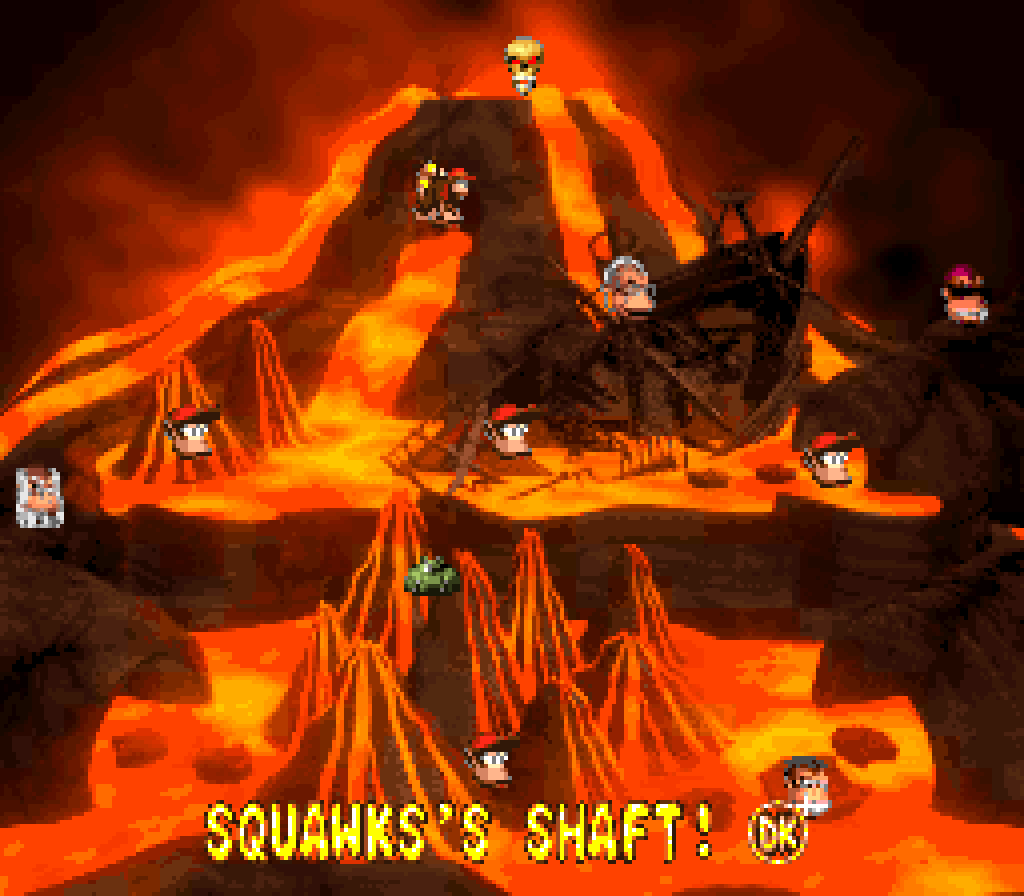
¿Why do I have a feeling this level’s name is 1 o’ Rare’s infamous innuendos?
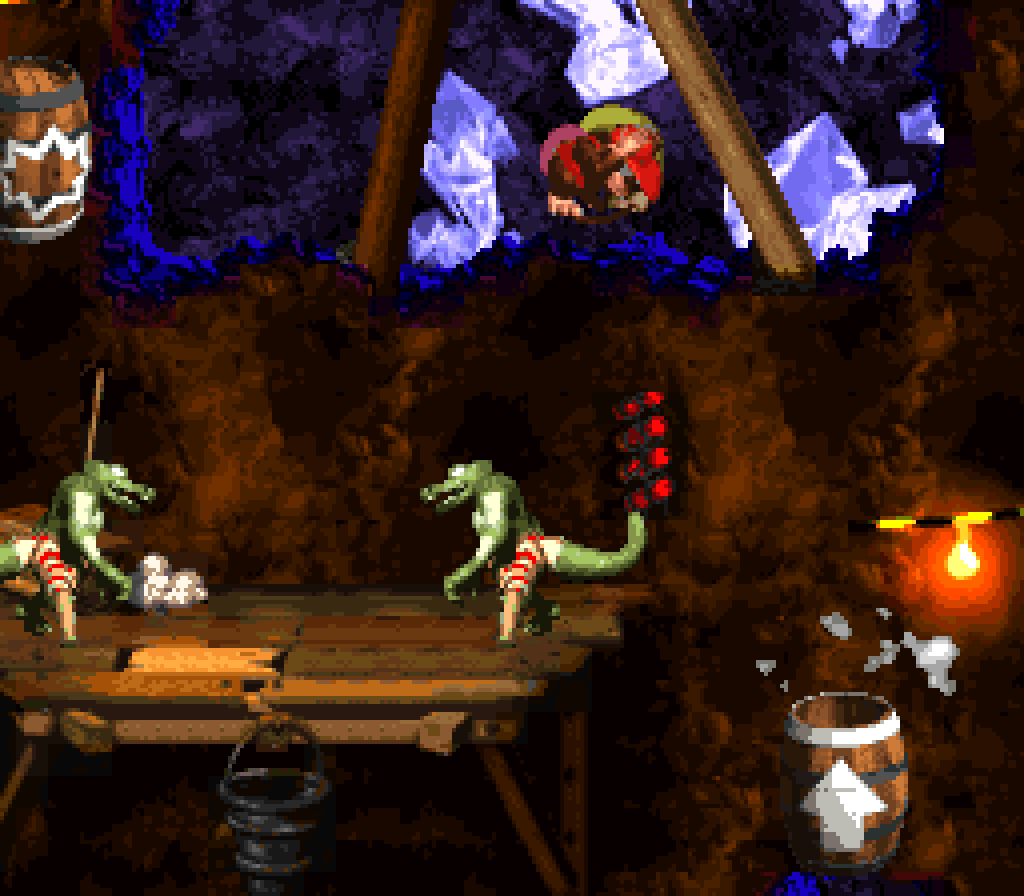
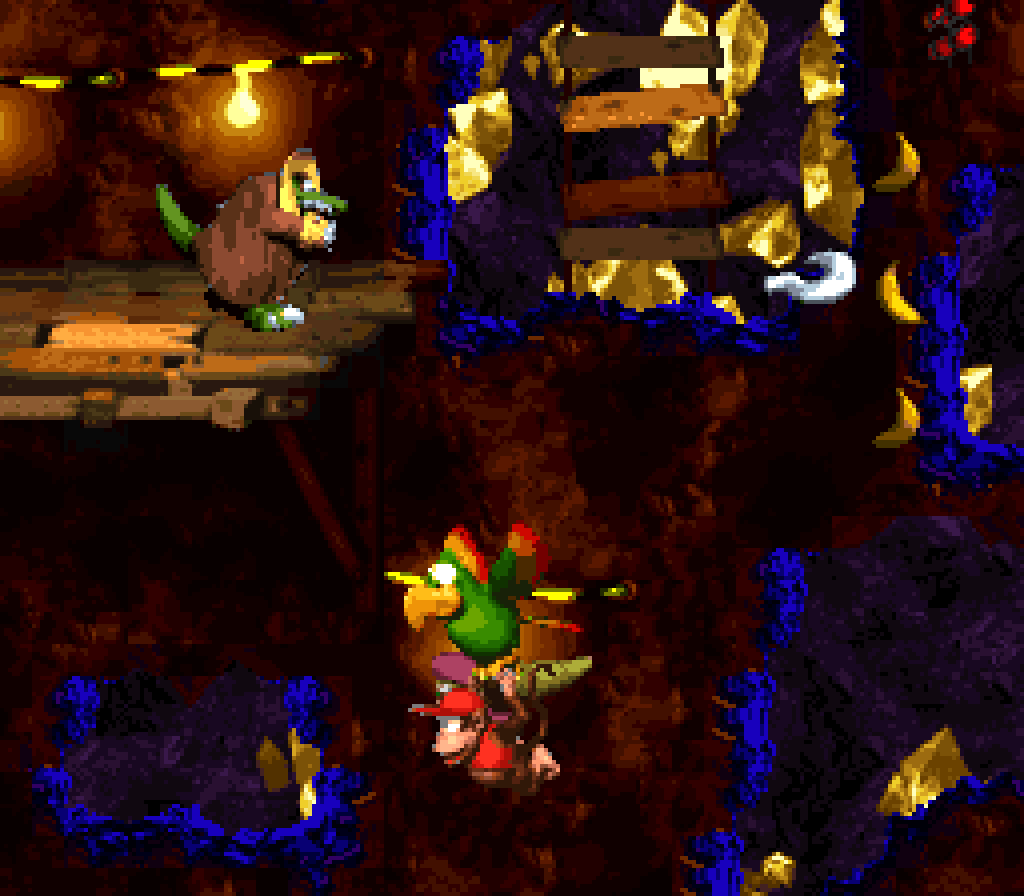
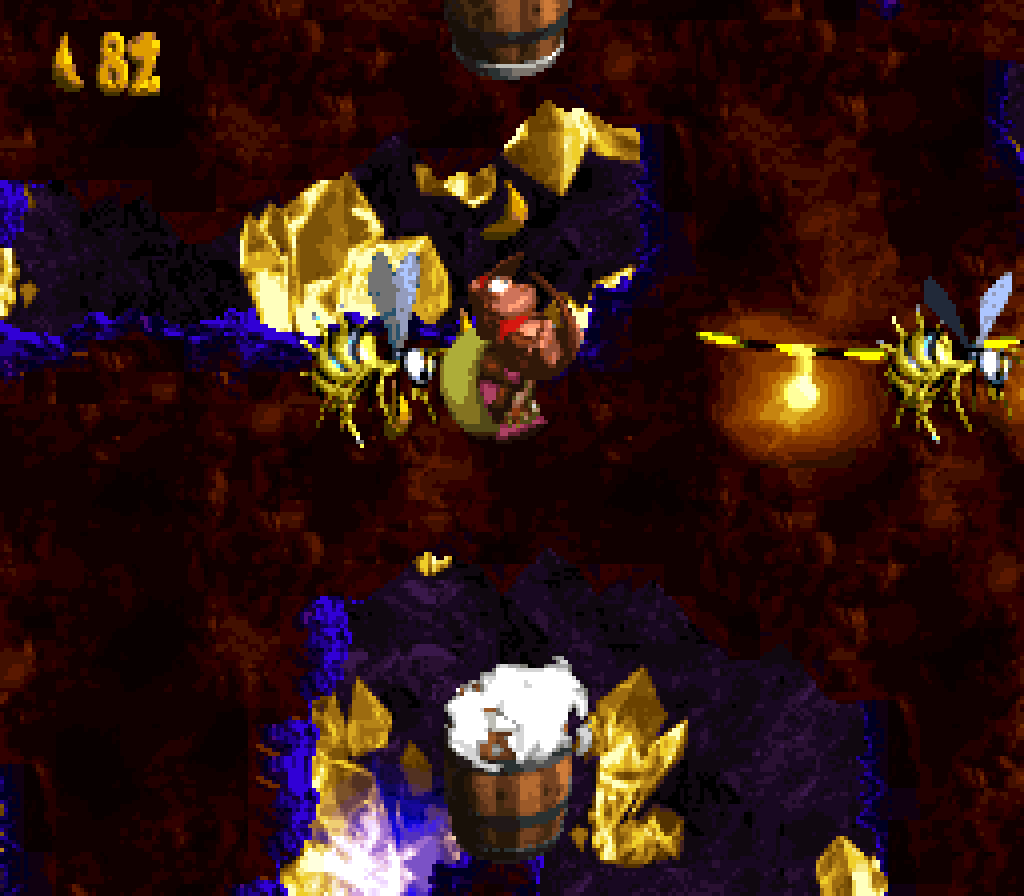
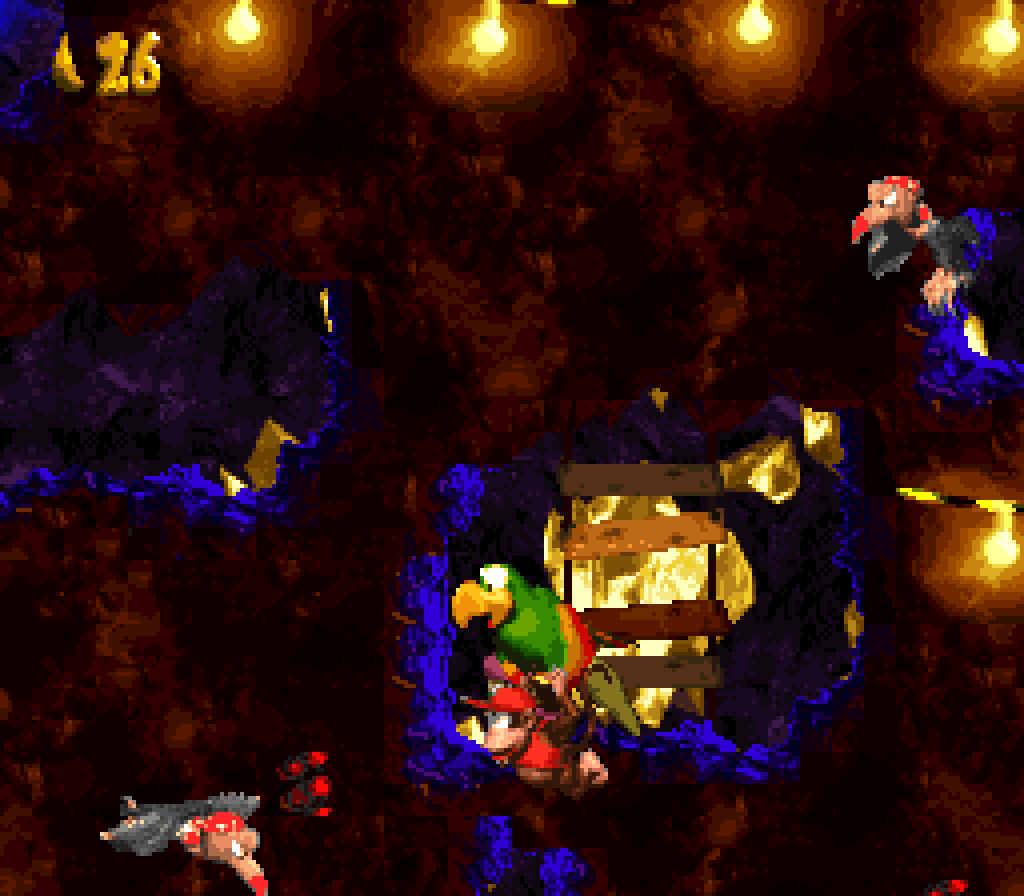
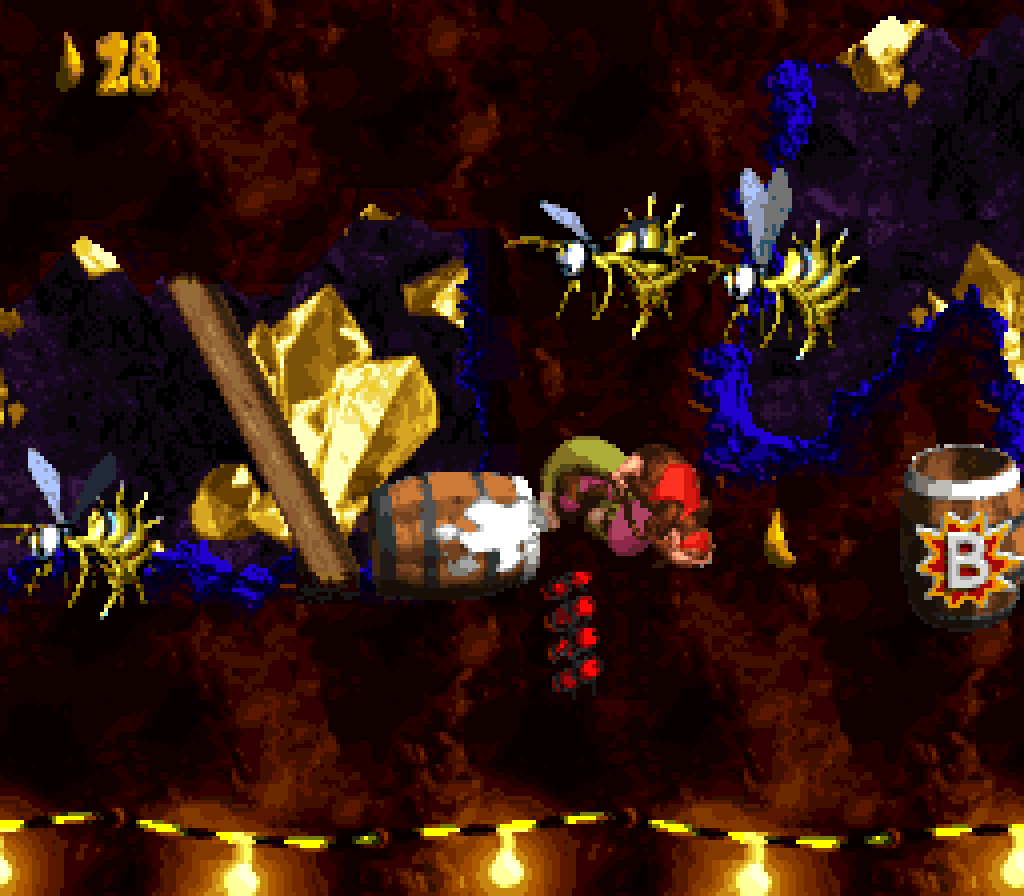
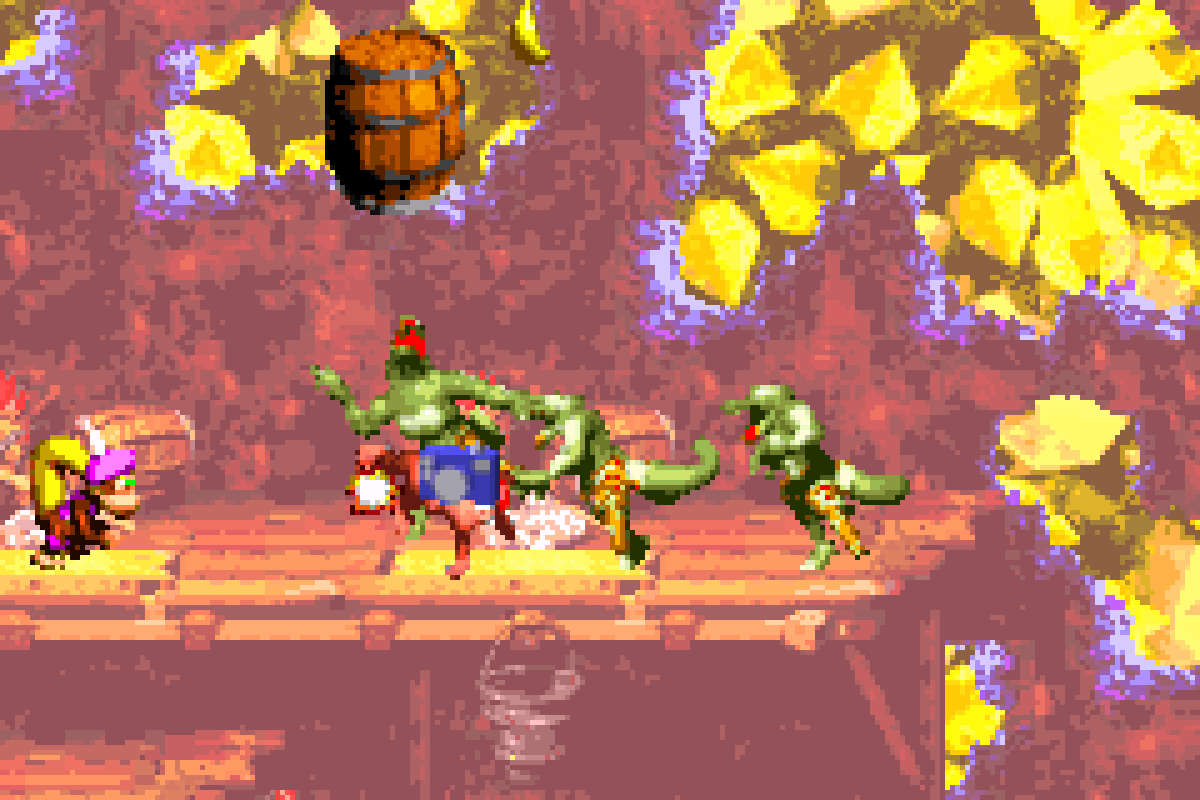
Like many other levels in this game, this level is split into 2 other levels, with the 1st half focusing on mo’ basic jumping & elements from previous levels, such as barrel cannons from the previous mine level, “Kannon’s Klaim”, while the 2nd half focuses on ’nother new animal buddy, Squawks. Howe’er, this level does a bit o’ a better job o’ tying these 2 halves together with Krooks, who are introduced as a slightly mo’ challenging Kannon — throwing faster-moving projectiles that swing back round like a boomerag — on-ground with the Kongs, & then in the latter half dodging & fighting back gainst them while flying with Squawks.
Which is not to say that the 1st half doesn’t have interesting setpieces. I particularly like the parts where you have to hop up the thin platforms, but hop up the last 1 @ an angle ( or just wait ) to avoid hitting the 3 Klomps stomping by, which makes it feel like you’re sneaking in under them, or the part where you’re shot up to li’l platforms with Klampons on them that you have to bounce on to continue.
E’en the sections where you’re timing barrel cannon shots ’tween Zingers distinguishes themselves from those in “Kannon’s Klaim”, as while “Kannon’s Klaim” focused on the new arrow barrels that automatically shoot you upward whene’er you enter them, this level returns to traditional rotating barrel cannons that shoot you when pressing B. If these were a major focus o’ this level, then this level would be worse than “Kannon’s Klaim”, with its slightly fresher spin on the mechanic; but this level thankfully keeps these ol’ elements to a few iterations.
As for the Squawks section, I think it does a much better job o’ balancing creating an interesting layout with keeping it simple ’nough to be a workable tutorial than other animal buddy introductions — tho Squawks admittedly does have the advantage o’ being the last animal buddy introduced, so it’s slight extra challenge is warranted. E’en with perhaps that minor increase in difficulty o’er, say, the Rattly section in “Topsail Trouble”, these Squawks sections do a better job o’ balancing easiness & complexity thru the ol’ fashion means o’ giving ways to get round the complex parts. For instance, as scary as the many Mini-Neckies on all sides may seem, it doesn’t take much brainpower to realize you can just rush past them with no effort. Other enemies, like downward-shooting Kannons, can be attacked from below without having to try dodging their cannon balls @ all.

I’m mixed on the bonuses in this level. The sequence o’ barrel cannons to the side near the start that leads to the bonus barrel is cool, but the bonus itself where you just keep throwing chests @ an orange bee till you find the random 1 with the bonus coin is just a lame dice roll where you can roll all the times you need to win.
The 2nd bonus, in contrast, has yet ’nother barrel cannon to the side, — tho I guess you need to throw a Kong up to reach it, so it’s 1 that requires you to have not gotten hit to get it. The bonus itself is just a sequence o’ barrel cannons going upward, which is hardly fresh by this point, but I do like how, like in “Barrel Bayou”’s 2nd bonus, you can save time by going gainst the indicated sequence & just point straight up for most o’ the barrels & then up & to the right on the penultimate barrel cannon.
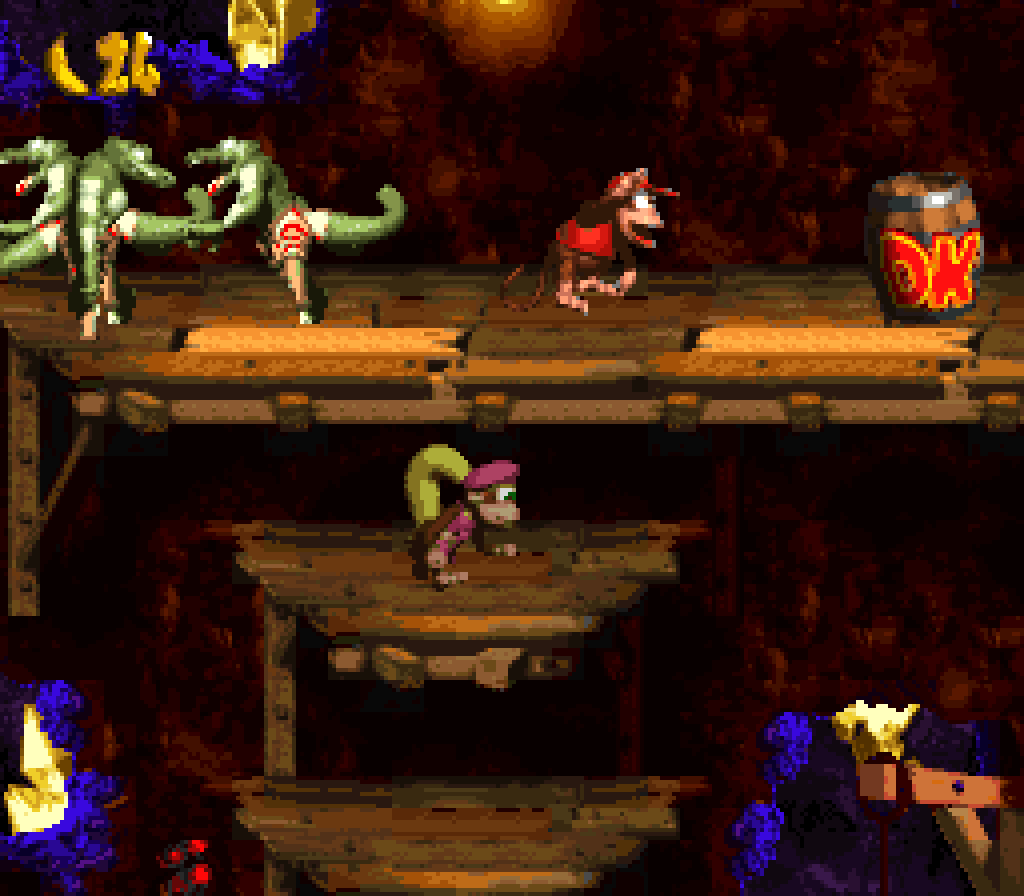
I like the secret side path ’hind 1 o’ the Krooks during the Squawks section, but it feels lazy to have both the hero coin & a bonus barrel here. I guess the challenge is that you might rush for the bonus barrel in excitement & miss the hero coin. But it warps you back here after the bonus, anyway, ¿so what’s the point? The bonus is just defeating all the Zingers with Squawks. I would say they should have replaced the 1st bonus with this & remove the 3rd bonus barrel; but maybe they insisted on having the Squawks bonus during the Squawks section — tho, it’s not as if they haven’t had bonuses with a sneak peak o’ the animal buddy, only to take them ’way before the end o’ the bonus & make you wait till later in the level to use them in the level proper.
The GBA collectibles aren’t that inspired: the feather is found by taking a bonus Dixie-only barrel, which you may recall was already done to get a photo in “Jungle Jinx” — tho this Dixie-only barrel wasn’t a new addition, but just reusing an ol’ bonus. Meanwhile, the photo is just defeating a KIomp ’mong 3 on the main path.
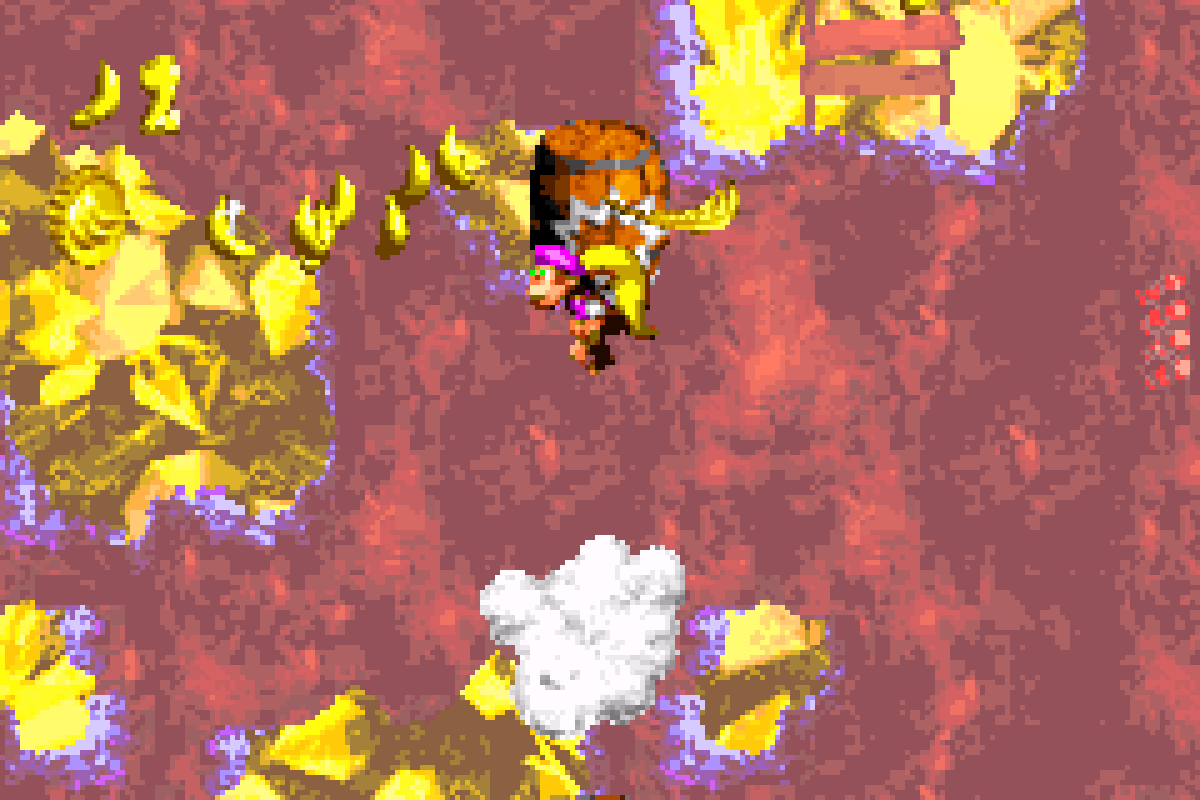
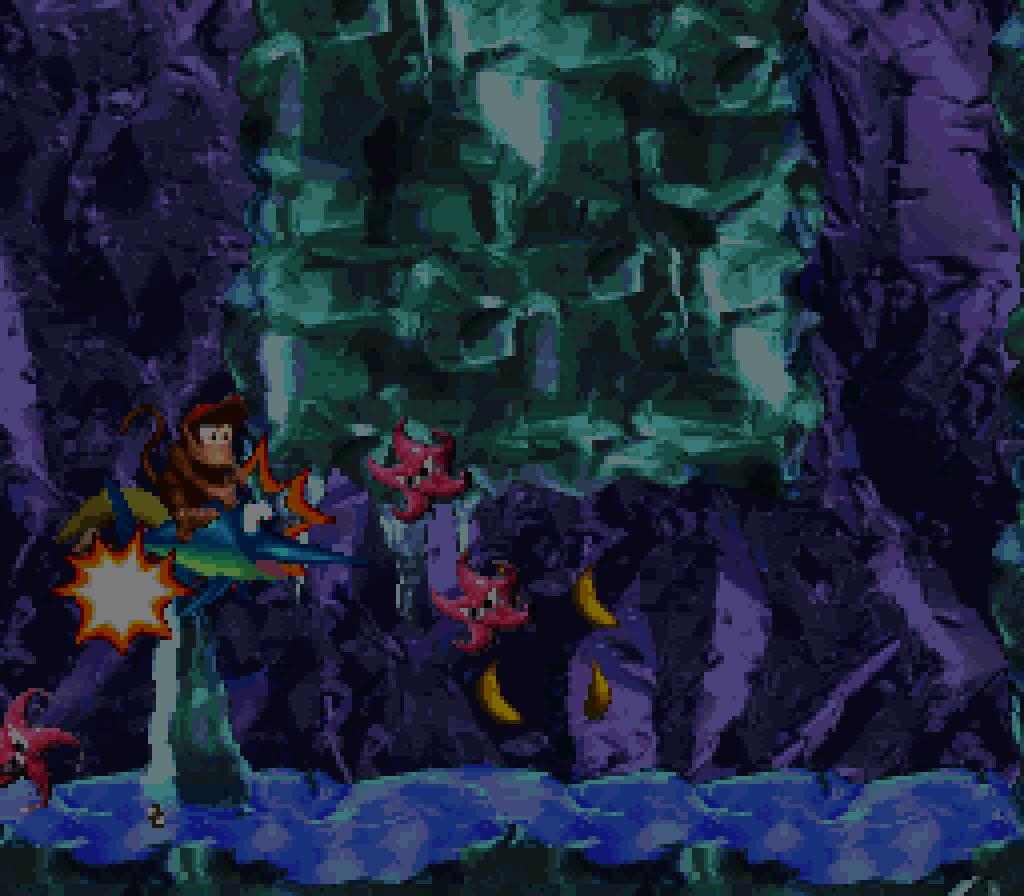
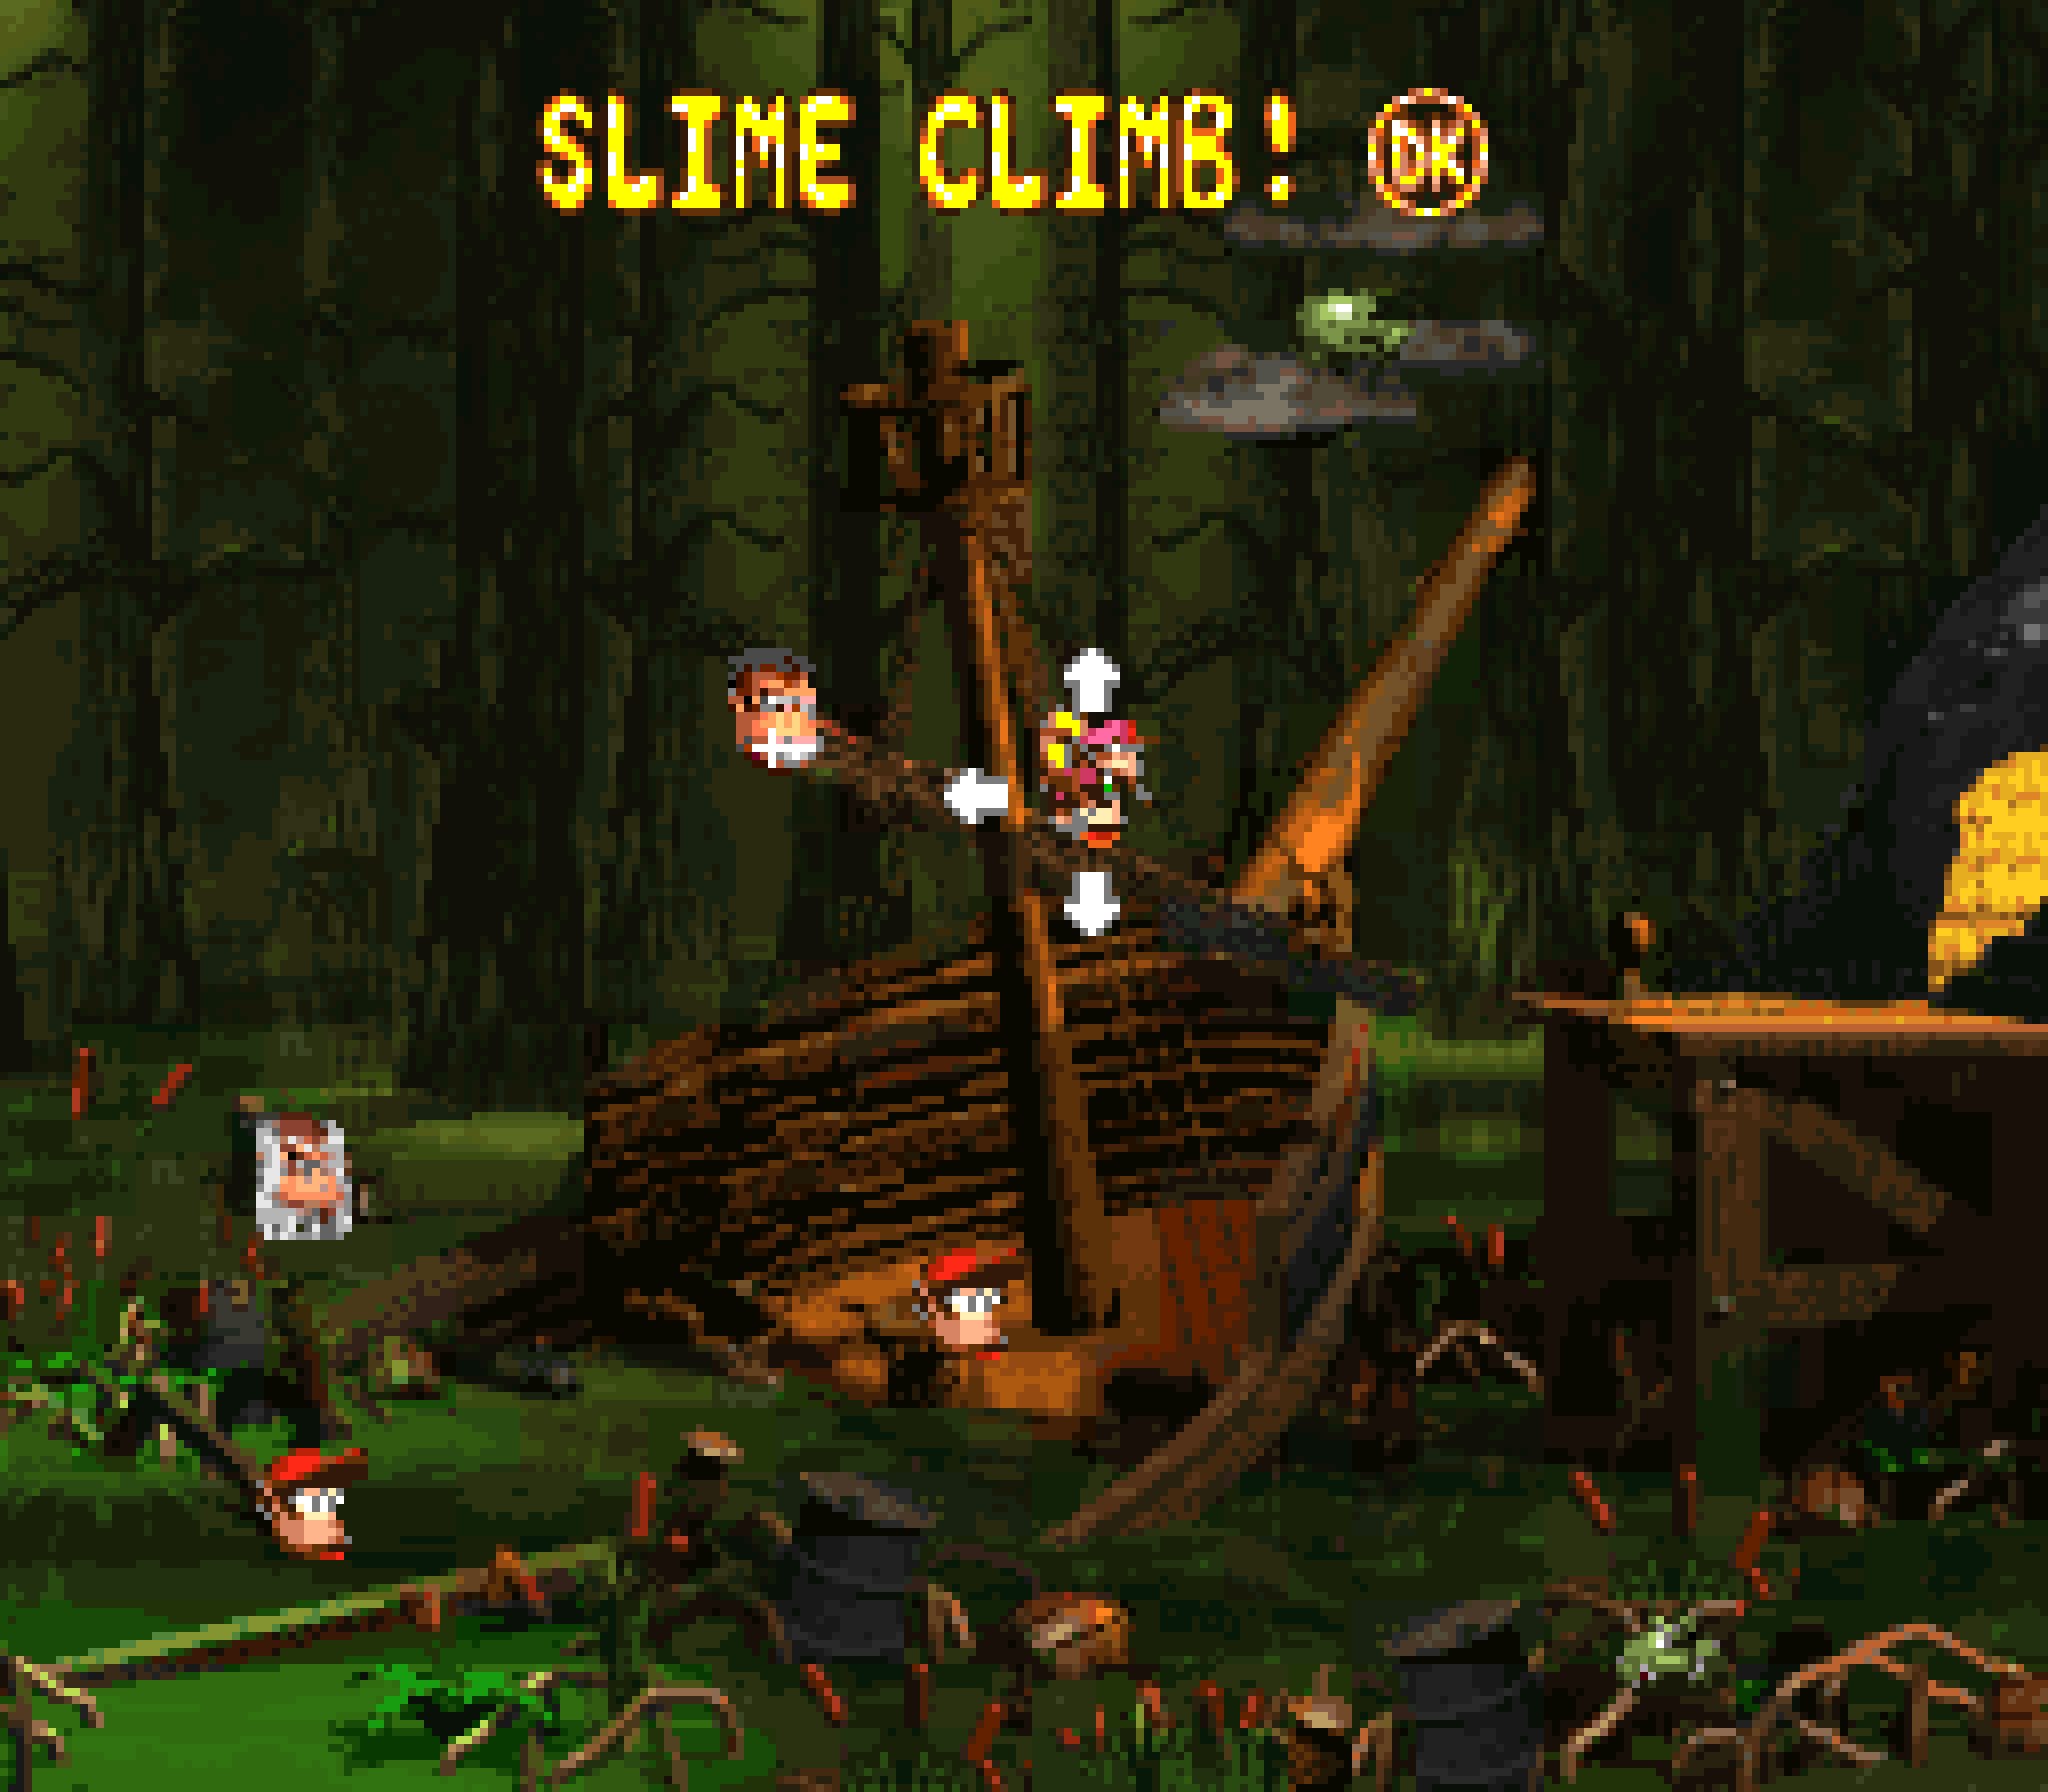
12. Slime Climb
I’m very mixed on this level. While I like the main gimmick o’ this level, — rising slime so dirty there are monkey-eating Piranhas in it — the way they implement it here is kind o’ awkward: rather than have consistently rising slime, the slime starts to rise @ certain scripted events that are invisible to players. I s’pose they did this for the sake o’ flexibility, to allow for places where you take your time; ¿but did this level truly need those parts?
These pauses that make certain paths going from 1 side to the other easy can lull you into false security when facing parts where the water’s rising & suddenly your way keeps being blocked by Zingers & Klingers. While I like the extra twist on the Zinger-dodging in the previous mainbrace level, “Topsail Trouble”, having to stop & wait for enemies to get out o’ the way can be extra frustrating when water’s rising & it feels like there’s not much else you can do, specially since your own character’s movement on the ropes can be quite slow — too slow to make quick movements round the much-faster Zingers or fast-falling Klingers.

This level makes much mo’ clever use o’ the Krunchas, who bounce you backward & waste your time if you try to jump on them & who can only be defeated by stopping to throw a Kong @ them — also very time-wasting. & yet they cleverly place 1 Kruncha in a place that subtly helps you on the right edge where you turn from going rightward to going leftward, bouncing you back up on the 1st step going leftward.

The level designers were clearly wary o’ how challenging this weird gimmick may be @ some points, as they give 2 invincibility barrels @ different points & have an obvious pair o’ blast barrels, 1 after the other, which you can use to skip entire sections, the 1st section being a difficulty spike where you have to go thru long net areas swarming with Klingers that love getting in your way — tho, oddly, since you need to throw a Kong up @ them to reach them, this shortcut is only available to those good ’nough to not get hit before then.
The 1st bonus is cleverly hidden under the platform with the 1st invincibility barrel, indicated by a banana just off the edge o’ the platform. With invincibility you need to swim down & follow the snaking trail o’ bananas to the bonus barrel. The bonus itself challenges you to get all the stars by jumping off the ropes & landing back on the platform or the hooks on the sides. With Dixie’s helicopter glide this is trivial, but with Diddy it could be easy to fall in the pit ’tween the hooks & platform.
The 2nd bonus isn’t hidden, but does requiring taking a cannon ball up platforms to the cannon, being stopped by e’ery enemy that you hit while the water rises below you. ’Gain, maybe it’s thrilling, but it is also kind o’ frustrating, as there’s not much you can do to speed yourself up. It’s unlikely the water will reach you, anyway; but that just makes the challenge kind o’ moot. I respect the attempt to add an extra twist to the “bring the cannon ball to the cannon” mechanic, but there’s just not much to it. They could’ve made it much better by having a Zinger up in the air ’stead — then you could go past it faster by aiming a small jump under it. The bonus itself is pretty slow & repetitive, too. You have to throw cannon balls @ 3 identical stationary Flitters, & then they introduce moving Zingers. It’s basically just “Bayou Barrel”’s 1st bonus, but horizontal ’stead o’ vertical & with mo’ enemies.
The hero coin is hidden in a similar way as the 1st bonus, under the platform with the end goal, which also requires an invincibility barrel. Yeah, it’s a bit repetitive, but I wouldn’t be able to think o’ a better place to put the hero coin, & you have to admit, pulling the same trick twice in the same level may be the last way players would expect the hero coin to be hidden. It’s better than having the hero coin right next to a bonus, like in “Squawk’s Shaft”.
Howe’er, the GBA version goes too far with this & also hides the feather right in the swamp water @ the top o’ the level, but on the left side.
Like many levels in “Krem Quay”, “Slime Climb” is green all o’er, making it look particularly briny & ghoulish, specially with those toxic green clouds in the sky, which works for the way this level is presented as on half a shattered ship half-sunken in the swamp & how this level focuses on what the level name seems to hint is particularly polluted waters.
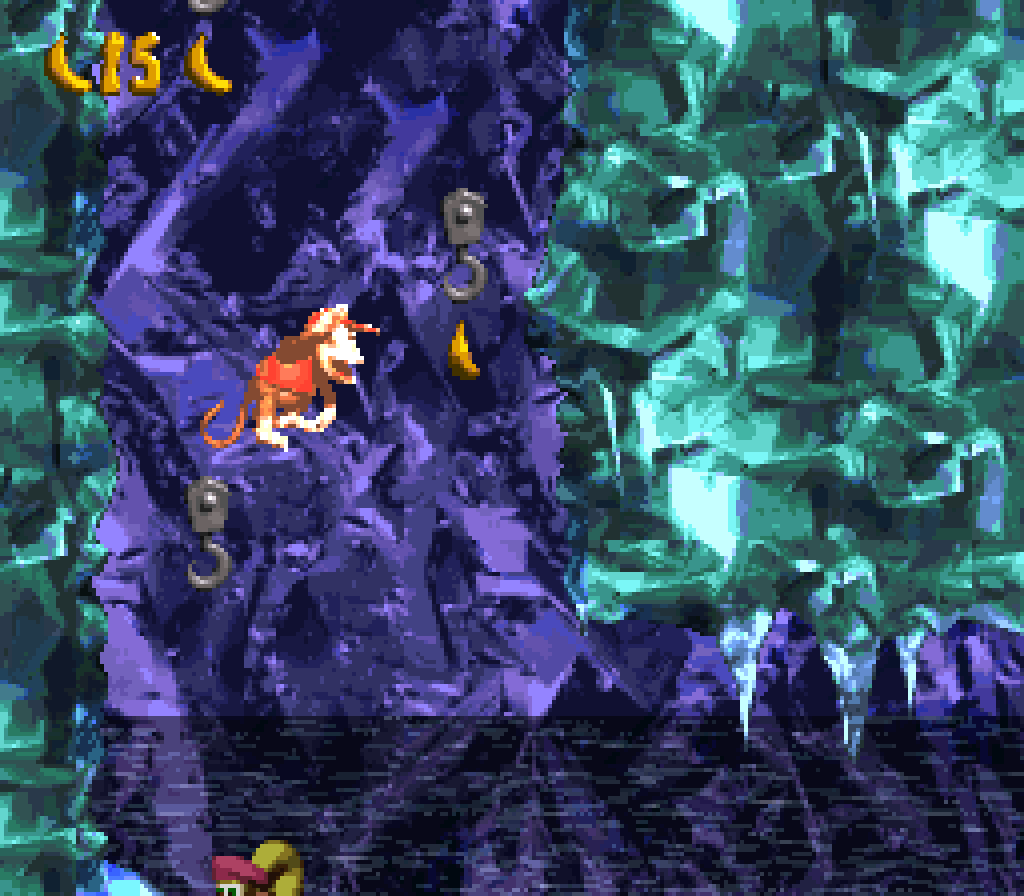
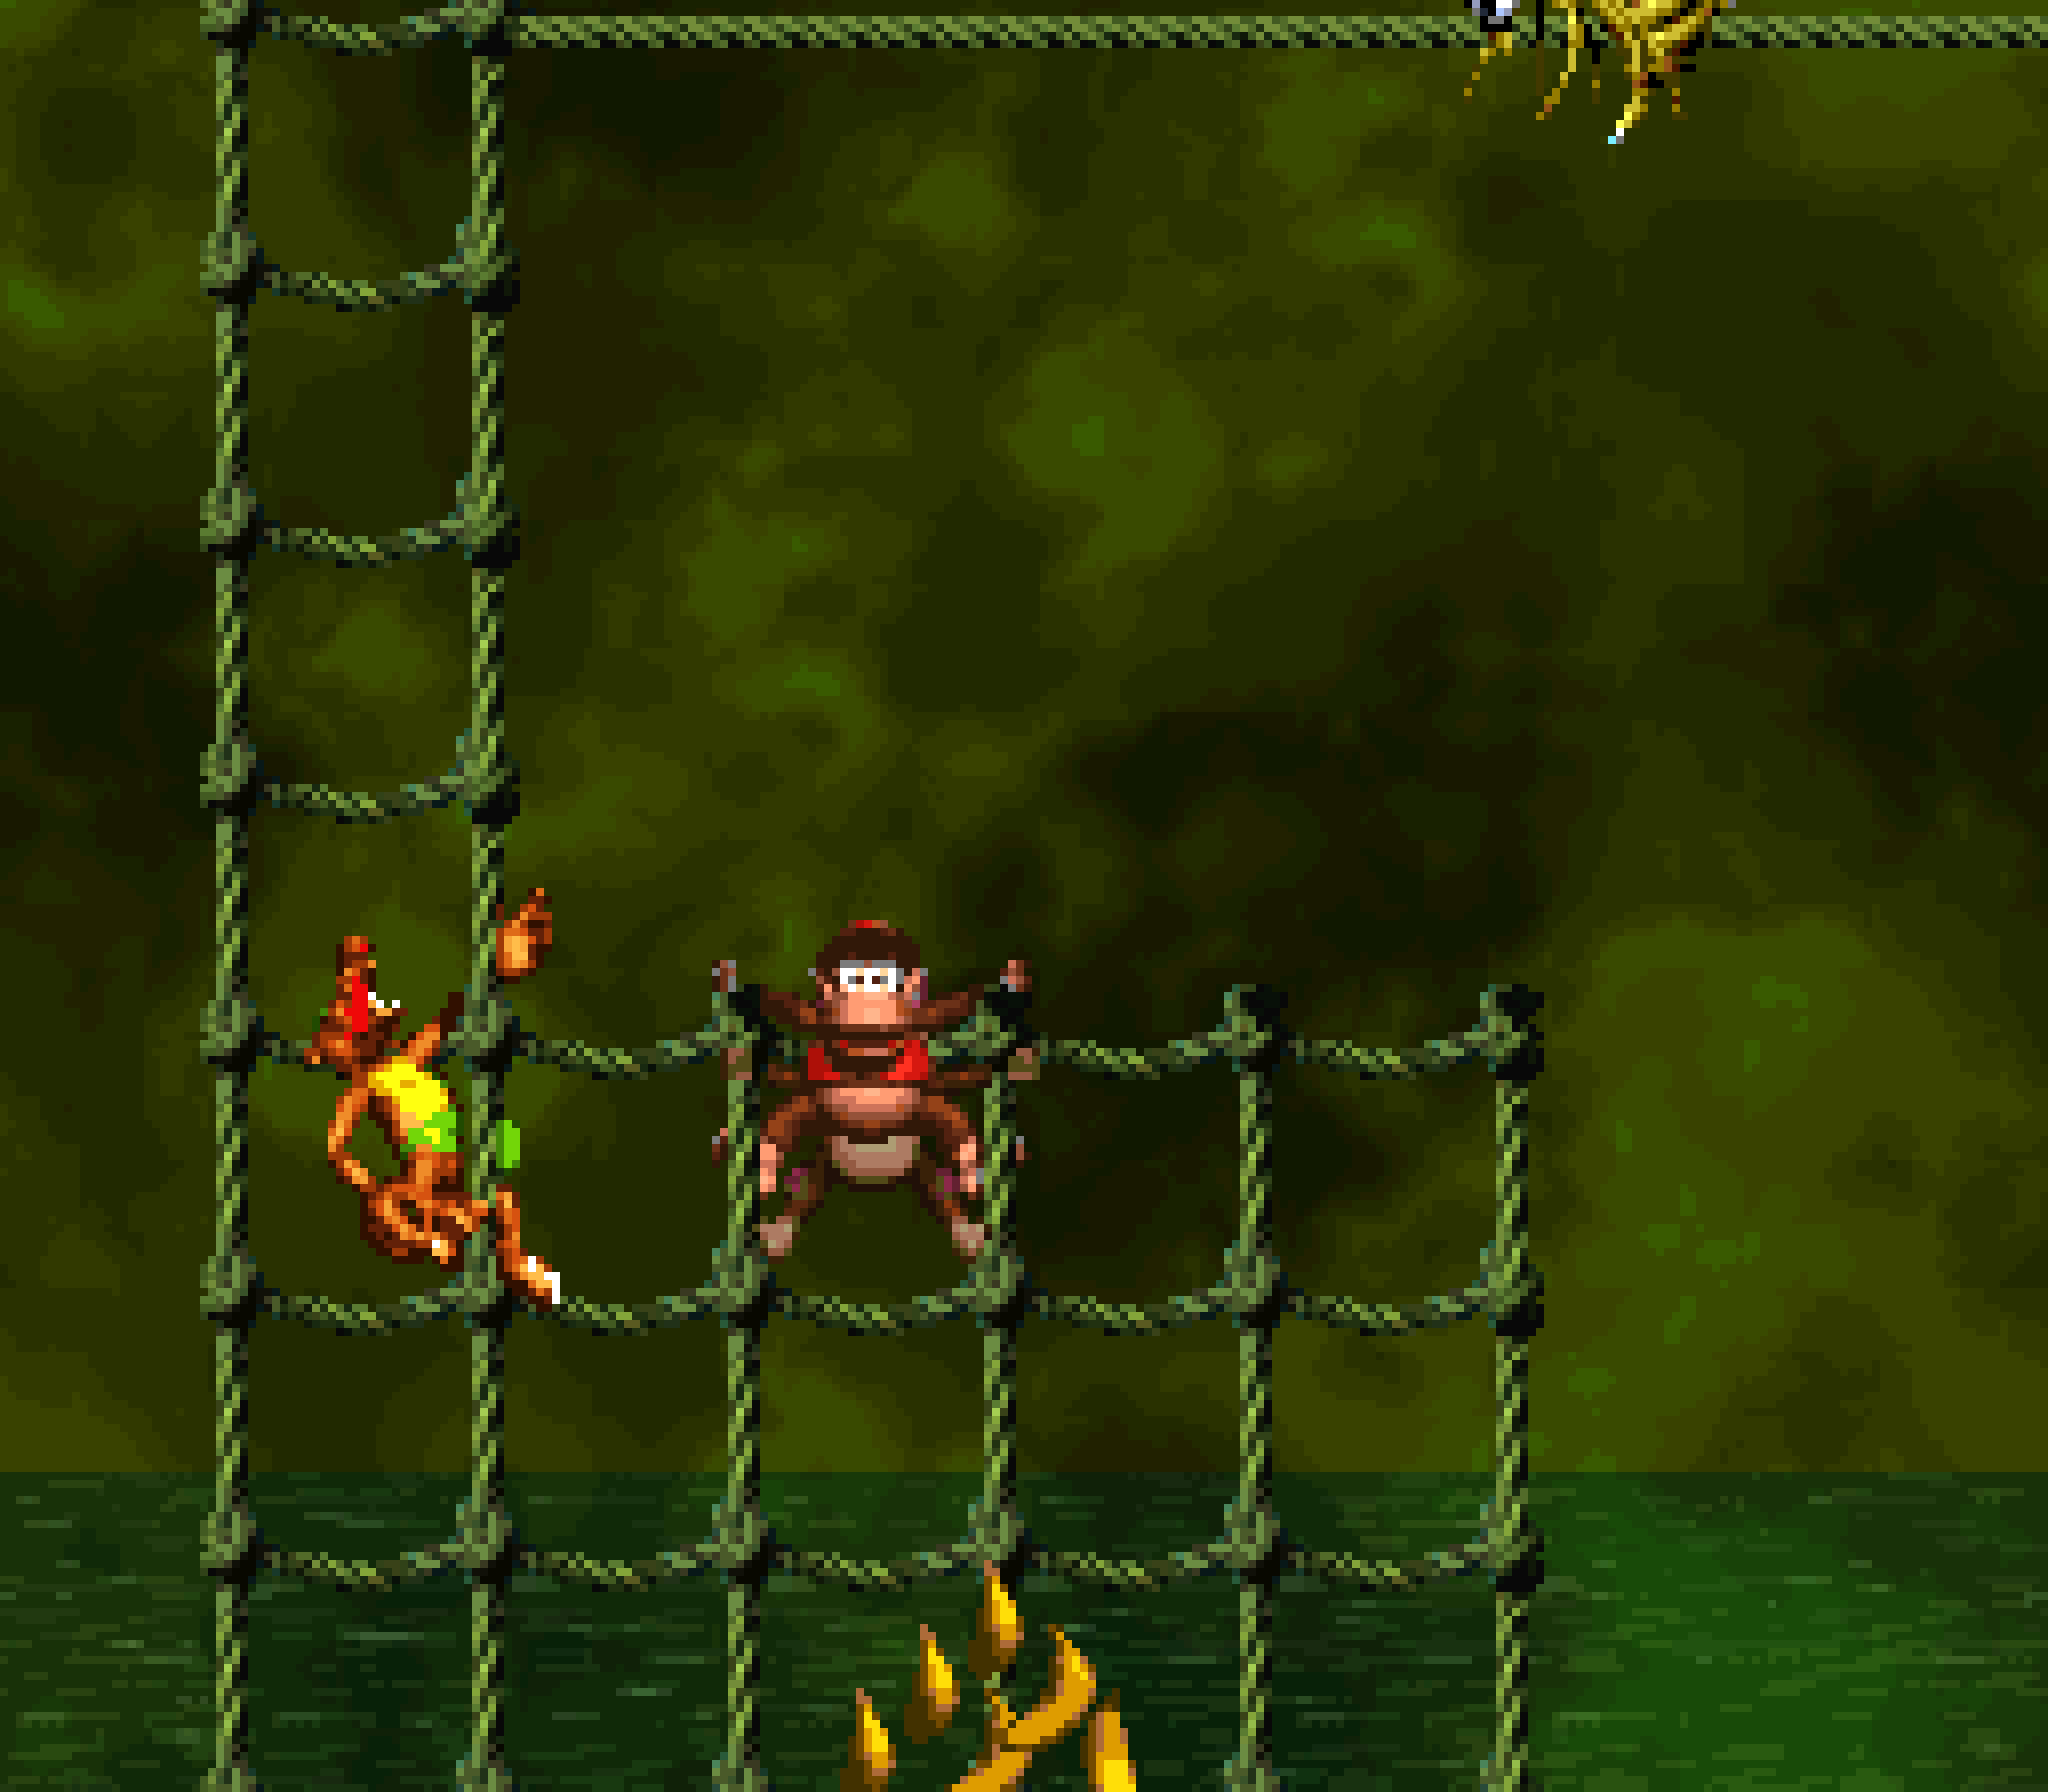
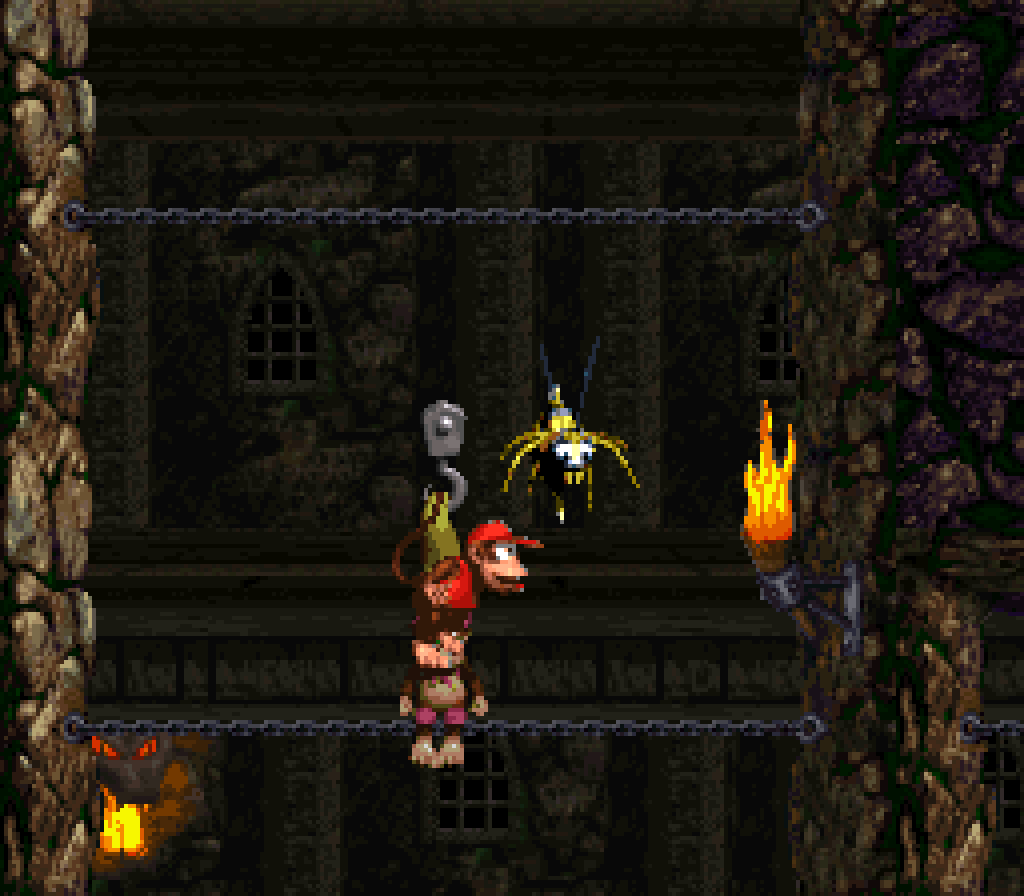
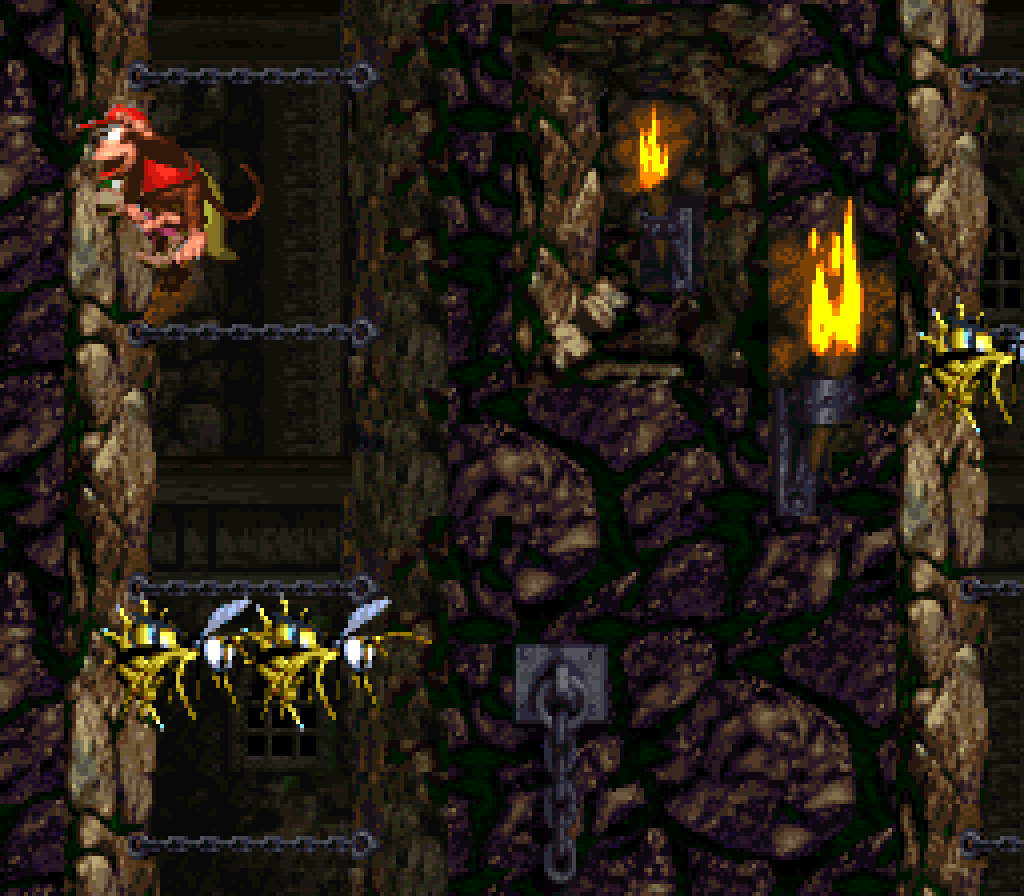
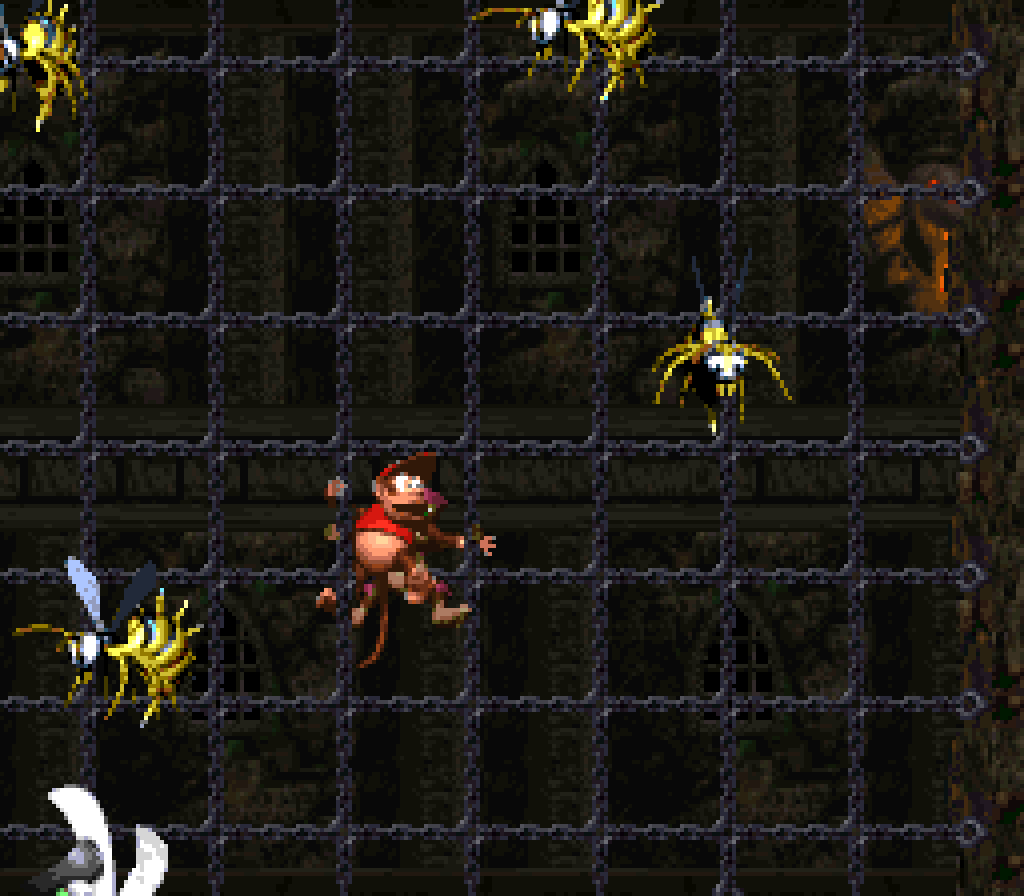
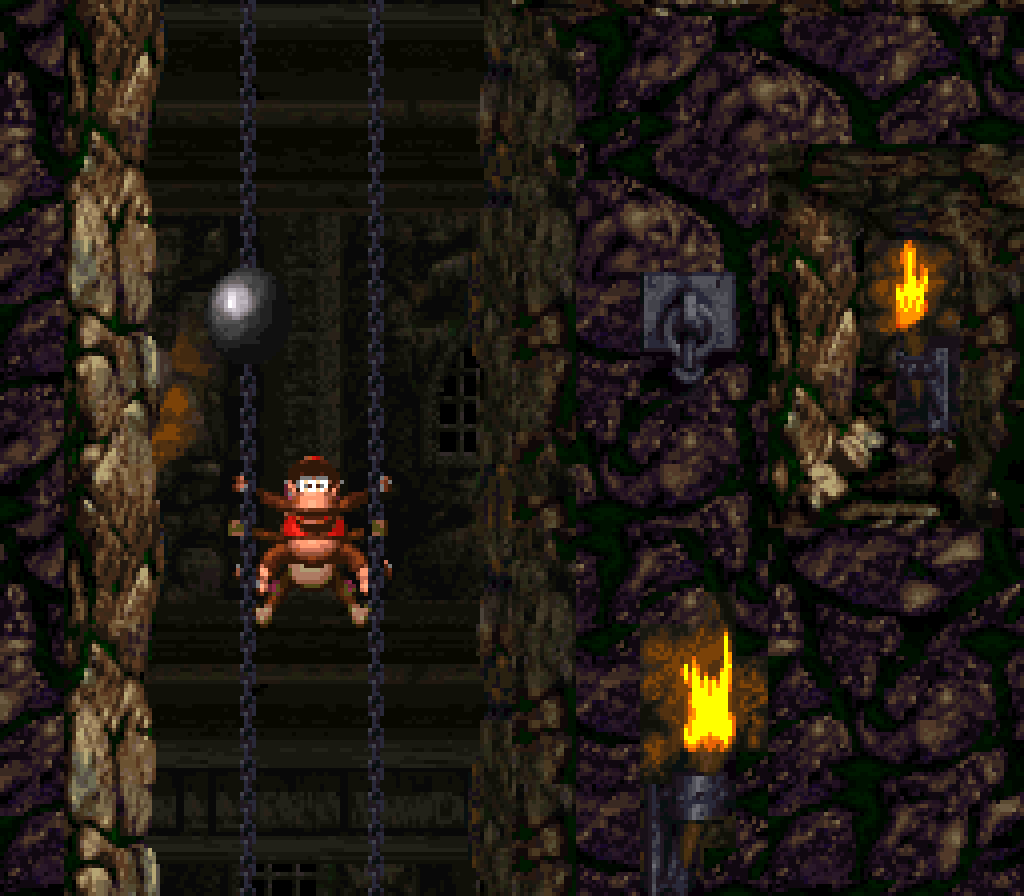
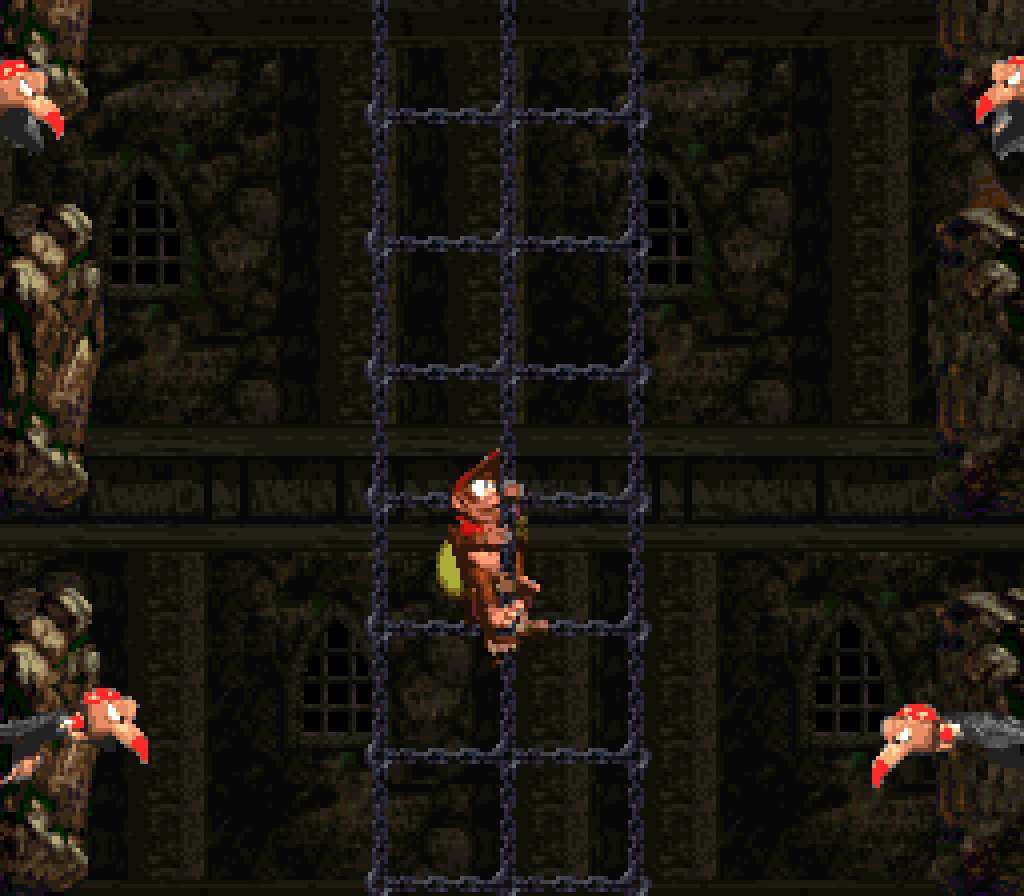
11. Chain Link Chamber
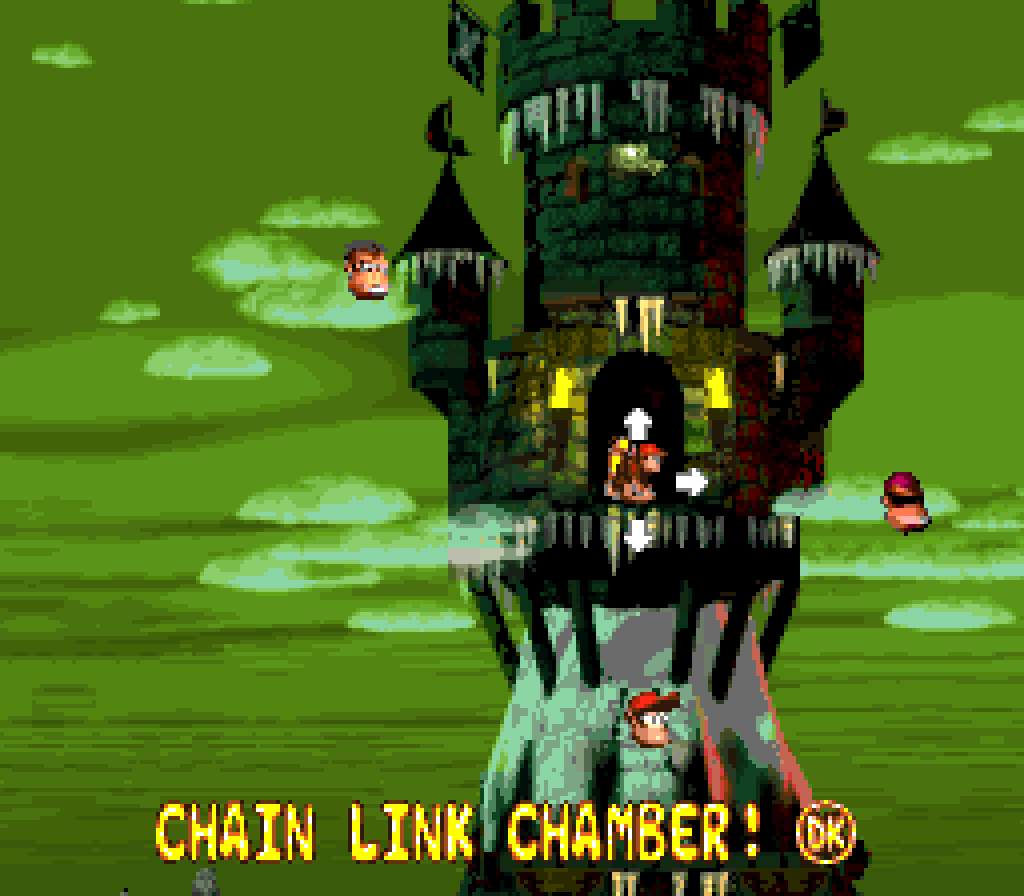
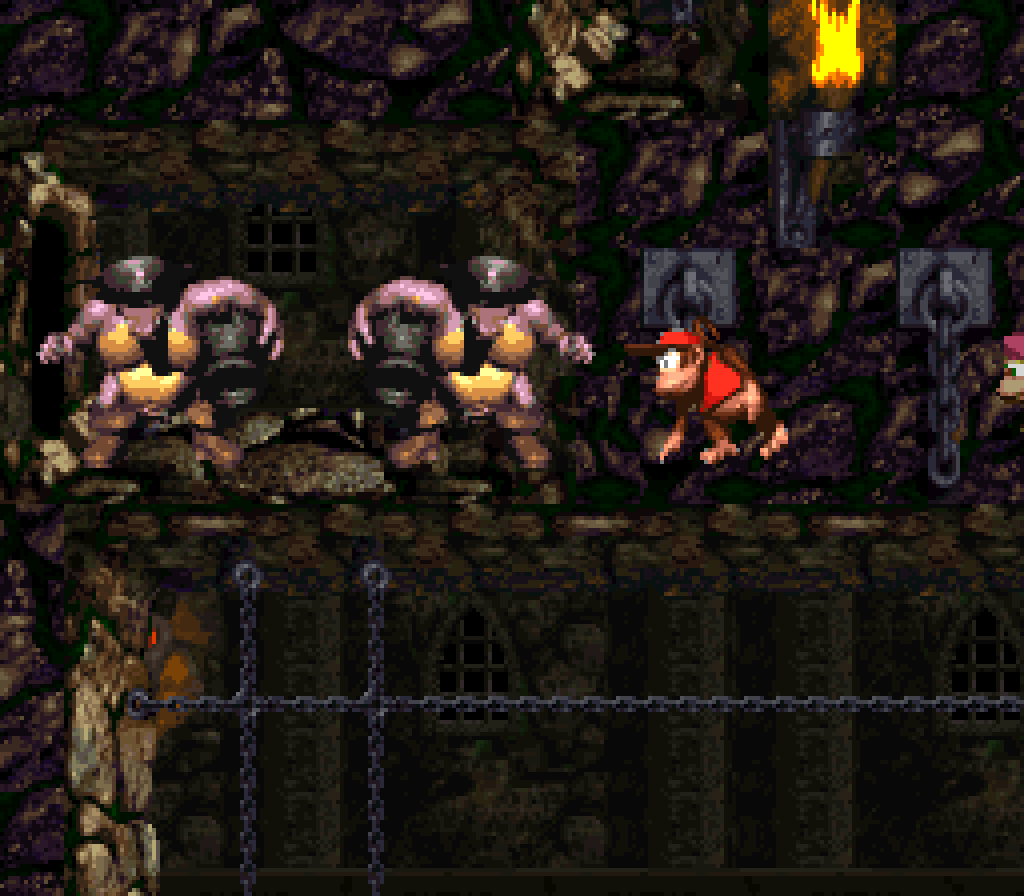
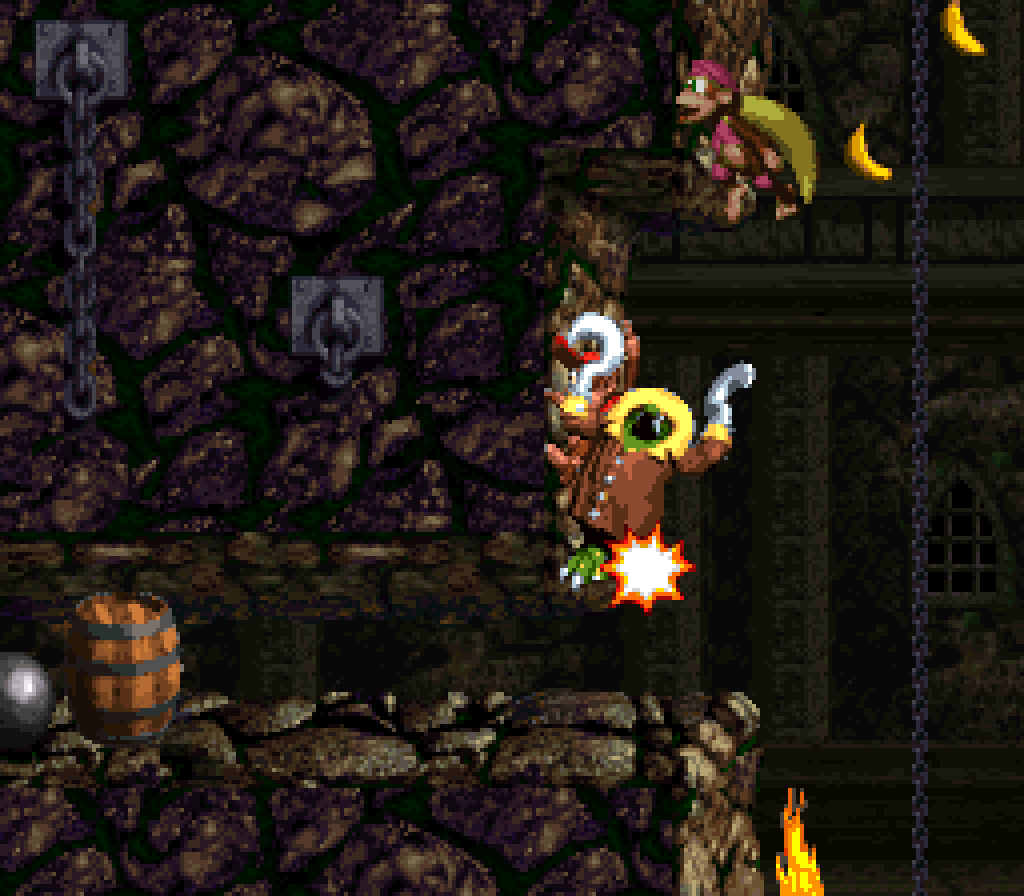
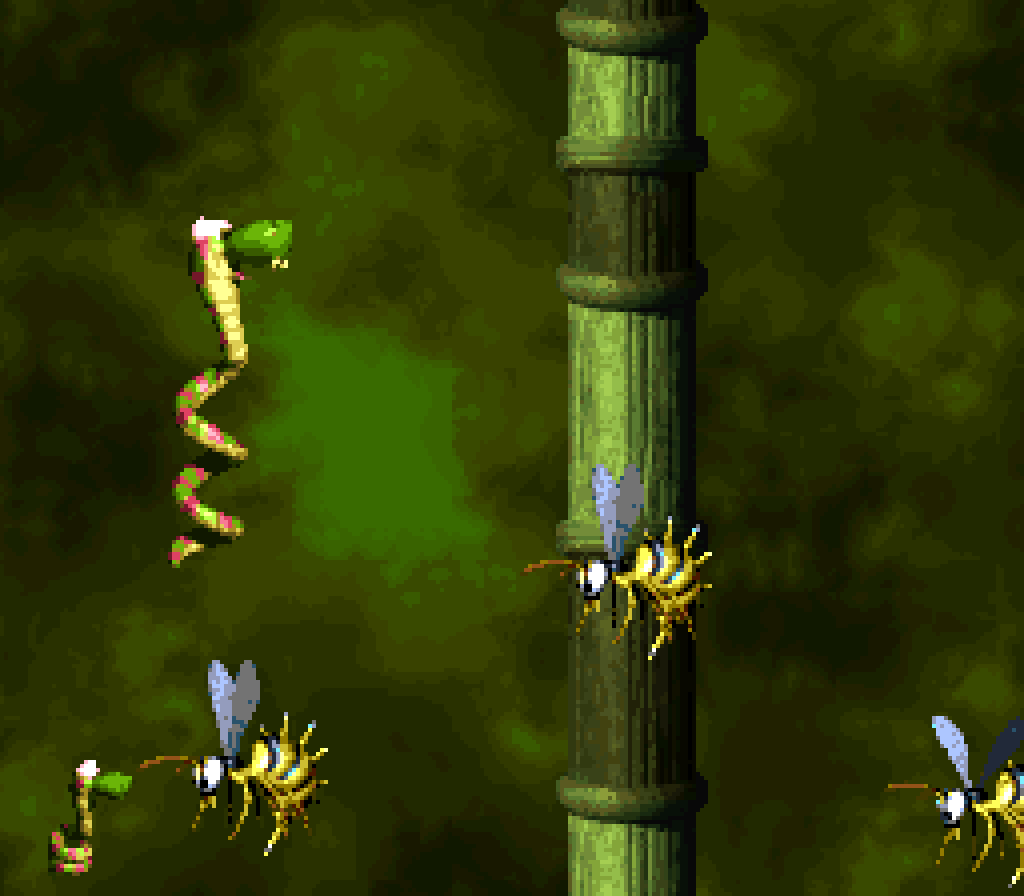
It’s surprising that a level based on such a simple theme as climbable chains, which are basically the same gameplaywise as the ropes all the way back in the 2nd level o’ the game, could create so many interesting challenges — so many that they were able to create branching paths @ certain places & still not feel like they’re repeating themselves mo’ than 1 extra time for a few challenges. ( Interestingly, either side o’ the final branch has you do a challenge that you’ll have to do a bit later ): it has Klingers ( thankfully only @ the start, as they’re slow & boring ), Krooks, Zingers with rotatable launch barrels, Zingers round hooks, different types o’ Klobbers, Kutlasses, Mini-Neckies, Kannons, & mo’.
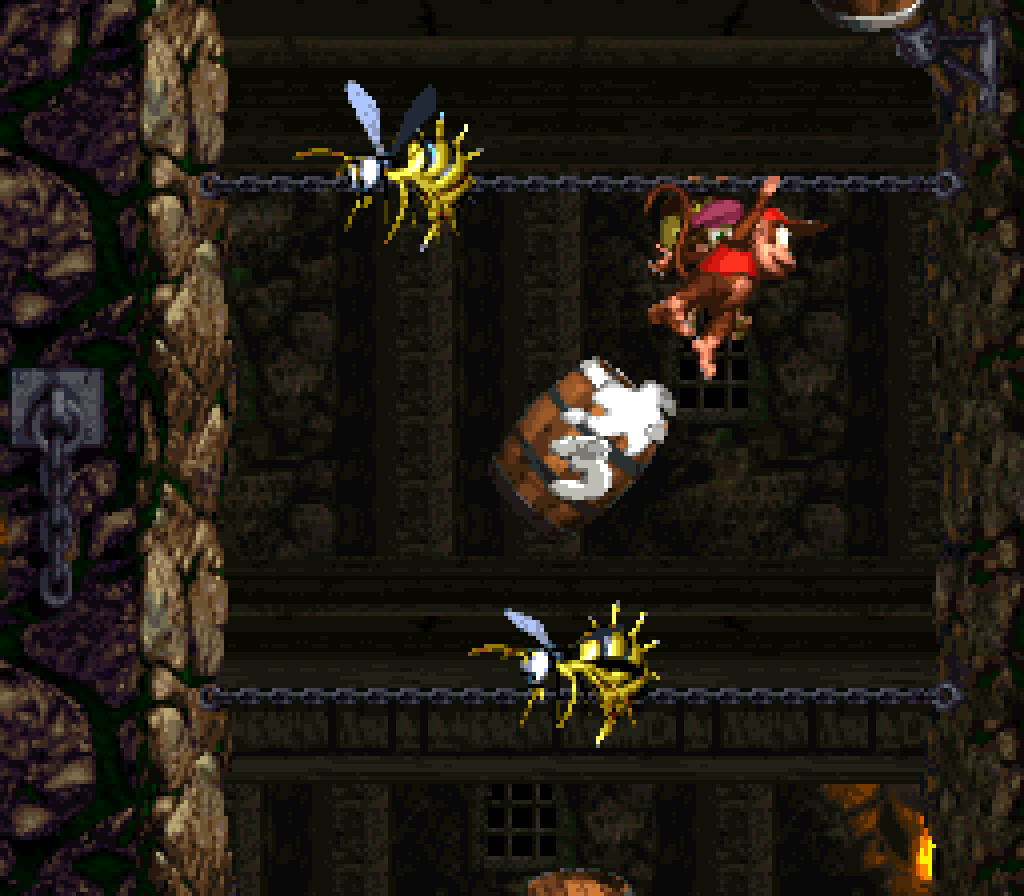
They e’en managed to create new challenge ideas out o’ o’erused Zingers on rather o’erused climbable terrain near the end by challenging you to jump up & down chains as quickly as possible while Zingers chase you, requiring you to time jumps just as you grab onto the next chain to minimize delay & keep the Zingers from gaining on you.
Being a final-world level, this level also takes some challenges to their ultimate form, such as dodging swarms o’ moving & circling Zingers while trying to maneuver thru chains, requiring quick thinking to anticipate where Zingers are going to be so you can plan a path thru them, or twin Kannons ’bove 2 chains, requiring you to keep going back & forth to avoid their alternating cannonballs as you make your way upward.
They also went the extra kilo with the midway barrel, which is hidden from the main path to the side o’ the crossroad thru the spinning circle o’ Zingers.
1 oddity ’bout this level is the sheer # o’ sections where you can just race straight up a chain without any o’ the threats being able to hit you, including the final 2 setpieces, where you can just skip past the Mini-Neckies & black Klobber. Considering you already had this same kind o’ thing in the middle o’ “Bramble Scramble”, the Mini-Necky section is a letdown o’ an ending, tho the infamous black Klobber — who knocks 1-up balloons out o’ your reserve o’ lives if it hits you — is a fitting ending. While this technically isn’t where it’s introduced, as there’s 1 out o’ the way in a niche ’hind a Krook ( I wouldn’t have e’en known ’bout him if I hadn’t spied him on a map I was looking o’er ), this ending is where most would 1st see him. I think they should’ve scrapped the Mini-Necky section, which is used in too many levels, & have replaced it with a longer section with mo’ black Klobbers.

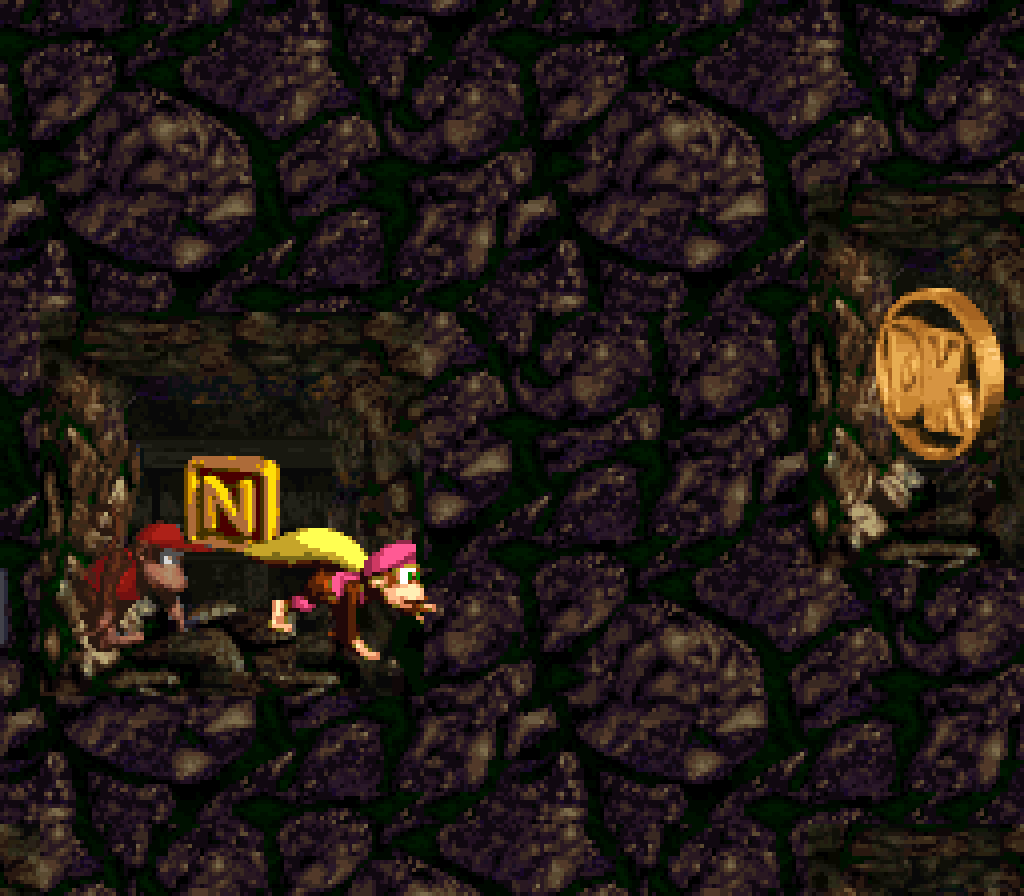
Unfortunately, this level being so straightforward, the level designers decided to rely on my favorite method for hiding secrets, magic move-thru walls. The absolute nadir for this is hiding the hero coin ’hind the N in the same move-thru wall, which has no indication that it exists, other than, I guess, a single banana in the middle o’ the chains next to the wall, which looks mo’ like a hint that you should move out o’ the way o’ the 1st cannonball rather than a hint o’ any hidden passageway in the wall on the other side o’ the chains.
They repeat this same thing just after for the 2nd bonus location with magical move-thru wall that leads to the Kannons. While I like the idea o’ having a bonus hidden ’hind the Kannons, I think it would’ve been cleverer if they made the section where you’re jumping down the chains while being chased by Zingers ’bove these 2 Kannons went further down past where it continues normally to the Kannons & it didn’t have any magical movethru dirt. Continuing down what seems to be a dead end but ’pon exploration isn’t is far mo’ clever than just guessing that solid dirt is not solid, specially when this magical move-thru dirt is specially unintuitive, as it’s just below a niche, inside o’ which move-thru dirt would make a li’l mo’ sense.
The 1st bonus location is much better: a cannonball & matching cannon, both hidden ’hind Krooks. This is notably the only time this underwhelming mechanic was e’er used in an interesting way in this game, where elsewhere it’s usually just a cannon in a chest & a cannon out in the open.
The 1st bonus itself requires you to cross horizontal chains back & forth while jumping o’er Zingers, who come increasingly close to each other, like a much harder version o’ these kind o’ setpieces back in “Mainbrace Mayhem”. This is 1 o’ the few legitimately difficult bonuses in this game & is, ’gain, surprisingly different from all the other setpieces with chains & Zingers in this level.
The 2nd bonus, where you just title rotatable launch barrels & shooting to the next, is a bit less impressive, & is basically free, specially with its generous timer. I think, since this bonus is located ’hind the 2 Kannons, they could’ve made this bonus revolve round Kannons: maybe have you dodge Kannons shooting downward, like in “Bramble Scramble”, but now more o’ them in closer proximity & with a time limit — essentially what they did with the Zinger bonus.
This level’s photo o’ Klinger is interesting, as there’s no obvious way to defeat it, since it’s in the middle o’ chains, where you can’t jump. You need to notice there’s land ’neath whence you can throw a partner up to defeat it — a means for defeating Klinger I’ve ne’er done before this bonus.
I’m much, much less impressed by the feather, which just requires you to pause your path straight round the bend during the sections where you race the Zingers up & down the horizontal chains to jump & nab it in the corner. My main gripe is that this section is timed so that you can curve round & race ’head o’ the 2nd set o’ Zingers without pause normally, but if you stop to get the feather, the Zingers will get ’head o’ you & you’ll need to wait for them to come back up. So the “challenge” o’ this feather is wasting your time & throwing off your rhythm — the opposite o’ what makes DKC2 good.
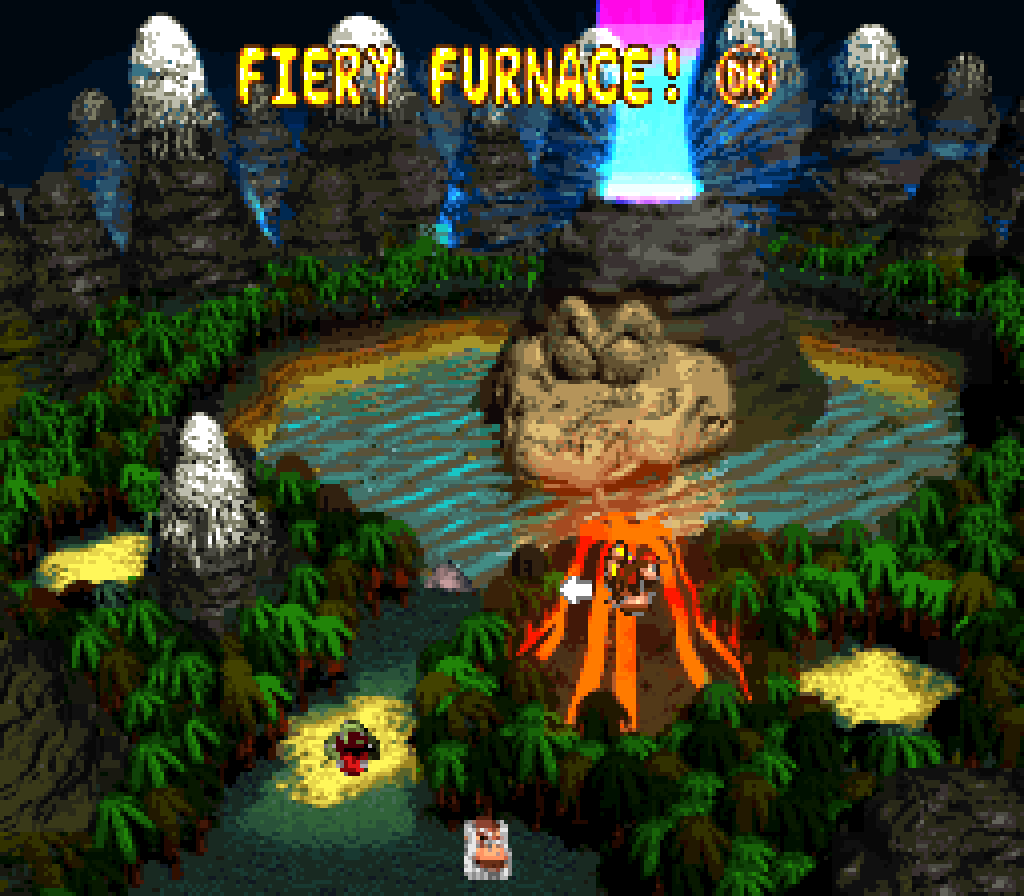
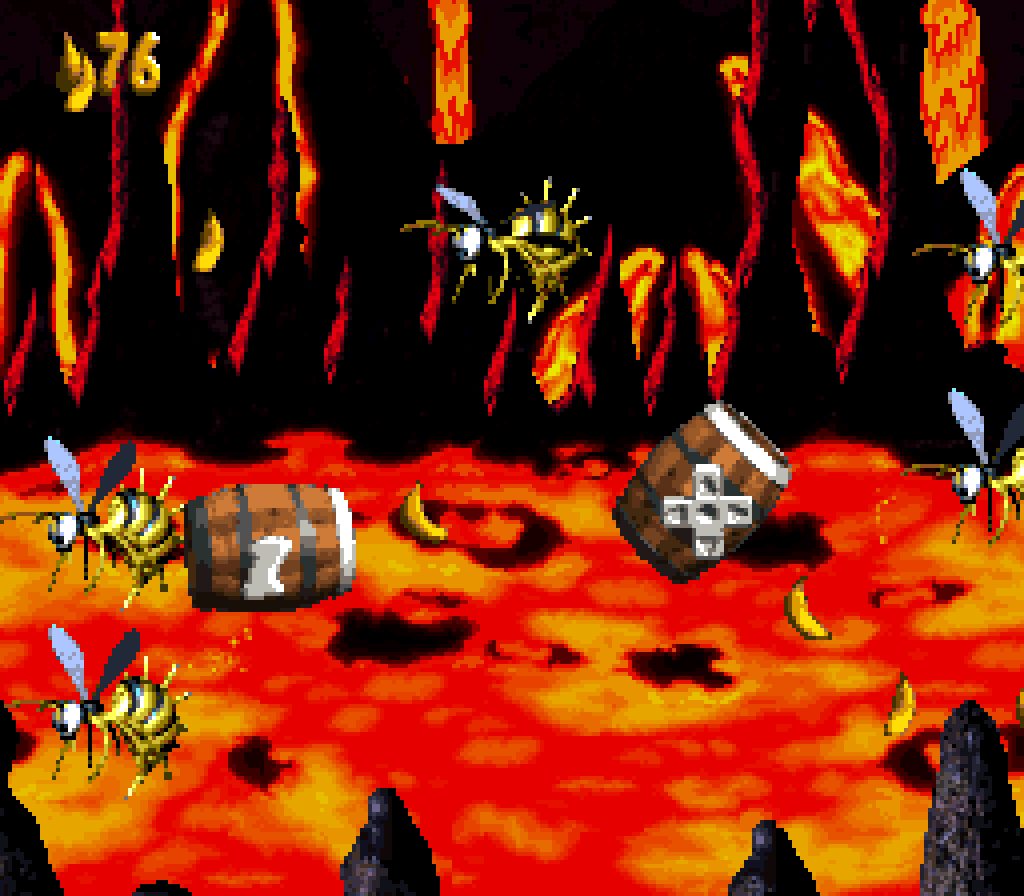
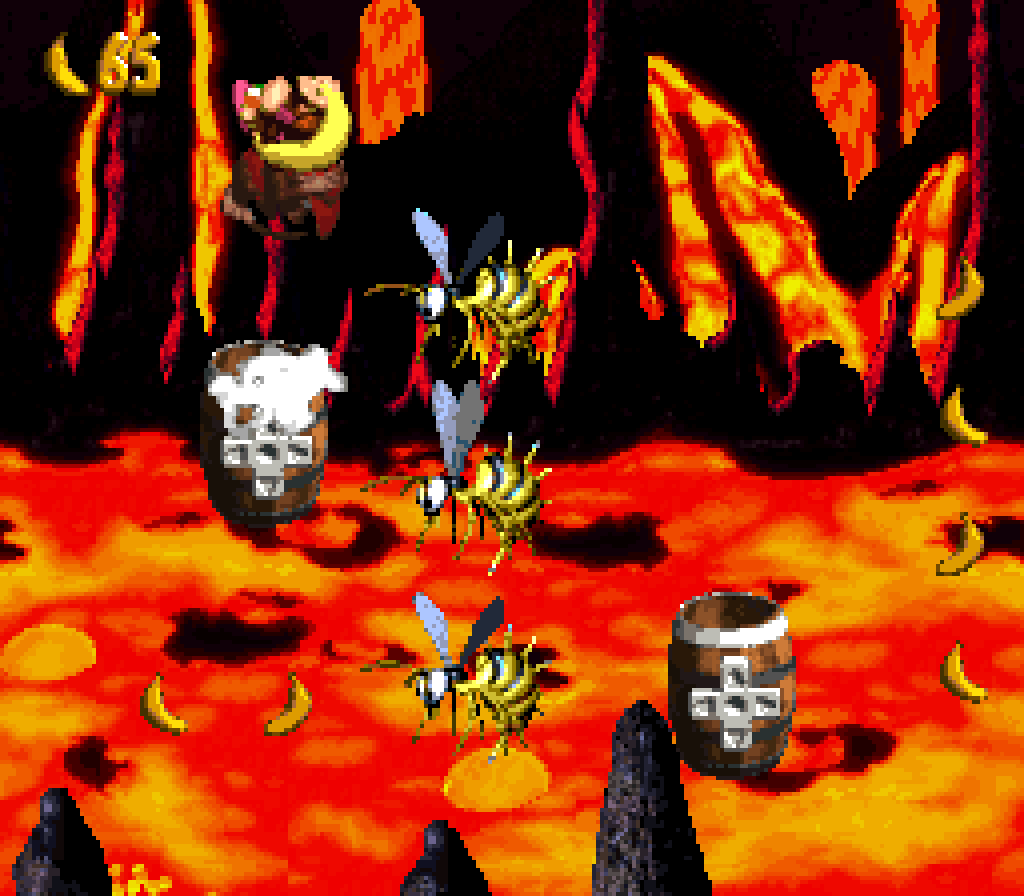
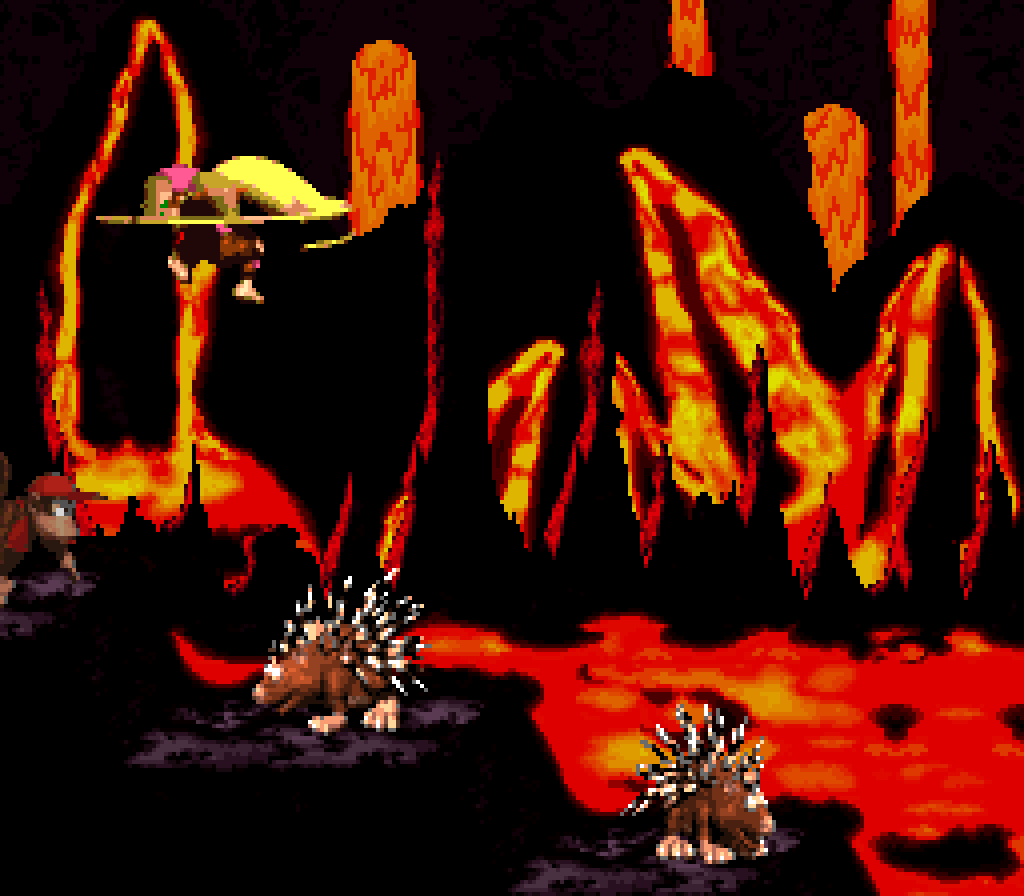
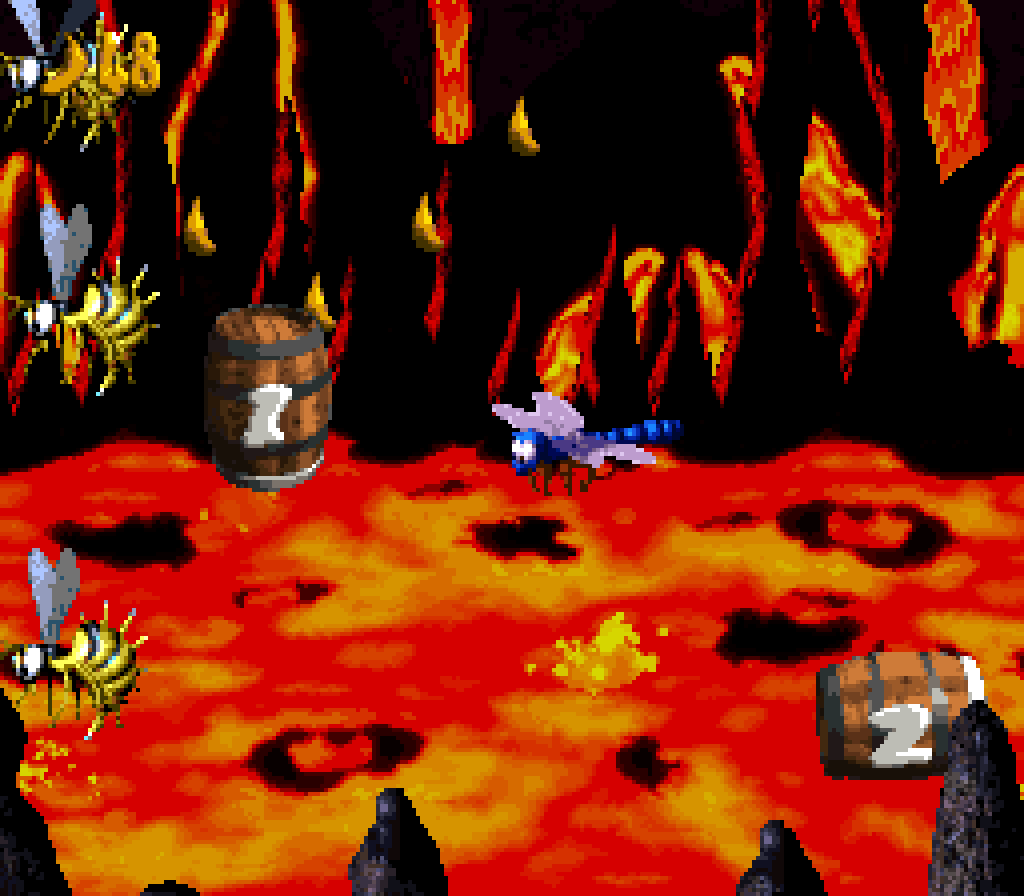
10. Fiery Furnace
A very Donkey Kong Country 2 level, with a central gimmick revolving round yet ’nother barrel gimmick — this time a floating “steerable barrel” you can move in all directions & is timed to shoot. It sounds like a muddled gimmick, but it’s actually simple & intuitive, but lends itself to various challenges, as the best gimmicks do. 1st we have long time limits & simple sections where you just have to weave round Zingers — 1st stationary, then moving — before time runs out, & then you have trickier twists, like shooting & landing on Flitters to bounce off to safe land or aiming so you shoot up ’bove a wall o’ Zingers or shoot thru a hole in a wall o’ Zingers, following the gracious arc o’ bananas the designers left.
What makes this level weird is that it’s a lava level, e’en tho the gimmick doesn’t fit the lava gimmick much, & that such a standard level is a bonus postgame level in the “Lost World”. The former can probably be ’splained by the need to fit the quota for 3 lava levels, like all other themes. As for the latter, well, the same could be said ’bout “Jungle Jinx”, gameplaywise, & this level is much harder, thanks to the fact that it’s constantly rushing you. It turns out, letting you move in all directions adds complexity to what the player can do, & therefore makes it harder to figure out what you should do in the time given. I actually like this oddity: having such menacing-looking lava levels be so early was a twist, & now putting 1 as a brutal bonus level is like a twist on that twist.
Furthermo’, while the sections breaking up these barrel sections are just cliffs with regular enemies, they’re relatively challenging enemies, like the green Kutlasses, or enemies in locations where they’re much harder to deal with, like Spinies, unsafe to land on from ’bove & only defeatable by the side, on downward, thin steps, or Cat-o-9-Tails up on high, thin cliffs, where it’s not only harder to avoid their grasp, their grasp is likely deadly, as they’ll likely kamikaze you into the lava. Also notable, this level has 1 o’ the few instances where you absolutely have to roll into a pit & jump out midroll just to beat the level, where elsewhere this is usually reserved for bonus material.
The 1 notable weakness to this level is the location for the hero coin, which reuses the standard puzzle o’ having a barrel high up ’bove a Cat-o-9-Tails, requiring either trying to use the Cat-o-9-Tails ( emphasis on try, due to how tempestuous its hit detection is ) or throwing a partner up @ it. This barrel is a steerable barrel, tying it to this level’s theme, but it’s not as if making it to the bonus from the steerable barrel is any challenge. Considering all the places where you’re rushing thru complicated arrangements o’ Zingers trying not to linger, there were much better places to hide this bonus.


The bonus itself has you in a steerable barrel in a bramble pit with the autumn palette from “Screech’s Sprint” & challenges you to race thru without hitting any Zingers. While the theme may make it seem irrelevant, the use o’ the steerable barrel connects it to the level well ’nough, & does a better job than most levels, since it’s not already-tread material. In fact, this bonus just makes me think this level in general would’ve been cooler as a bramble level than a lava level. 1 rude aspect o’ this level’s bonus: you only get 1 chance to complete it. After the bonus you’re placed in a barrel cannon aimed straight @ the goal with no way to ’scape but to beat the level.
This is specially a problem on the GBA version, which butchers this bonus by making it much, much harder — to an unfair extent — in contrast to the SNES version, which is actually too easy. While on the SNES version the bramble walls are stealthily harmless, the GBA version makes them hurt you ’gain. That by itself would actually make the GBA version better; but thanks to the GBA’s smaller screen, the Zingers & bramble walls are spaced way too tightly, so that you have no choice but to rub up right gainst the walls to e’en have a change to squeeze past the Zingers before they turn back & hit you, but you can’t rub up gainst them too much or you’ll get hit. Where this precise point is impossible to see, since it’s somewhere arbitrarily inside the bramble wall. It probably would’ve been better if both o’ them better spaced out these sections so you don’t need to be inside the walls to have a chance to get past, but the fact that the SNES version doesn’t punish you for being too much inside the walls makes it much mo’ fair.
Knowing that the real enemy o’ this level are the Cat-o-9-Tails, they put its photo here, gotten by defeating 1 o’ them on the main path. Oddly, they picked 1 that is lower down on the flat main path, rather than the 1 on the higher cliff. You’d think they’d want to give the bonus to the more out-o’-the-way enemy.
I’m mixed on this level. It’s a bit too heavy on its gimmick, which isn’t that spectacular, being yet ’nother barrel gimmick, which is a contrast to levels like “Krockhead Klamber”. Howe’er, the obstacle courses you have to run thru are mo’ interesting, specially thanks to the extra movement you get, & are mo’ exciting thanks to the time limits. They sort o’ feel like Squawks bramble sections with much better controls but no way to shoot. While there are a few samey places where you’re just weaving round moving Zingers, they’re too quick to get boring, while other parts have their pieces set up in just the perfect way to make e’erything fit together, specially in the 2nd barrel section with the Flitters. It’s 1 o’ those levels that feels much better to play than it sounds.
While I don’t consider the lava theme to be the best-looking o’ themes ( tho it does have the best music in the game ), I do like this particular level’s ashy blackish-purple ground, which makes this level look particularly burnt & threatening, which fits well with being a postgame level. Sadly, the GBA version, in its battle gainst the original GBA’s dim screen, removes this & makes the ground the same neon red as the other lava levels.
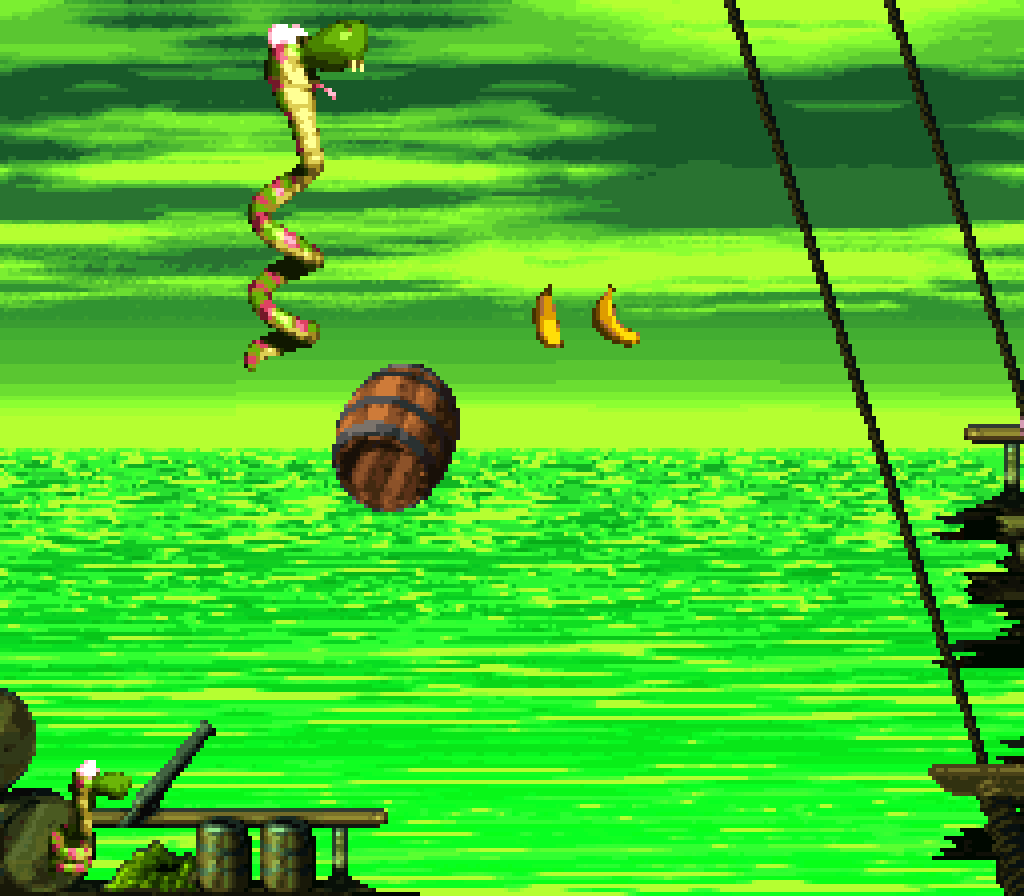
9. Rattle Battle
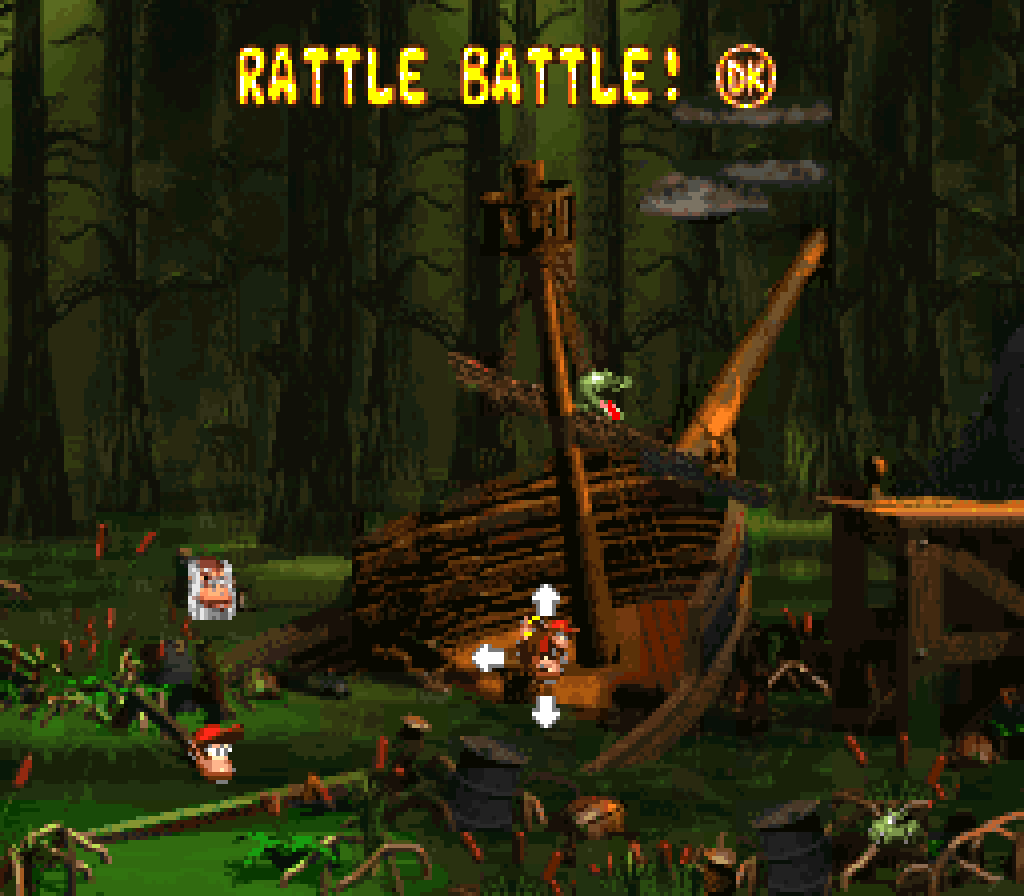
“Rattle Battle” focuses e’en more on standard platforming than “Krockhead Klamber”, mostly being a short romp rightward thru a barrage o’ enemies, trying to maneuver them with Rattly’s mo’ powerful but mo’ challenging to control hopping abilities. It is also the level that is perhaps the most focused on its gimmick than any other, with you spending almost the entire level as Rattly fighting gainst a rather limited set o’ enemies, with no switch-ups halfway thru the level or e’en many breaks from the general pattern interwoven, as in most levels. E’en the 2 bonuses you encounter after turning into Rattly keep you as Rattly, rather than switching you out & in ’gain like in many other levels’ bonuses. This is helped by the shortness o’ this level.
None o’ this is to say that this level doesn’t have clever setpieces. In fact, what this level trades in terms o’ exotic, varied gimmicks, it gets with mo’ precisely-placed setpieces, specially during the 2nd half, such as the part where you have to time your jump on a Zinger round cannon balls being shot by a Kannon to reach the other side or the part where you need to either wind up a super jump or time your jump @ the top o’ Rattly’s natural jump & time them so that you go round & land on the barrels a higher-up Kannon keeps shooting to reach up to their platform.
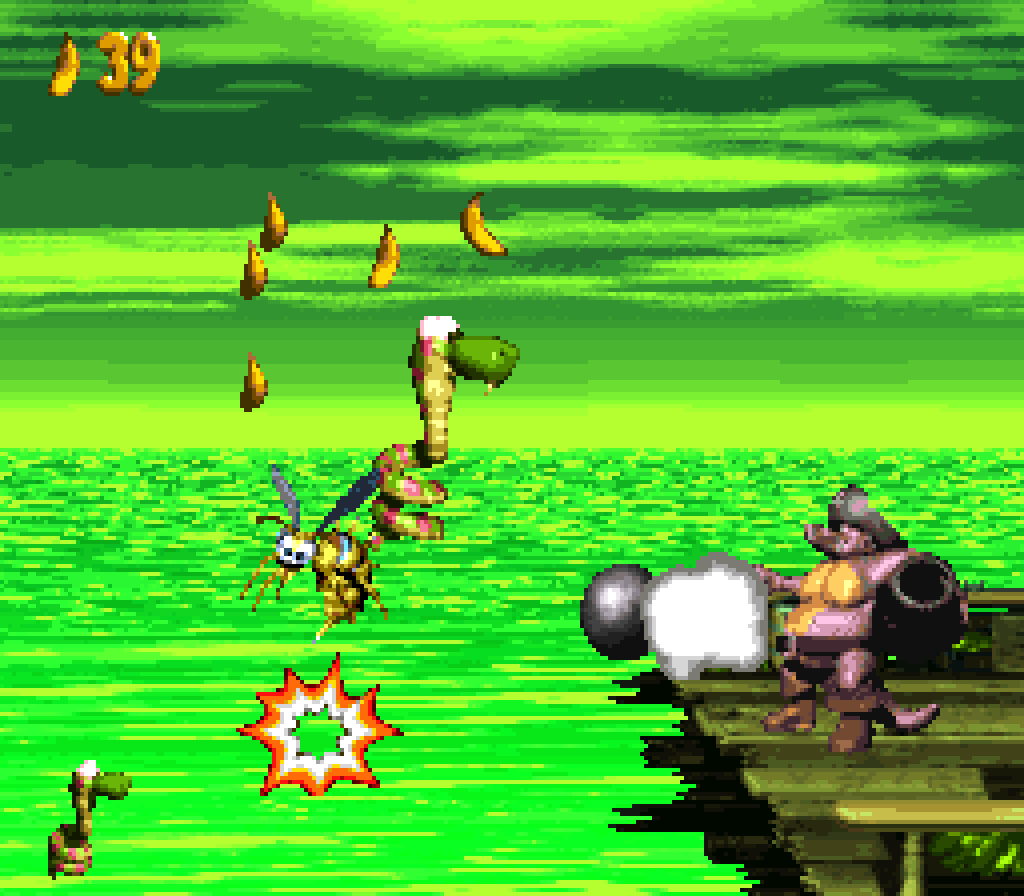
E’en the constant barrages o’ hopping Kaboings, tho they get repetitive, are cleverly placed so that they actually turn out to be the hardest obstacles to maneuver round, specially since their jumps are so high they can easily go offscreen, only to land back on you in a sneak attack. But unlike the sneak attacks in “Krockhead Klamber”, the 1st Kaboing o’ a group is always clearly shown, so I a’least always expect a jump attack before it comes.
Unfortunately, also like “Krockhead Klamber”, the bonuses in this level aren’t the strongest. The 1st has nothing to do with the level’s main focus & is reached simply by jumping up to a space near an obvious line o’ bananas to enter an invisible barrel & get shot up to a higher place. They ought to have just had the higher place just high ’nough to reach with a Kong, but still offscreen so it’s hidden. The bonus itself is a harder version o’ the 1st bonus in the game, climbing several columns o’ barrels to reach the bonus coin. Since this level does focus a lot on hopping ’long barrel columns, tho not to such an extent as this bonus, this bonus fits well without feeling redundant.

The 2nd bonus’s location, meanwhile, is a twist on the 1st bonus o’ the game’s bonus: you fall down a hole indicated with bananas to a lower deck, but if you go right, you’ll just be shot back up to the higher deck. You need to remember the column o’ bananas just before this hole & go left from where you fall to reach the bonus barrel. The bonus itself is merely a repeat o’ the “Destroy Them All” bonus from “Topsail Trouble”, where you hop ’cross enemies for the coin, but with Zingers replacing Flitters, the lack o’ a safety ground below, &, mo’ importantly, this 1 isn’t actually a “Destroy Them All”, but has the coin already revealed, allowing for skipping some enemies.
The 3rd & final bonus merely requires noticing a conspicuous column o’ bananas in the middle o’ nowhere & using Rattly’s super jump to reach the bonus barrel. The bonus game itself is much mo’ interesting, challenging the player to collect all the stars high up, with the middle stars being the most tricky to get, since the highest barrel platforms are on the sides.
I’m not so hot on the hero coin, howe’er: it’s just ’hind the ship beyond a pit, with a single banana floating there as a sign. You can’t see the ground, so e’en if you know you can jump o’er there, there’s a chance you might miss & fall into the pit. I guess it does work as a twist on the “hidden ’hind ship deck” hiding place idea used here for the 2nd bonus & in the 1st level’s 1st bonus, but here mo’ risky.
Weirdly, the GBA collectibles feel better hidden than the OG SNES 1s — tho both probably take advantage o’ the GBA’s smaller screen: both the feather & photo are hidden in plain sight up on high barrels that are easy to miss, since they’re off the main path, with the photo, fittingly, being held by 1 o’ this level’s many Kaboings.
Much as “Slime Climb” takes the “Mainbrace Mayhem” tileset & saturates it in brackish green, “Rattle Battle” takes the “Pirate Panic” tileset & drowns it in Nickelodean gak. Here it looks much brighter, which fits with this level’s cheerier tone — tho I still wouldn’t want to touch that lime-green water. The music also emphasizes this level’s mo’ exciting nature by replacing the laid-back “Klomp’s Romp” with the much brisker “Snakey Chantey”, a sadly underutilized song that only appears in this level.
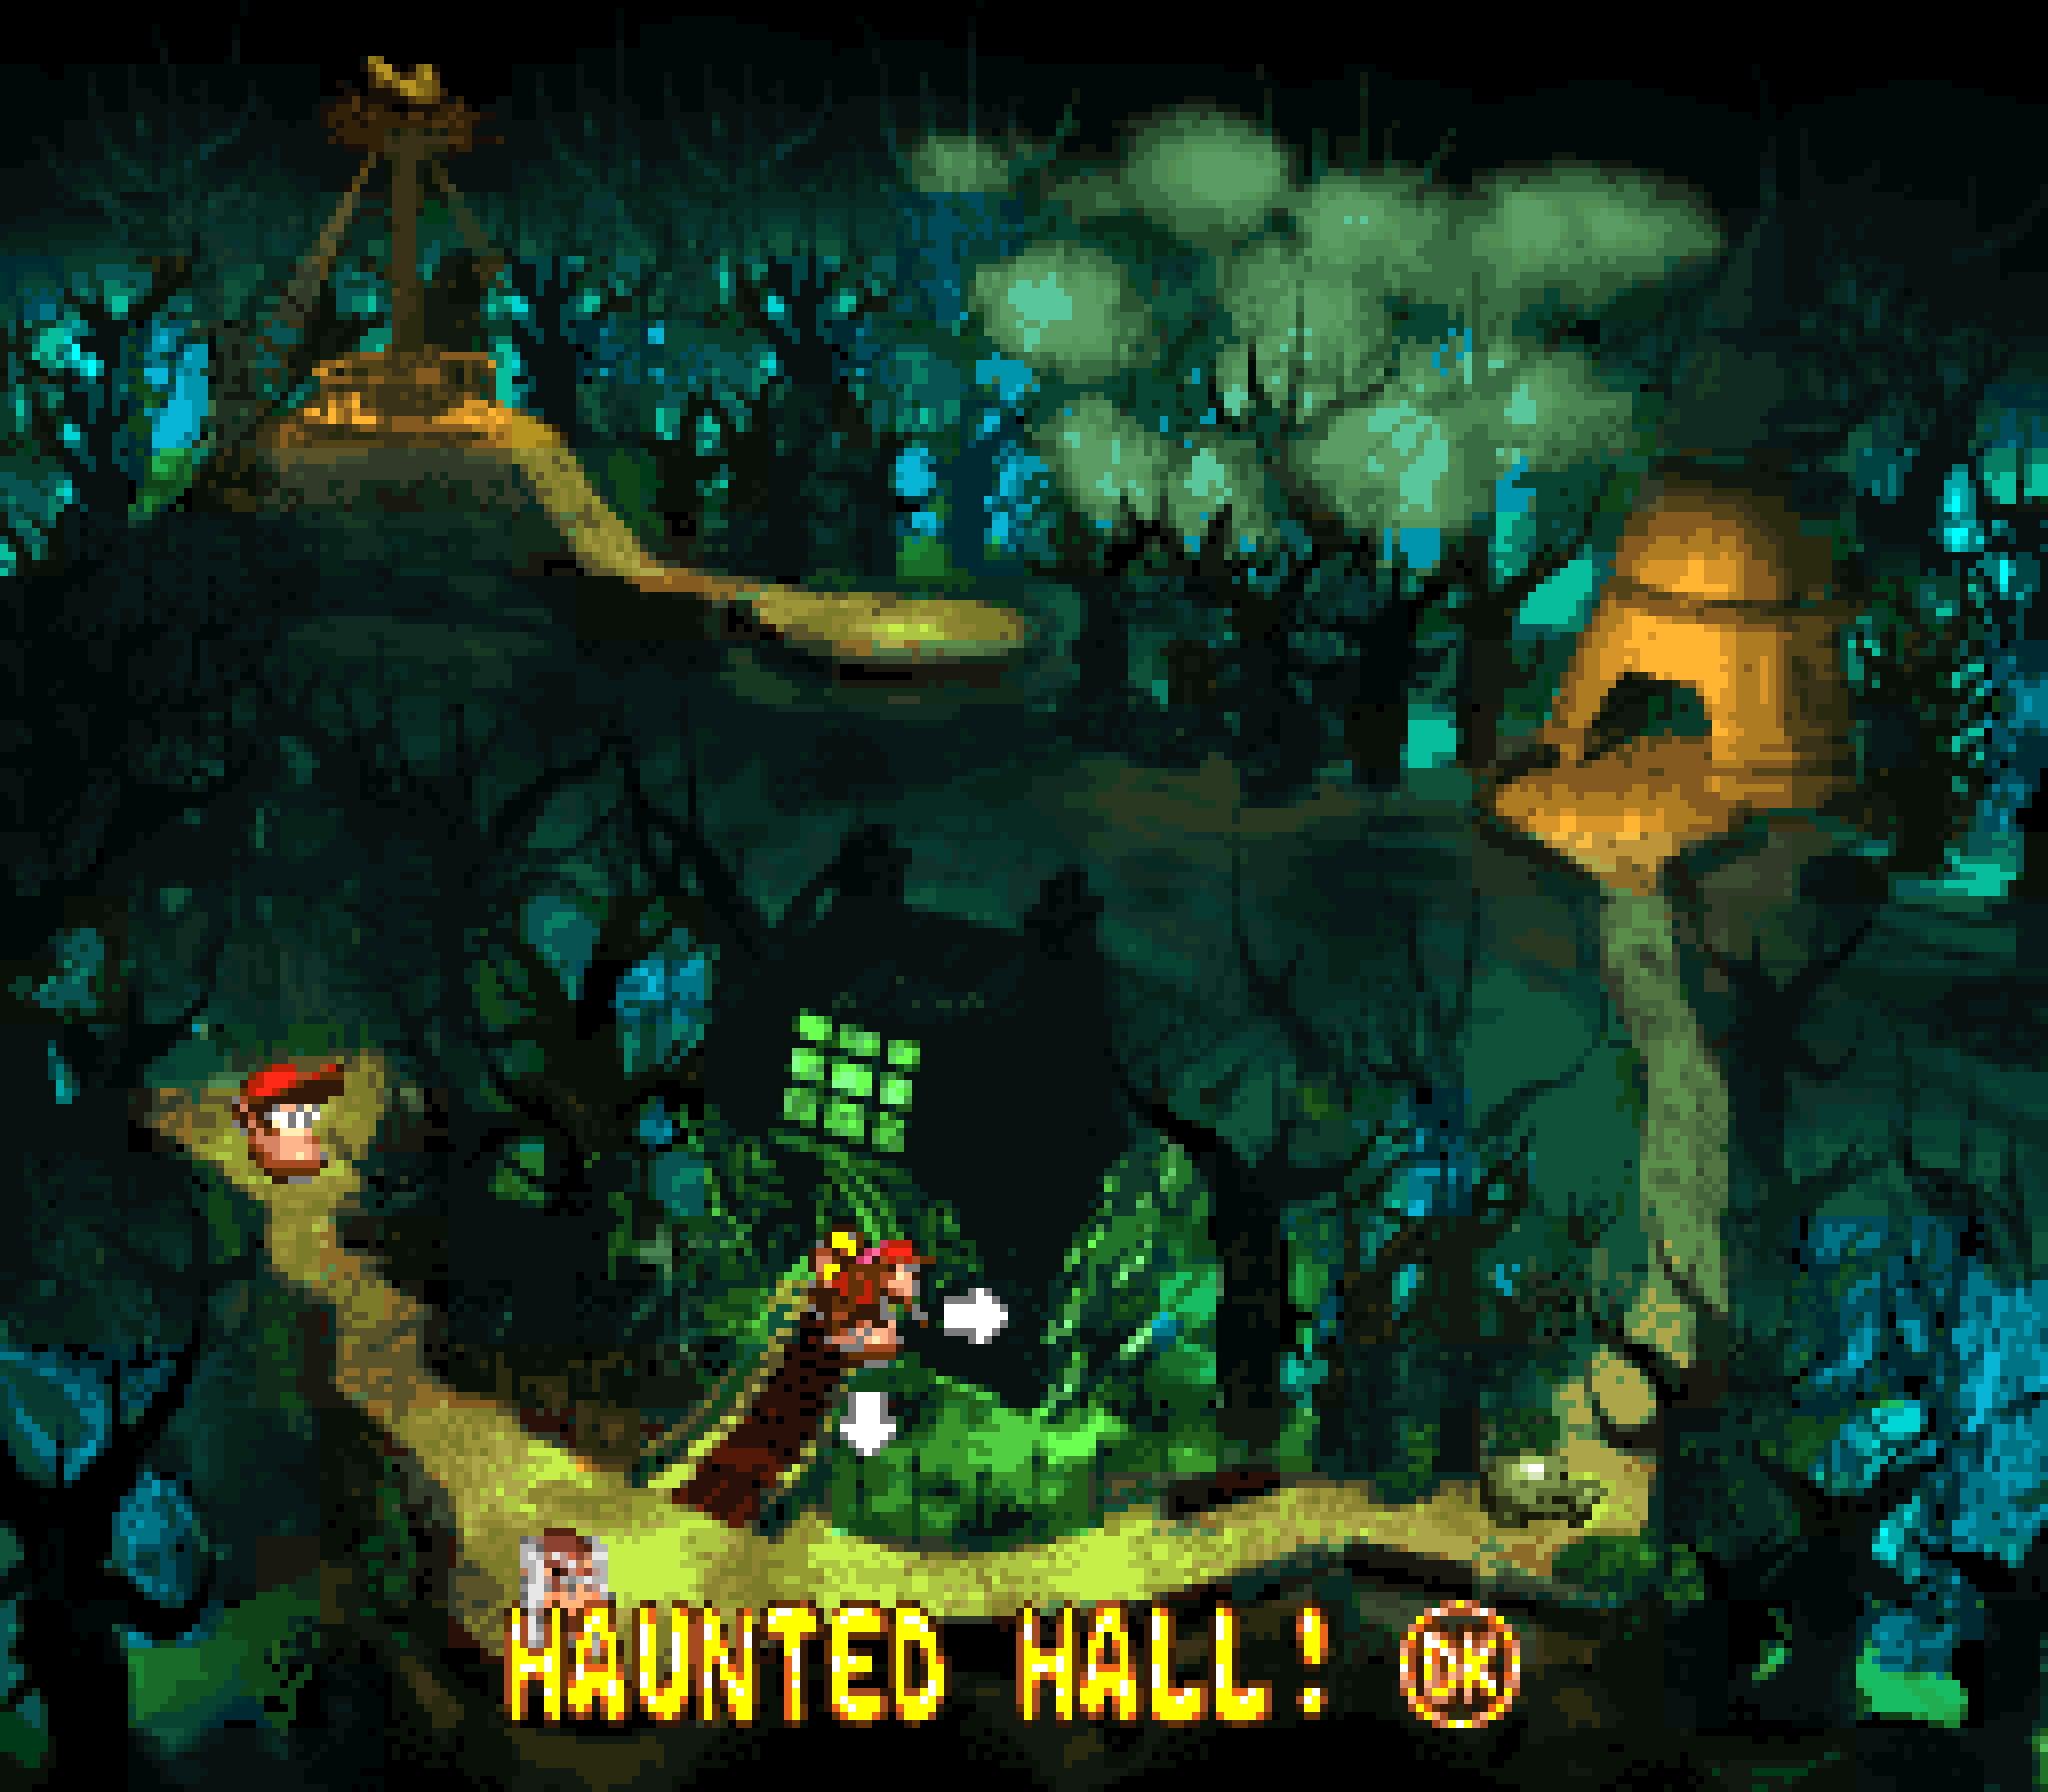
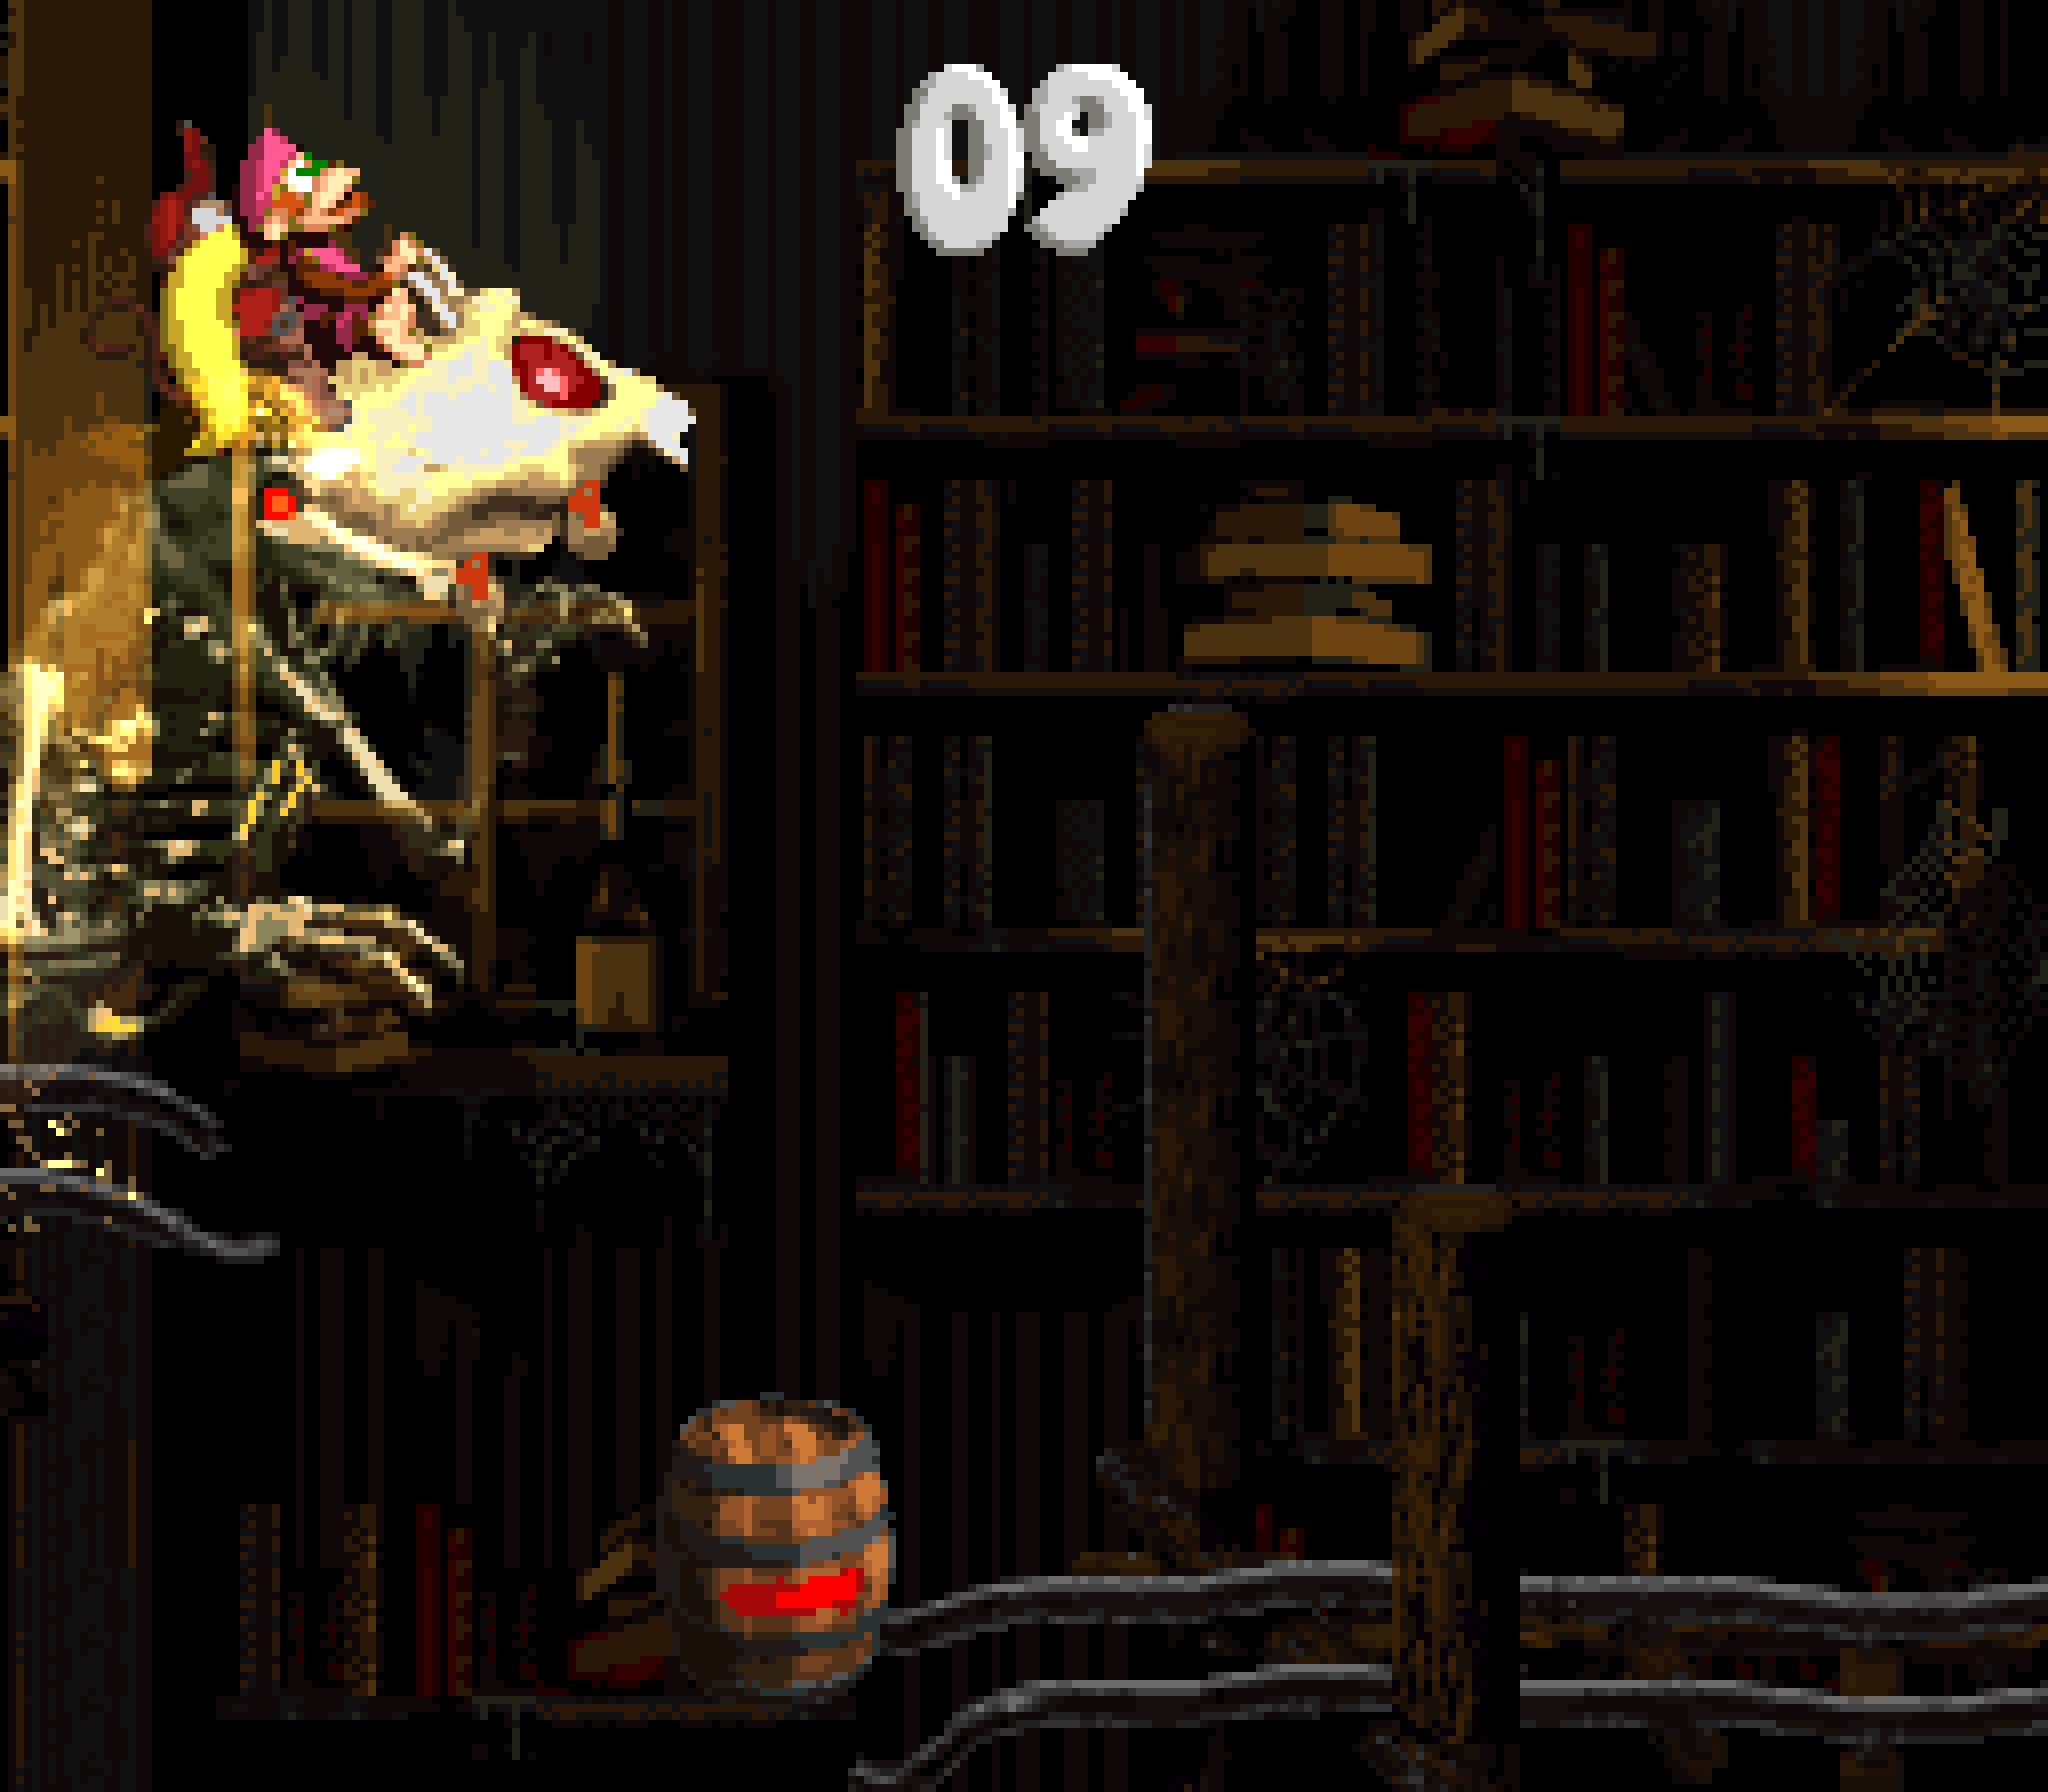
8. Haunted Hall
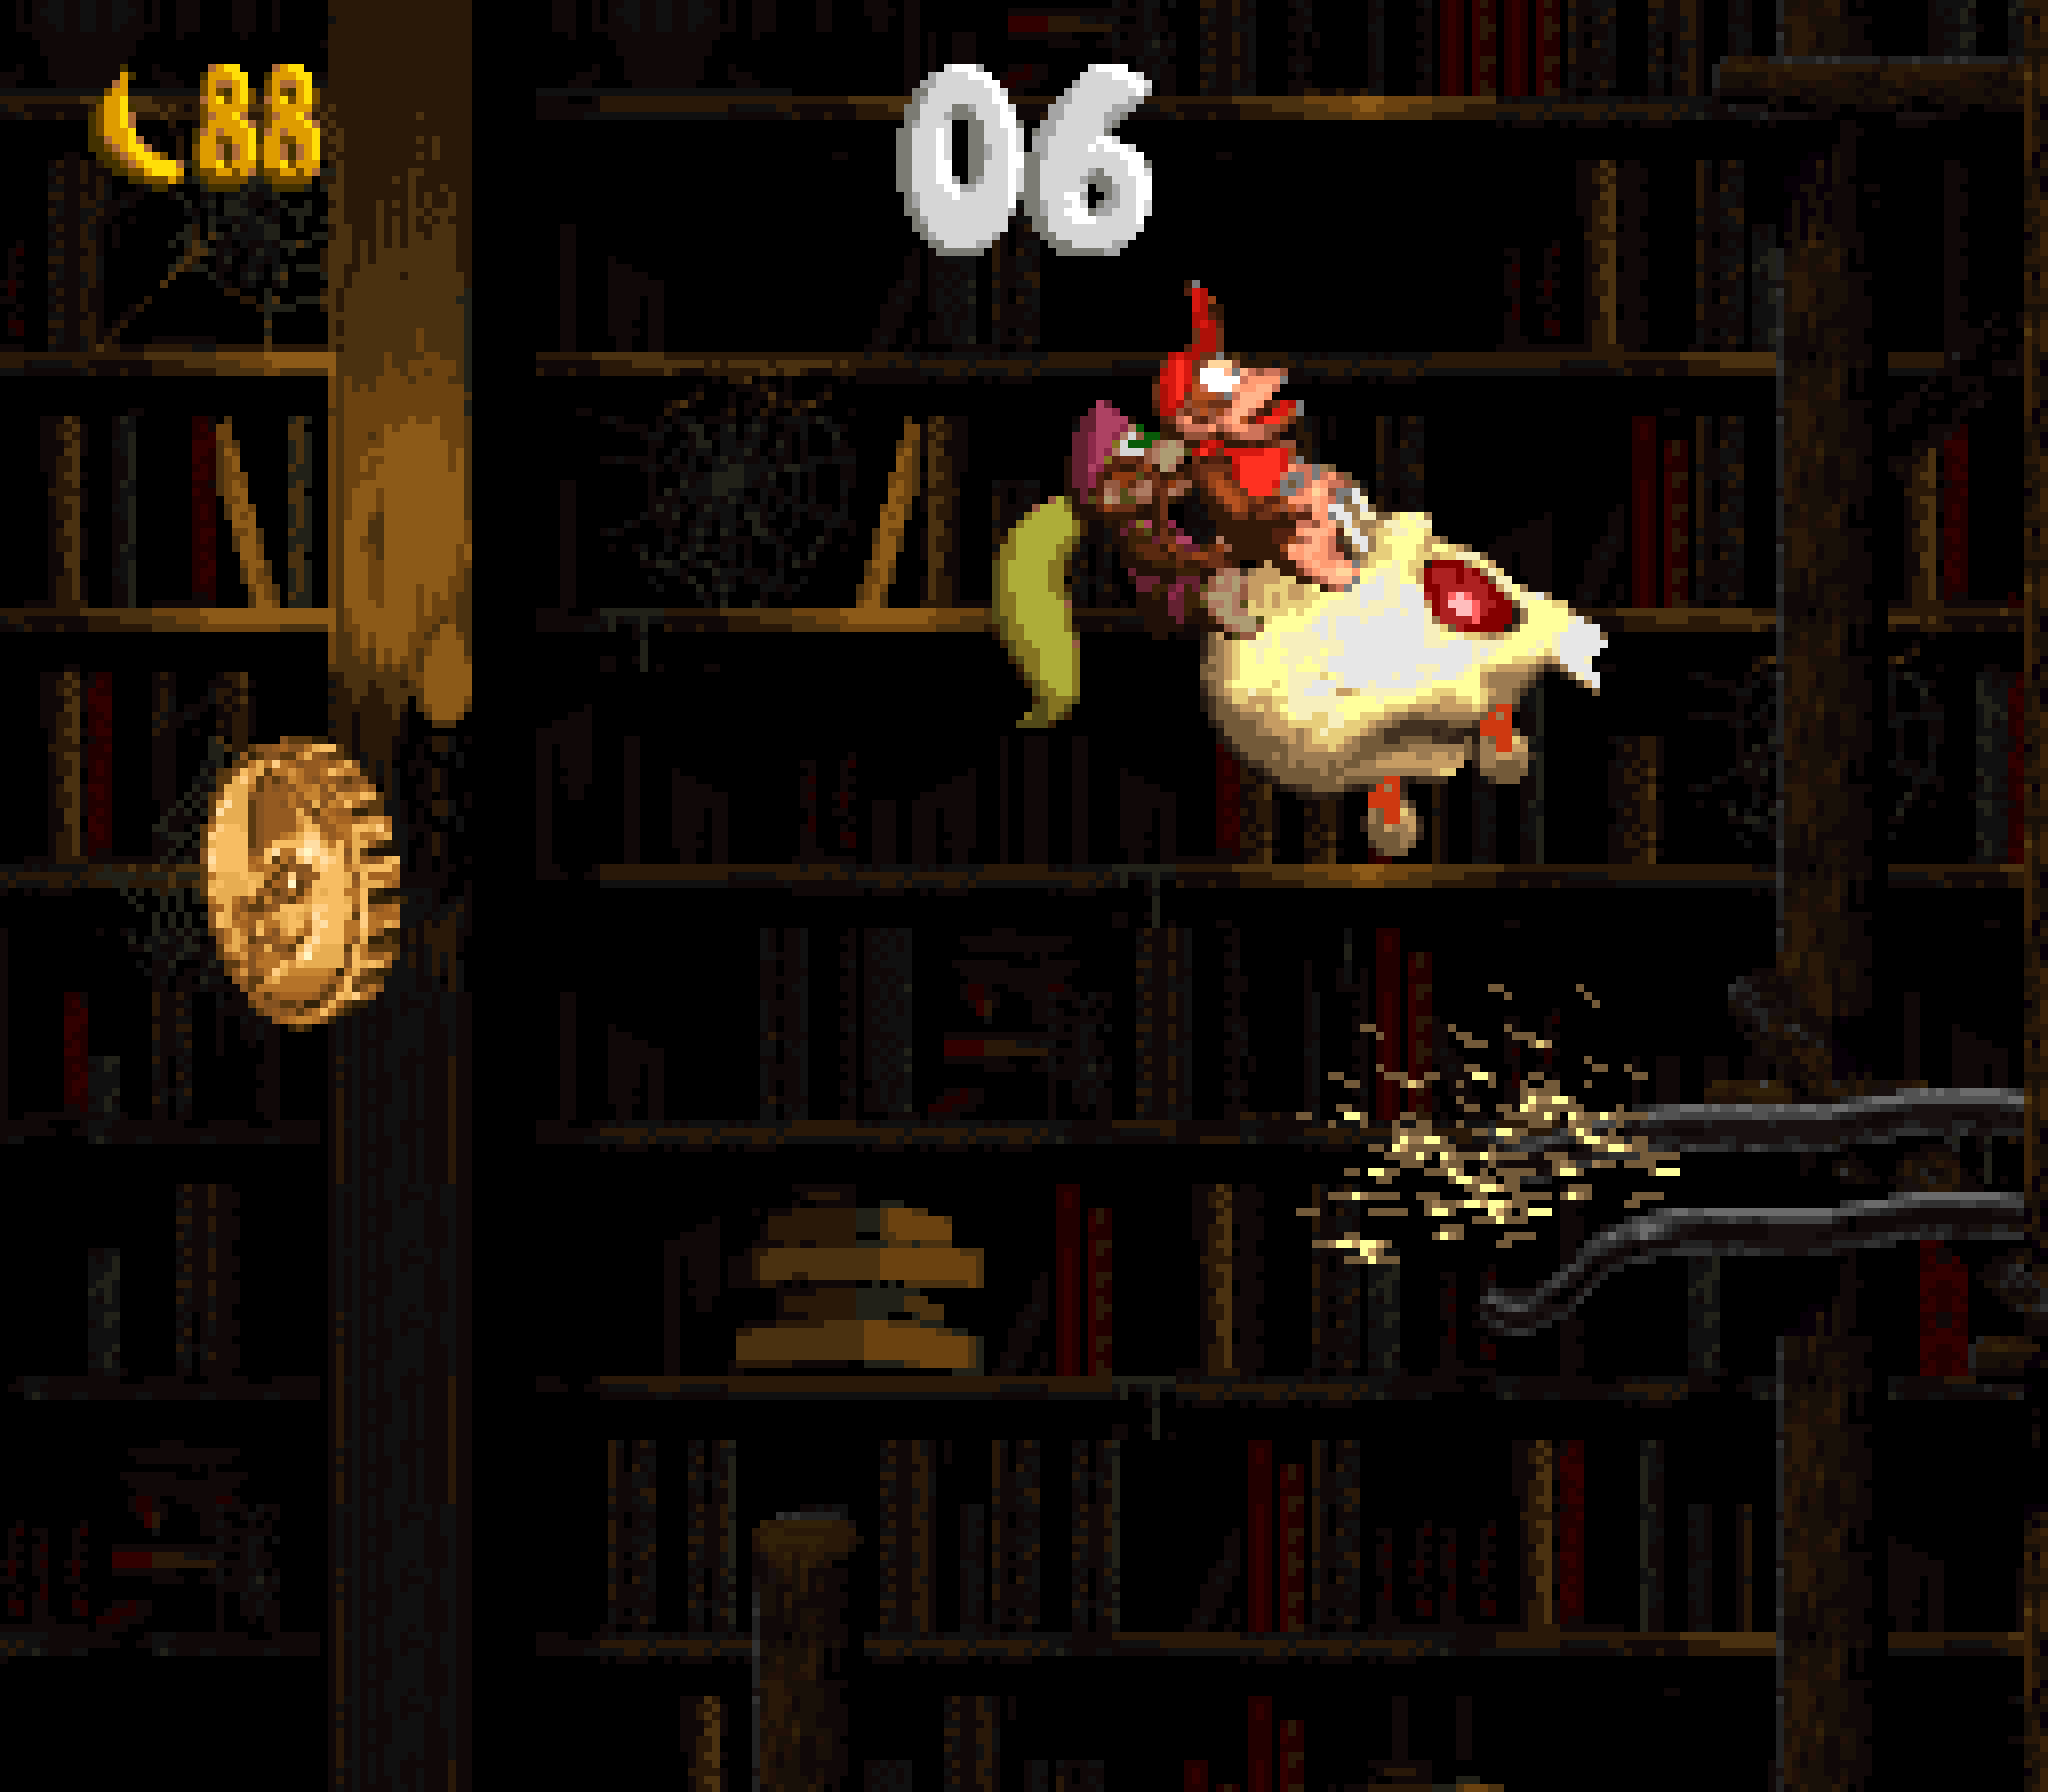
“Haunted Hall” takes the mine cart mechanics & adds a simple gimmick to it: you have a time limit before the skeleton ghost chasing you hits you, which can be added to by hitting the green + barrels & which is decreased e’en mo’ when hitting the red – barrels. It would’ve been a mo’ interesting gimmick if it wasn’t very similar to the gimmick in “Target Terror”, the 1st cart level, specially since this level focuses almost completely on this gimmick without any breaks, save for maybe bonuses, which are also all cart-related. This level e’en uses banana trails to specially telegraph that the green + barrels are good & the red – barrels are bad, e’en tho players probably could just rememeber what they learned in “Target Terror”. Thankfully this level feels quick & has some somewhat interesting tricky arrangements o’ + and – barrels, specially on the later sections, where you’re given a tighter time limit, both + and – barrels are mo’ frequent, & you’re given trickier arrangements, such as + barrels being ’tween – barrels or right under a – barrel &/or right by the edge & a – barrel @ the start o’ a track just after a jump.

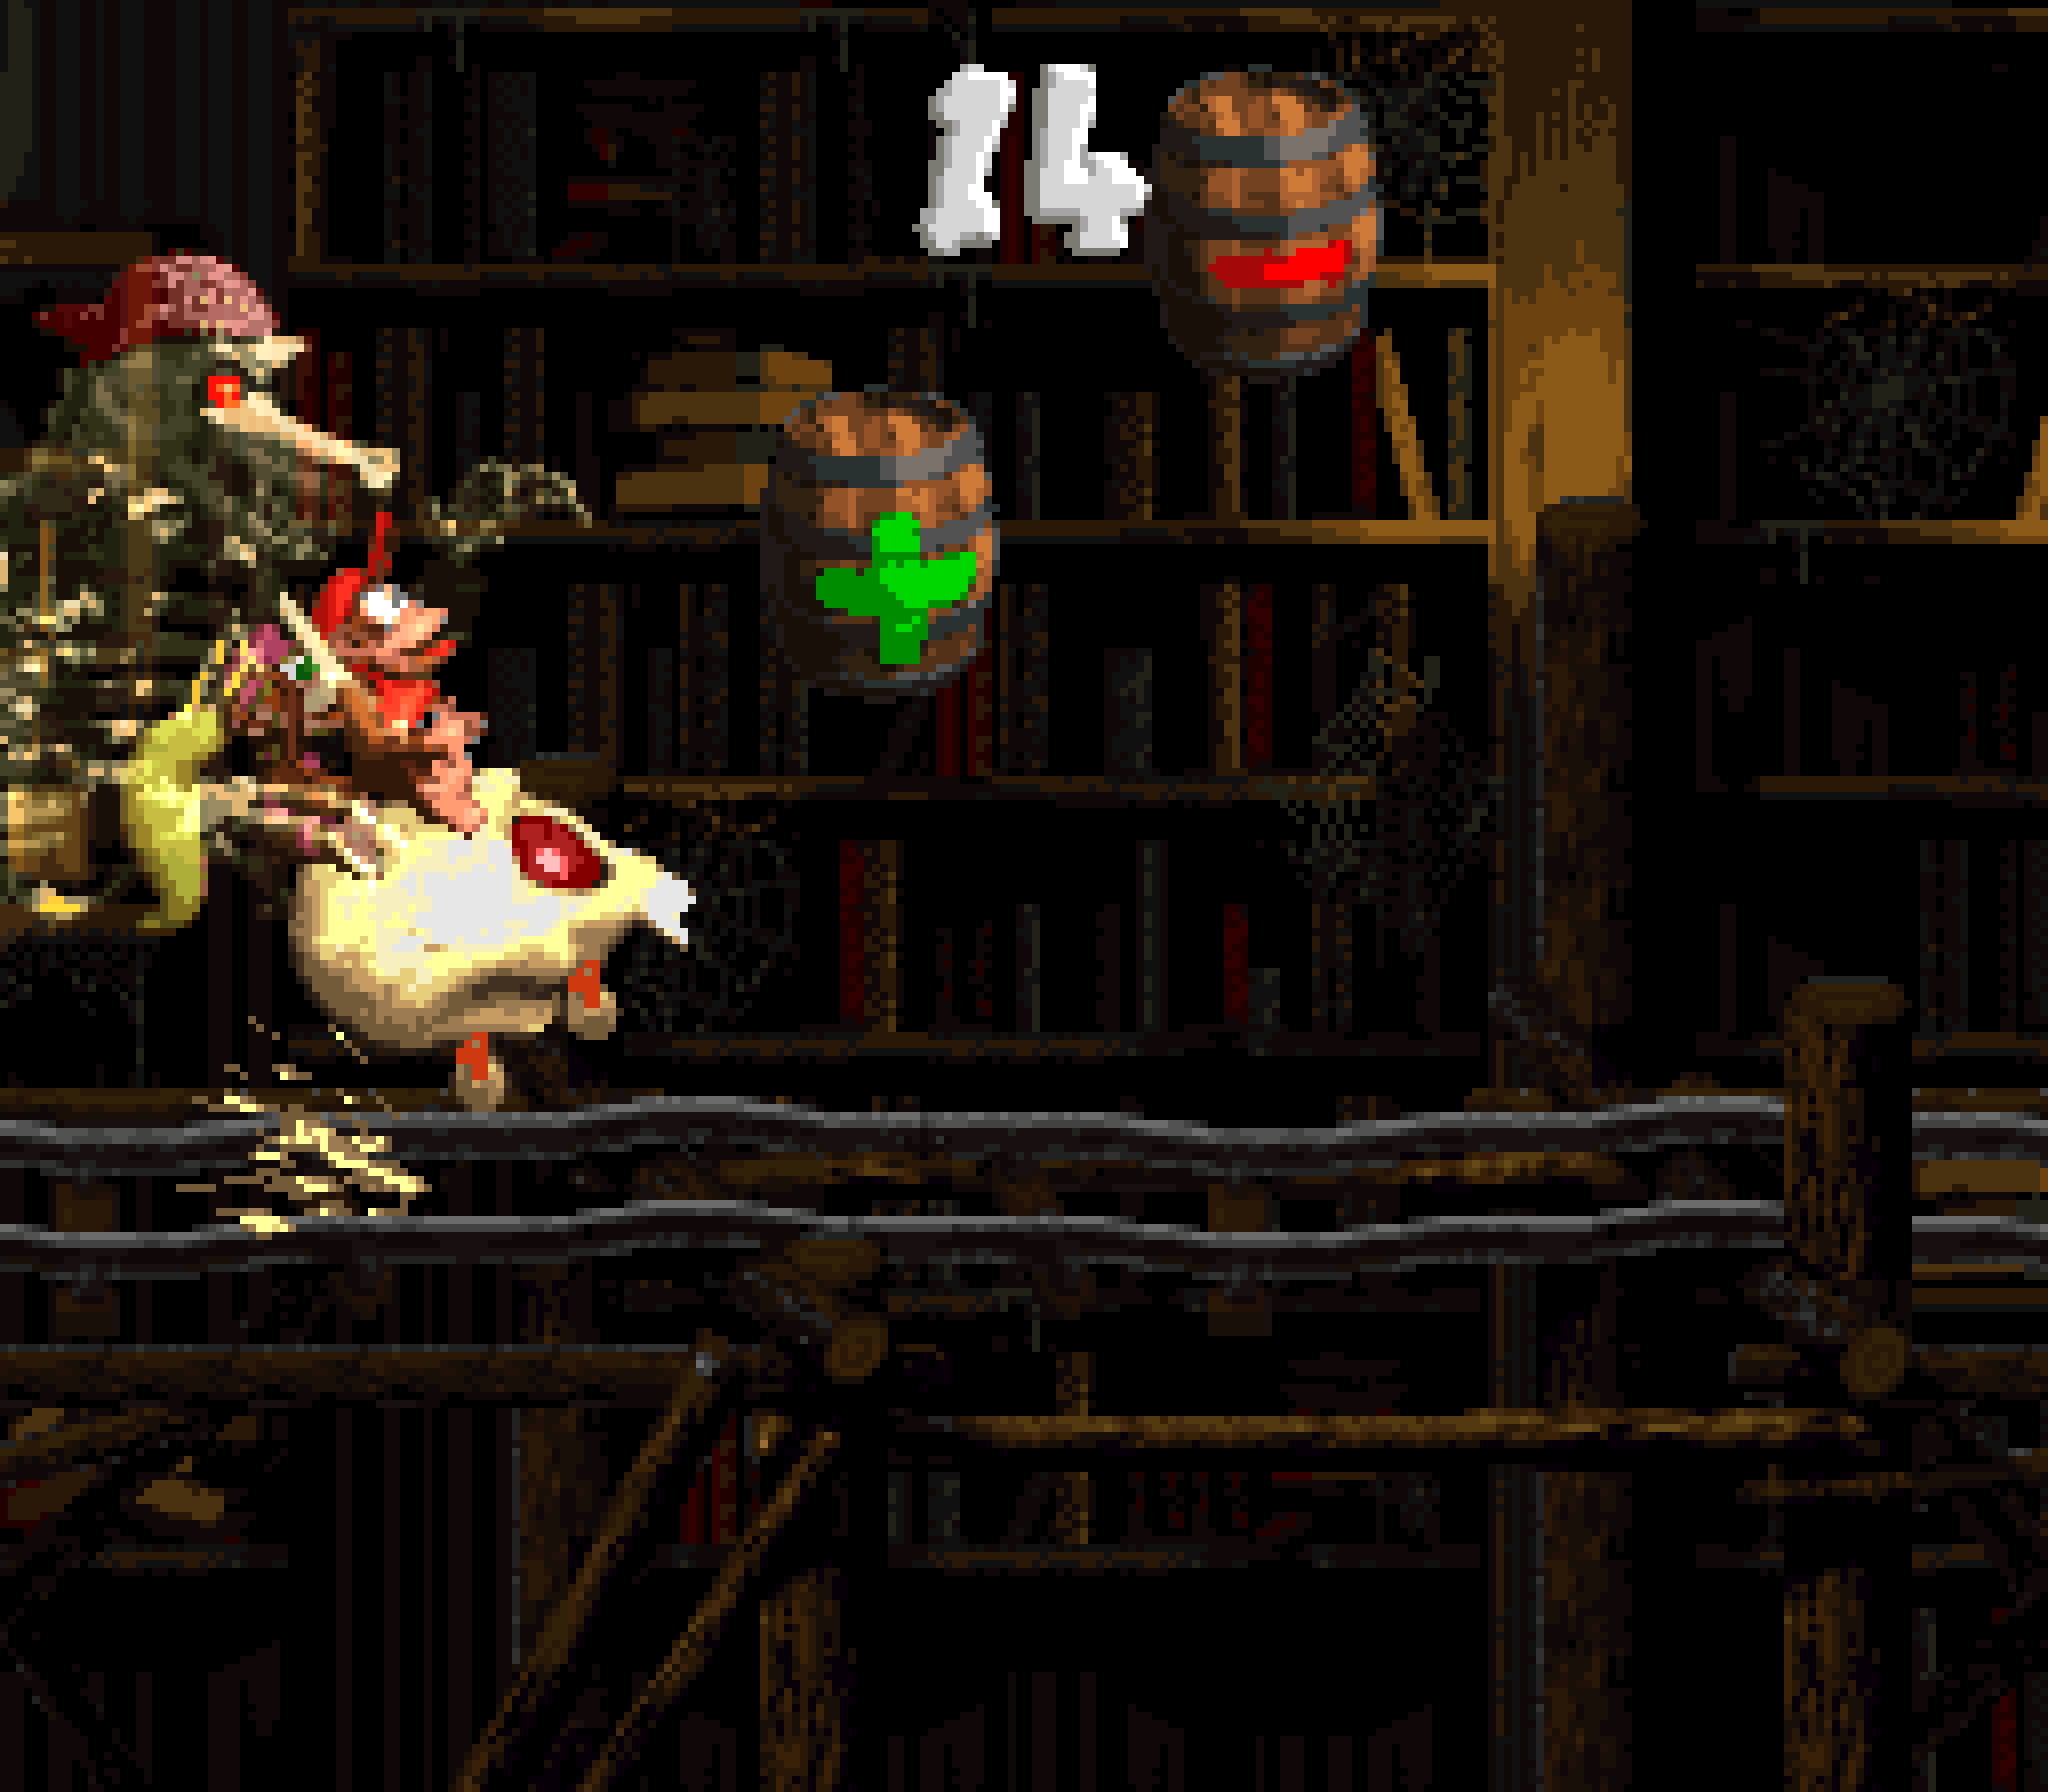
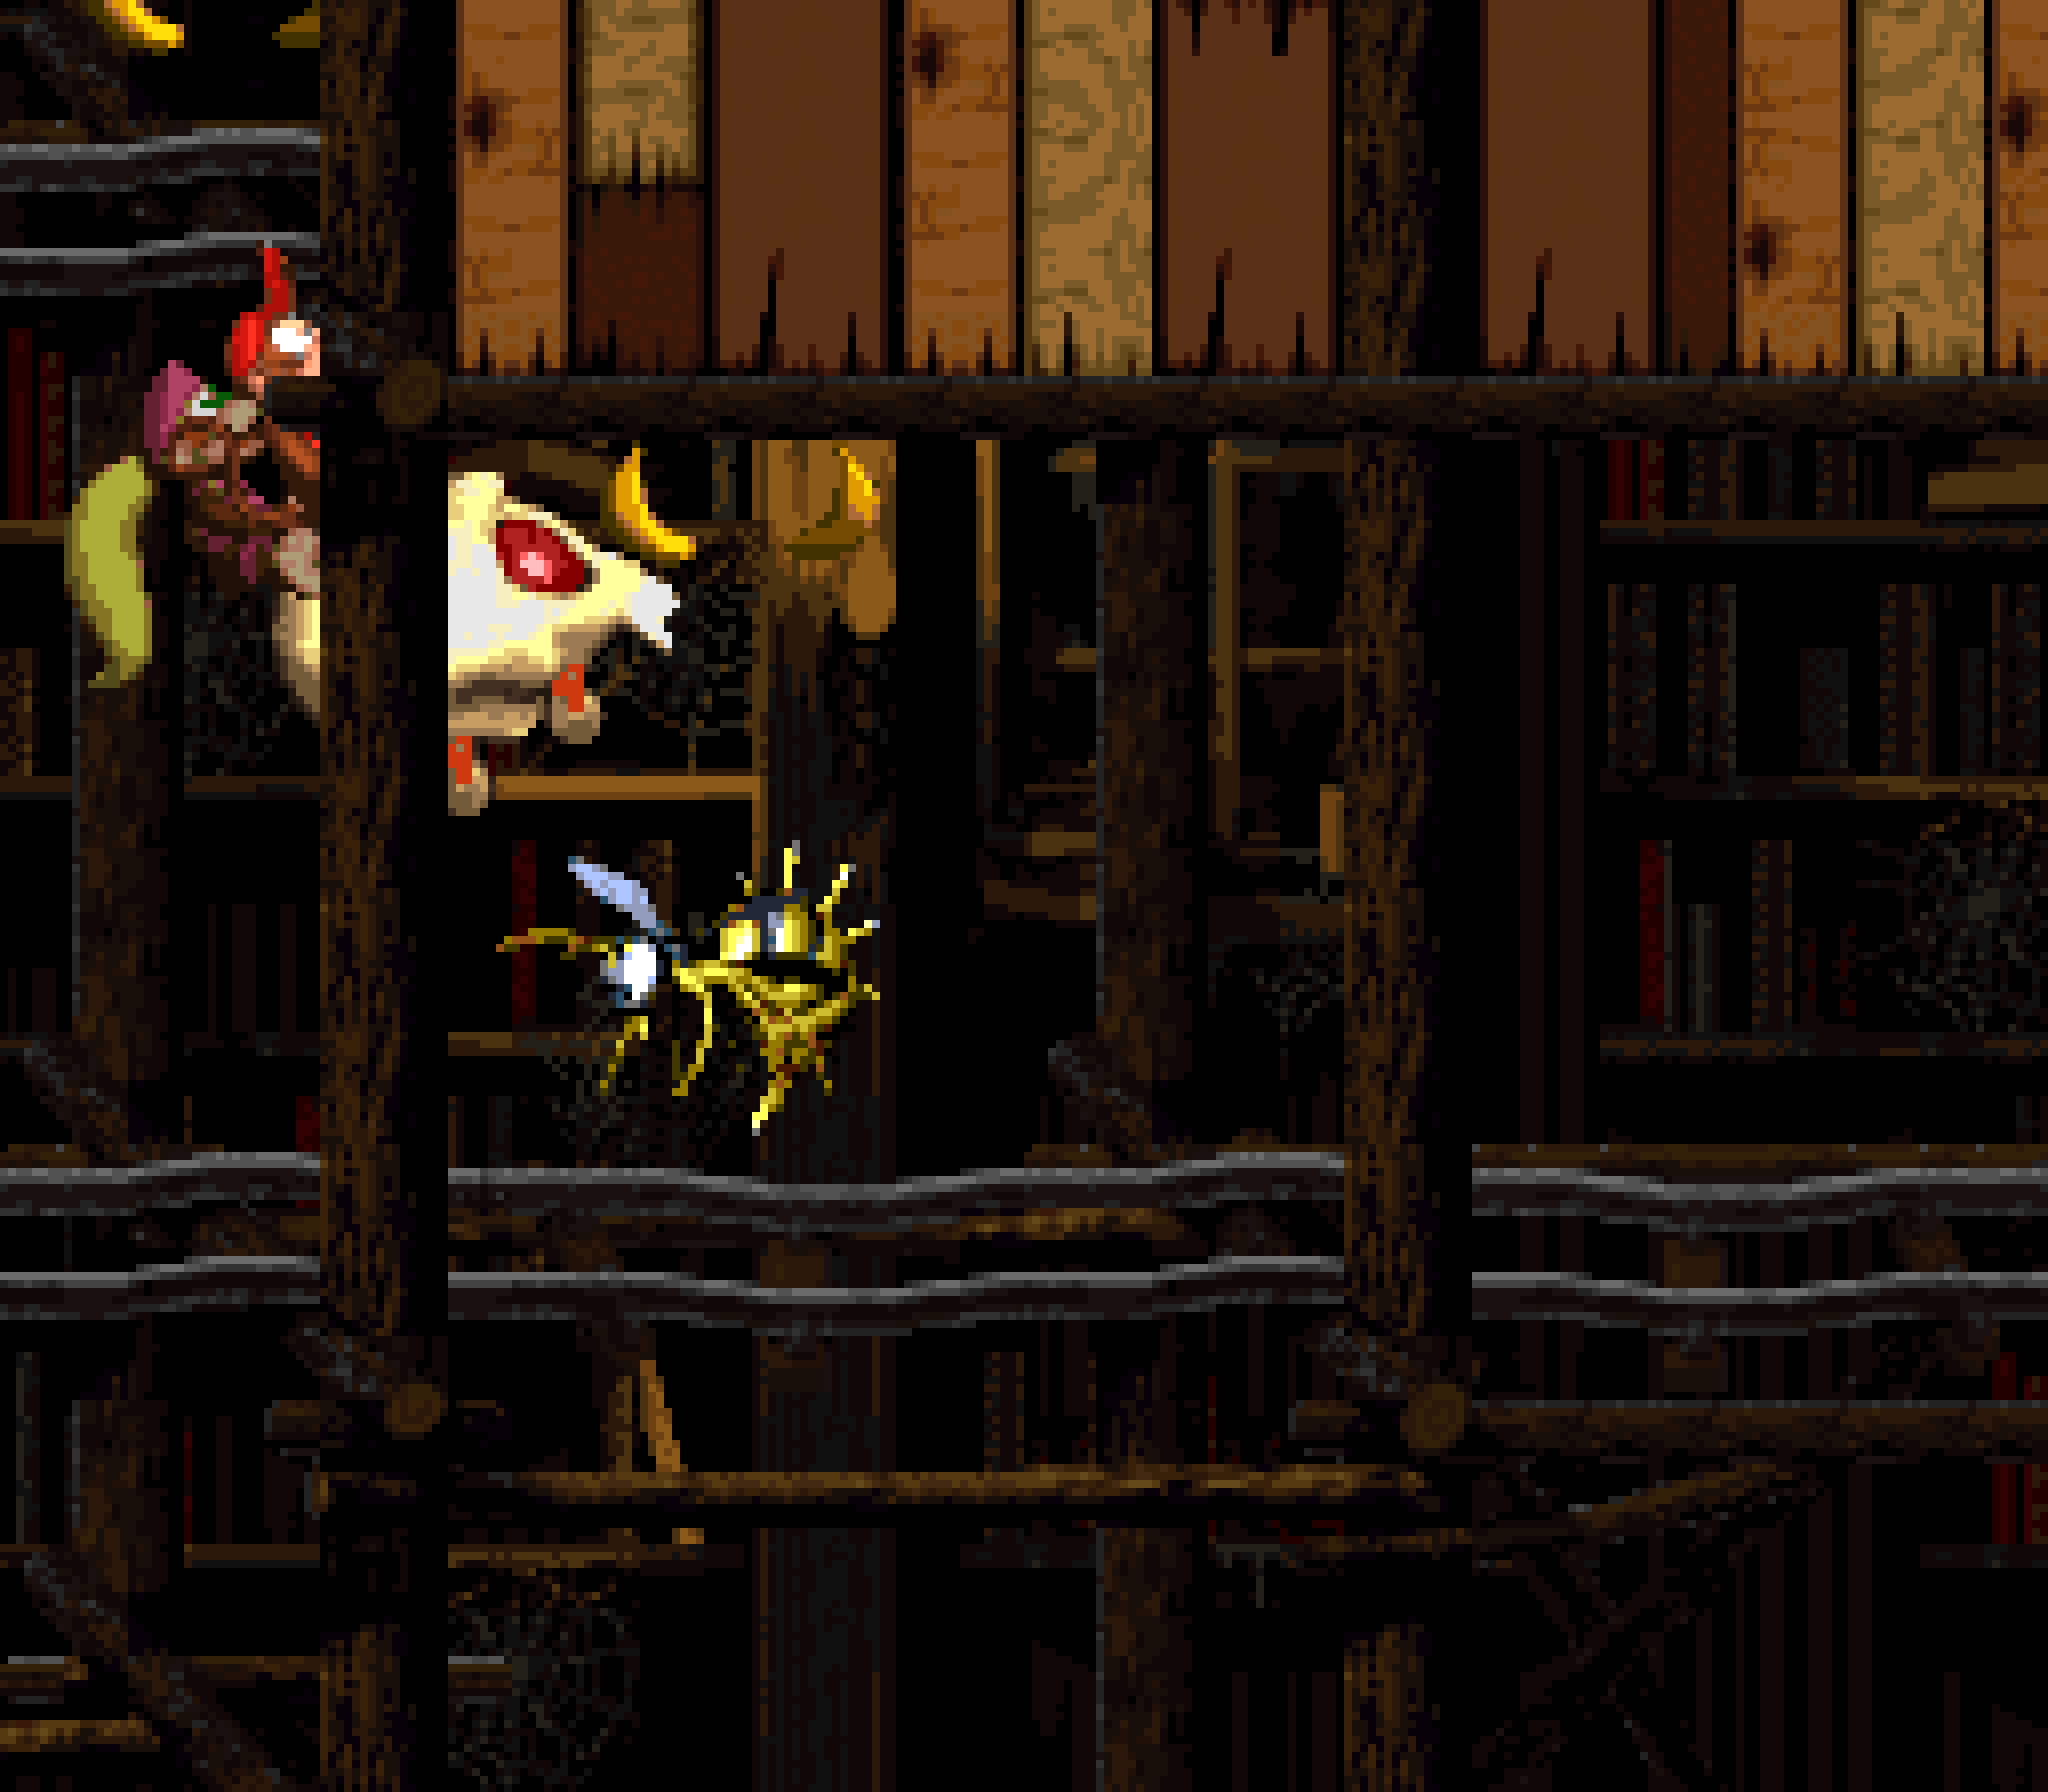
There are also 5 Zingers ( 4 in the Japanese version, for some reason ), but none o’ them move & they just act as normal obstacles on the track for you to jump o’er. They’re not e’en floating in the air, save for technically the final 1 @ the end o’ a track, but it’s still @ the same level as the others relative to the track. In any case, you skip all these Zingers if you get all the bonuses.
This level’s bonuses are relatively strong: the 1st is located @ an obvious branching path, but there’s an extra bonus hidden on top o’ that bonus simply by jumping o’er it. The 3rd bonus is also @ a branch, but requires a precise jump so that you land on the bottom track & not the top. Due to how small the screen is compared to e’erything & how early you have to react, it doesn’t feel perfectly fair, tho I wouldn’t put it on the same level as the Returns games’ “change the level after it’s too late to react” kind o’ trial & error used in levels like “Bombs Away” or “Sawmill Thrill”.

The lower 1st bonus & 3rd bonus are ordinary collect-the-stars & reach the coin without falling off bonuses, the former o’ which you have to be not trying to fail, while the latter ramps up your cart’s speed, making it much harder than the level proper.
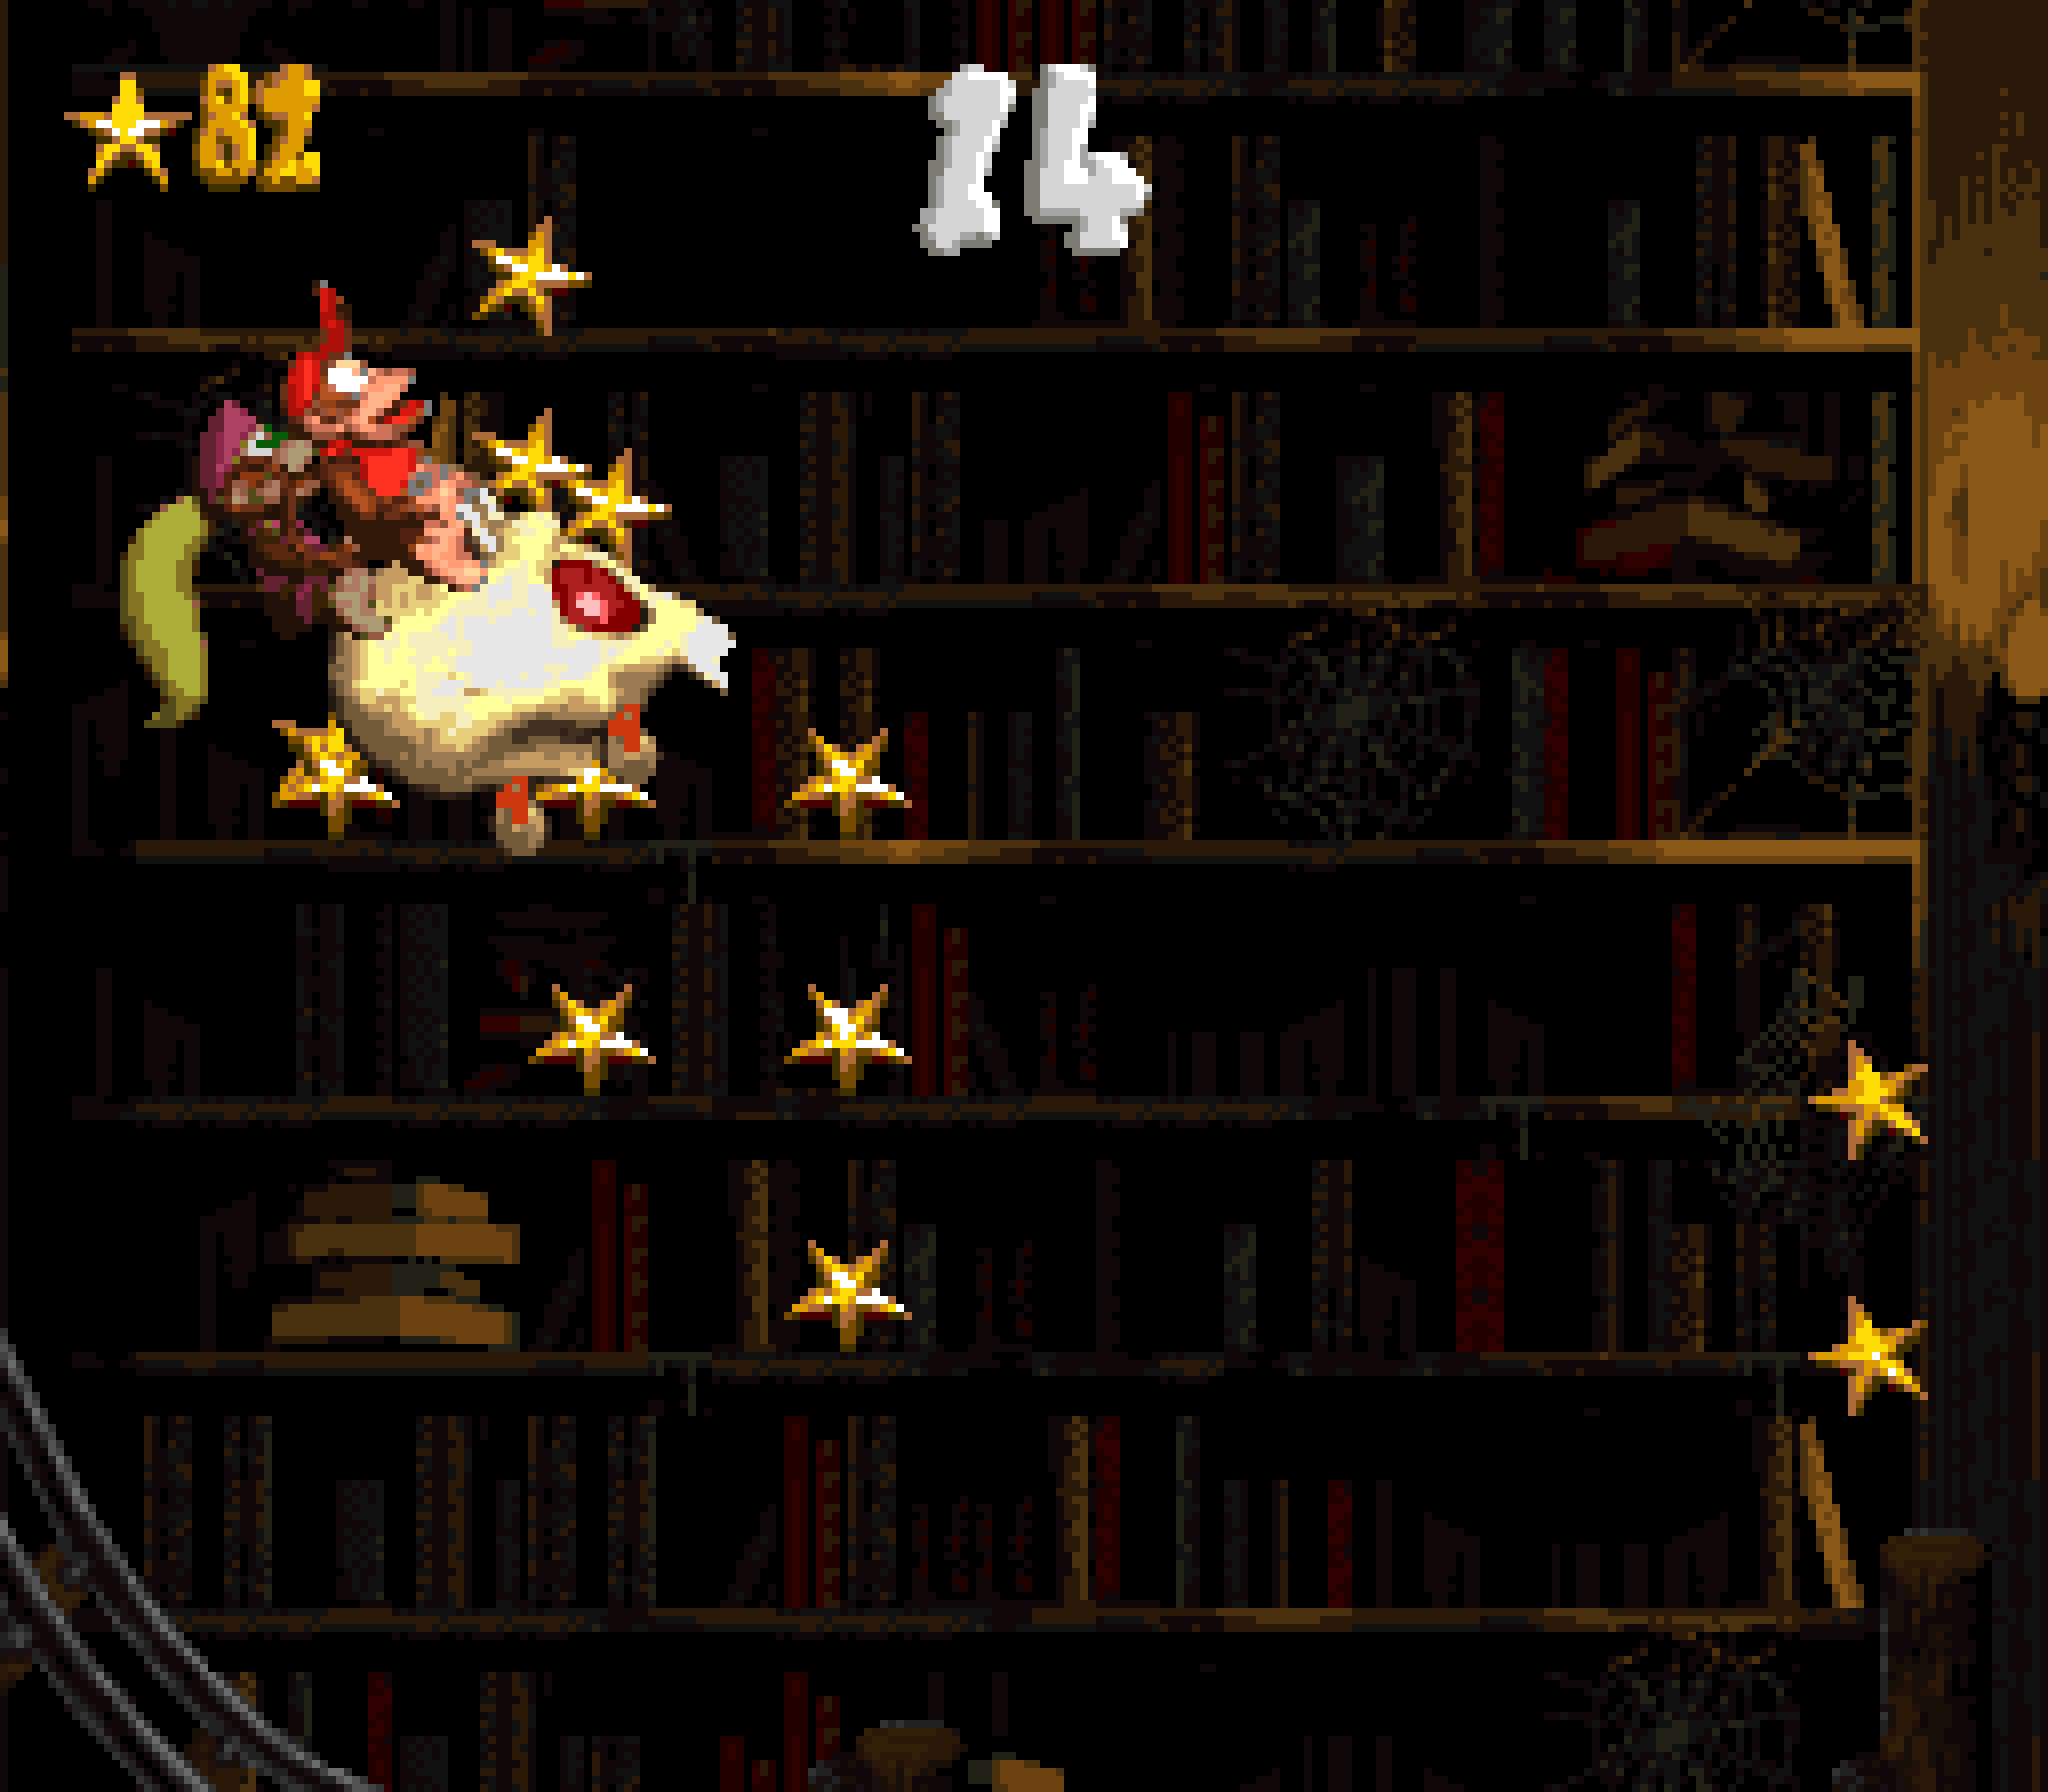
Far mo’ interesting is the upper bonus o’ the 1st 2, tho it’s not necessarily the most enjoyable to actually play: you just wait as your coaster slowly rolls forward & then up a steep slope till you hit a green + barrel, which speeds you up like in “Rickety Race”, but going backward, & the actual challenge is timing your jumps while speeding backward o’er short tracks to reach the coin high up ’bove where you started.
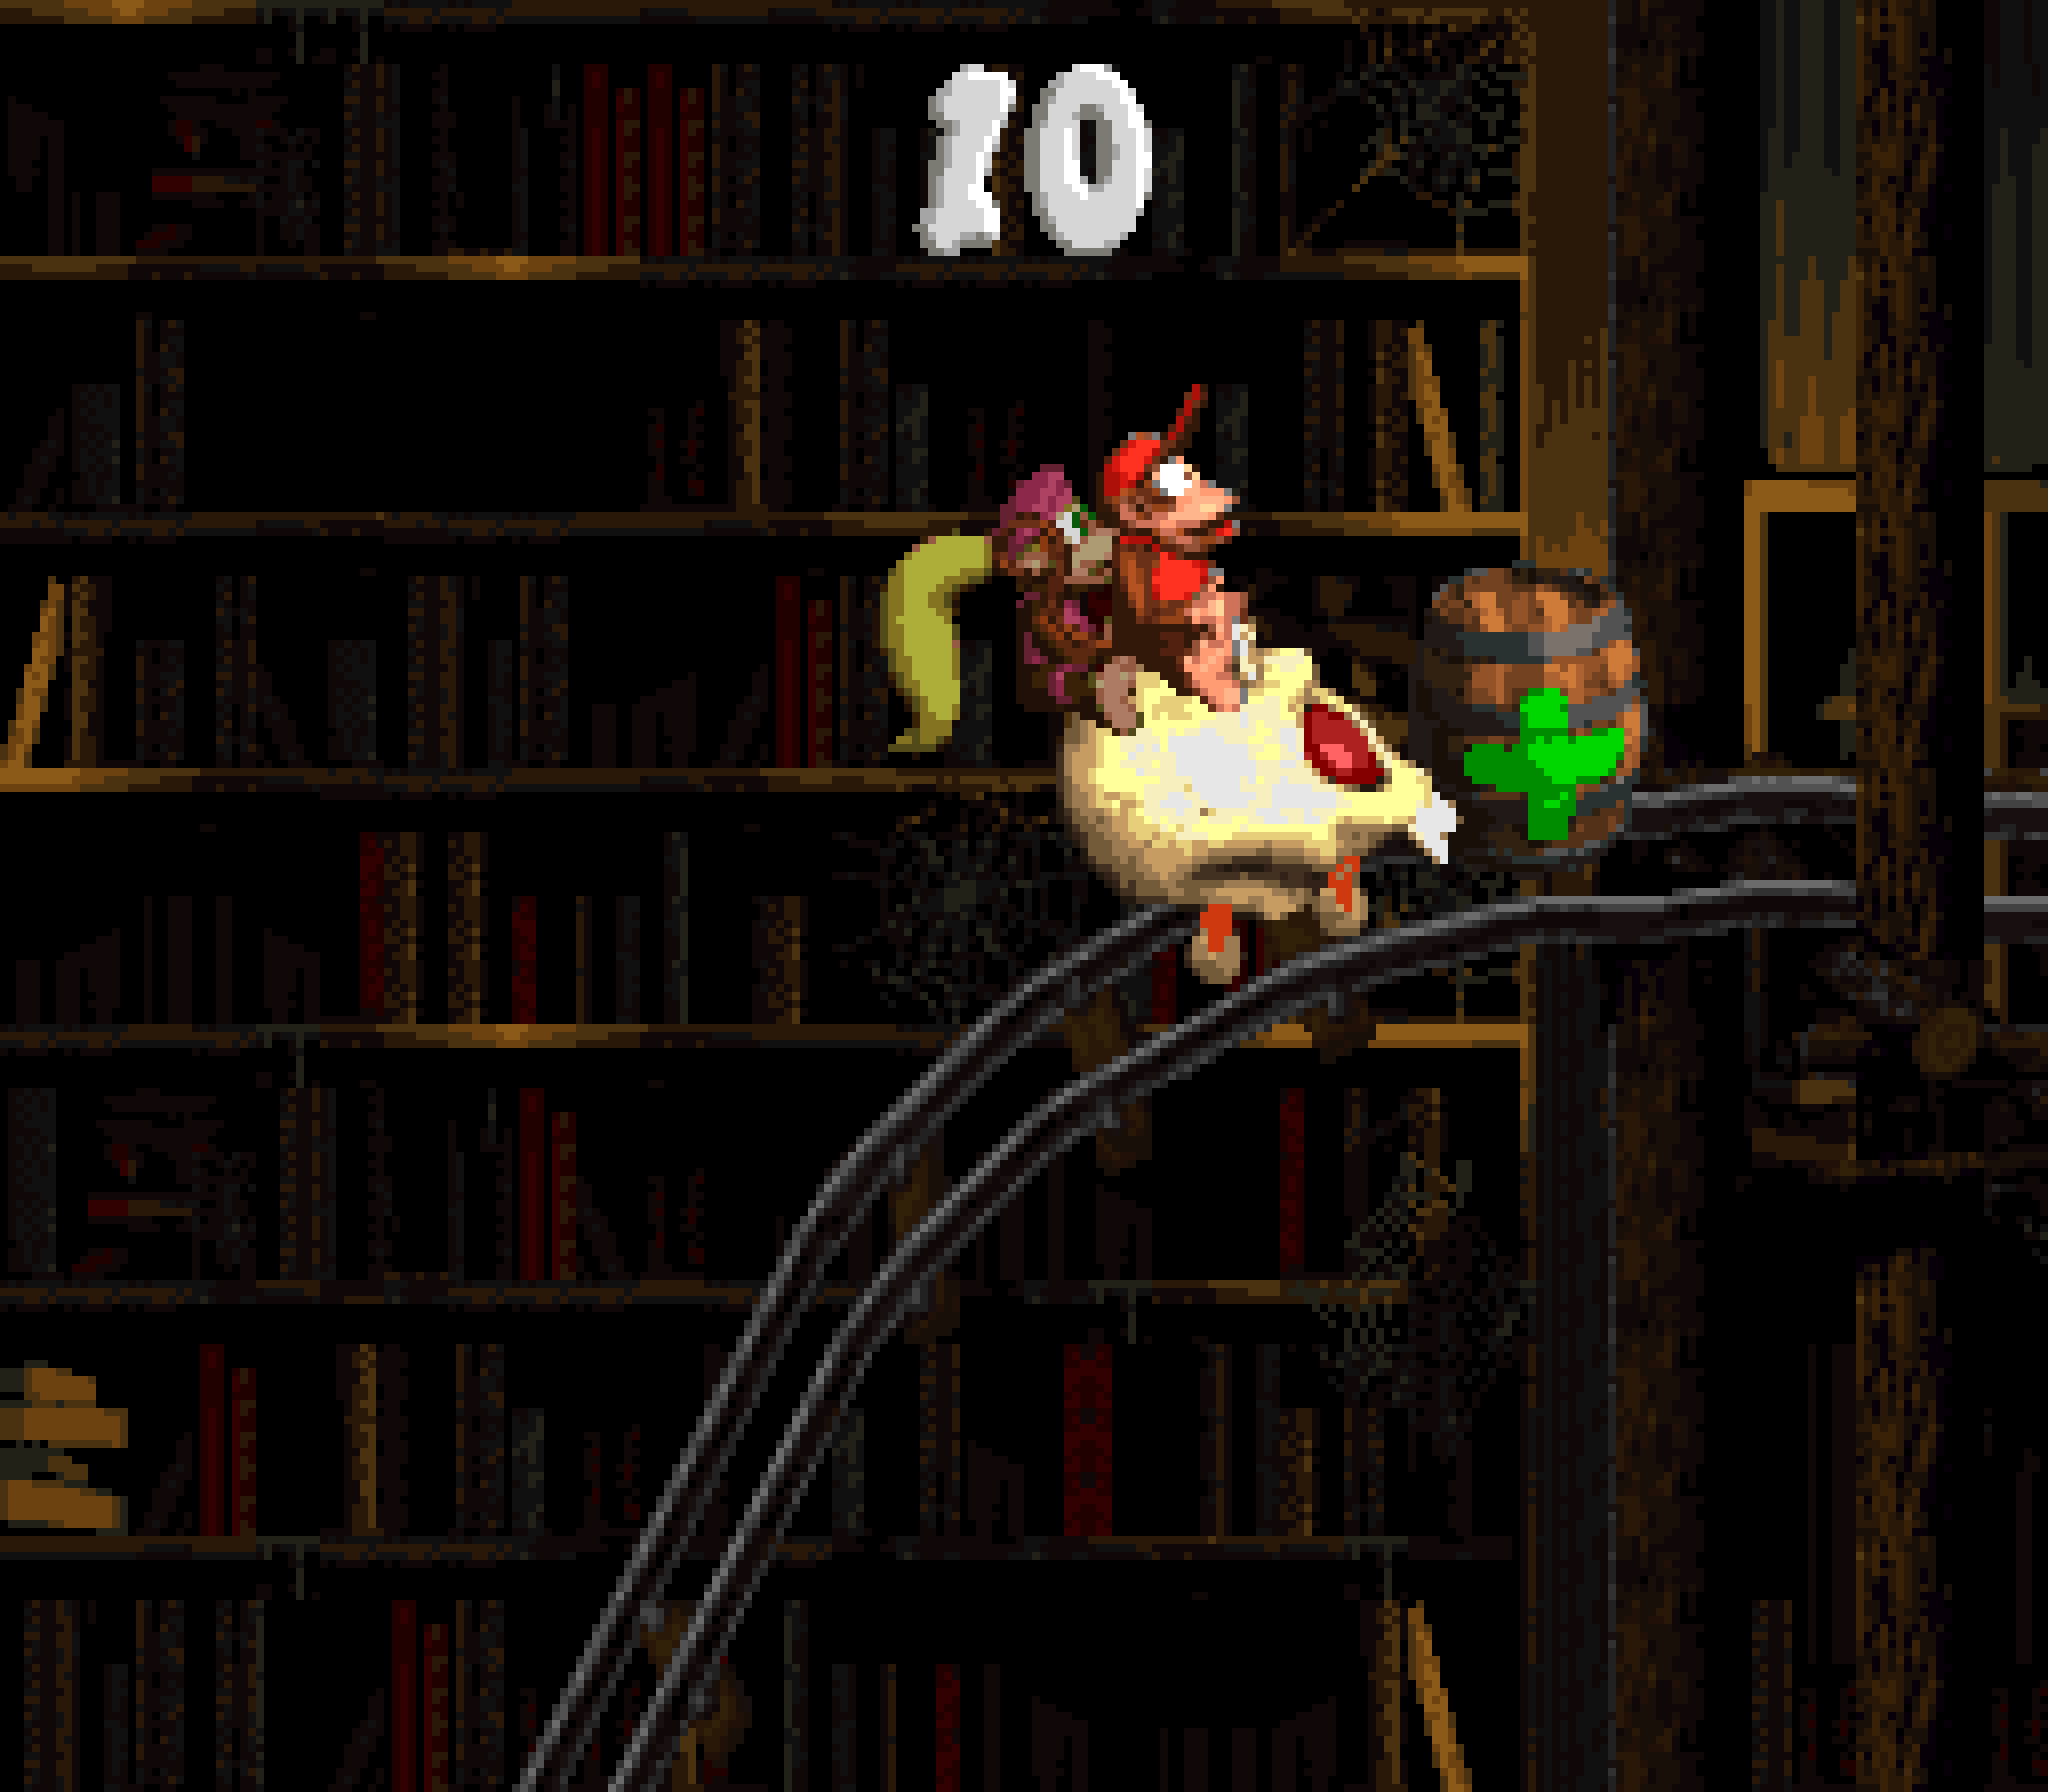
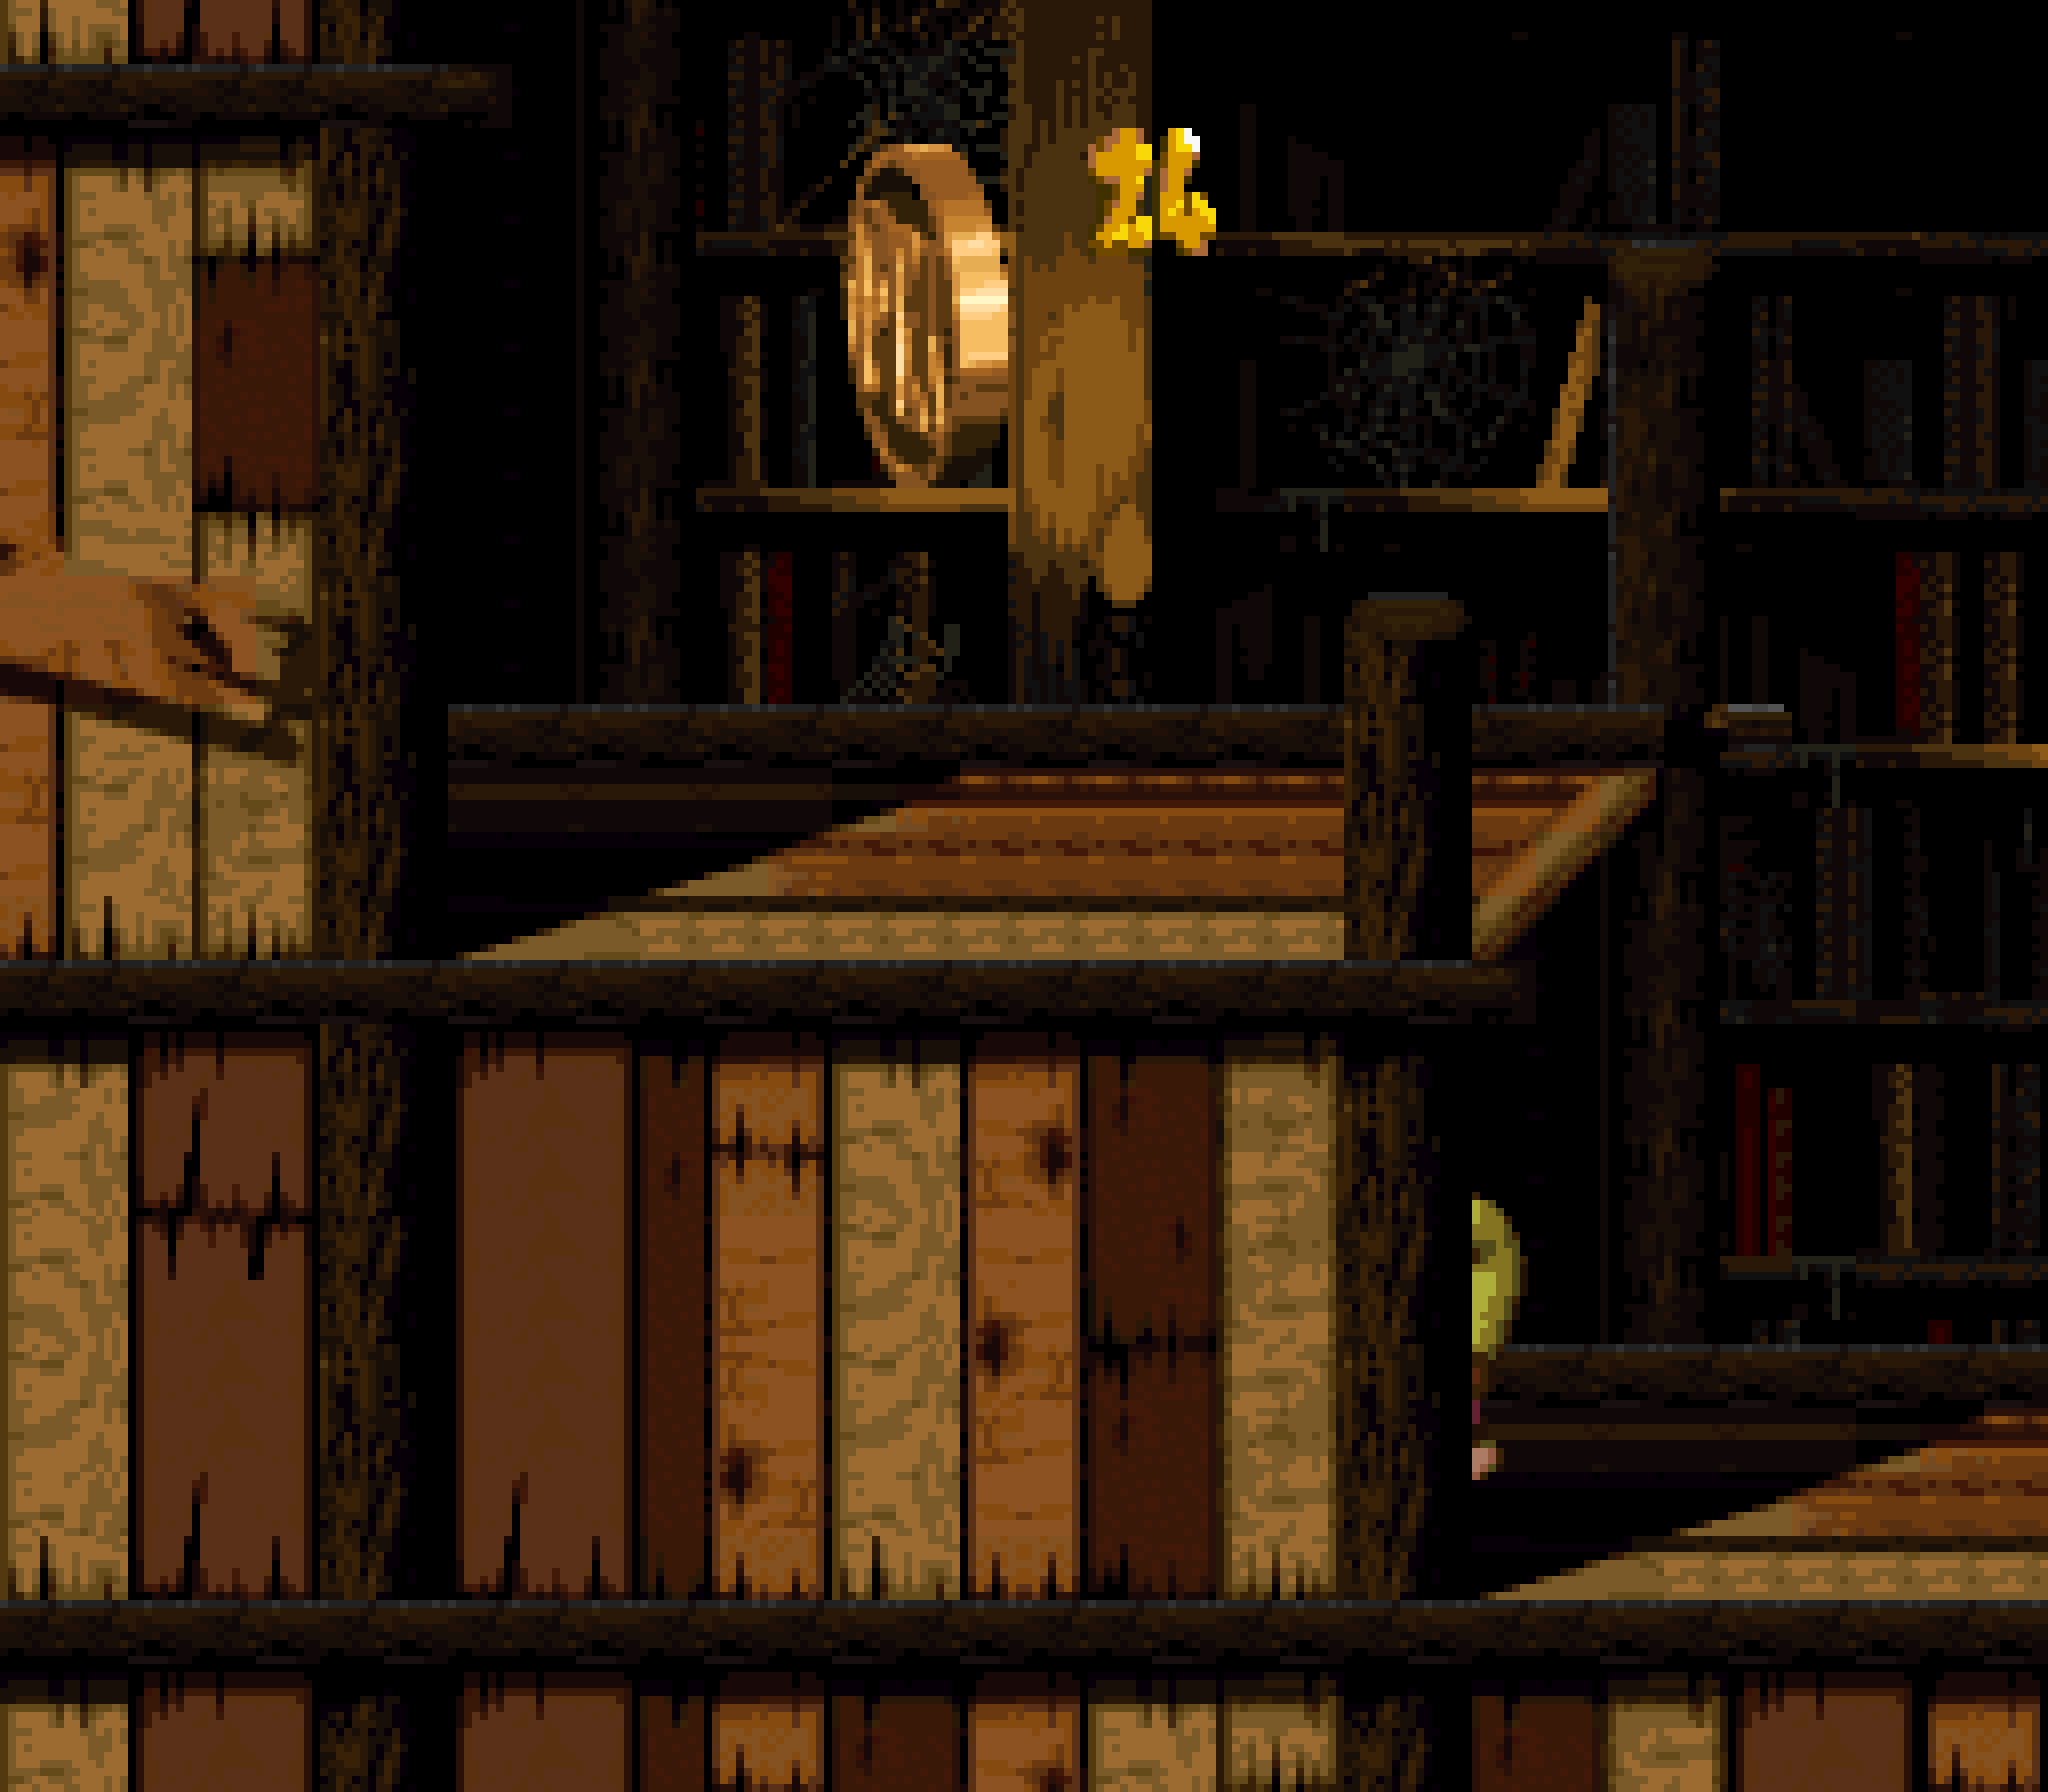
The hero coin is hidden in the raised deck just before the end goal; but unlike the many places where hidden items are ’hind visibly solid objects that you can magically move thru, you can clearly see the front o’ the deck open, so it’s 100% the player’s fault if they don’t think to check under there.
Howe’er, it’s not the player’s fault if they miss this hero coin on the GBA version, not ’cause they might not think to check under there, but ’cause they might try to check under there & be shocked to find that the GBA version, for no reason, expanded the goal’s hit box so that if you land a full foot next to it, you’ll hit the goal & have to do the whole level all o’er ’gain.
Speaking o’ the GBA version, as an interesting twist, it trades the hero coin for a photo o’ Kackle, the ghost who chases you thru this level, & hides the hero coin… a li’l ’bove, also visible ’hind the wall, requiring a Kong toss upward. Not really the most inspired hiding place, to be honest… Still, ’twas an interesting twist moving the hero coin, as this is the only level to do so.
Meanwhile, its feather involves yet ’nother Dixie-only barrel, but this time offscreen. They give you a single banana to telegraph something down there, but nothing to indicate that it’s a Dixie-only barrel, so there’s a high chance somebody drops down there as Diddy only to find this hilarious surprise.
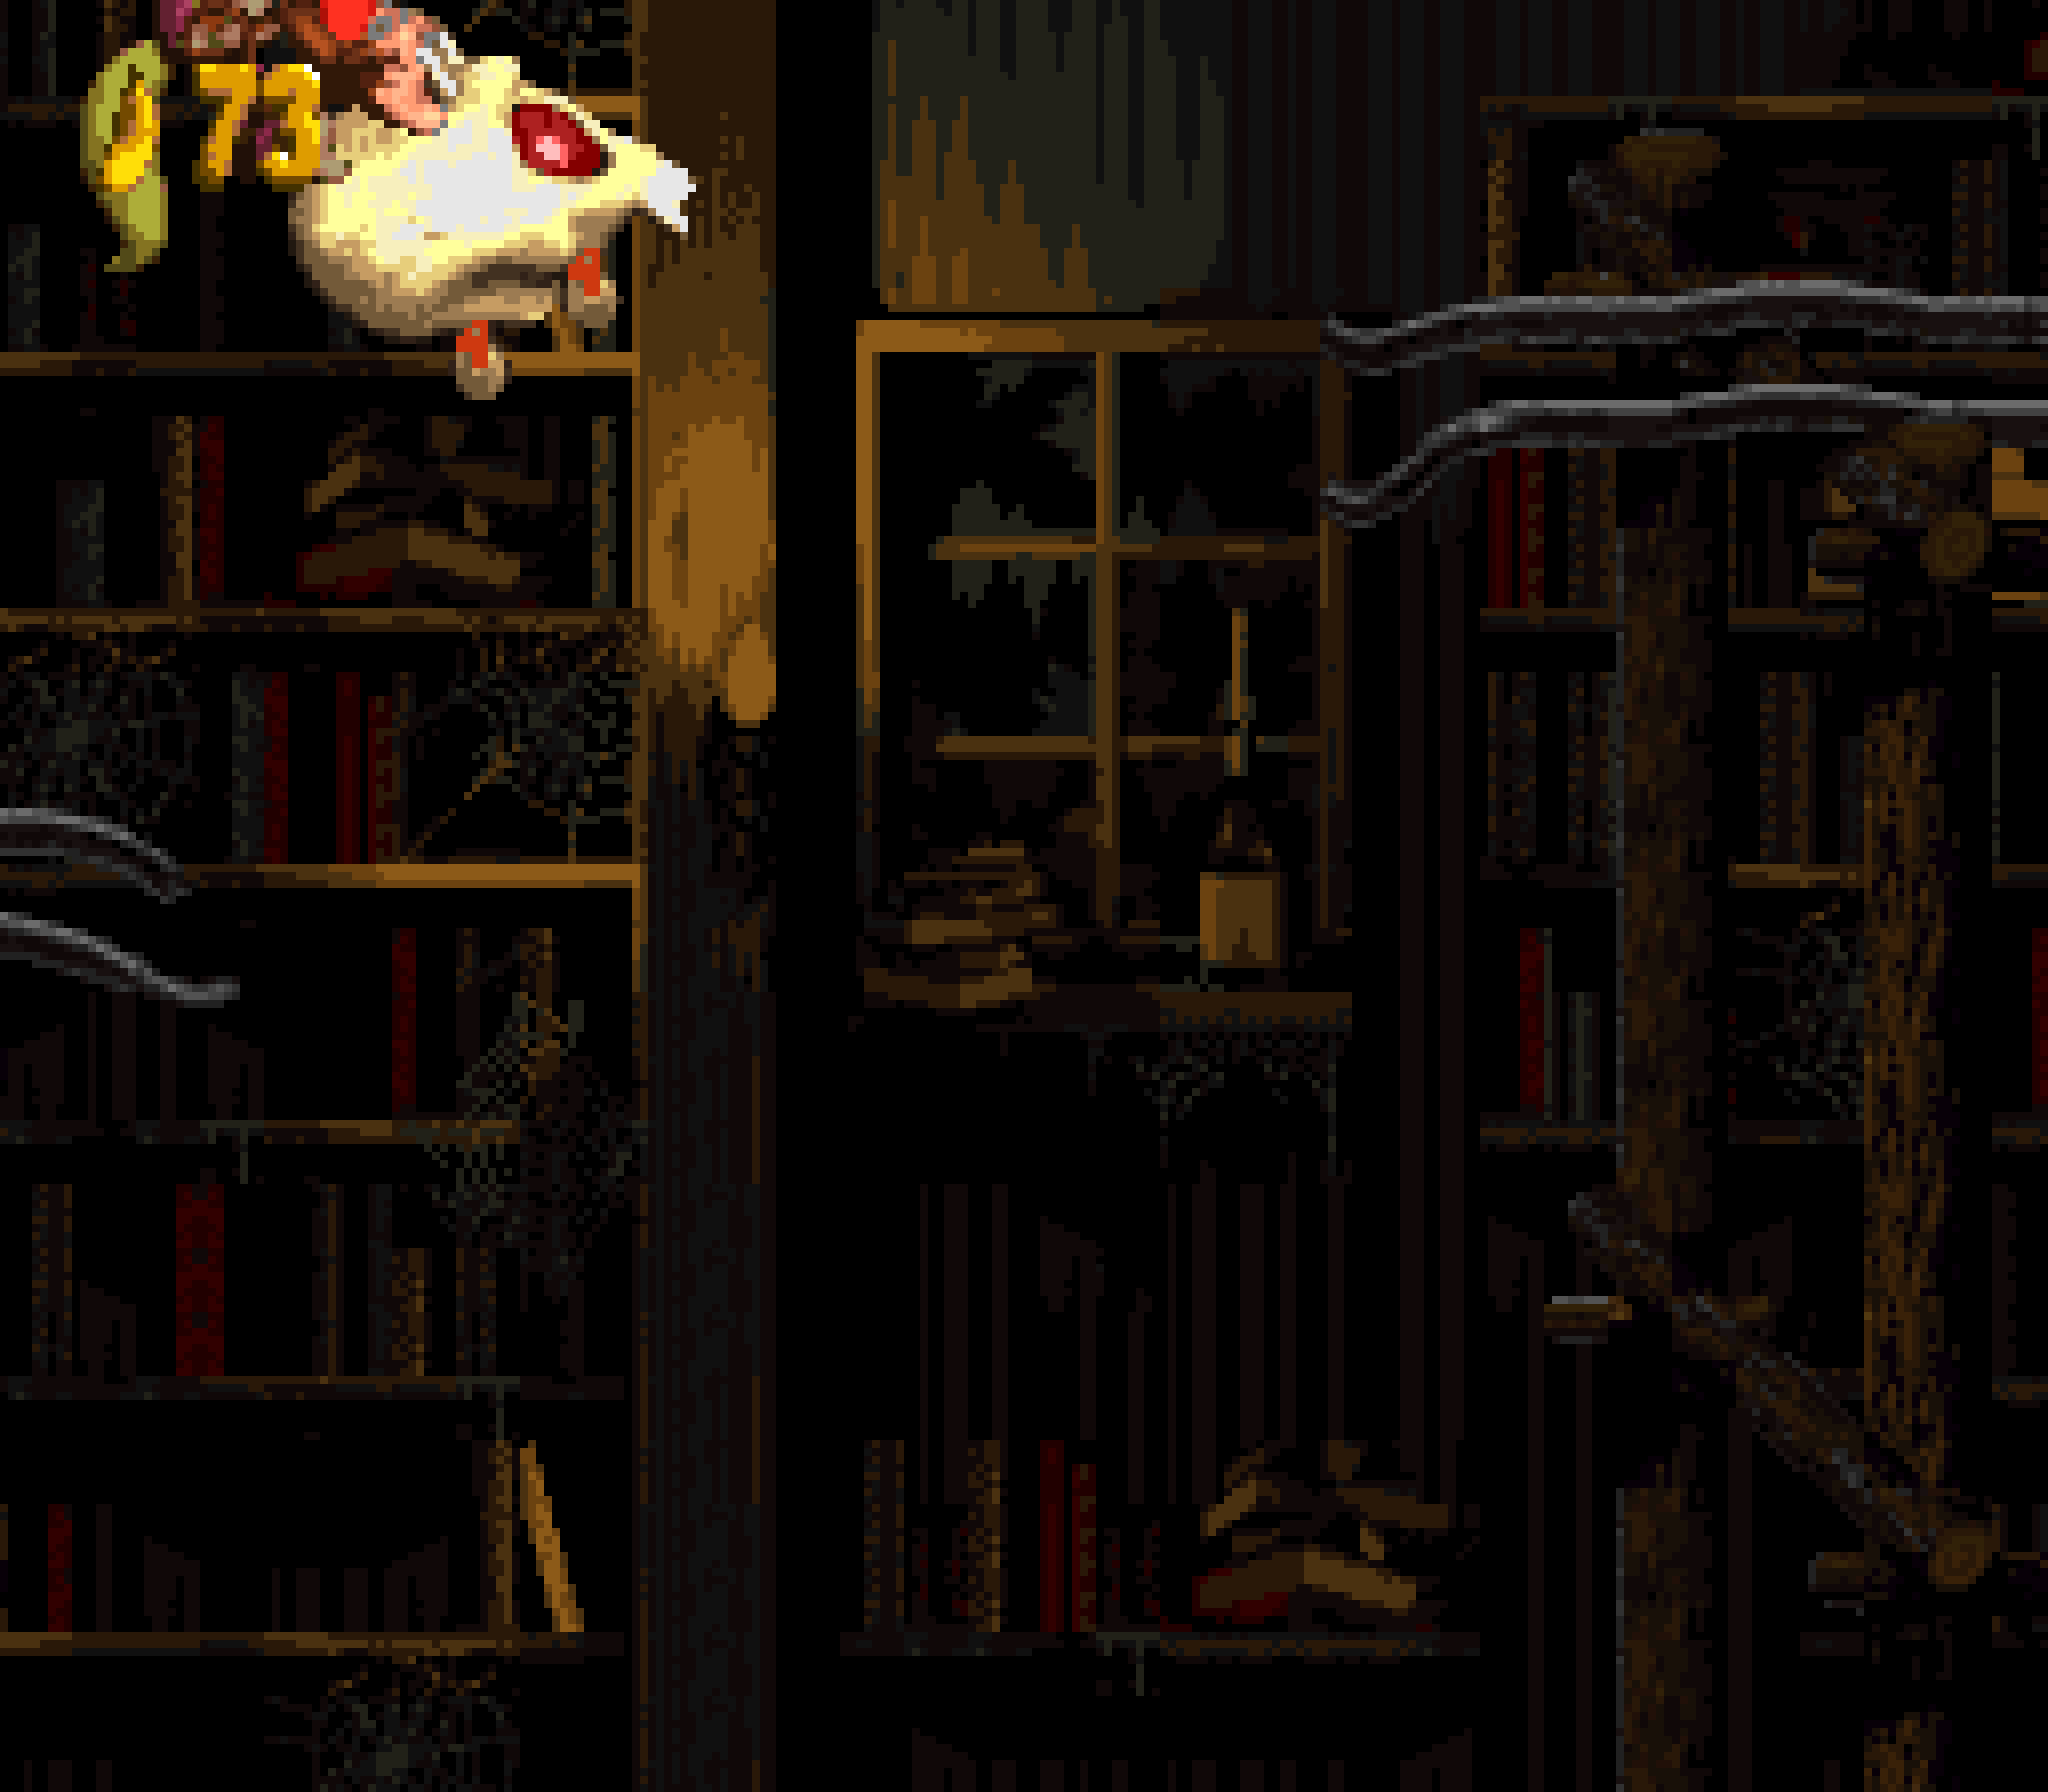
Honestly, most o’ this level’s ranking comes from its aesthetics. If ’twere a regular mine cart level in a regular mine, ’twould probably be a bit lower, but having you ride a skullfaced rollercoaster in a library being chased by a skeleton crocodile ghost just makes the level so much better. If there’s any flaw here it’s that this is the only library level, since it is a cool background. I will admit, howe’er, that I find “Haunted Chase” to be 1 o’ the least great songs in this game. It’s not bad, — to song in this game is — but it kind o’ feels like stereotypical dangerous horror movie chase music, — I mean, it’s basically “Night of the Bald Mountain” , which isn’t e’en a novel song to take inspiration from, like, say, “In the Air Tonight” or Vangelis’s “Theme of Antarctica” — whereas other levels make a better attempt to subvert expectations. Compare that to “Disco Train”, which could’ve been stereotypical carnival music inspired by “Entry of the Gladiators”, but ’stead goes in a completely different direction & is a disco song o’ all things.