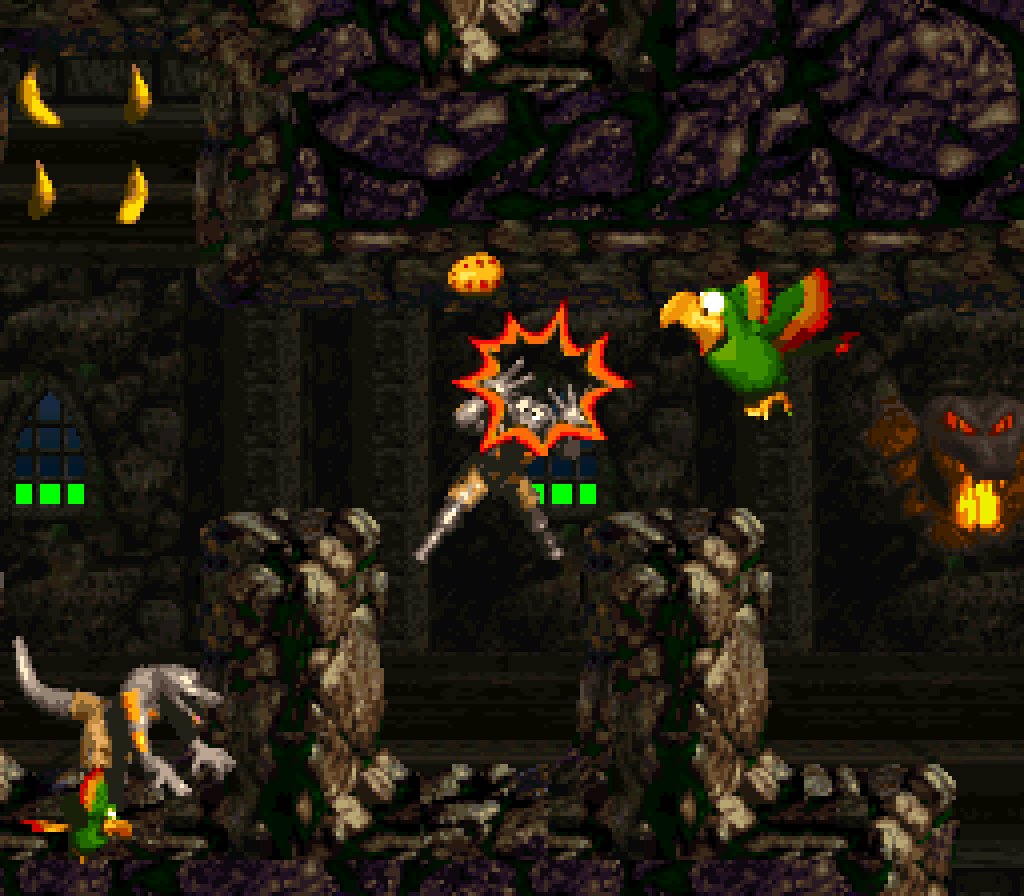
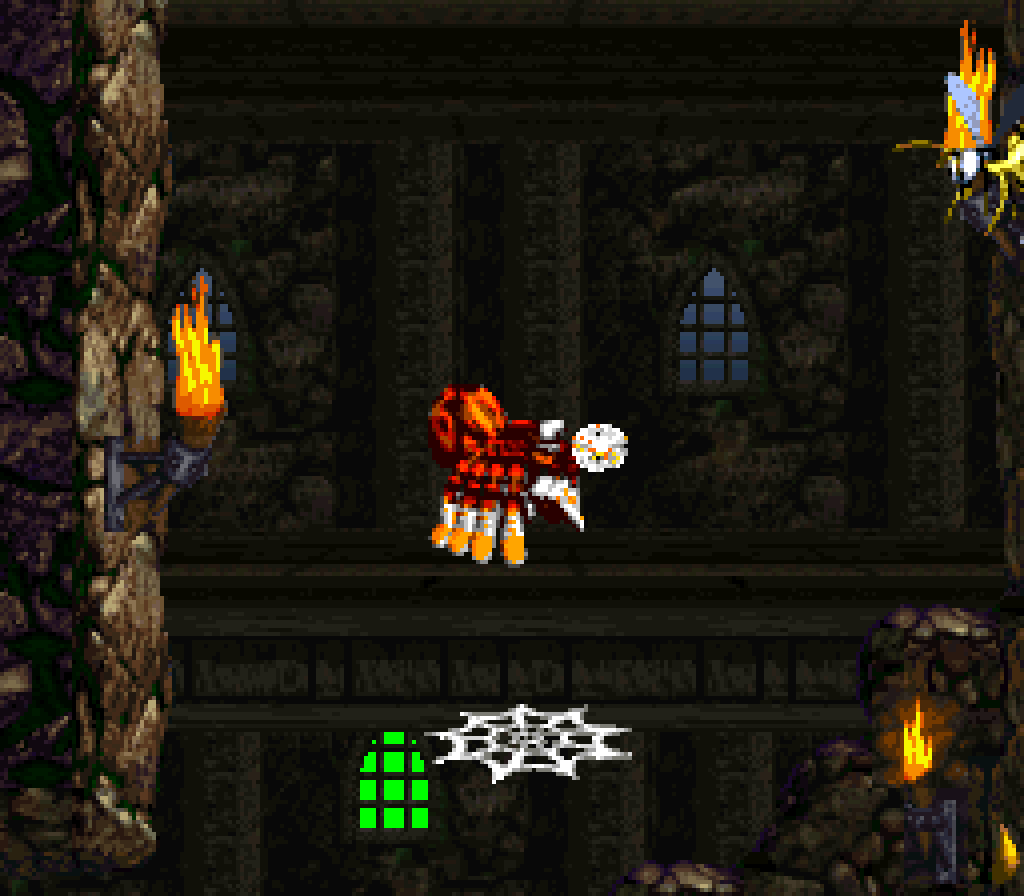
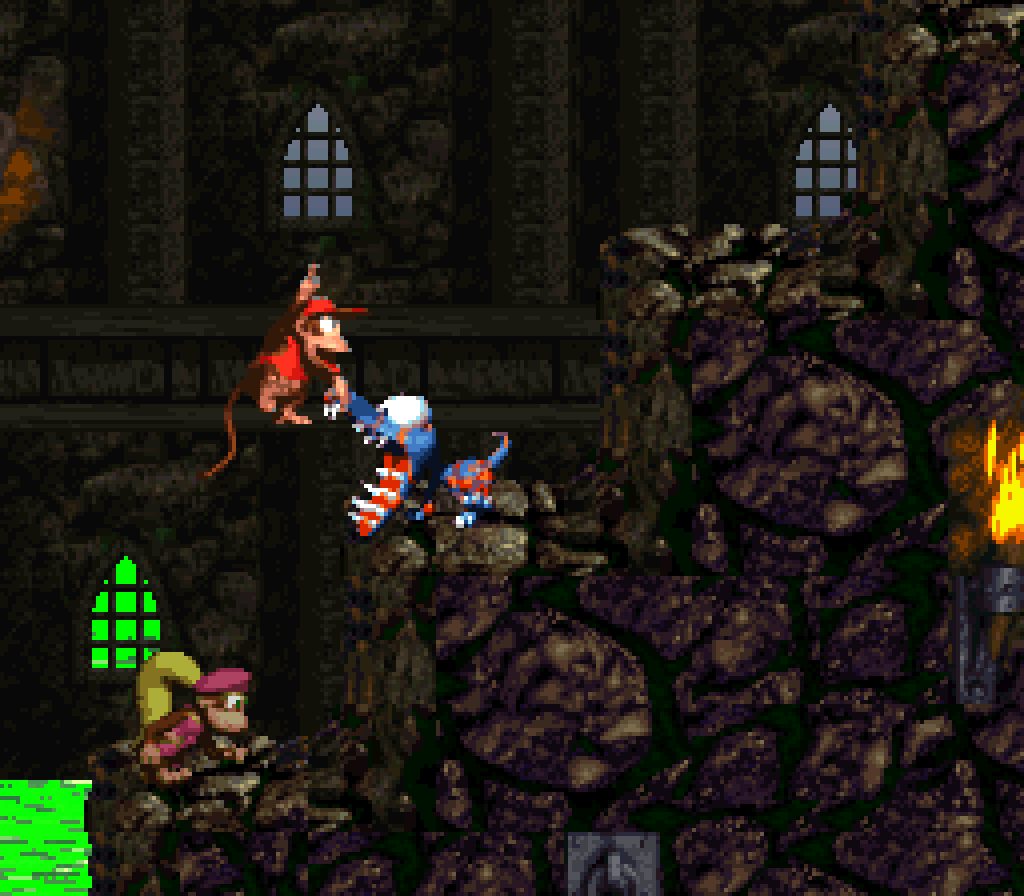
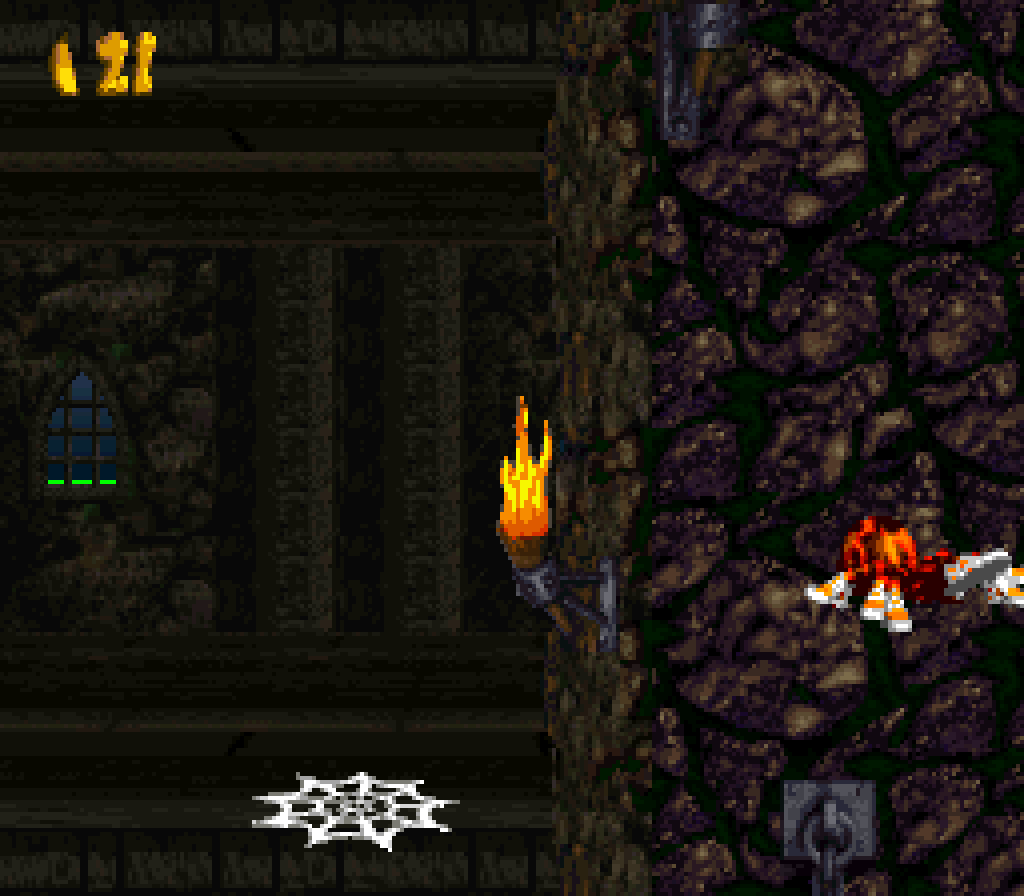
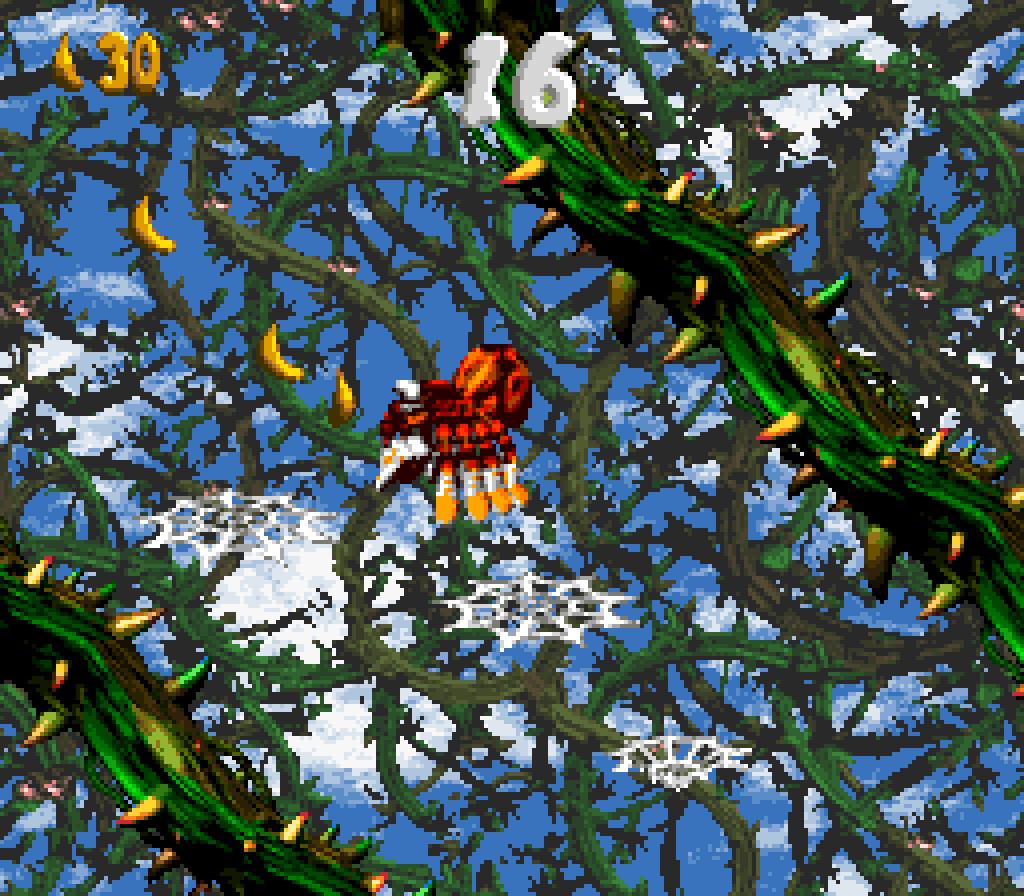
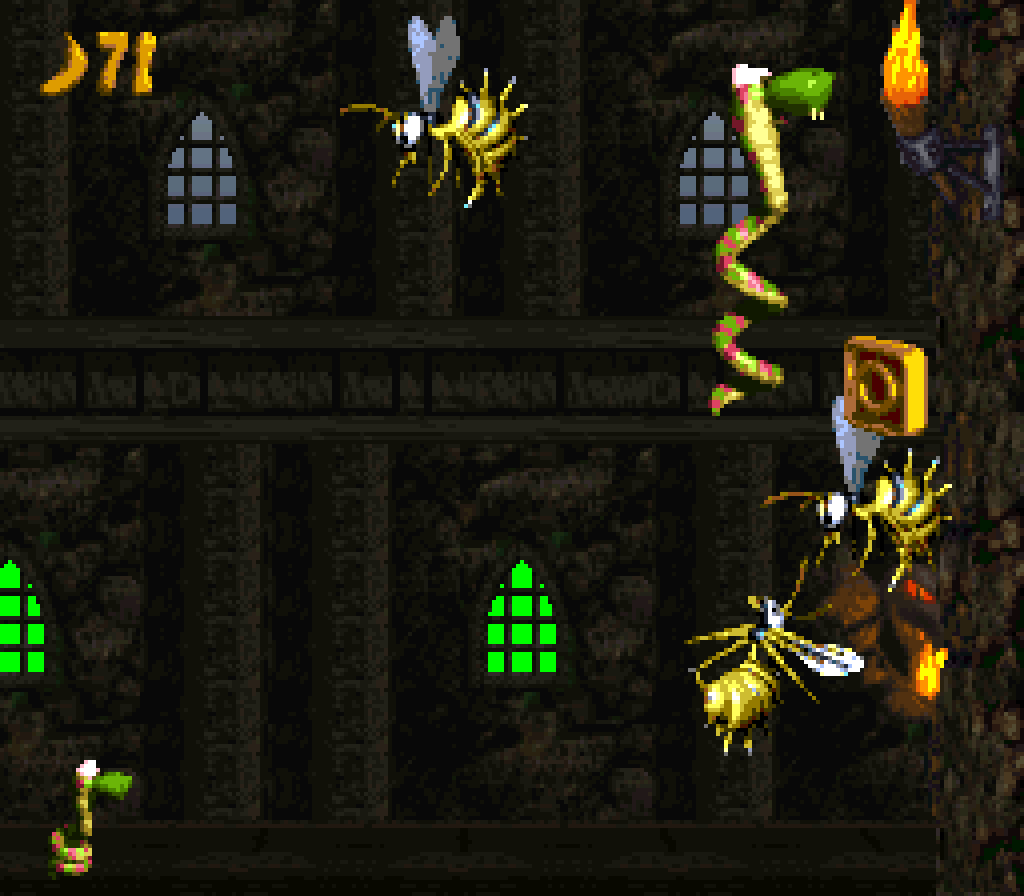
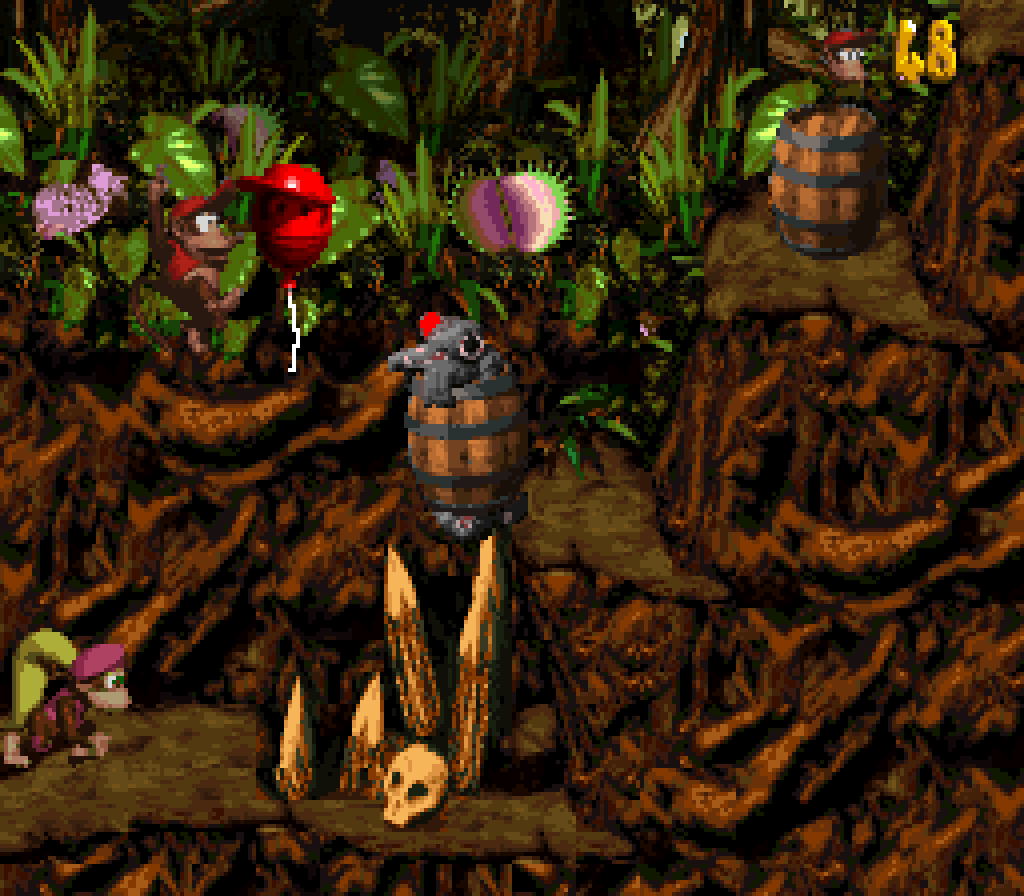
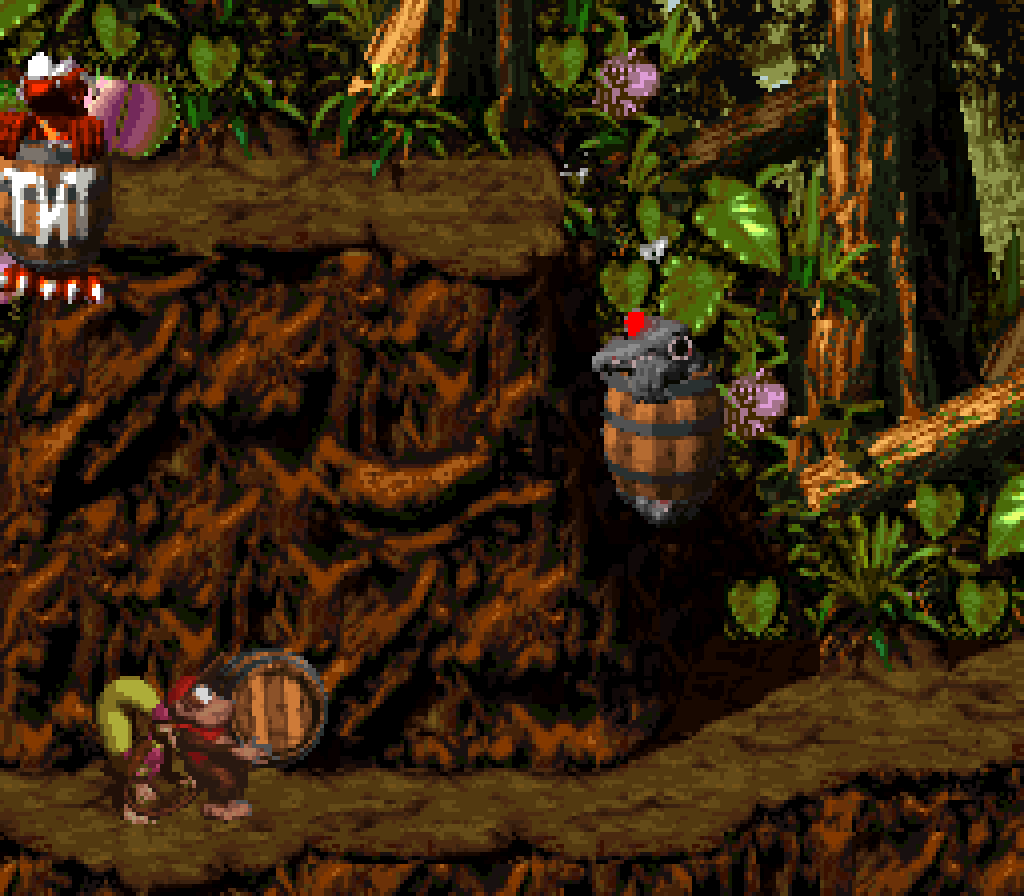
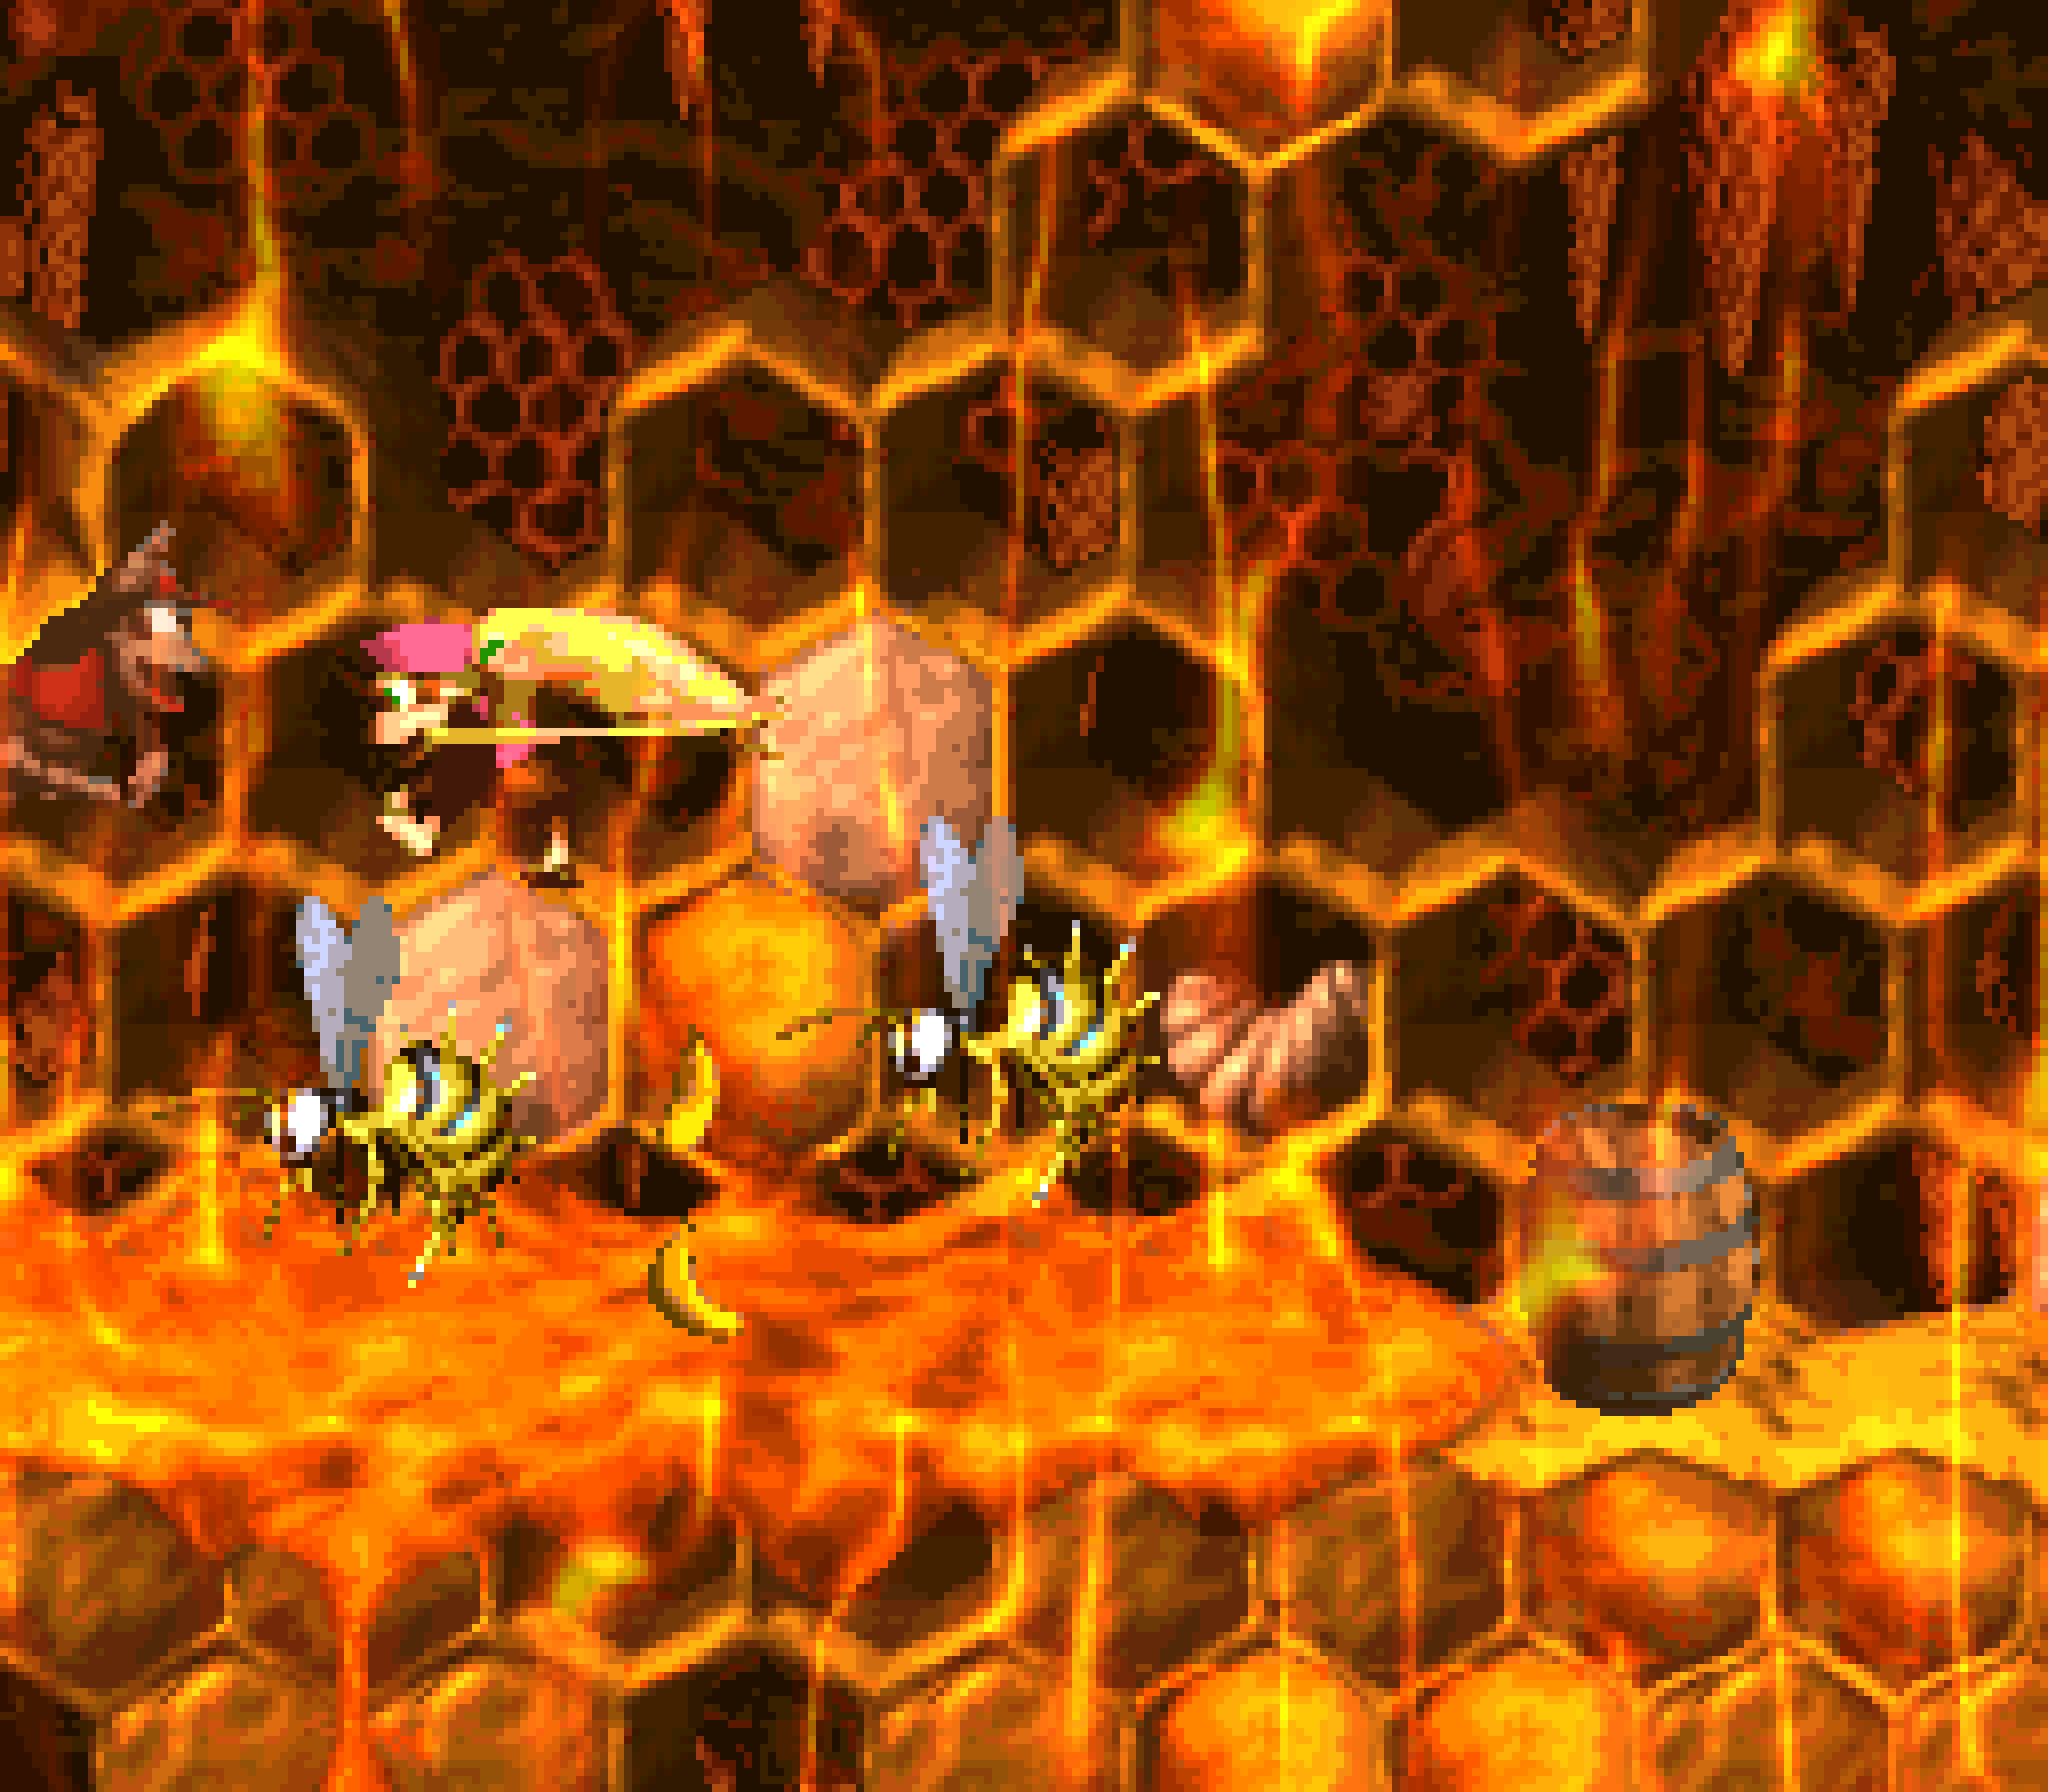
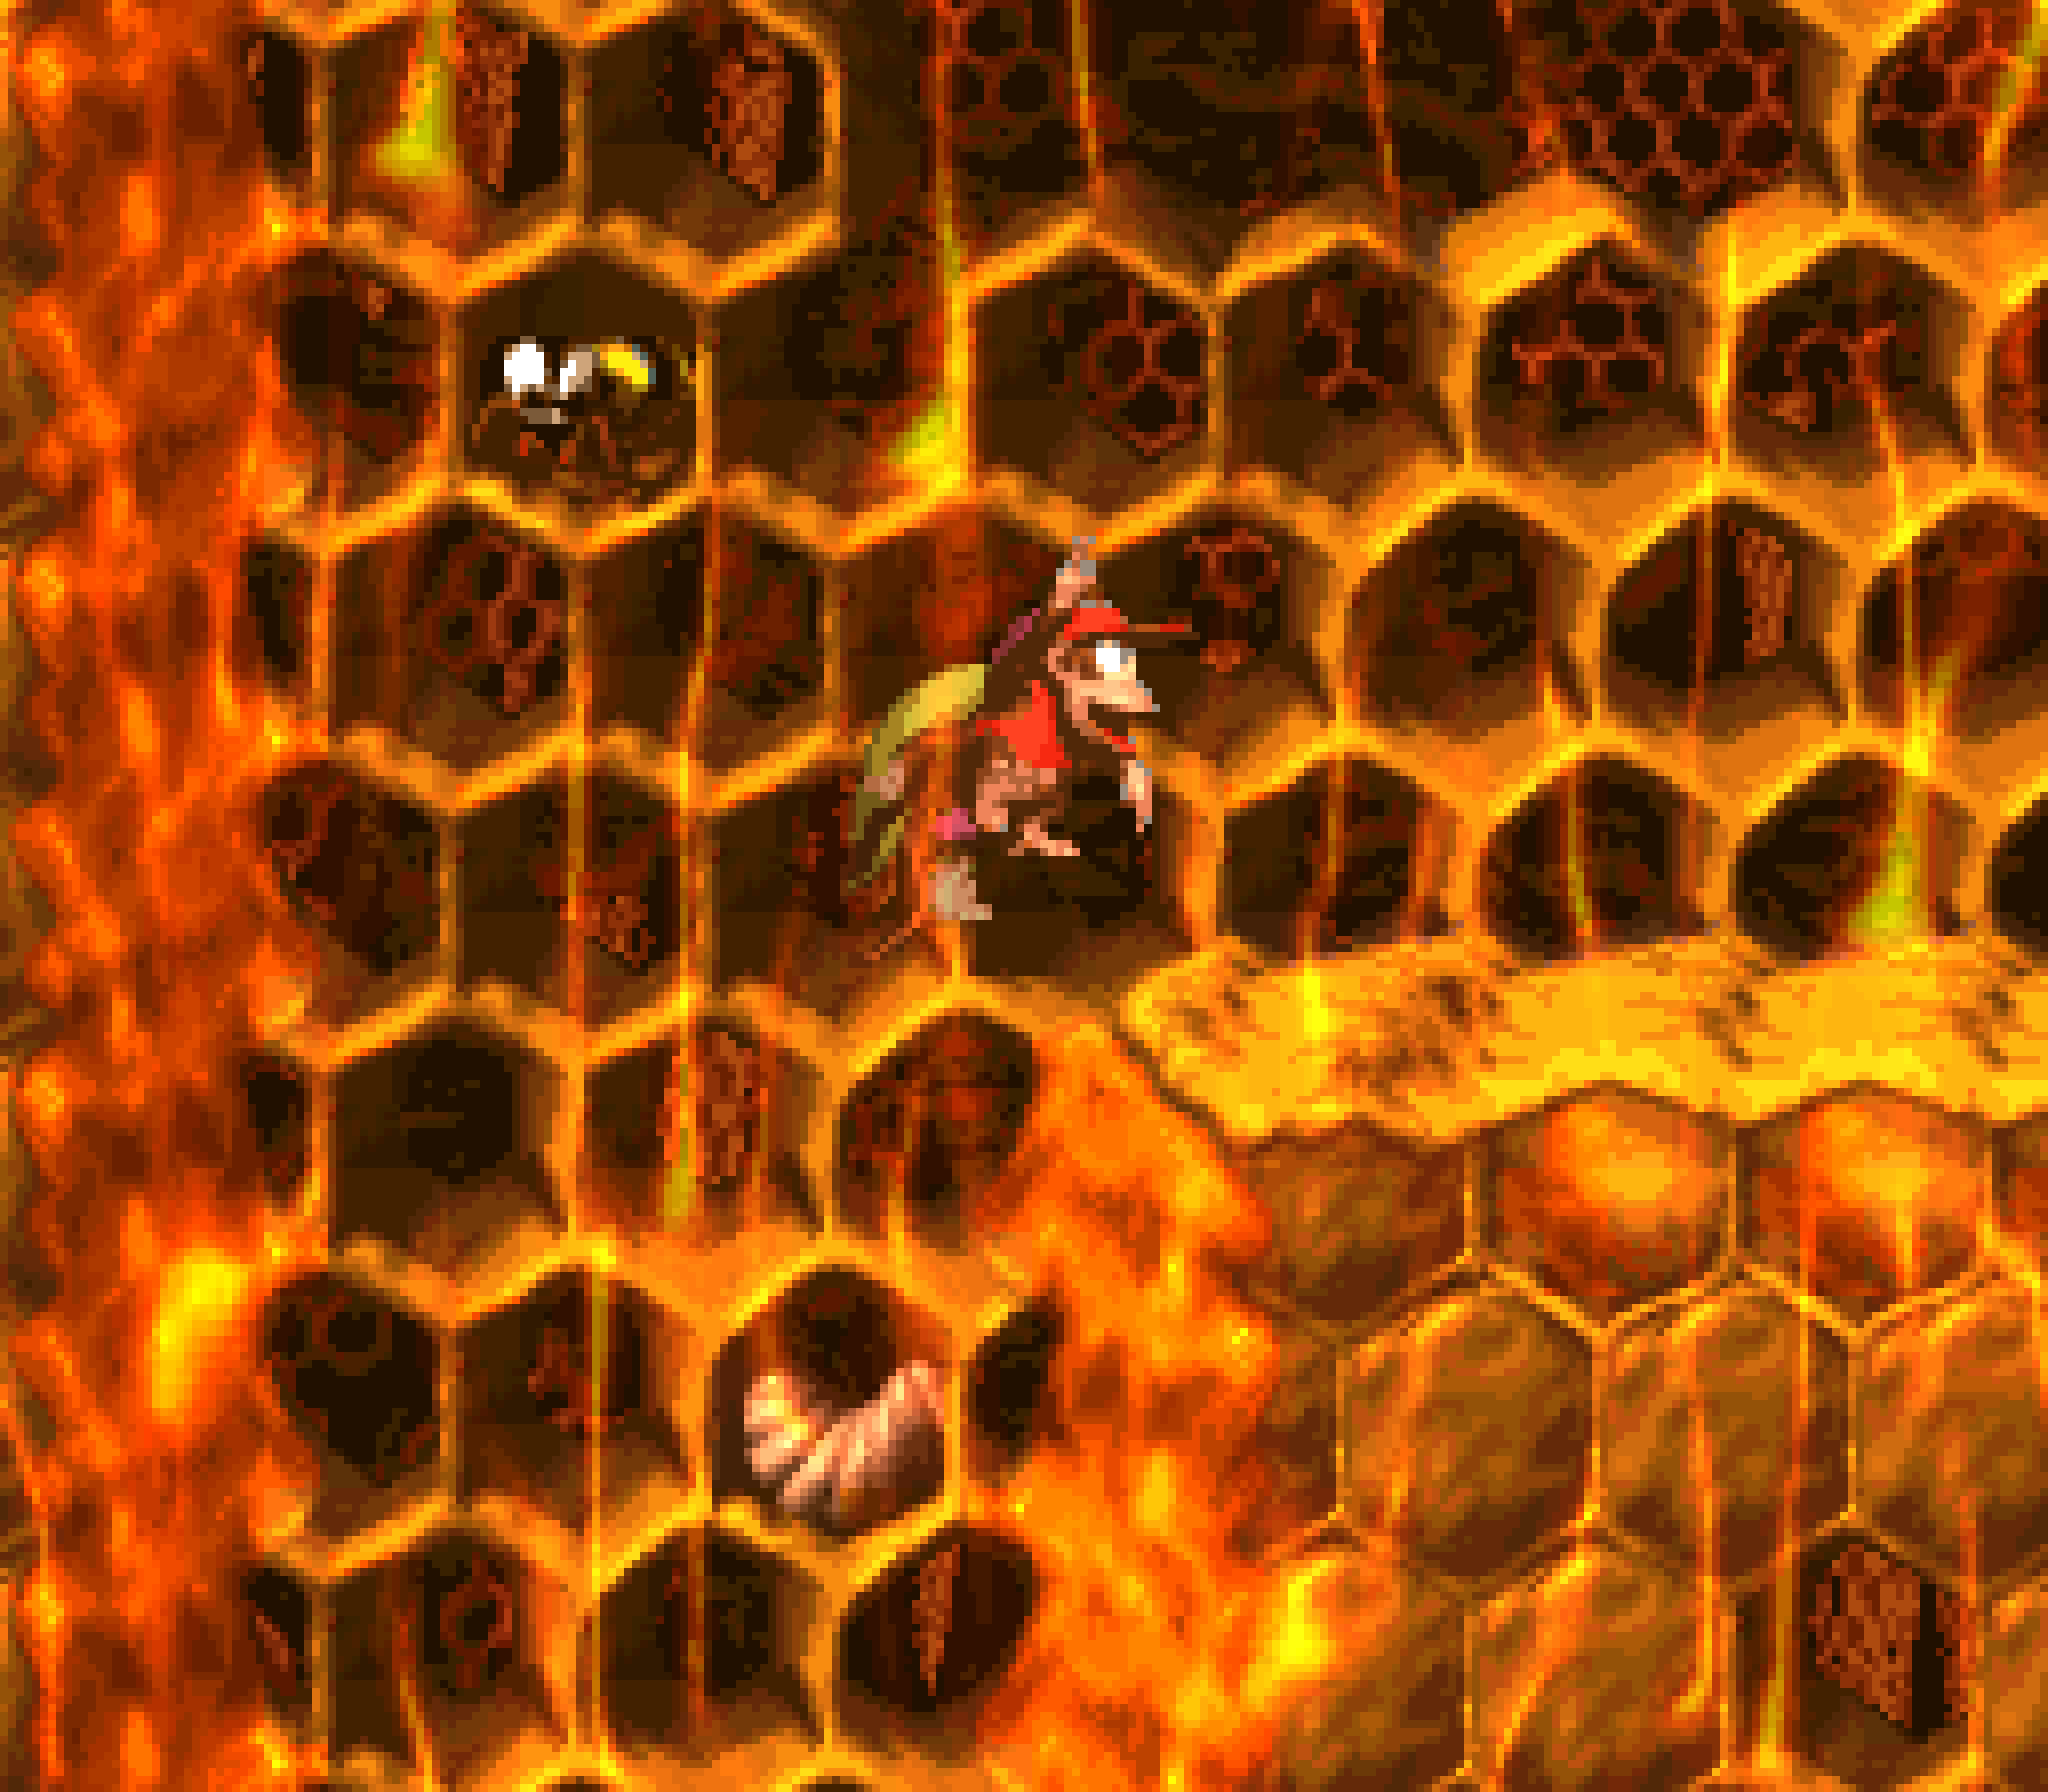
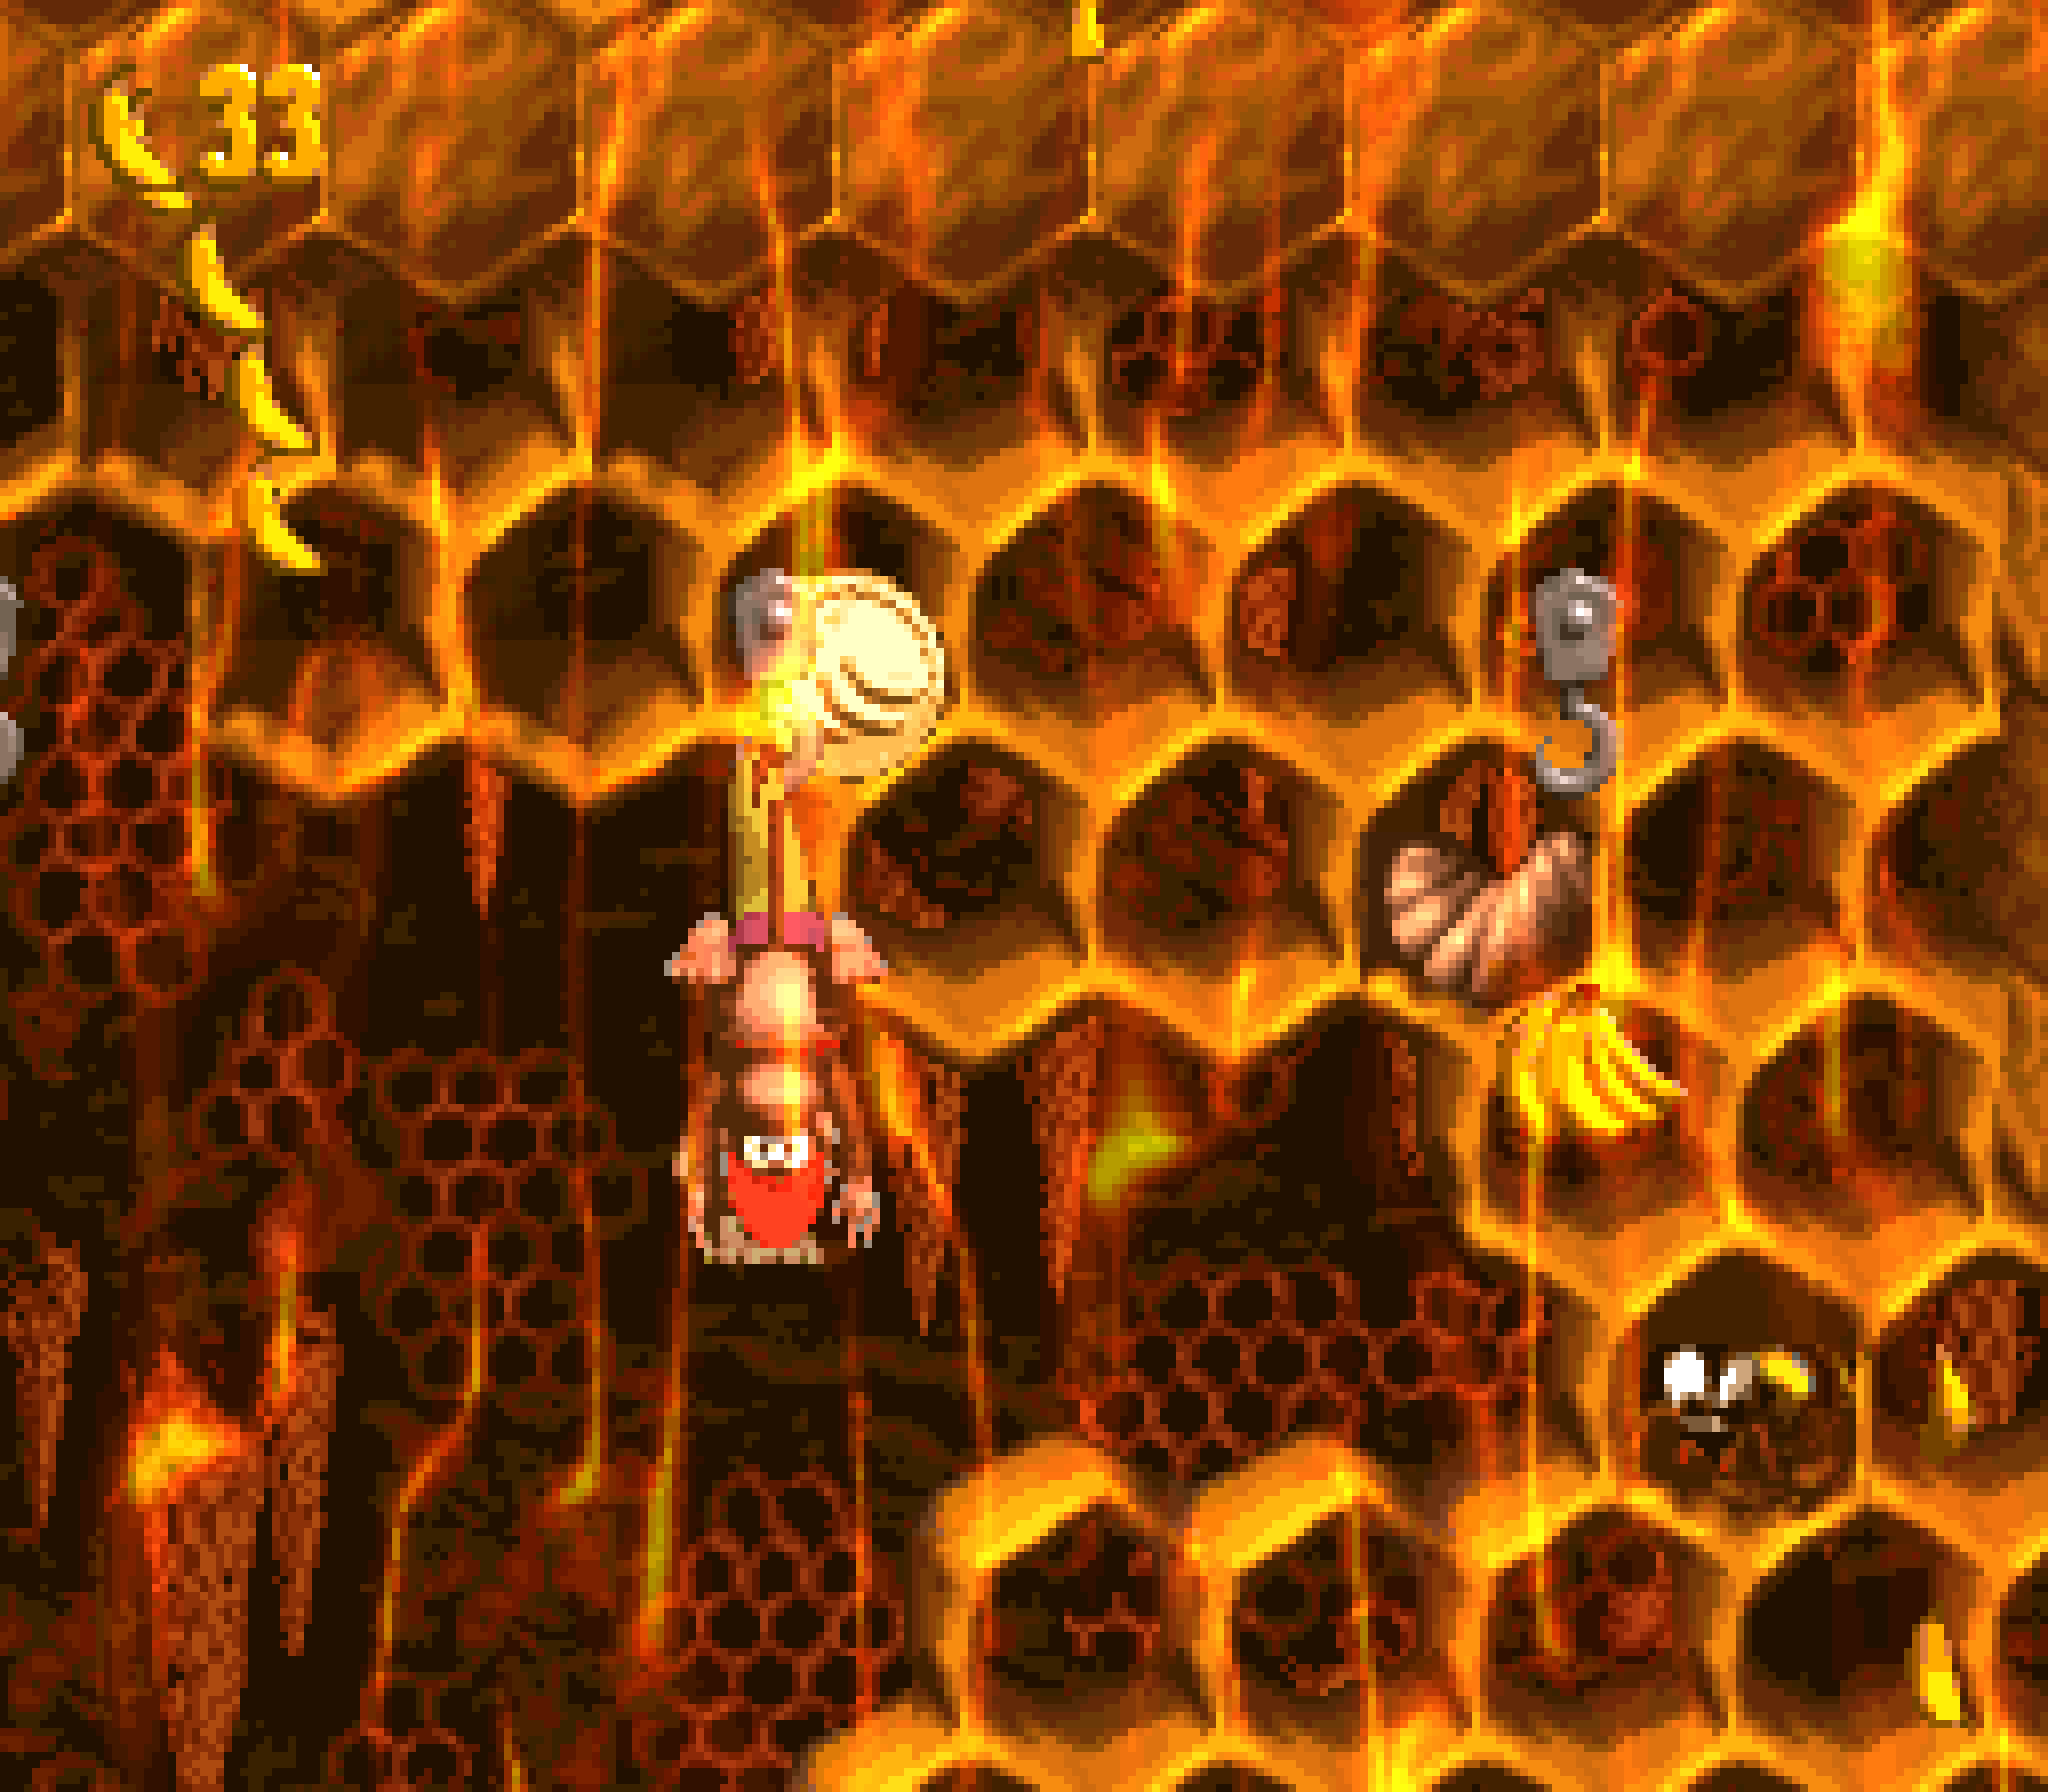
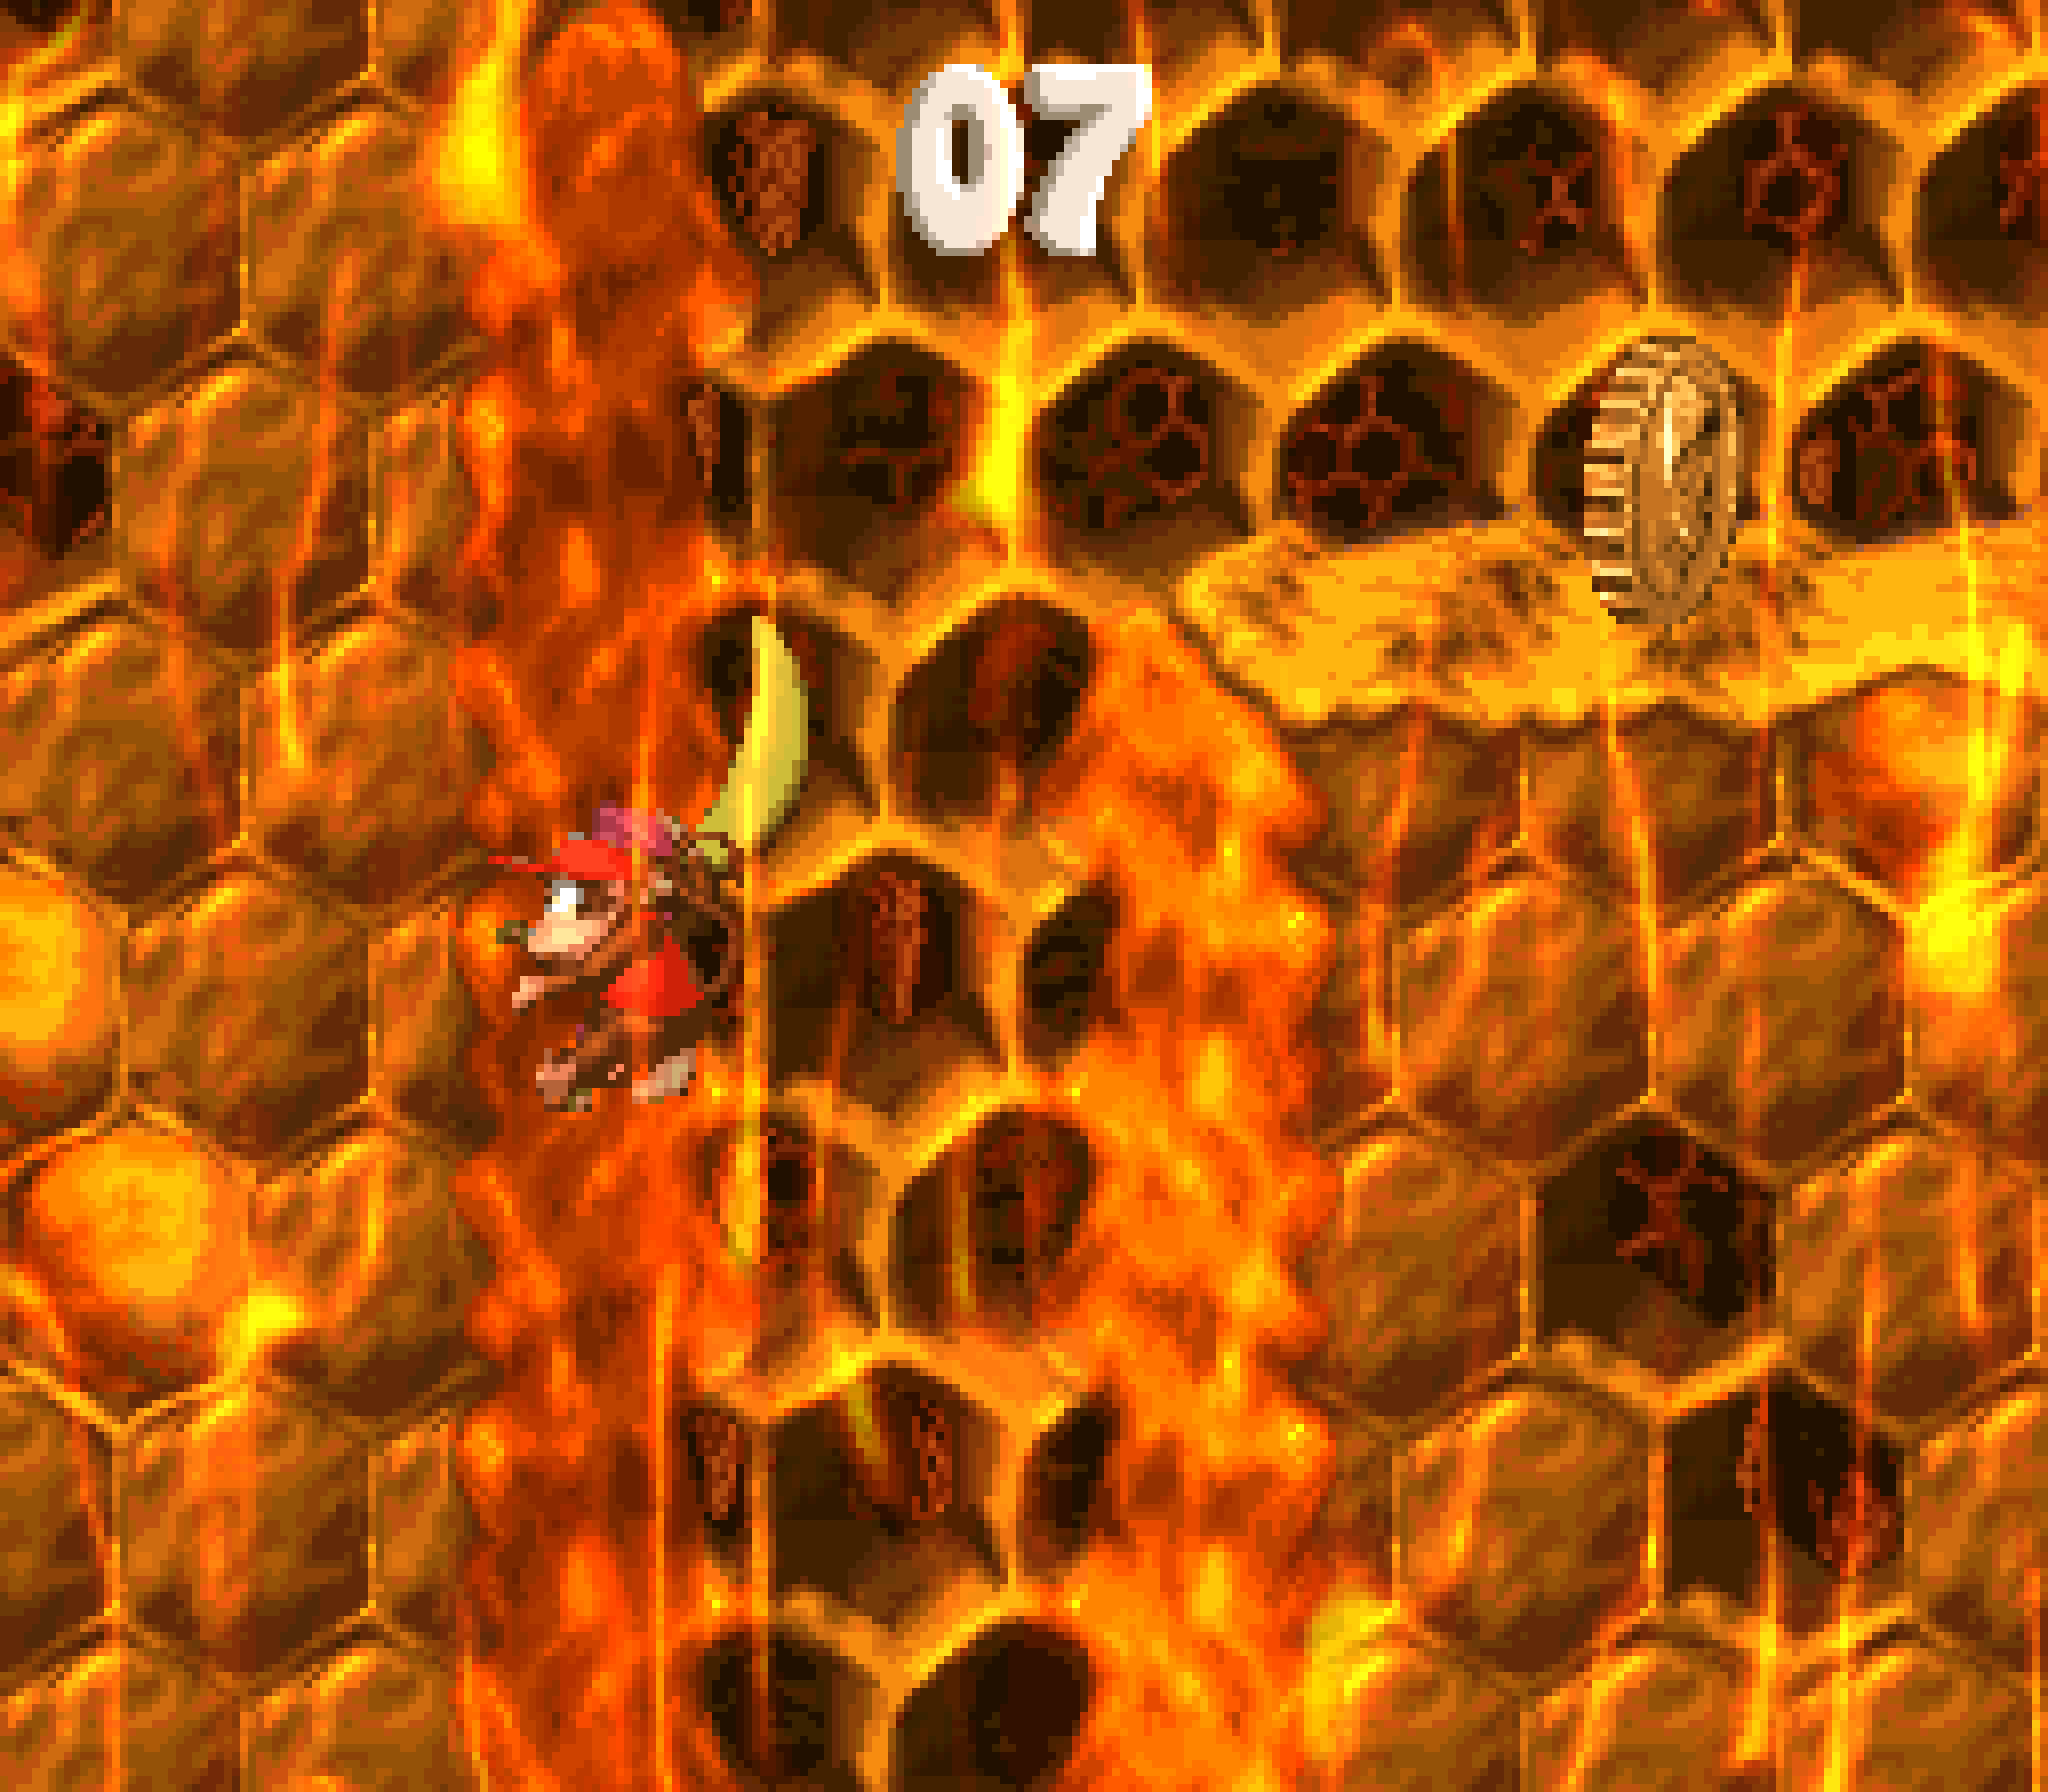
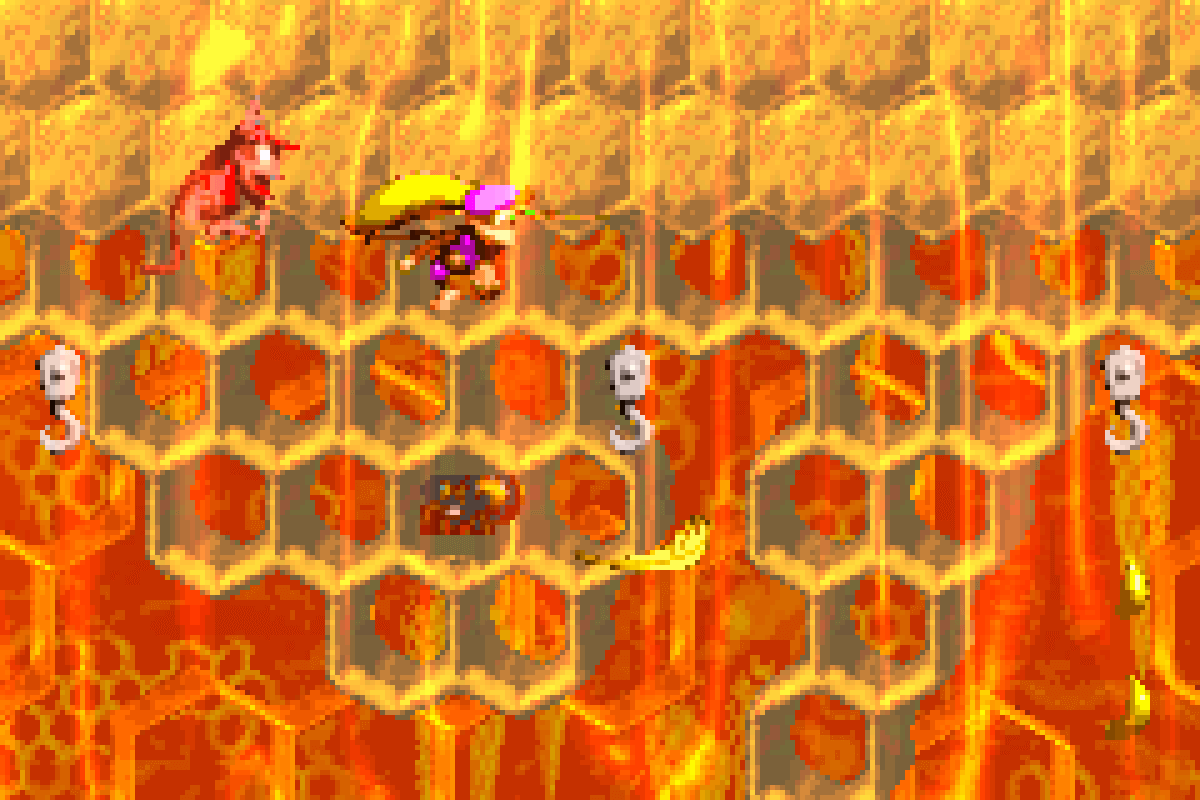
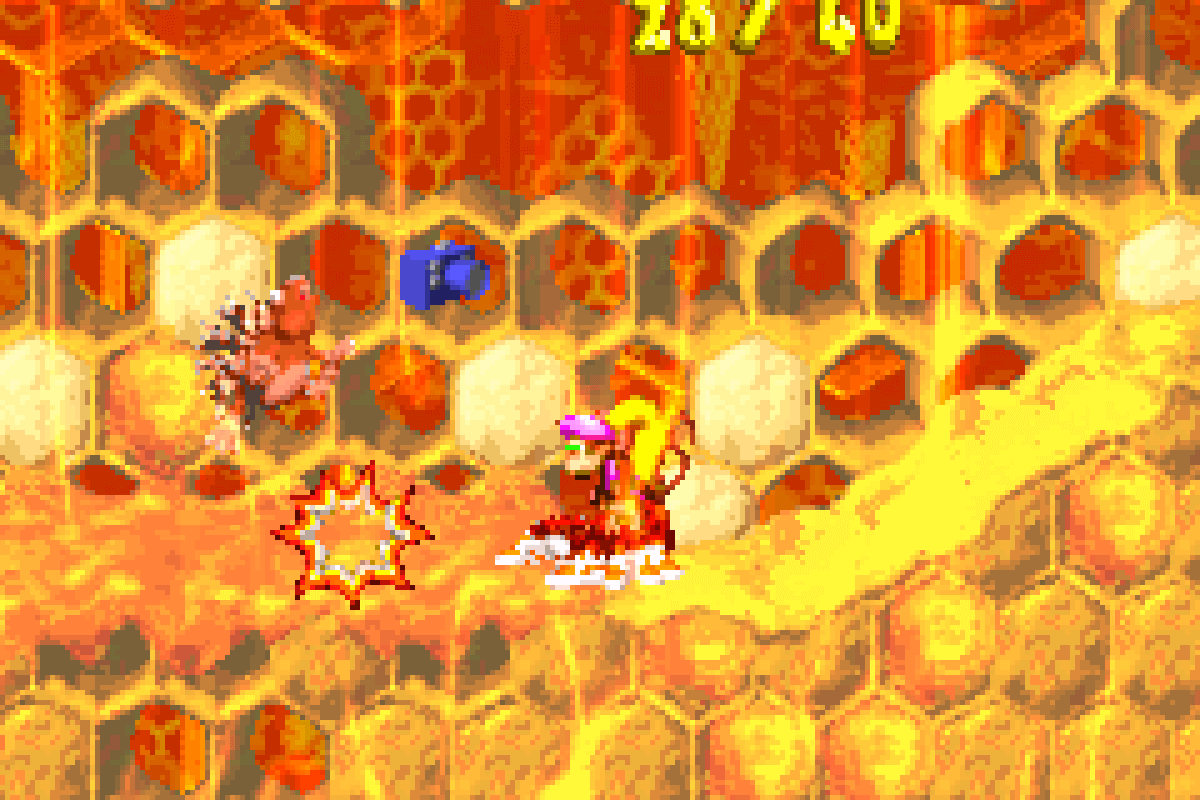
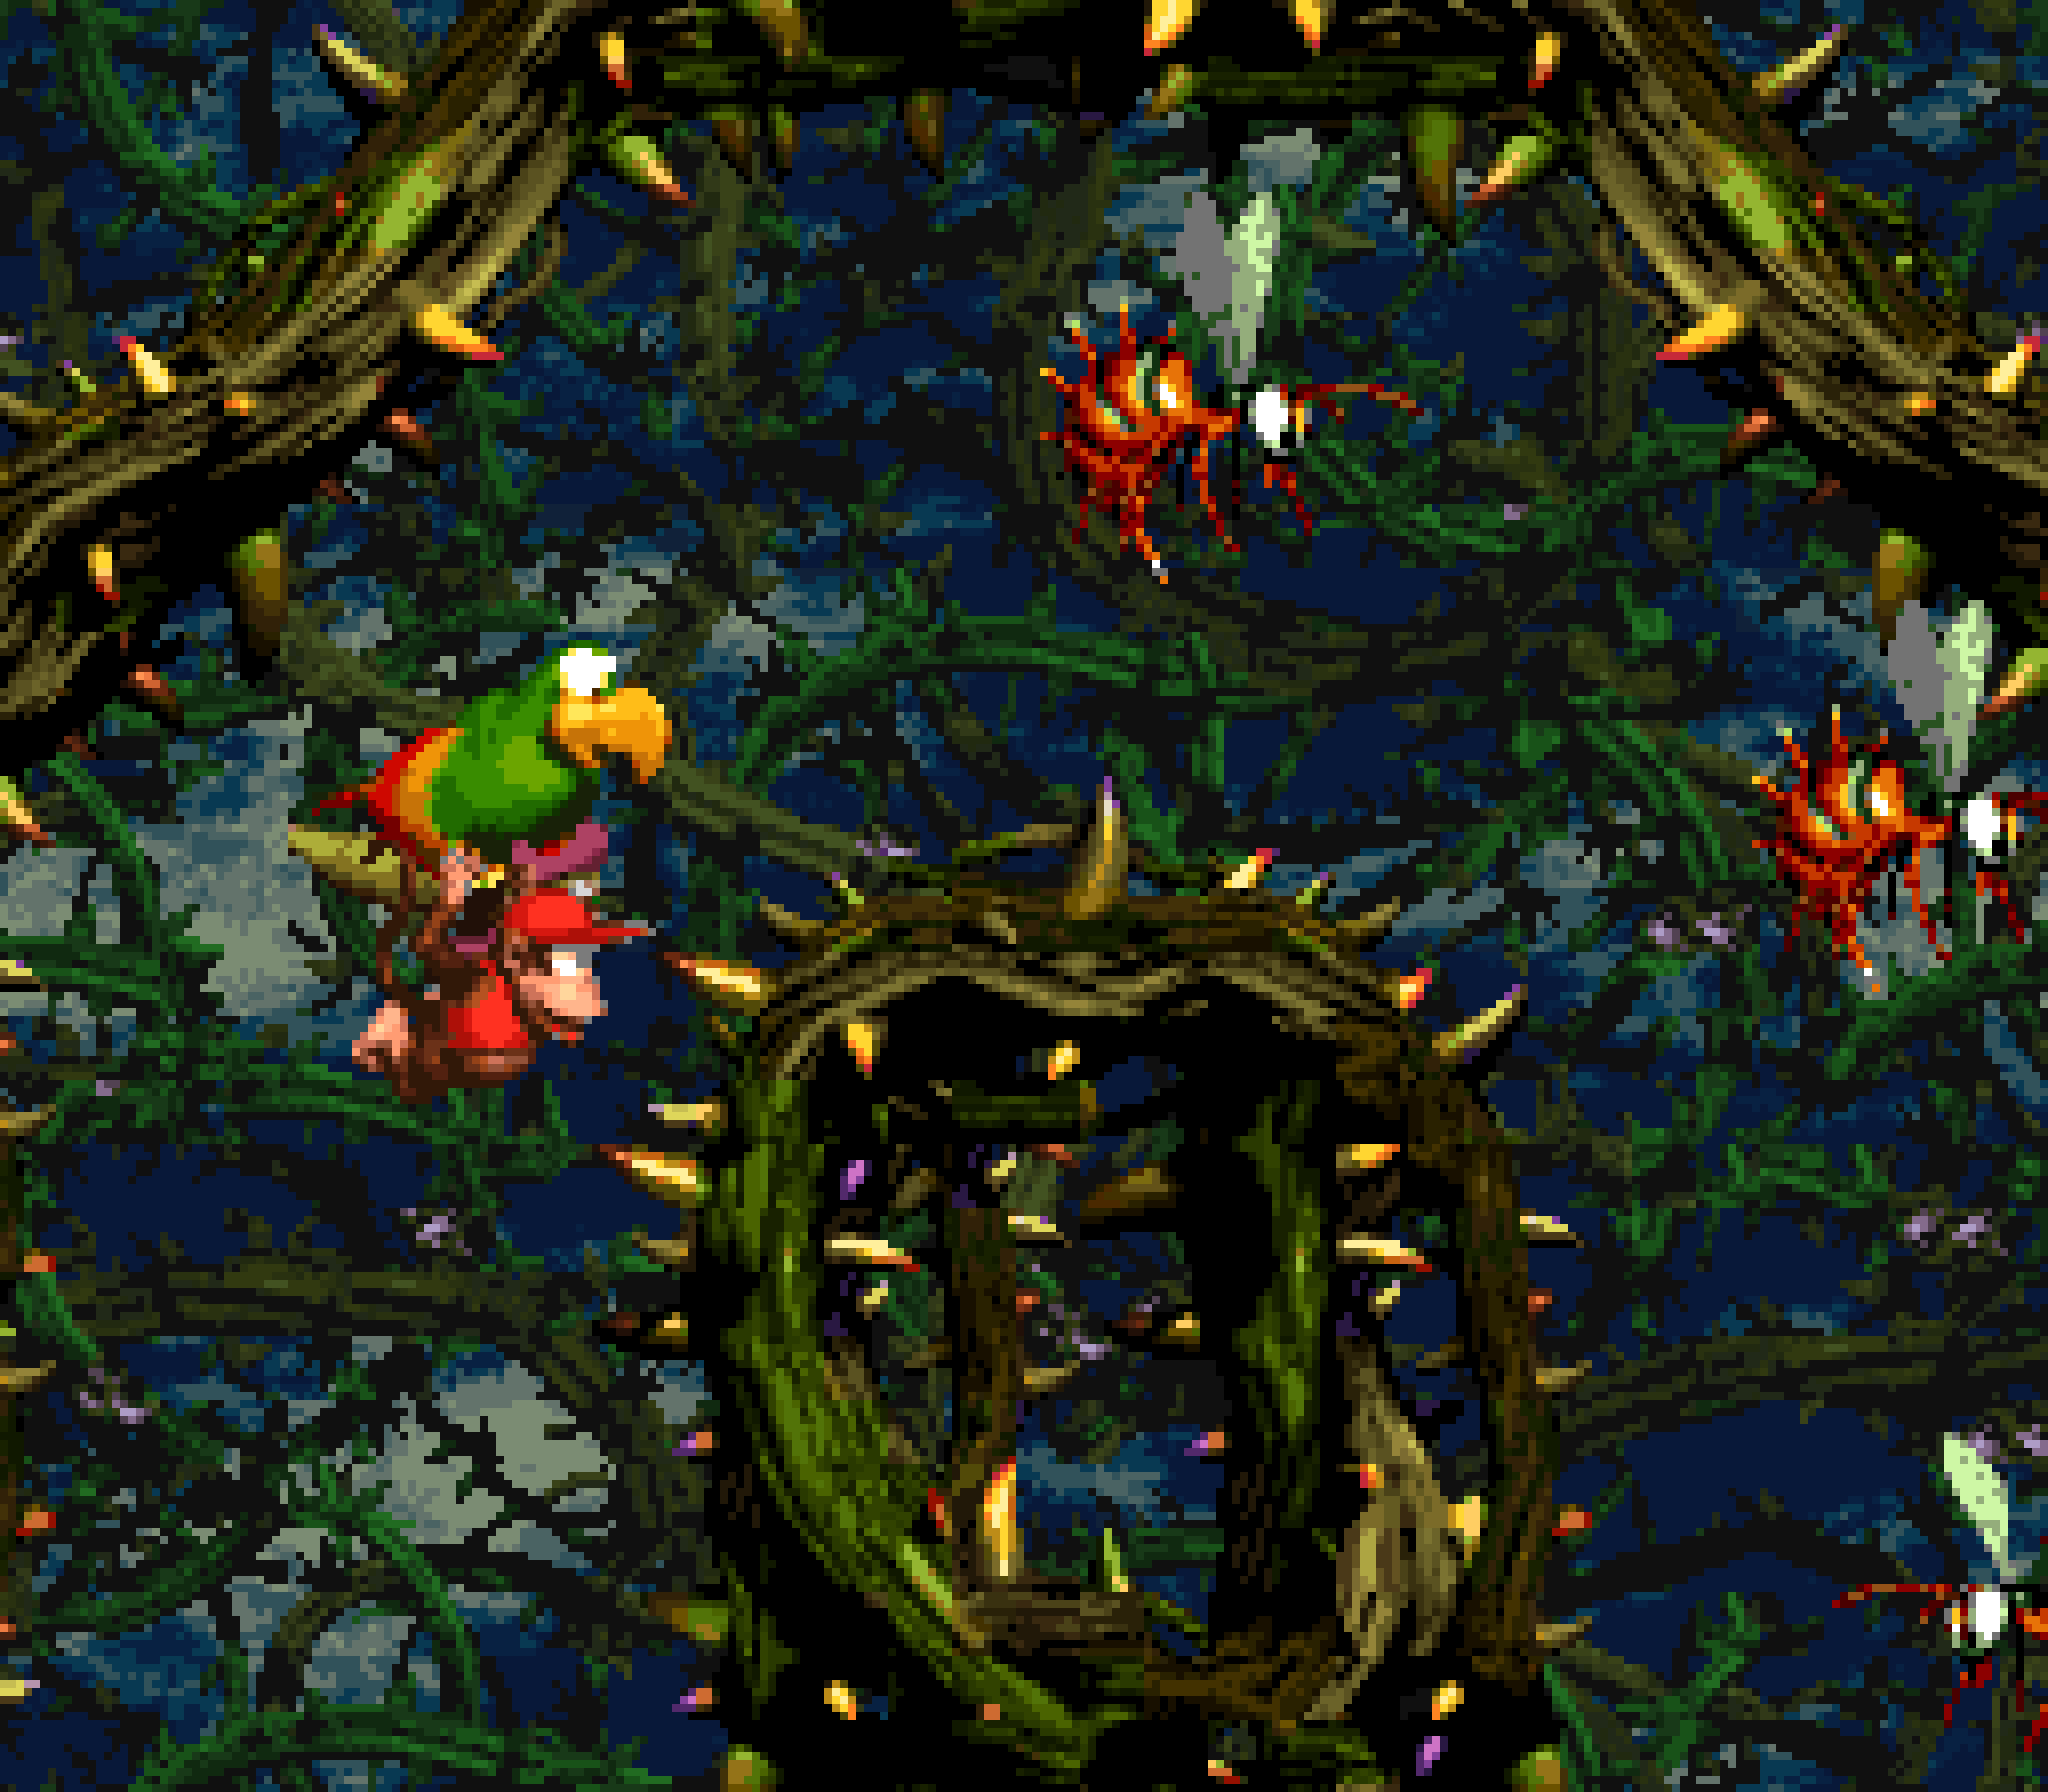
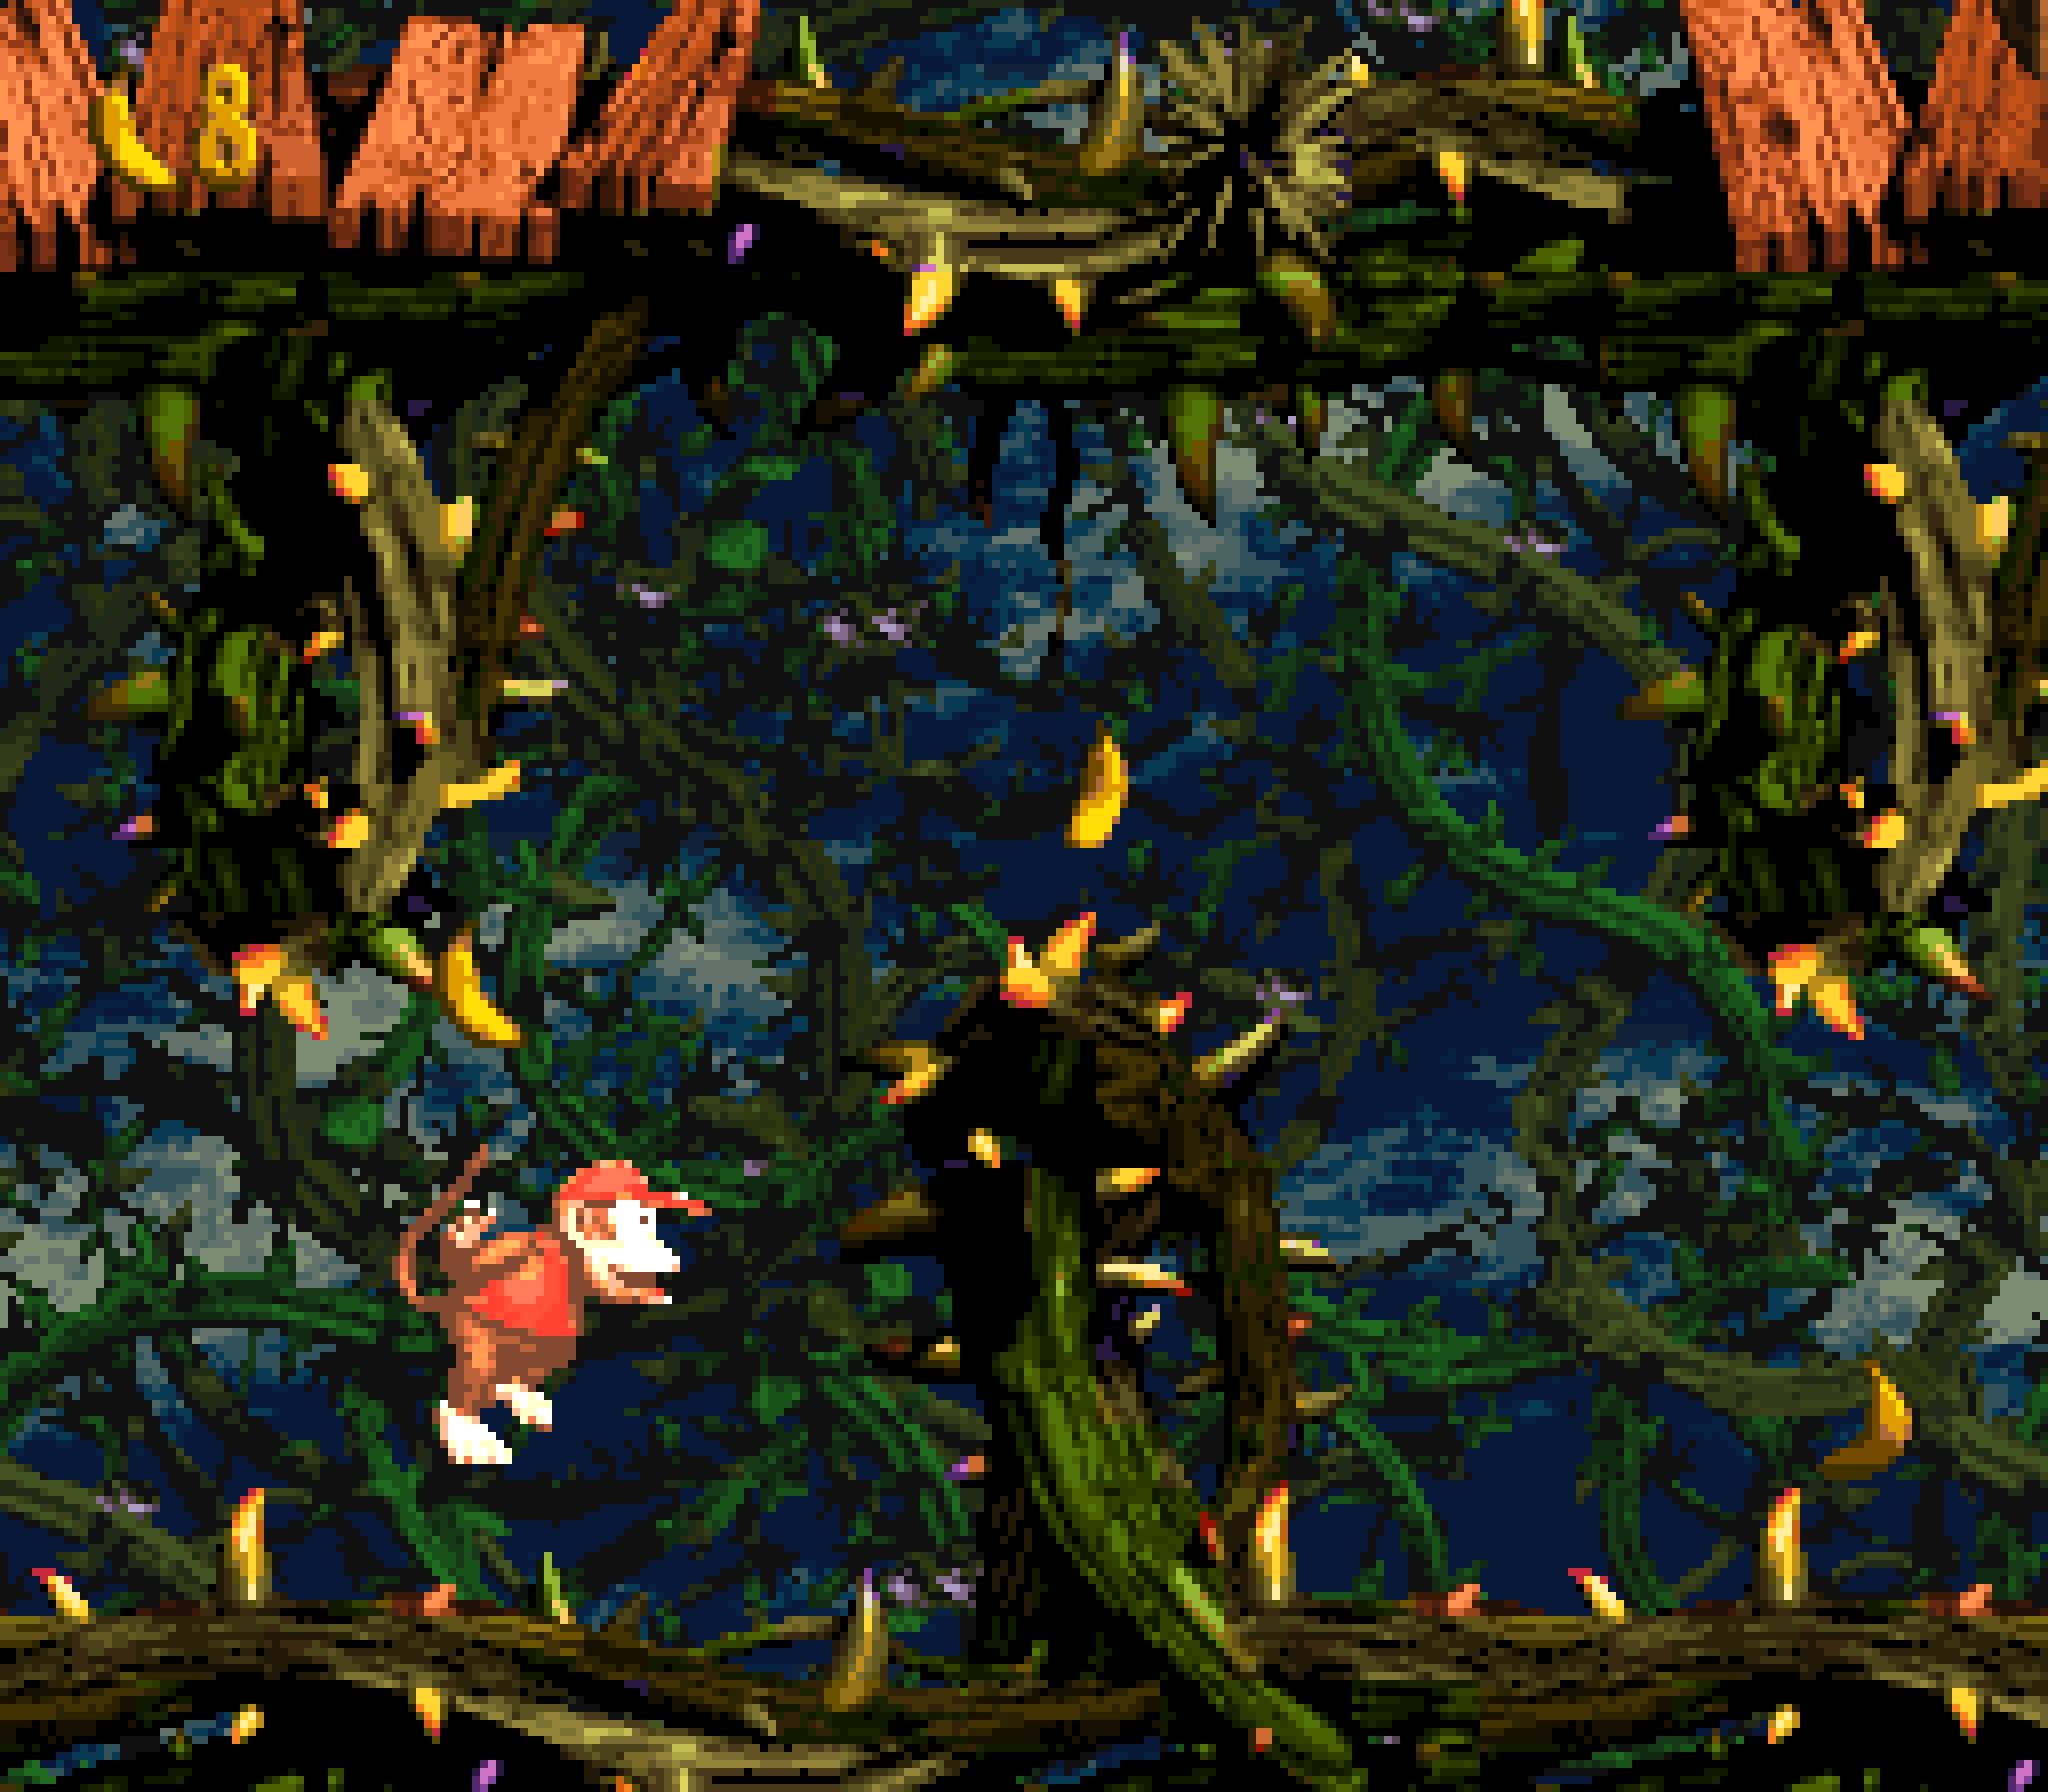
7. Toxic Tower
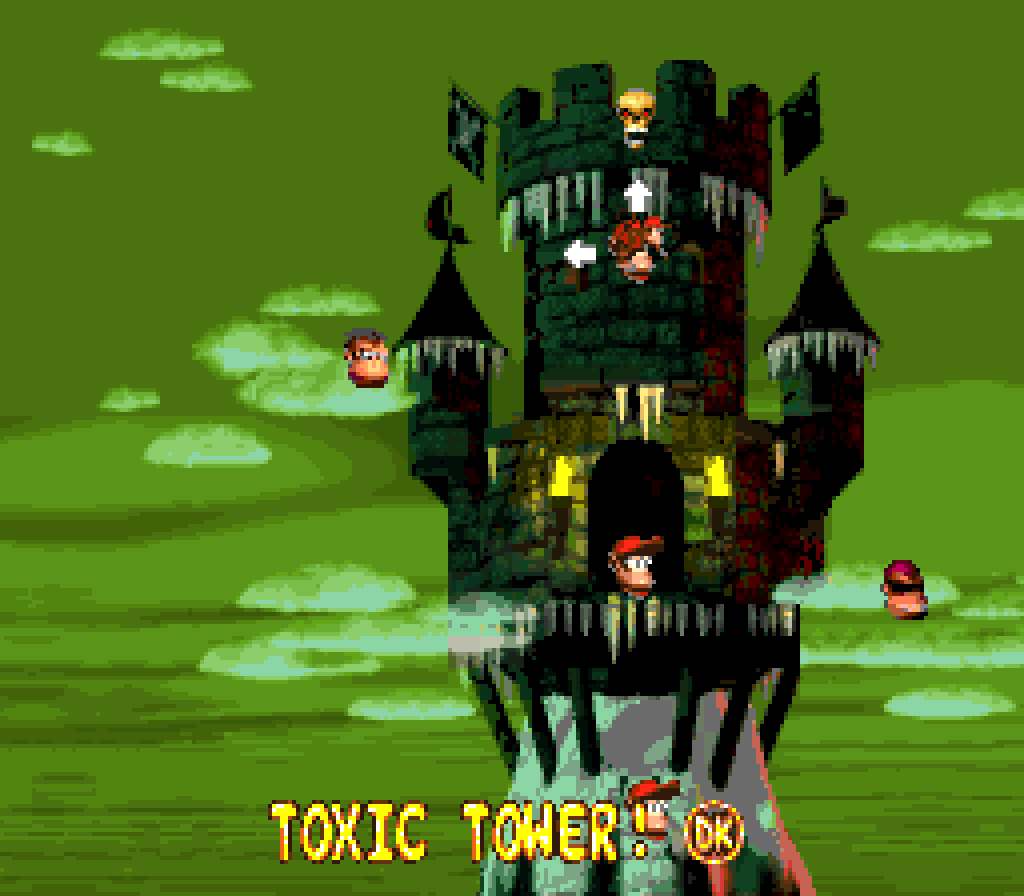
It only struck me now that this level is, to a large extent, “Animal Antics” done right: the 3 most interesting animal buddies in this game ( & also the new animal buddies 1st introduced in this game ) challenged in a race upward gainst the rising toxic green lava, or whate’er it’s s’posed to be. This is also a much better version o’ “Slime Climb”, as the toxic lava is consistently rising @ the same pace so that gains you make @ certain setpieces give you mo’ time in later setpieces, rather than having the water jump to near where you are @ e’ery so event point, like in “Slime Climb”.
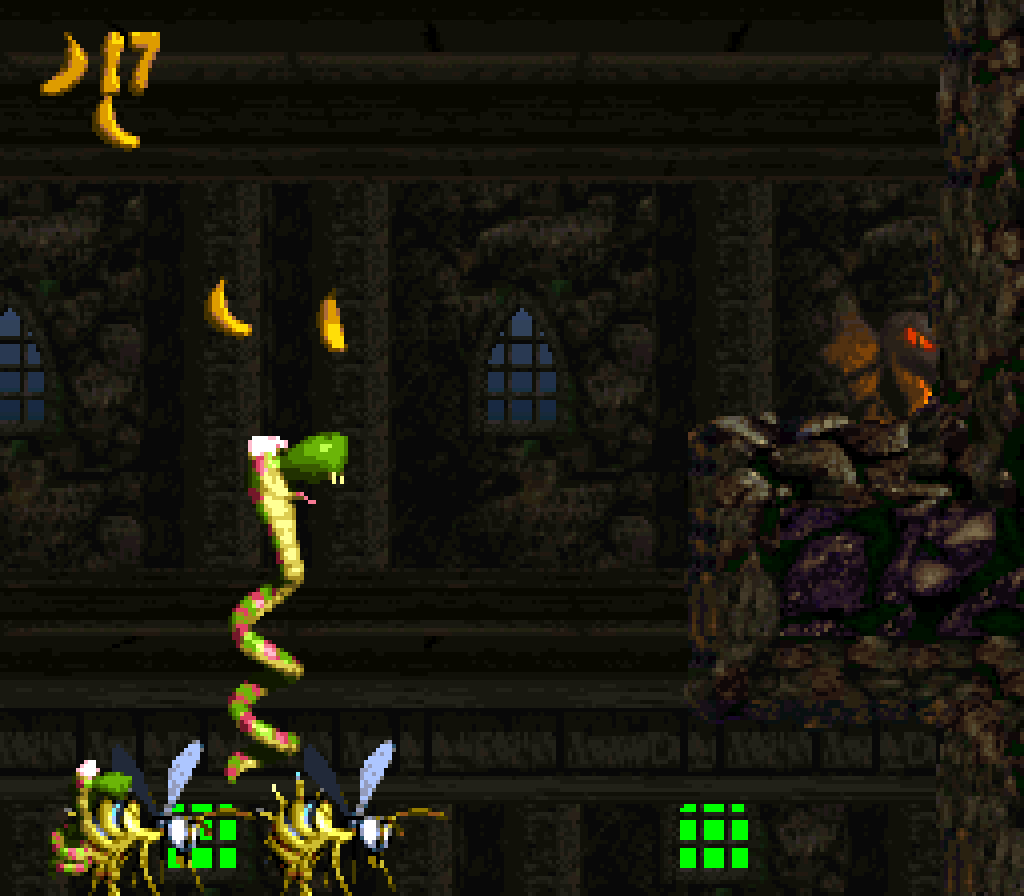
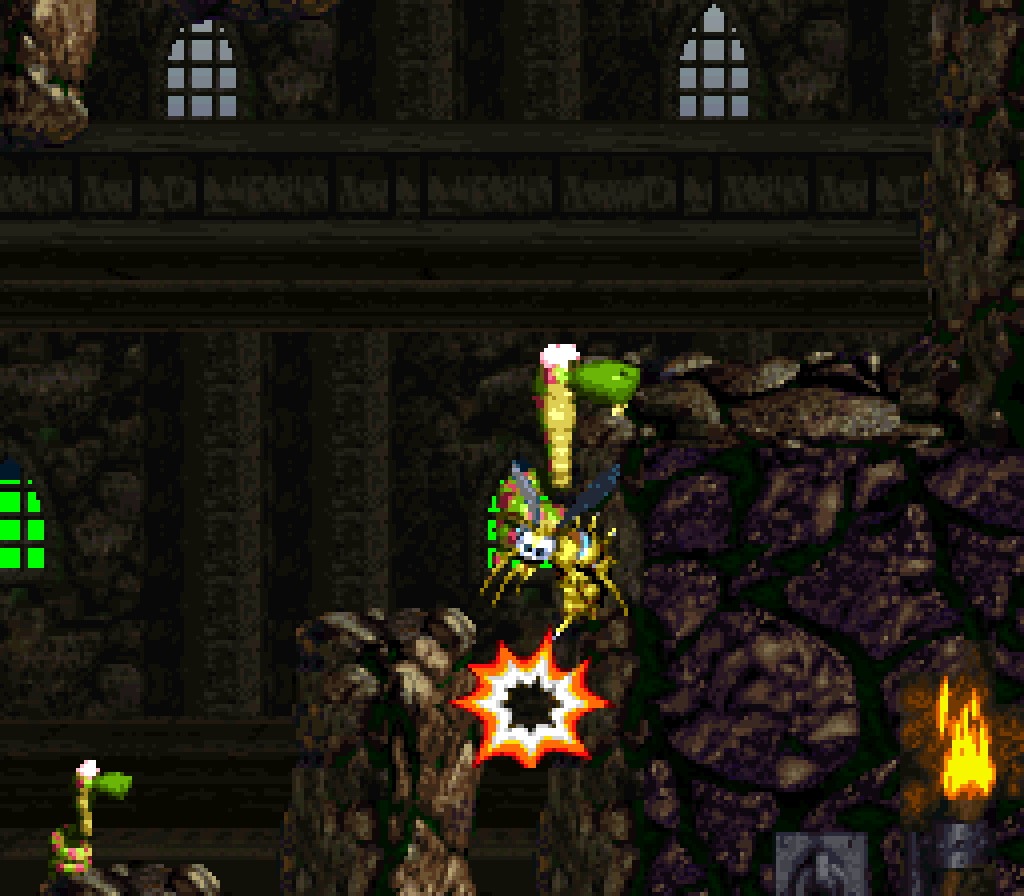
This level is right in your face with its challenge by starting you out with Rattly, arguably the hardest part o’ this level. While I like many o’ the precise jumps Rattly has to make, such as anticipating where moving Zingers will be on so you can land on them & jumping round the barrelshots the Kannon shoots, I’m not so fond o’ all the places where you have to hold A to charge jump upward ( tho, thankfully, you can skip these on the sections with the holes with the Zingers moving back & forth in them with a well-timed midair jump after a minibounce & landing on the Zingers ). Not only are they slow, but the game doesn’t do a good job o’ indicating when the jump is charged: it’s common for me to let go too early, thinking that since Rattly is moving quickly the jump is charged, only for Rattly to not jump.

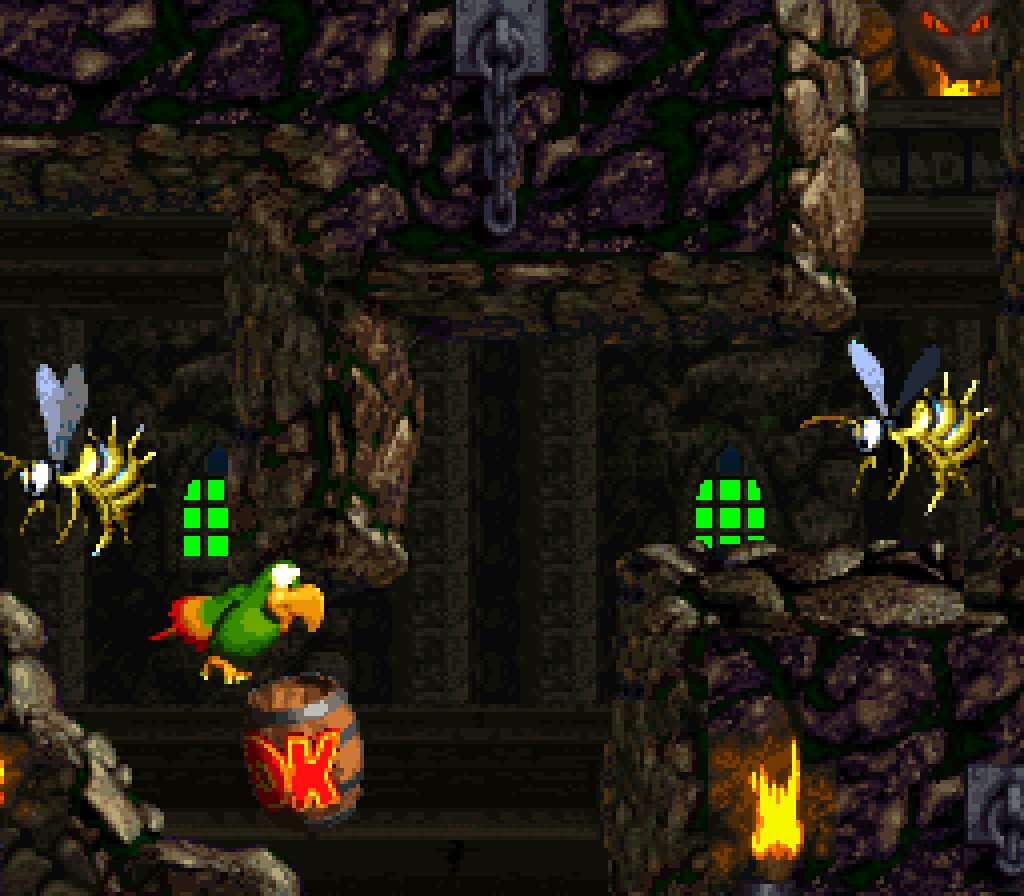
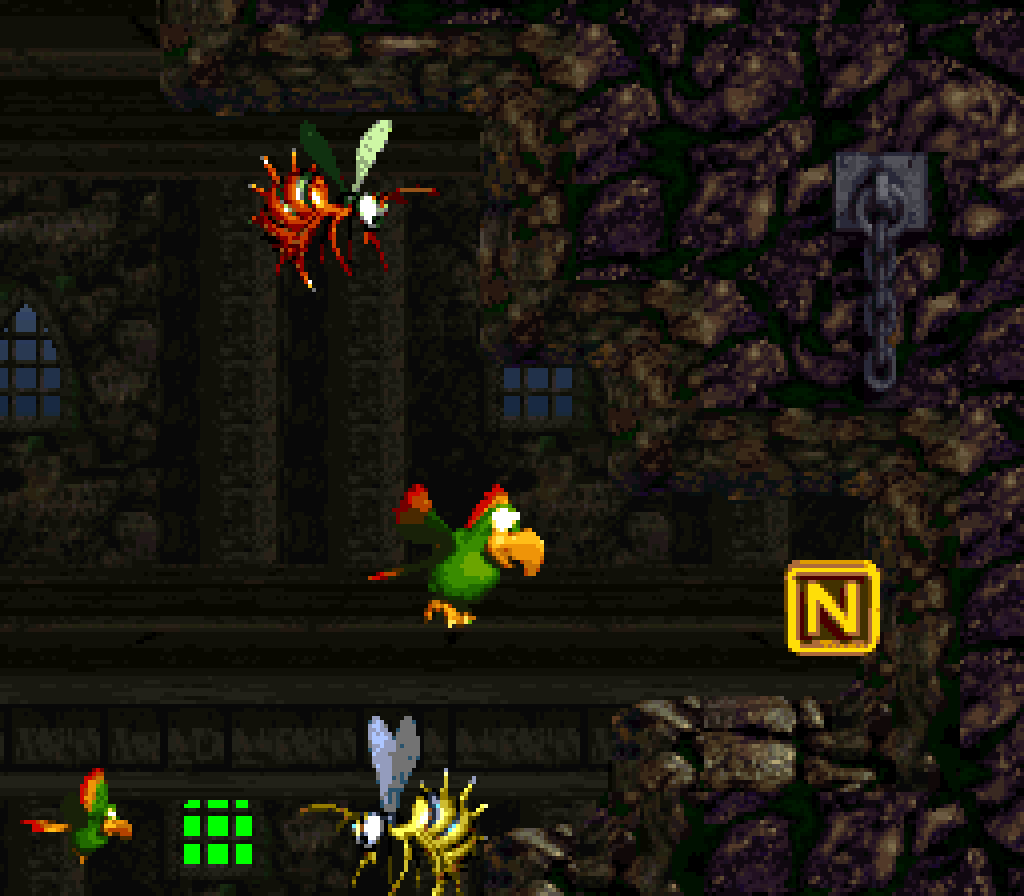
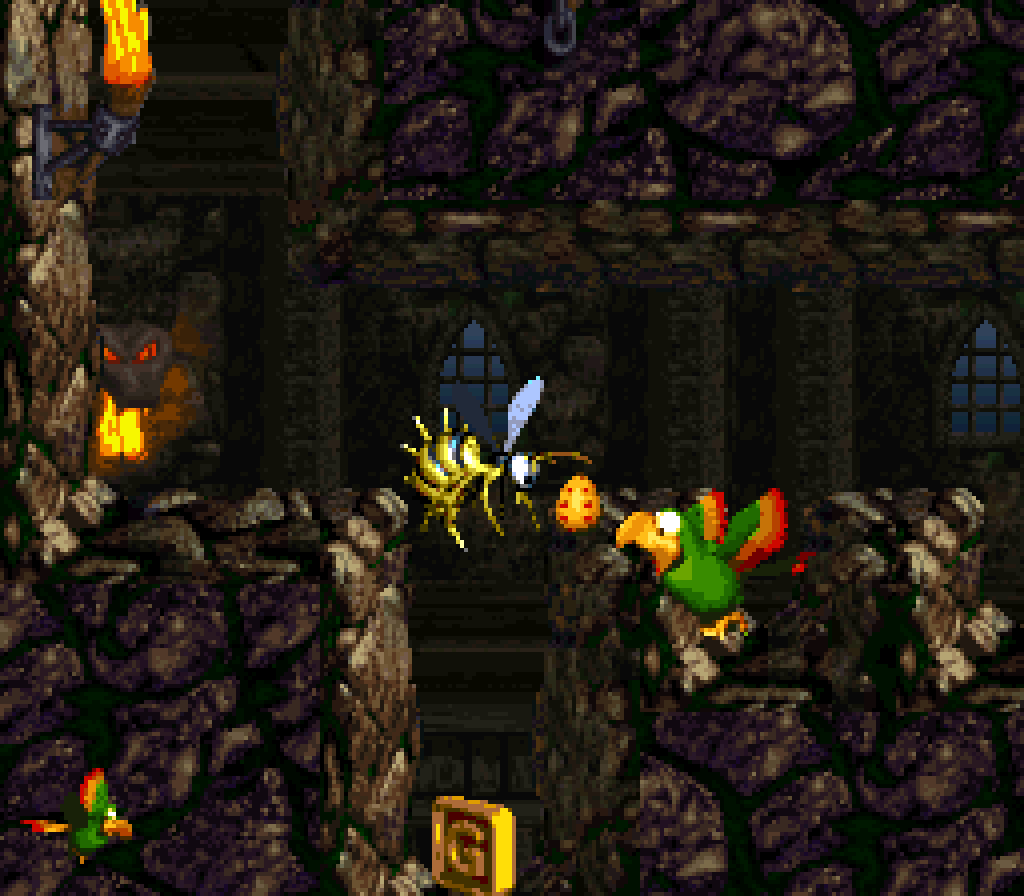
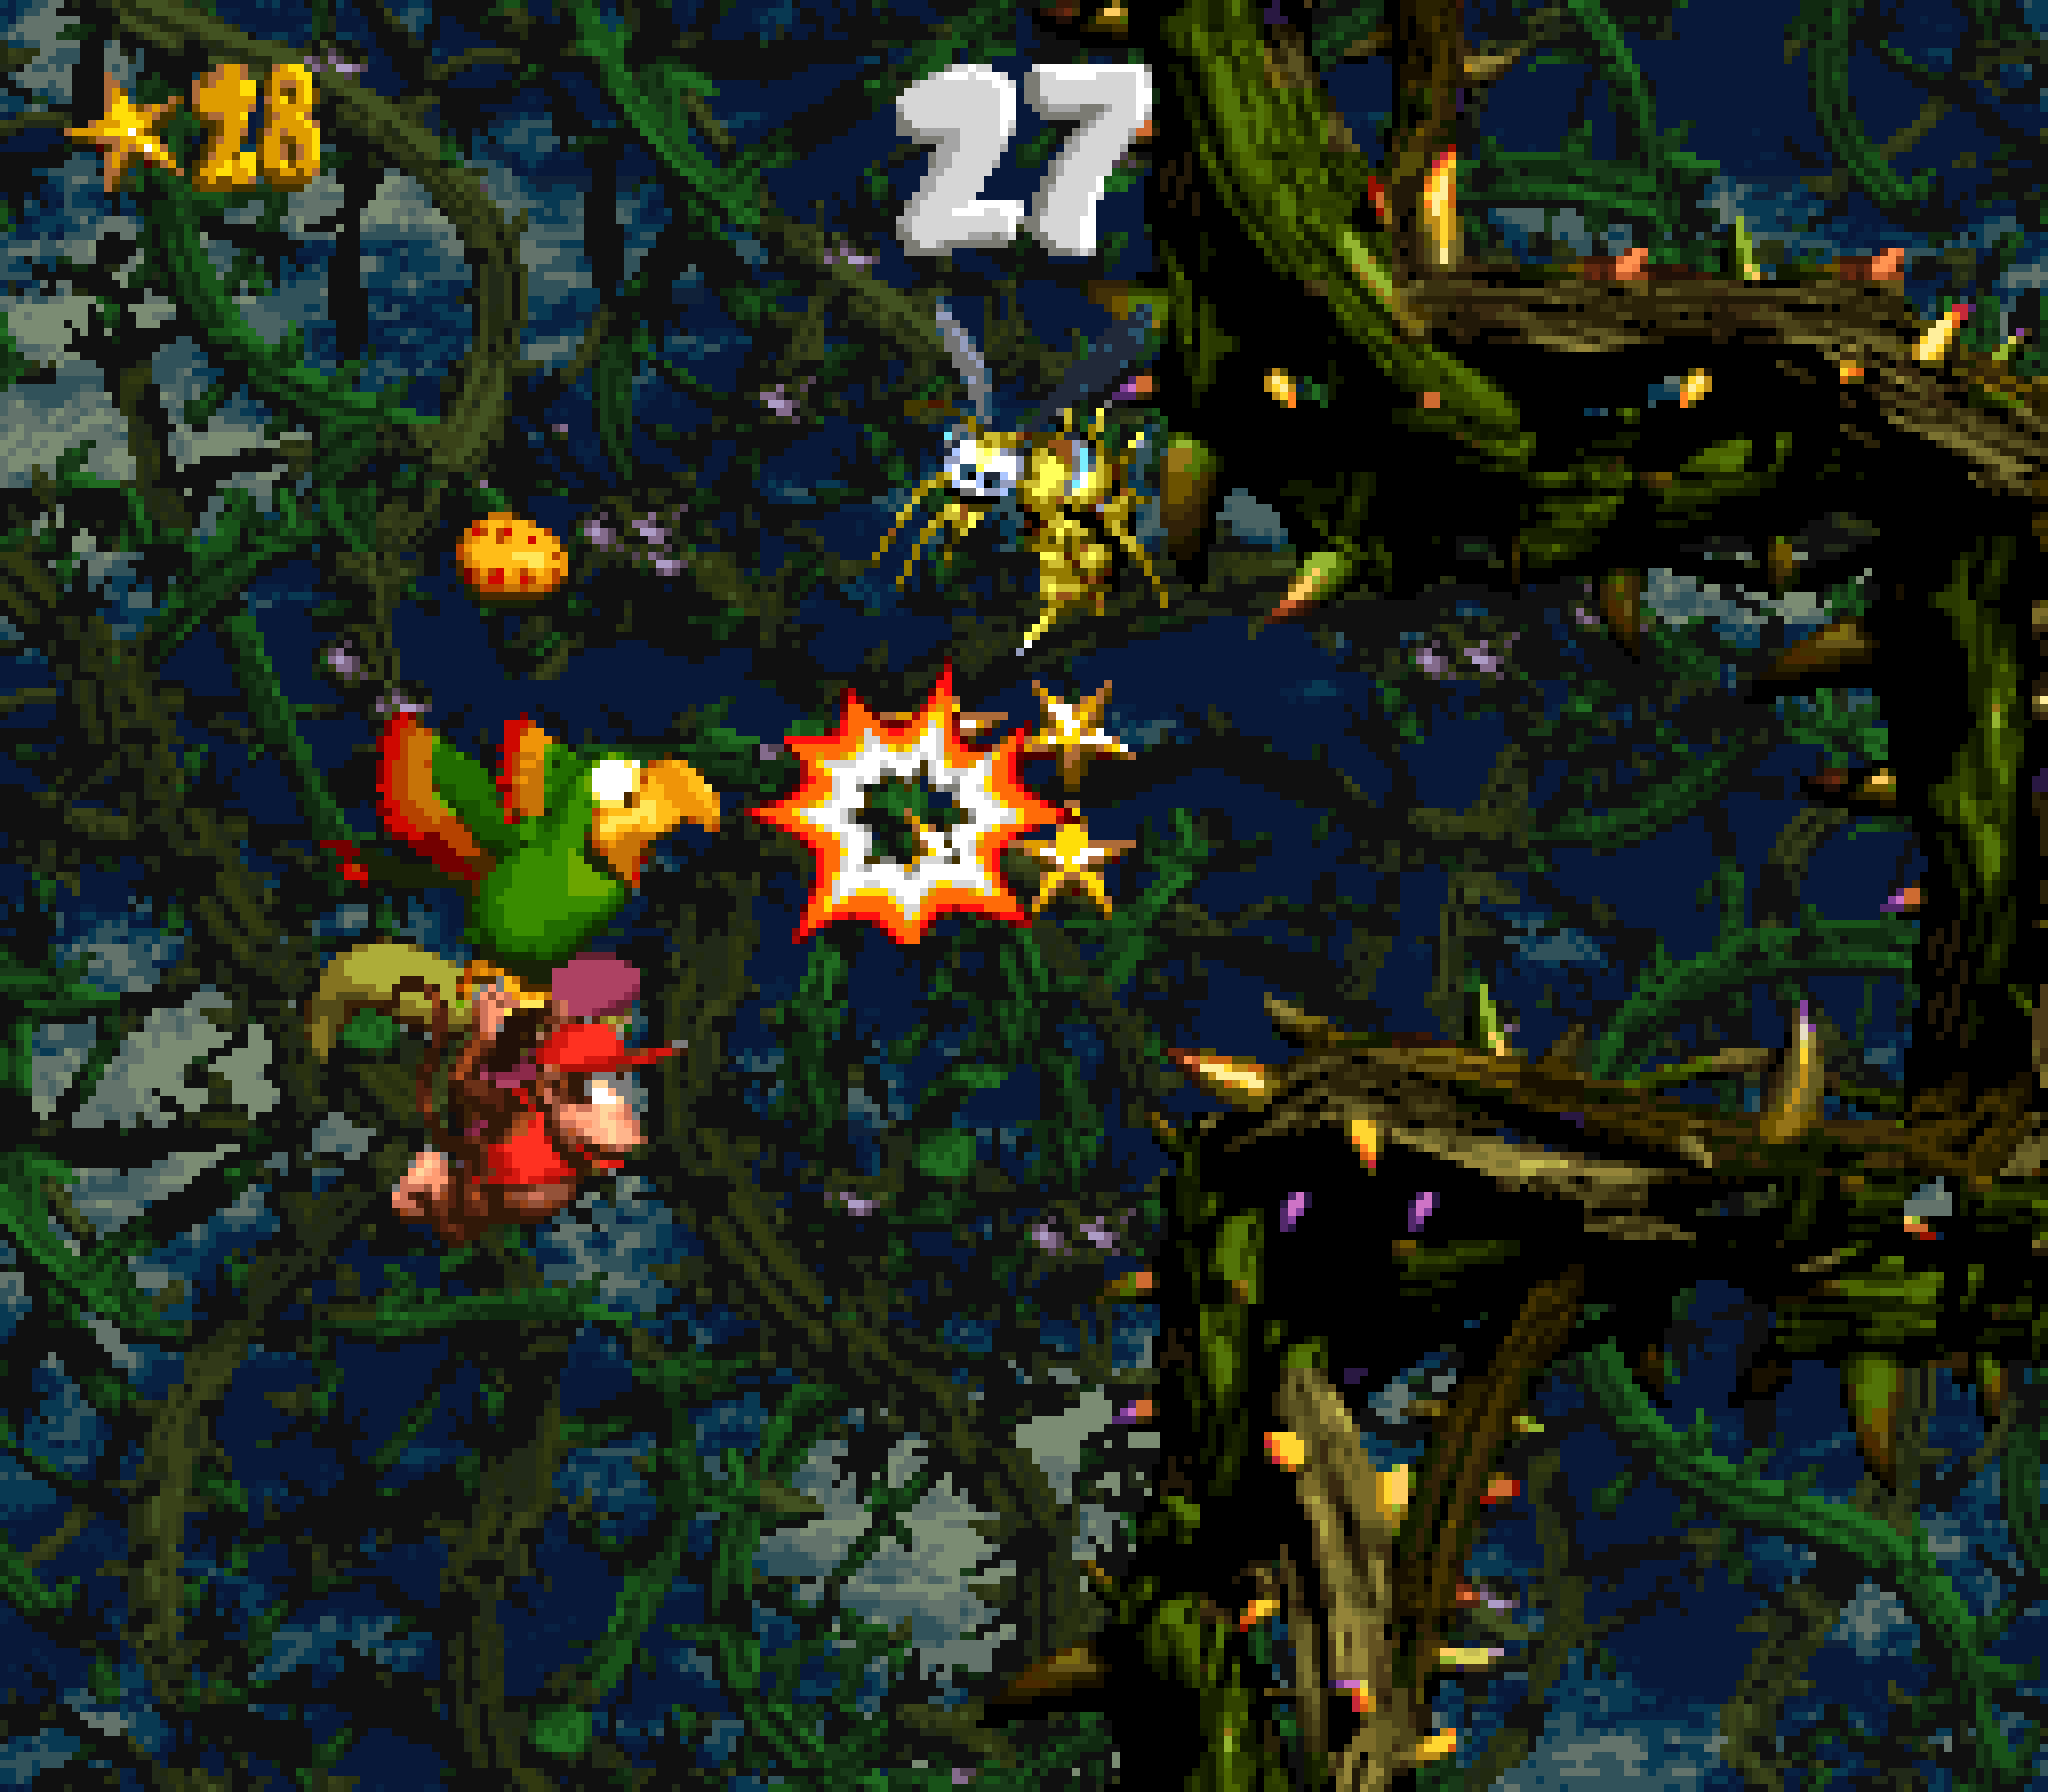
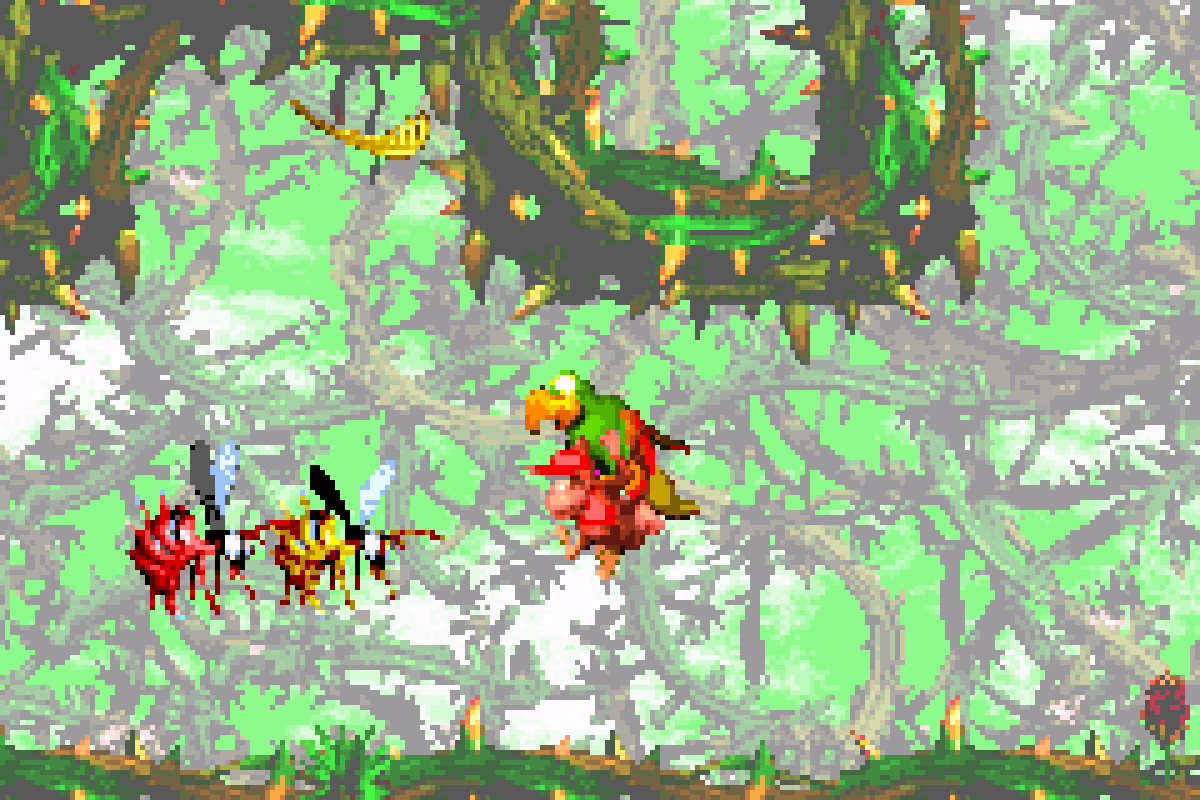
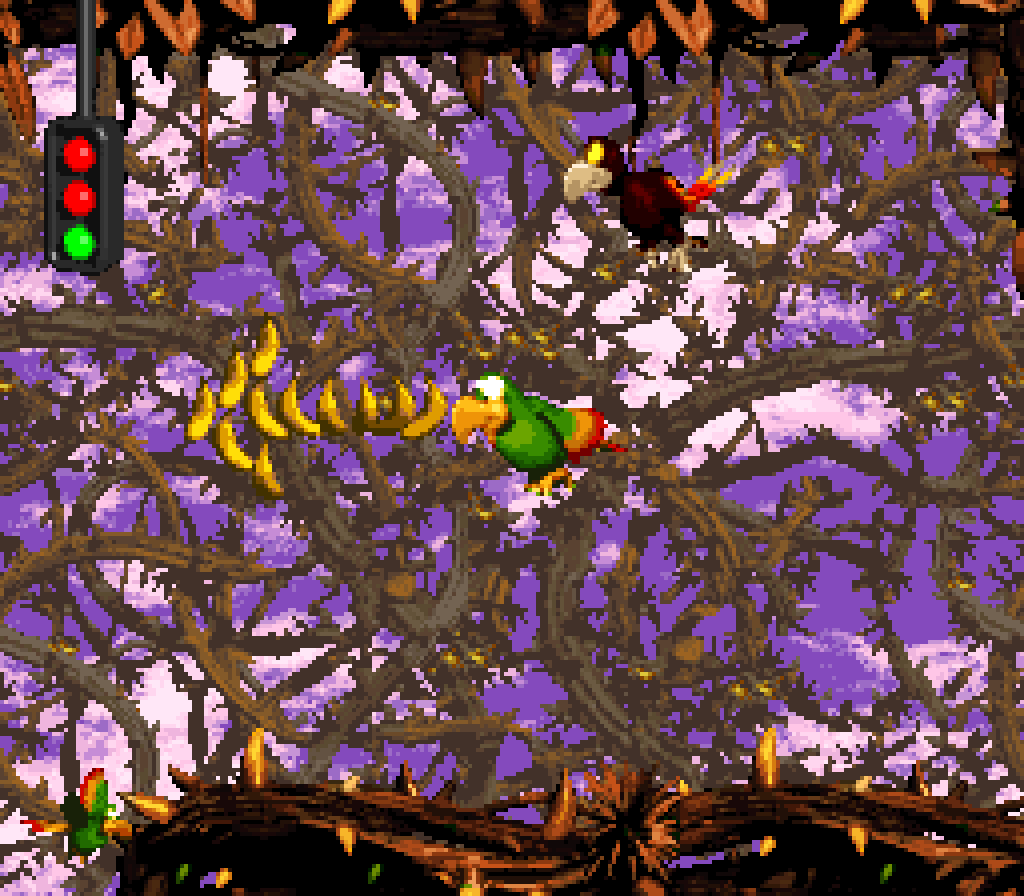
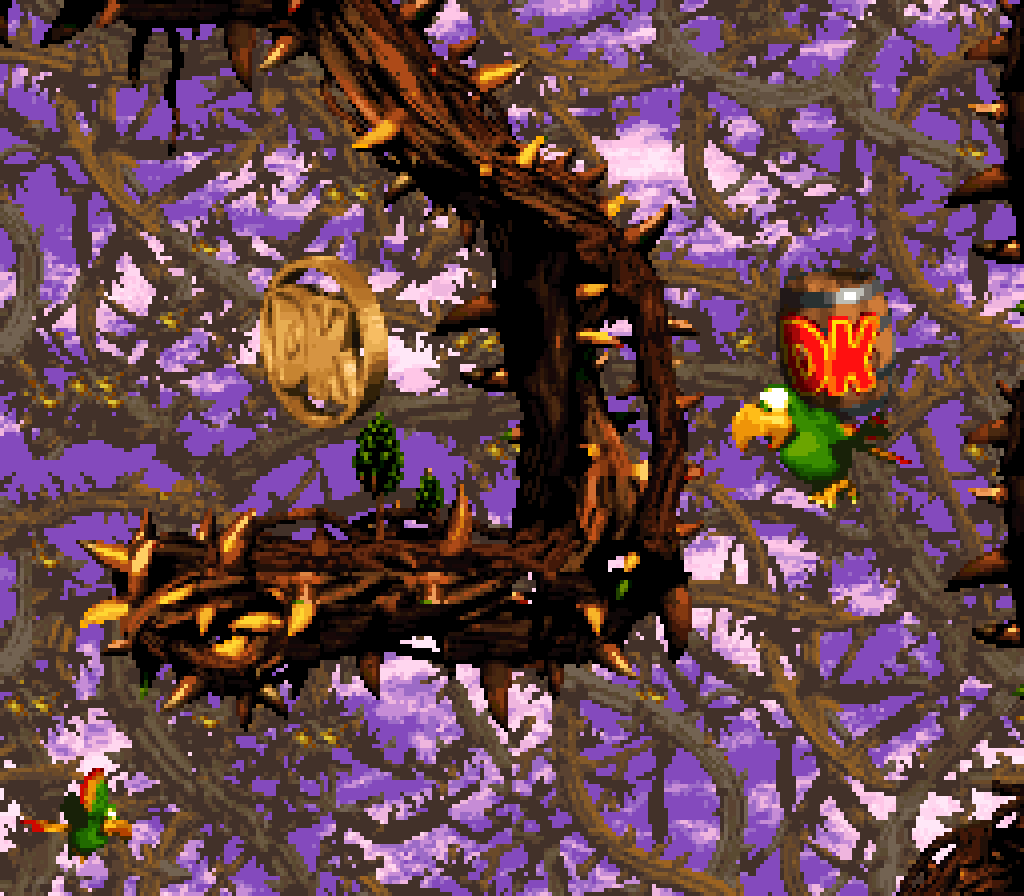
The best part is, unsurprisingly, the Squawks section, where you have to race upward, dodging Zingers & dispatching Zingers & Kaboings in your way. The only complaint I have ’bout this section is that it’s o’ershadowed by “Screech’s Sprint” just after this level, a whole level focusing on Squawks having to race thru dangers.
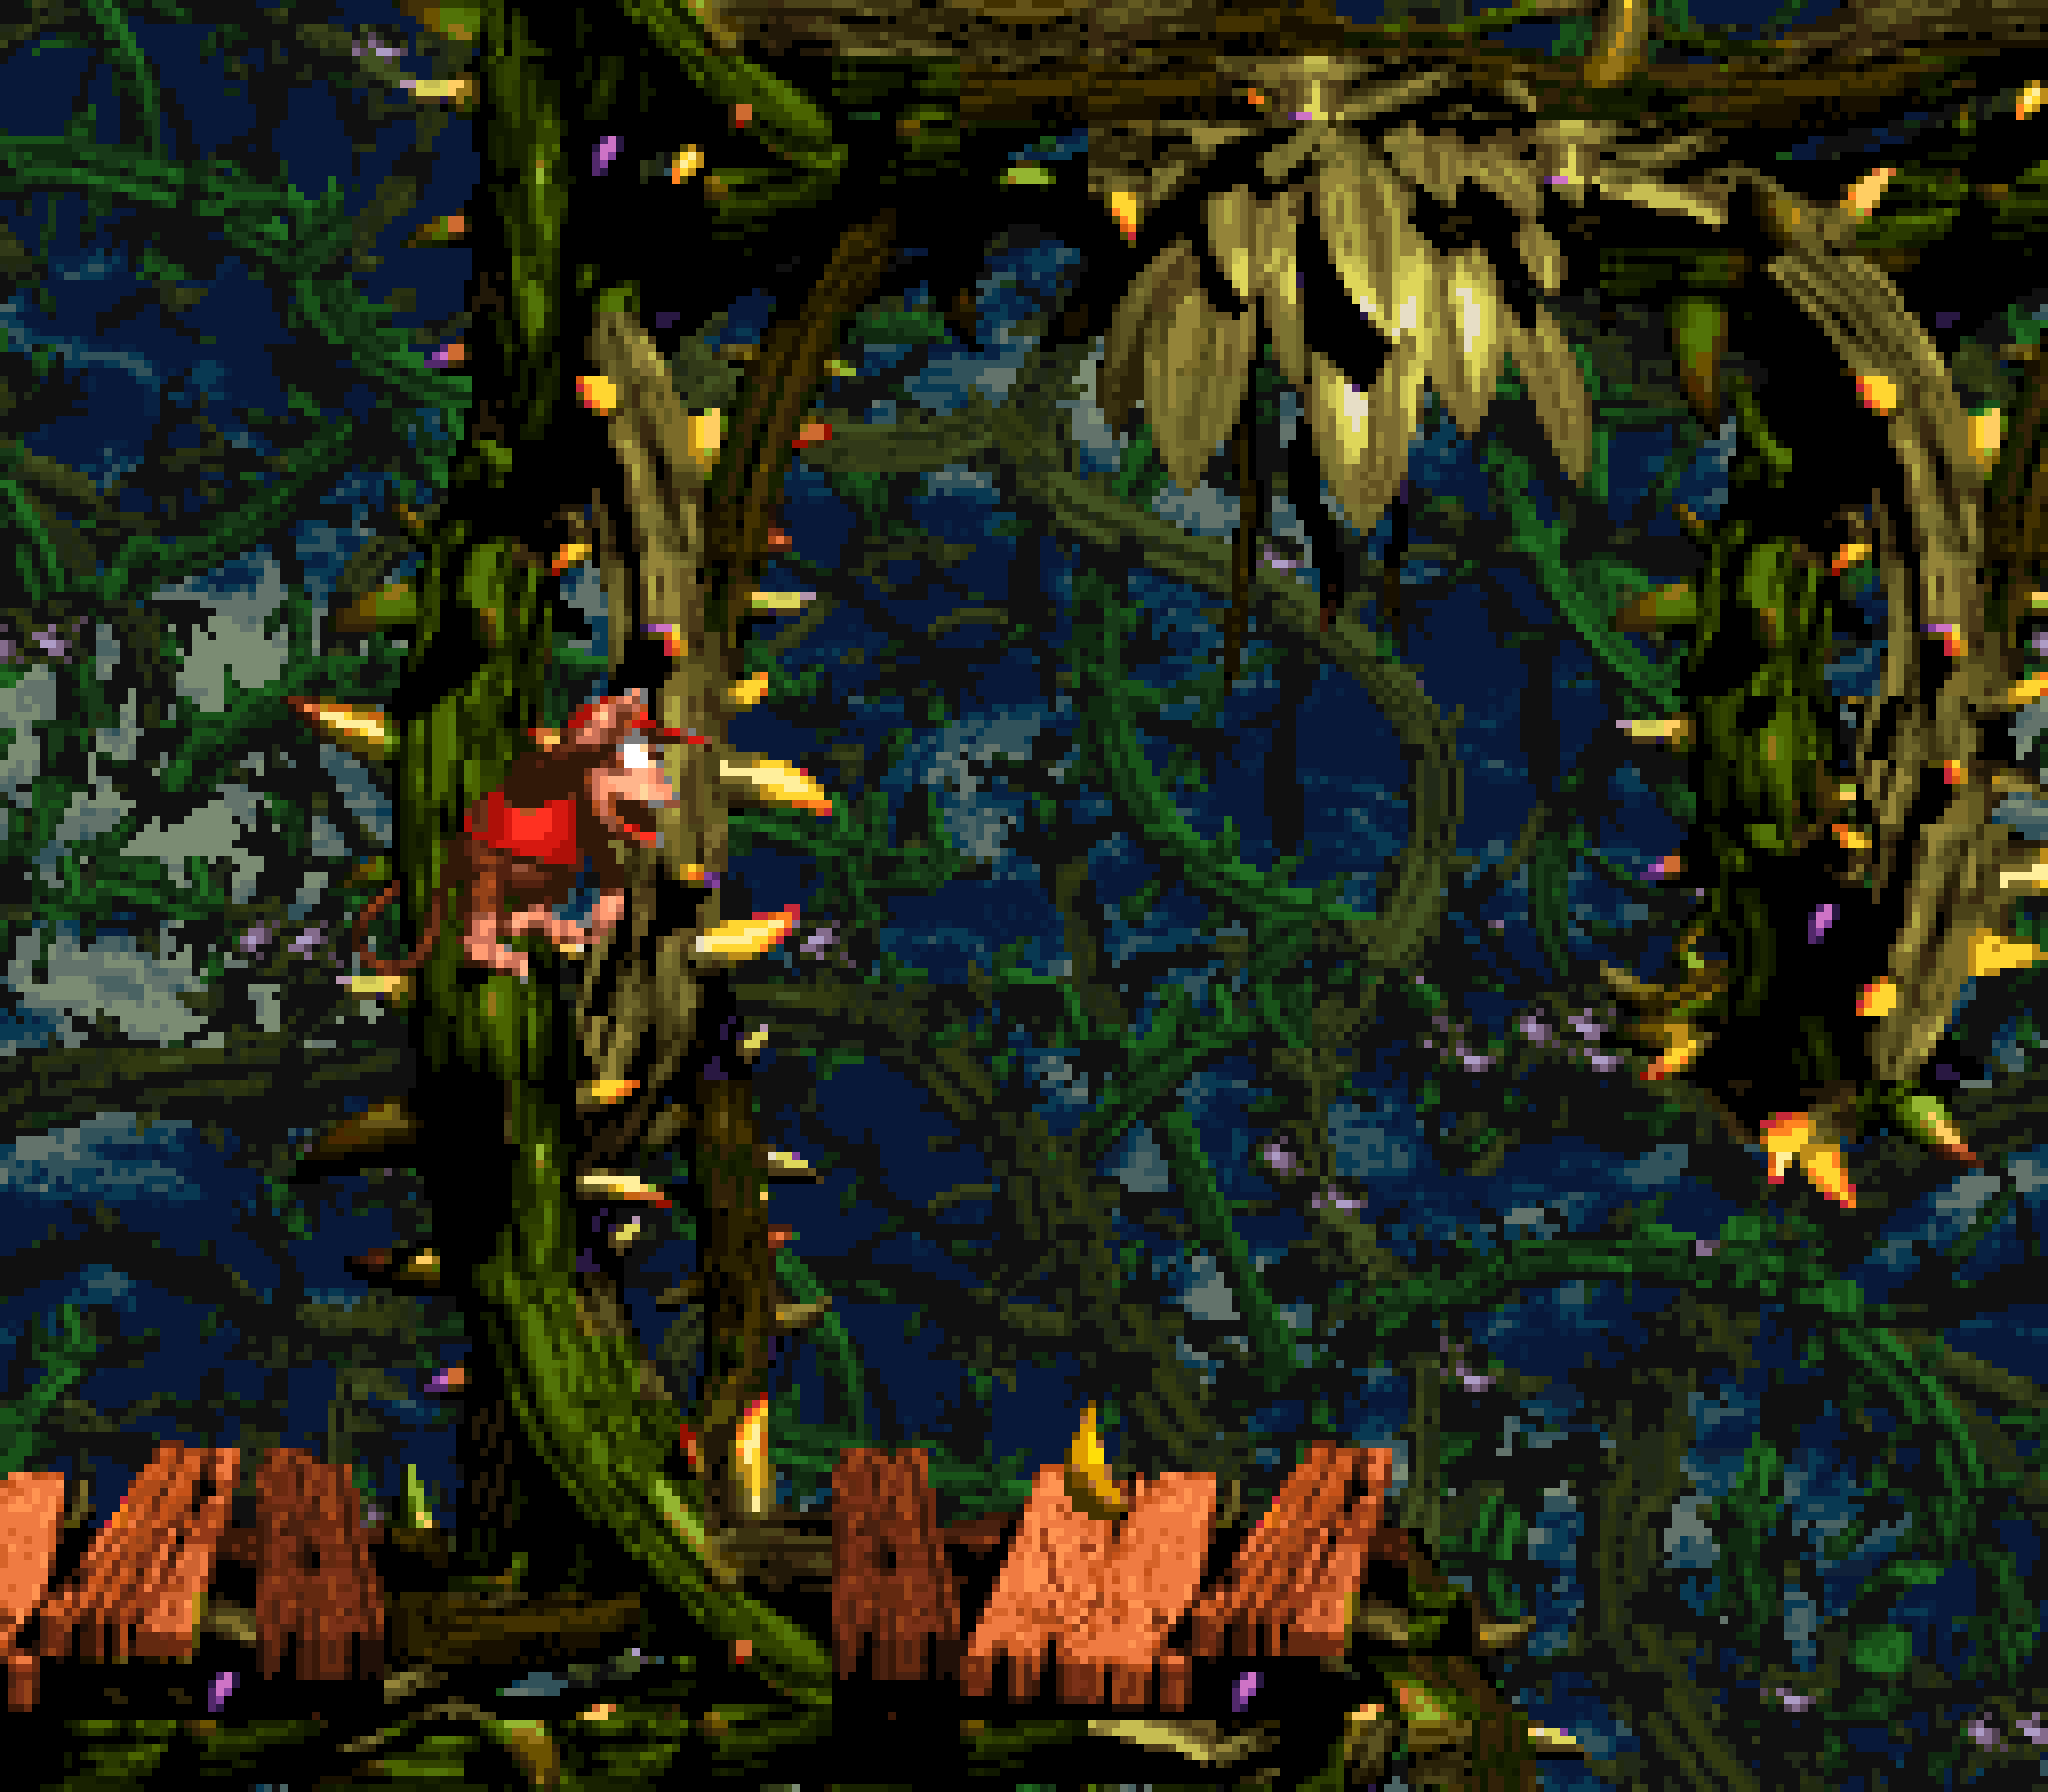
The Squitter section also feels a bit underwhelming, being just a quick climb upward thru web platforms. They could’ve a’least had ’nother section with Zingers or other enemies in the way. I s’pose they didn’t want the level to drag on too long; but they could’ve traded some o’ the repeated elements in the Rattly section, which probably goes on a bit too long, for a longer Squitter section. It would’ve made a midway point @ the start o’ the Squawks section a bit mo’ imbalanced, but that’s hardly a tragedy.
I also like the short section @ the start before you’re an animal buddy where you have to jump up steps guarded by Klampons, which require precise timing to avoid running into their mouths as you go upward.
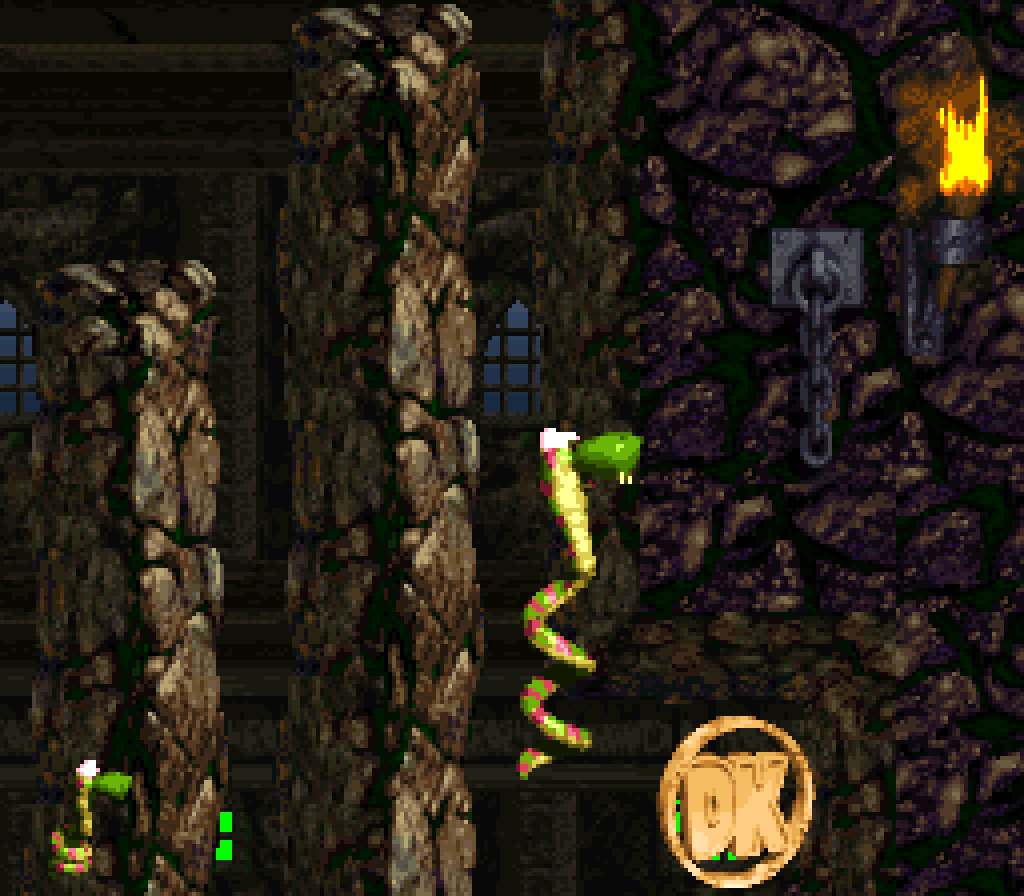
This level has only 1 bonus, & its location isn’t very good: it’s in magic move-thru wall ’hind the only Zinger out o’ the way o’ the Squitter section, who reveals a single banana when hit. The bonus is going up a bramble pit using Squitter’s web platforms — so in the level designers’ defense, there were technically 2 timed Squitter sections. Having it be a bramble area ’stead o’ a castle area is a clever bit o’ subtle foreshadowing, as the next level is a bramble level.
The hero coin placement is a bit similar, but without move-thru dirt: it’s telegraphed by a suspicious Zinger ’tween 2 platforms. Still, having a Zinger indicate that there’s something below it is a weird logic jump, when it could just as easily be interpreted as just a failsafe if you miss a platform.
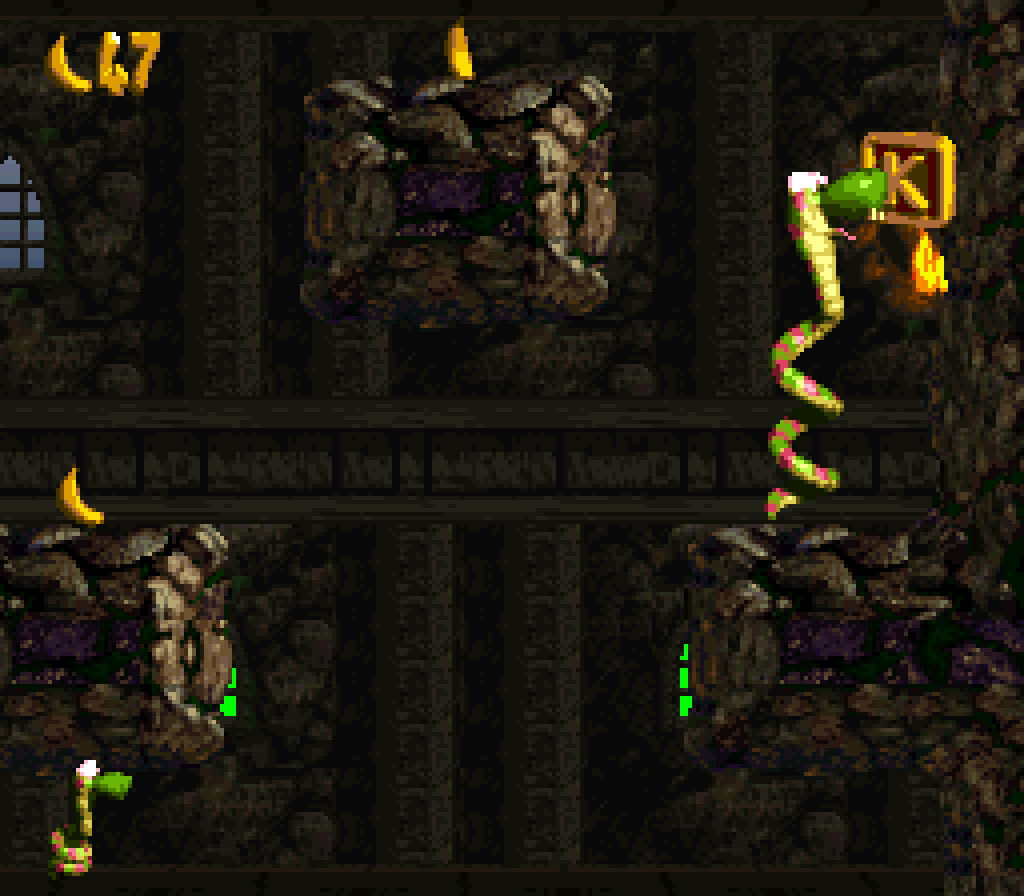
This level has the best KONG letter placements in the game — so much so that when I 1st played thru this level during this project I missed e’ery single 1 o’ them & almost thought this level didn’t have letters. Howe’er, they’re not hidden in arbitrary obscure places, like magical move-thru dirt: they’re just out o’ the way & require exploring, which is not something you’d want to do when rushing gainst a looming time limit. I particularly like the N to the side o’ the circling Zinger area. In fact, it’s such a good place that I wonder why they squandered it on a KONG letter & left this level’s 1 bonus in such a lame place.
Unfortunately, using such good locations for the letters leaves li’l for the GBA collectibles. The feather is very similar to the K, just a step ’bove, while the photo just involves hitting a Zinger in plain sight with Squitter, giving you Squitter’s photo, despite this level holding what is 1 o’ the shortest & least consequential Squitter sections in this game.
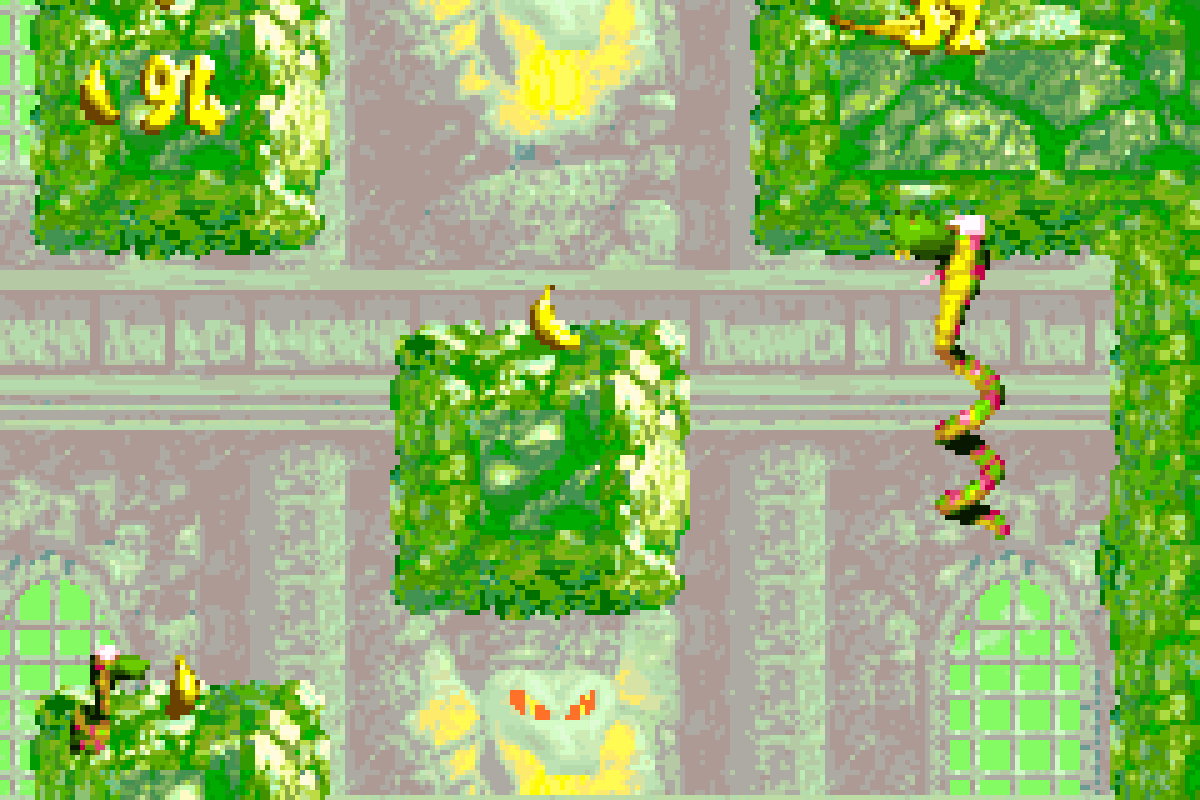
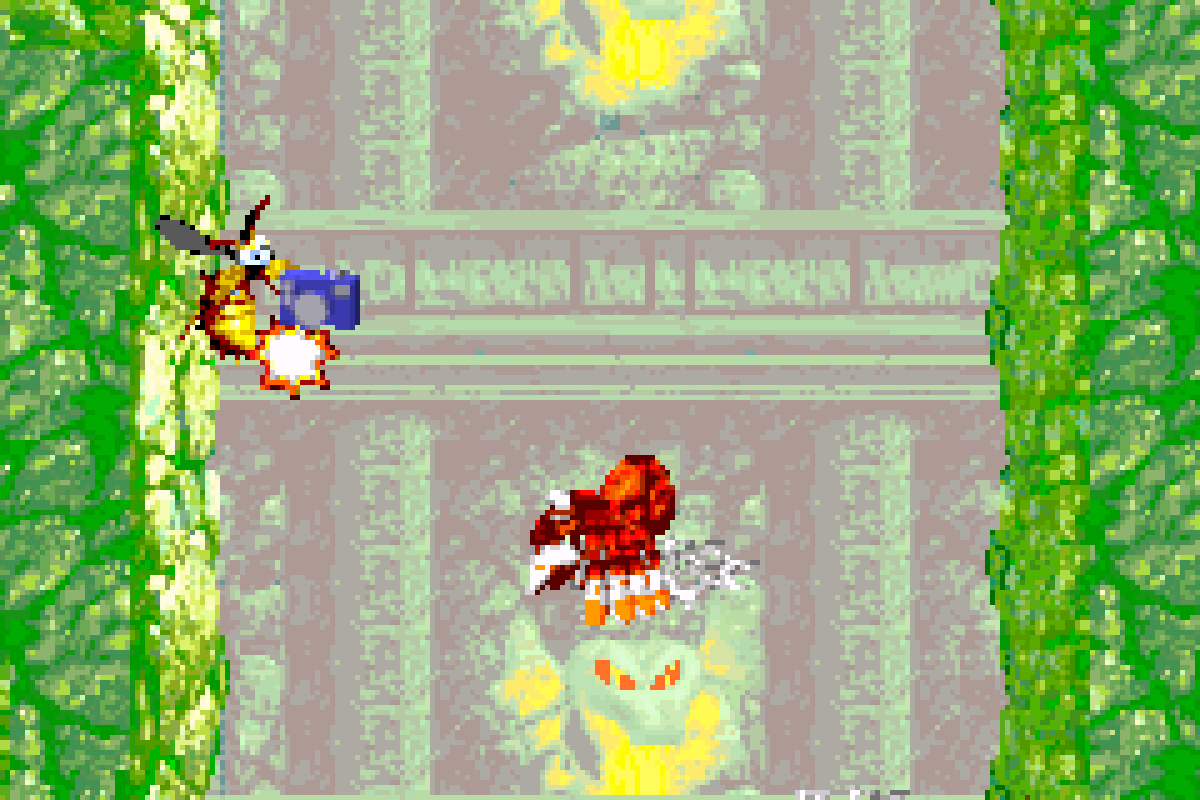
As gaudy & o’erbright as it is, I do like the extra touch o’ adding a new green slimy palette to this level on the GBA version, in contrast to the SNES version having the same palette for all castle levels.
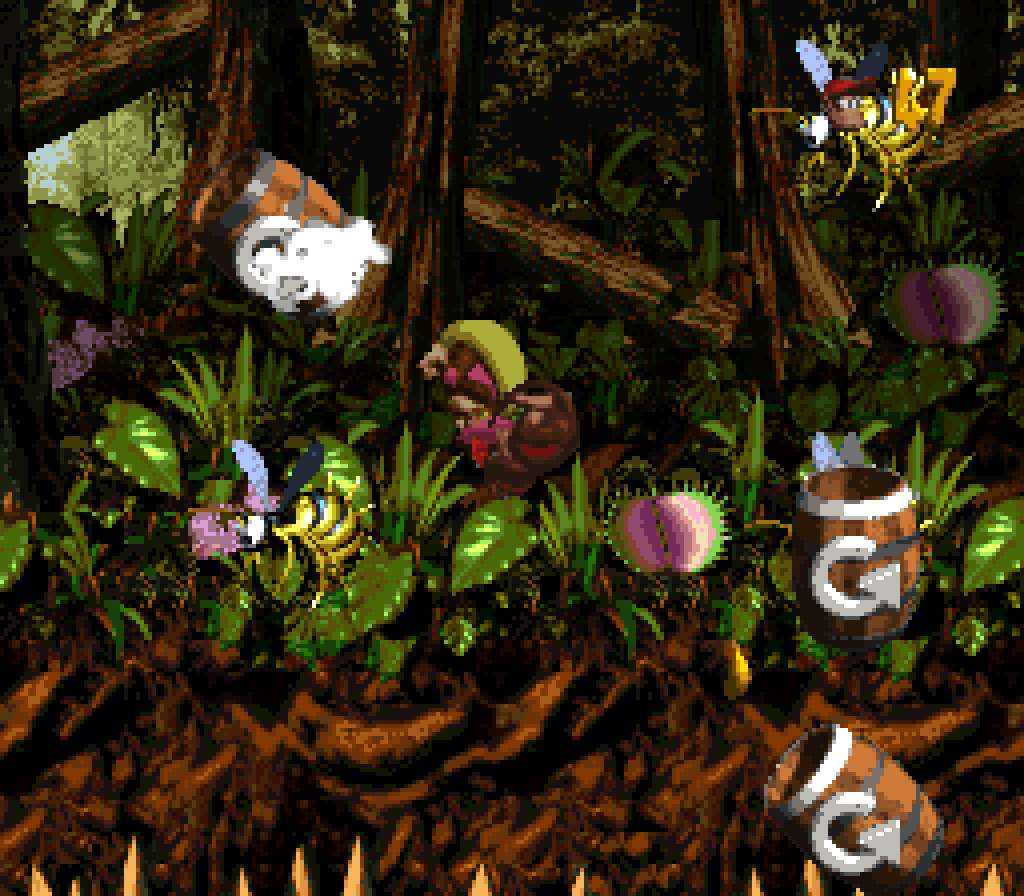
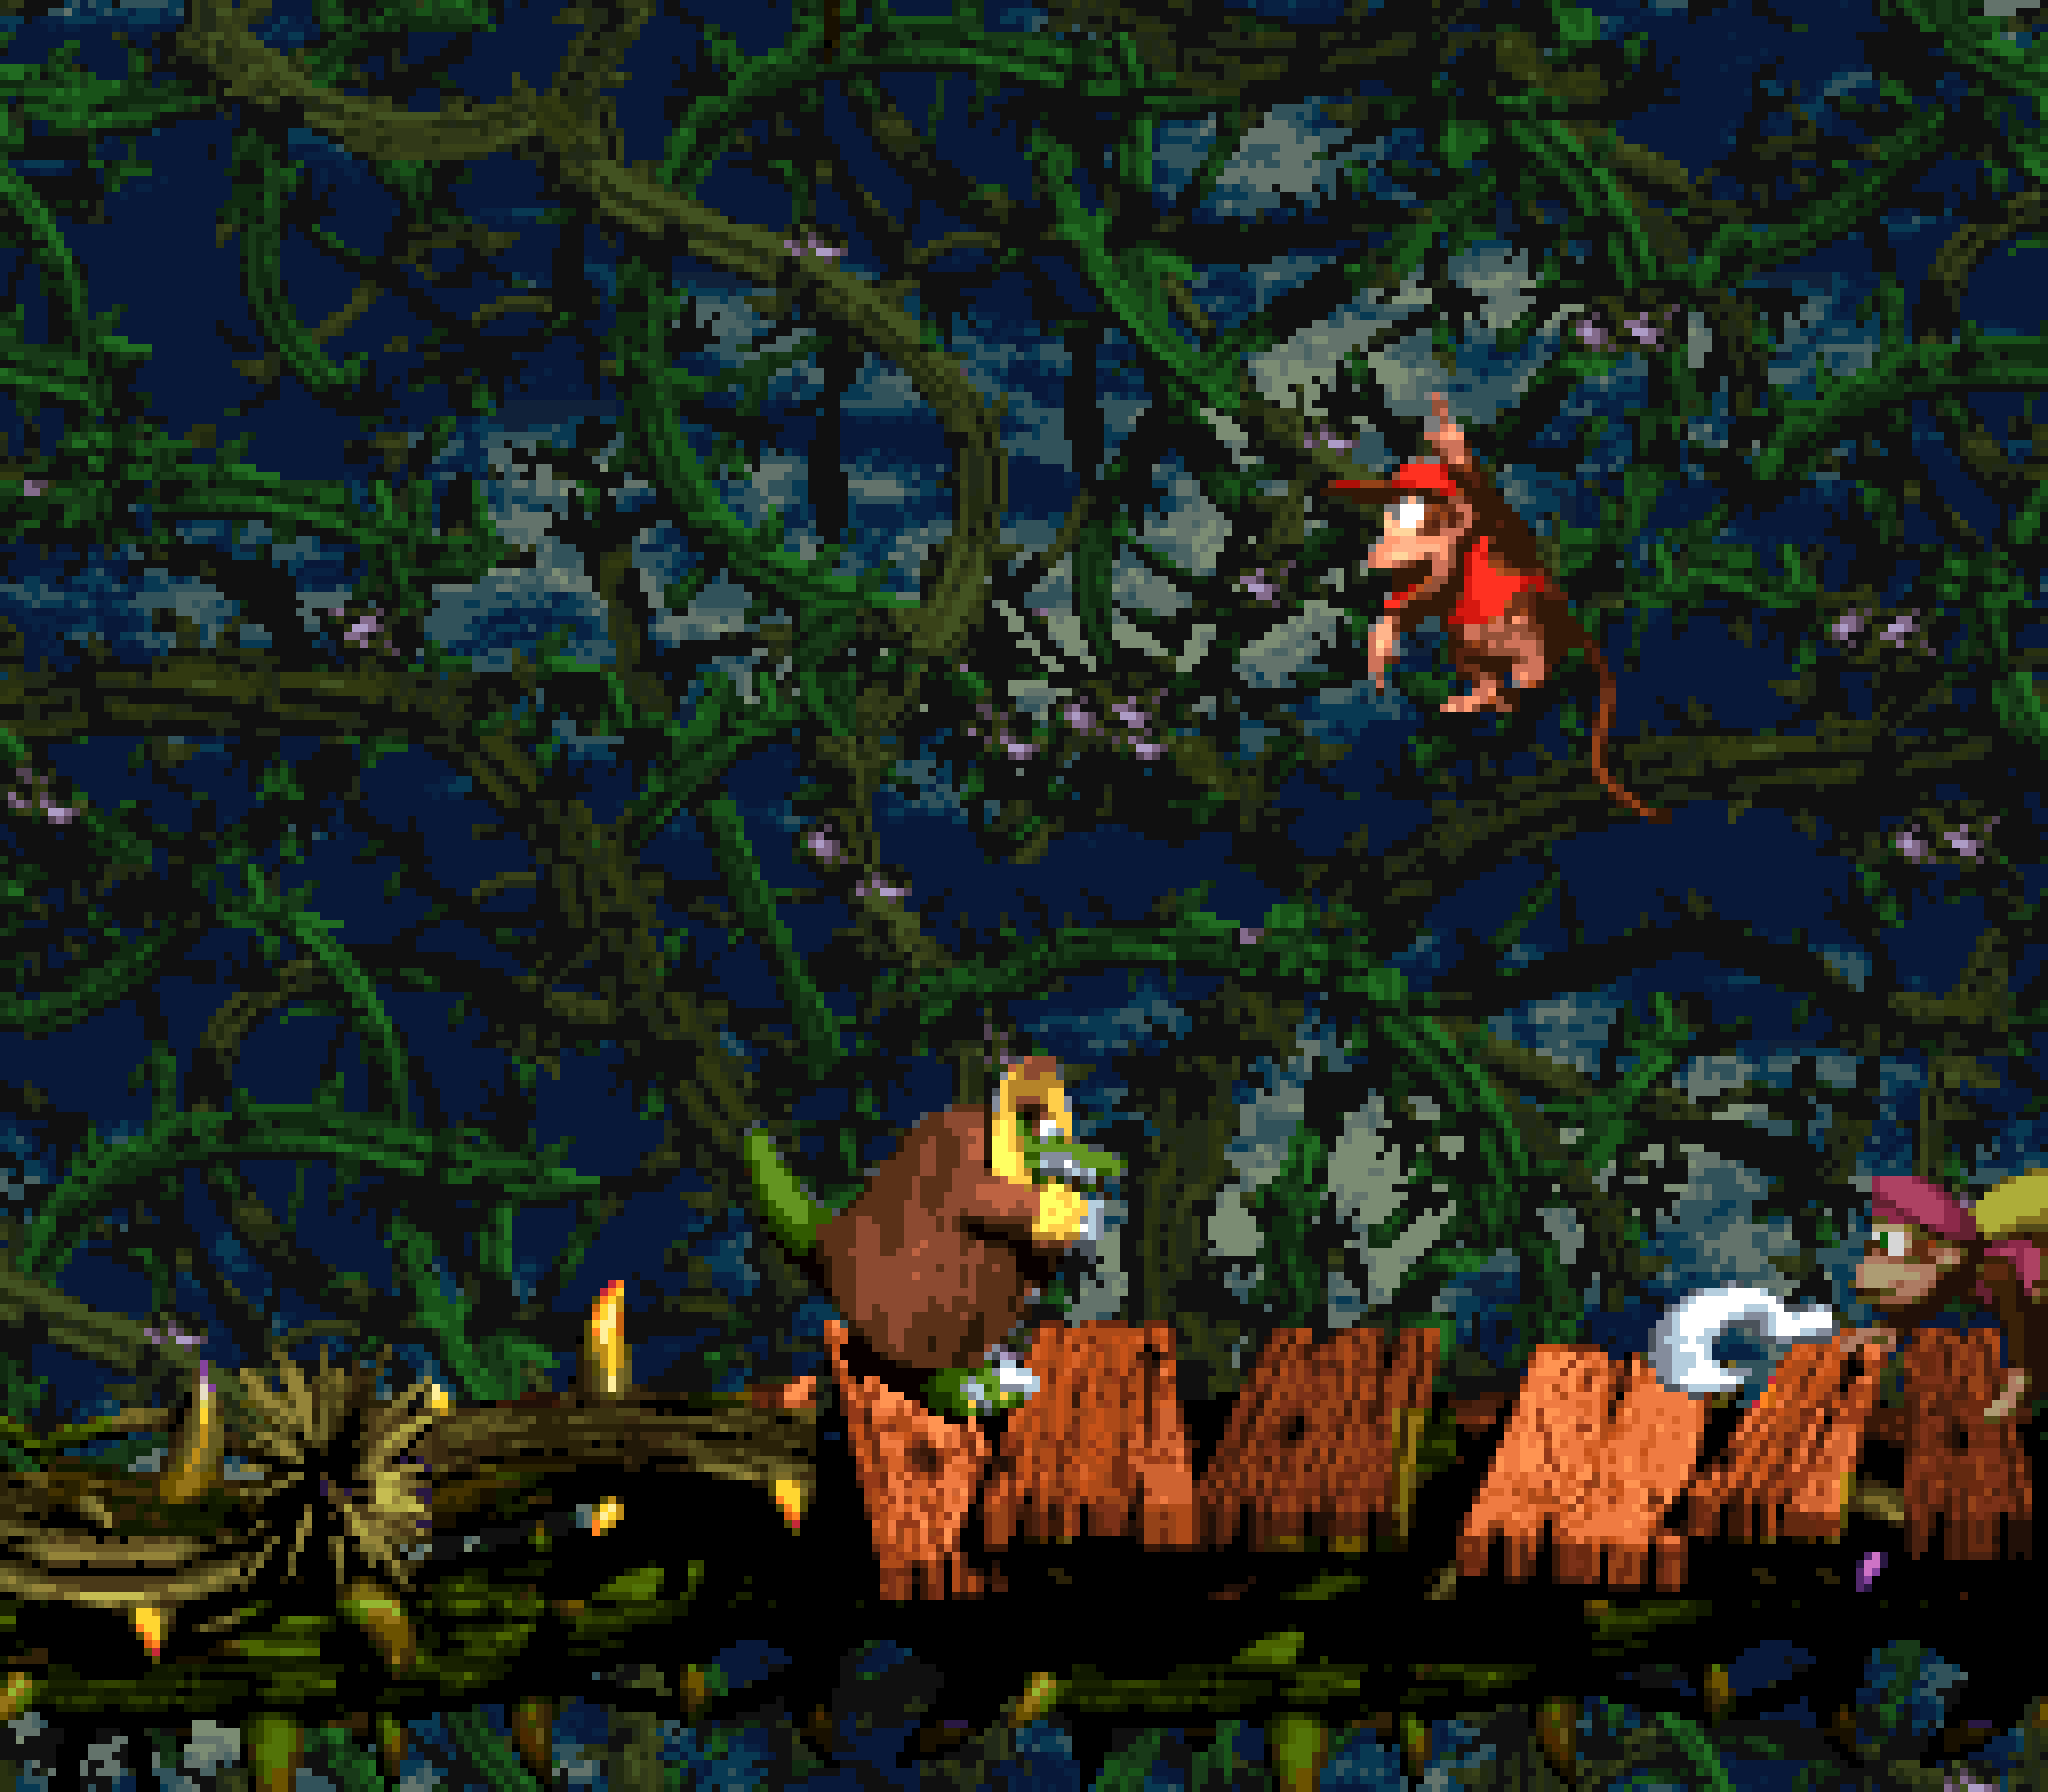
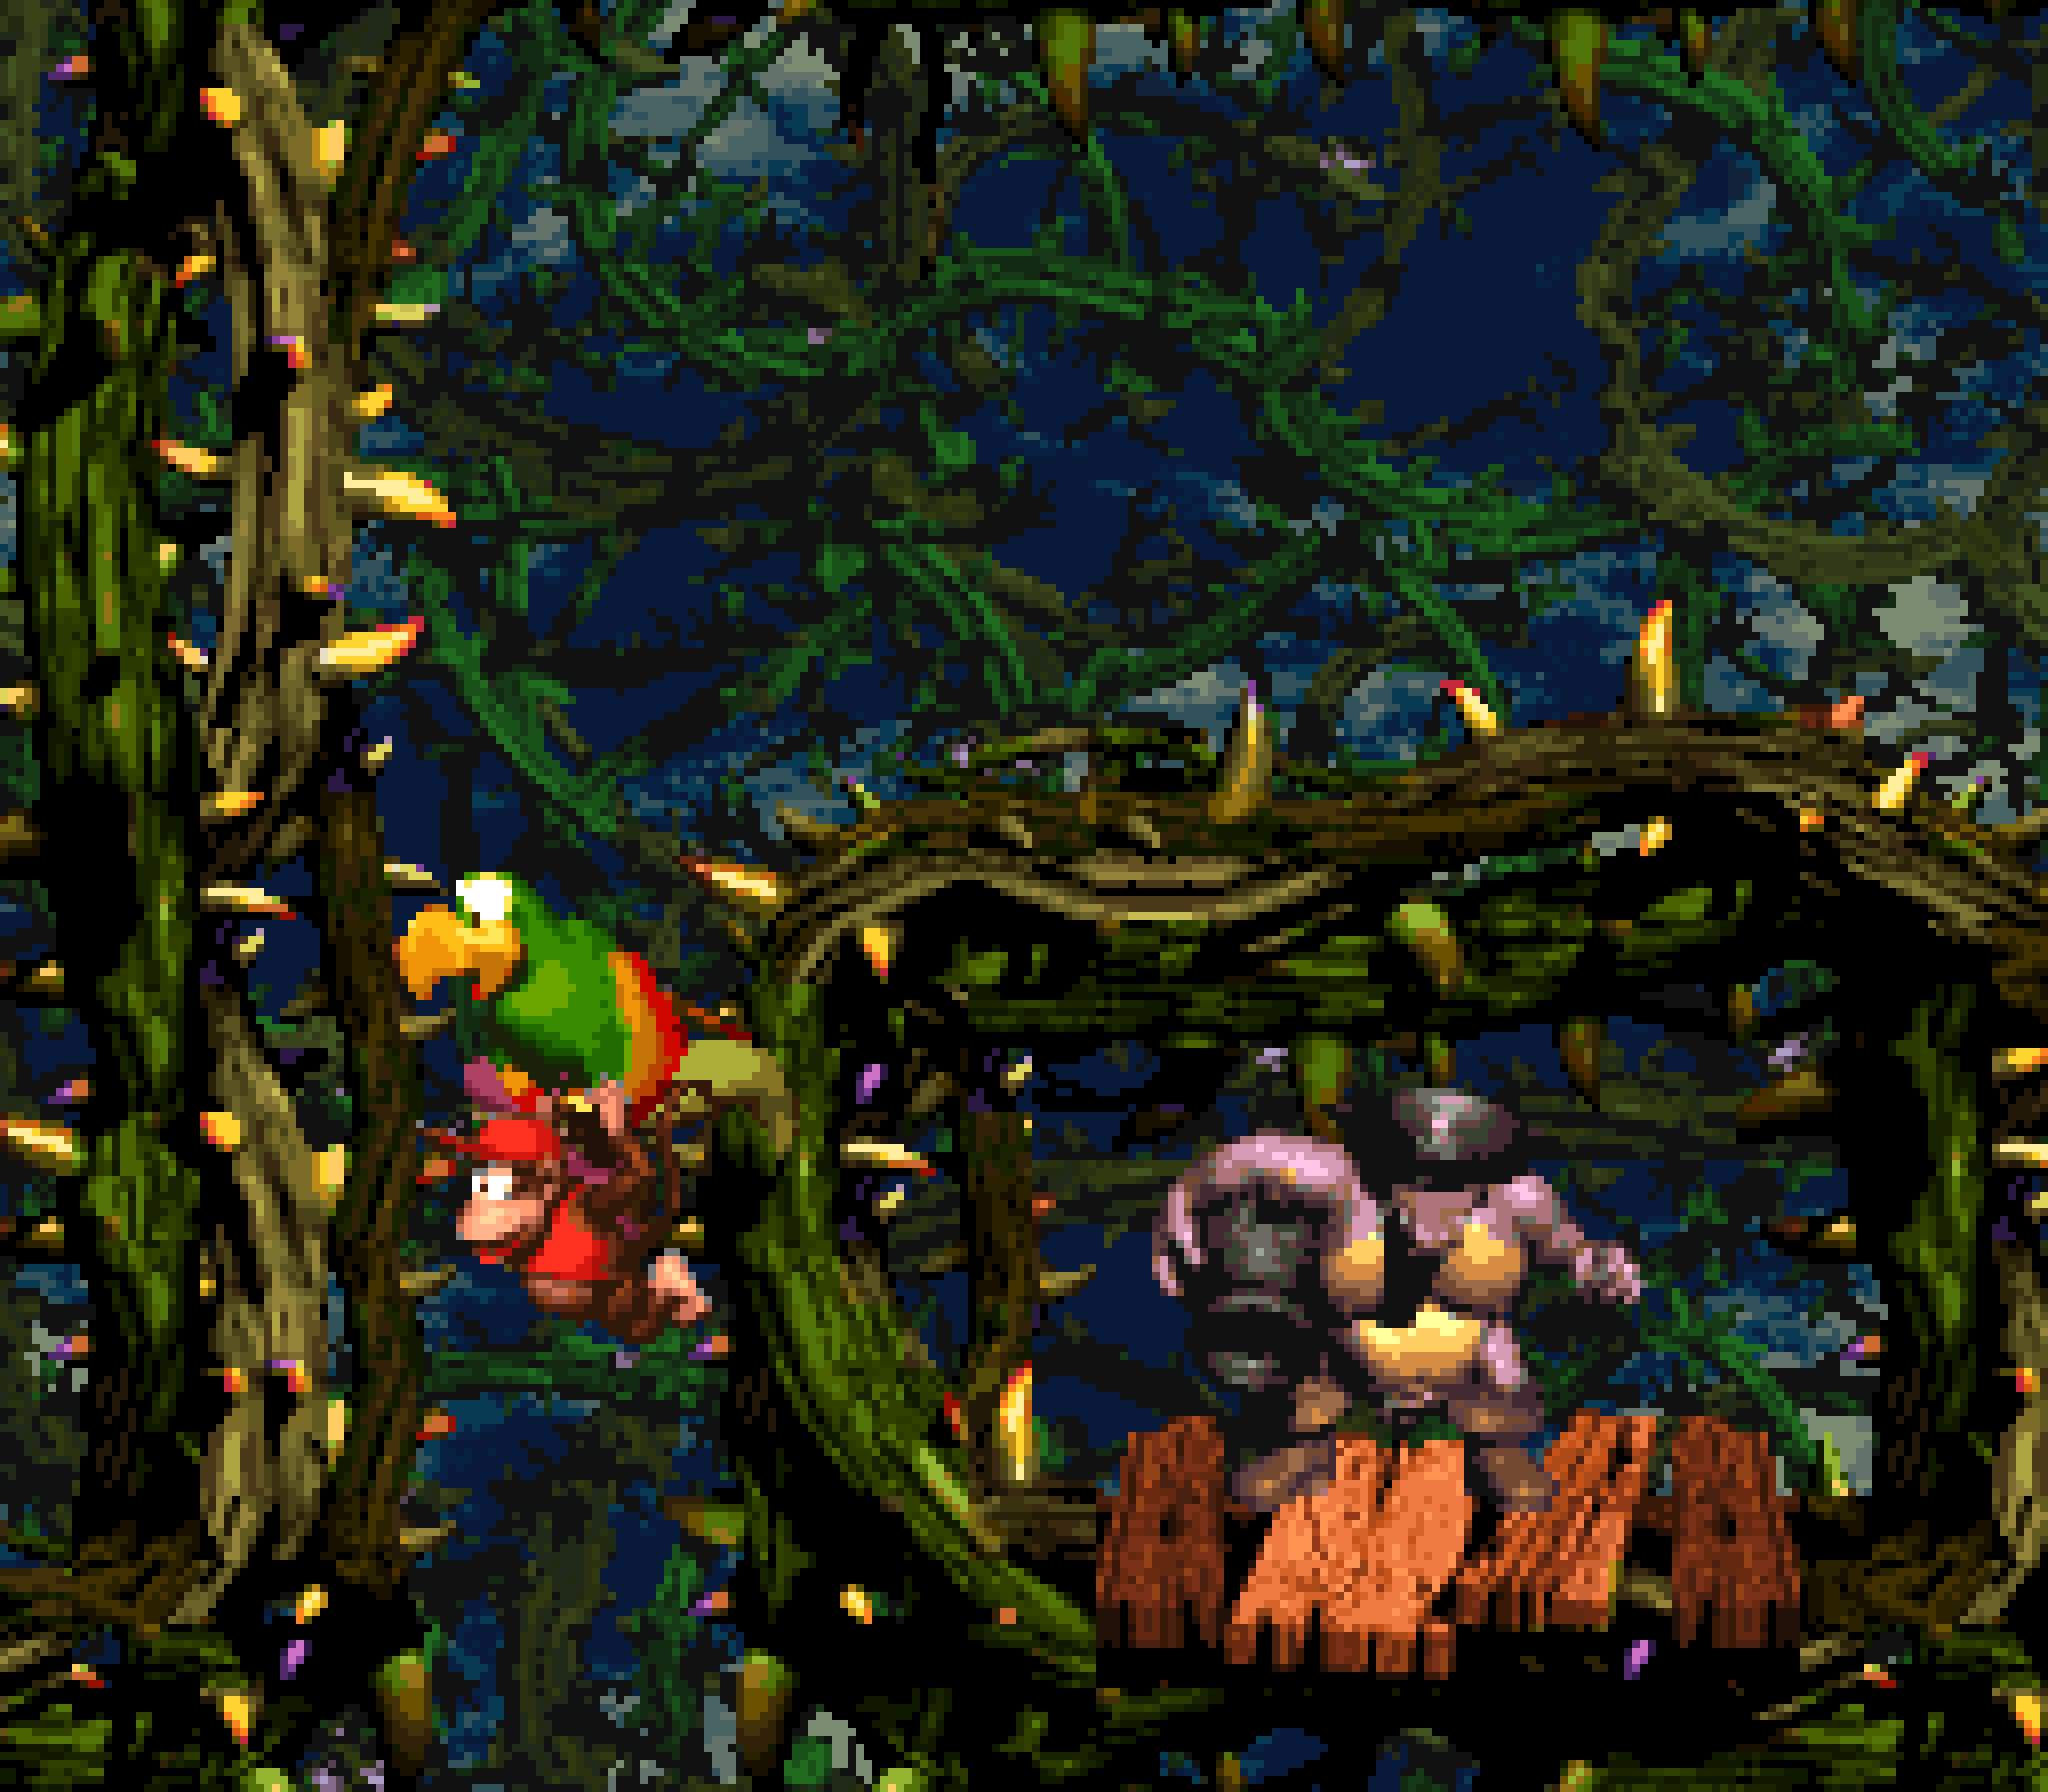
6. Web Woods
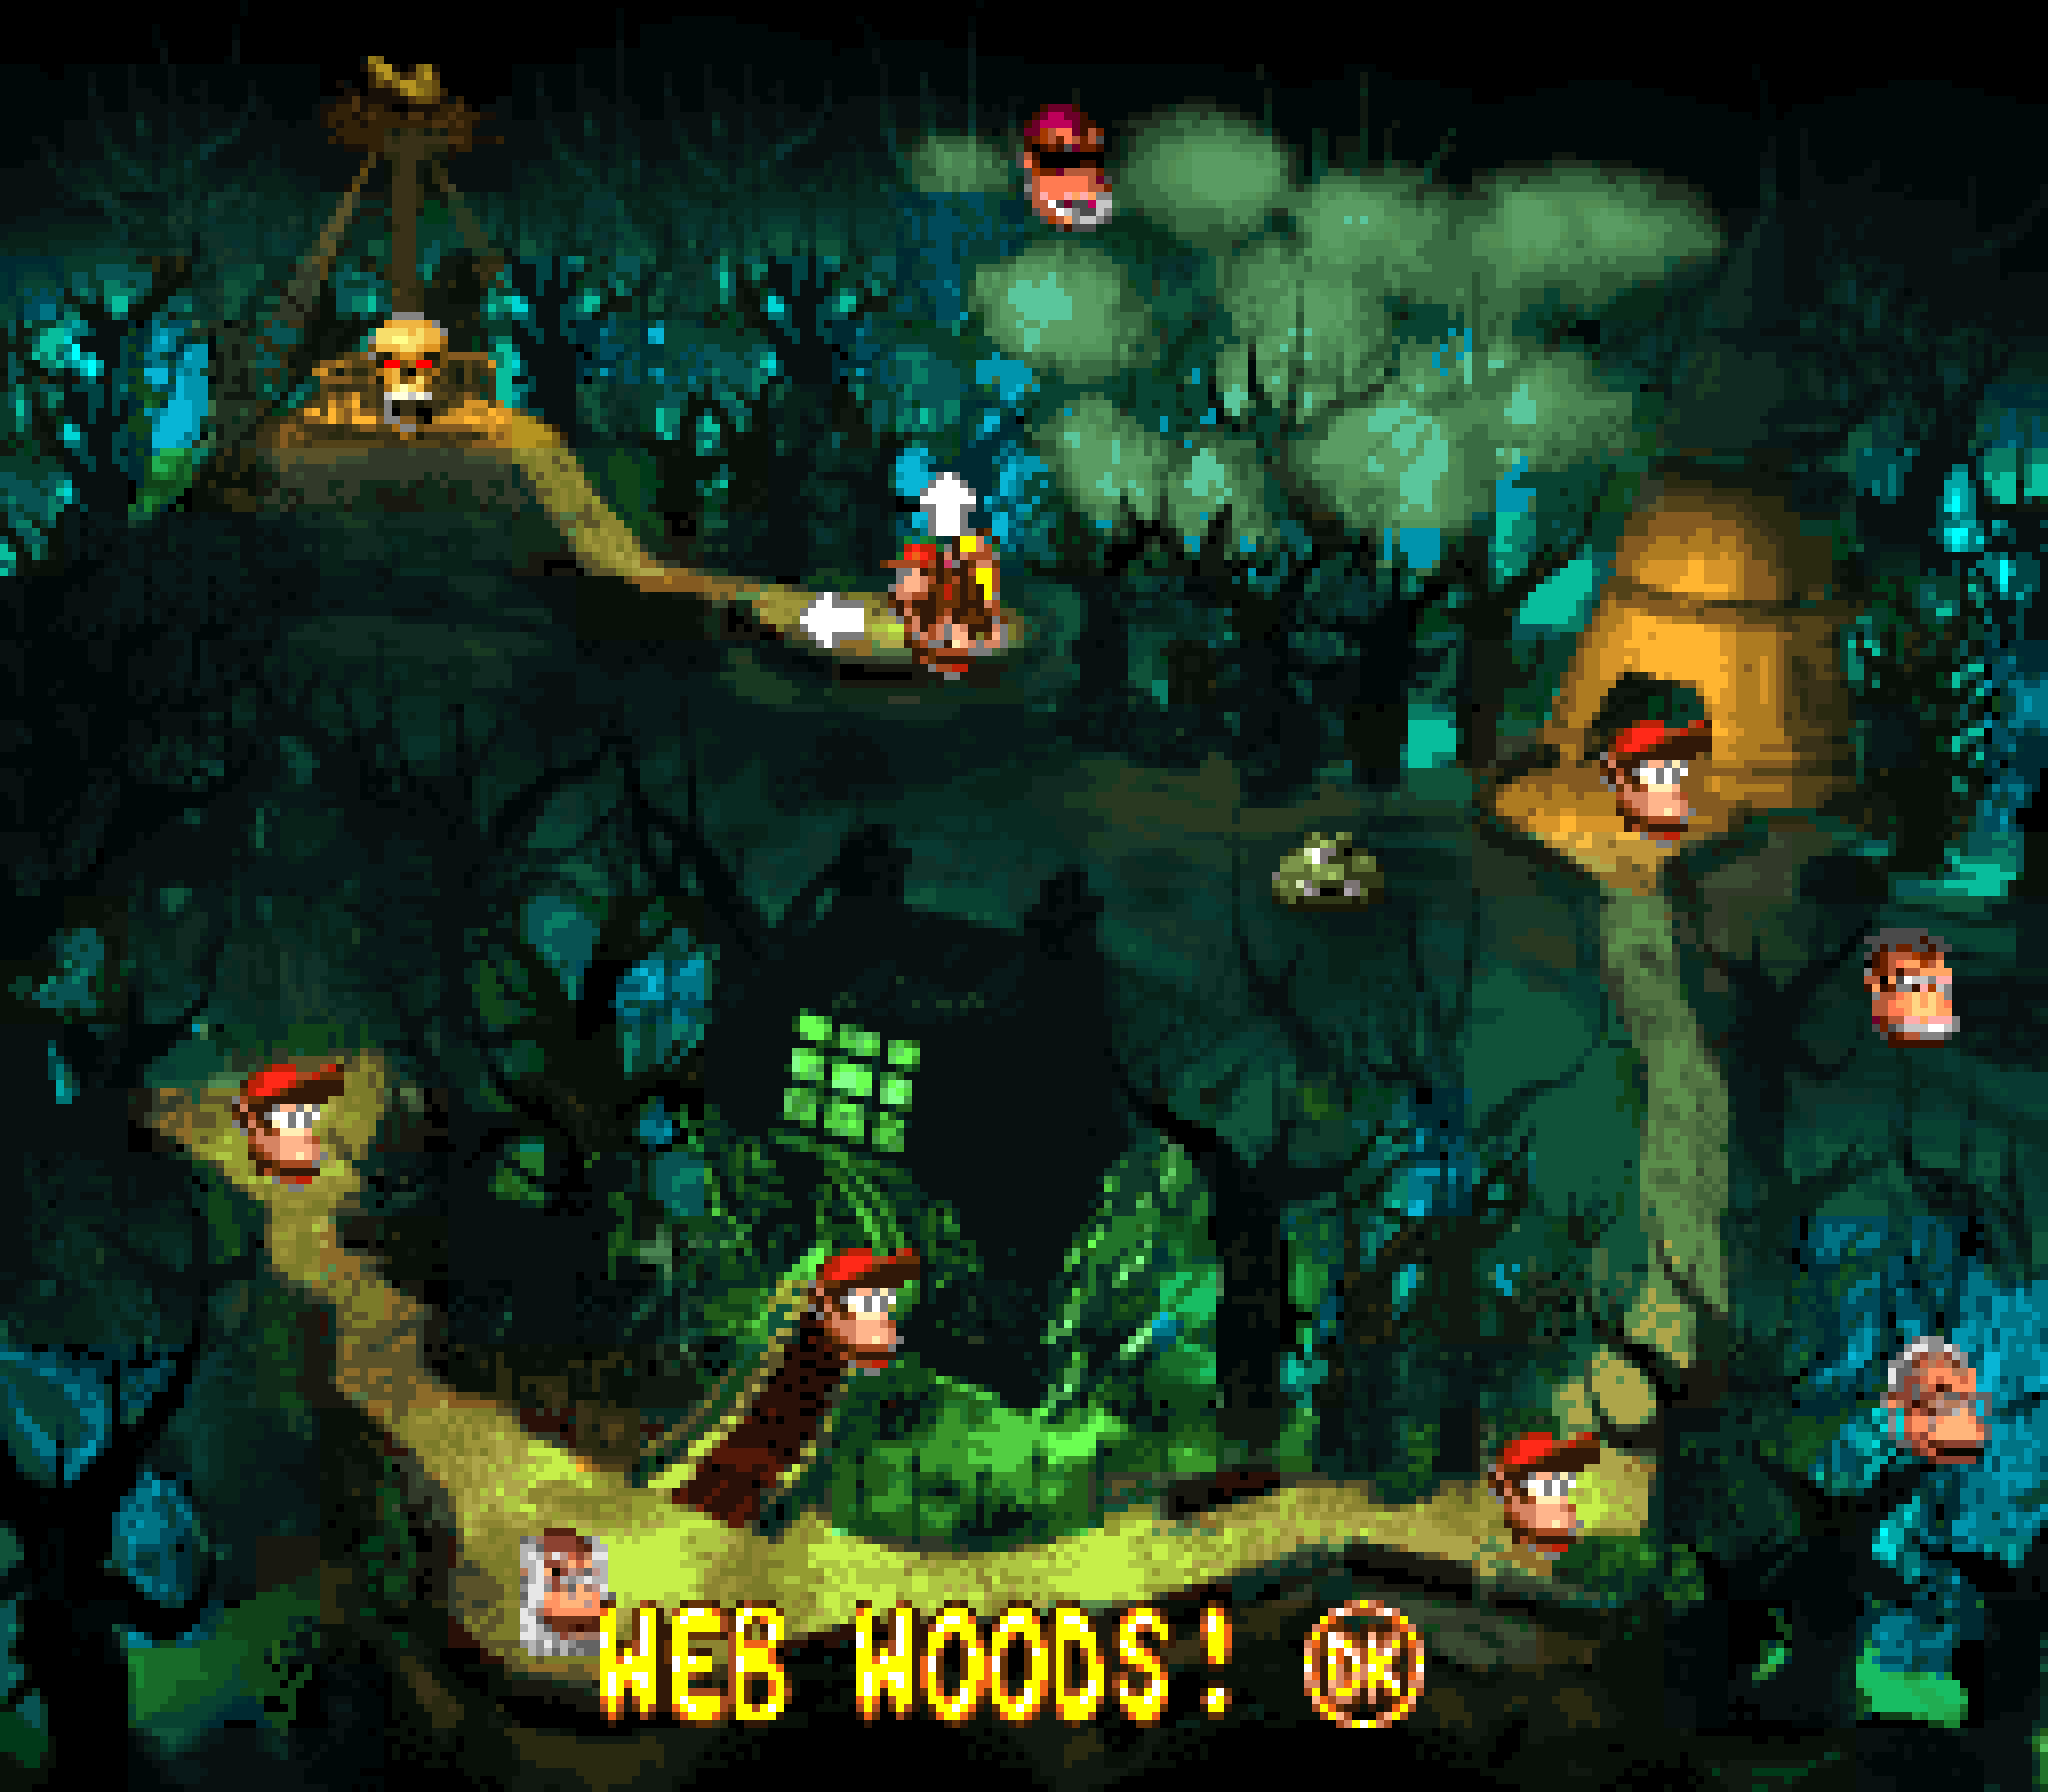
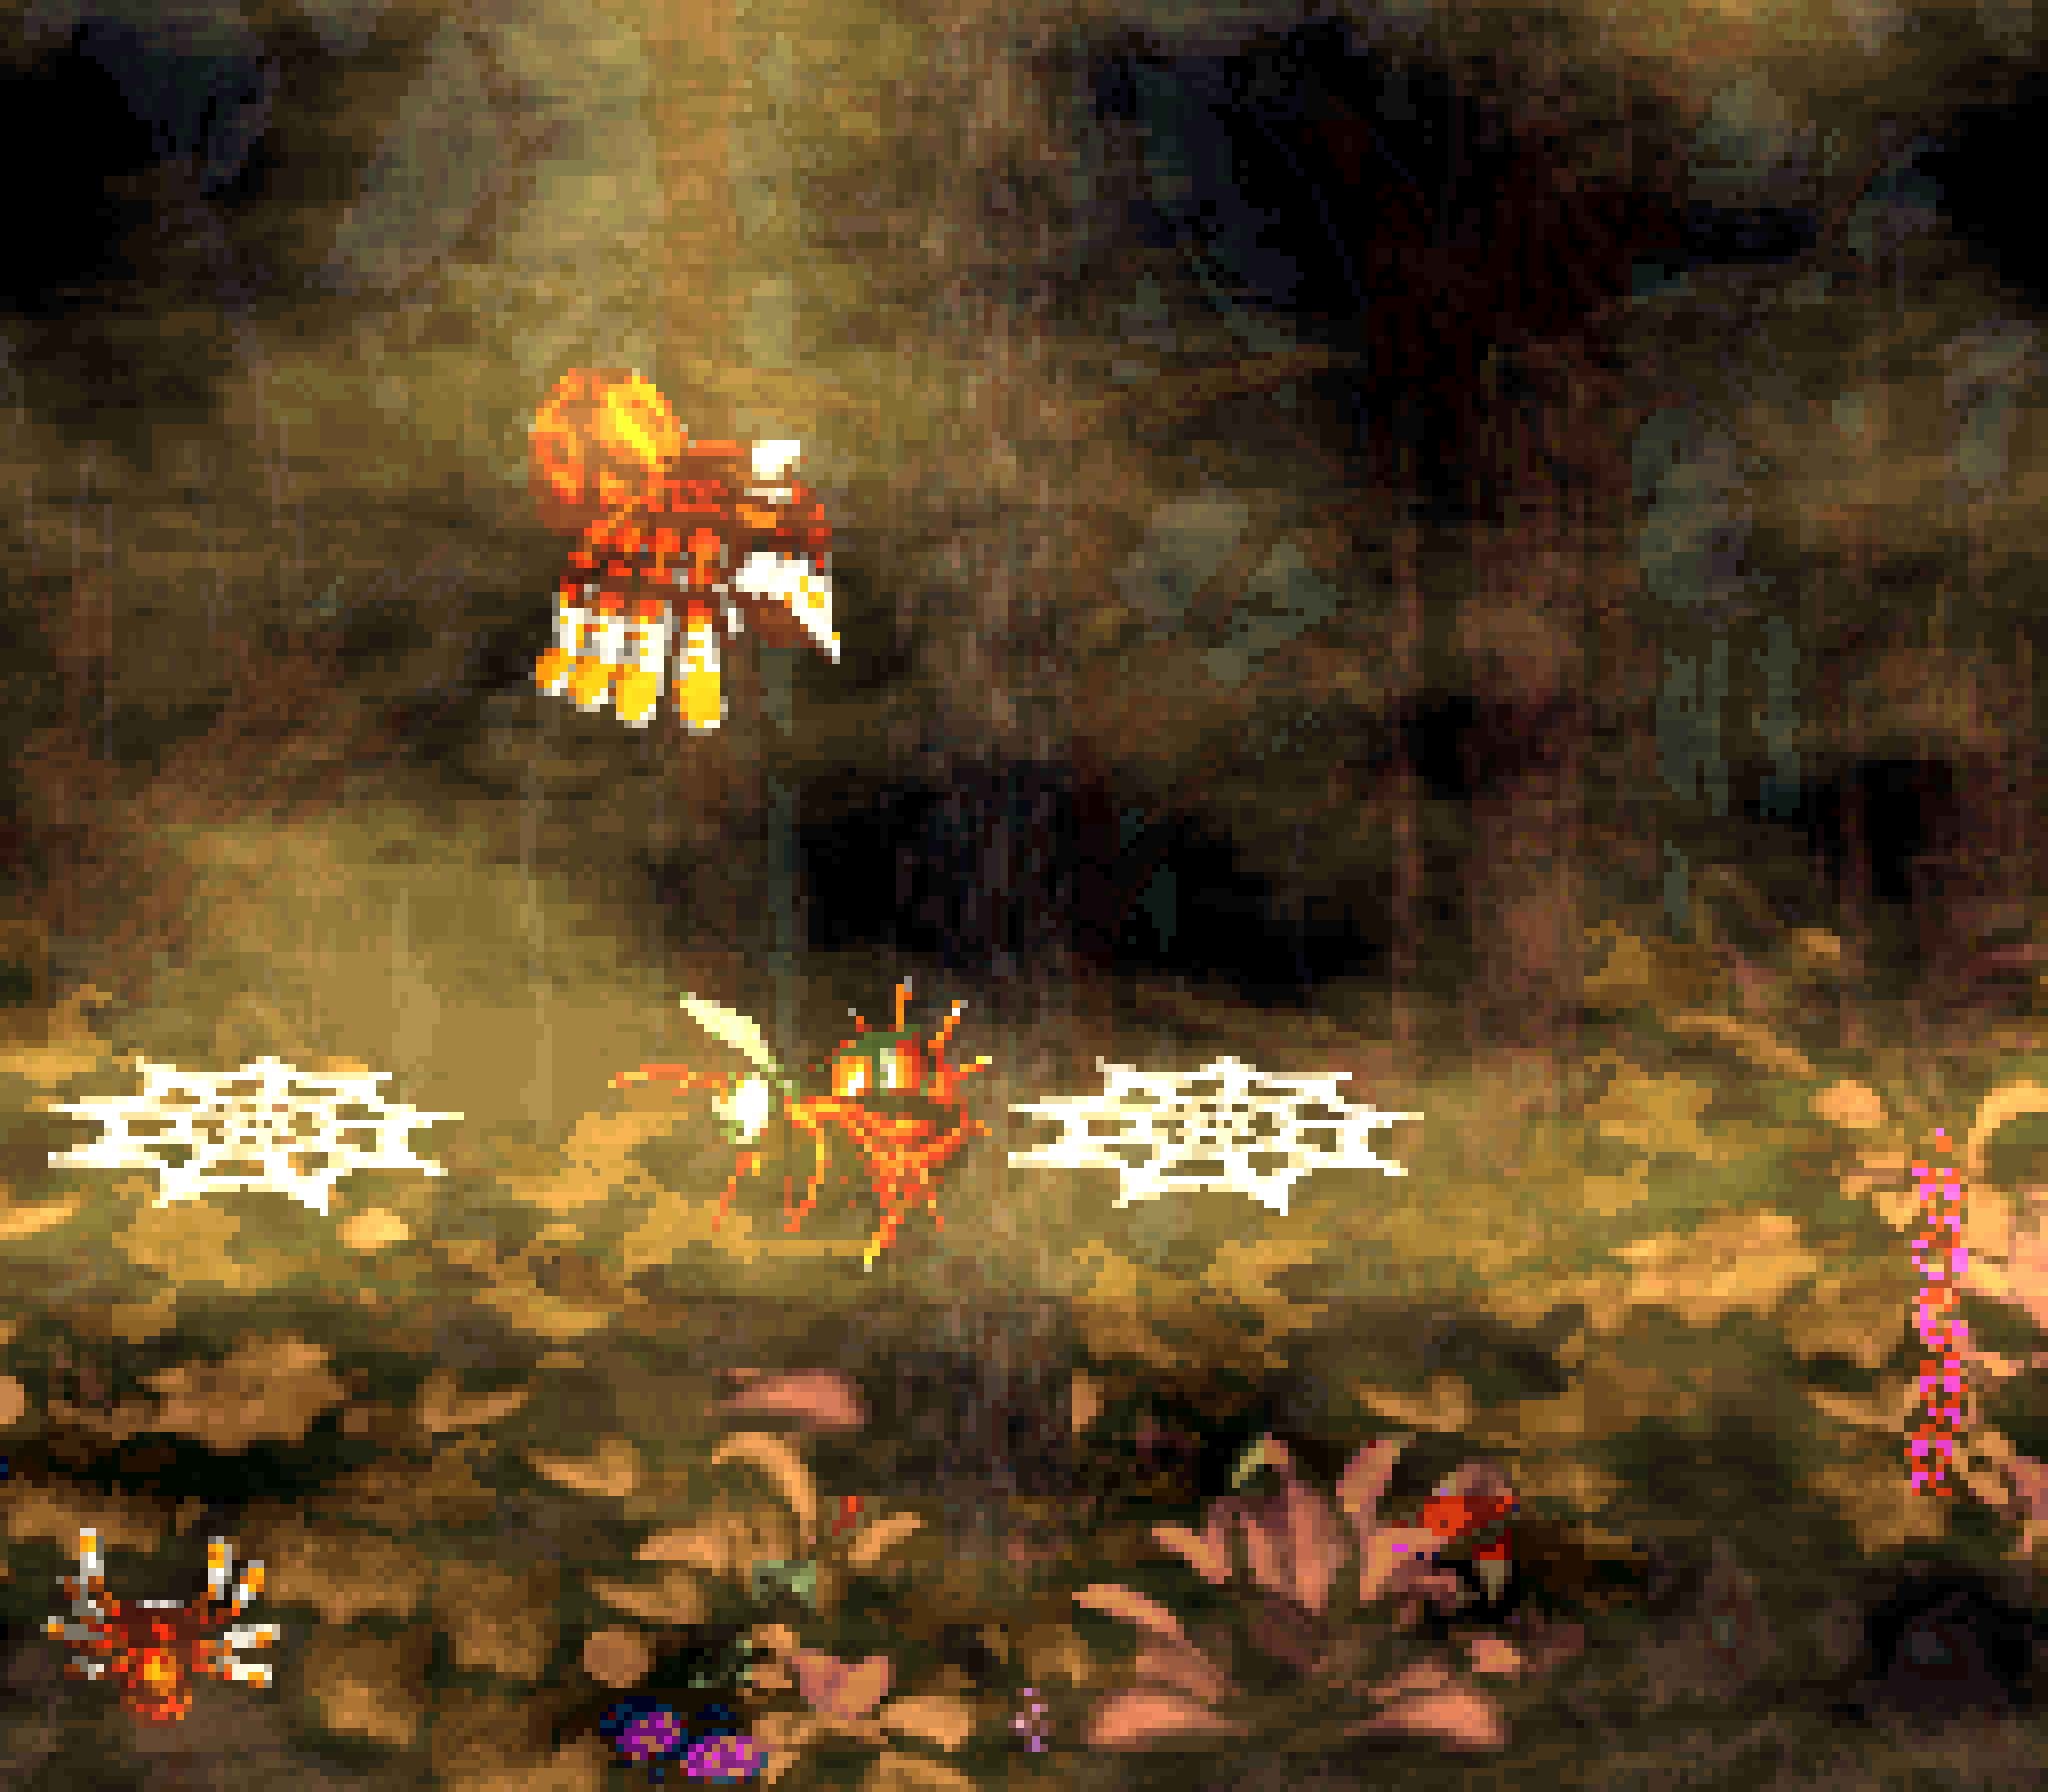
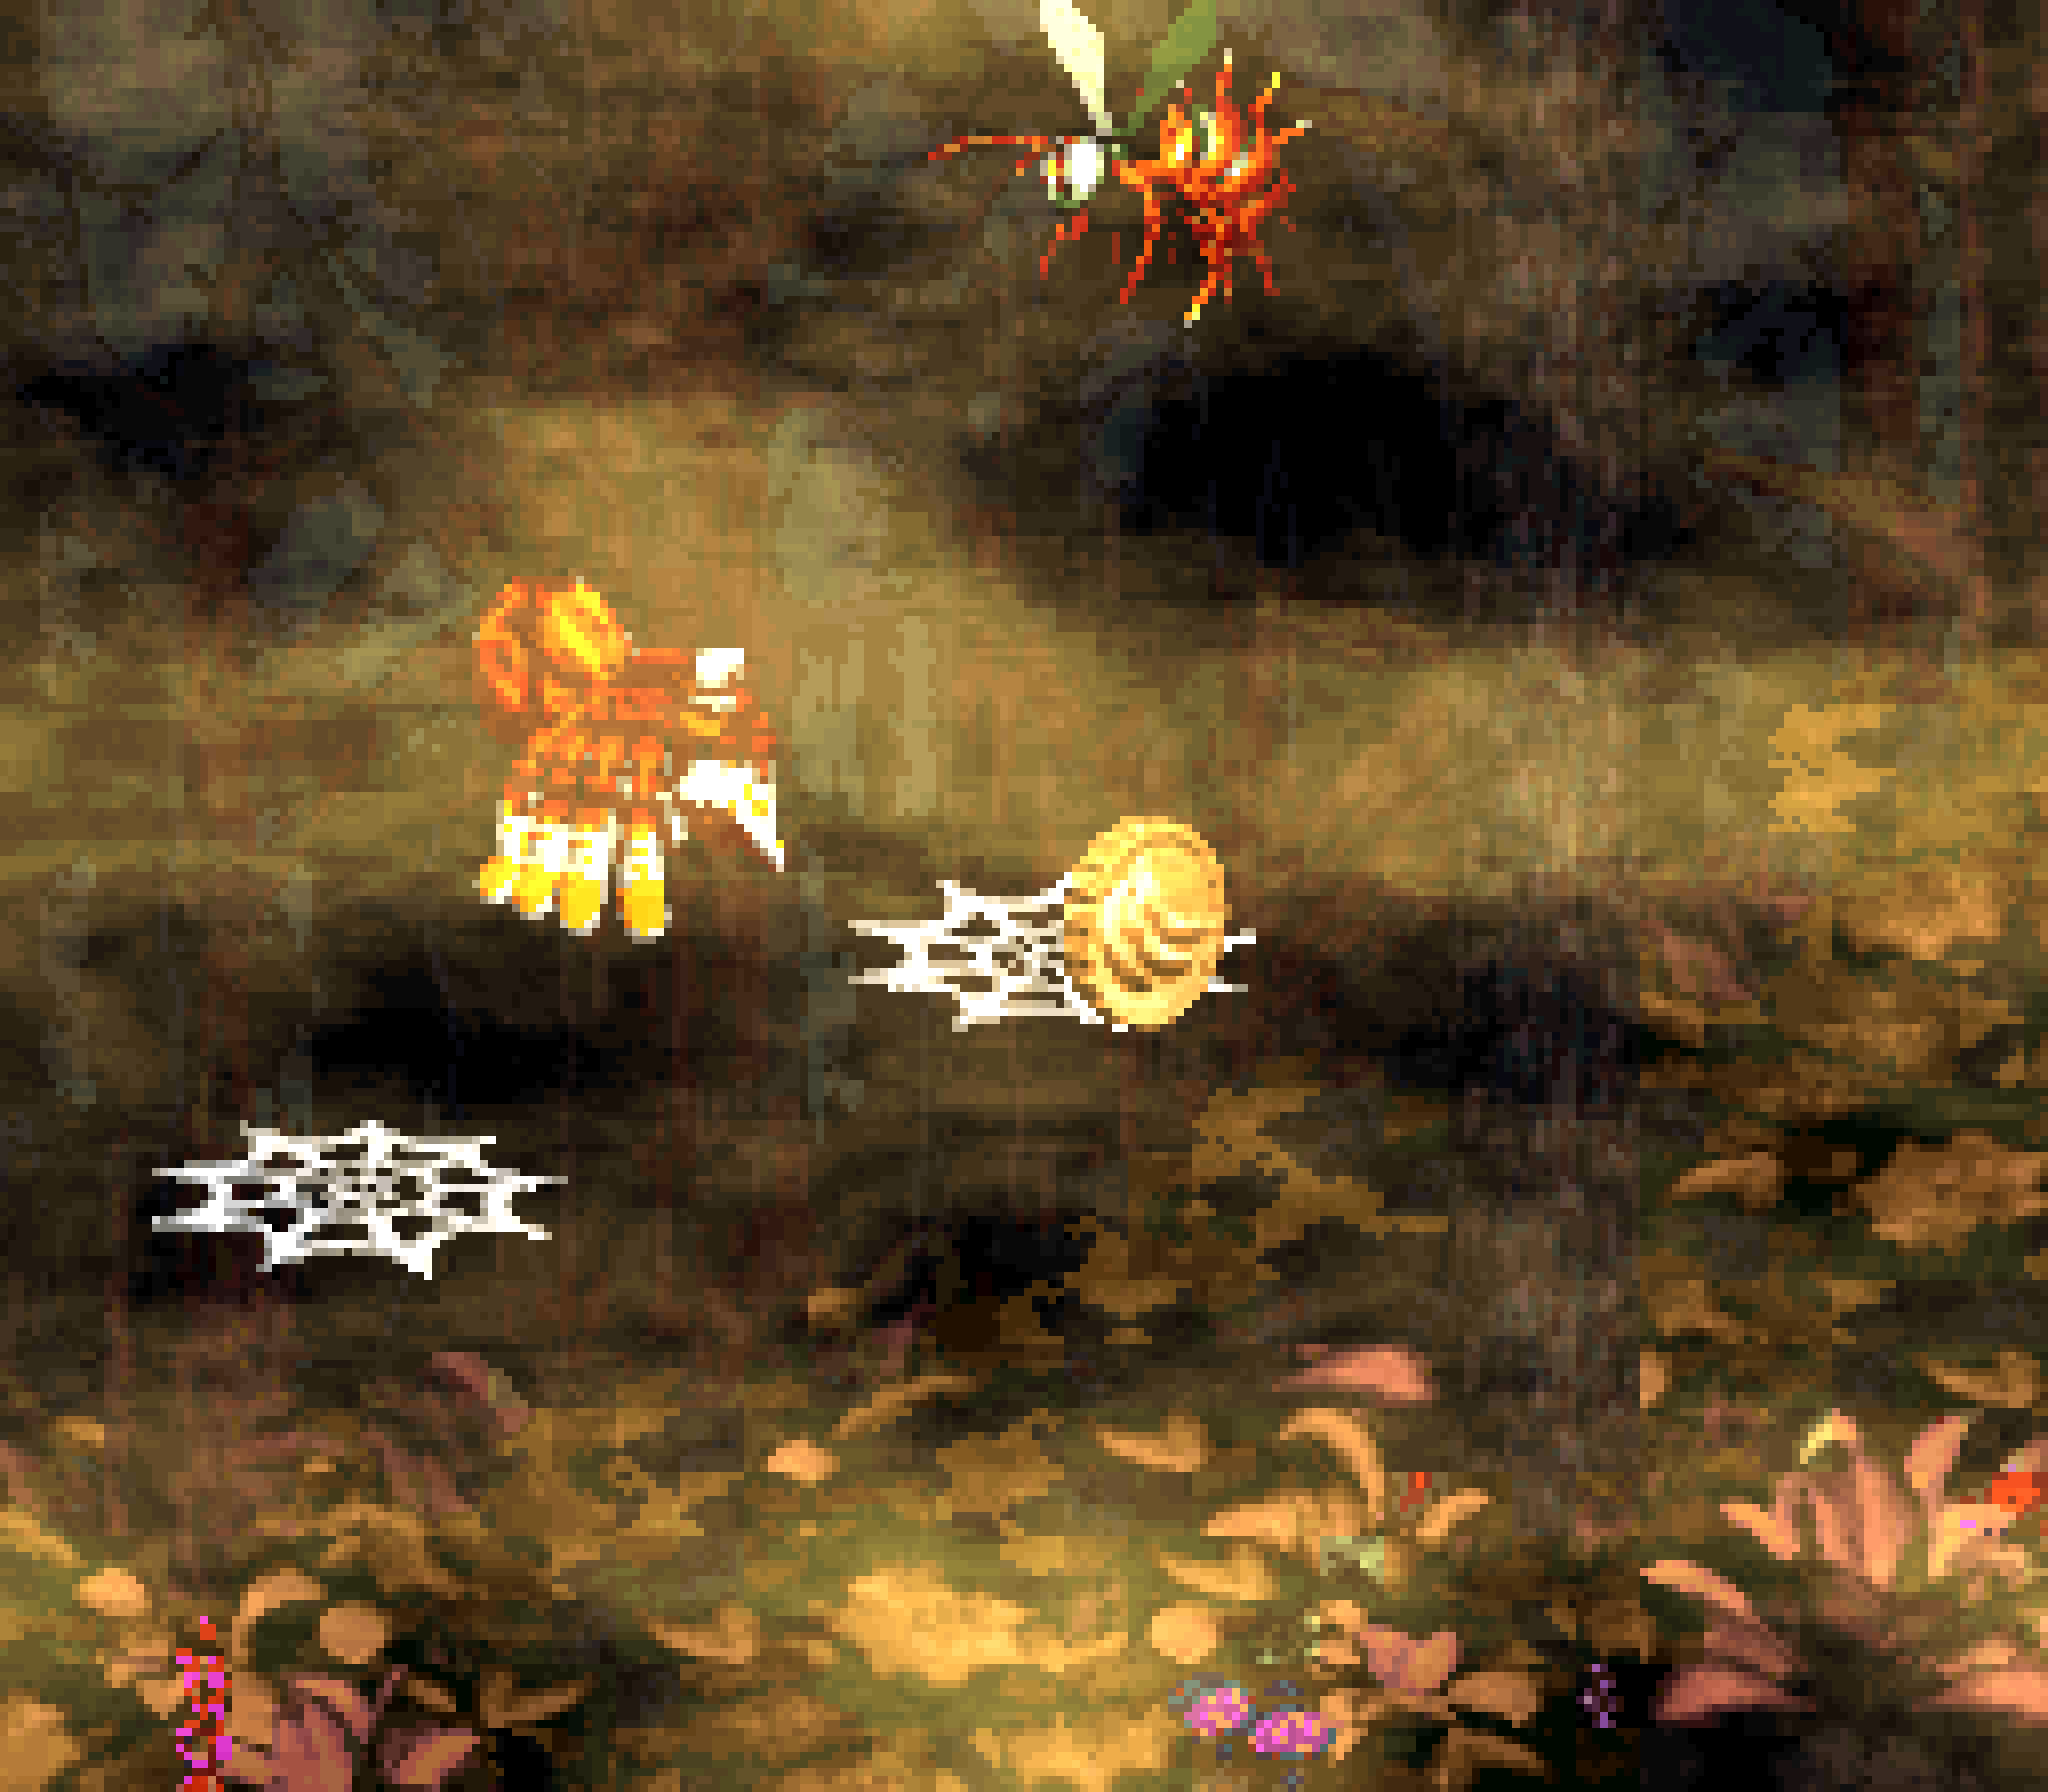
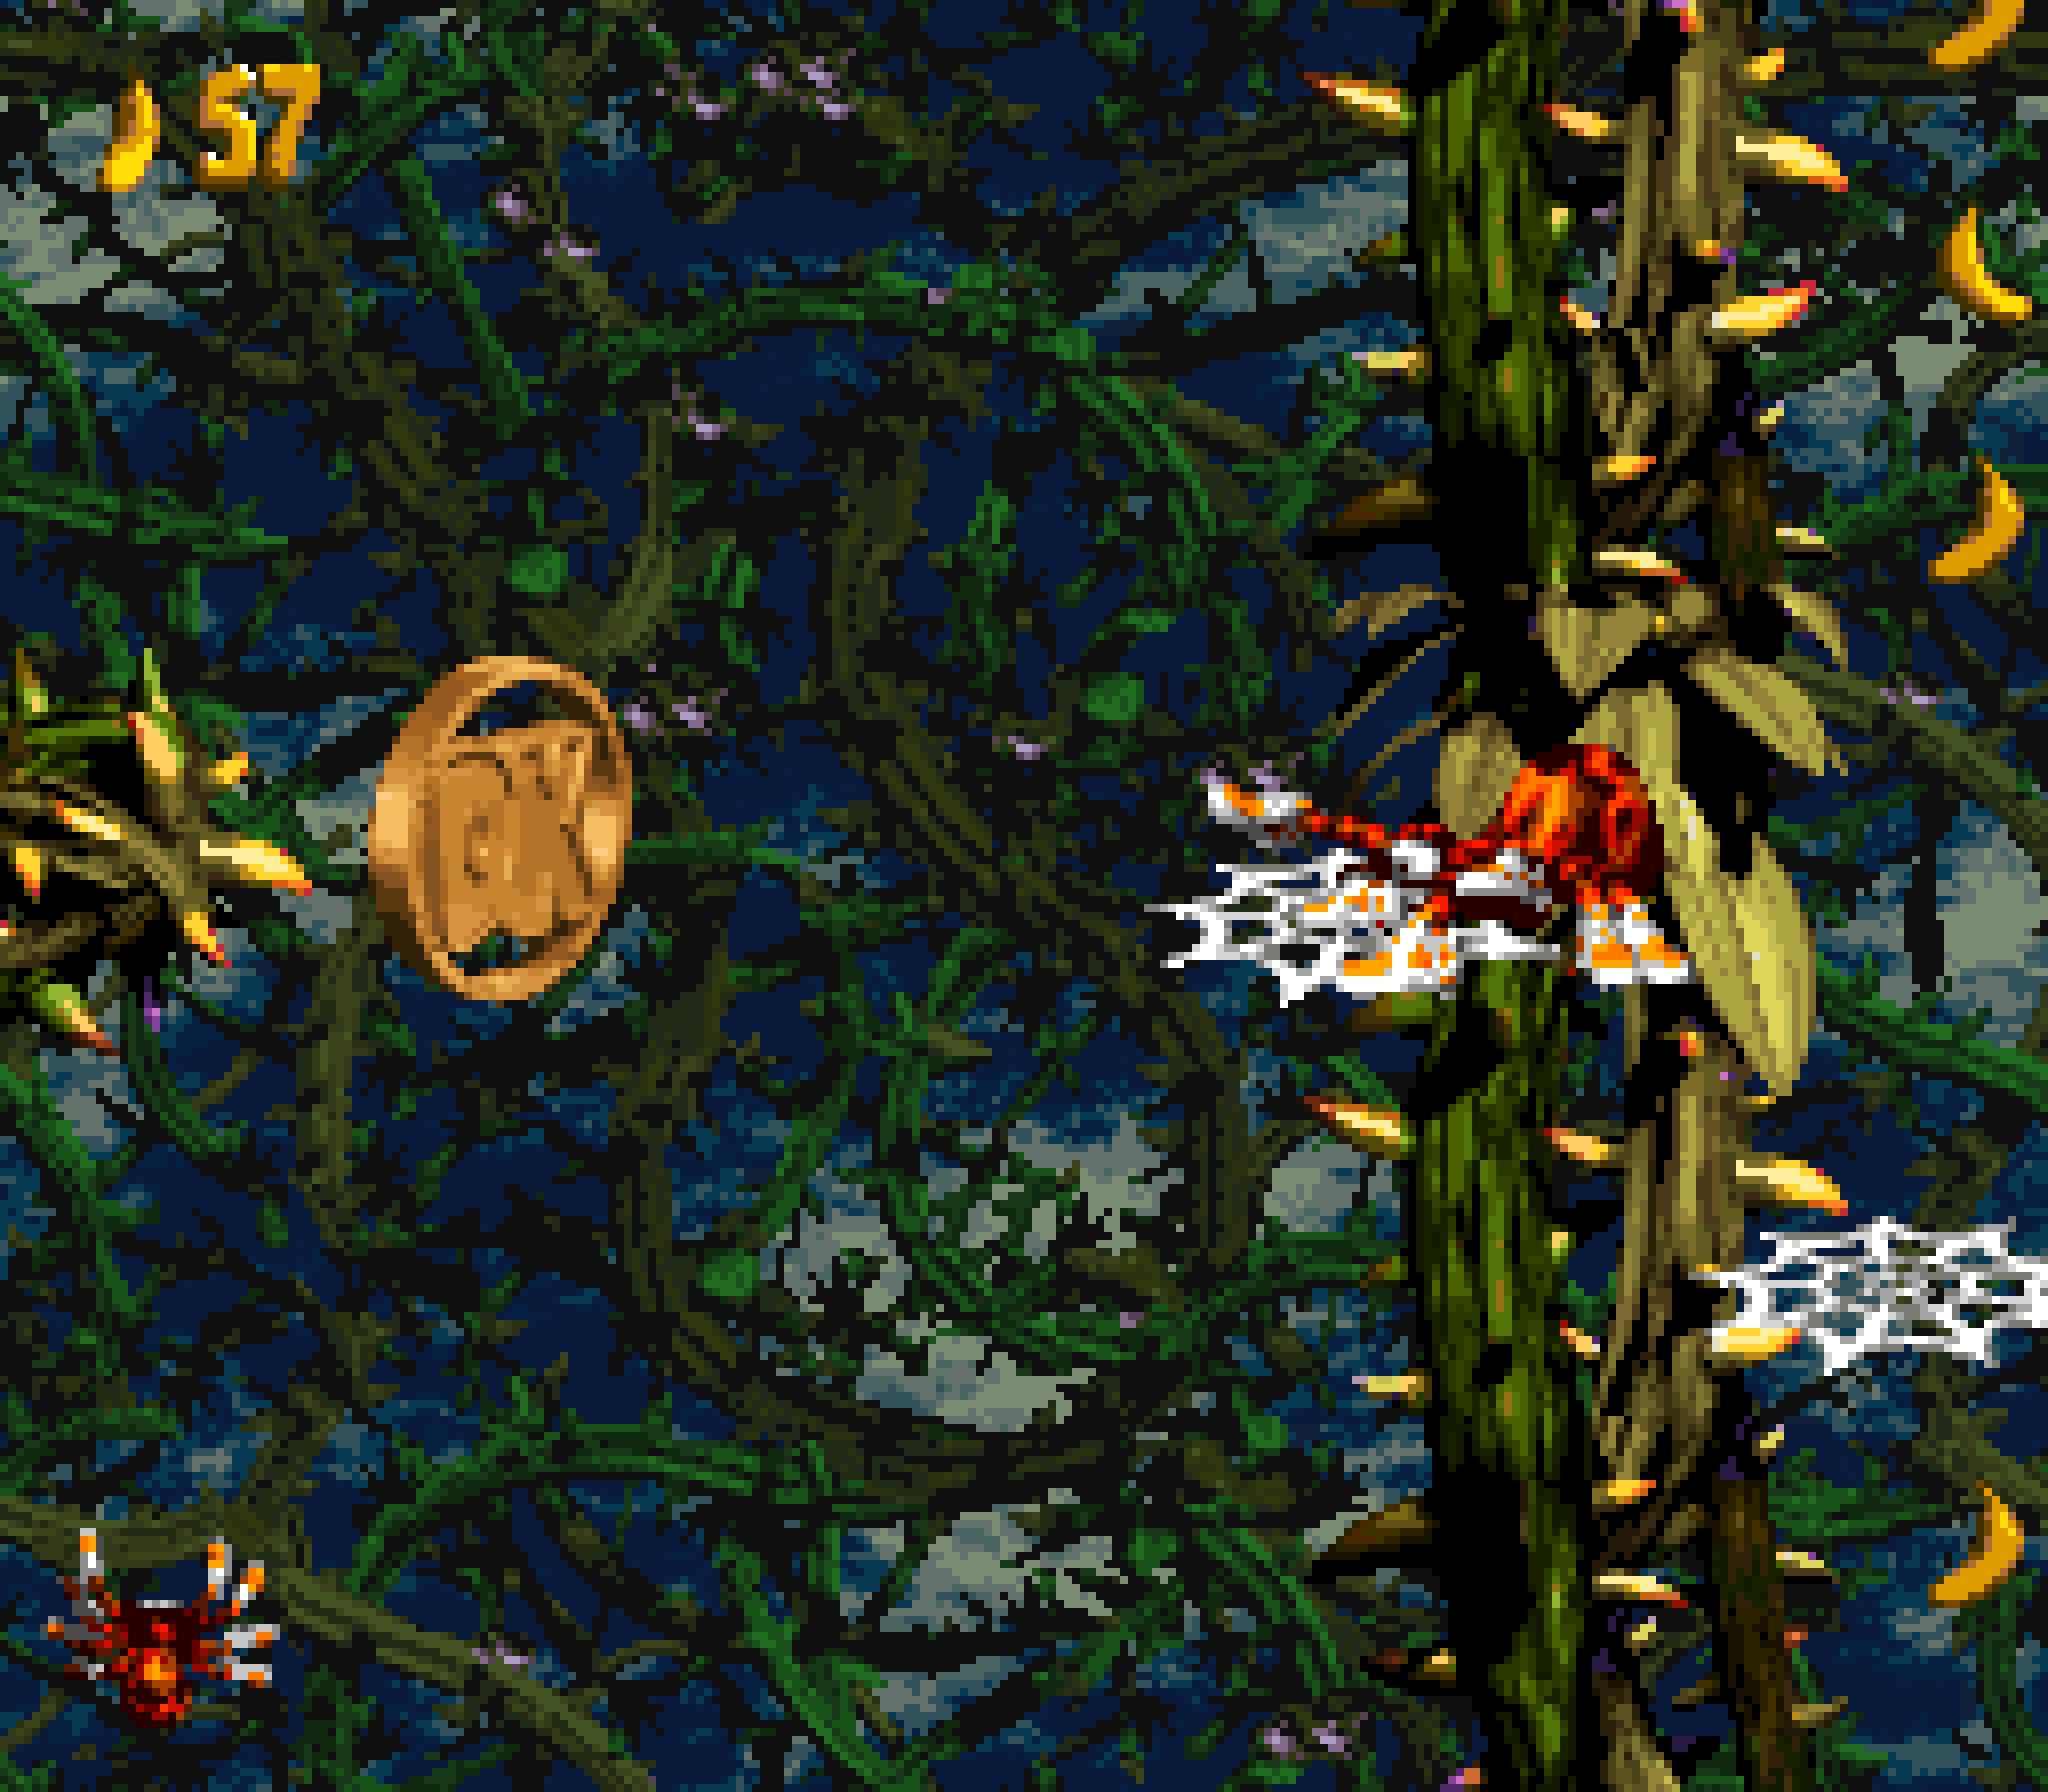
“Web Woods” is the magnum opus for Squitter, a’least for this game. While I’ve been leery o’ the way Squitter is used in many levels thruout this game, oft acting as nothing mo’ than a way to skip o’er entire levels, here we have a level that forces players to use Squitter to get thru its challenges, rather than skip them, & e’en in the few cases where you can skip challenges, it’s done in a much cooler way, such as rushing past the dive-bombing Mini-Neckies as you go down high steps or sneaking up on Kaboings trying to sneak jump on you from ’bove by taking the high route & sniping them from afar.
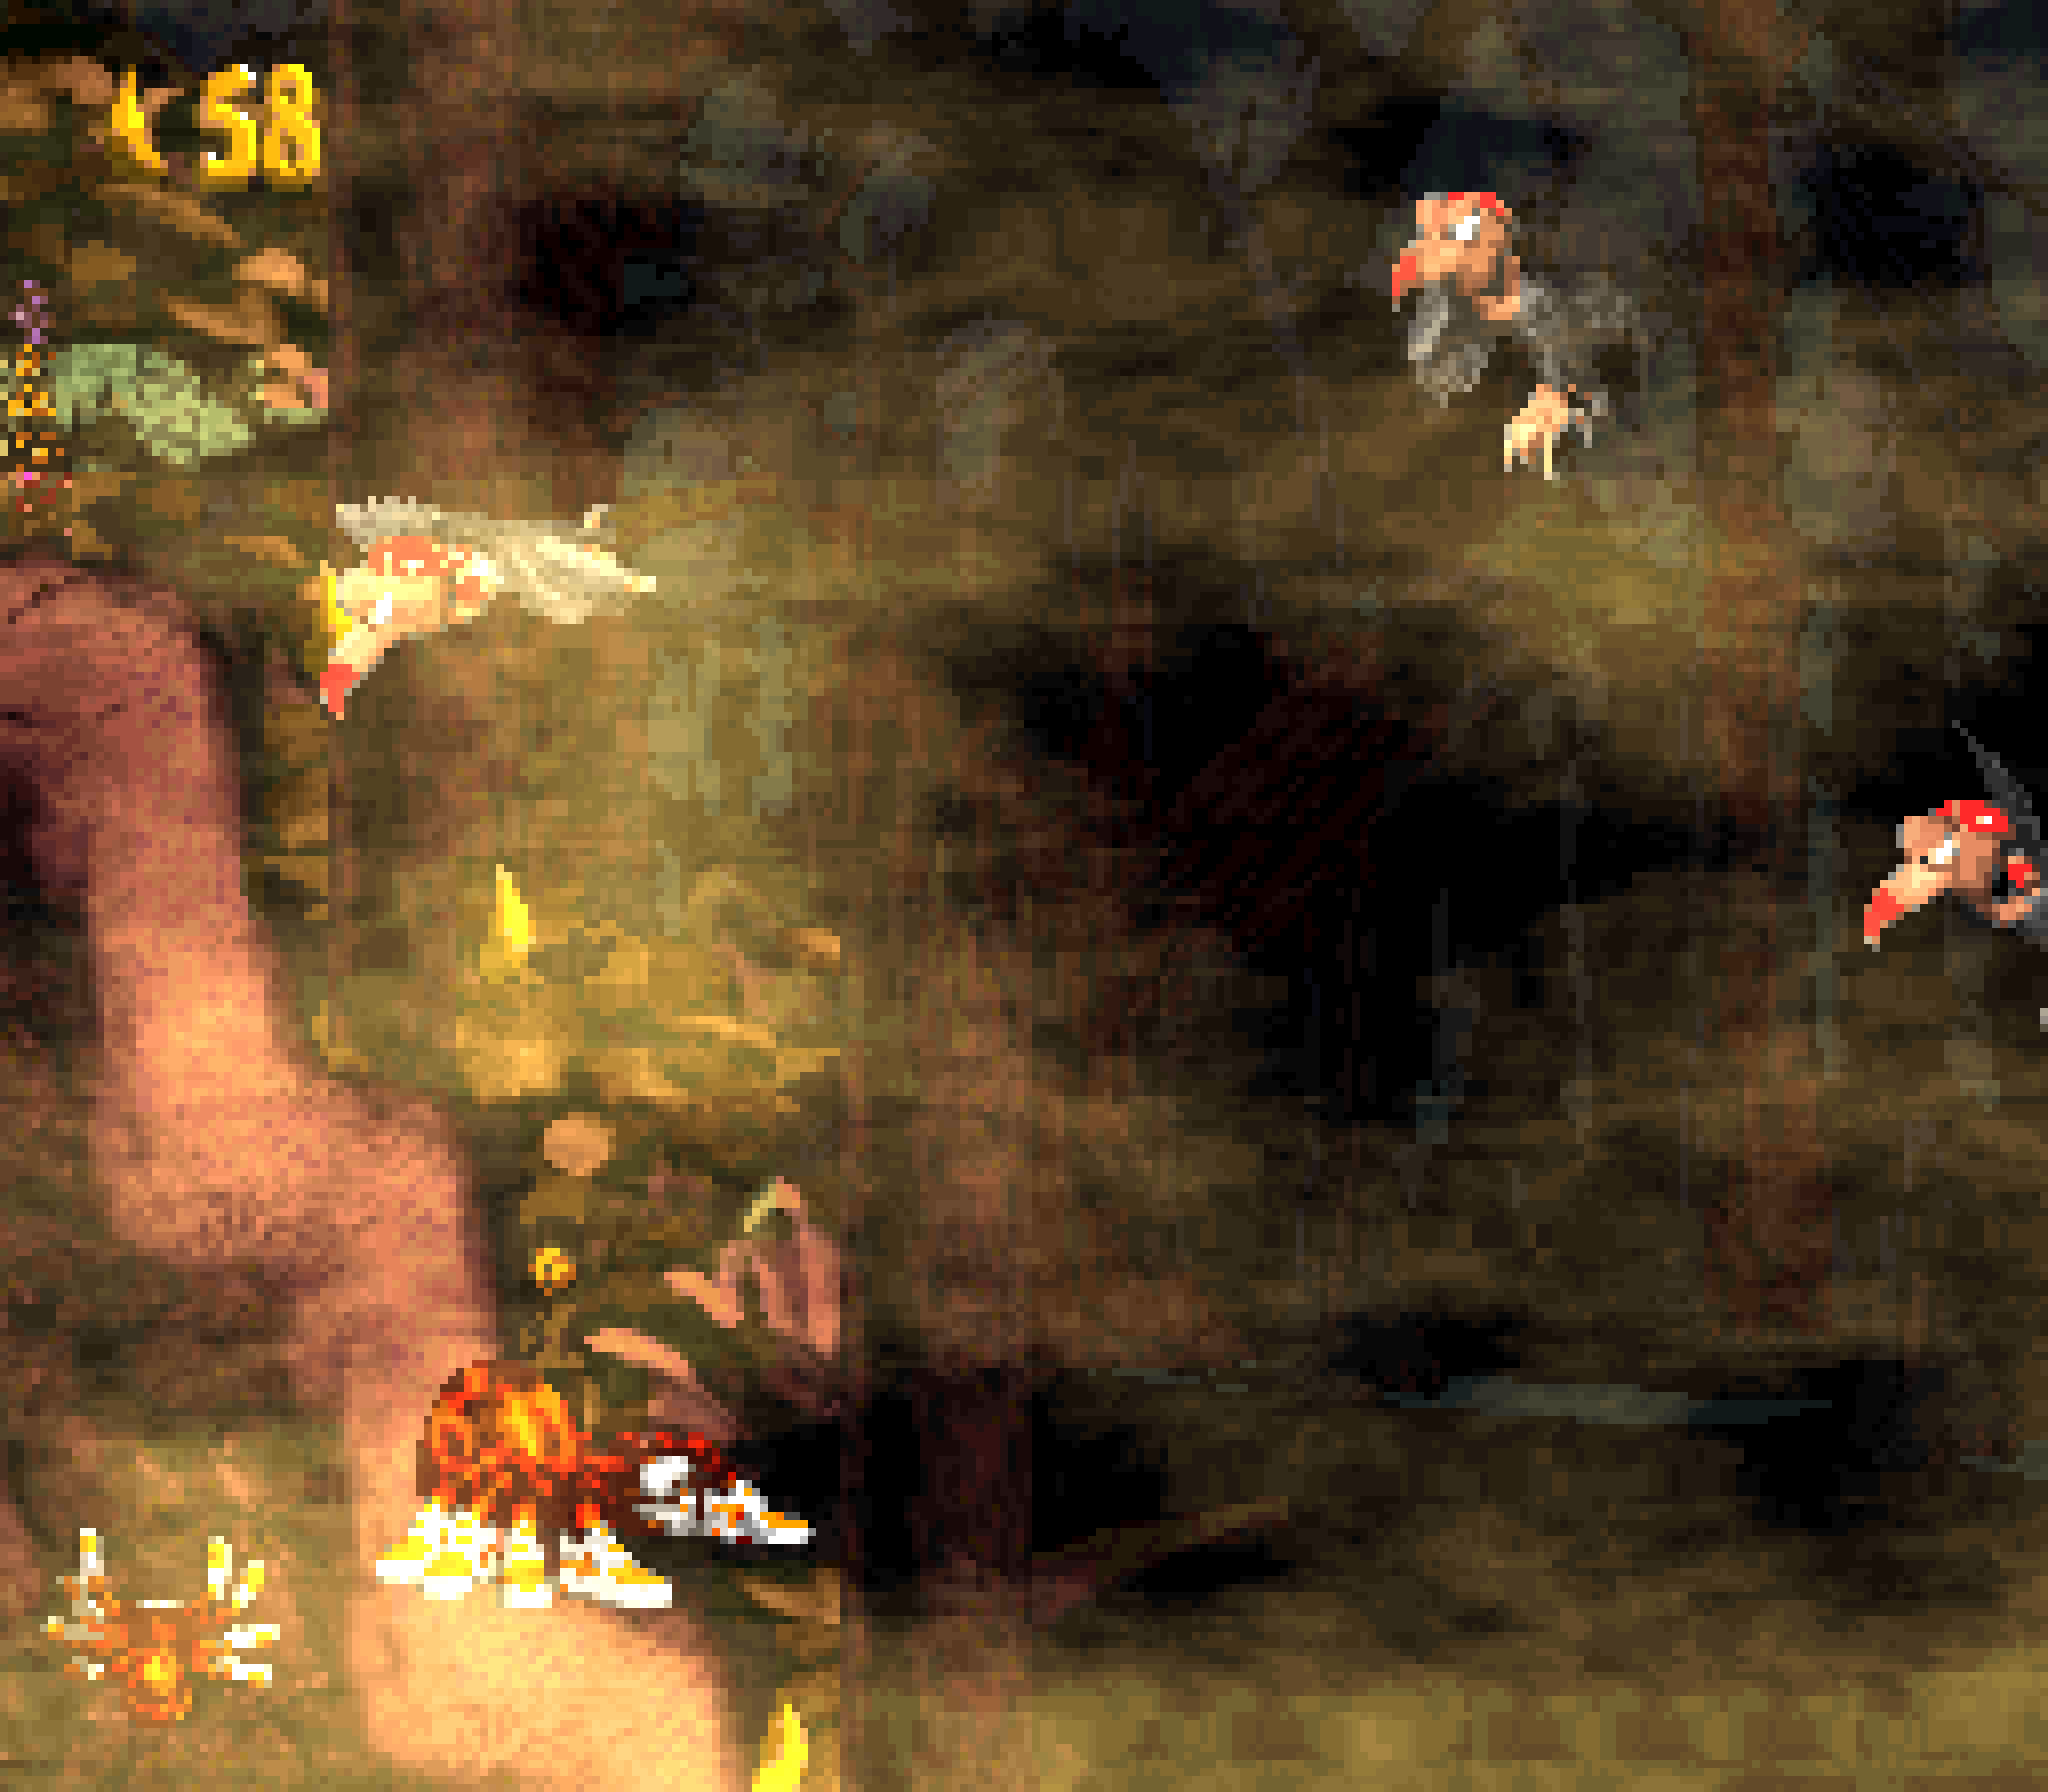
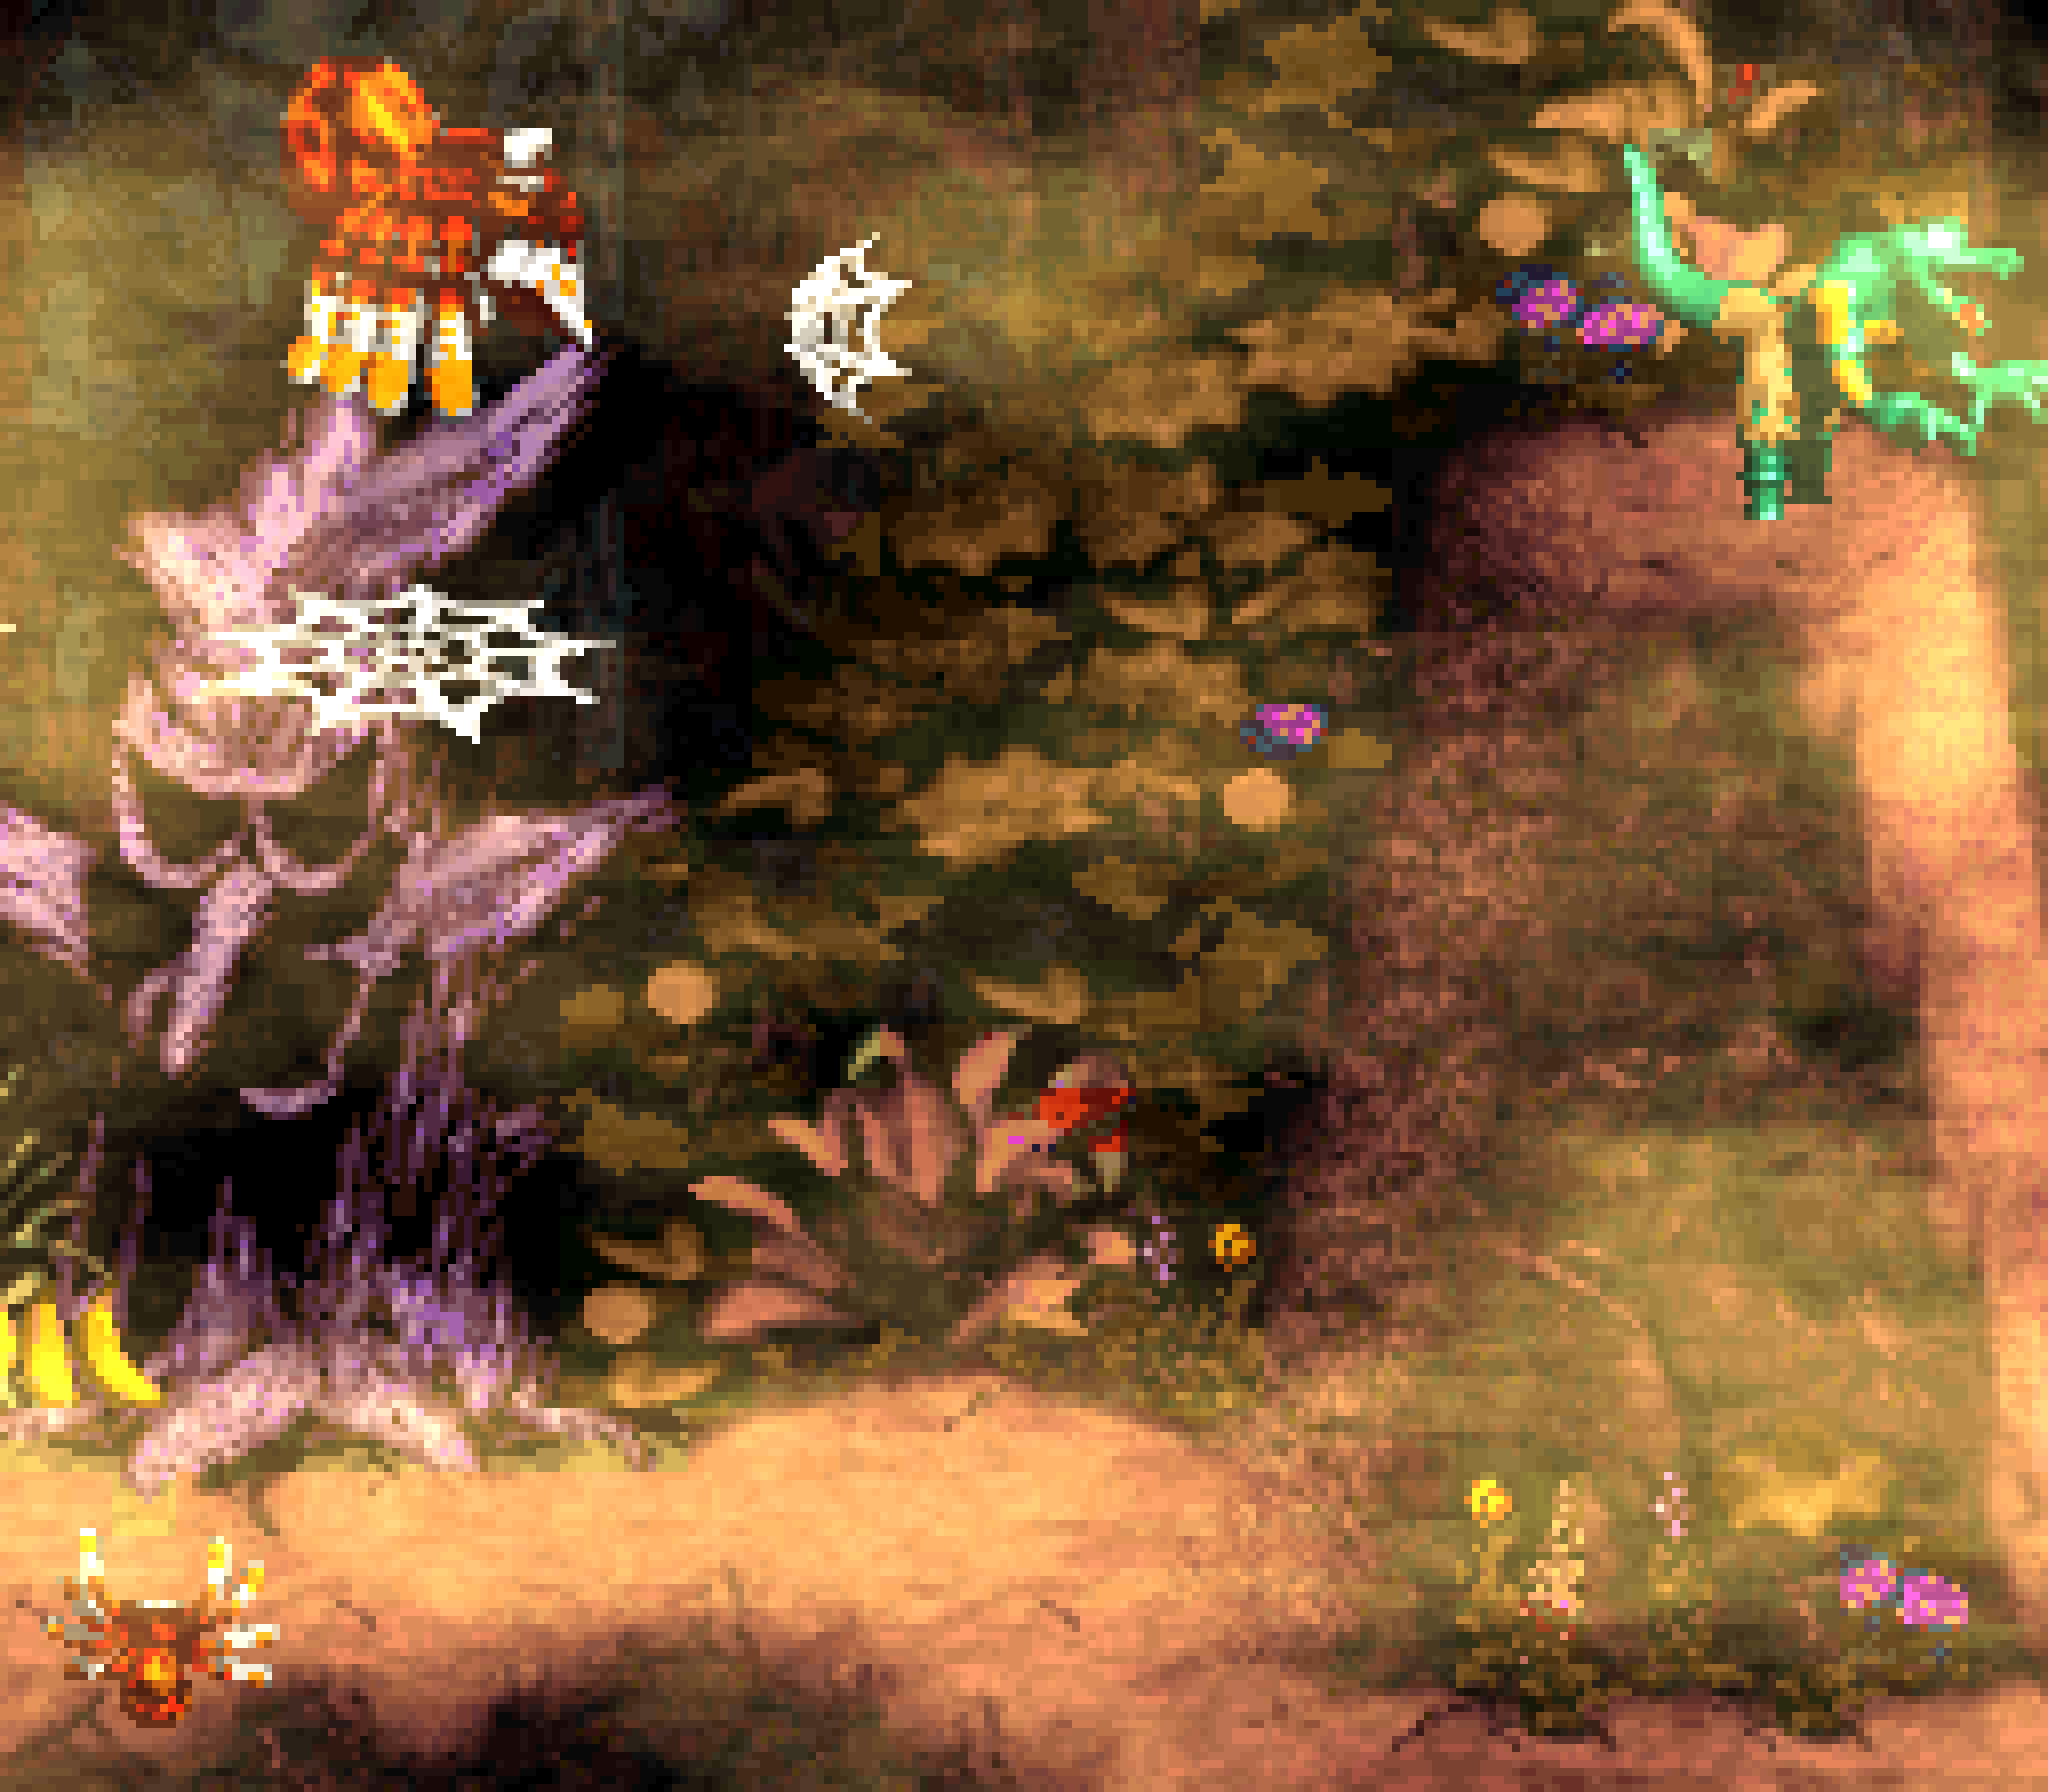
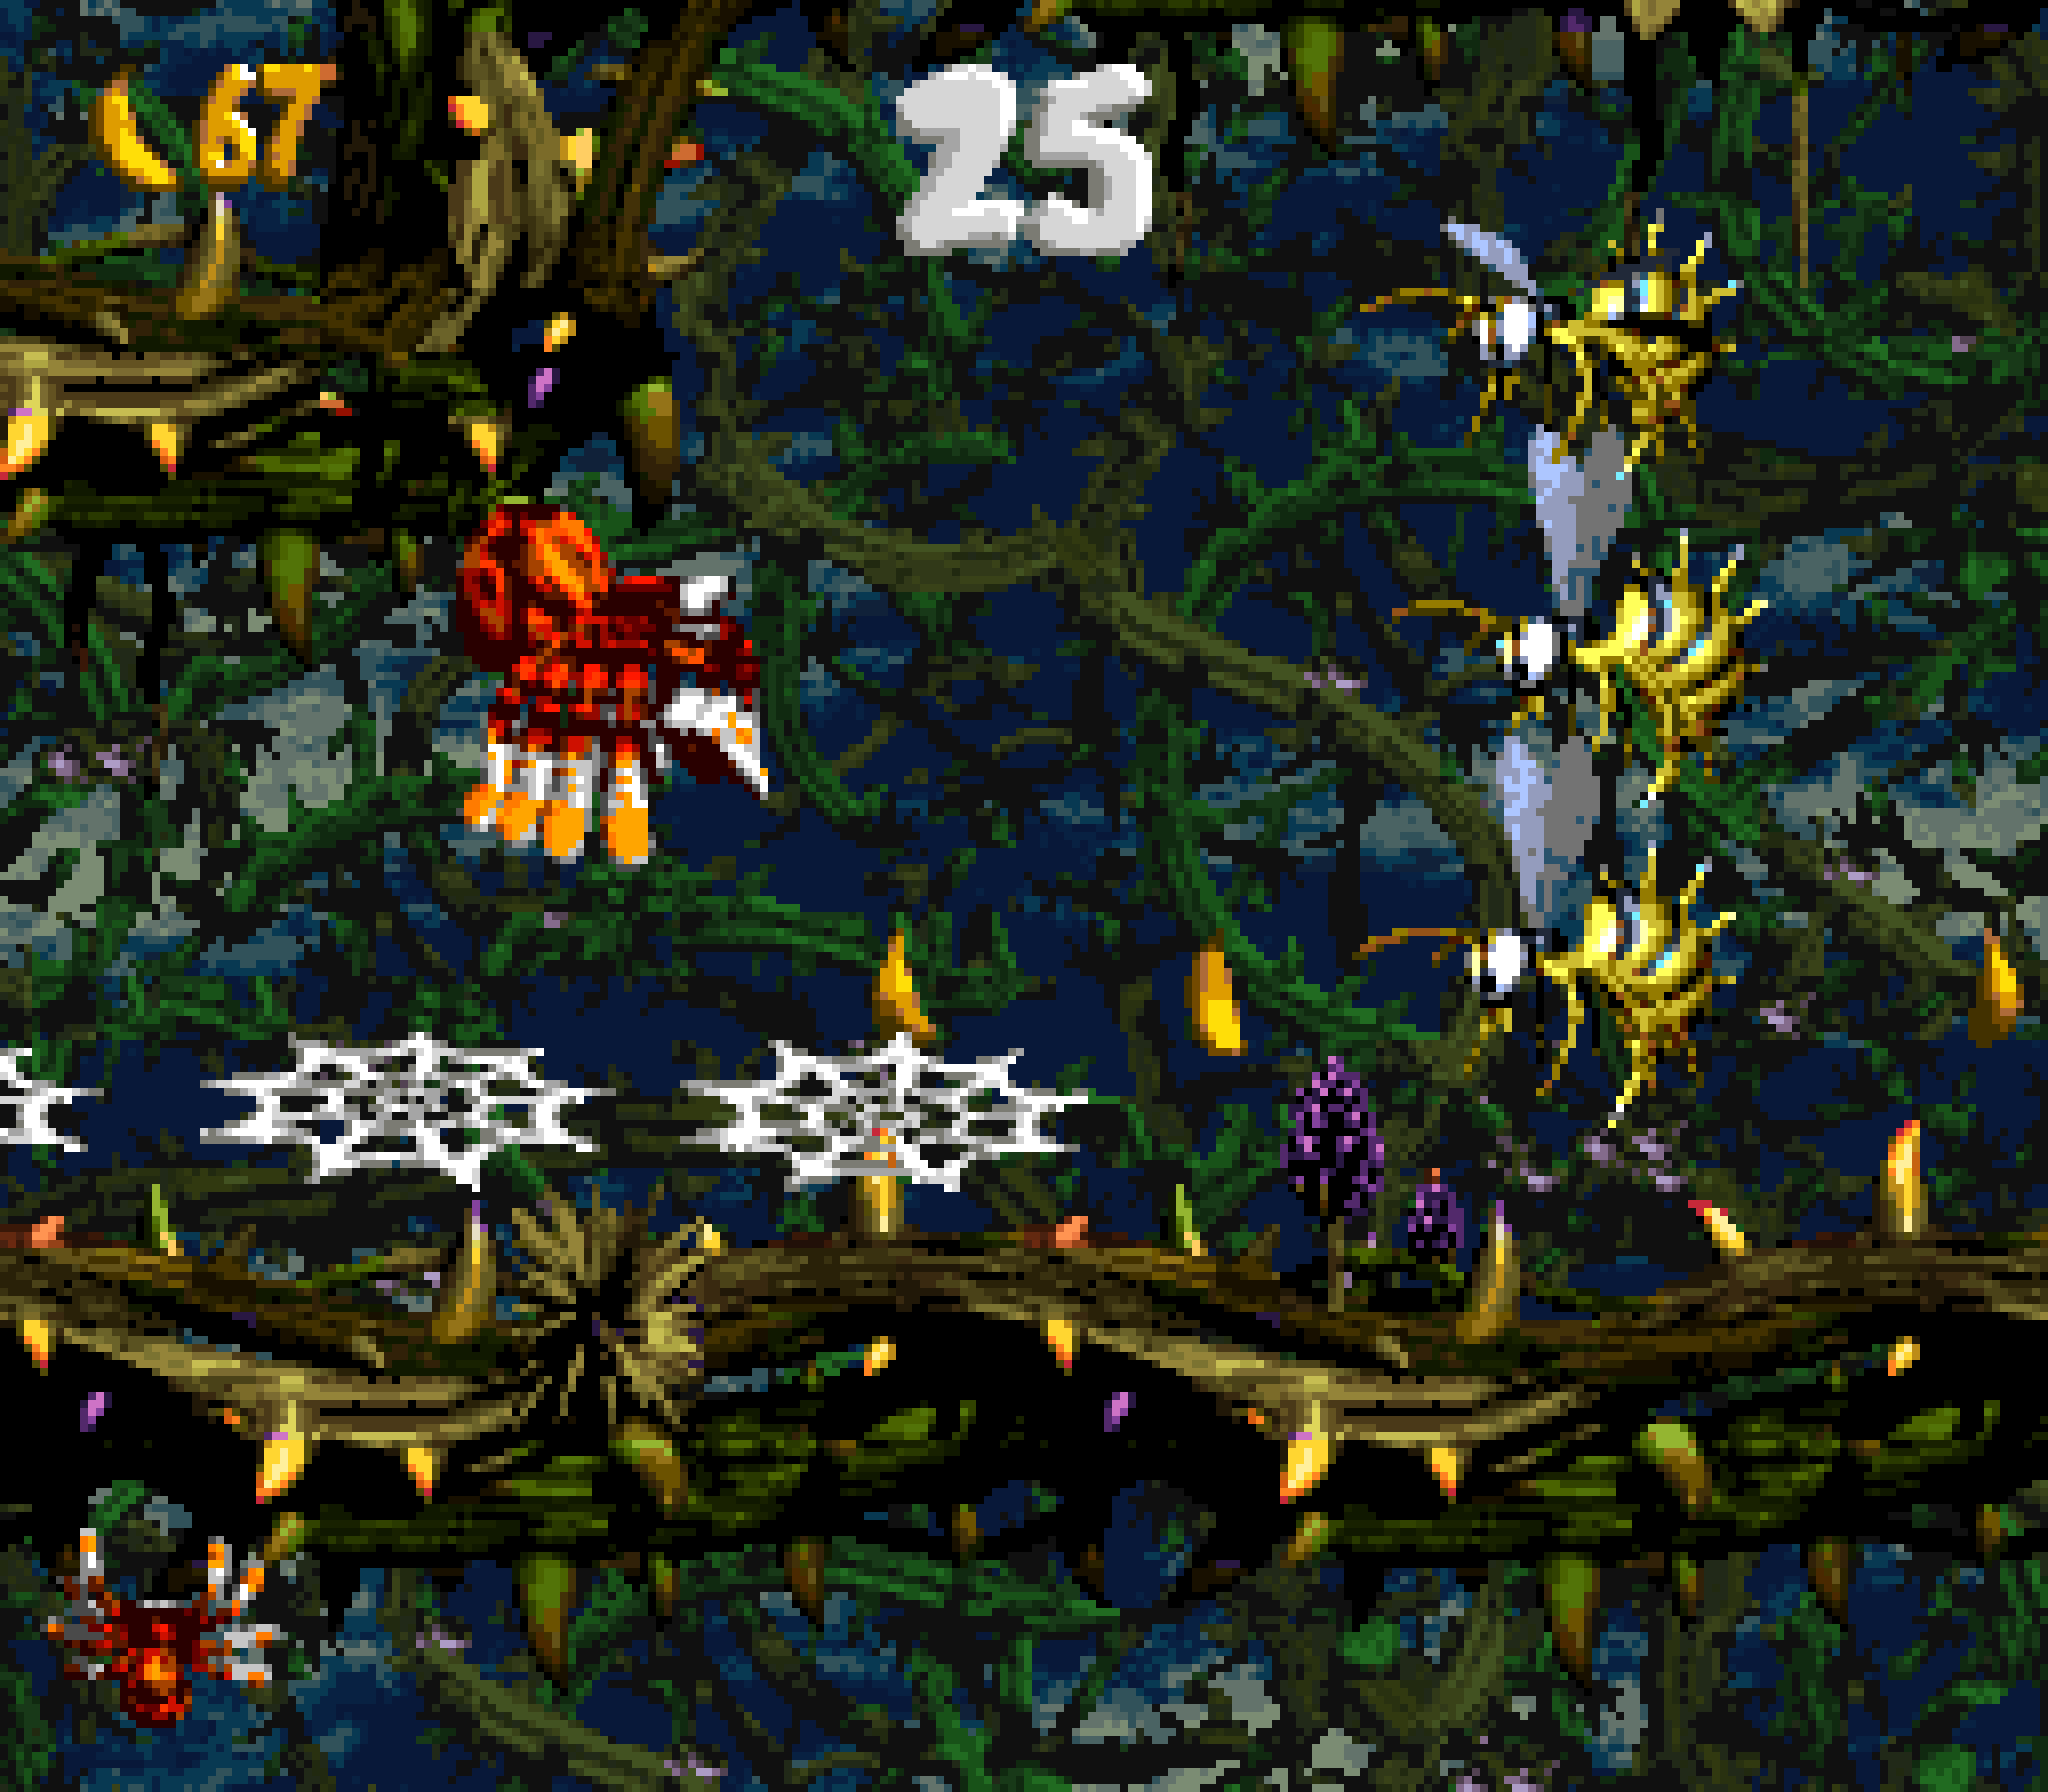
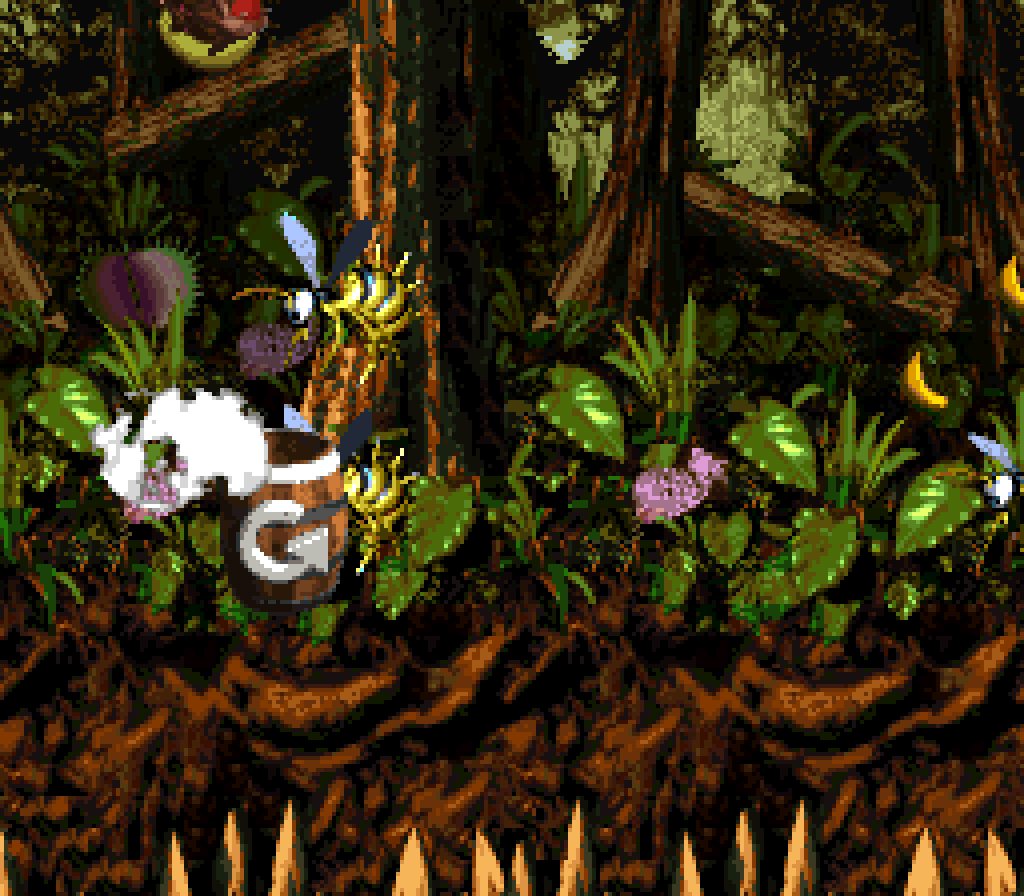
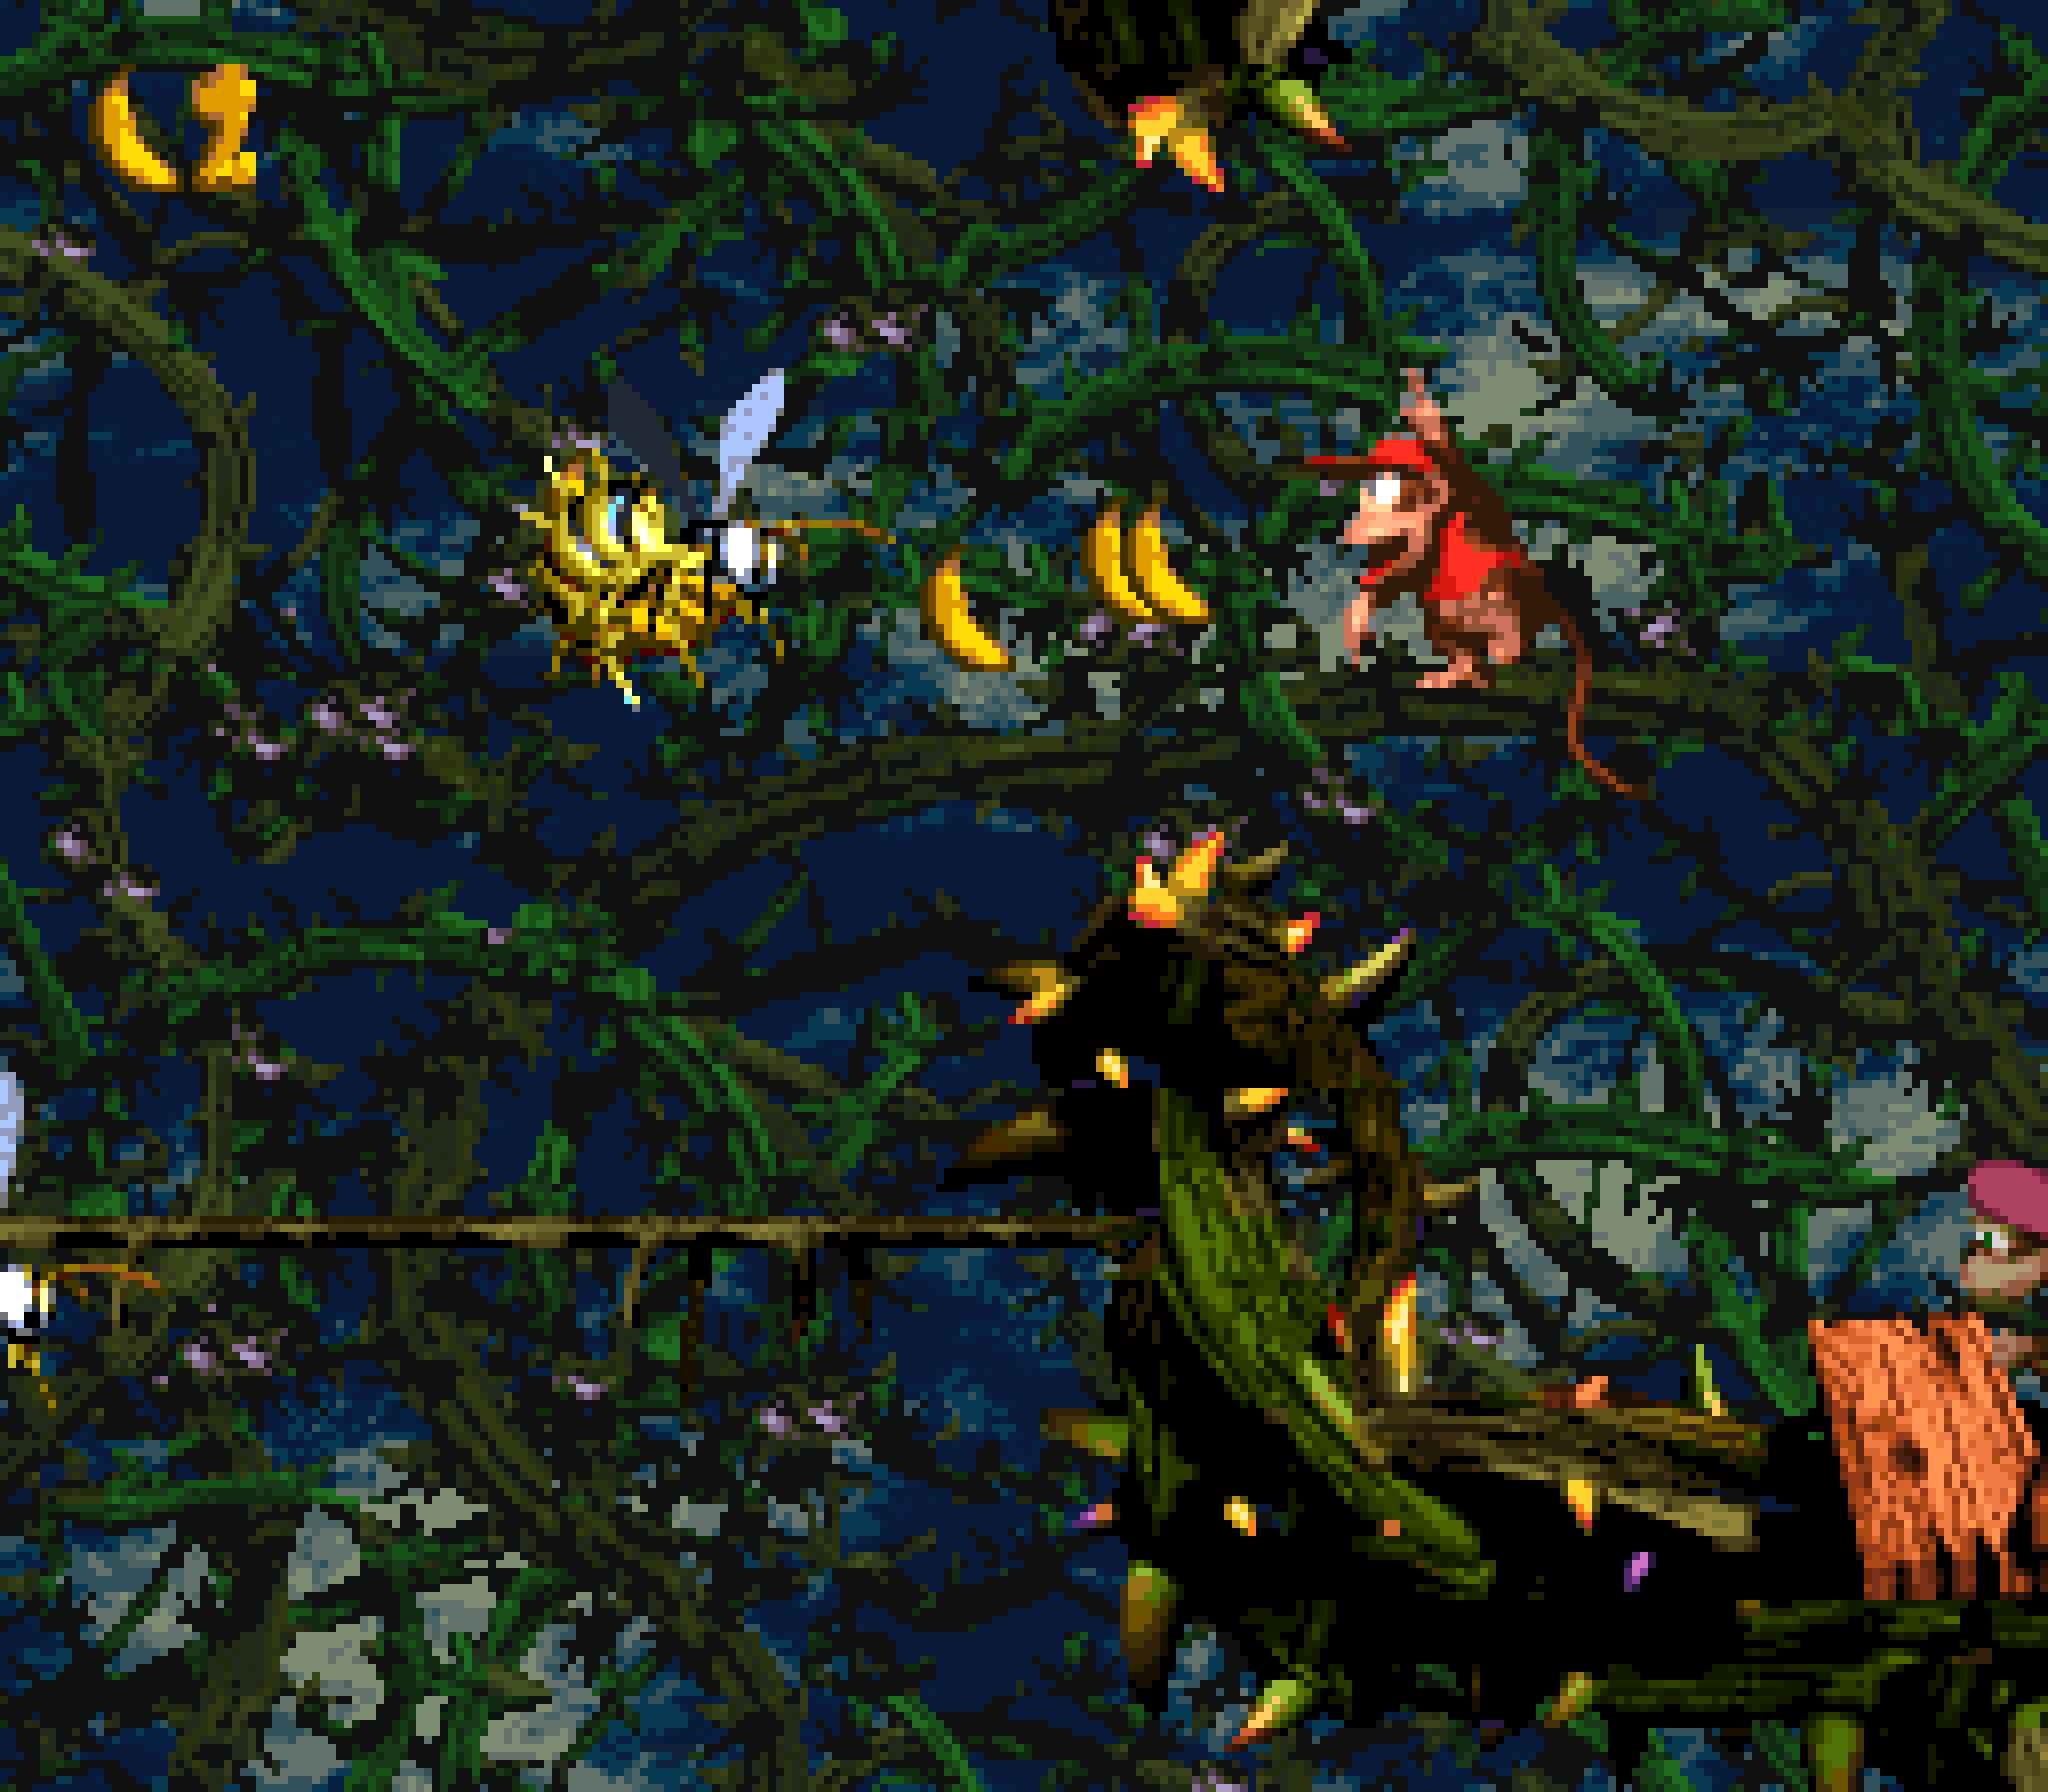
The heart o’ this level are the swarms o’ Zingers, both defeatable yellow & invincible red, where you have to be good @ multitasking & shooting @ enemies & jumping round them while creating new platforms & moving before platforms disappear under you & drop you into the bottomless chasms below. It can be tricky to time & aim to form a platform past Zingers so that they’re not too far ’way to reach, but not too close to the Zinger that you’re @ risk o’ getting hit & it can be just as tricky to calculate the best place to form webs as you go past circling Zingers so that when you jump to it a second later the Zinger won’t be in the way. It’s fitting that this level ends the penultimate world, as it doesn’t offer much leeway: make 1 mistake & stay on a web platform too long & let it break under you or misaim a jump & you lose a life. Howe’er, by this point players have gotten plenty o’ chances to practice Squitter’s mechanics & are due to finally practice them for real.
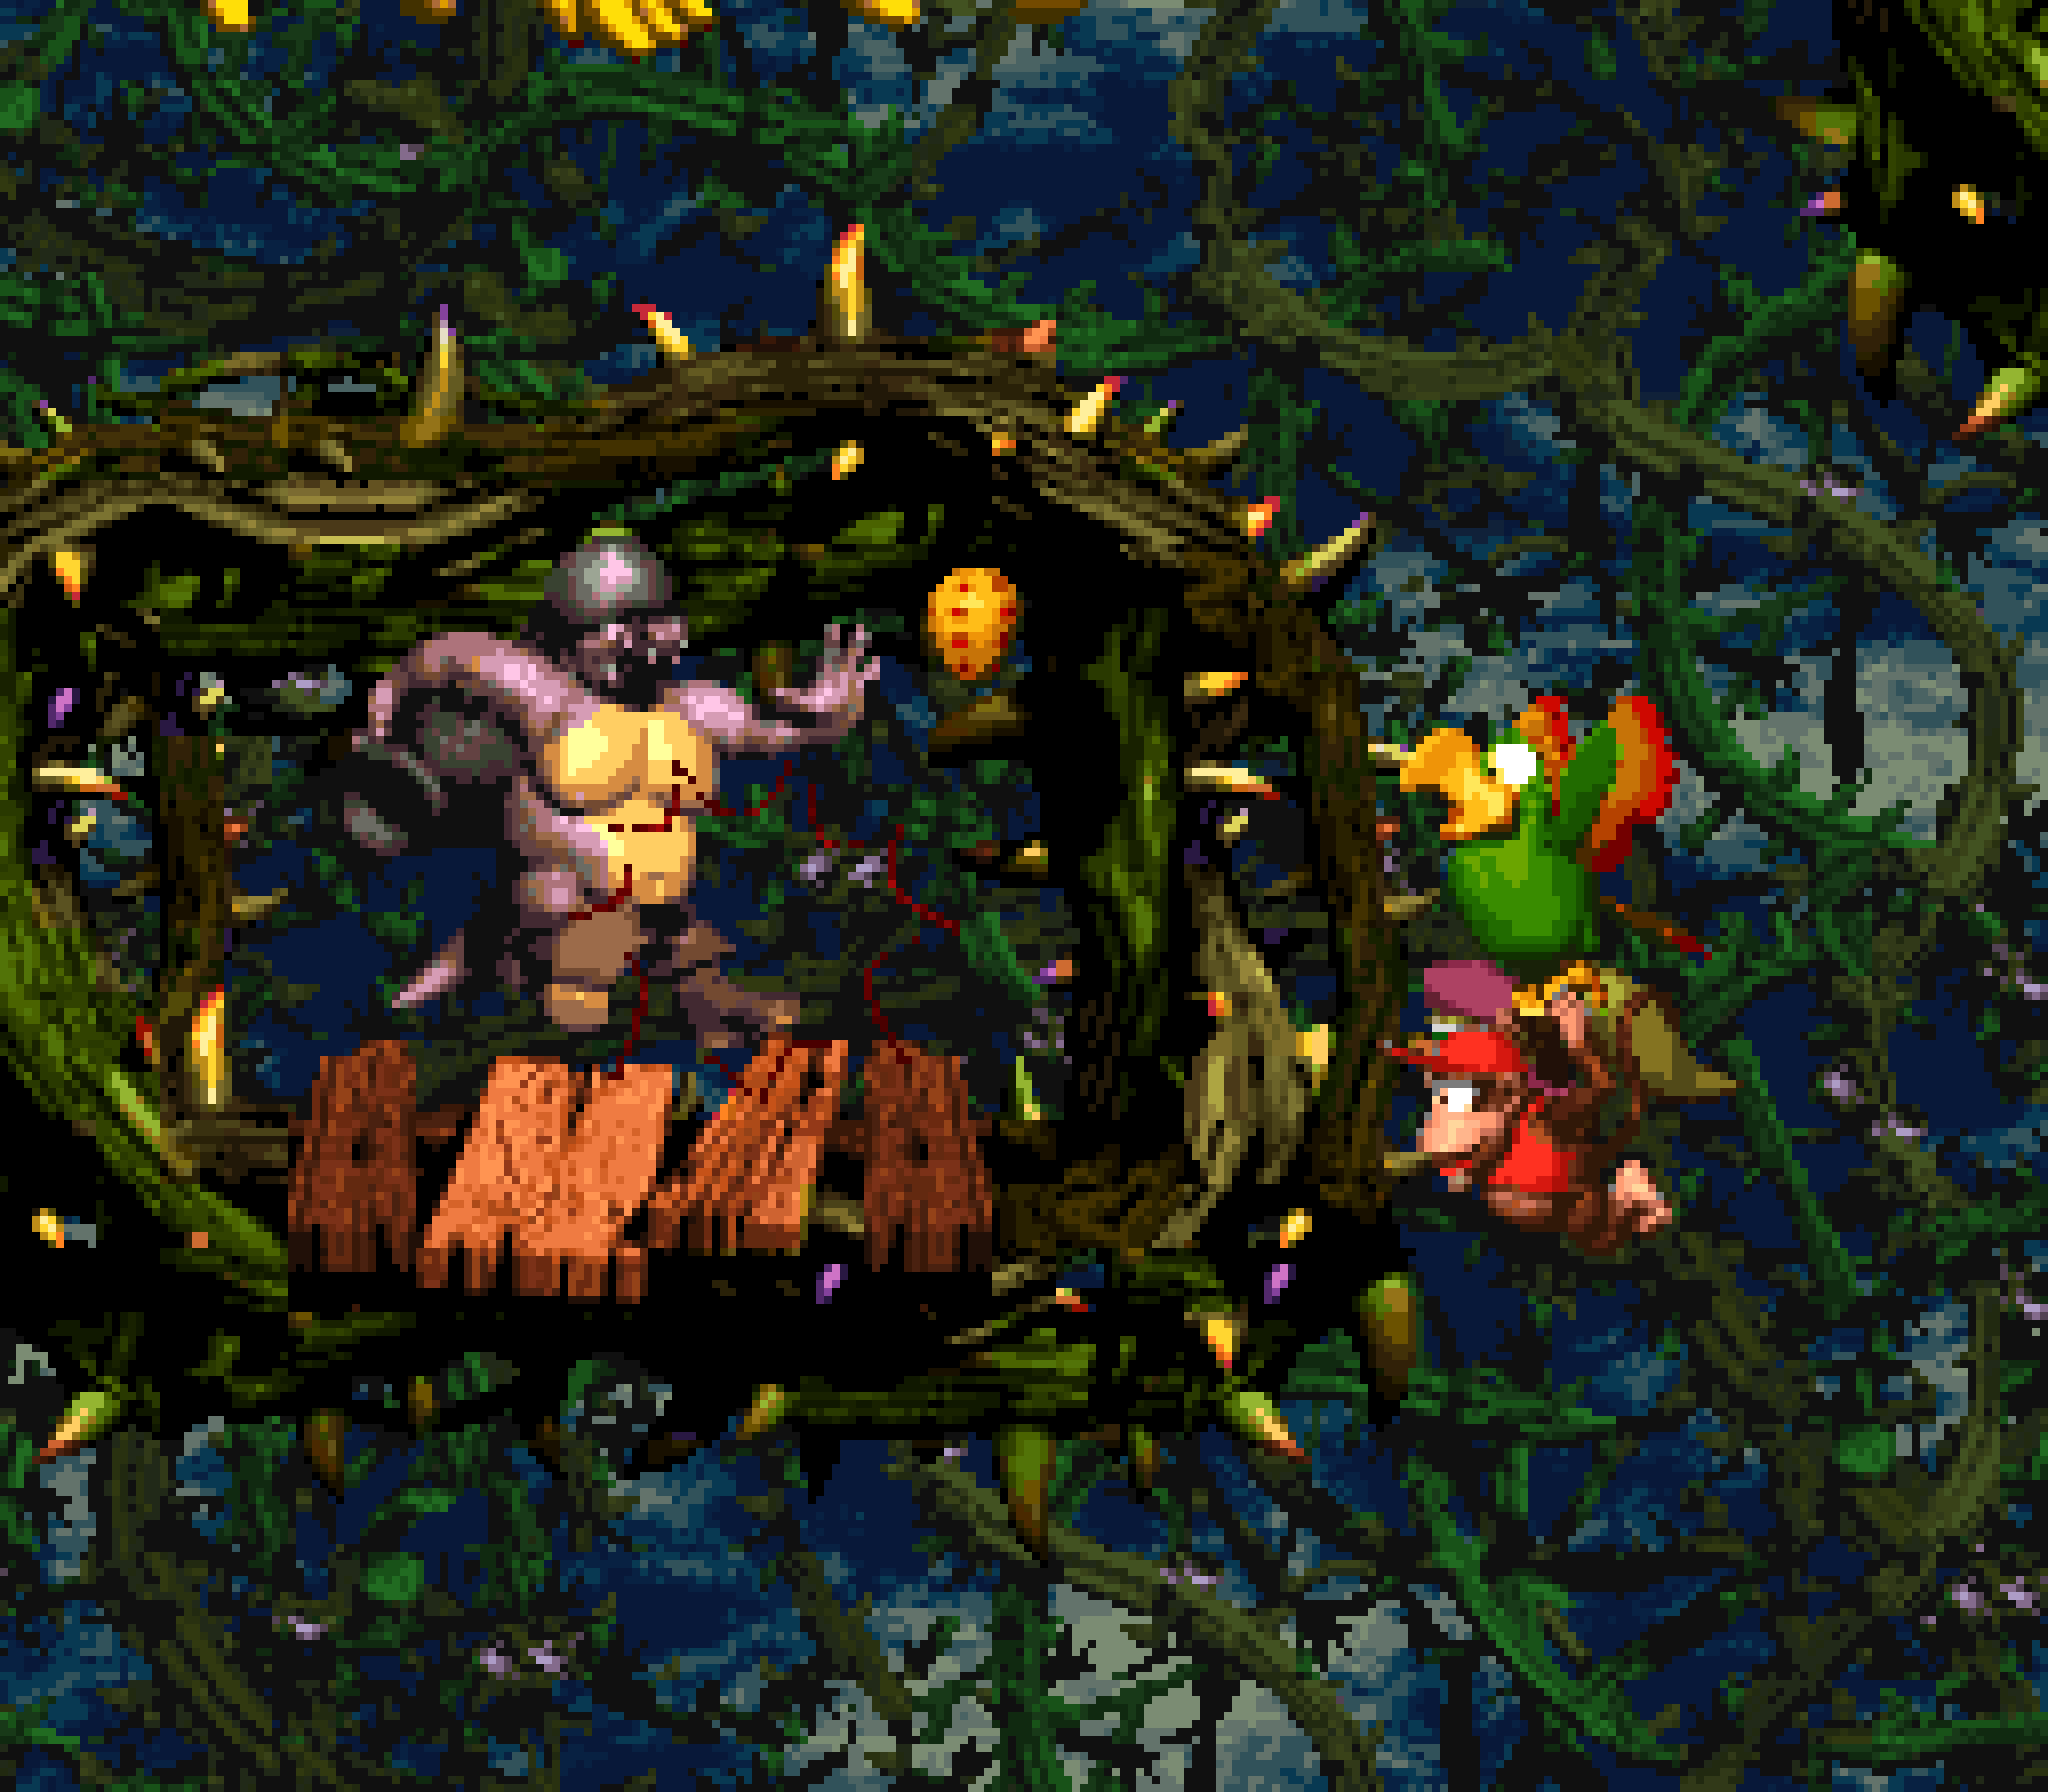
The other interesting challenges are the Krooks & Kannons up on high cliffs, who also require multitasking by creating platforms upward & shooting @ them, with the extra hitch in that you have to aim your shots so they don’t get eaten by the shots &, if you’re not high ’nough to hit them with an upward web & have to jump to hit them, aim Squitter’s jump so that Squitter doesn’t get hit by their projectiles.
Like many levels that focus on animal buddies, this level only has a li’l mo’ than half o’ the level focus on Squitter, with the 1st half standard platforming. Howe’er, this level does a much better job o’ tying these different parts: as a subtle extra to this level’s focus on Squitter, this level also introduces the green variation on Kutlass, who is much mo’ dangerous, as they are much quicker @ pulling their swords up from the ground after trying to hit you, giving you a much shorter period to hit them. As it turns out, a green Kutlass is 1 o’ the 1st enemies you run into during the Squitter section, ’cept this shows how badass Squitter is, as you can just dispatch him as easily as any other enemy with a simple webshot — so quickly, in fact, that there’s a good chance you dispatch them from offscreen when shooting shots @ the Kaboing before him. Granted, arguably, it would’ve been better to have these reversed; howe’er, I think o’erall having the non-Squitter section before the Squitter section is a much better idea, as its relative ease & mundanity makes it a good warm-up, but would make a lame finisher.
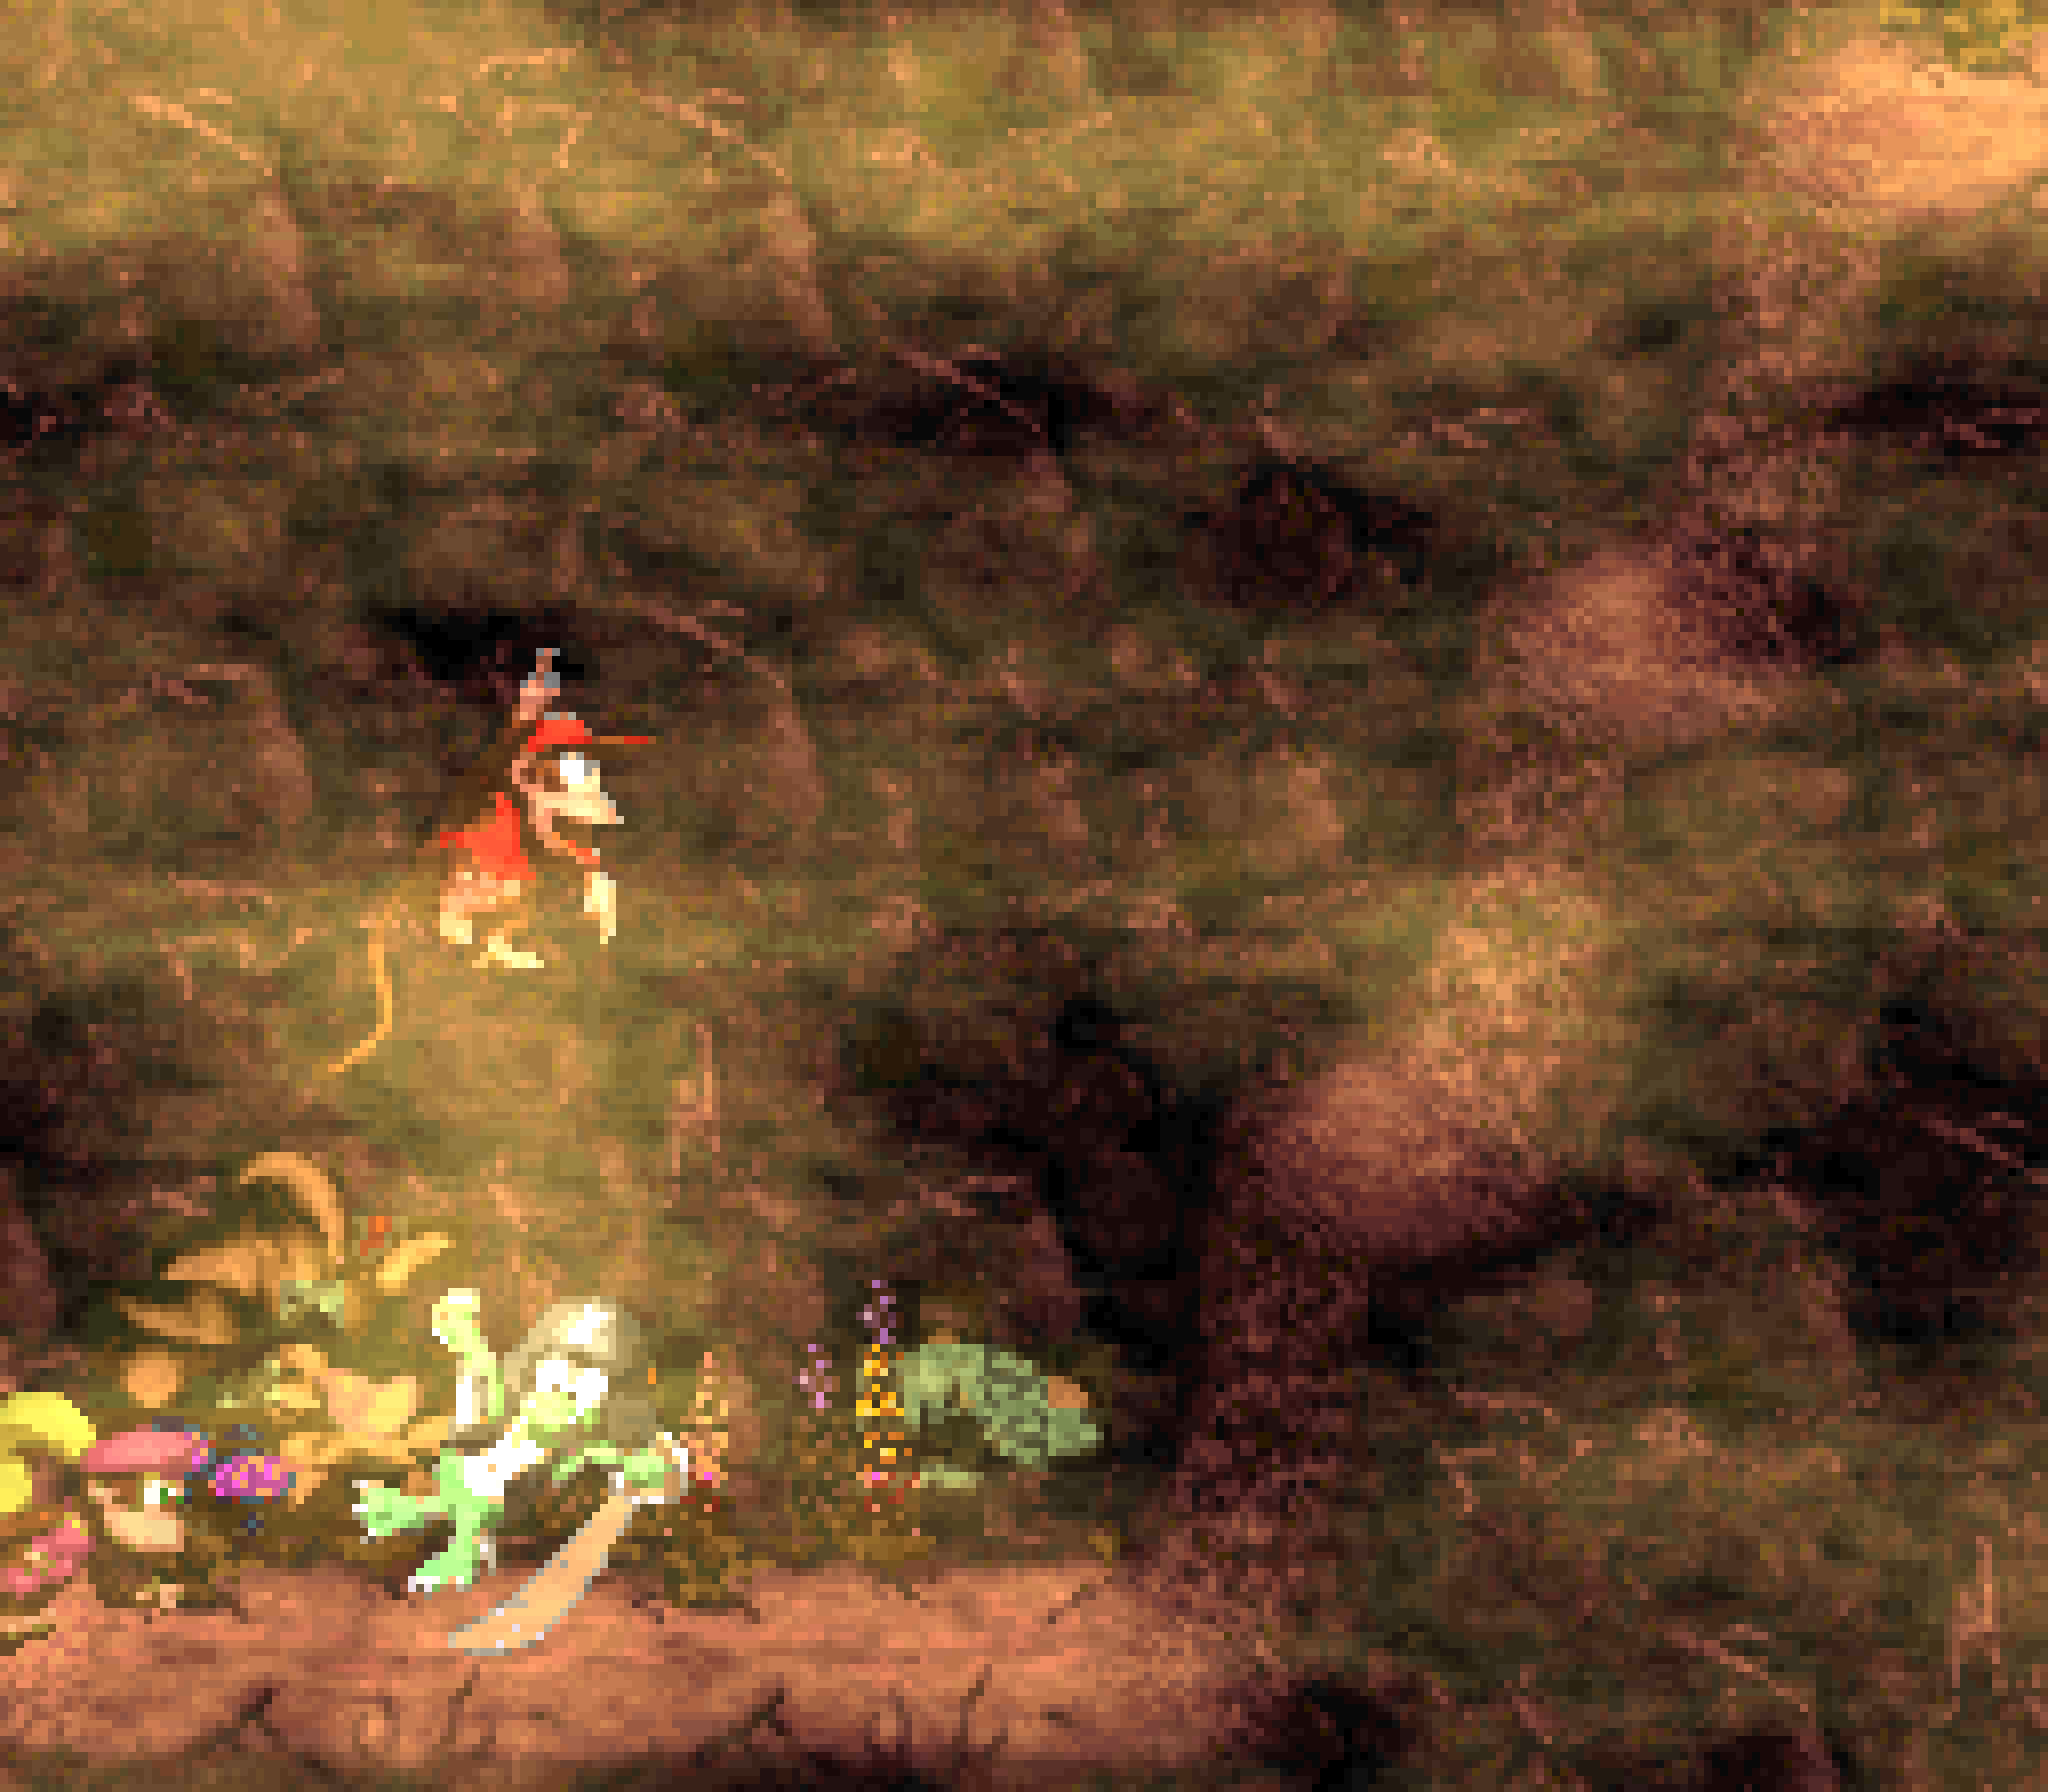
This 1st half is mo’ interesting than you would expect, with hills with multiple vertical layers. @ the start you have a top path you can reach by throwing a Kong up, which is safer, as it has fewer Kutlasses in a mo’ convenient place for dodging him, & then after that you have a zigzagging path downward, full o’ Neeks you have to roll in, as jumping will make you jump back up to the higher hills. It’s very short: unlike other levels, where it’s mo’ half-&-half, here the non-Squitter section is mo’ like ¼th, while the Squitter section is mo’ ¾ths, which is an improvement, as it keeps the level from getting too diluted from its main focus & leaves mo’ room for mo’ interesting setpieces.

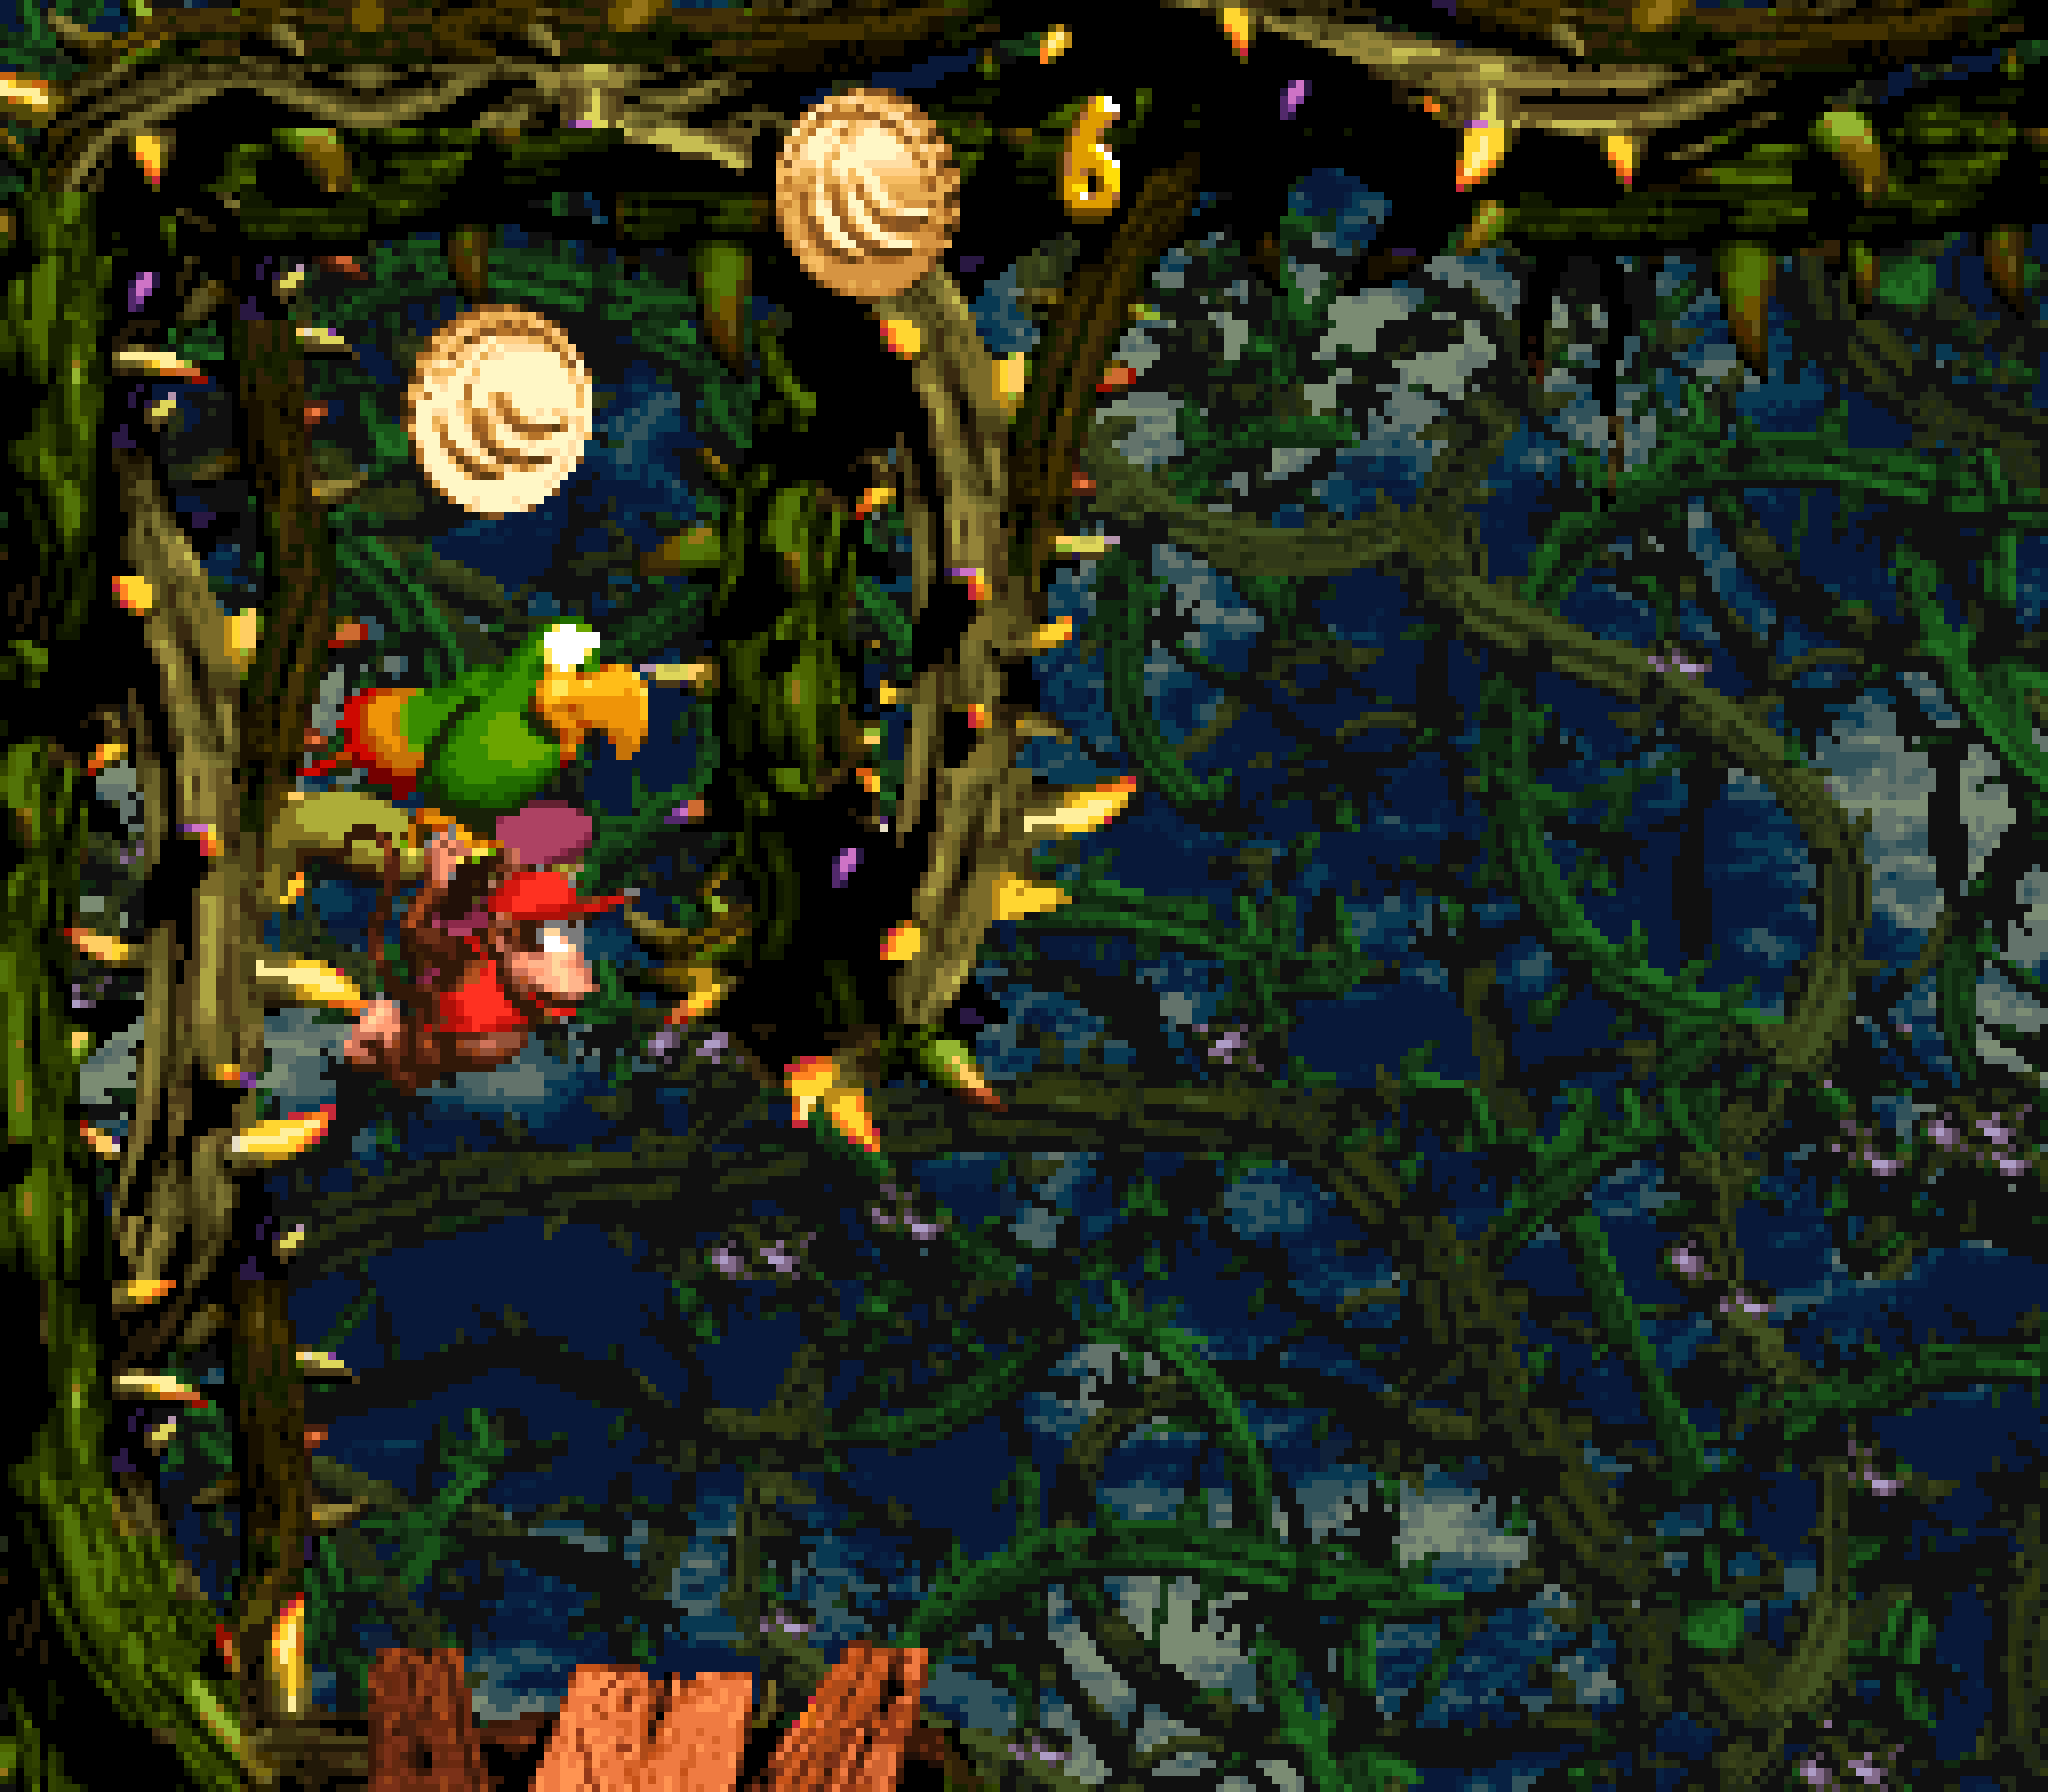
This is not to say that this level is perfect: you could argue that there are a bit too many similar Zinger or Mini-Necky sections where you’re just hitting stationary yellow Zingers or Mini-Neckies in your way as you slowly go forward. There is 1 Mini-Necky section just after the N that you can just go o’er, tho this area is still notable for the bonus it hides. It perhaps could’ve been shortened with only half o’ the Mini-Neckies, & maybe a wall or 2 o’ Zingers removed to make this level just that much tighter, specially since this level is on the long side; but these are just nitpicks.
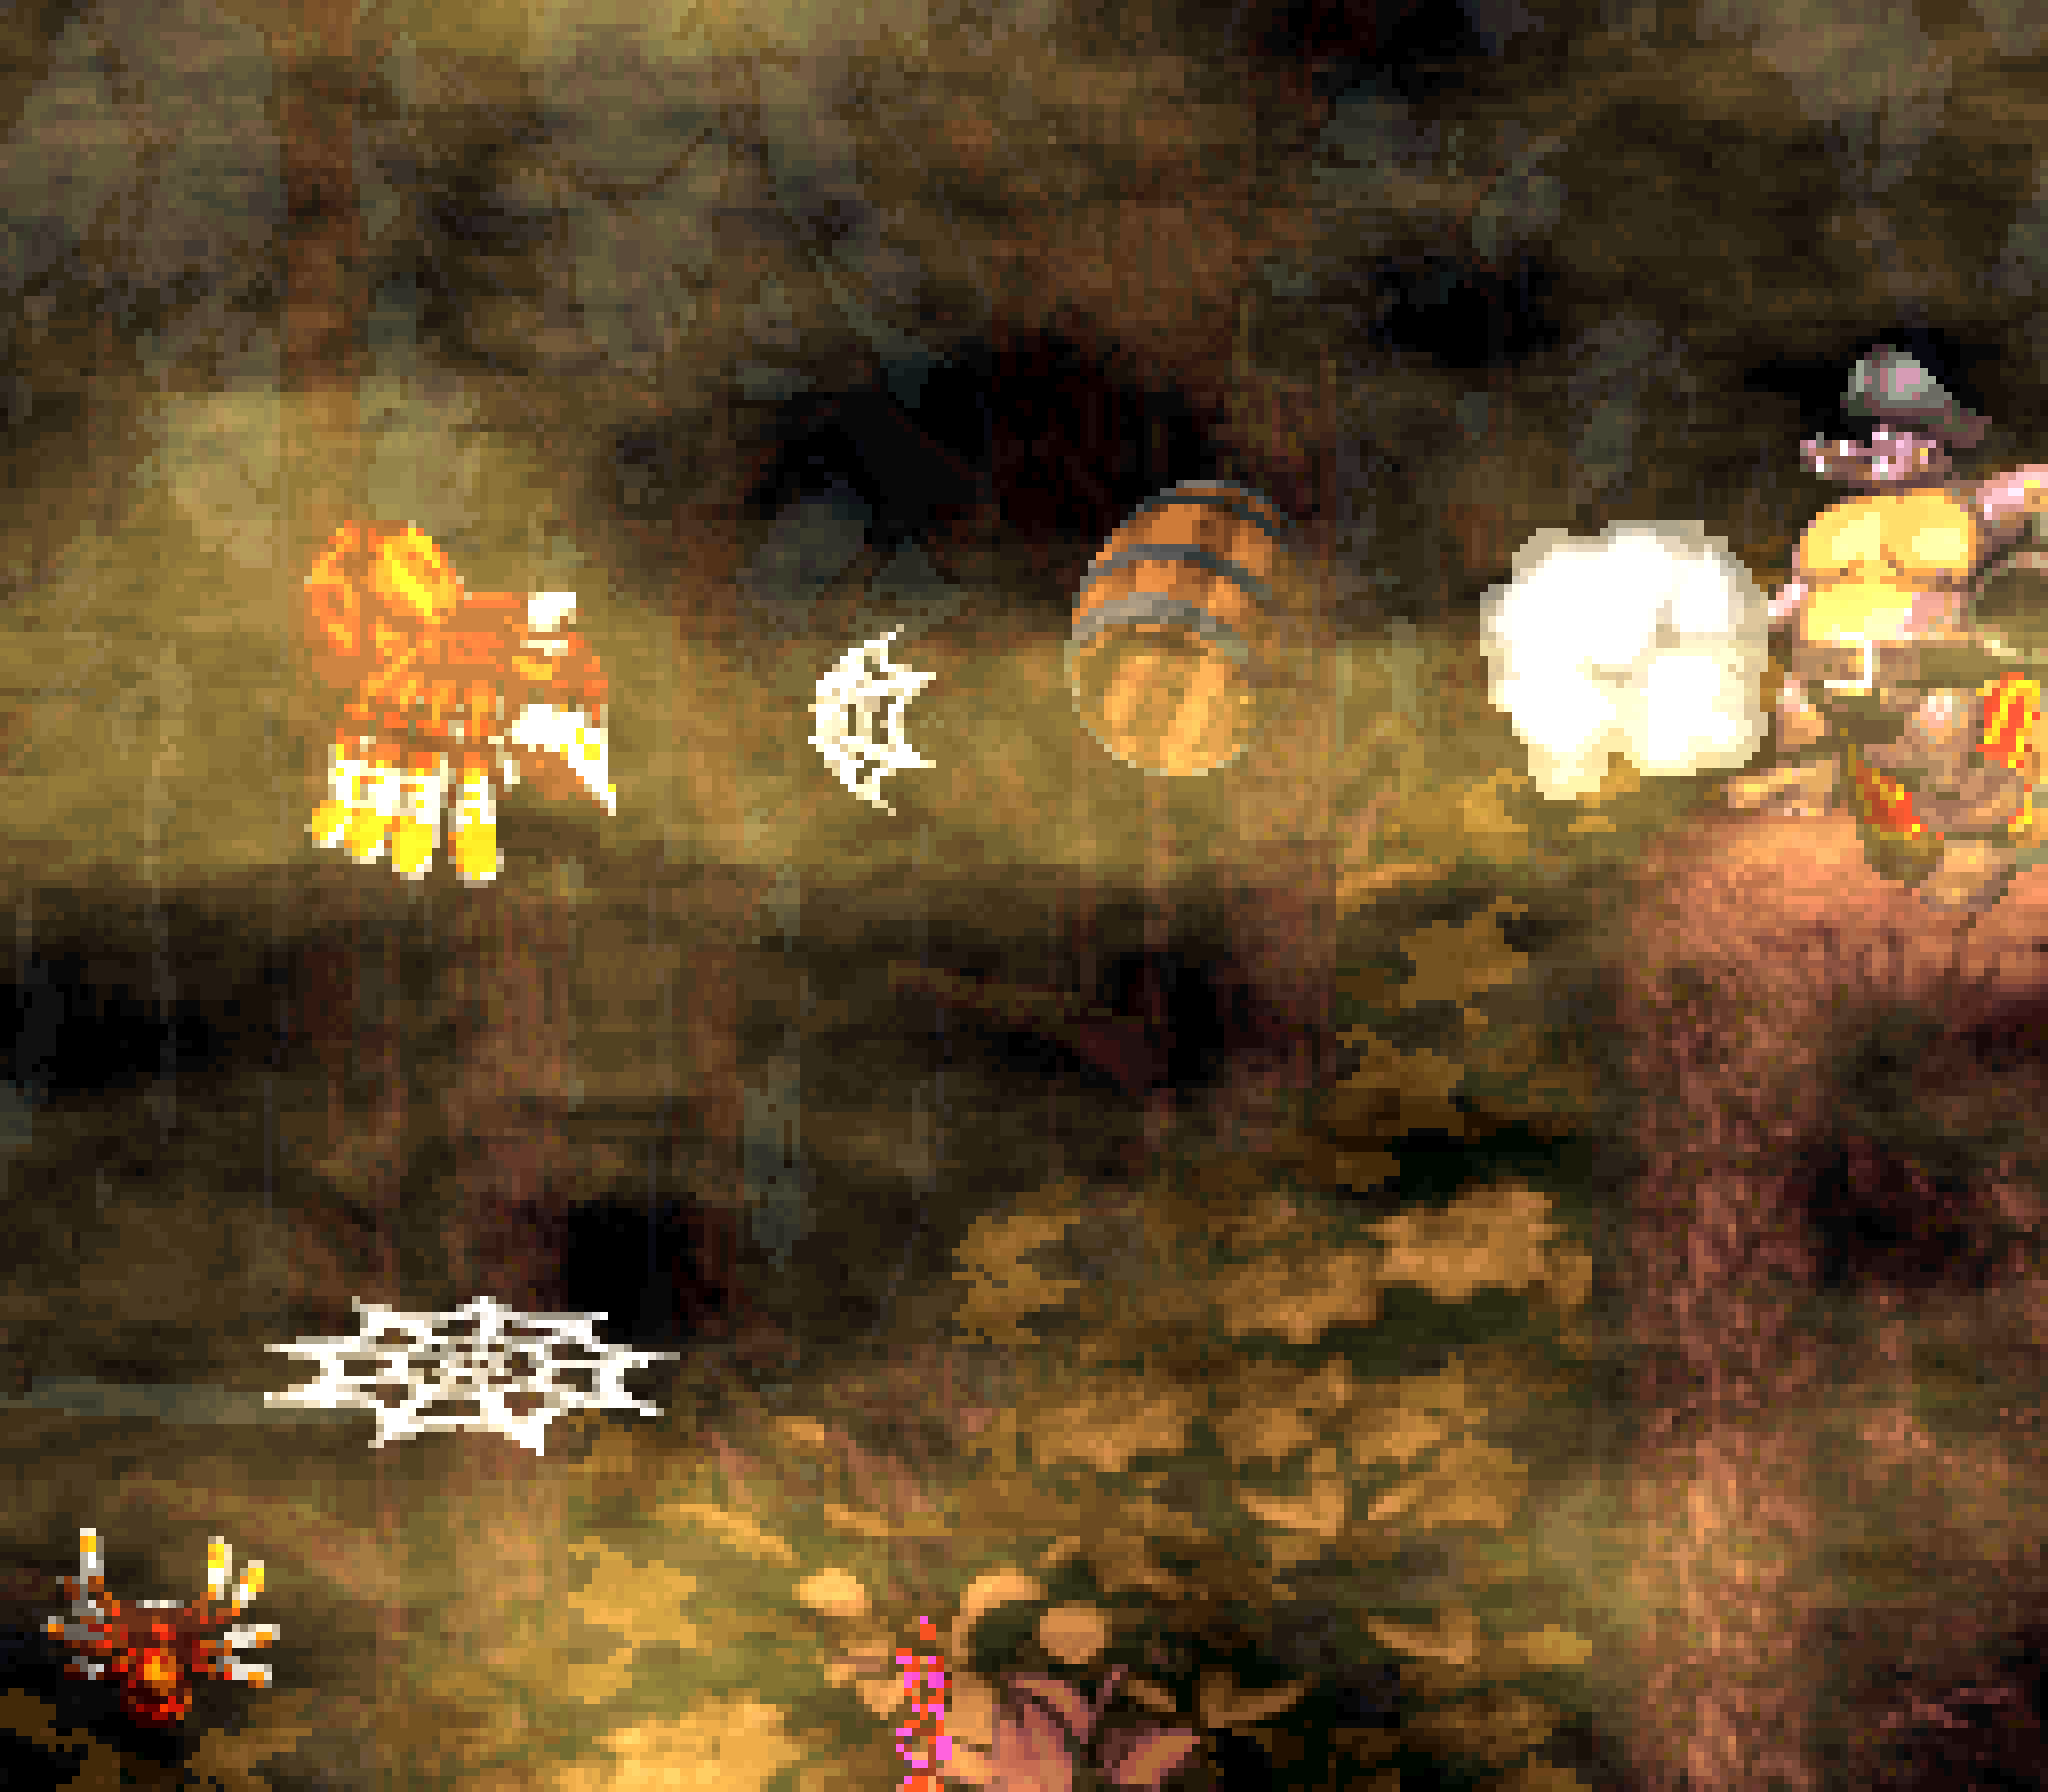
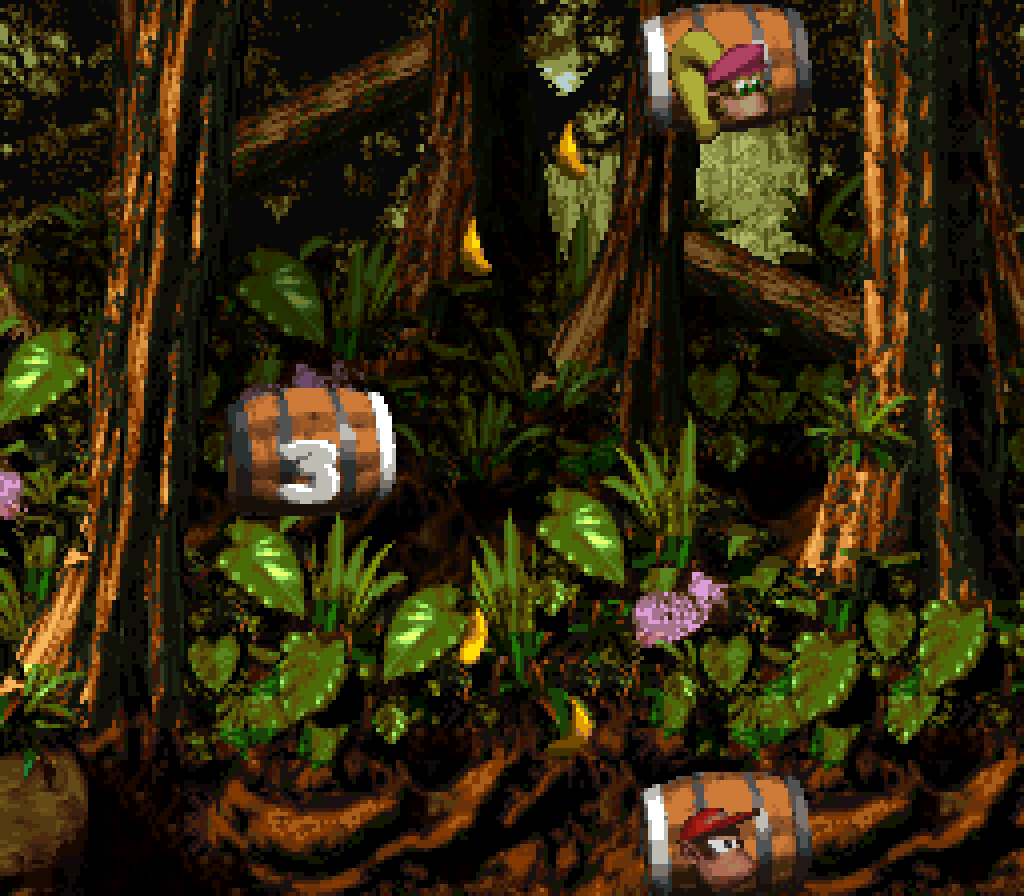
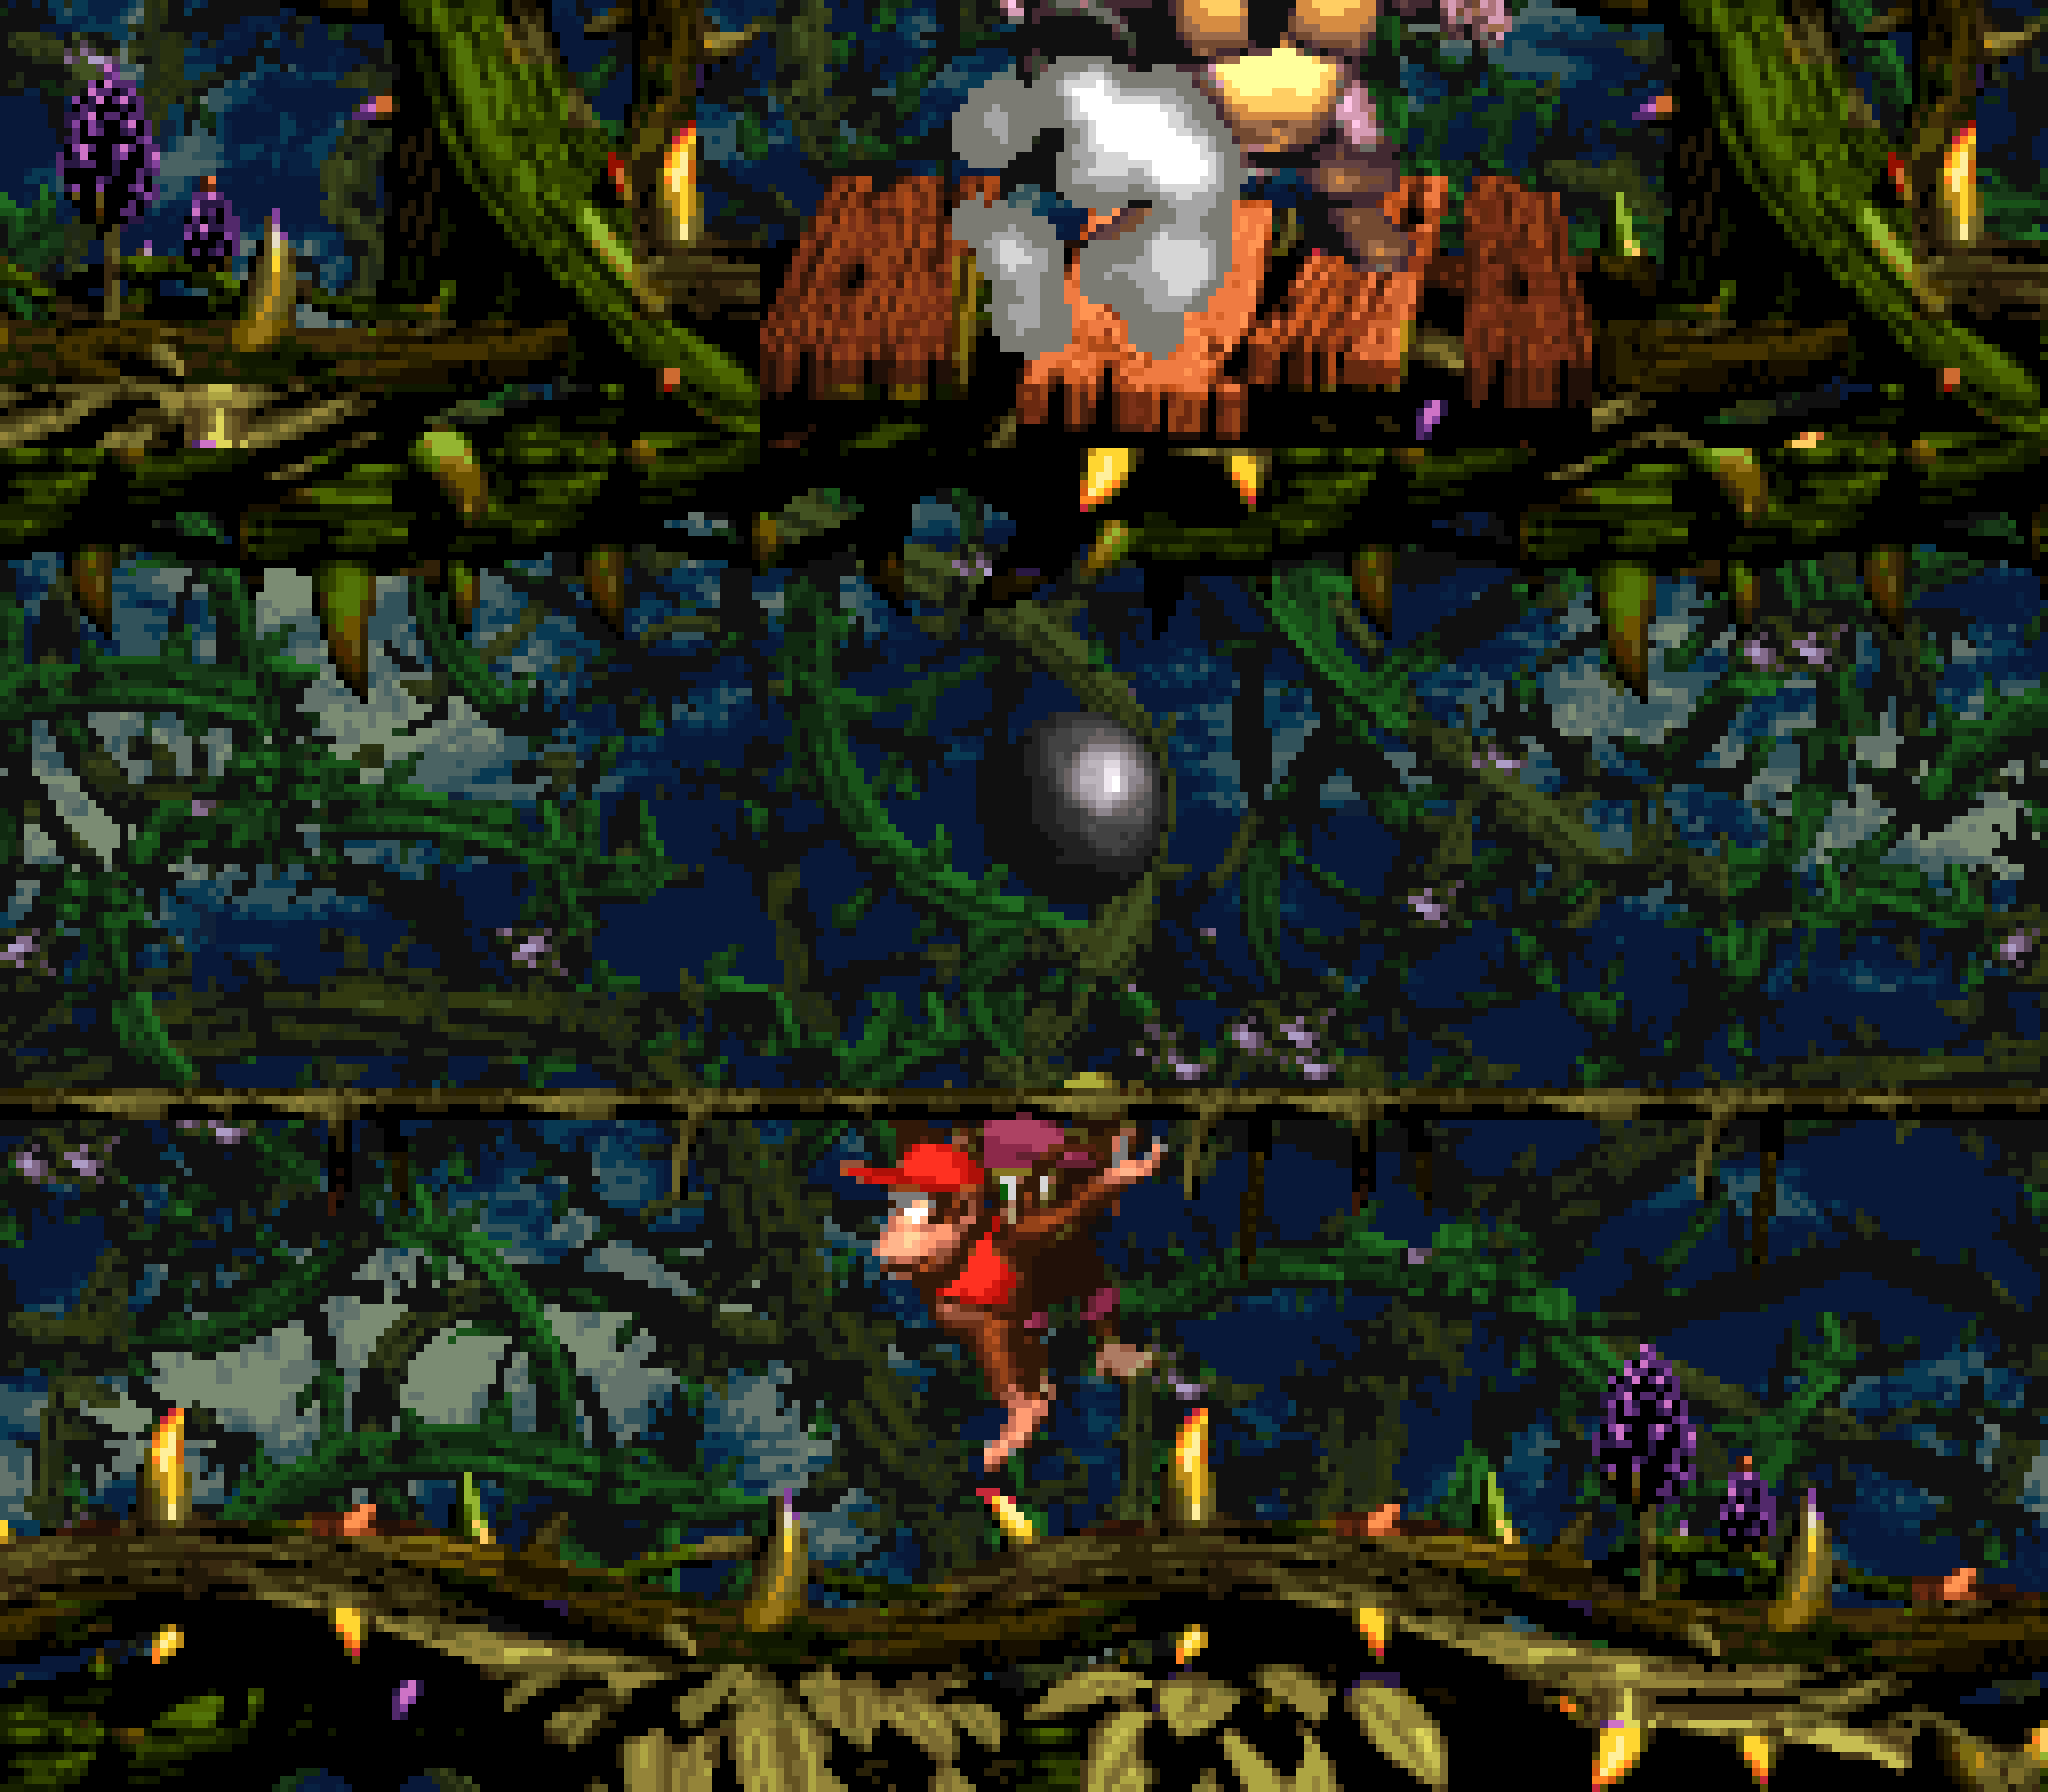
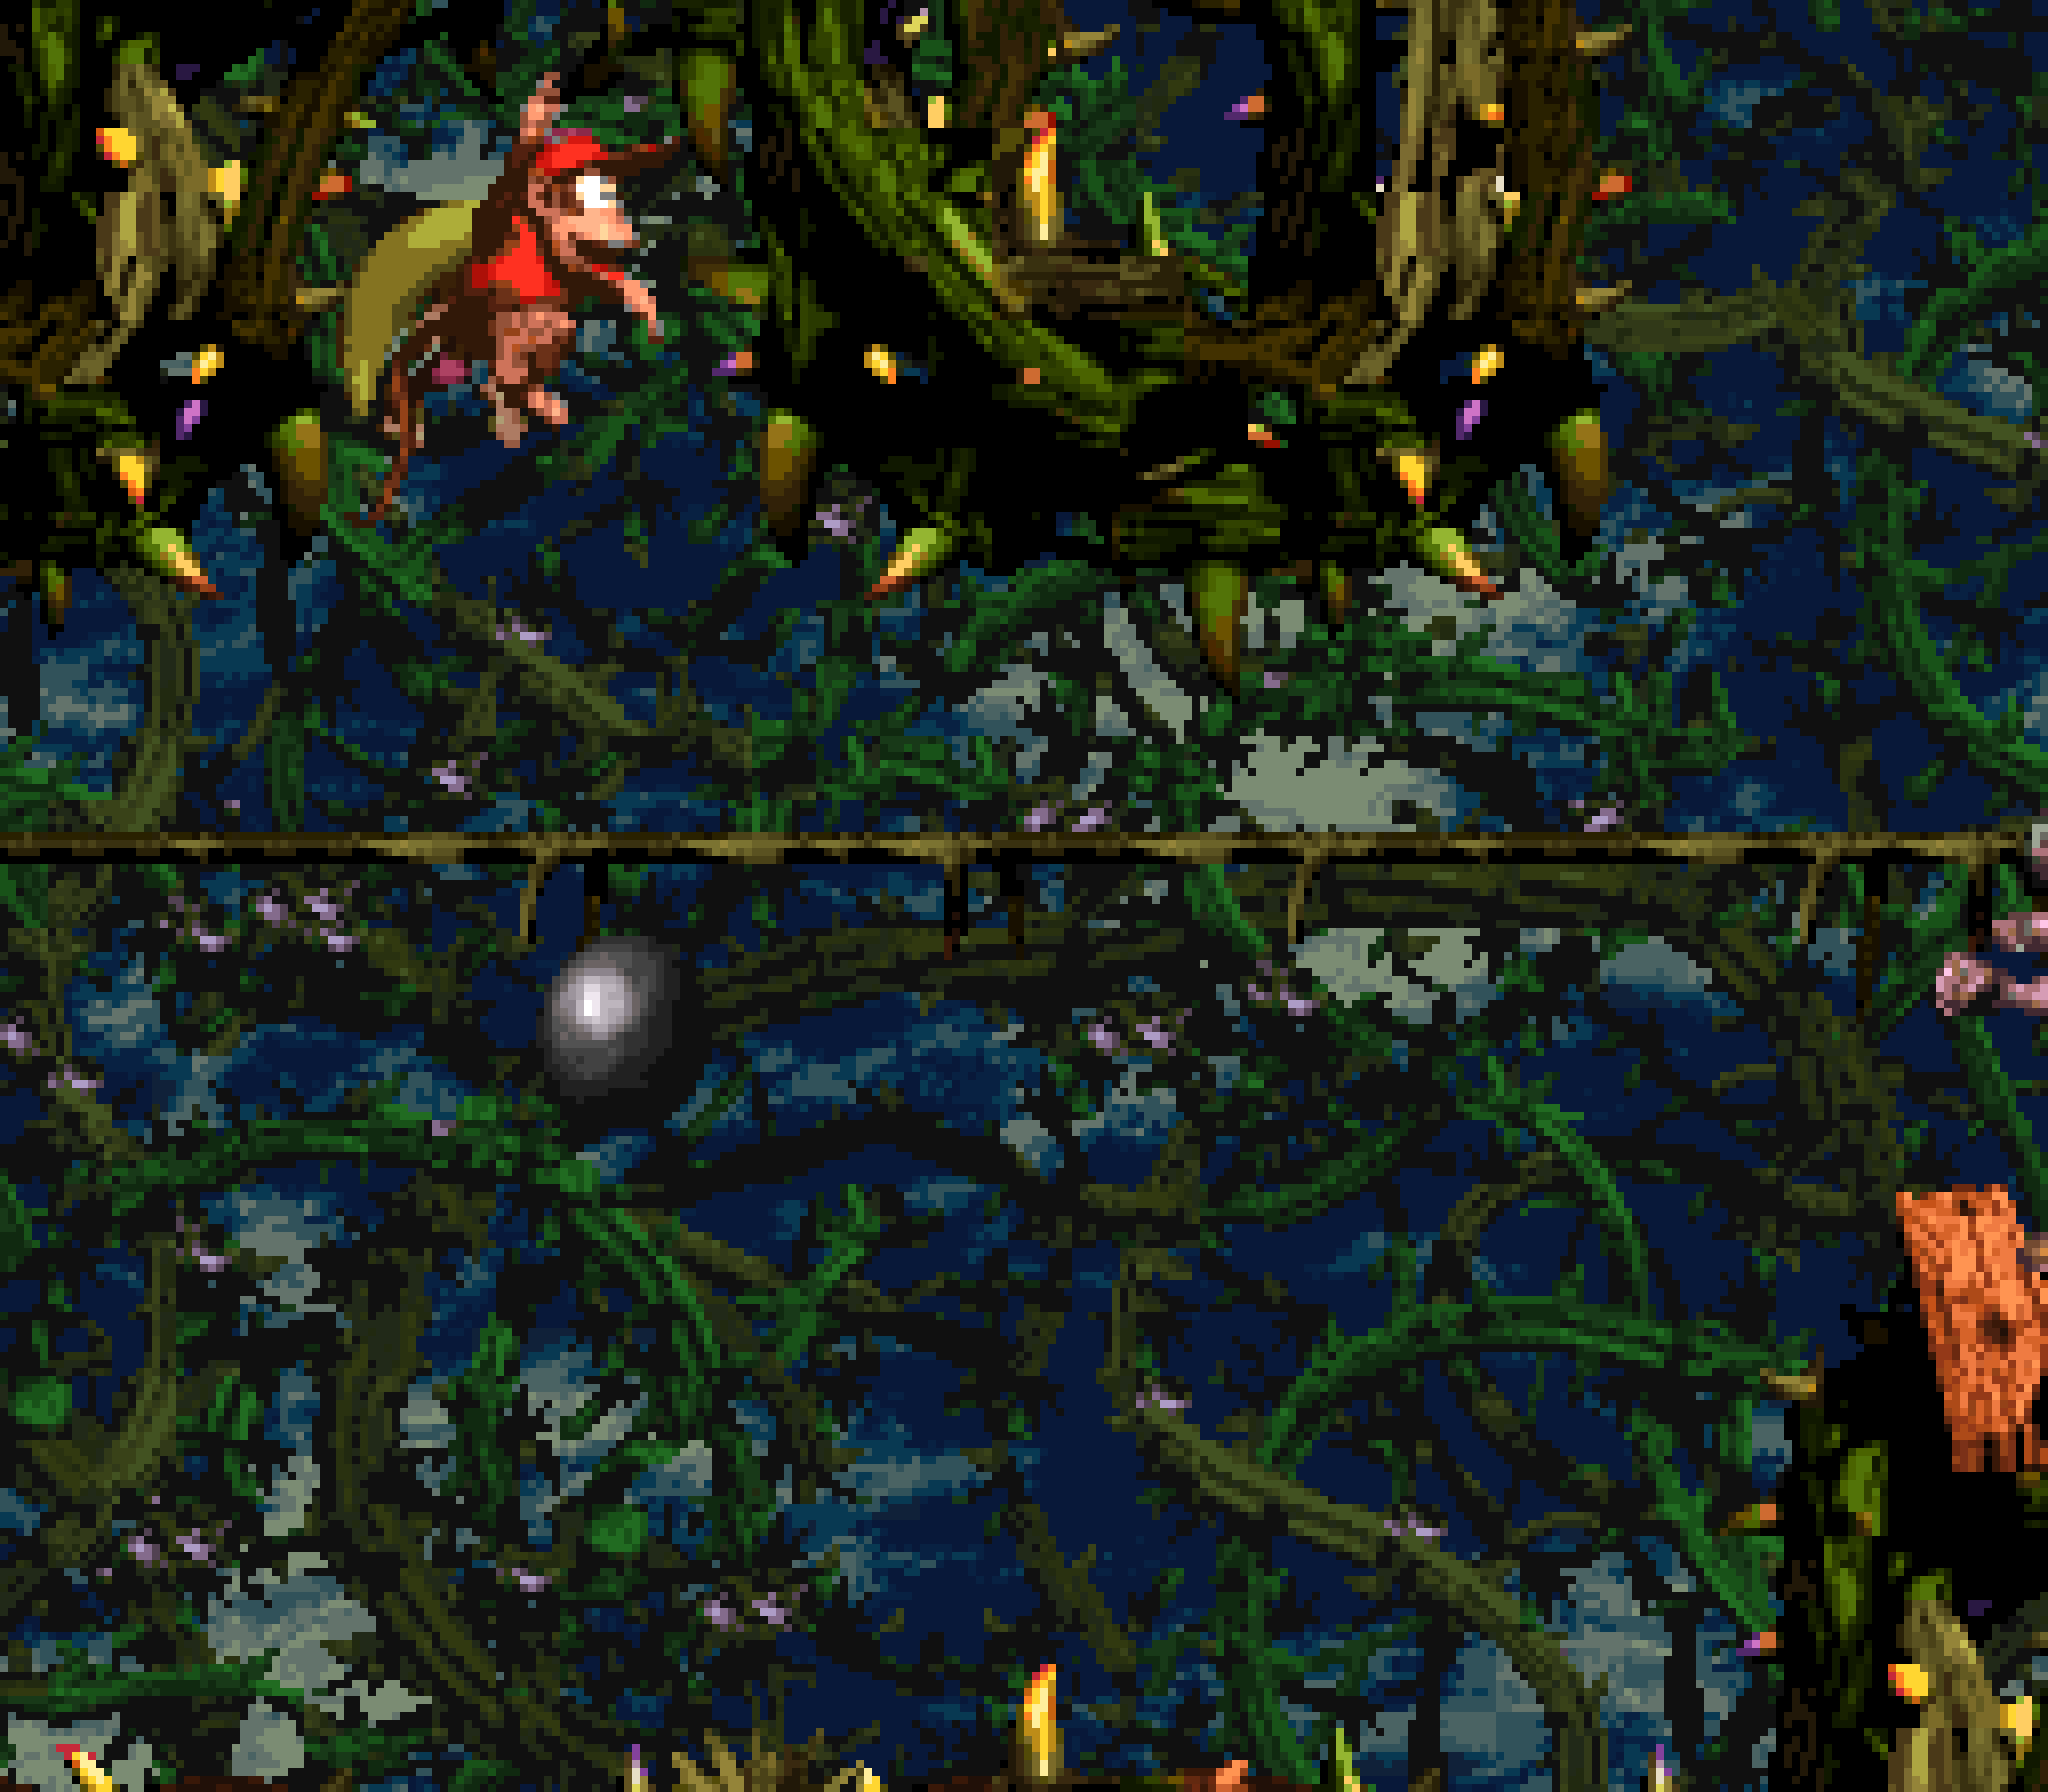
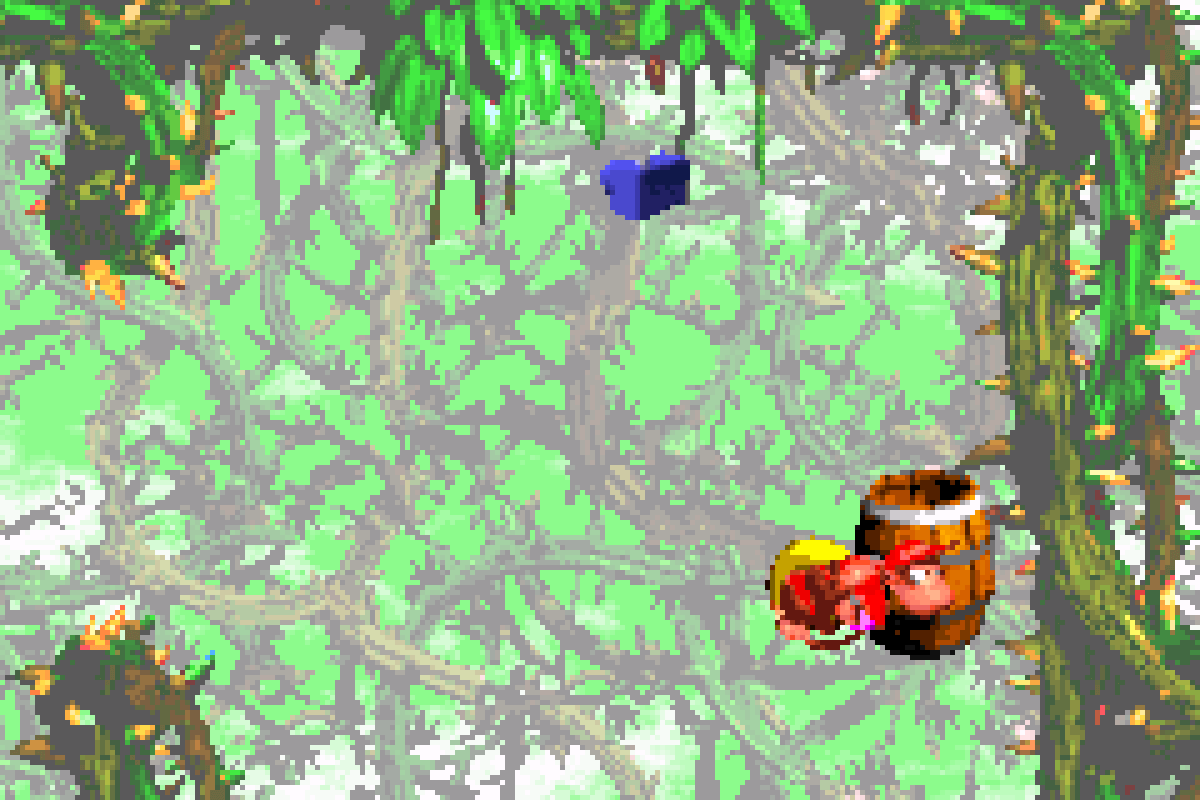
As for the bonuses, they’re very good. They both involve the same mechanic, but done in different ways: the 1st has you follow a slow cannonball while you jump from web platform to web platform ’bove back to a wall on the left it breaks open; the 2nd bonus also has you follow a cannonball back to a left wall, but this cannon goes too fast to jump from web platforms & requires you to run ’long with it, exploiting the parts where the ground dips a bit to duck under the cannon ball so you’re not in the way o’ its path to the wall.
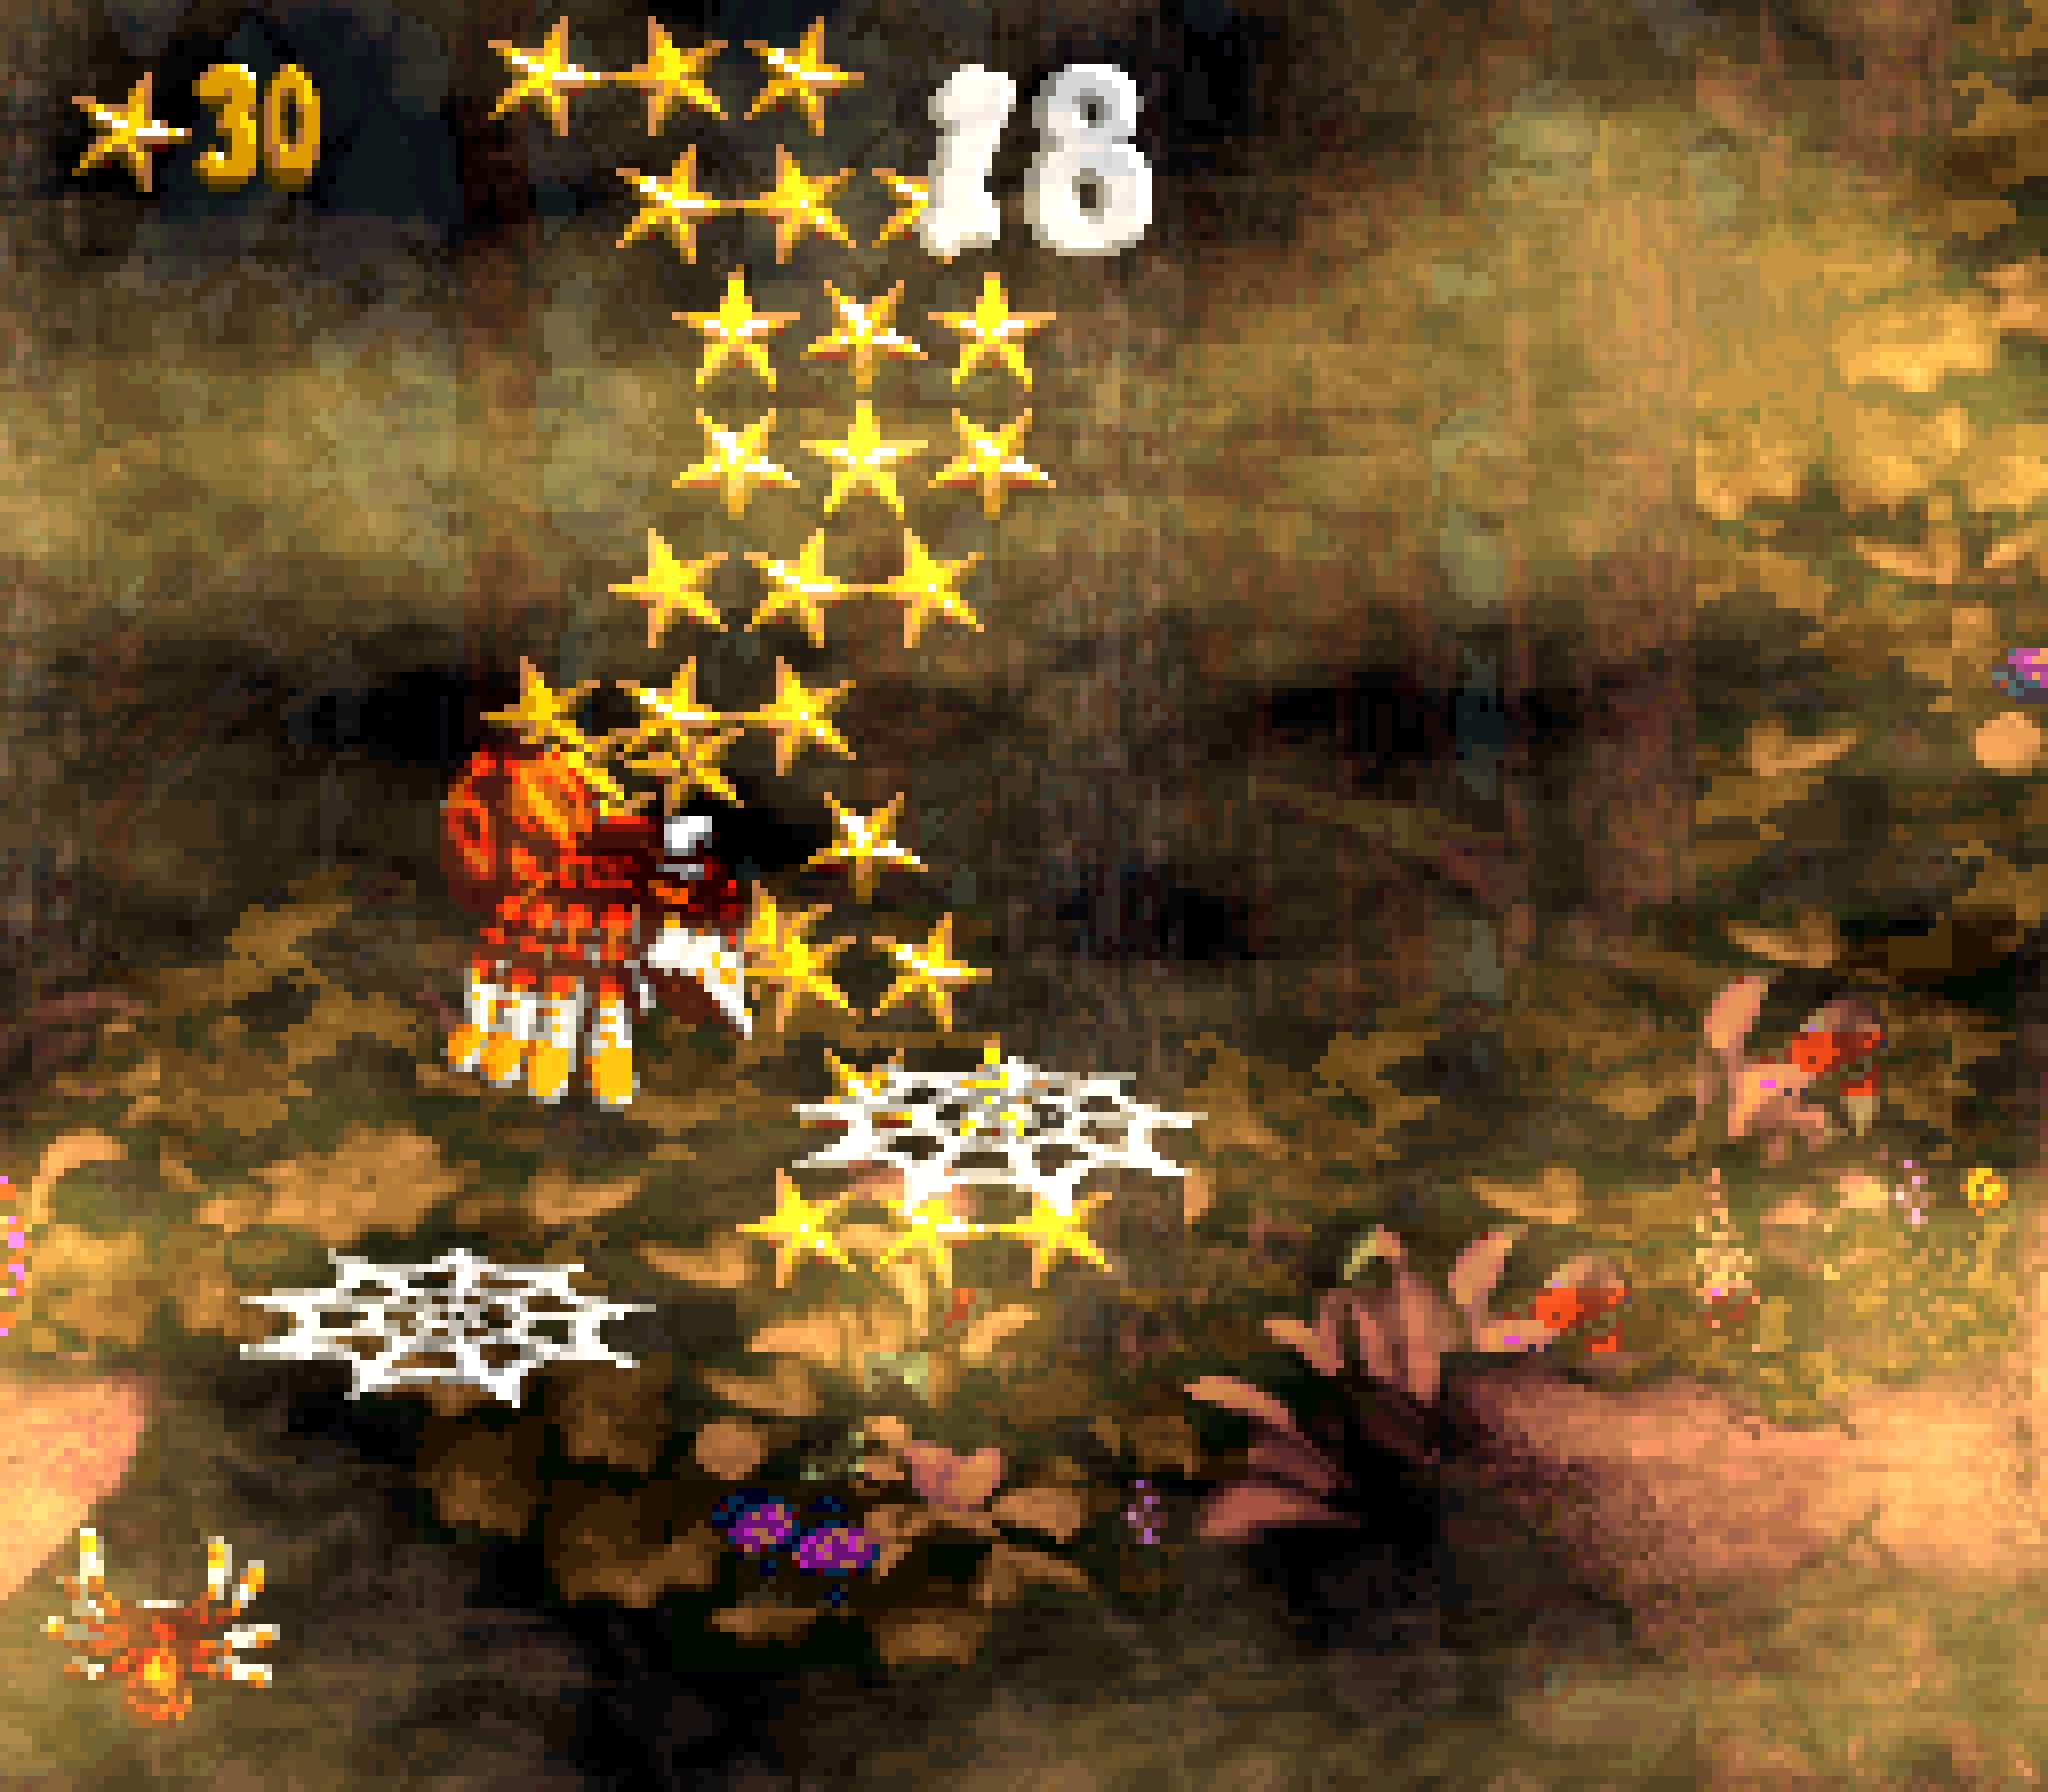
While the 2nd bonus game is just a basic “collect-the-stars” o’er a pit with the stars in the shape o’ the Rareware symbol, the 1st bonus has you maneuver thru bramble patches as Squitter, a novel concept that wouldn’t be revisited till the short beginning o’ the bramble section in “Animal Antics” before you switch to Squawks.
& then there’s the infamous hero coin: the 1 in the end goal, appearing for just a fraction o’ a second. The thing is, as mentioned earlier, “Mudhole Marsh” does this same thing a world earlier, & it’s a much harder version; whereas in that 1 you have to time hopping off a barrel, which has a greater delay ’tween when you jump & when you reach the goal & requires greater coordination to watch the barrel, your Kong, & the goal roulette, here you’re just in a barrel cannon & just need to time the button with a small delay ’tween shooting & reaching the goal.

Disappointingly, despite this level being Squitter’s most iconic level, this level doesn’t have Squitter’s photo, but 1 o’ the many Neeks on the zigzagging terrain in the 1st half, in plain sight — probably the least notable enemy in this level.
The feather is much better hidden, down & out o’ the way — where you’re least likely to go, since you usually want to stick to being higher up — in 1 o’ the many areas where you have to cross a gap using web platforms.
Not only is this level the best forest level in terms o’ level design, but aesthetically, as well, thanks to the thin fog drifting o’er e’erything & the autumnal orange leaves in the background.
5. Klobber Karnage
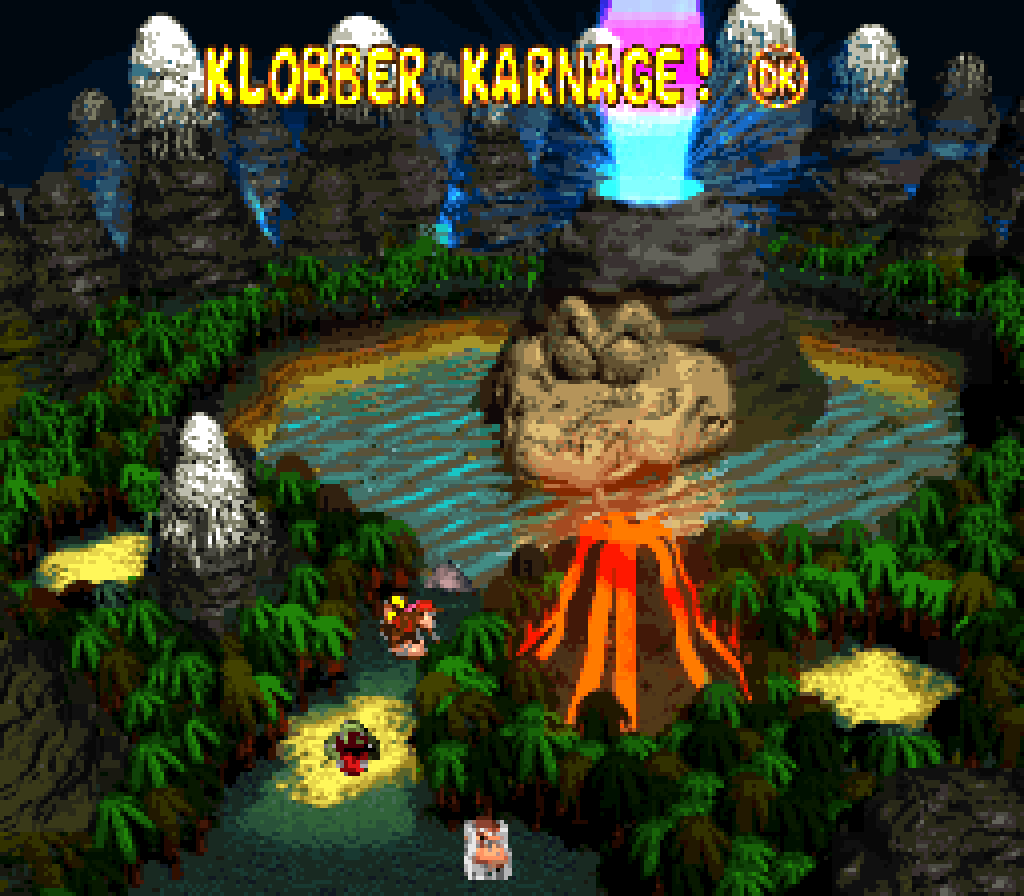
An underrated level, specially compared to “Animal Antics”, which is not only much less fun a level, but I would say not as challenging as this 1. This level takes 2 main mechanics from previous levels, Klobbers & the rotating barrels from “Barrel Bayou”, & unleashes them to the ultimate level. In a game that didn’t do too much with barrel cannons, — the designers probably having felt content with all the levels in the 1st DKC — save for the lackluster “Bramble Blast” & a few sections in “Squawks’s Shaft”, this level stands out as the heir to DKC1’s “Snow Barrel Blast”. ’Cept here there’s extra complication, as you not only have to time when you shoot, you also have to rotate the barrel yourself & point them in the right direction & shoot when the barrels line up, all while the middle barrel that serves as your ride keeps moving rightward, which, as you can imagine, makes lining-up shots & timing them tied together, as well as make precise timed shots upward to avoid walls o’ Zingers so that you don’t land back down till after the middle barrel’s past them ( as per real-life physics, when you’re shot up into the air, you move with the moving barrel ).
Like “Chain Link Chamber”, this level has various branching paths, ’cept here they’re thru pairs o’ Diddy & Dixie barrels; & like in that level, the difference ’tween the paths don’t feel too important: a few give an extra banana coin, there’s 1 branch where you have to shoot below or ’bove Zingers moving up & down or ’tween a spinning ring o’ Zingers.
The Klobber sections that break these barrel sections up also makes full use o’ them & all their forms. The most notable sections are the 2 staircases, where it’s harder to get height o’er the Klobbers & avoid getting knocked back, specially the, for me, very iconic end o’ the level with a staircase o’ black Klobbers ’bove an island surrounded by spikes, where if you let yourself get bumped back, you’re pretty much guaranteed to get hurt. Near the middle there’s a high cliff with a black & TNT Klobber that drop down & ambush you on either side. Since there are Klobbers e’erywhere, you constantly hear their shouts, e’en when not onscreen, which can induce a feeling o’ paranoia.
Like many bonus levels in this game, the hero-coin bonus’s location isn’t very interesting: just a banana past the goal post that is masquerading as a bonus barrel & requires throwing a Kong @ it. Since it’s easy to get caught up in trying to end the level as quickly as possible, paranoid o’ a Klobber sneaking on you, one could easily miss the bonus, which feels rude.
Howe’er, the bonus itself is 1 o’ the best in the game: you grab invincible barrels & just have to plow thru all the Zingers while crossing a spike pit. Since this level is covered in spikes, with the barrel sections being o’er seas o’ them, this fits with the level; & the ease o’ this bonus serves as a deserved, well, bonus for players who made it to the end o’ this level.
The feather & photo aren’t impressive, either: the feather is hidden just below where the bonus is hidden — honestly probably the least interesting place you could put it. The photo is for Kaboom, who is considered a different enemy from Klobber, since Klobber’s photo was all the way back in “Hot-Head Hop”, & involves defeating a Kaboom by ramming into it while holding the TNT barrel left by ’nother Kaboom while stunned ( the resulting explosion, for some reason, doesn’t hurt you ). As weird as it is that a level named after Klobber doesn’t have his photo, from a difficulty-evolution perspective this makes sense, as defeating a Kaboom is harder than defeating a Klobber.
( DKC2, GBA version: doing pizza explosions mo’ than a decade before Mighty No. 9 ).
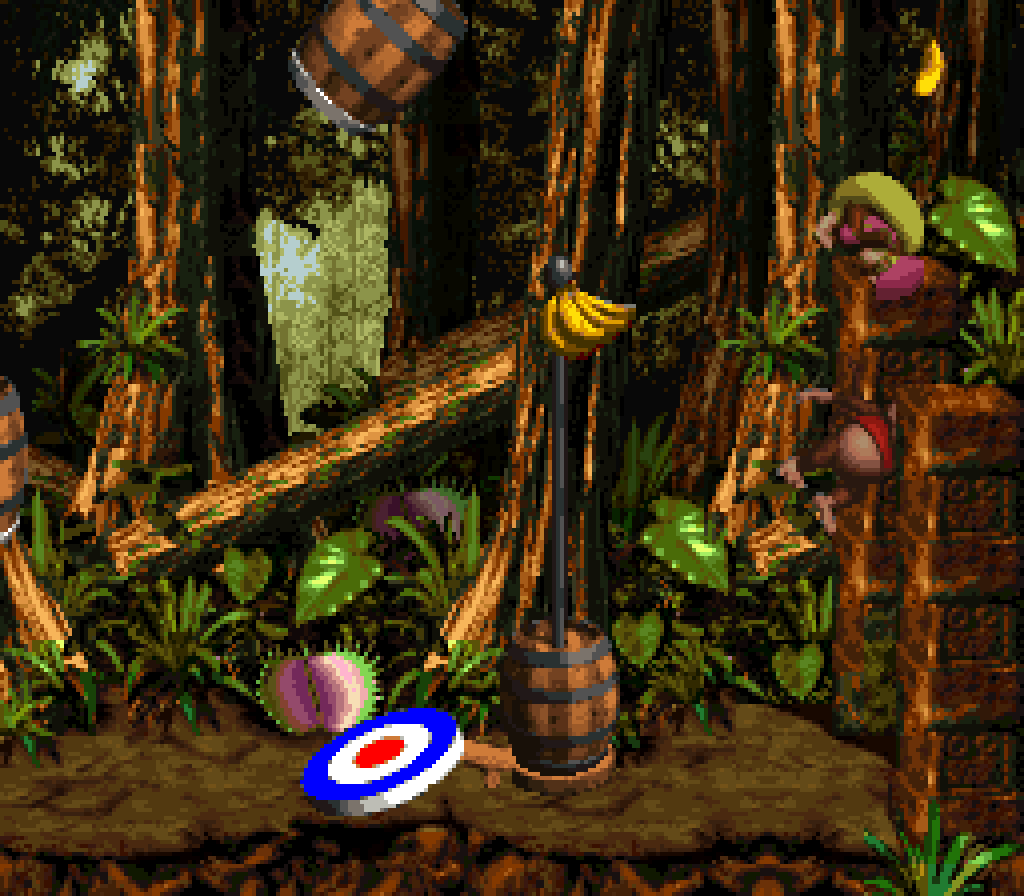
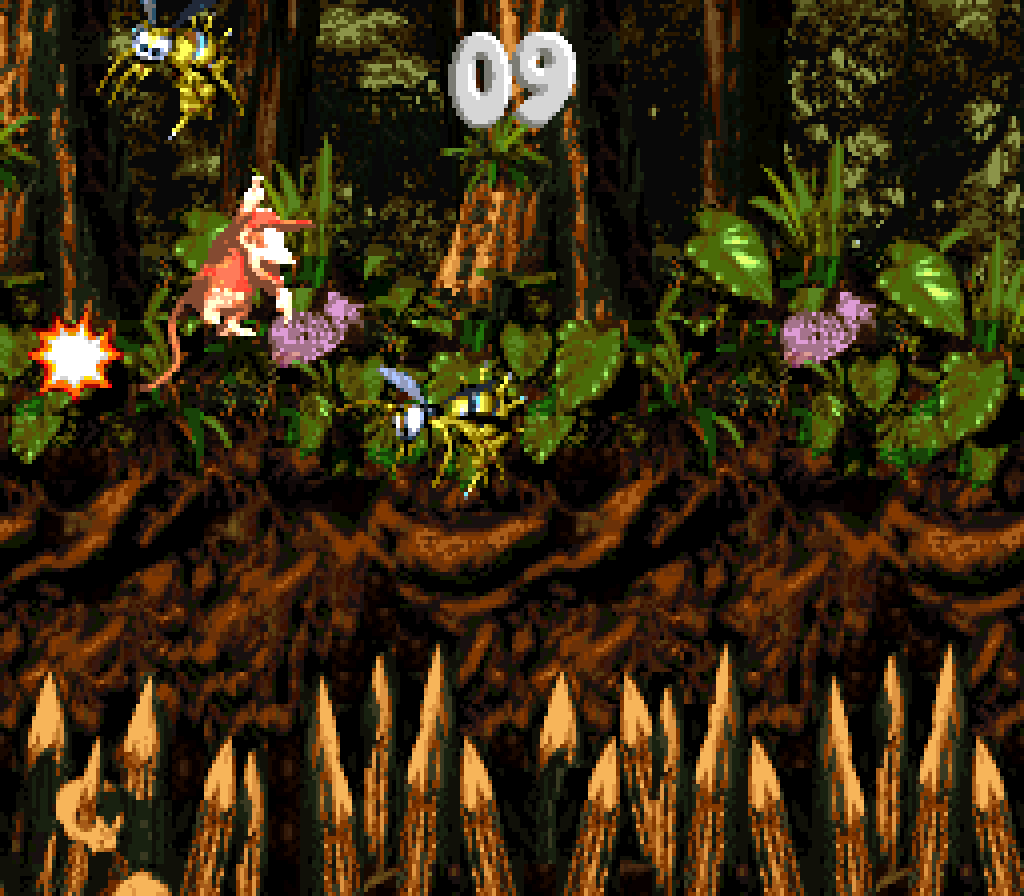
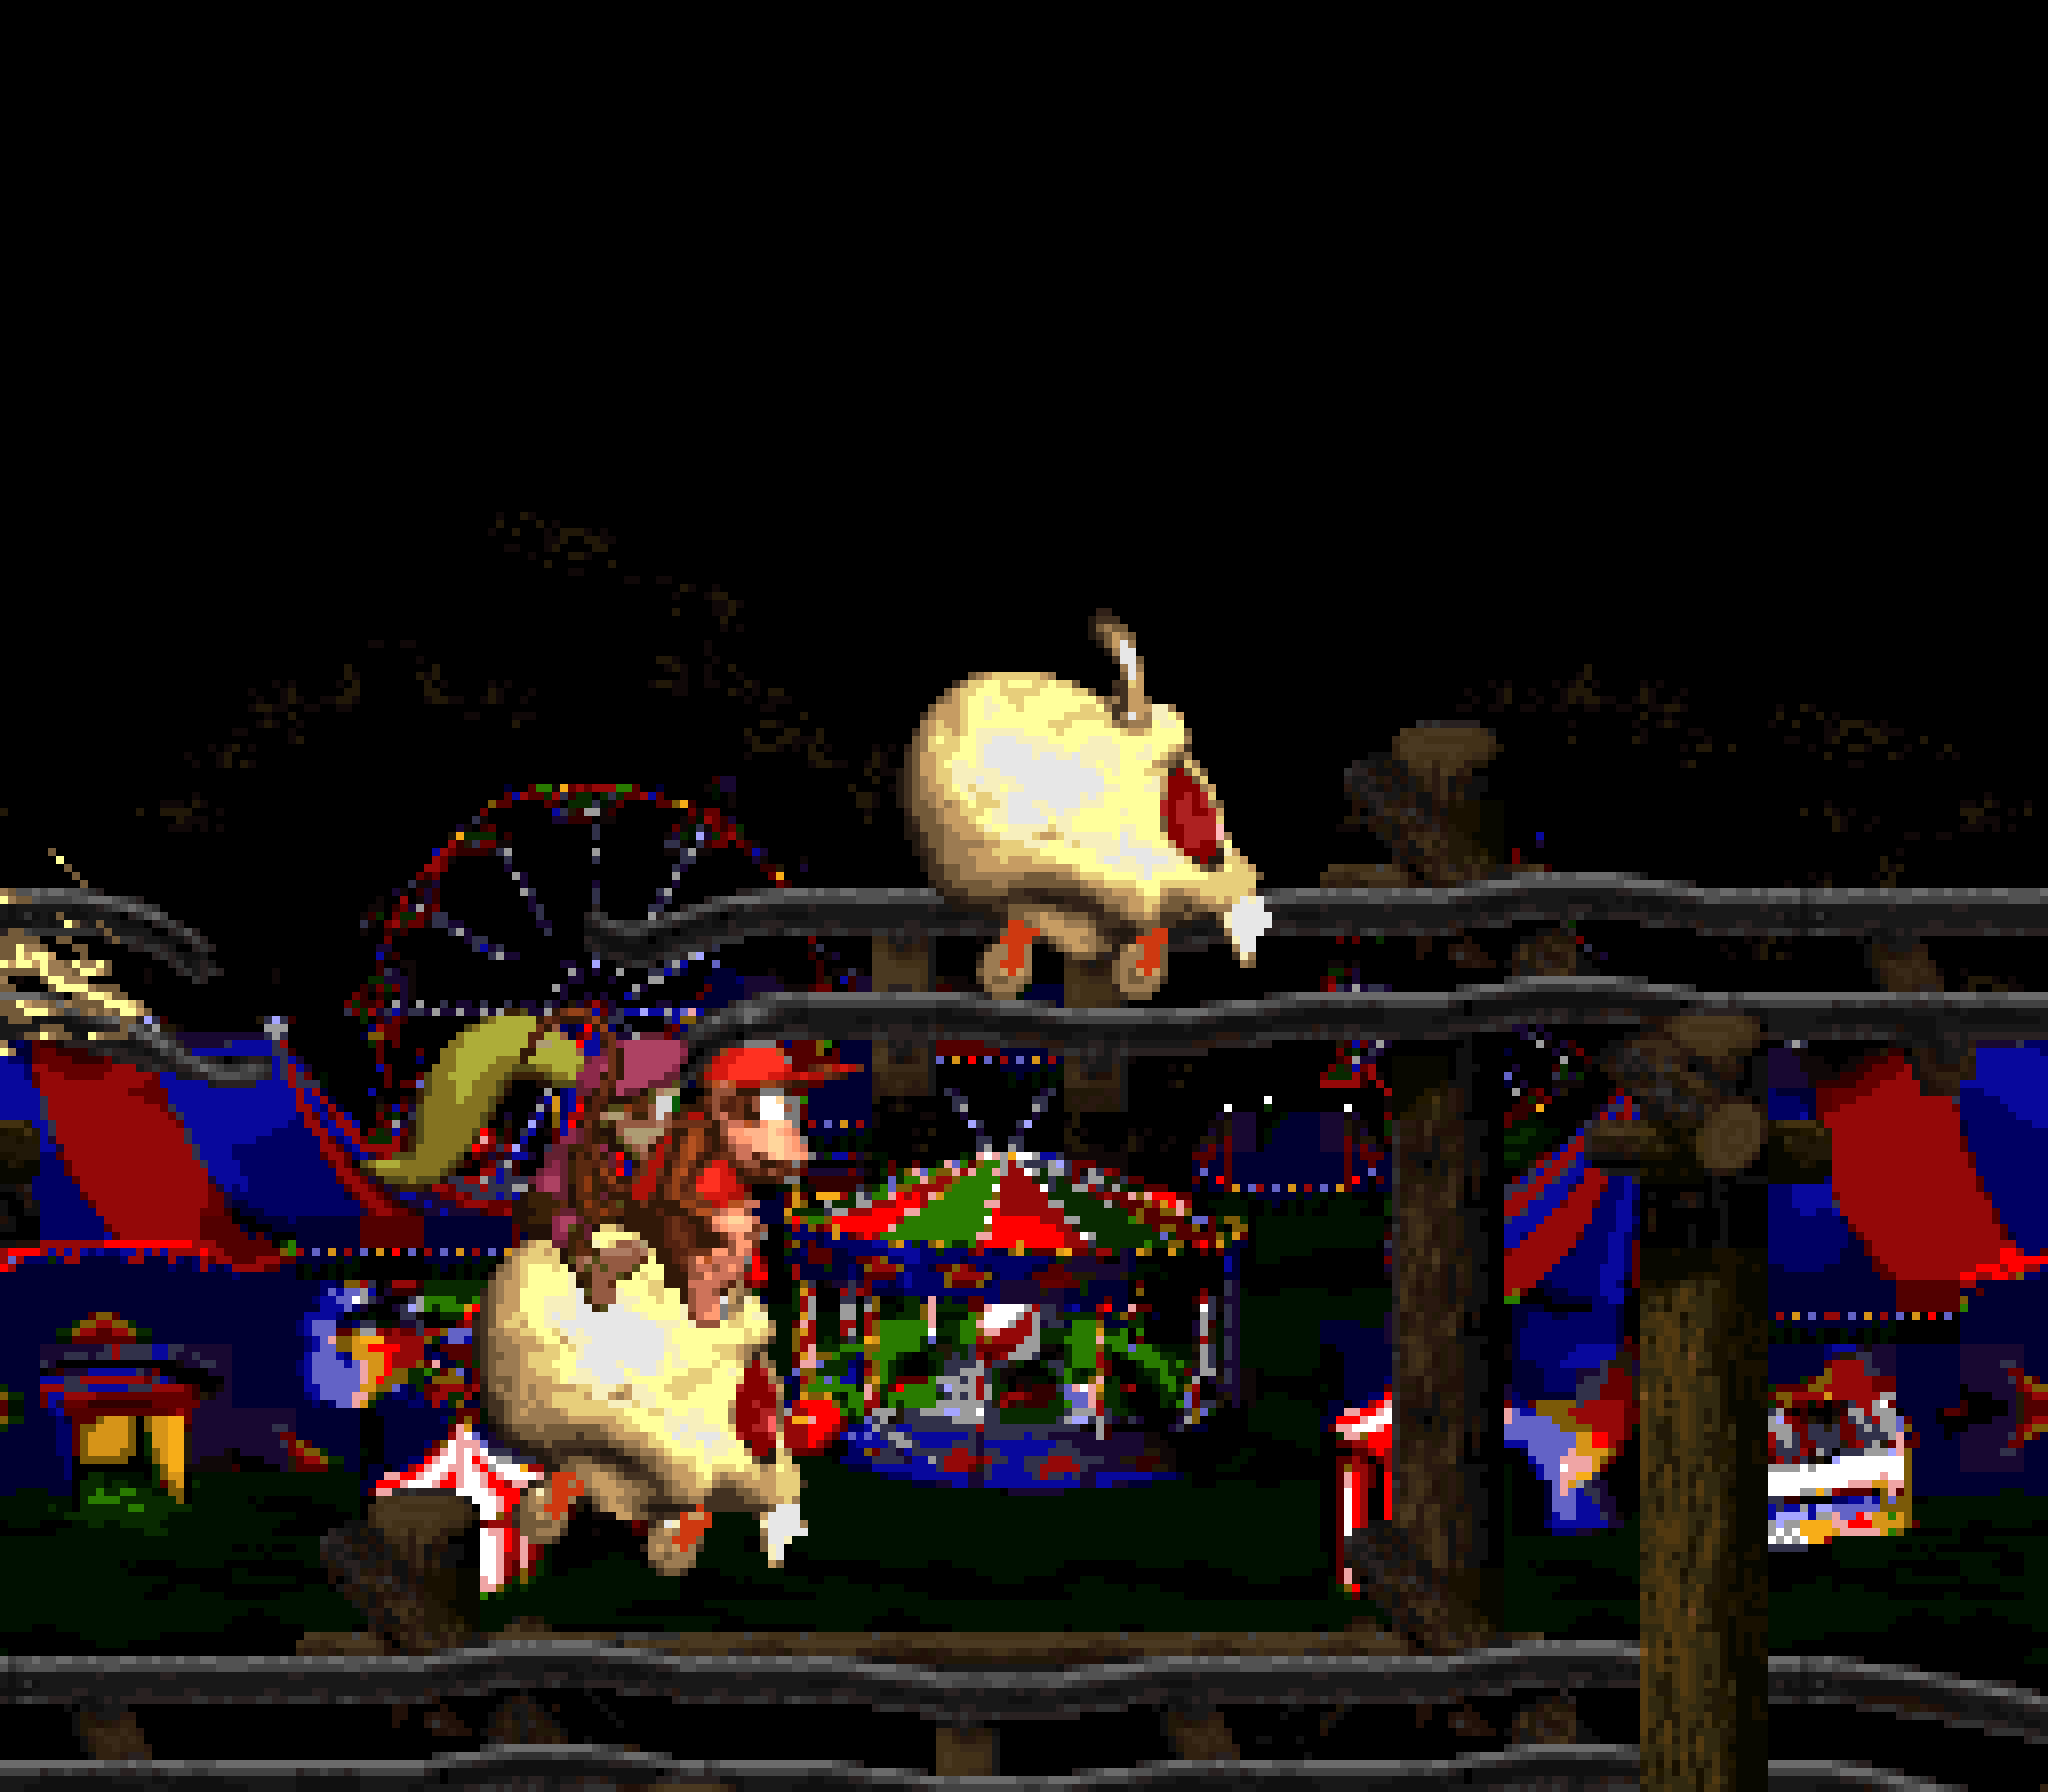
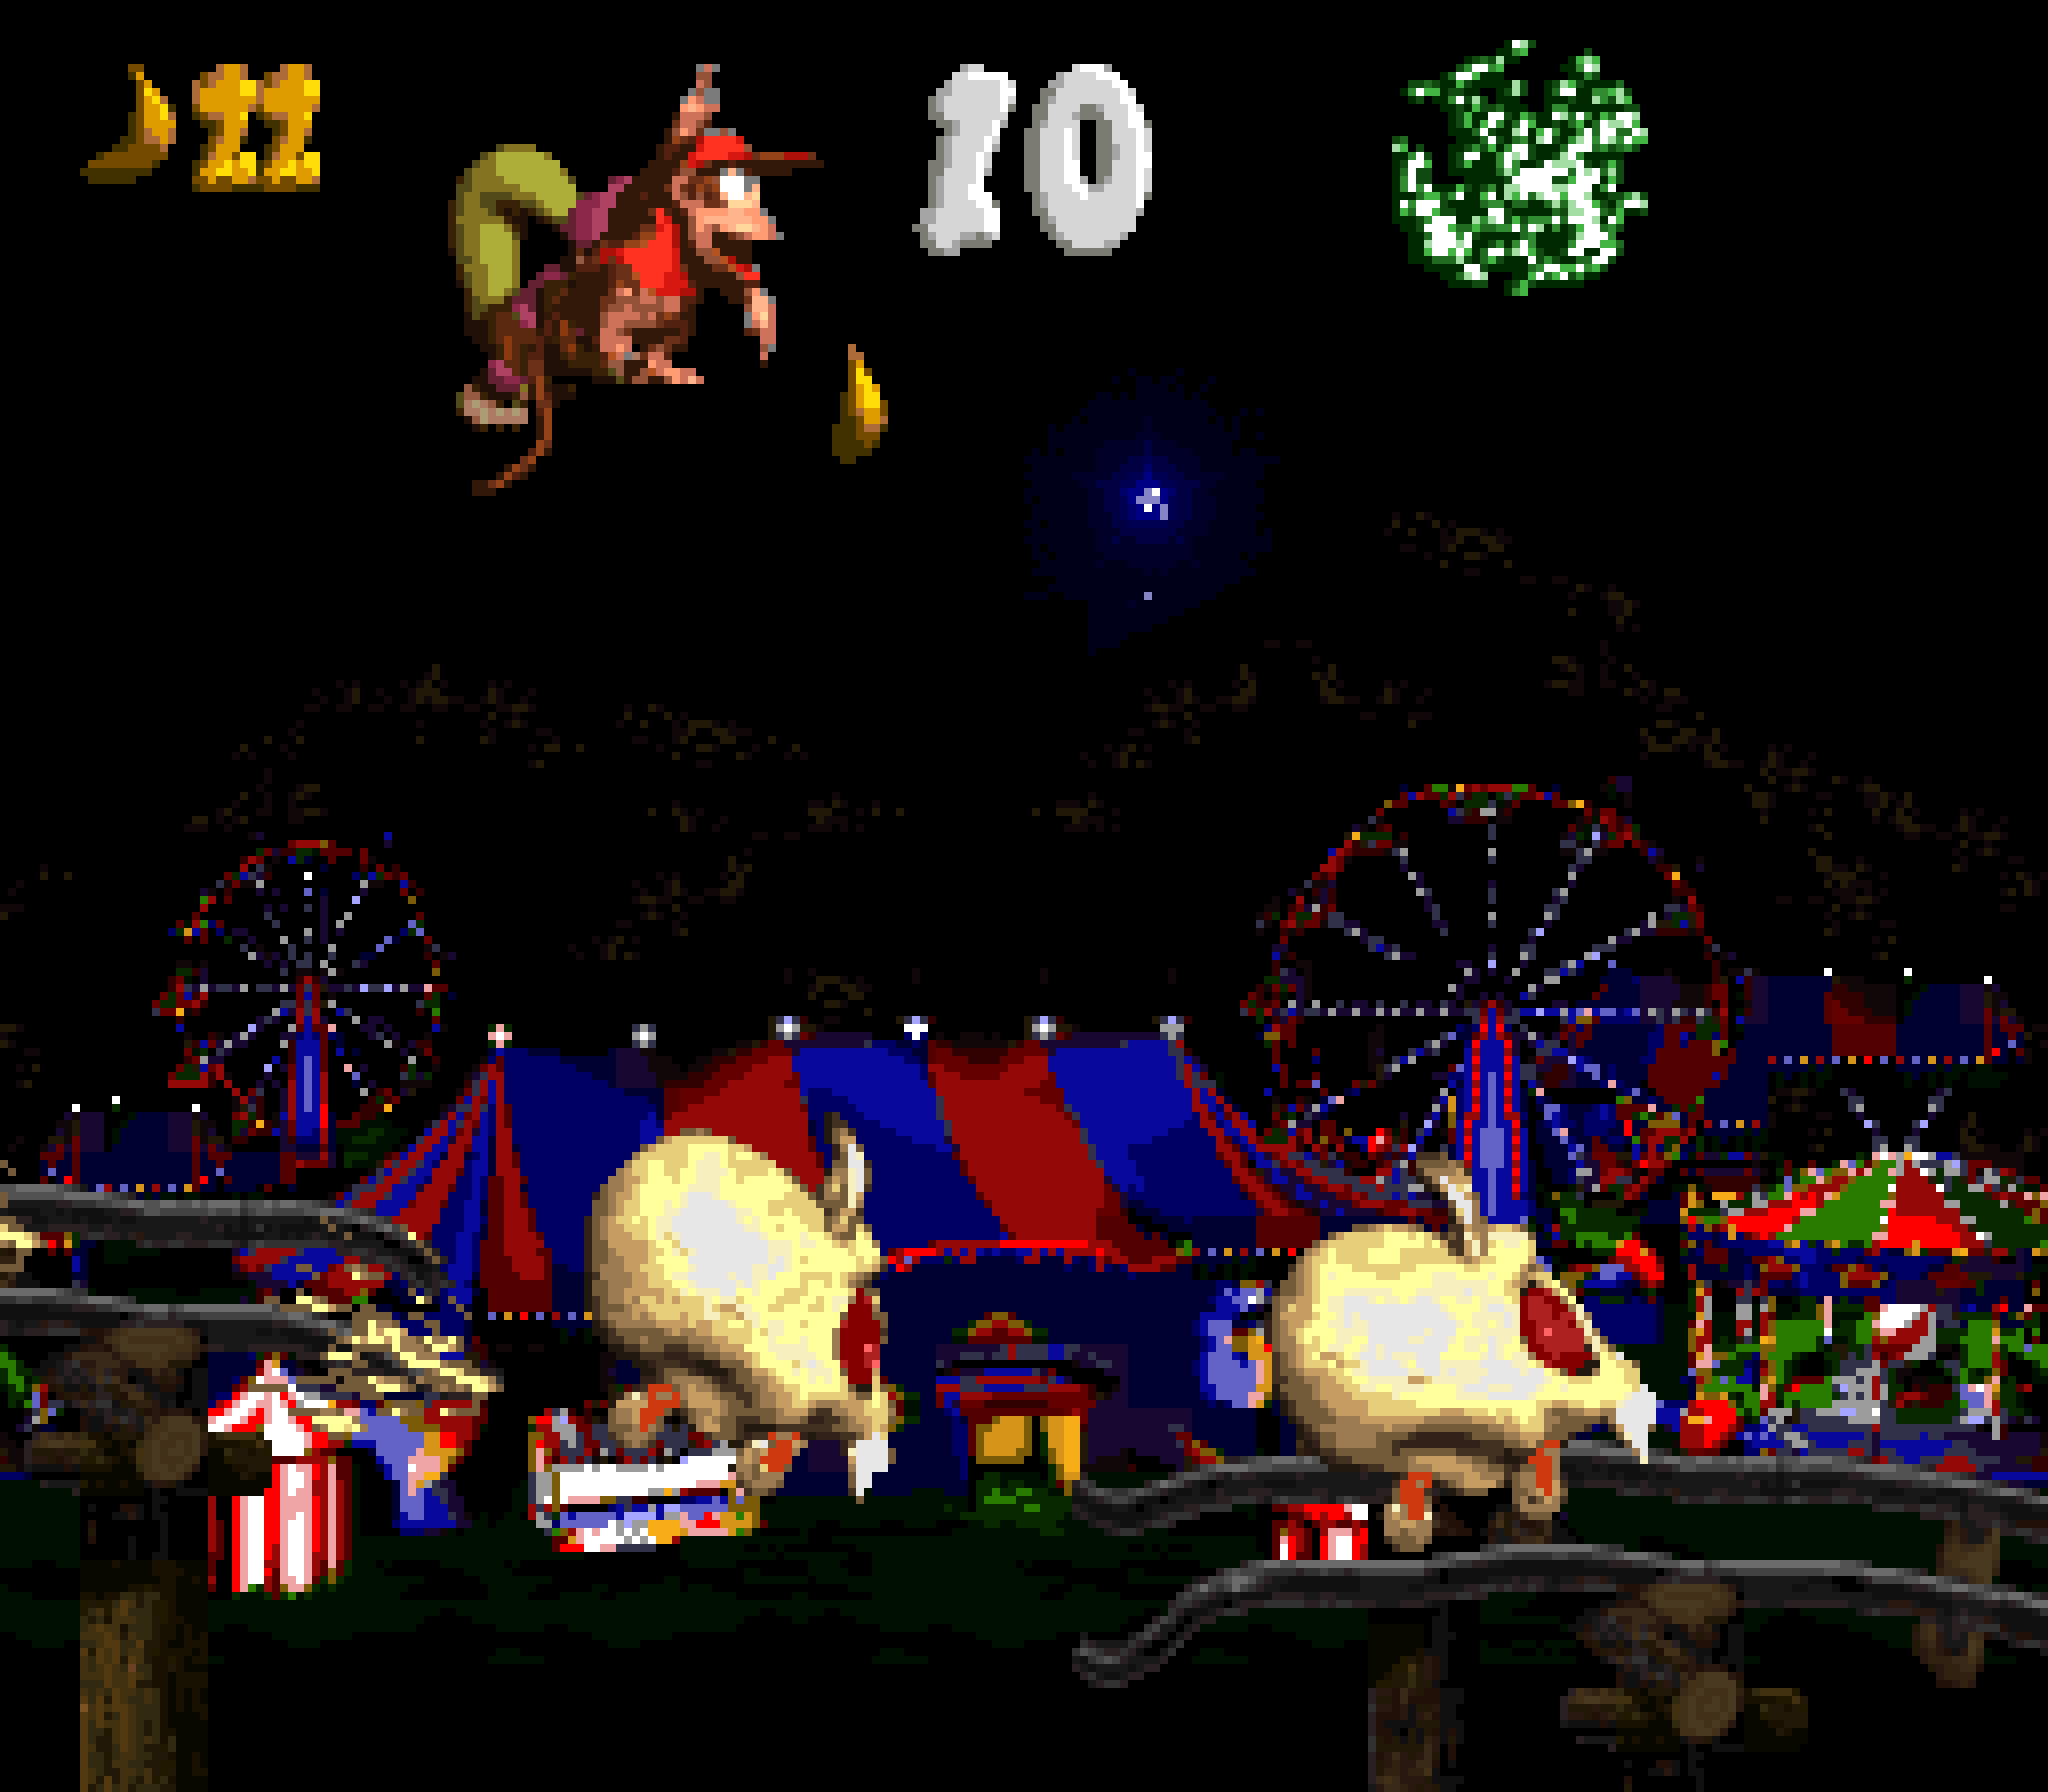
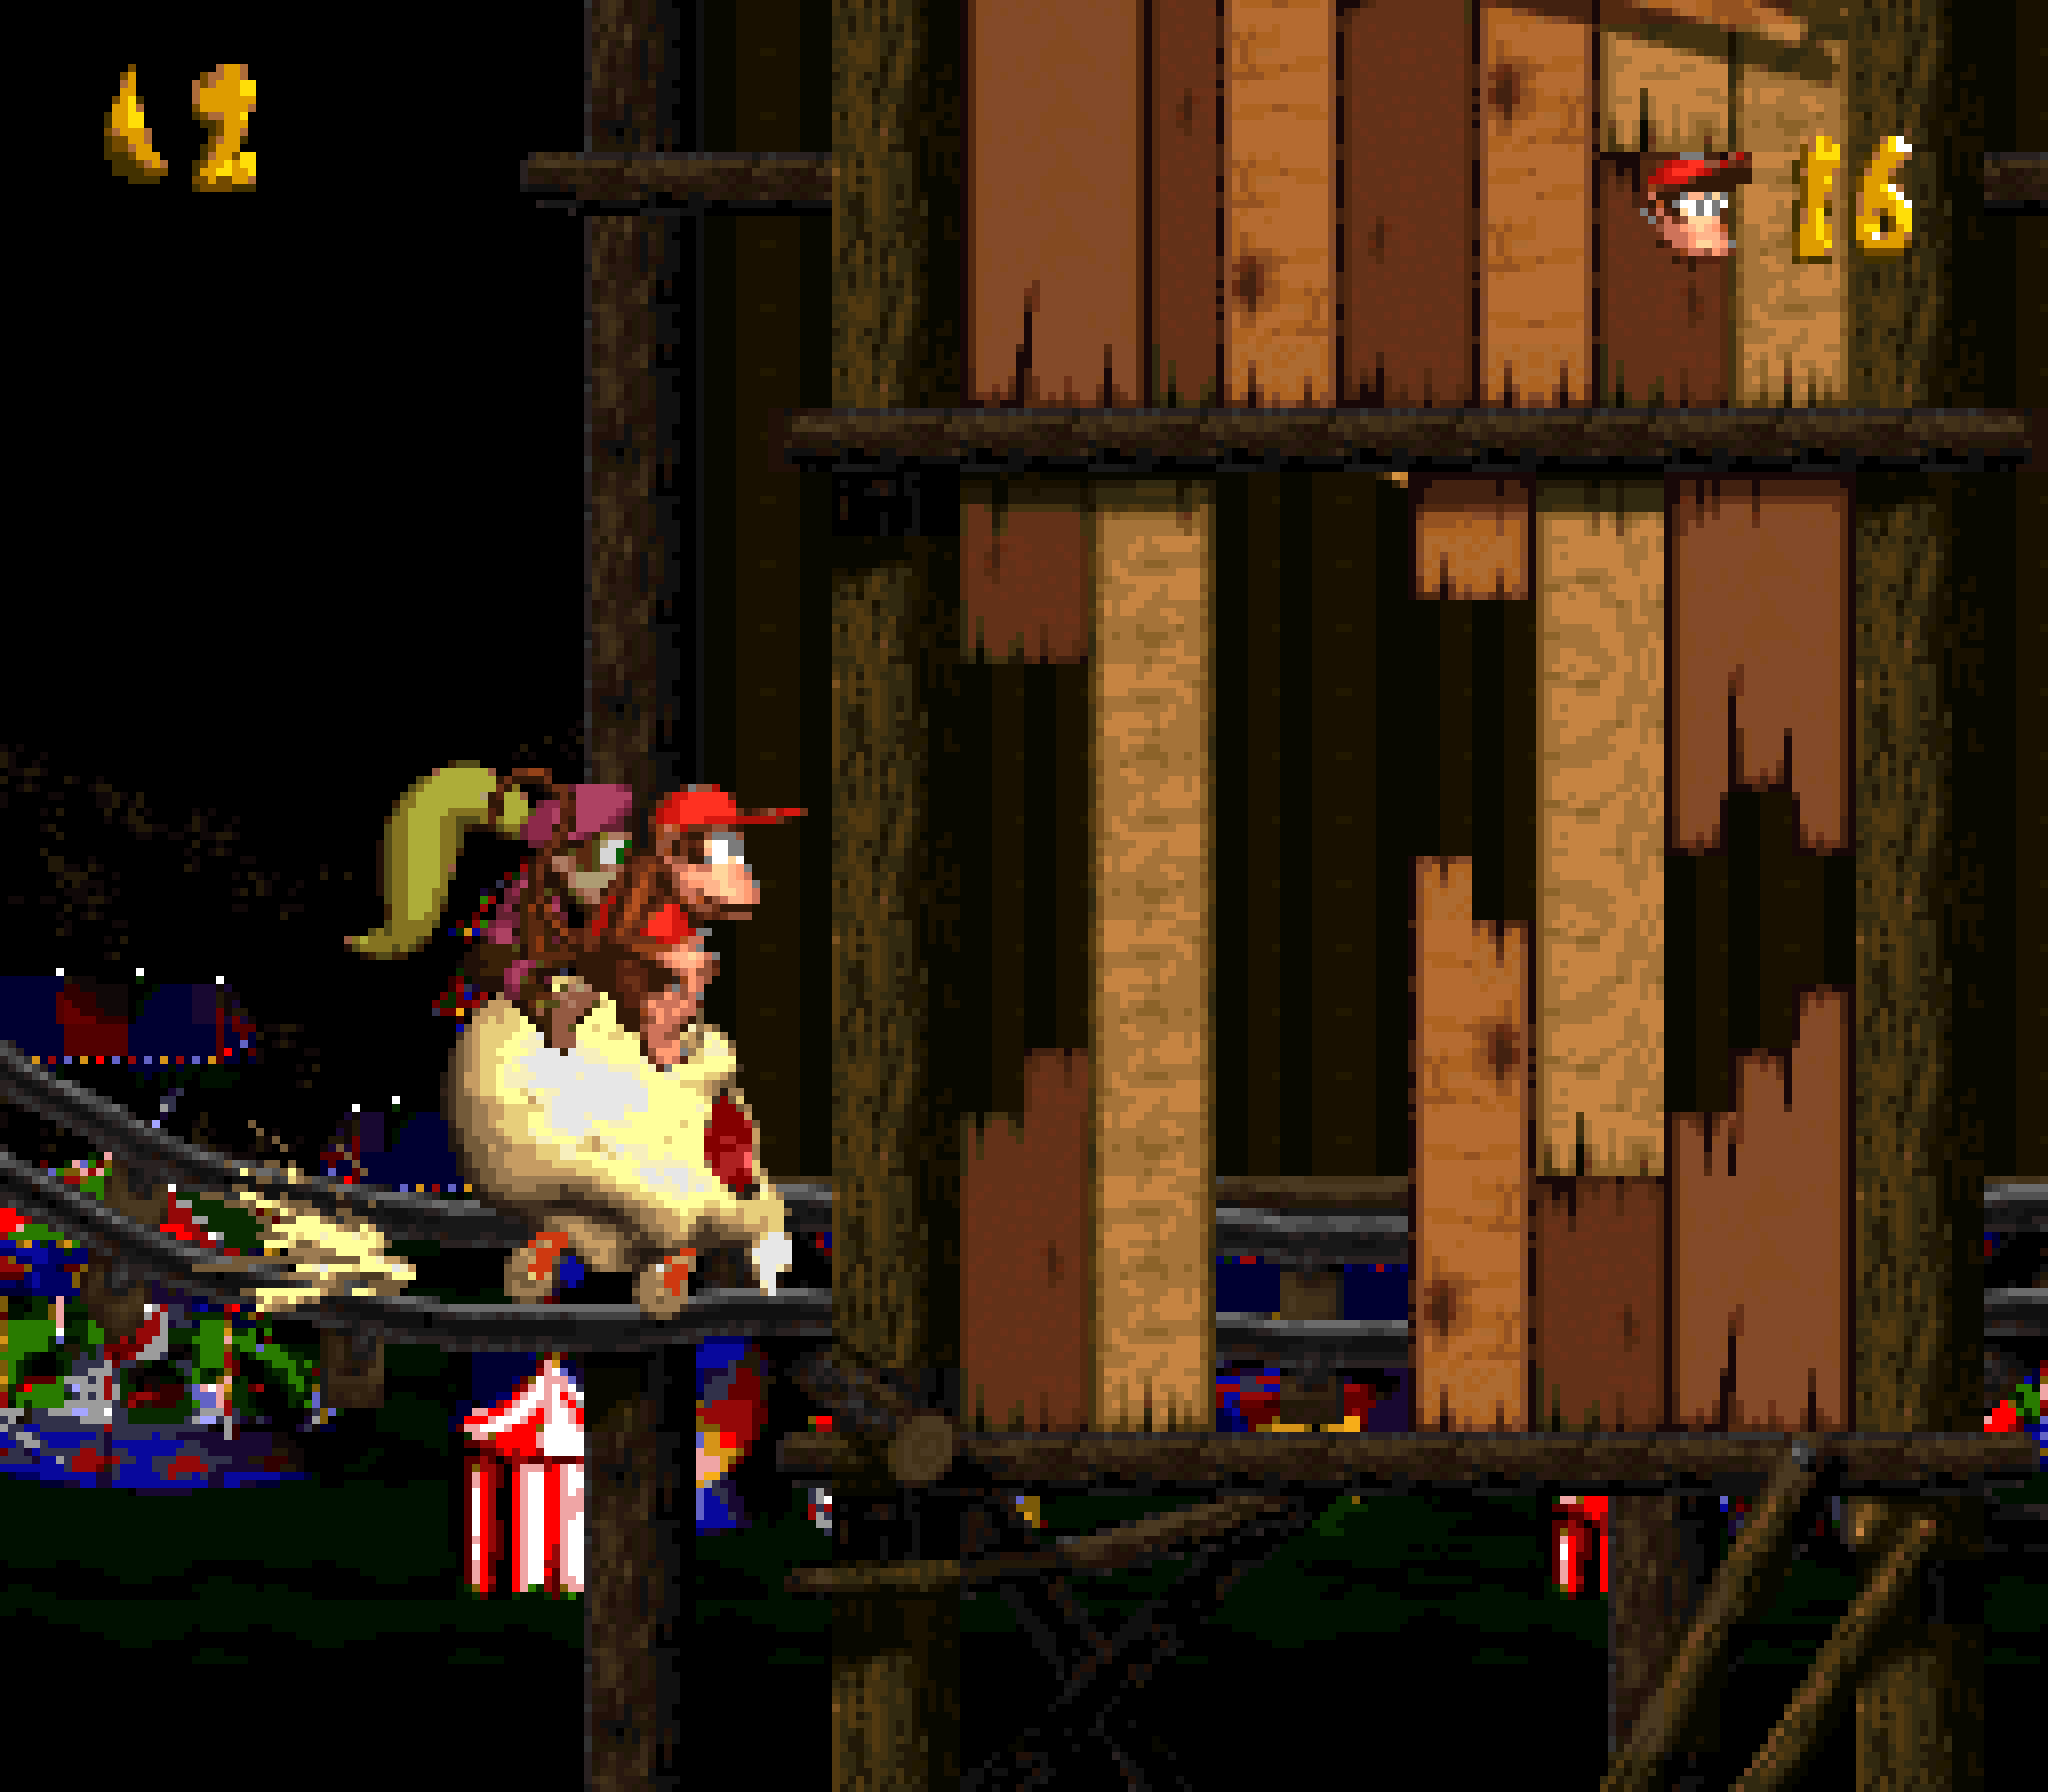
4. Target Terror
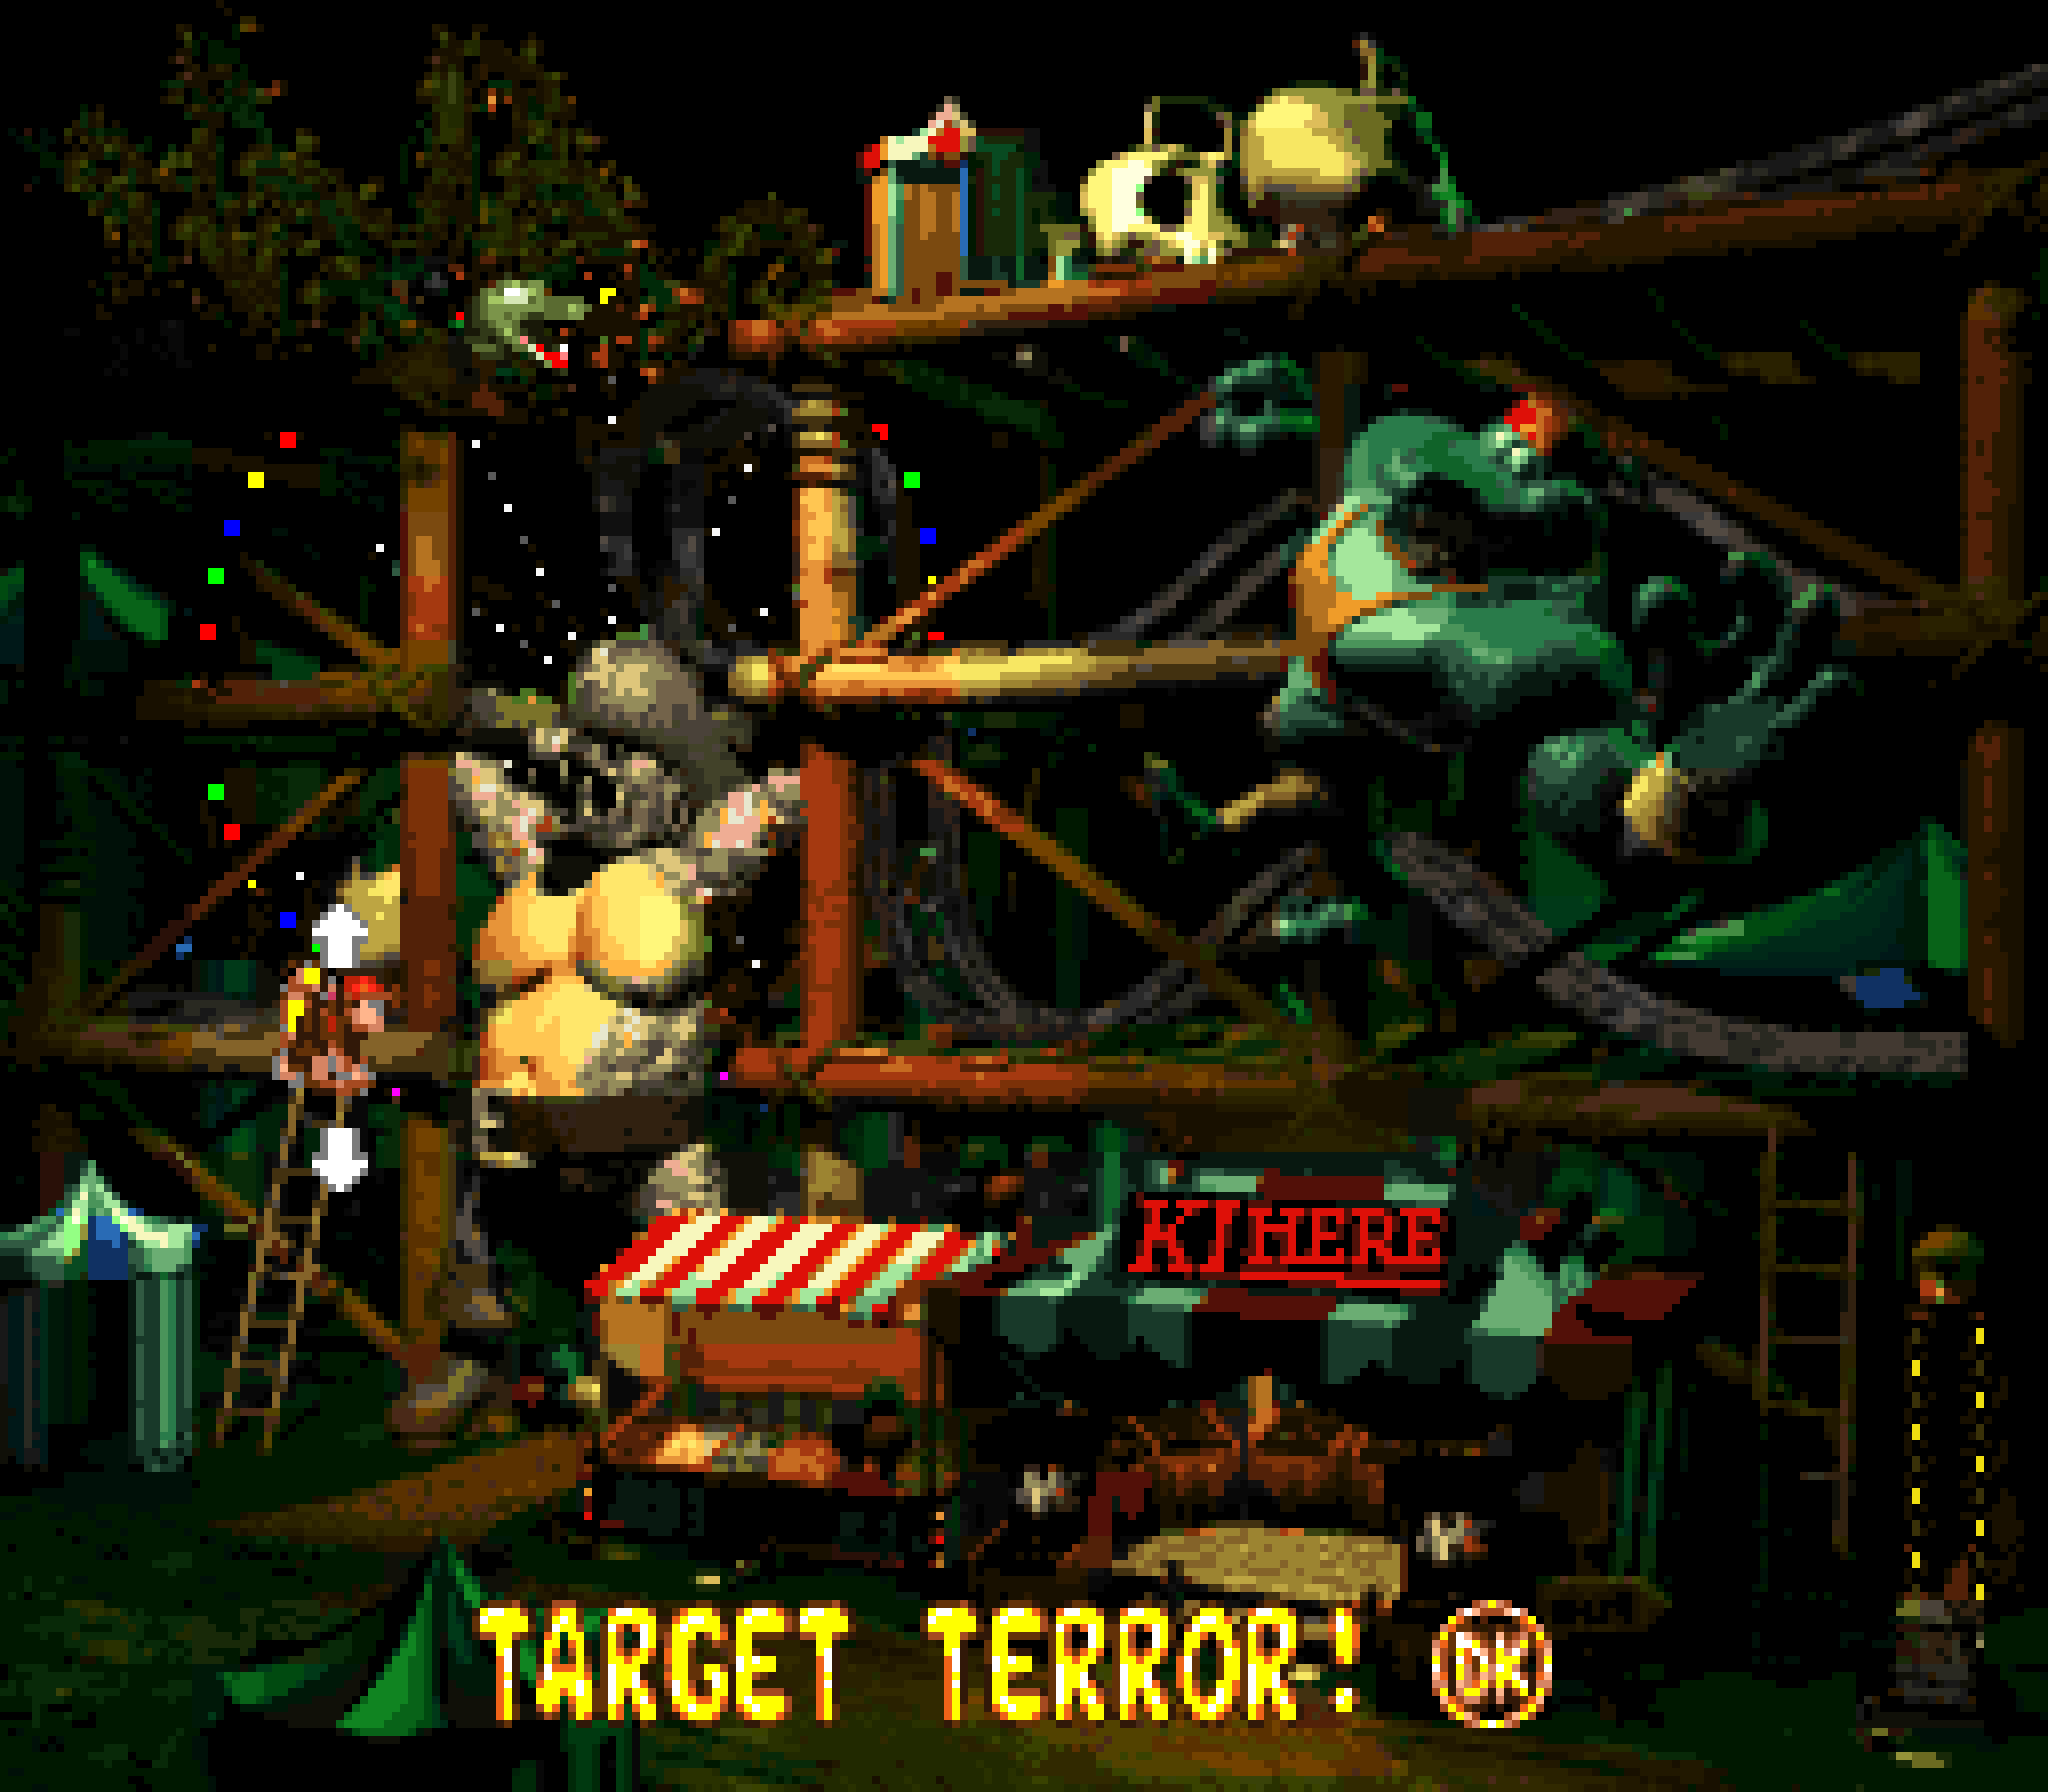
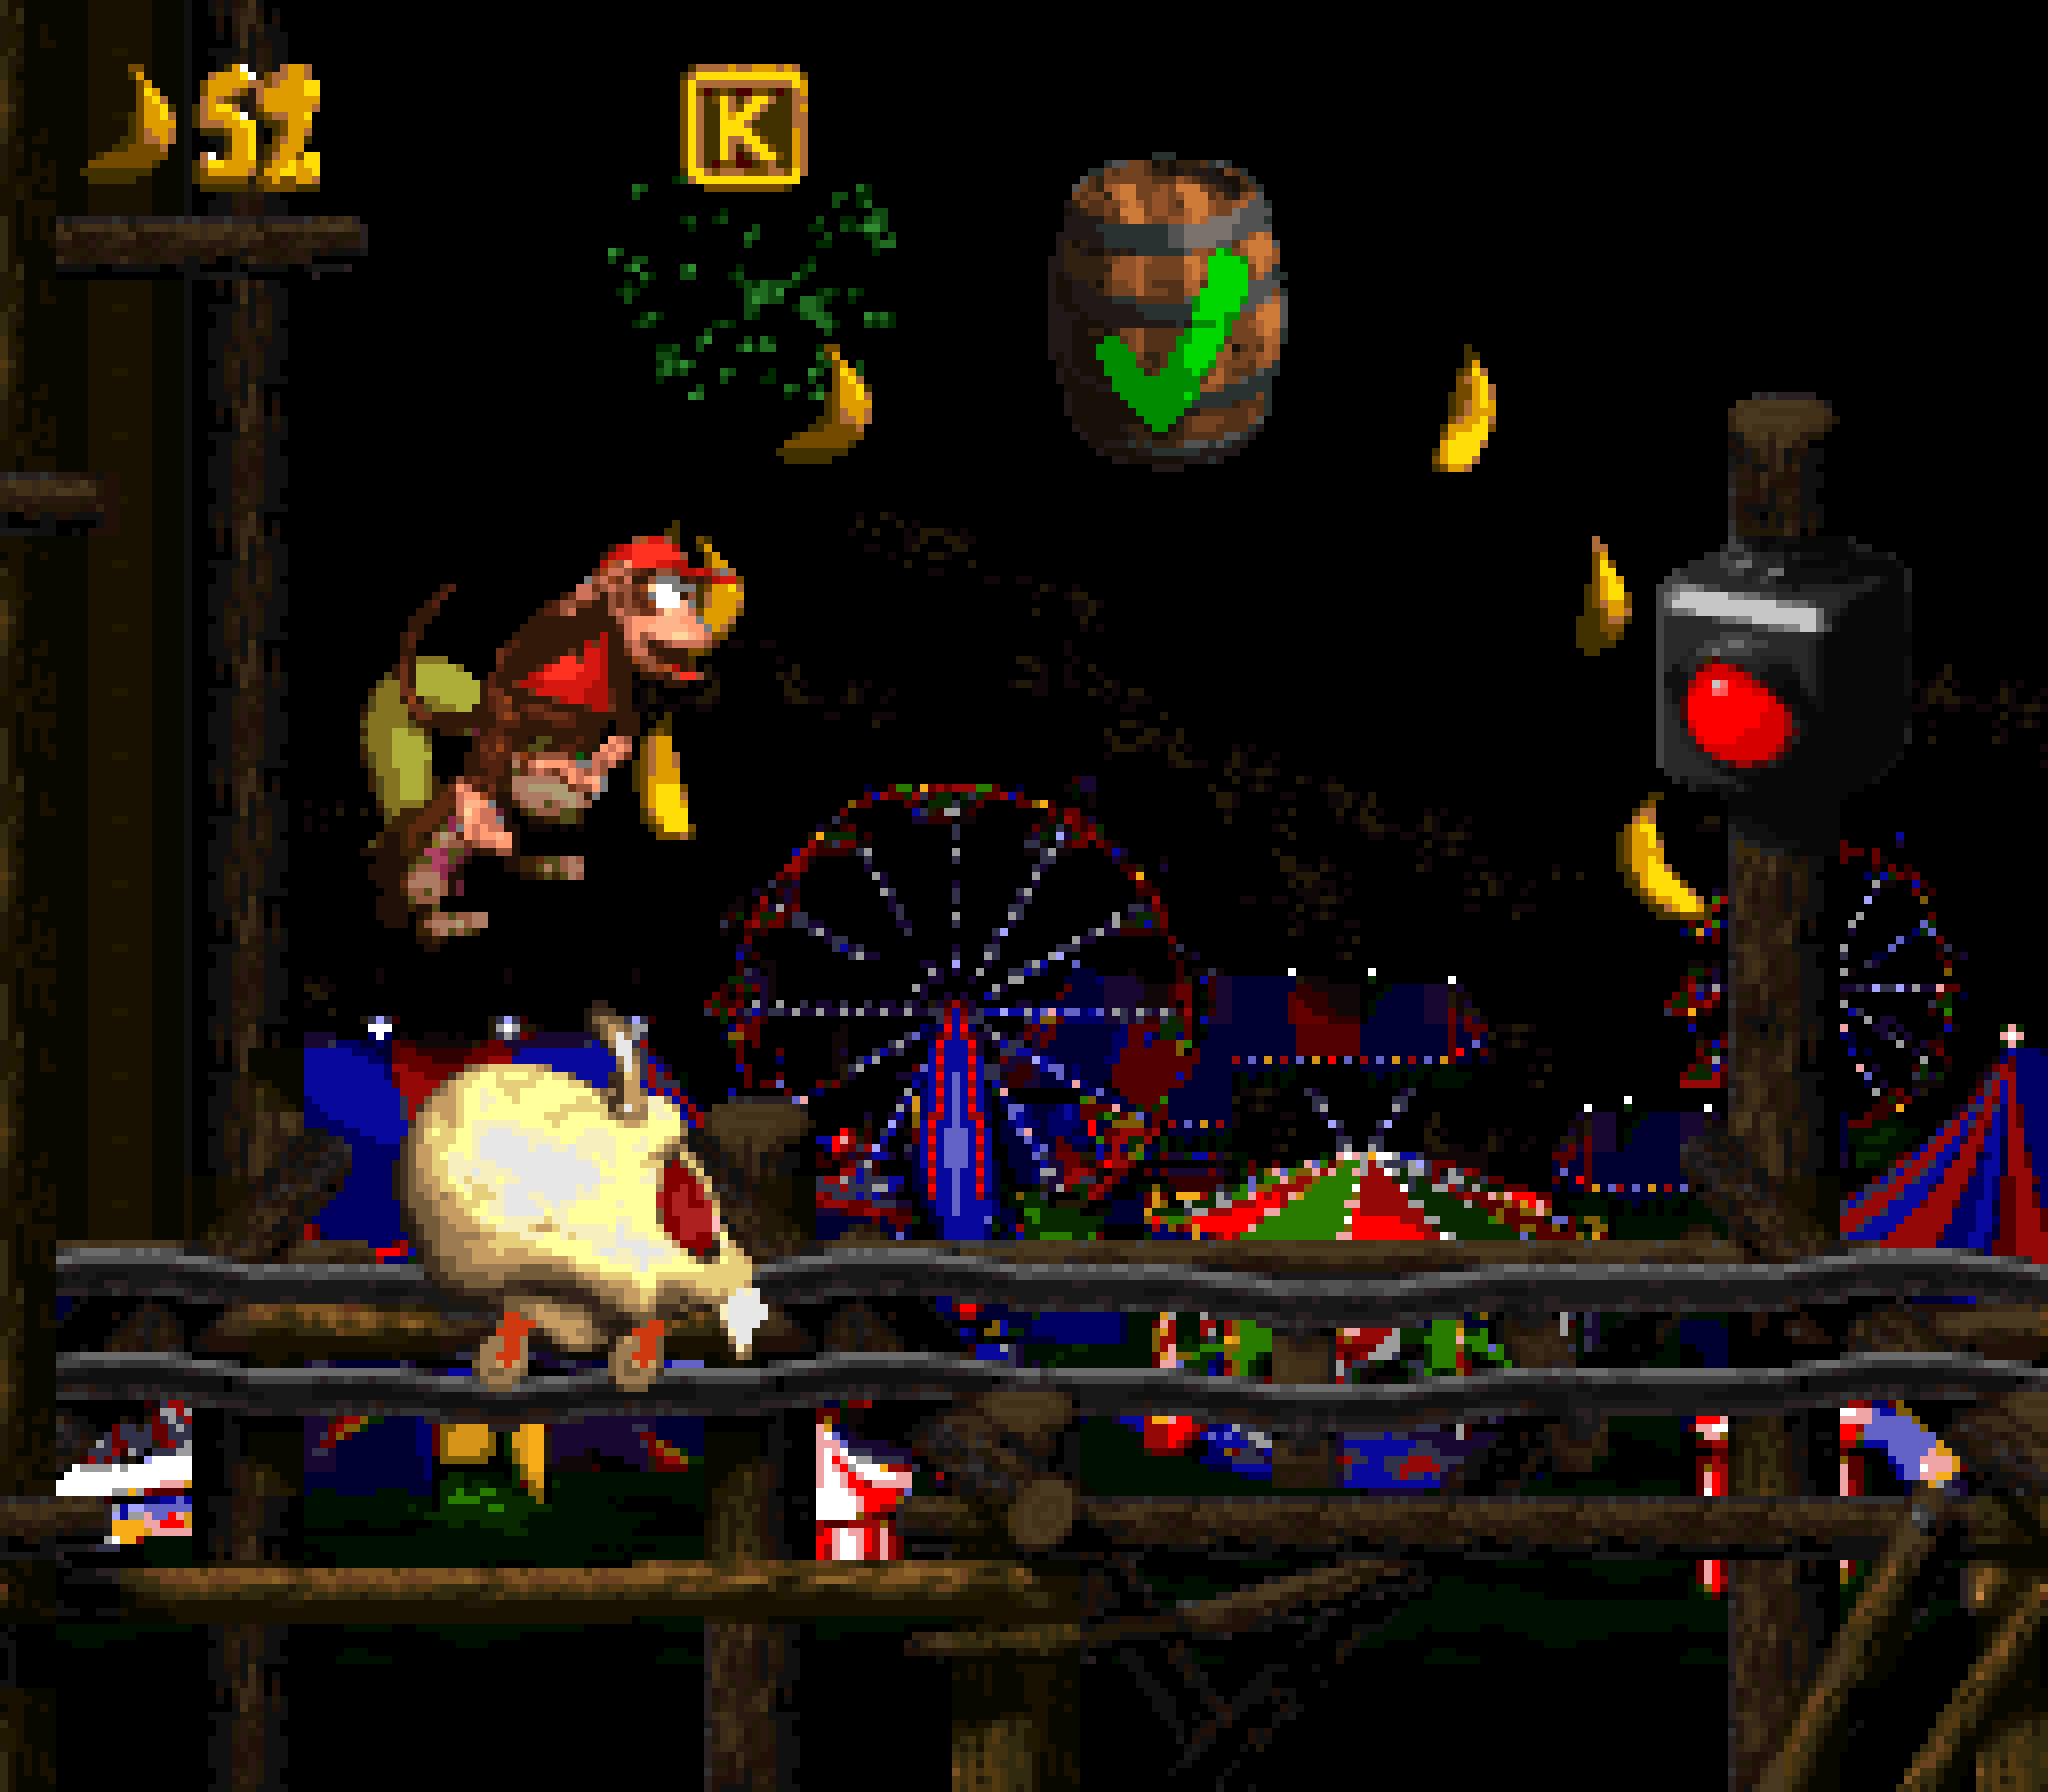
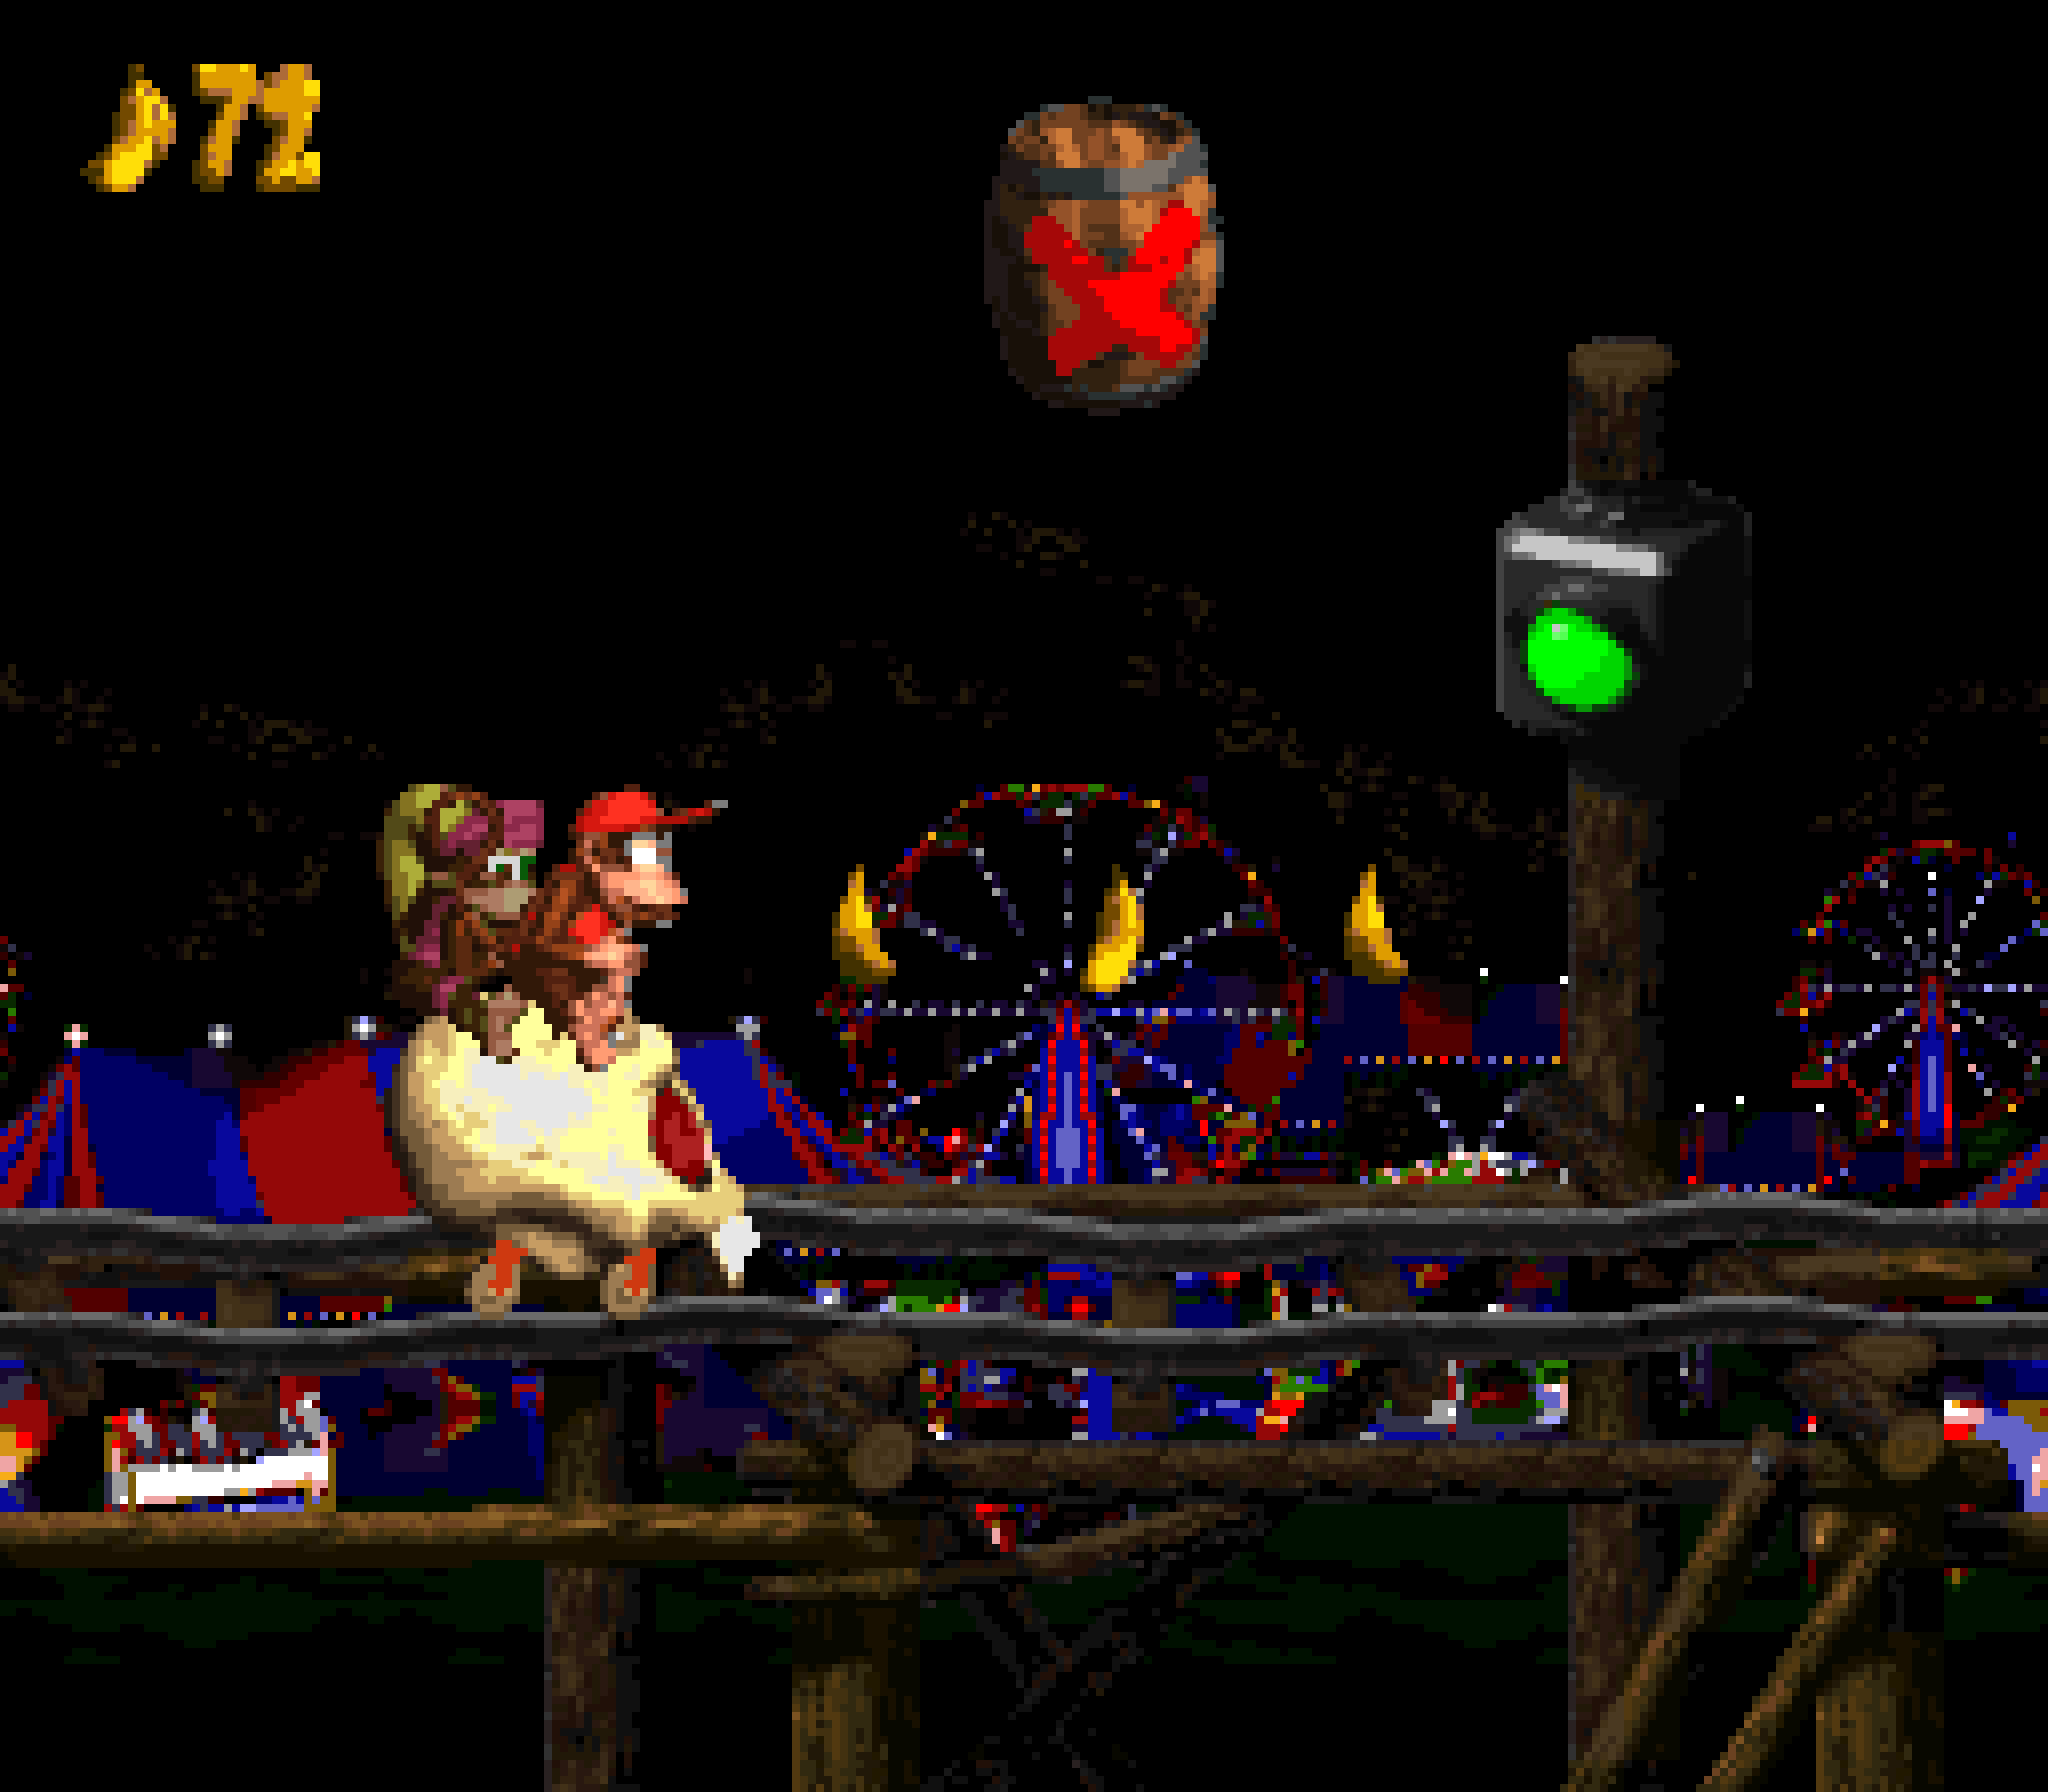
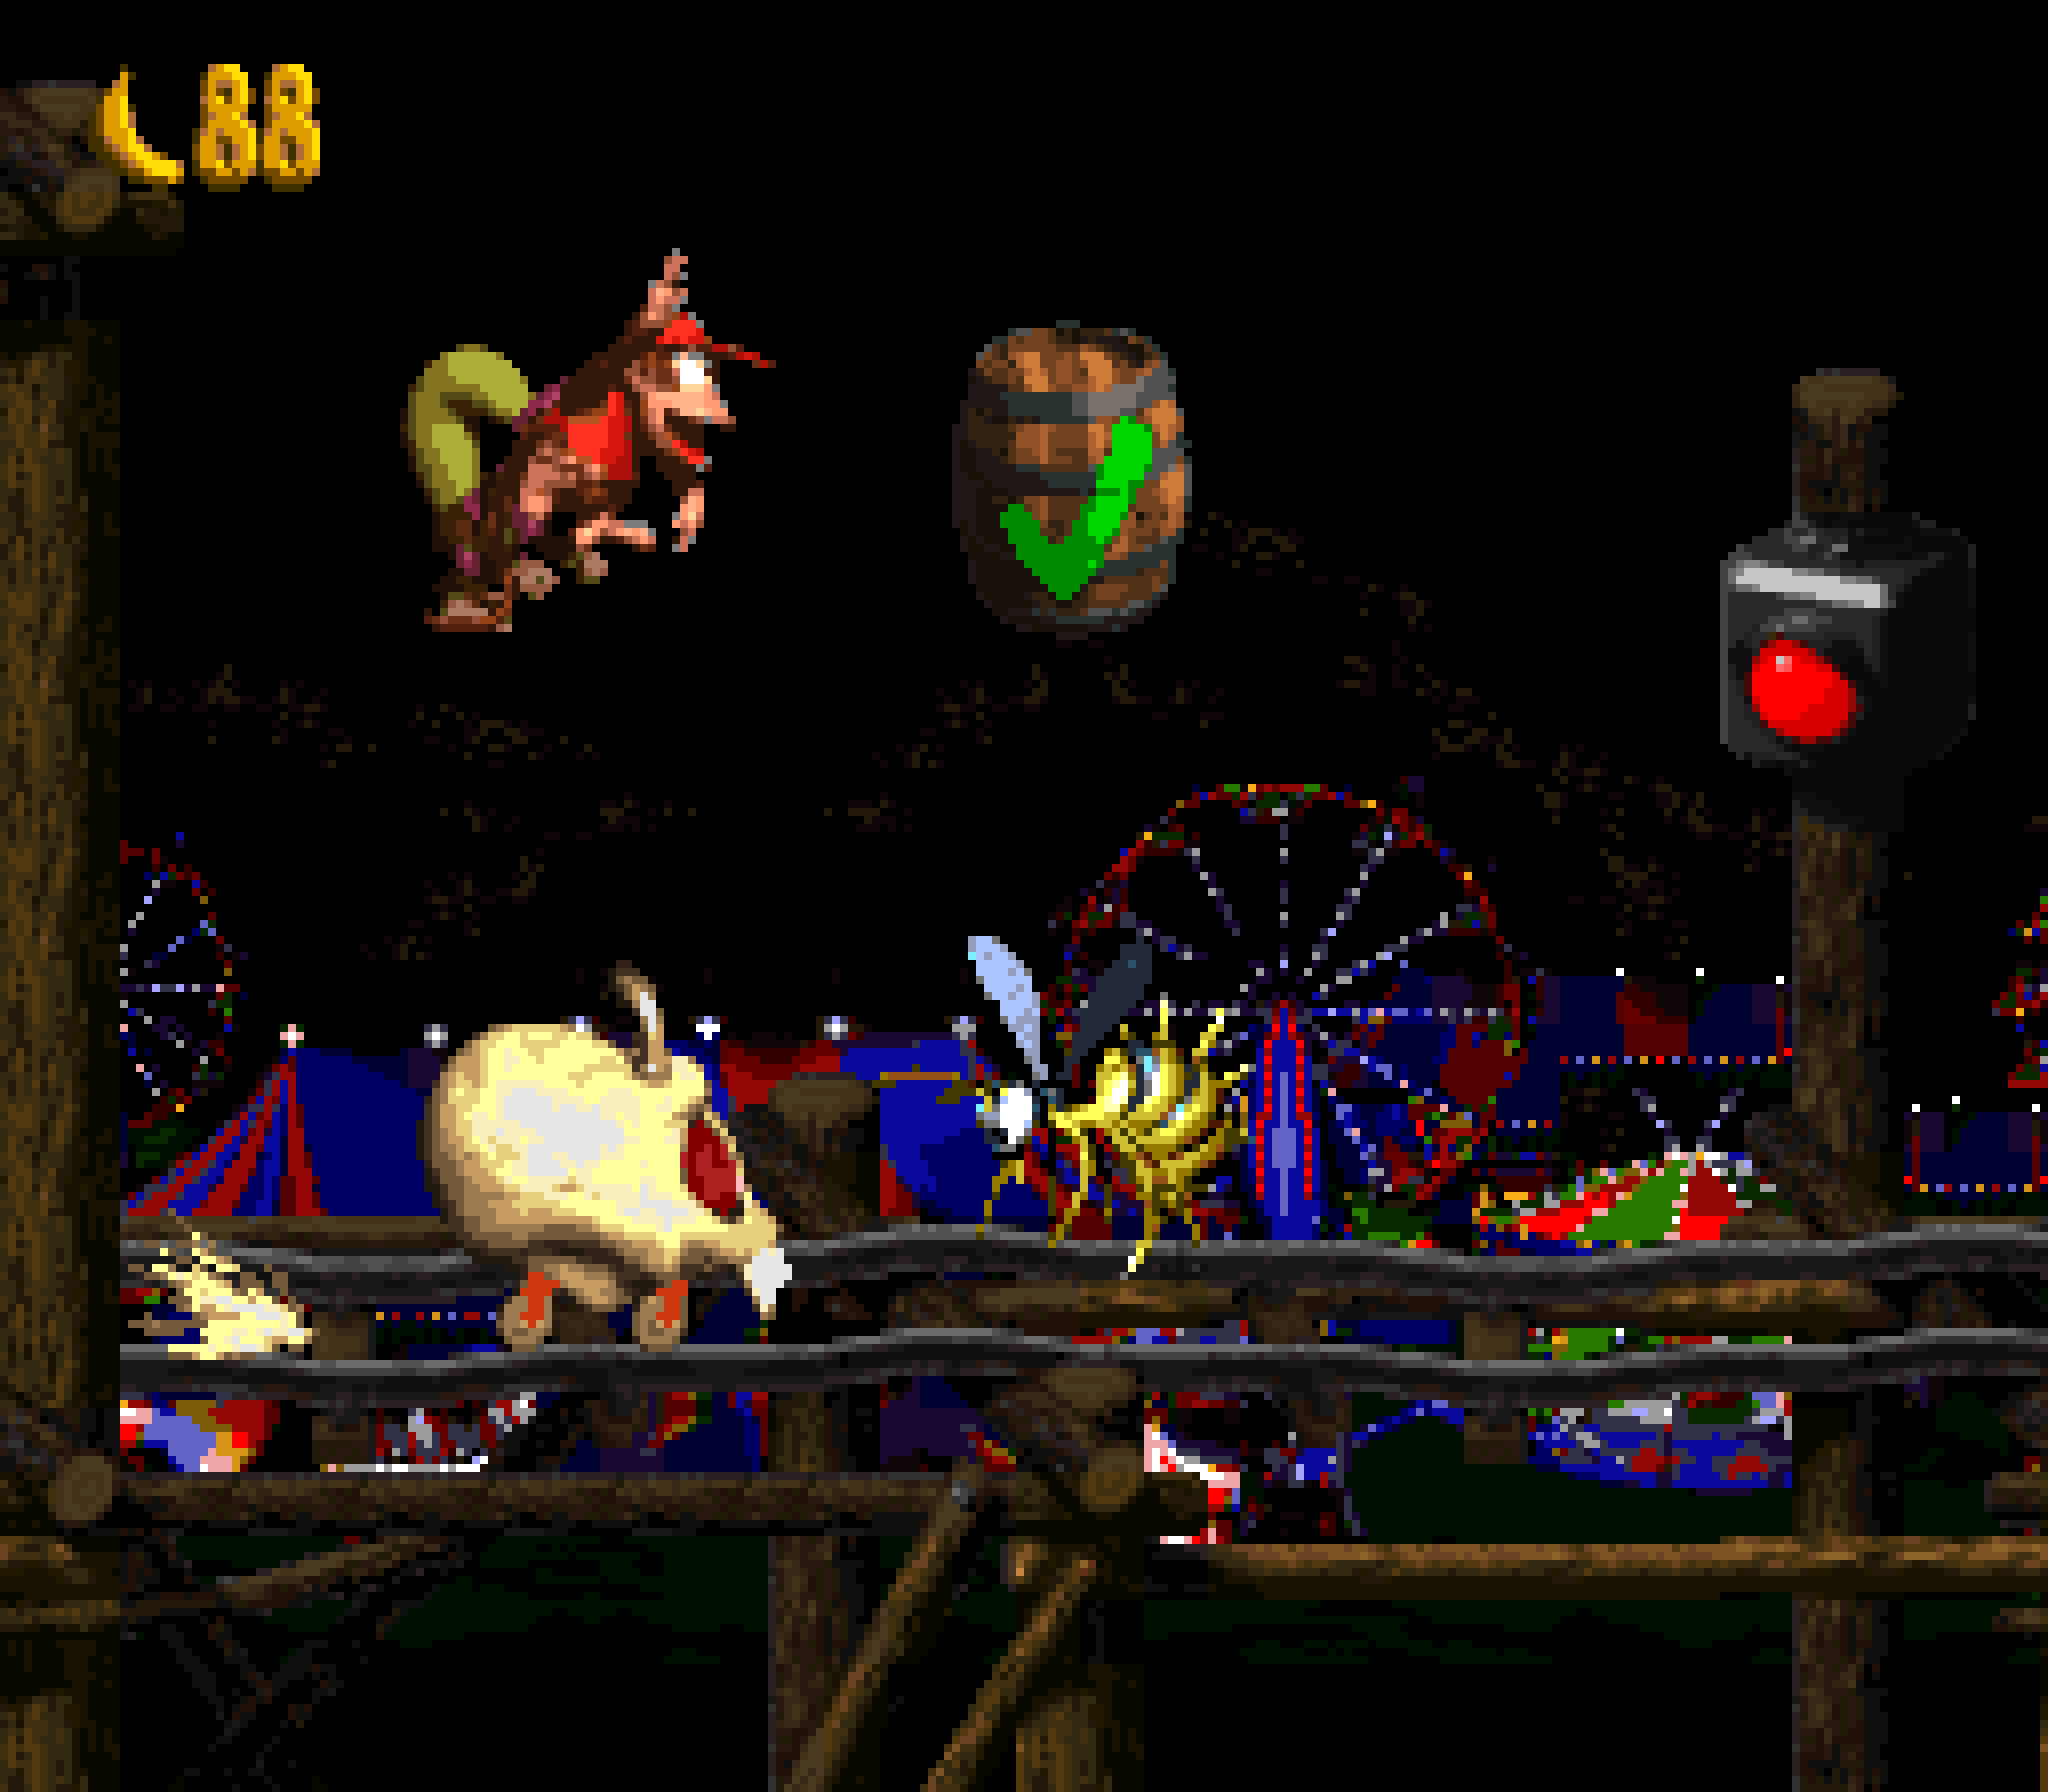
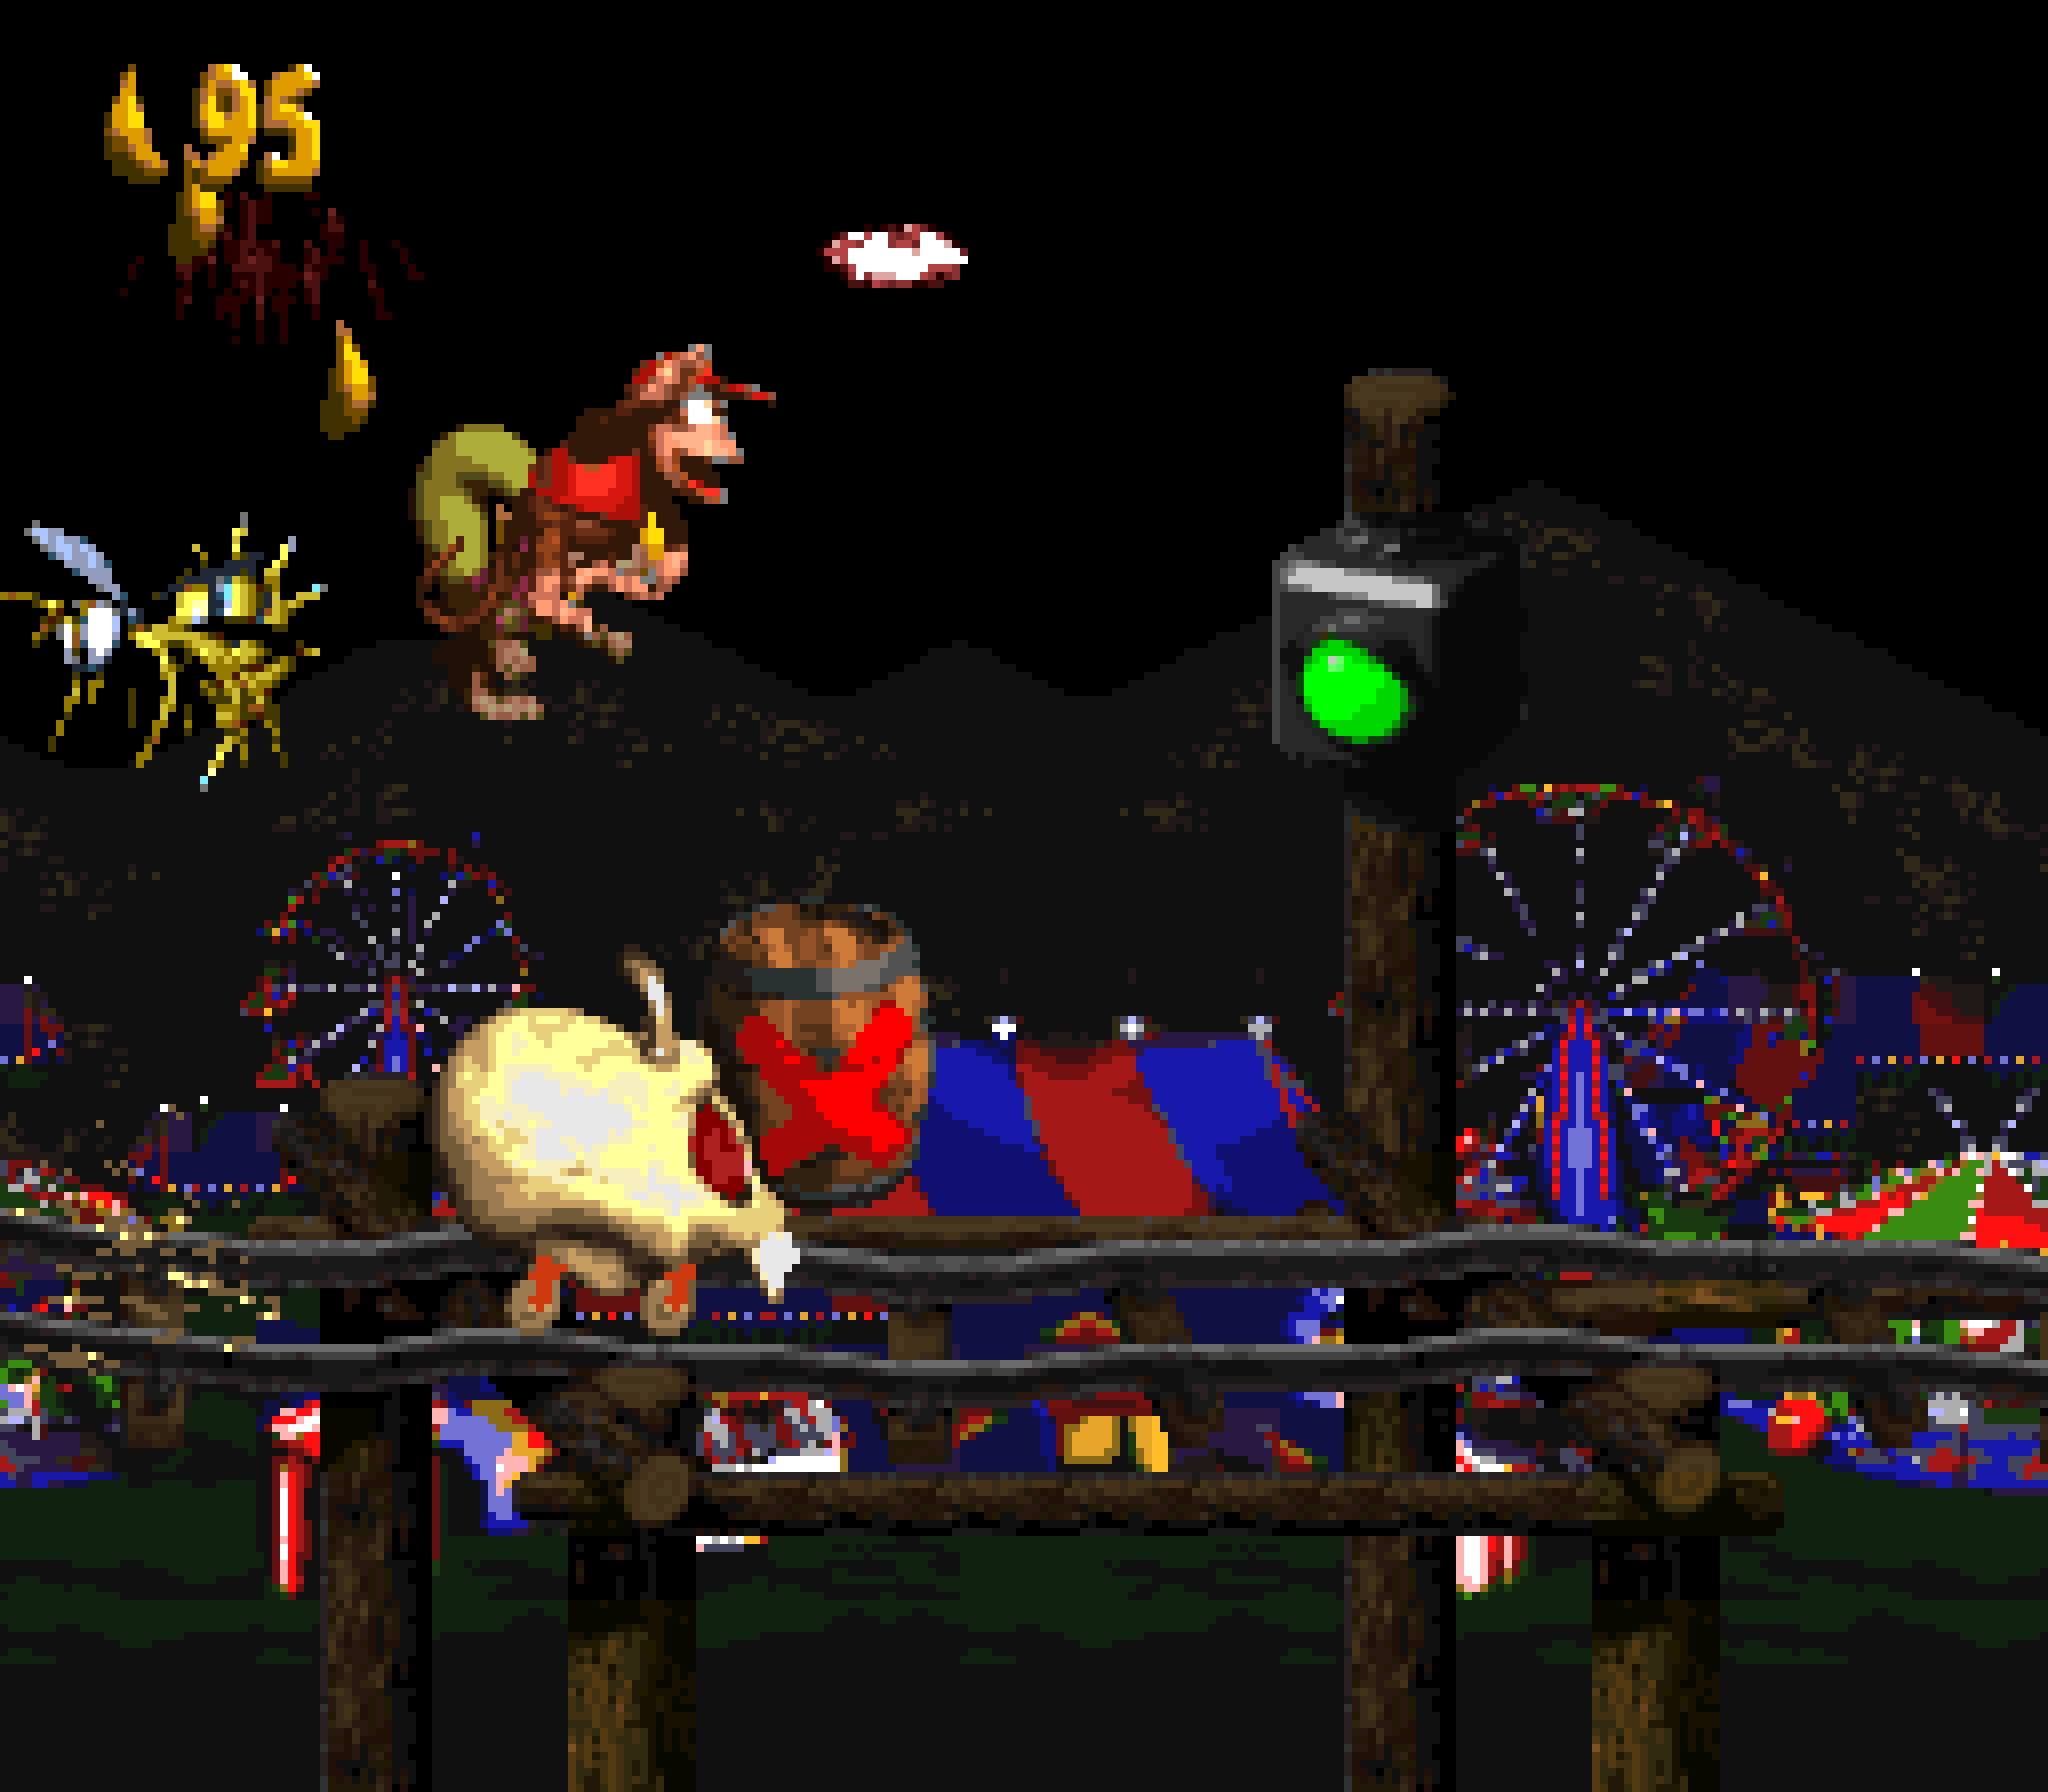
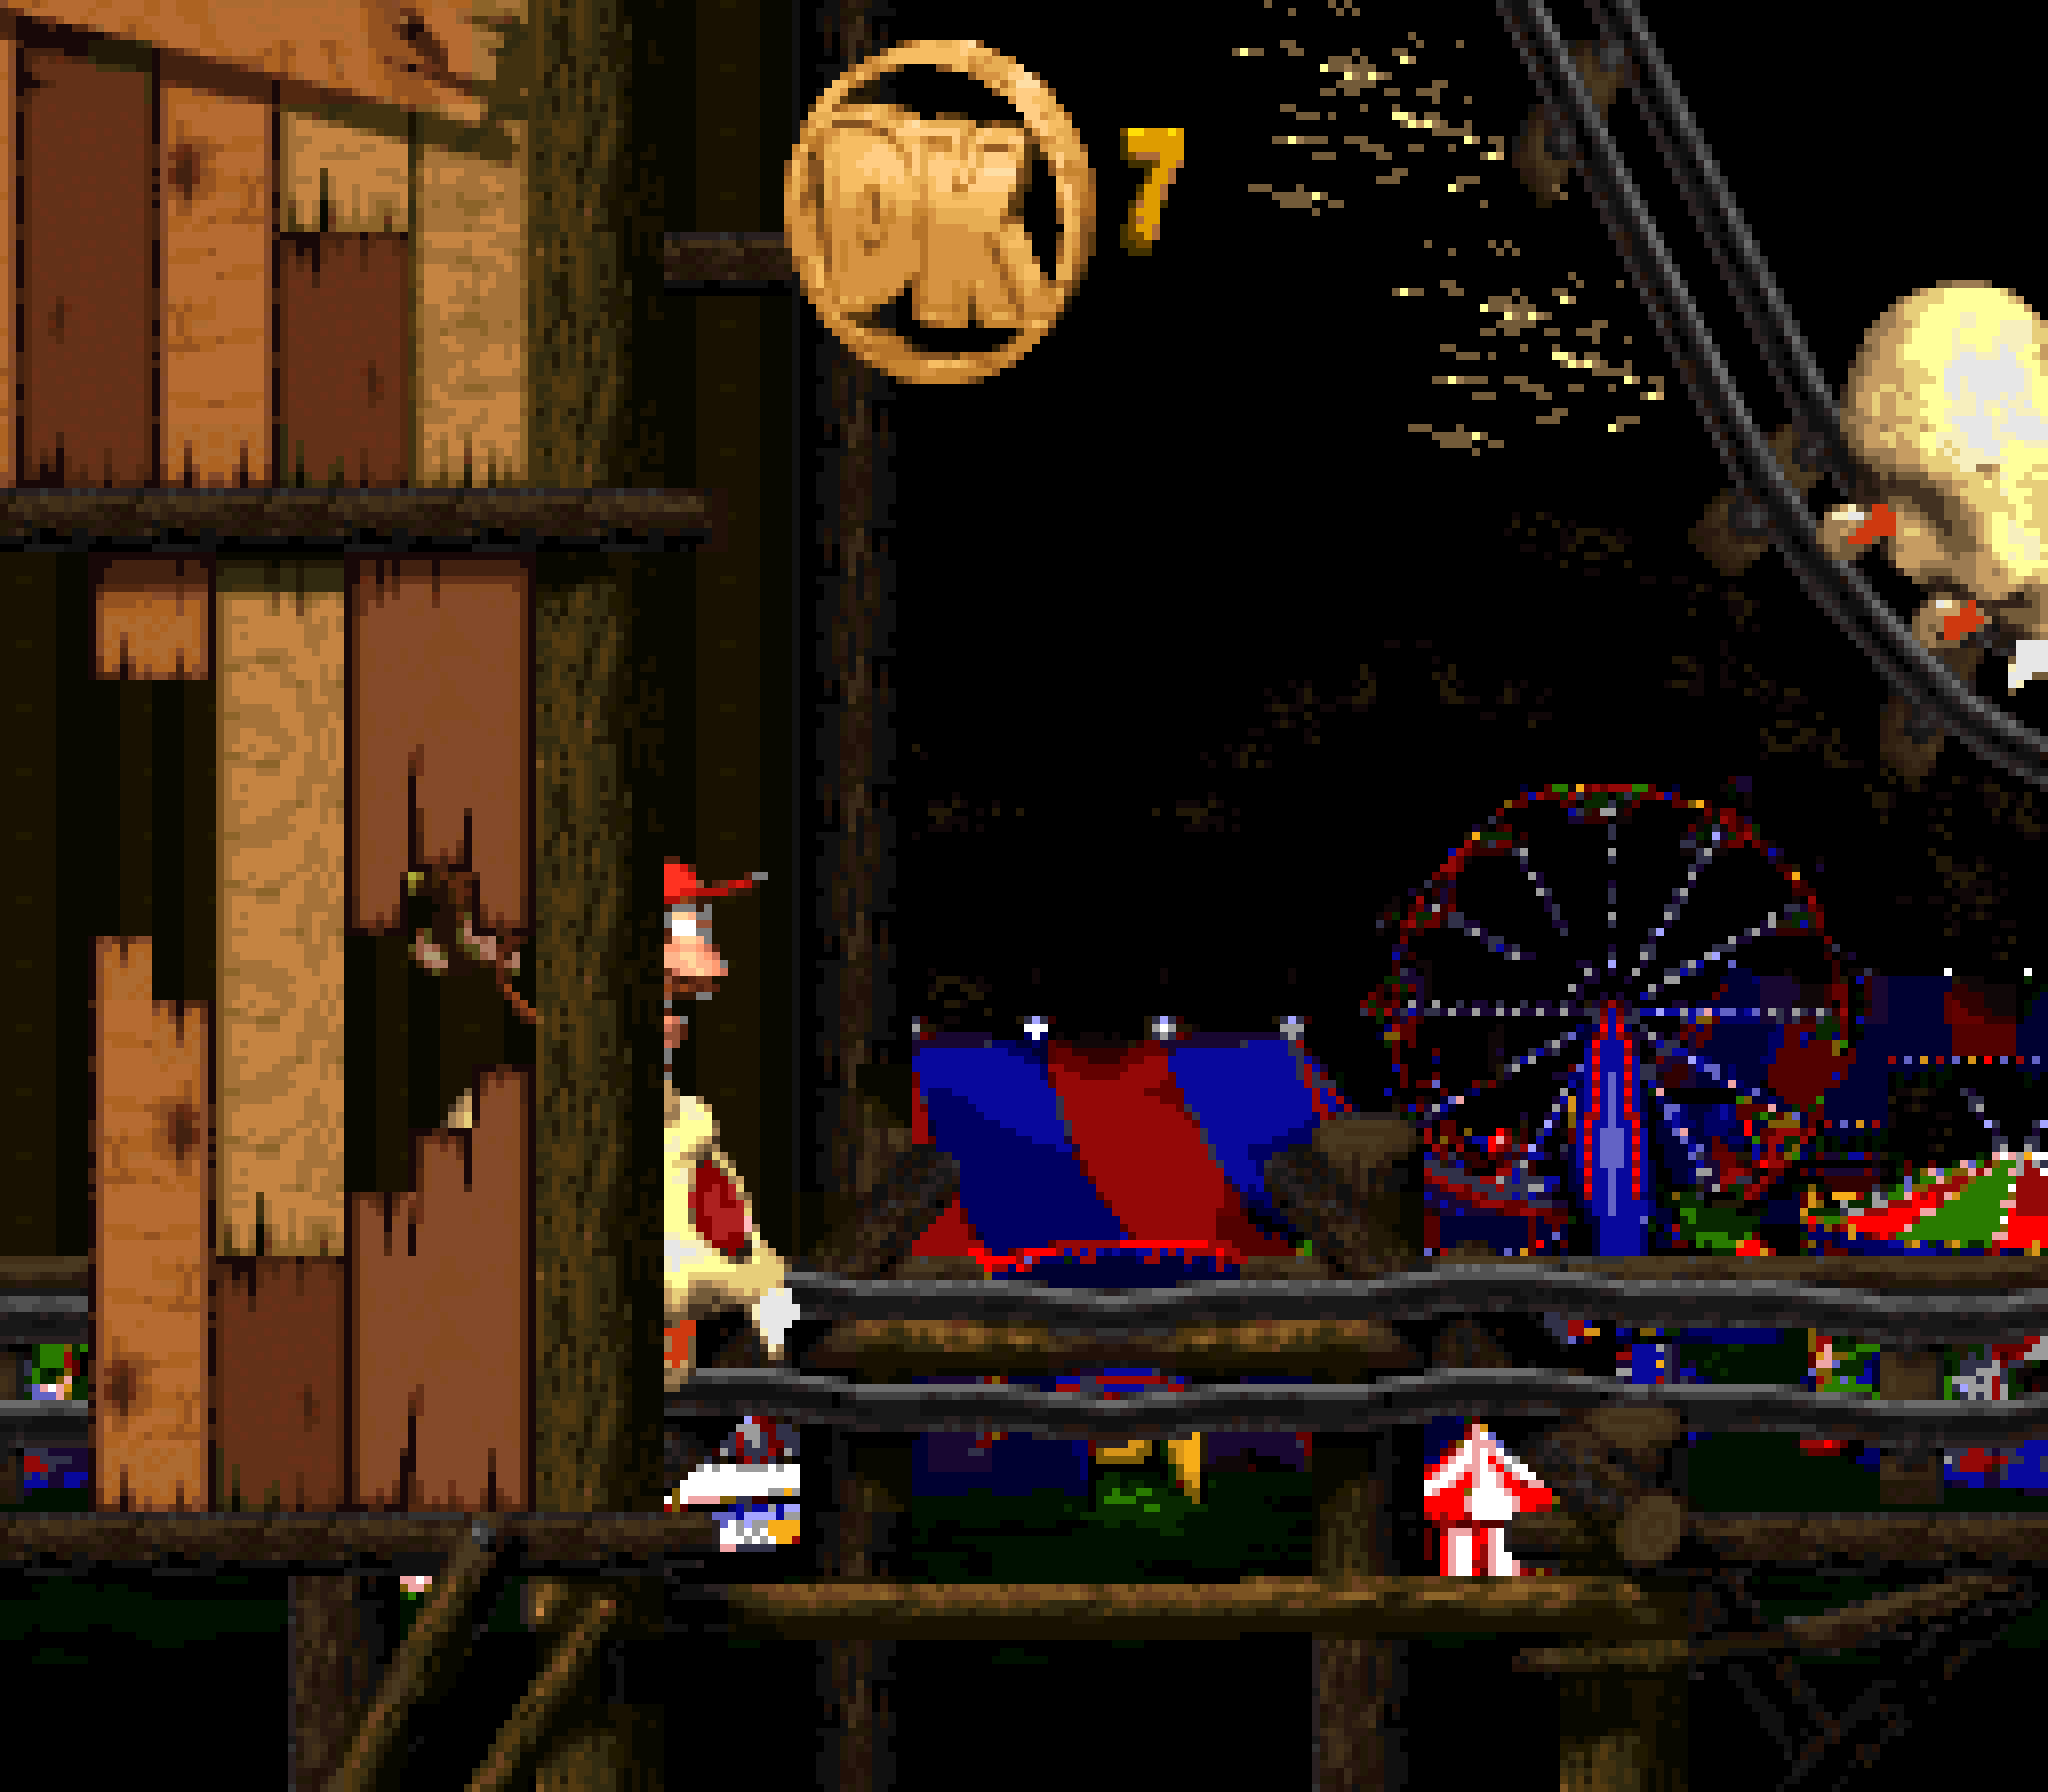
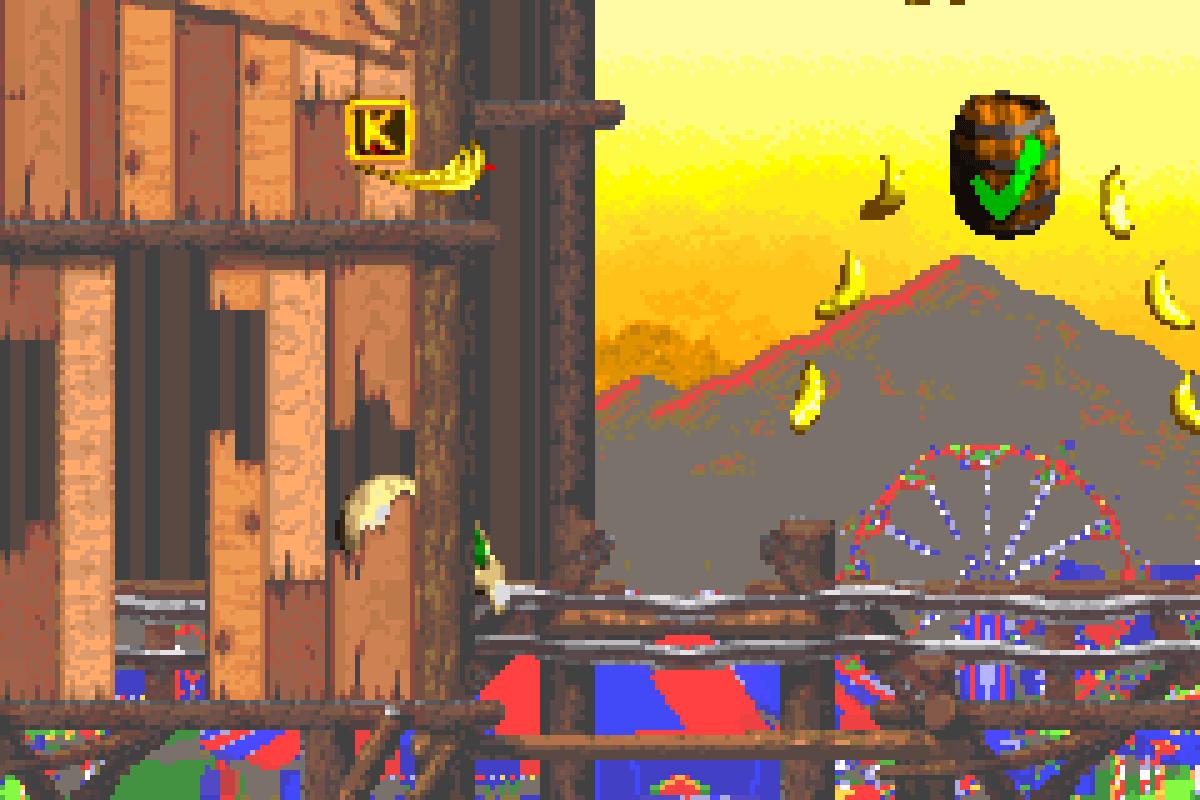
“Target Terror” has the same general gimmick as “Haunted Hall”, but with a bit less pizazz, & in a simplified fashion, to be expected from an earlier level ( albeit, only a world earlier ): before each gate there is 1 green ✓ barrel or 1 red X barrel, the former o’ which opens the gate, the latter closes the already-open gate. In either case, if the gate isn’t open when you reach it, you take a hit. Like “Haunted Hall”, these barrels are given extra telegraphing by having a banana trail arc up to the green ✓ barrel & have a banana trail under & ’way from the red X barrel.
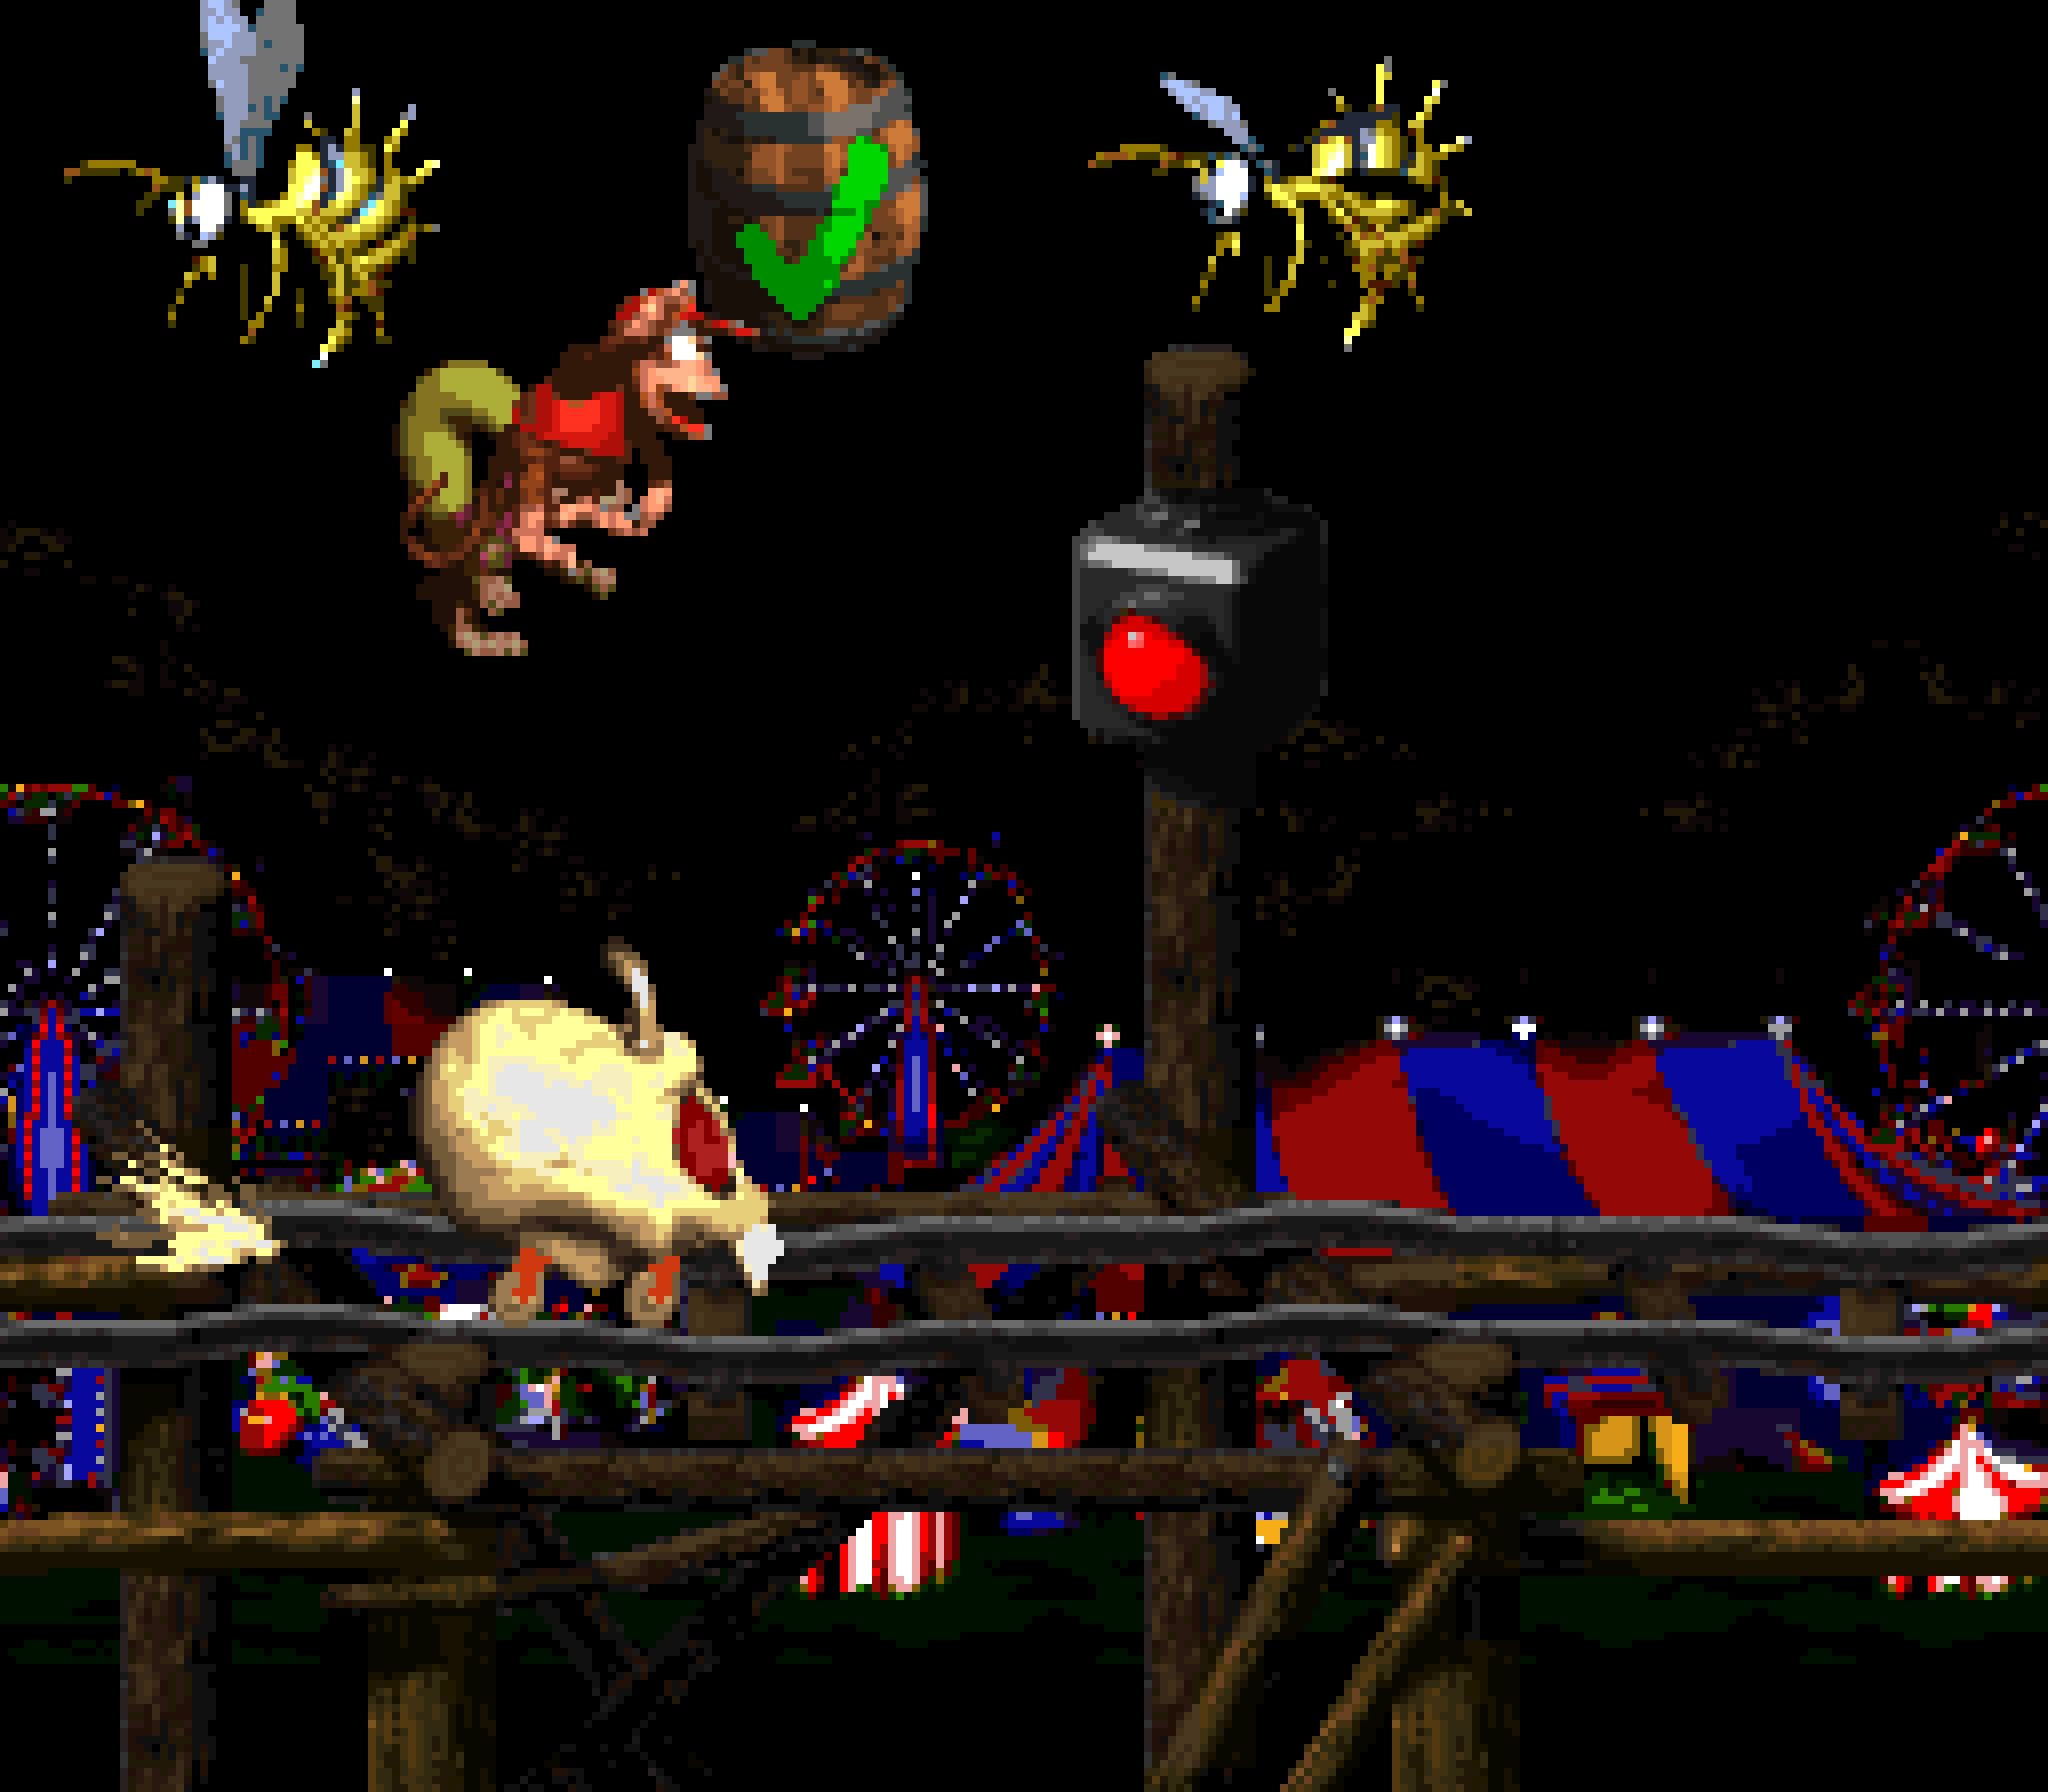
These setpieces, as expected, evolve from barrels out in the open to barrels that require jumping on enemies or dodging enemies. They don’t become as intricate as in “Haunted Hall”, which is, ’gain, fitting for an earlier level, but they do seem mo’ memorable, interesting, & varied than its ghostly sequel. My favorite setpieces are a ✓ barrel being circled by a Zinger, which seems very dangerous, but is timed so that if you jump @ the right time you’re guaranteed to hit the barrel & dodge the Zinger; a passage laid out with bananas under a Zinger just thin ’nough to allow squeezing ’tween the Zinger on the left & the X-barrel on the right; a ✓ barrel surrounded by Zingers on both sides up in the air, requiring a precisely timed jump; & a ✓ barrel low-down near the pit just before the next cart, requiring you to jump a li’l later, while in the midst o’ falling. Note the mo’ interesting use o’ Zingers than just having you jump o’er them, like in “Haunted Hall”.

In addition to these setpieces, there is a unique enemy, Klank, who rides ’head o’ you & throws barrels back @ you, which you need to jump o’er. ( These jumps were nicely telegraphed with floating bananas @ just the right places ). The 2nd o’ these Klanks is used for a particularly clever bonus hiding place: carefuleyed players will notice him fall onto a lower platform @ the next hole &, if they fall with them, will find an alternate track leading to the bonus opening.

The bonus itself is similar to “Haunted Hall”’s 3rd bonus, where you just jump o’er many gaps on much shorter tracks, but not as fast as “Haunted Hall”’s, & thus less difficult. Since the slight speed boost is barely noticeable, it’s 1 o’ the few instances where I think “Haunted Hall” did it better than “Target Terror”.
The 1st bonus is just a bonus barrel up in the air, which I s’pose could be easy to miss if you’re not paying attention. It’s not the best placement, but I think all the better bonus ideas were taken by the other cart levels; & if any place should get the most basic bonus location, it should be the 1st. Like “Toxic Tower”, this bonus being a bramble area acts as a sneak peek @ the next level, “Bramble Scramble”, ’cept this is e’en moreso, as you’re using Squawks to defeat enemies with eggshots, which is what you’ll be doing in “Bramble Scramble”, too, acting as a bit o’ a warmup.

The hero coin is cleverly hidden up in the air ’hind 1 o’ the many dilapidated wooden tunnels strewn thruout the track, seemingly as mere decoration. You can just barely see it spinning by its corner popping out from the broken fringes.
In fact, the designers must’ve been so proud o’ this secret idea that they reuse it for the feather, but earlier in the stage — which, you may recall, is also how “Rickety Race” hides its feather. While I thought ’twas clever there, since its hero coin was hidden differently, here it feels too repetitive & redundant.
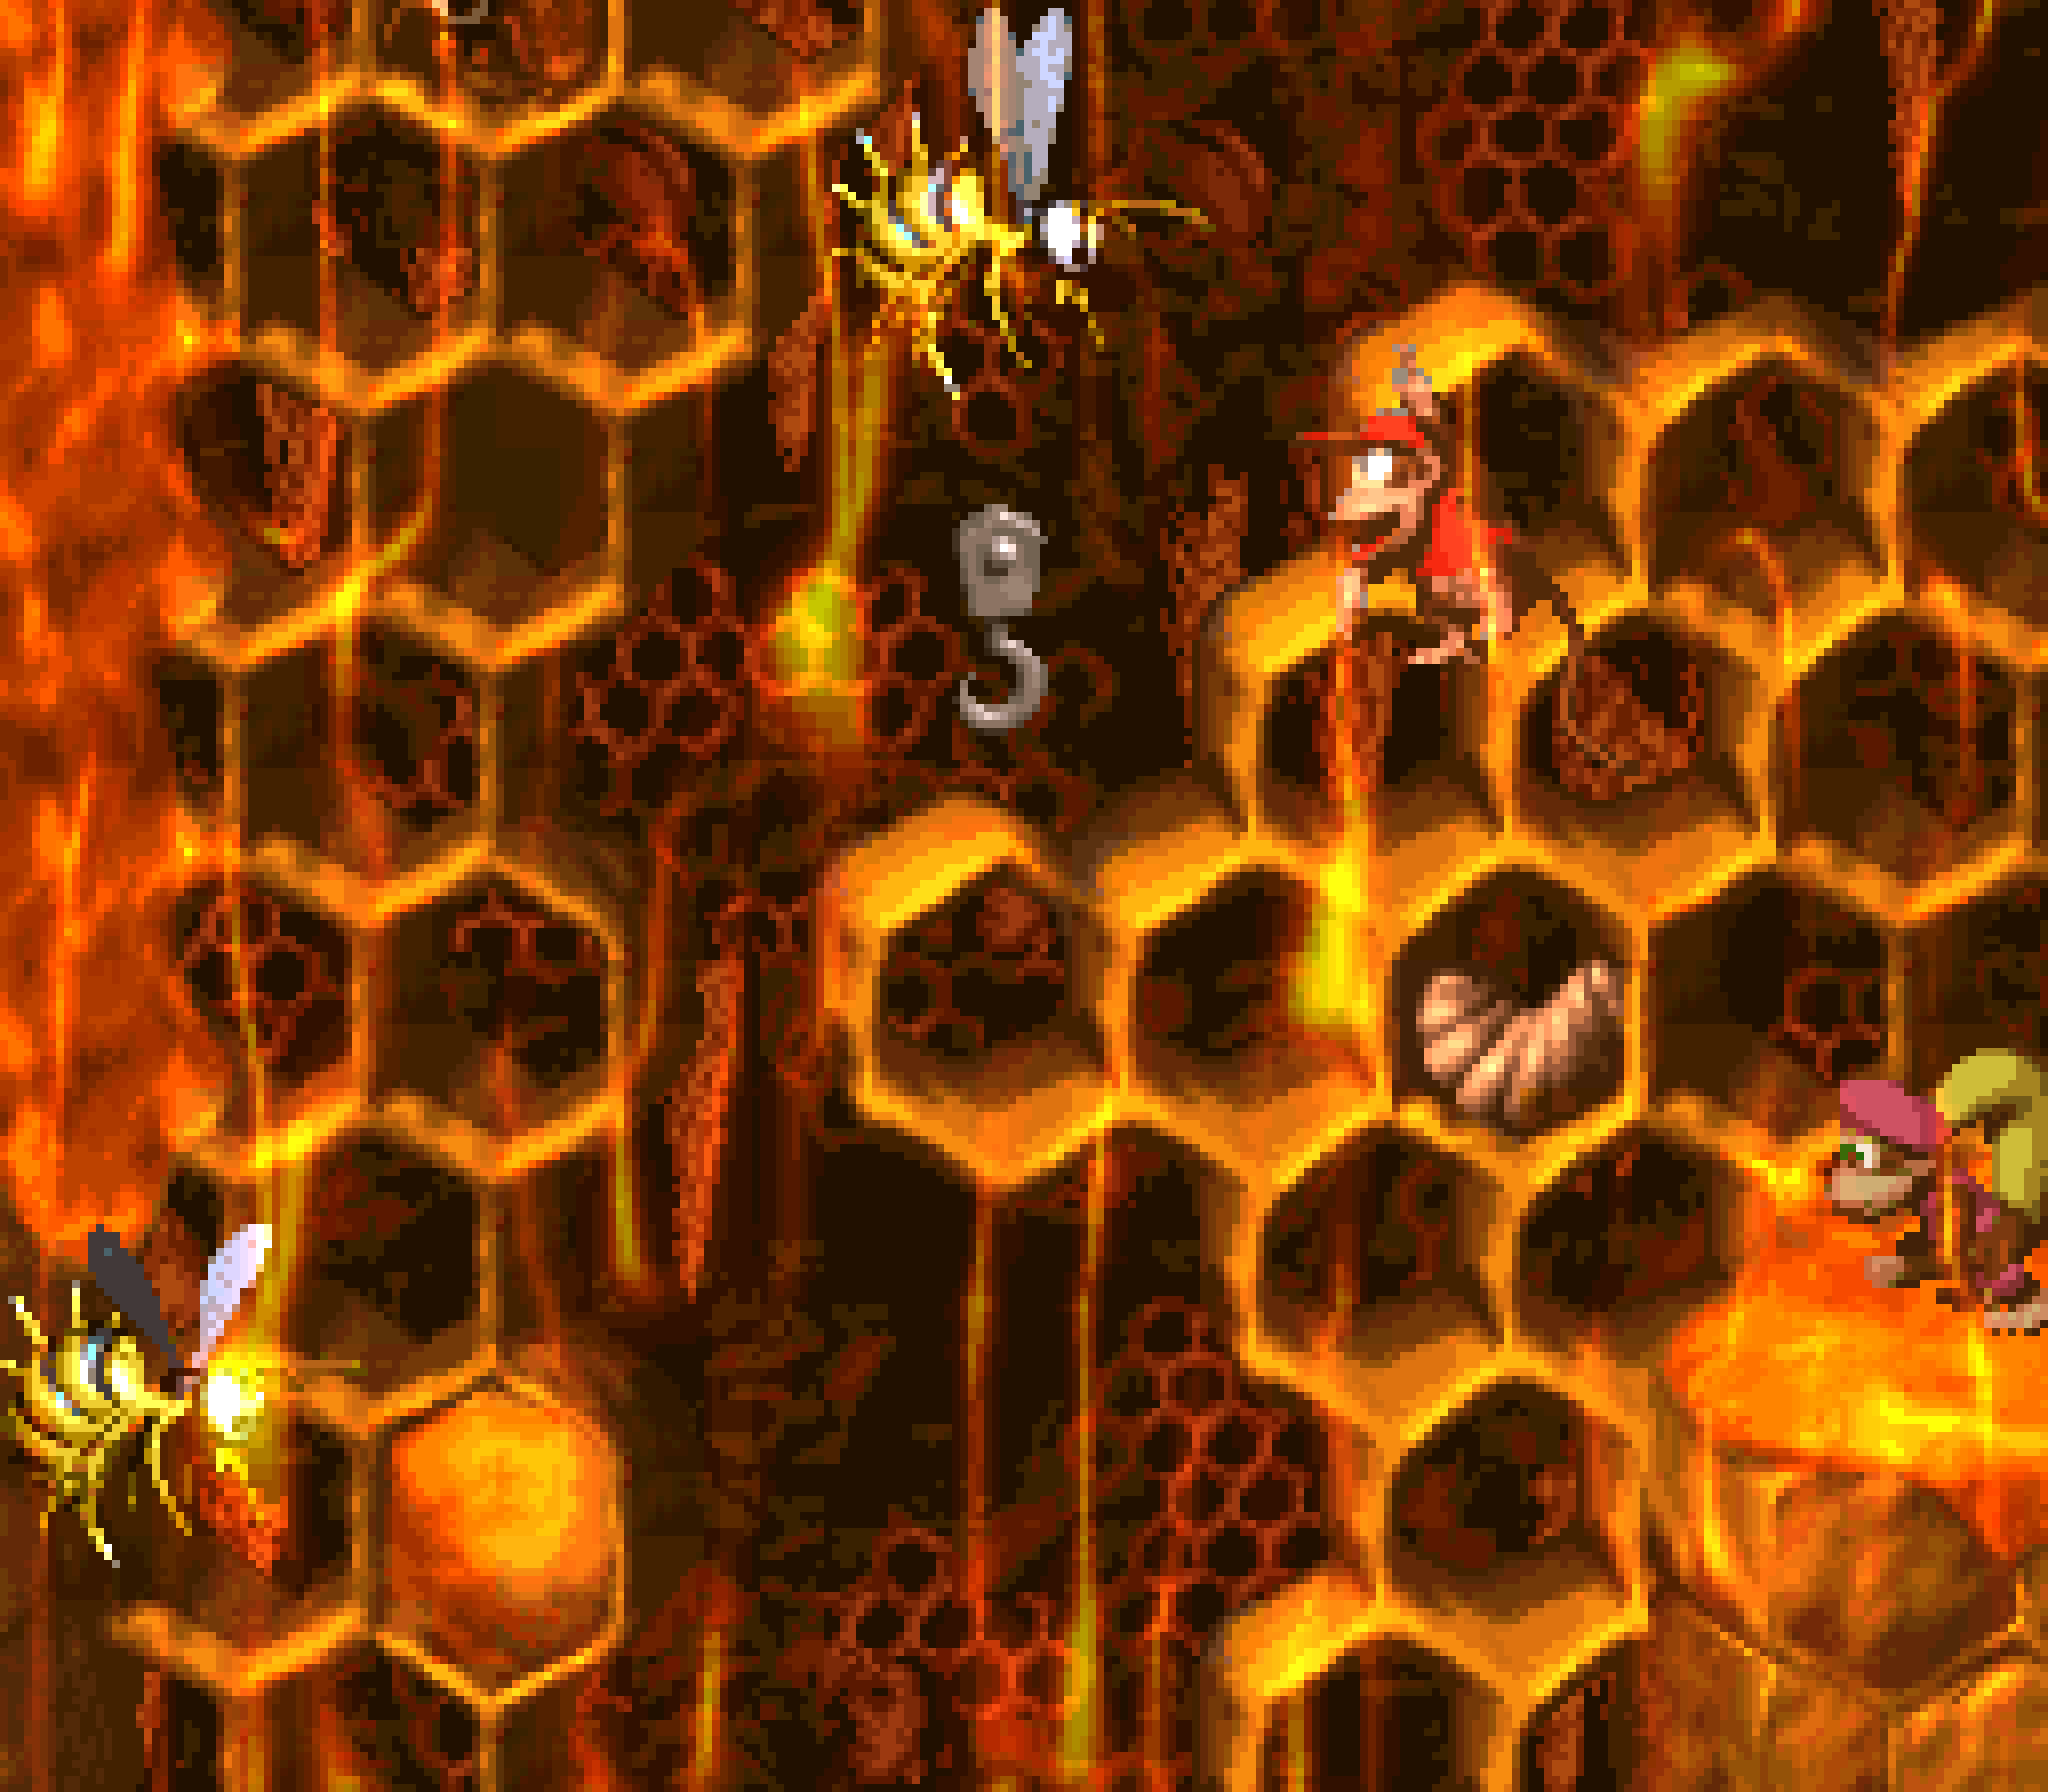
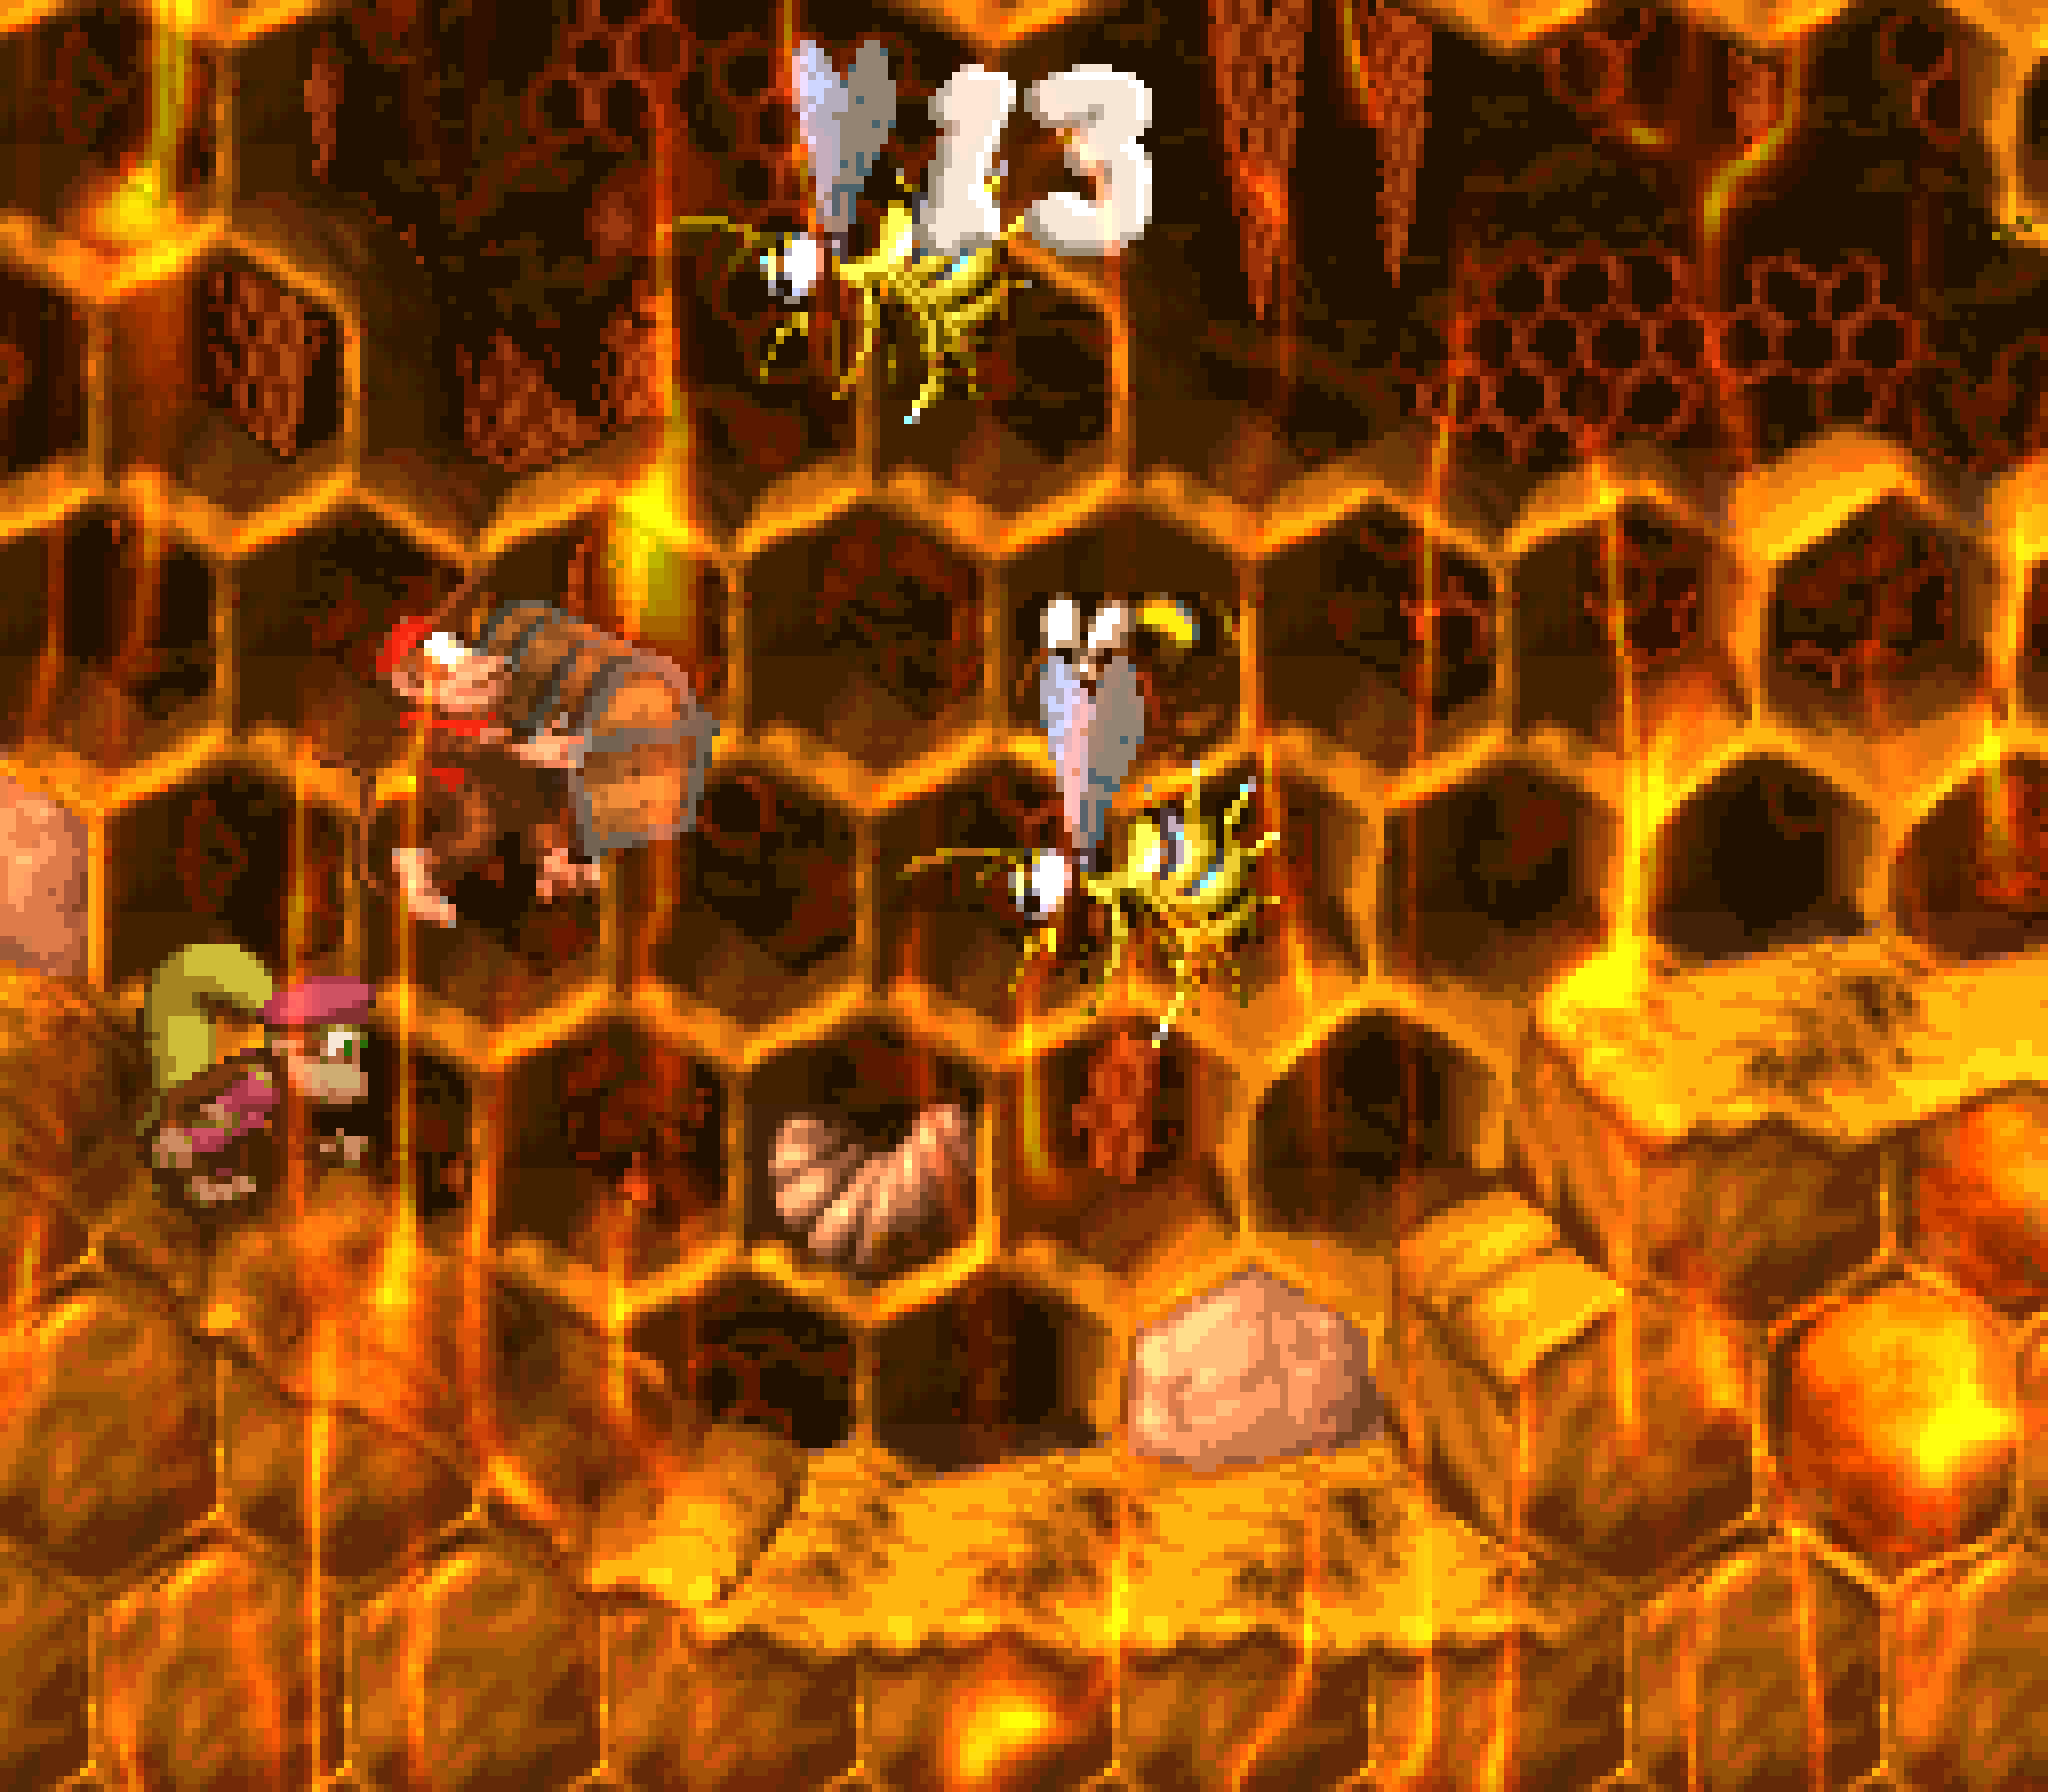
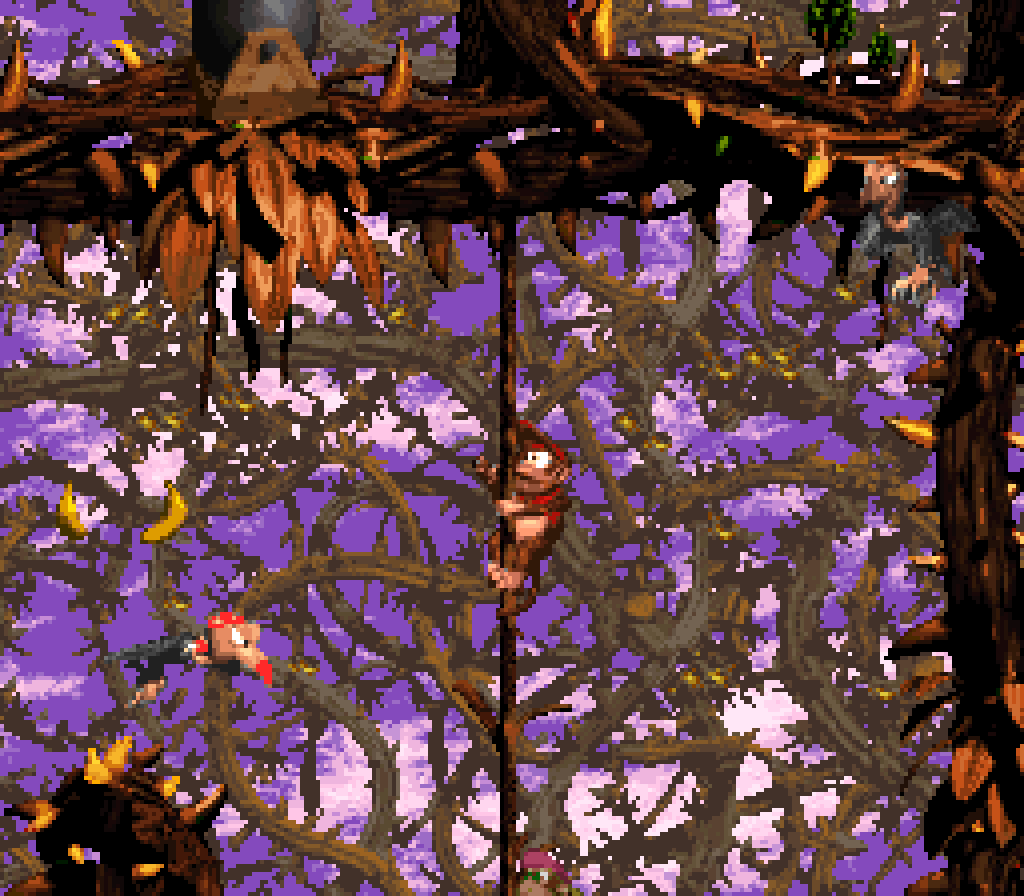
3. Hornet Hole
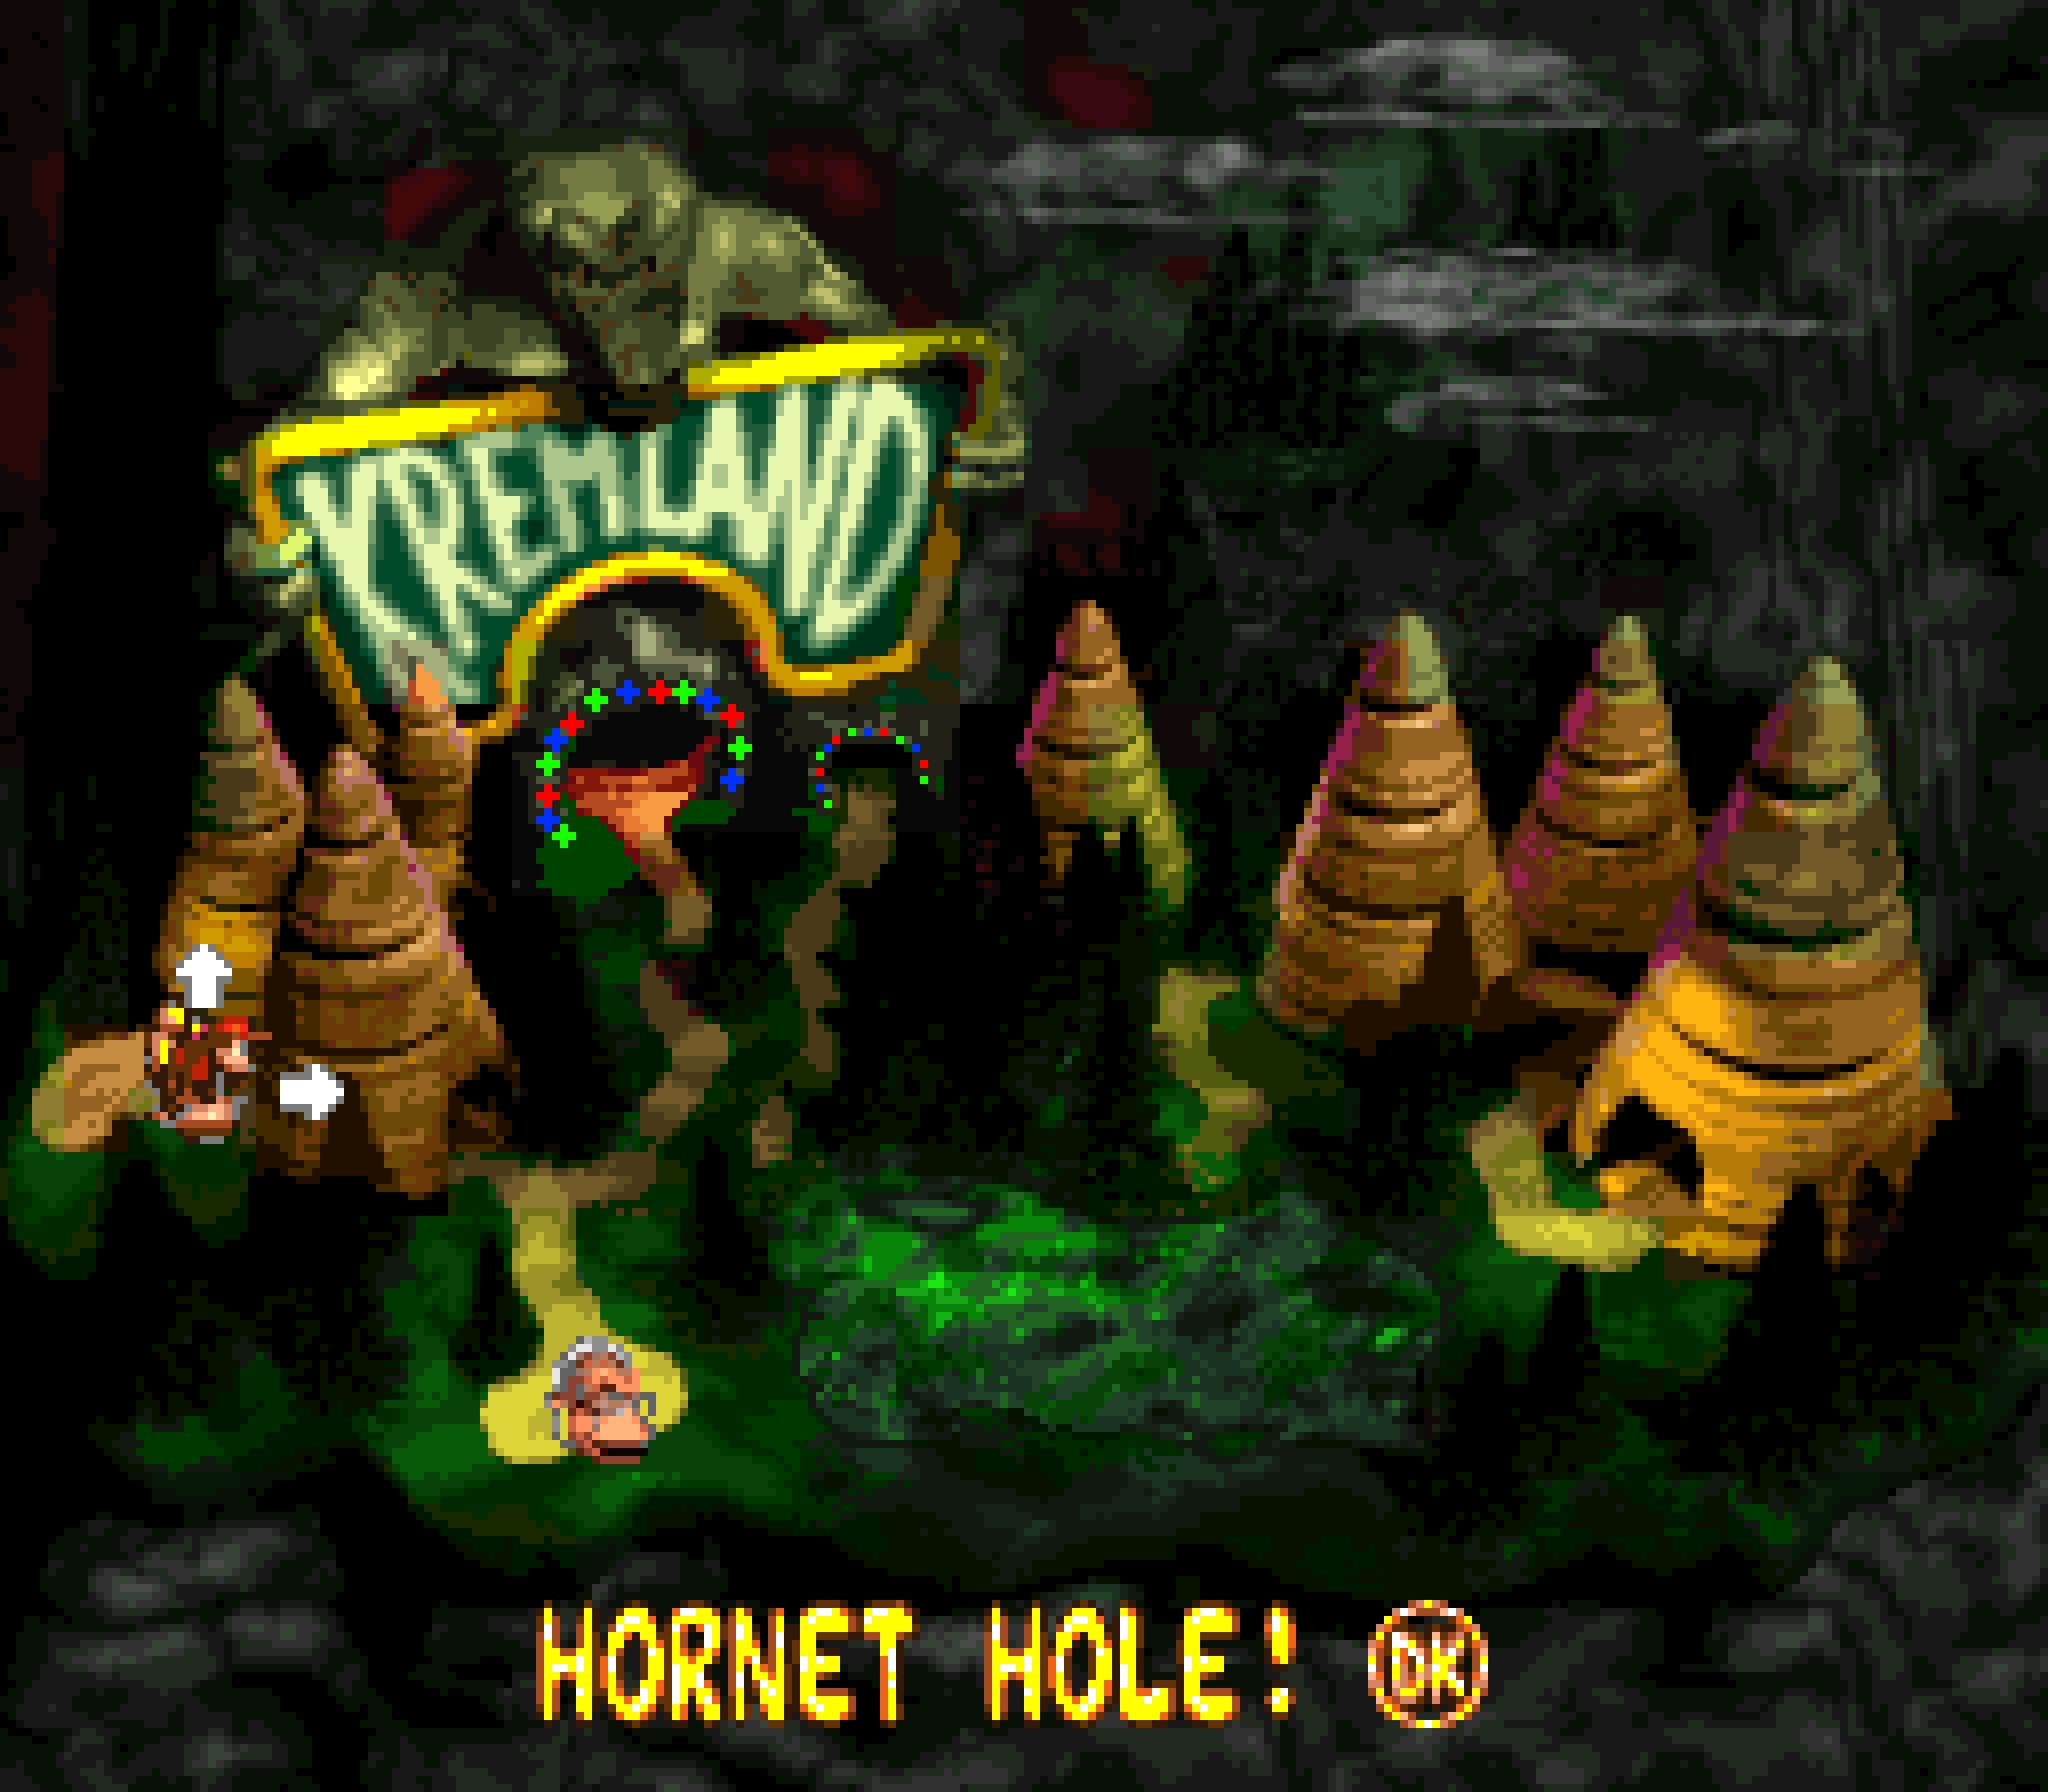
This level has e’erything: its sticky honey gimmick that’s new but still intuitive, integrates into the aesthetic theme perfectly, & is multilayered, acting as both a detriment by making you stick to floors & stopping you from rolling or e’en walking without jumping, & acting as an advantage by letting you climb walls covered in honey; a much mo’ interesting snaking pathway than the straight left-to-right path o’ most levels; & the 2nd half almost acts like different levels based on whether or not you get ( or keep ) Squitter.
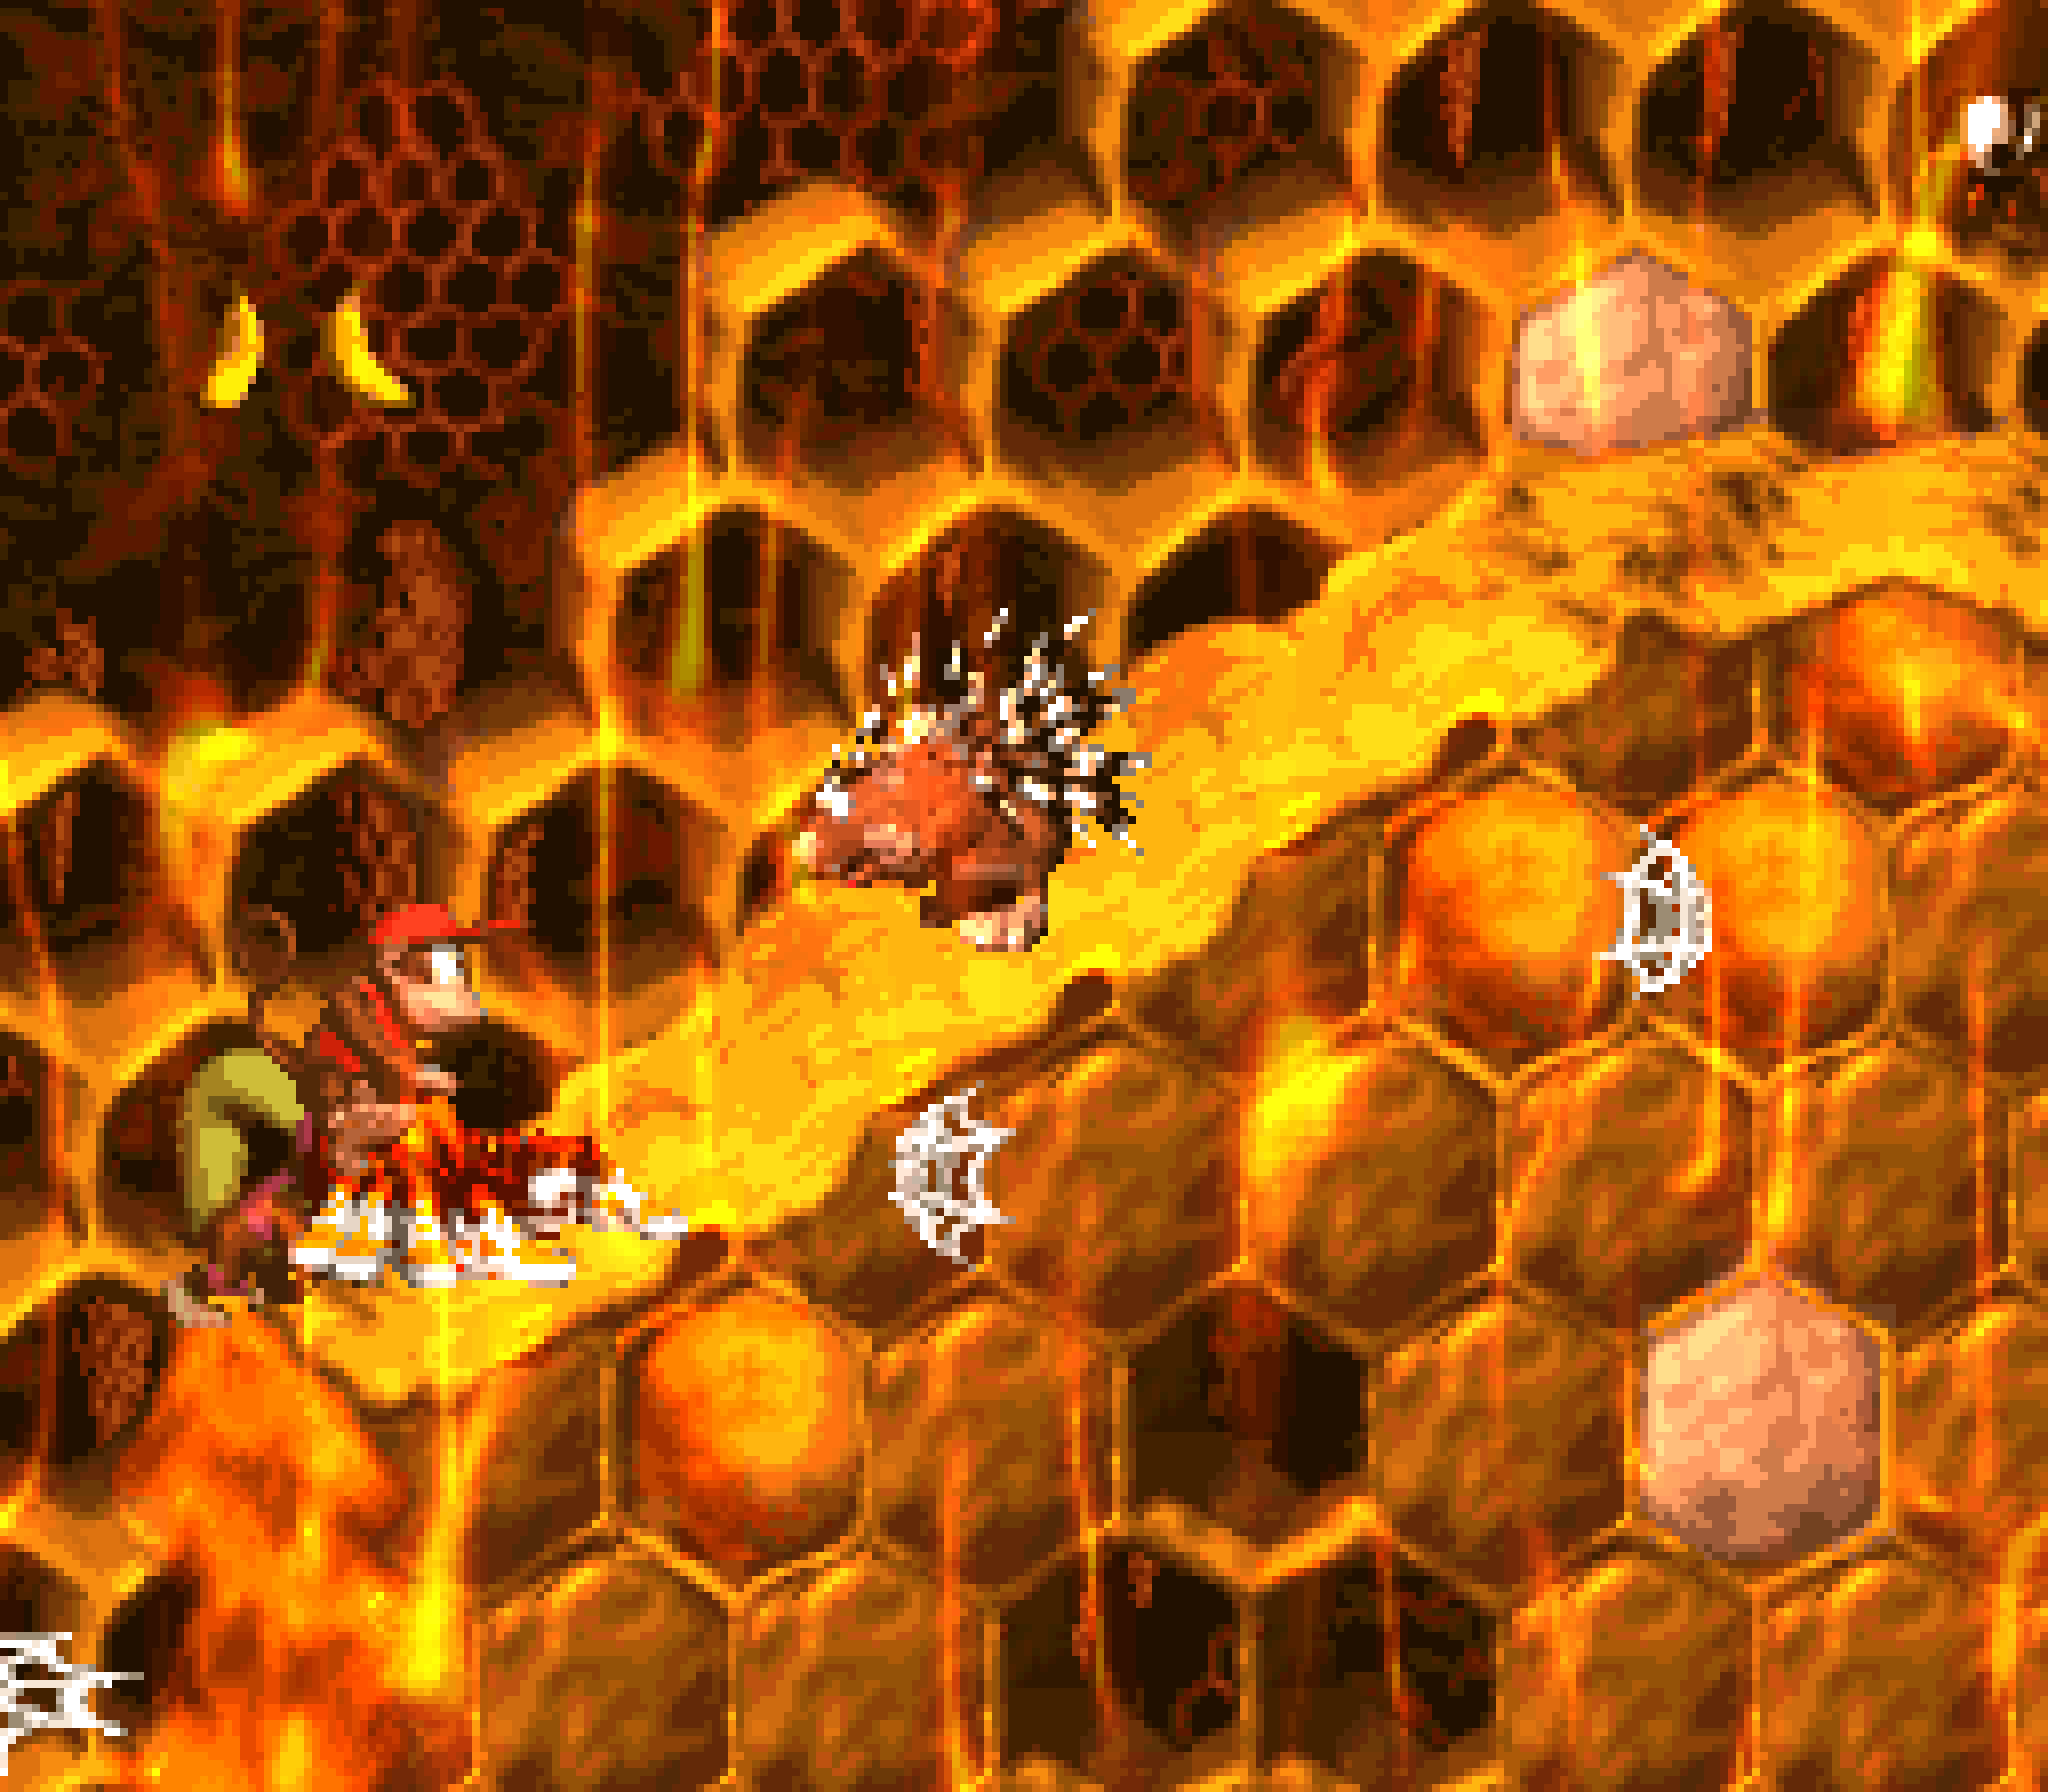
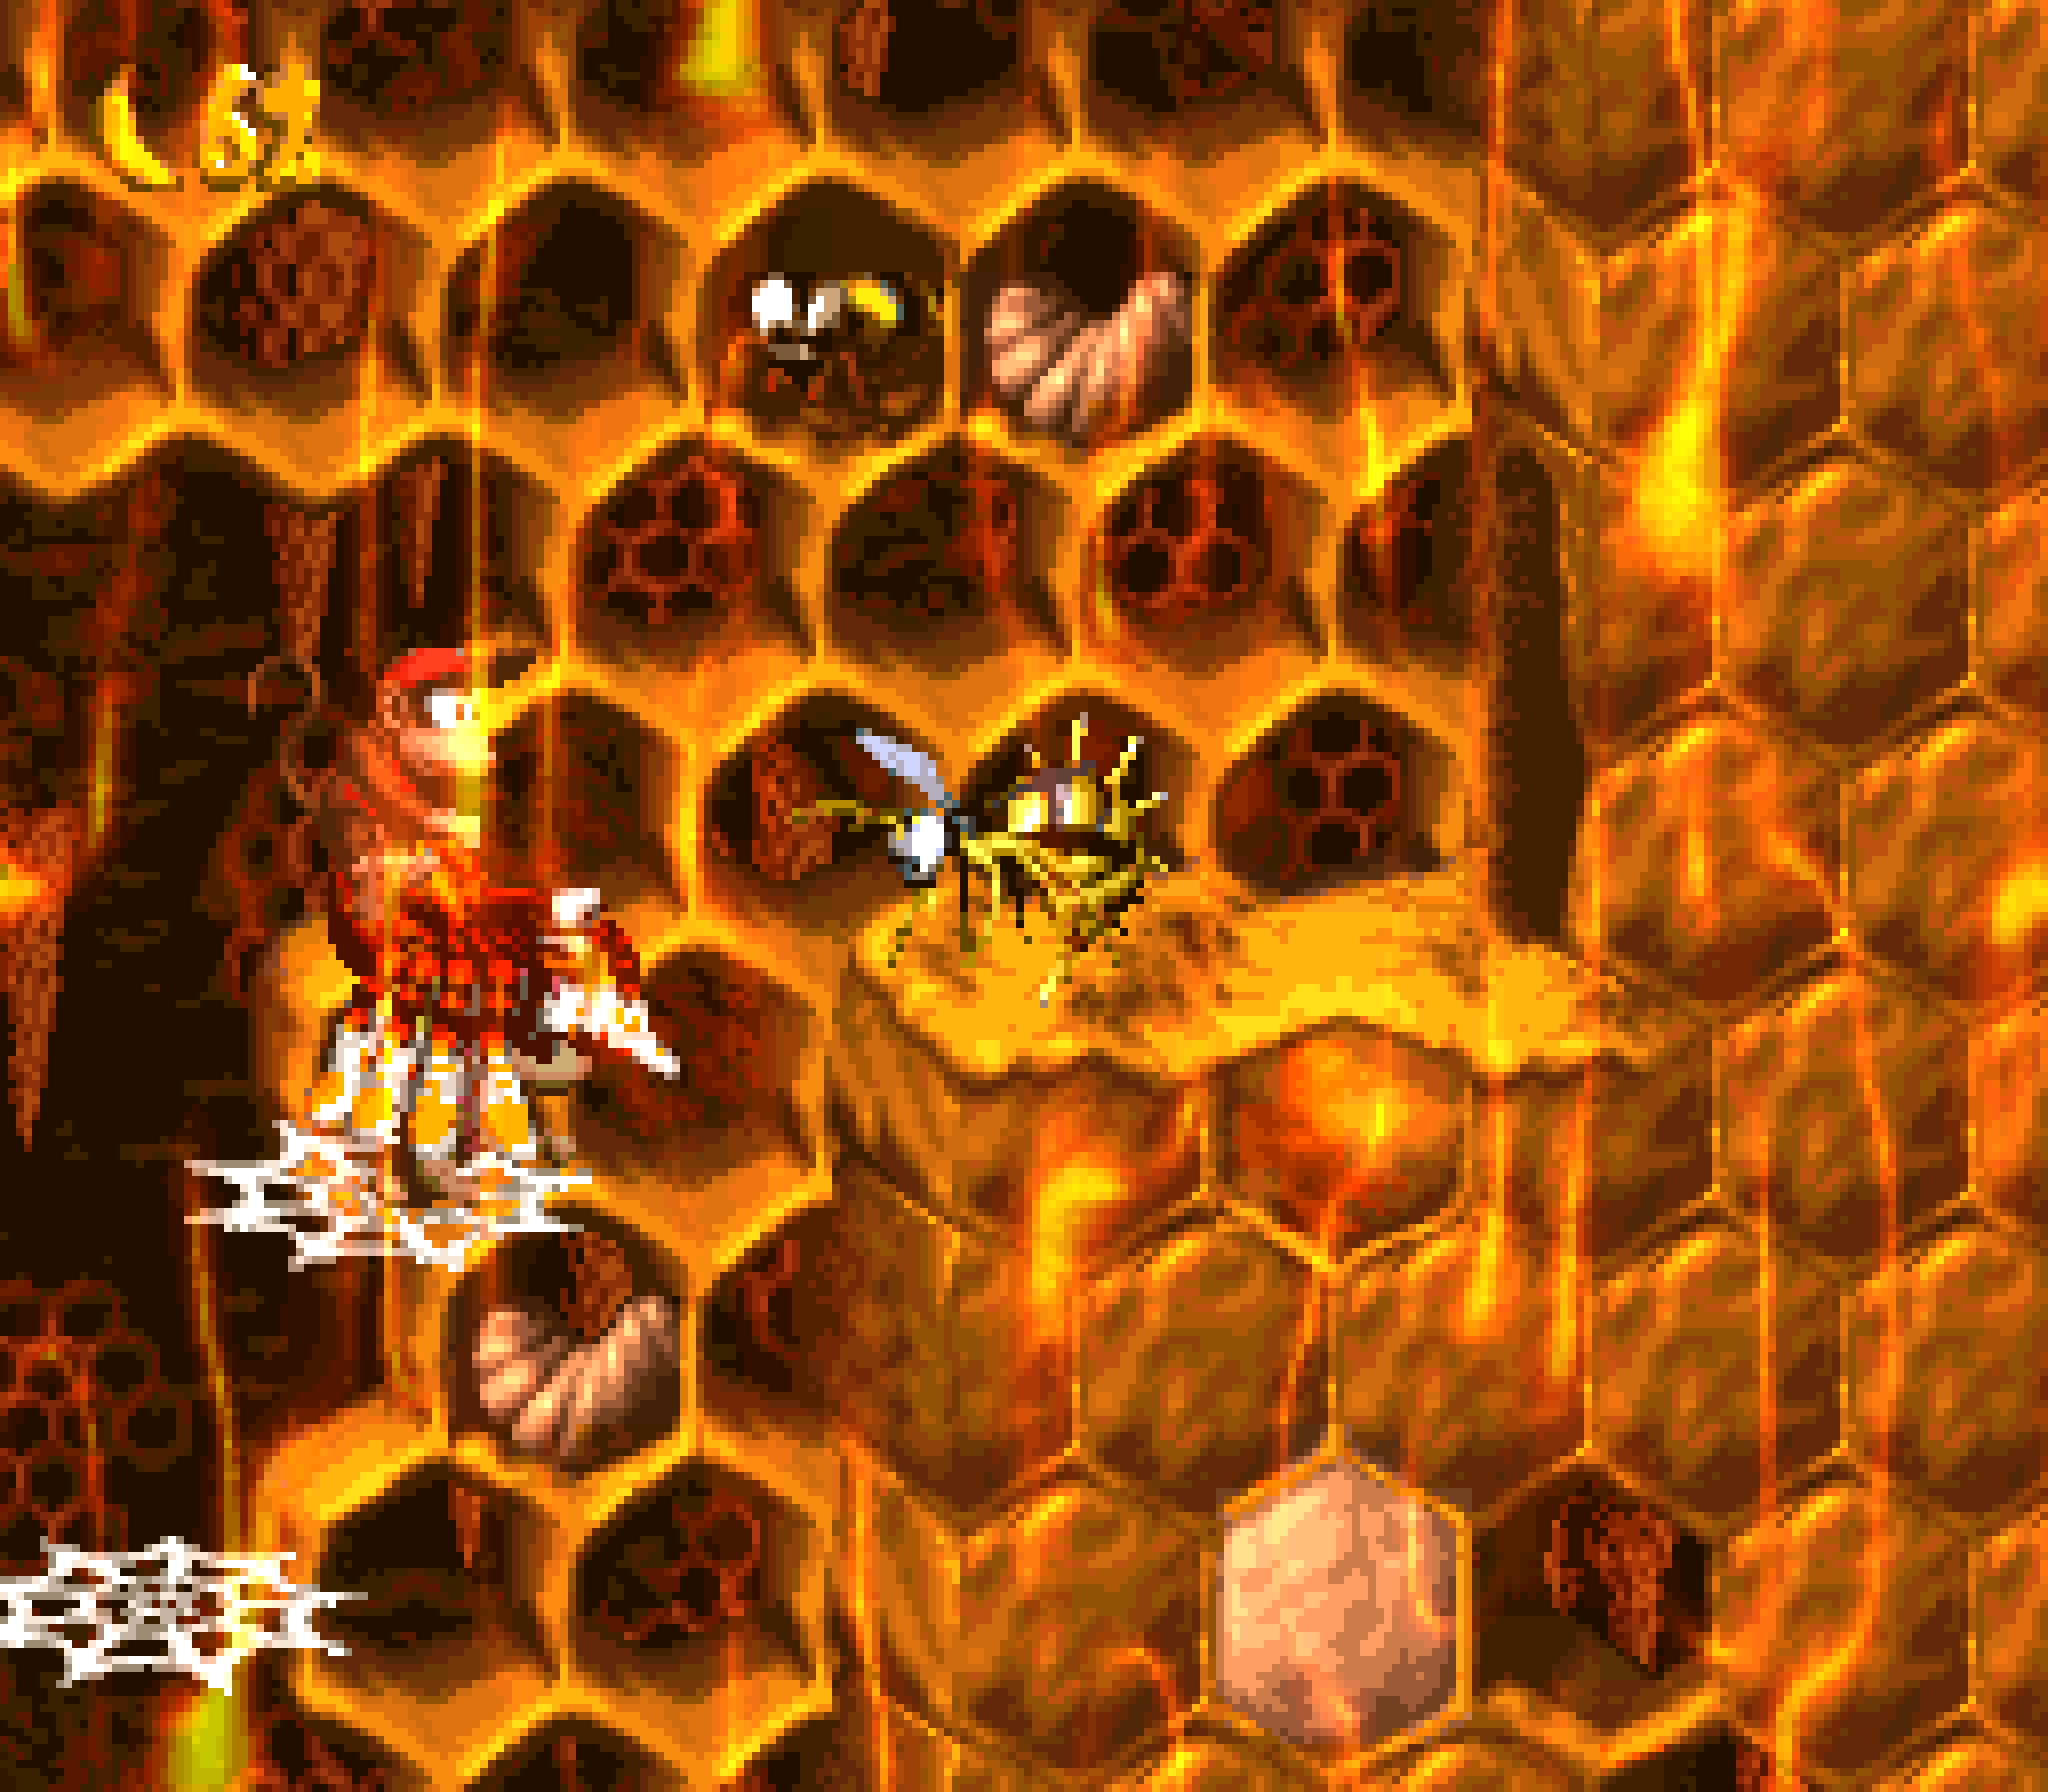
Granted, the 1 problem with the latter is that it makes it easy to skip some setpieces that are clever with just the Kongs, such as various hooks with Zingers moving in different patterns round them; the short steps downward with Spinies, whom you can’t roll into, as these steps are covered in honey; & 2 places where you have to deal with Krook & his boomerang hooks while on sticky honey, 1st going horizontally, & 2nd going upward. With Squitter, the 1st is trivial & the 2nd is outright skipped using an arrow barrel accessibly by defeating the Zinger in the way o’ it with Squitter’s webshot.
That said, the 3rd Krook up on a ledge is still an interesting challenge, e’en with Squitter using their webshots to defend themself while climbing web platforms.
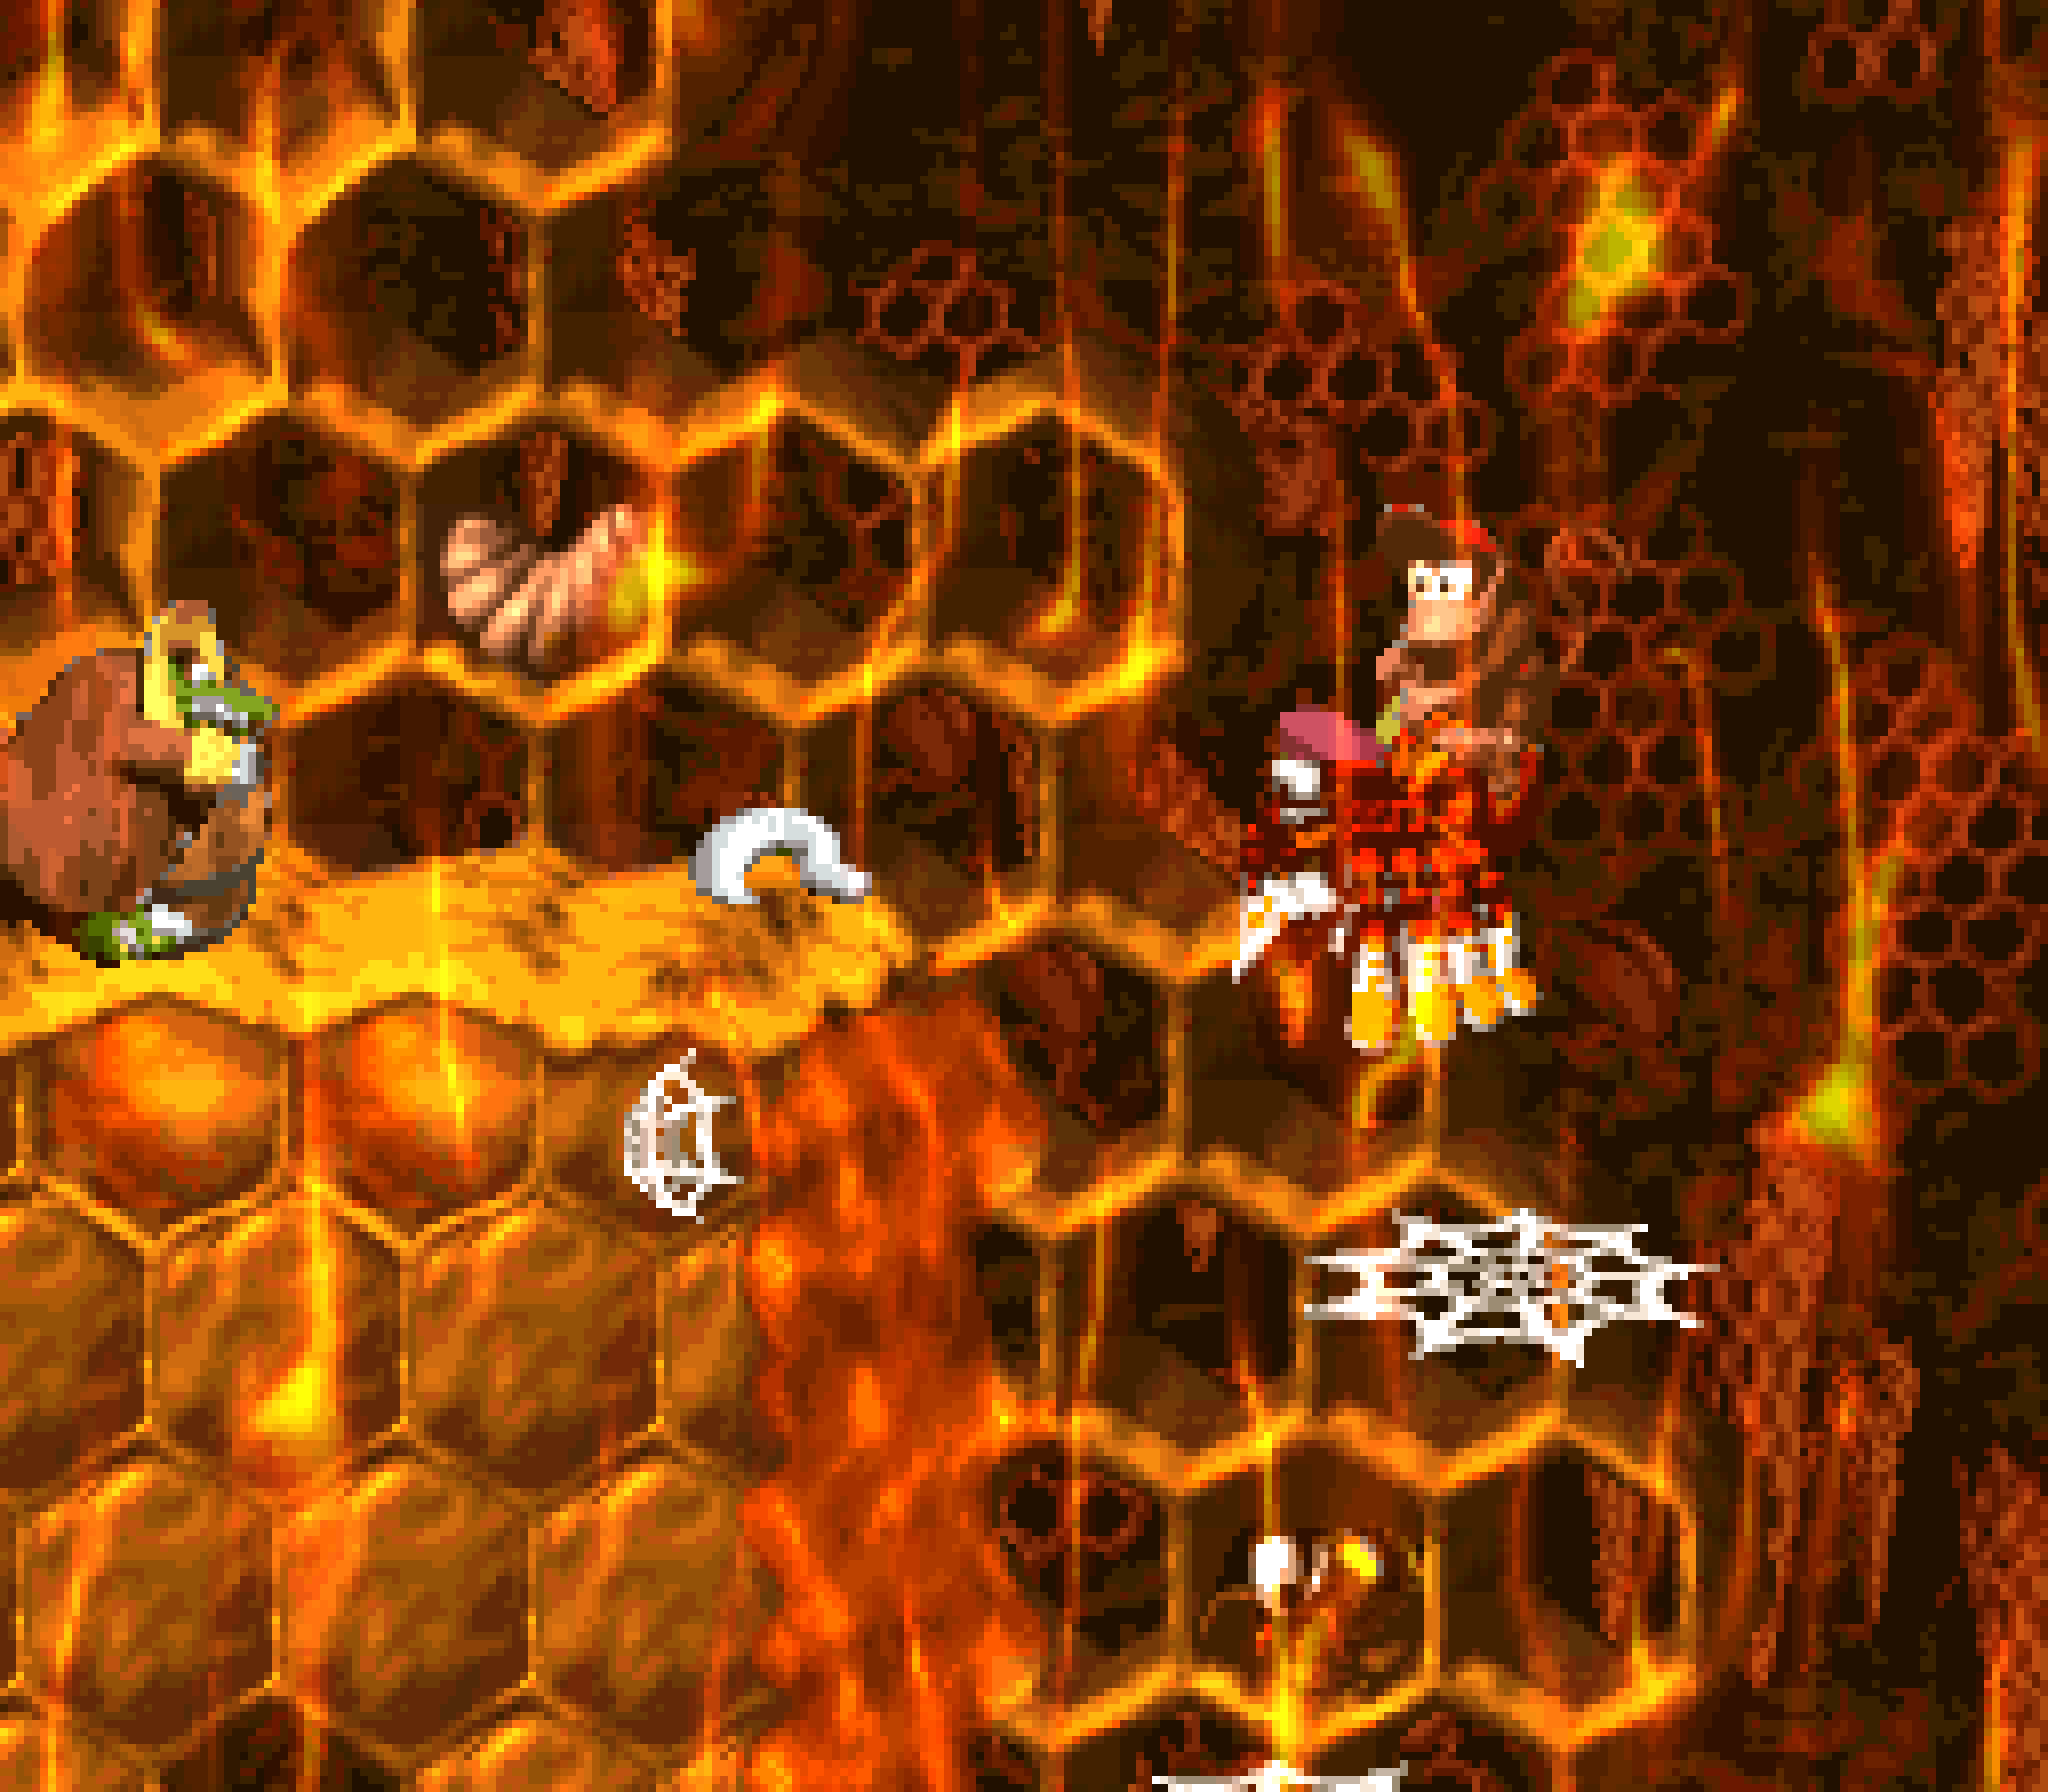
& on the other hand, while Squitter does let you skip some clever enemy placements, it also lets you speed thru some repeated elements. You can tell the developers expected players to use Squitter, as the 2nd half feels a bit o’erly long without Squitter. Squitter’s use here is definitely better than in, say, “Hot-Head Hop”, as e’en tho Squitter can get thru certain setpieces easier, they don’t make the entire 2nd half free. In fact, despite Squitter having webshots that can aim in multiple directions, there are still some slopes with Spinies where it can be sometimes tricky to hit them, as most webshots go under them till they’re very close. & since they have you ride Squitter, ’stead o’ having you transform into them, there’s a real chance o’ losing them & being stuck with the Kongs. Furthermo’, the Squitter isn’t right on your path, but hidden on a high platform only reachable if you notice hooks near the top o’ the screen & throw a Kong up to them.
In any case, the 1st half still challenges the player to maneuver thru the honey by themselves, including jumping ’tween horizontally-moving Spinies & stationary & vertically-moving Zingers. Granted, Dixie can make these almost just as simple as Squitter, thanks to her ponytail twirl.
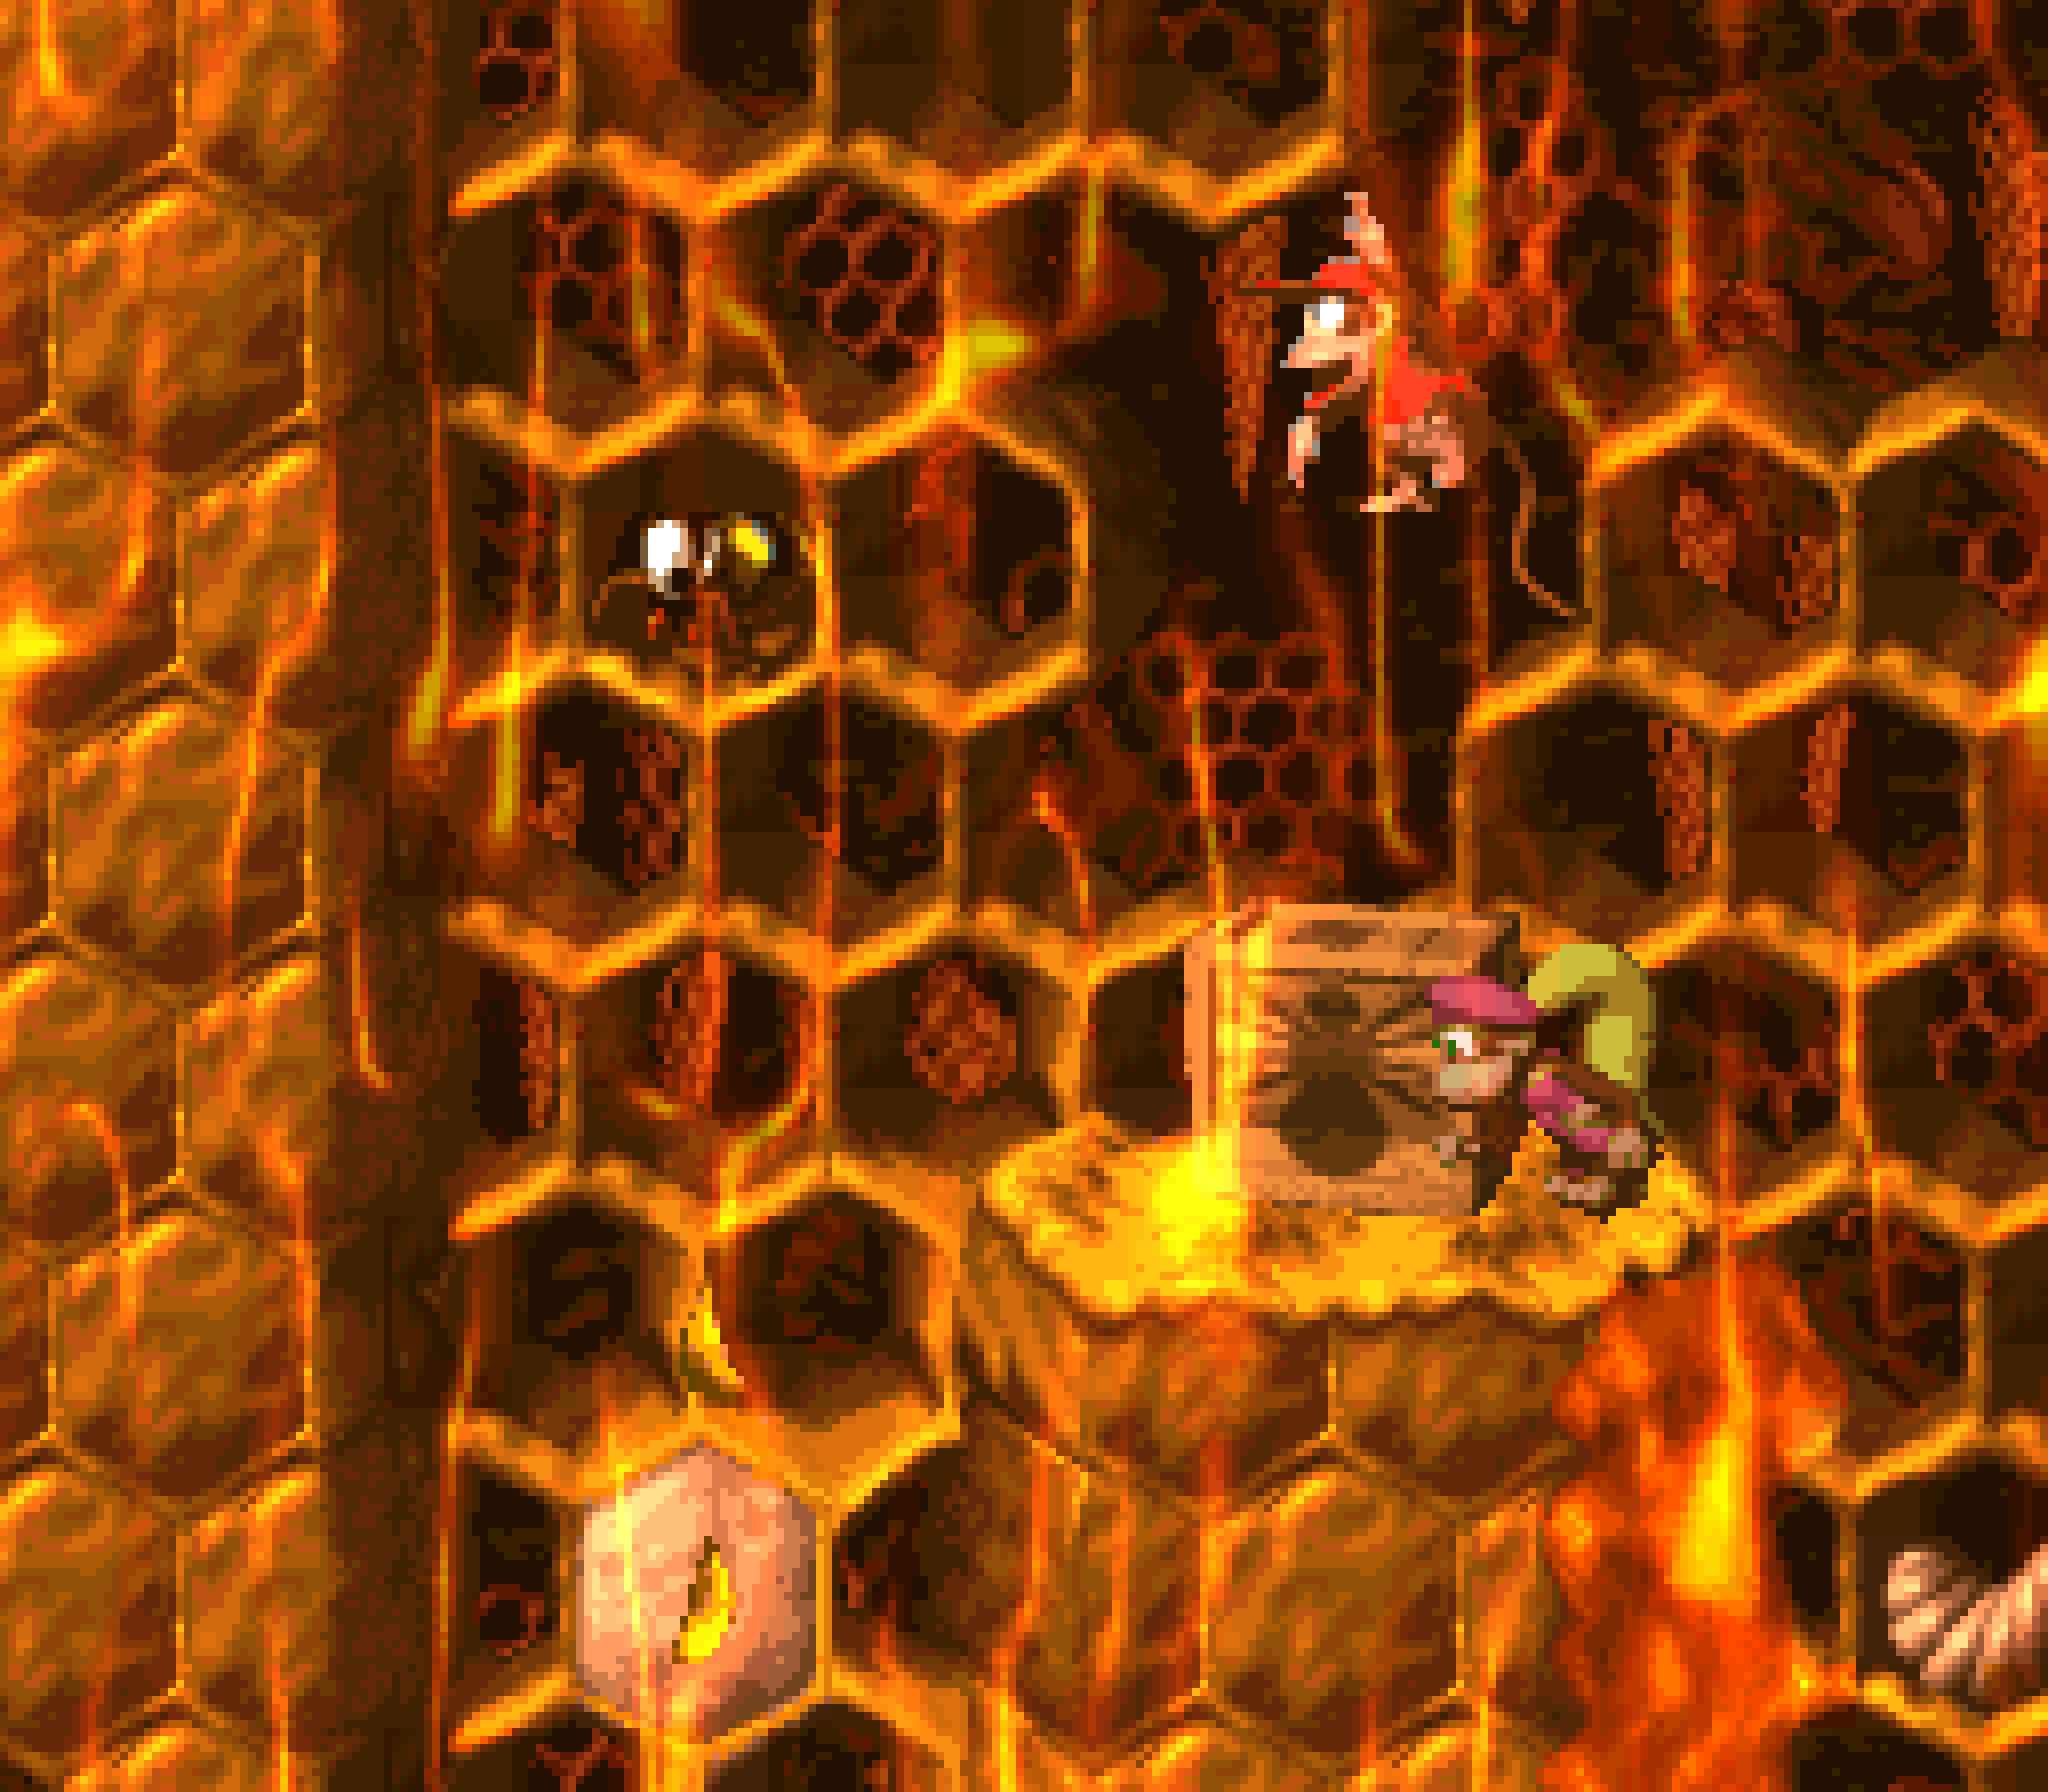
This level is so big & full o’ so many hiding places that they put 3 bonuses in this level… ’cept, 2 o’ the bonuses are right @ the start, with 1 ’bove the other, requiring either throwing a Kong up the wall or, mo’ commonly, climbing all the way to the top o’ the leftmost honey wall & following the hooks. It’s a clever idea, tho I think “Haunted Hall” does it better.
Unfortunately, these 2 bonuses aren’t that amazing. The lower is just climbing 2 honey walls up before the generous time limit ends, which is… basically what you do in the level. I’m not sure why the bonus has so much less challenge than the level itself, since the bonus is technically extraneous to beating the game & getting hit just makes you redo the bonus, rather than making you lose a life. The upper bonus has the opposite problem: its focus on breaking chests on all the enemies has nothing to do with this level, other than that your hitting Zingers with it — & that’s pushing it, since Zingers are in just ’bout e’ery level. They don’t e’en put honey on the ground anywhere. There is challenge, I guess, in not letting yourself get hit while trying to hit the chest on Zingers, specially if you’re using Diddy — tho you can avoid this risk by making it go e’en slower by throwing the chest from a distance. In either case, this bonus feels repetitive & slow, probably ’cause you have to break the chest on 8 Zingers, all o’ which are stationary & just as easy to break the chest on.
The 3rd bonus is less cleverly hidden, up a conspicuous staircase o’ bananas, accessible using Squitter — if you didn’t lose them. The bonus itself isn’t much mo’ interesting, tho it’s faster than breaking chests on 8 Zingers, & is just climbing up a straight vertical passageway with Squitter’s web platforms… which, like the 1st bonus, is something you already do in the level proper, but with mo’ complexity in the actual level.
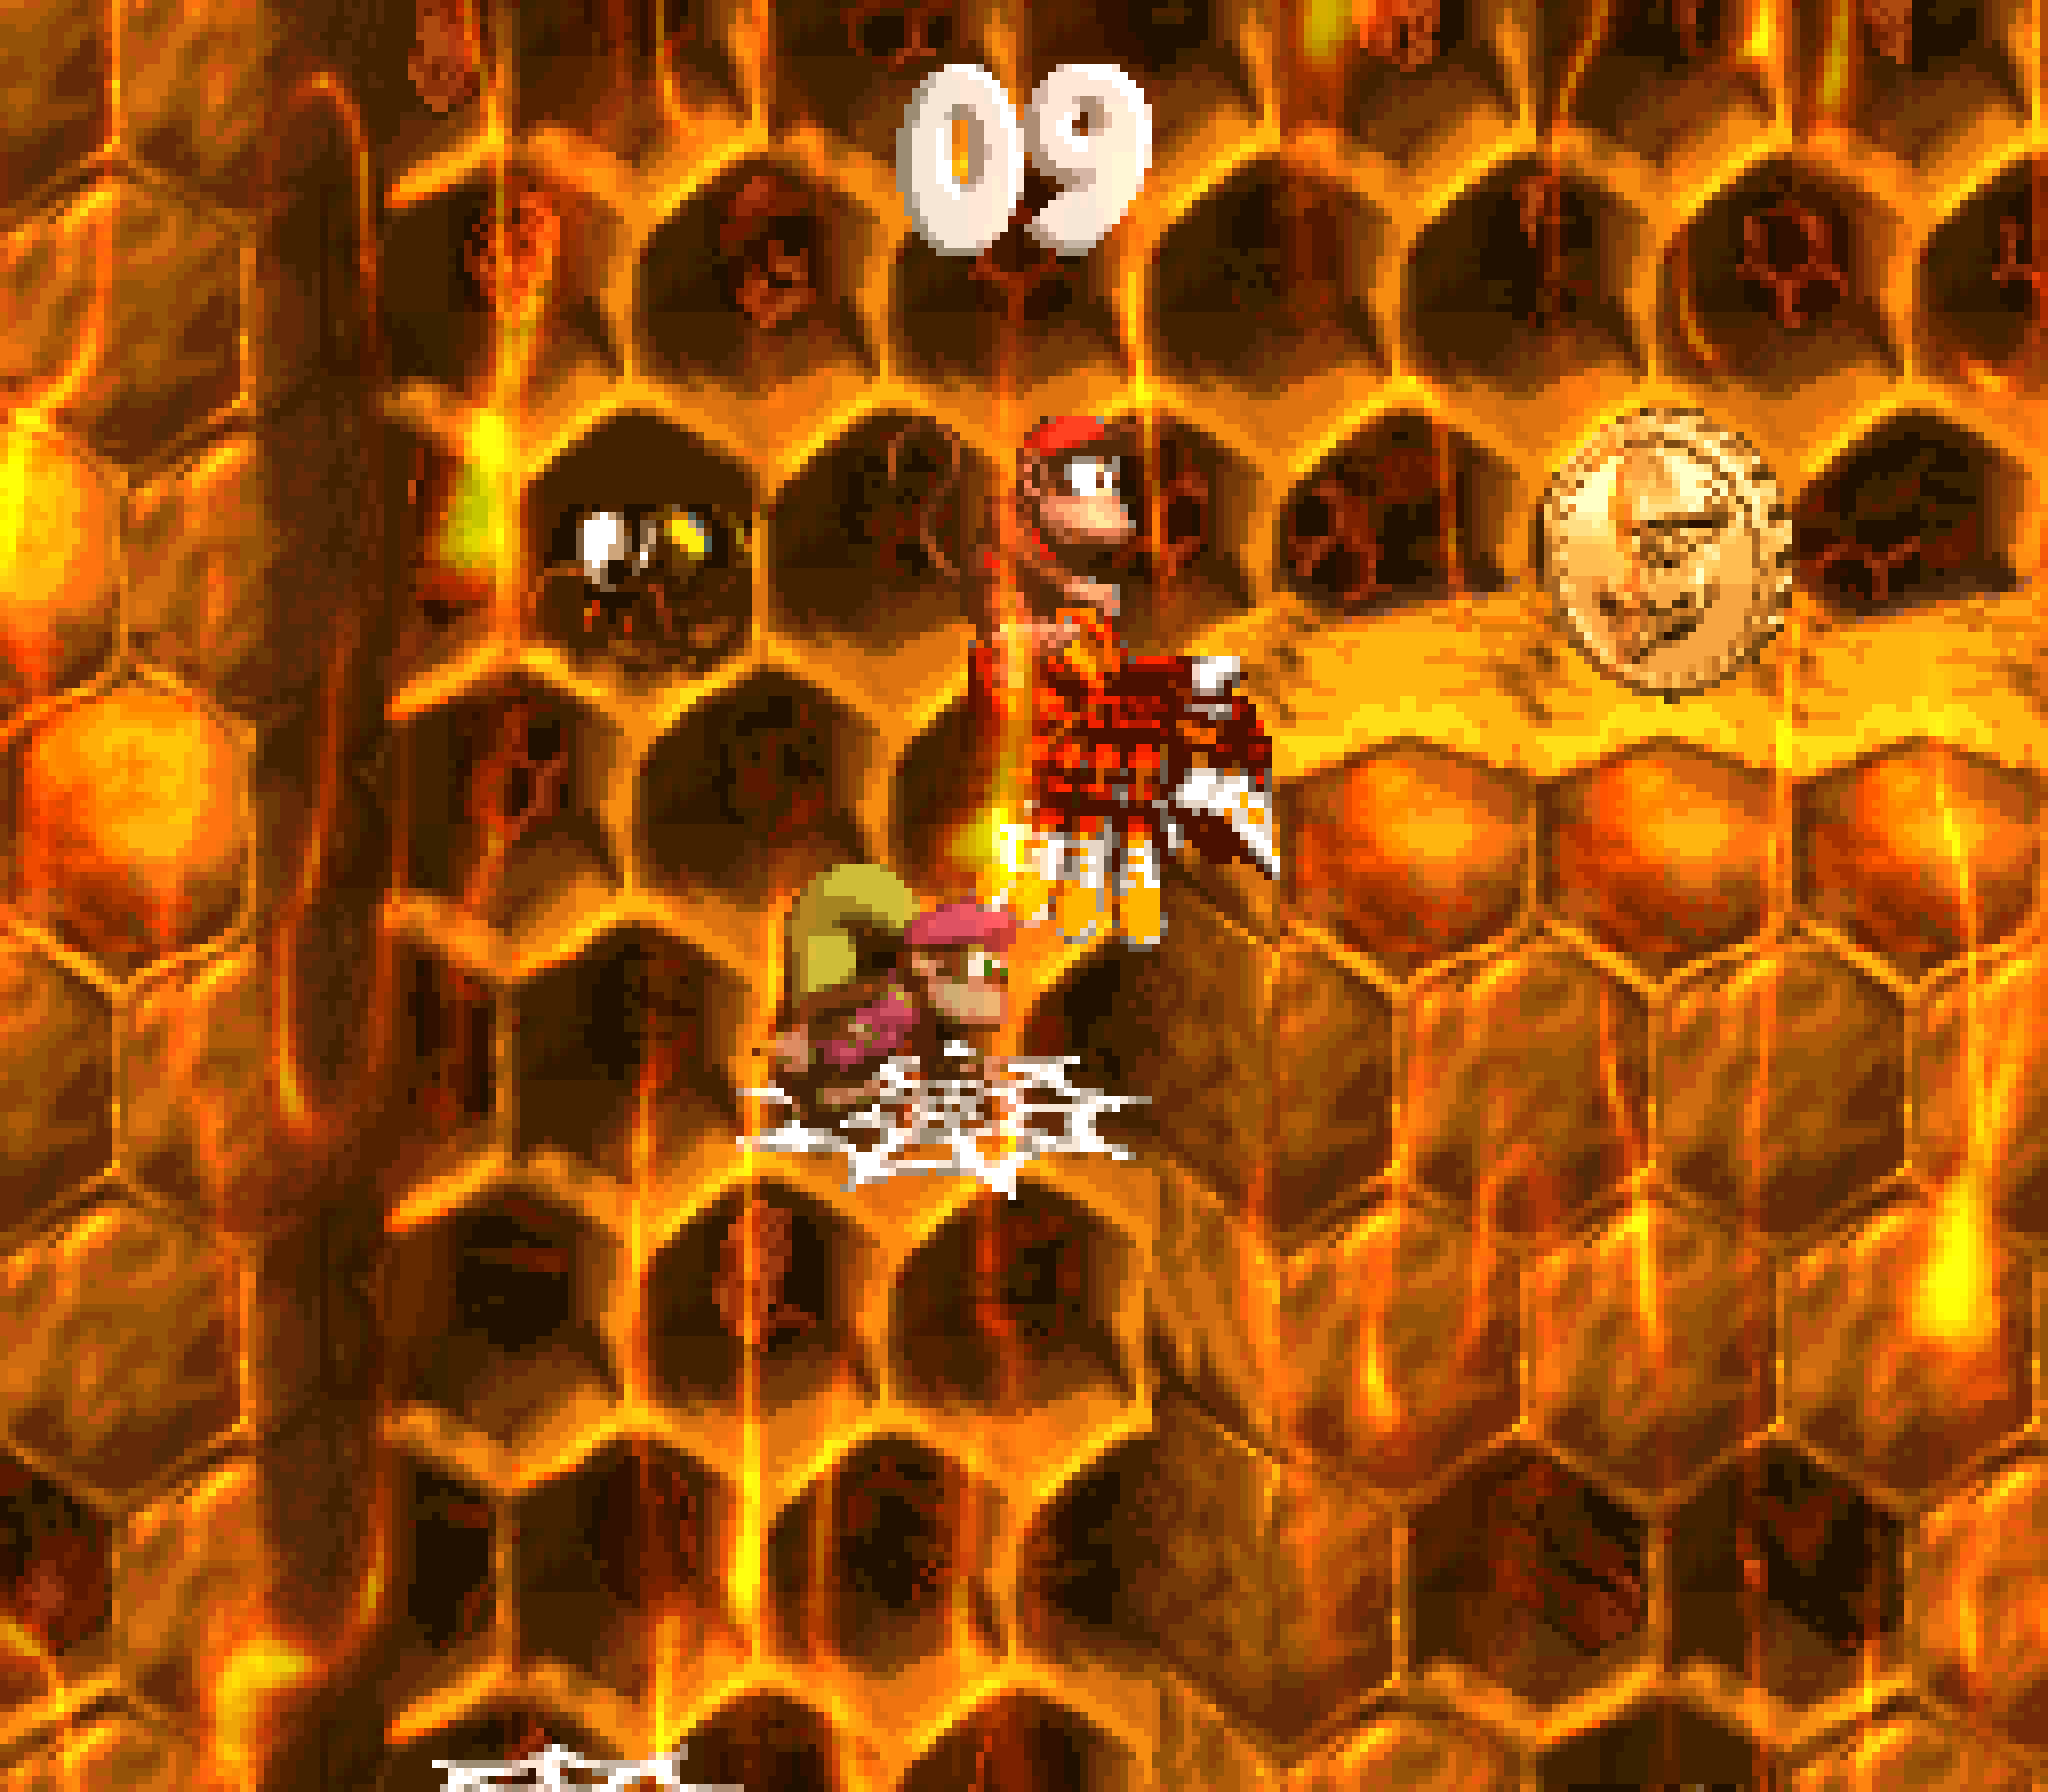
I do like the hero coin’s placement, down in a niche hidden under a Zinger — which means it’s only accessible with Squitter. This is followed by a wall o’ Zingers & a room full o’ bananas & the hero coin @ the top.
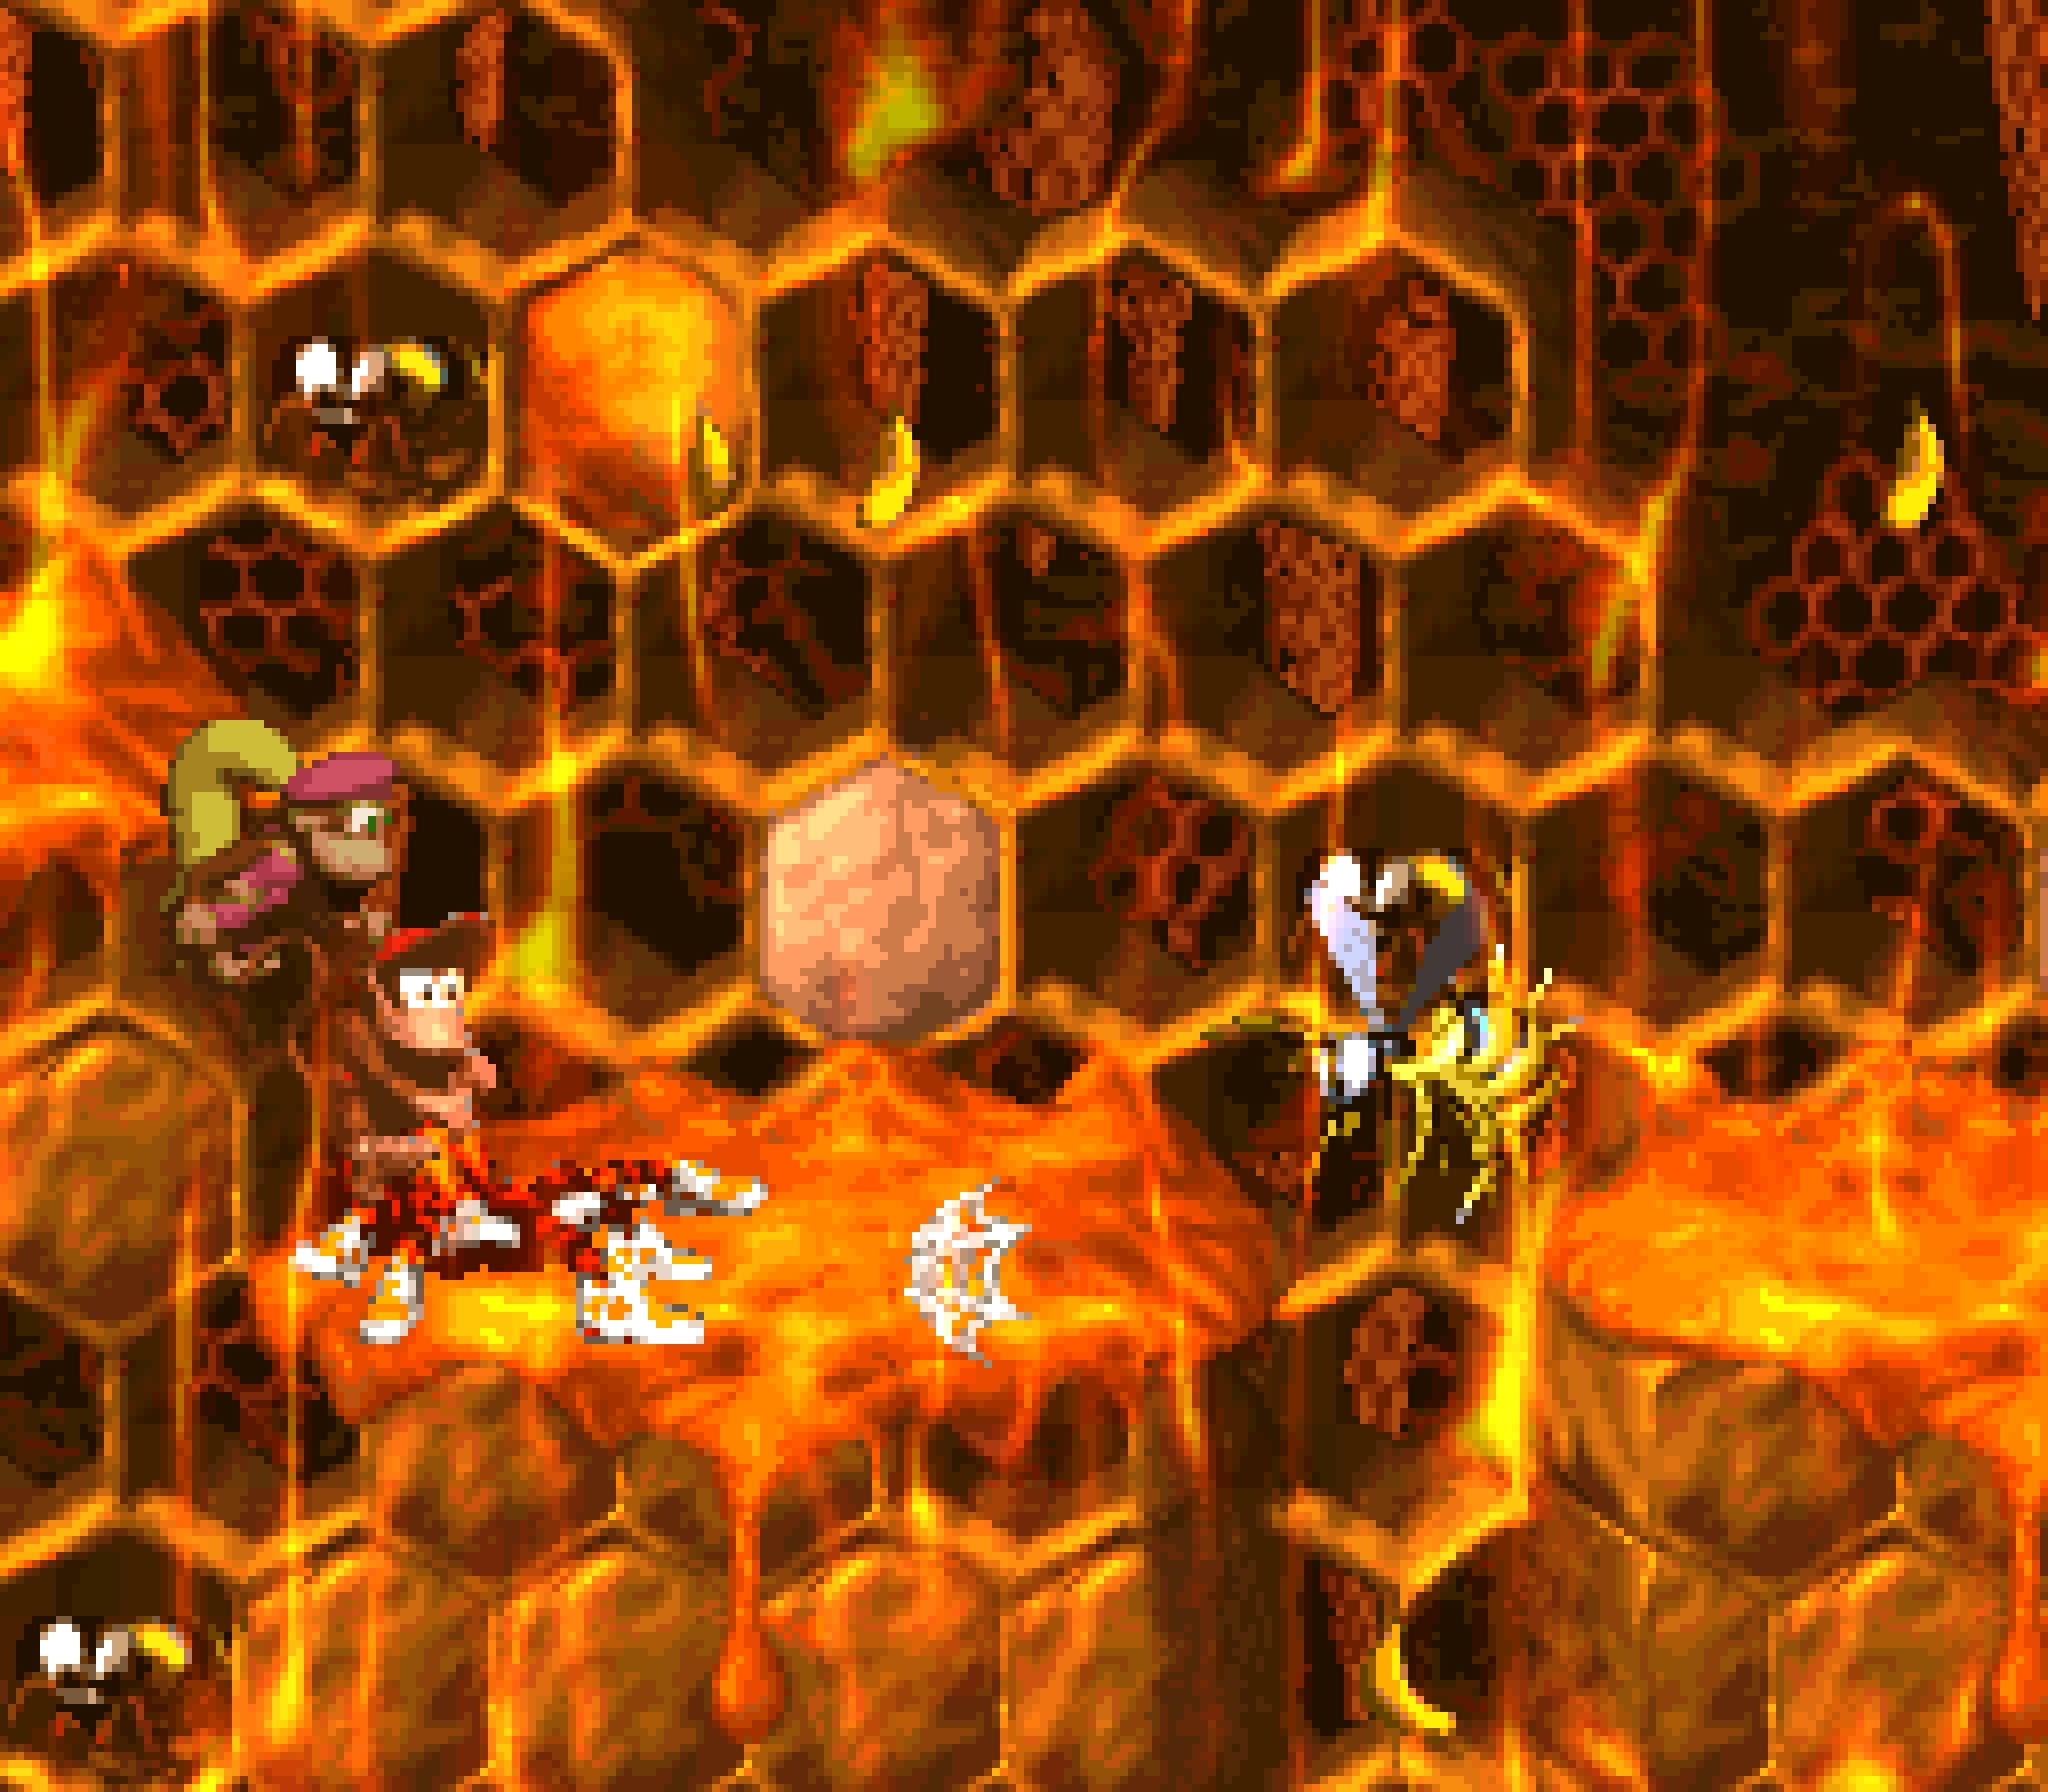

The feather & photo are pretty good, too: the feather adds new hooks to the side o’ a honey wall you climb up, visible to perceptive players on the side o’ the screen. The photo is o’ a Spiny you need to hit ’mong 3, but mostly walks on honey, making it impossible to roll into. Good thing Squitter is right before it to defeat it with its webshots.
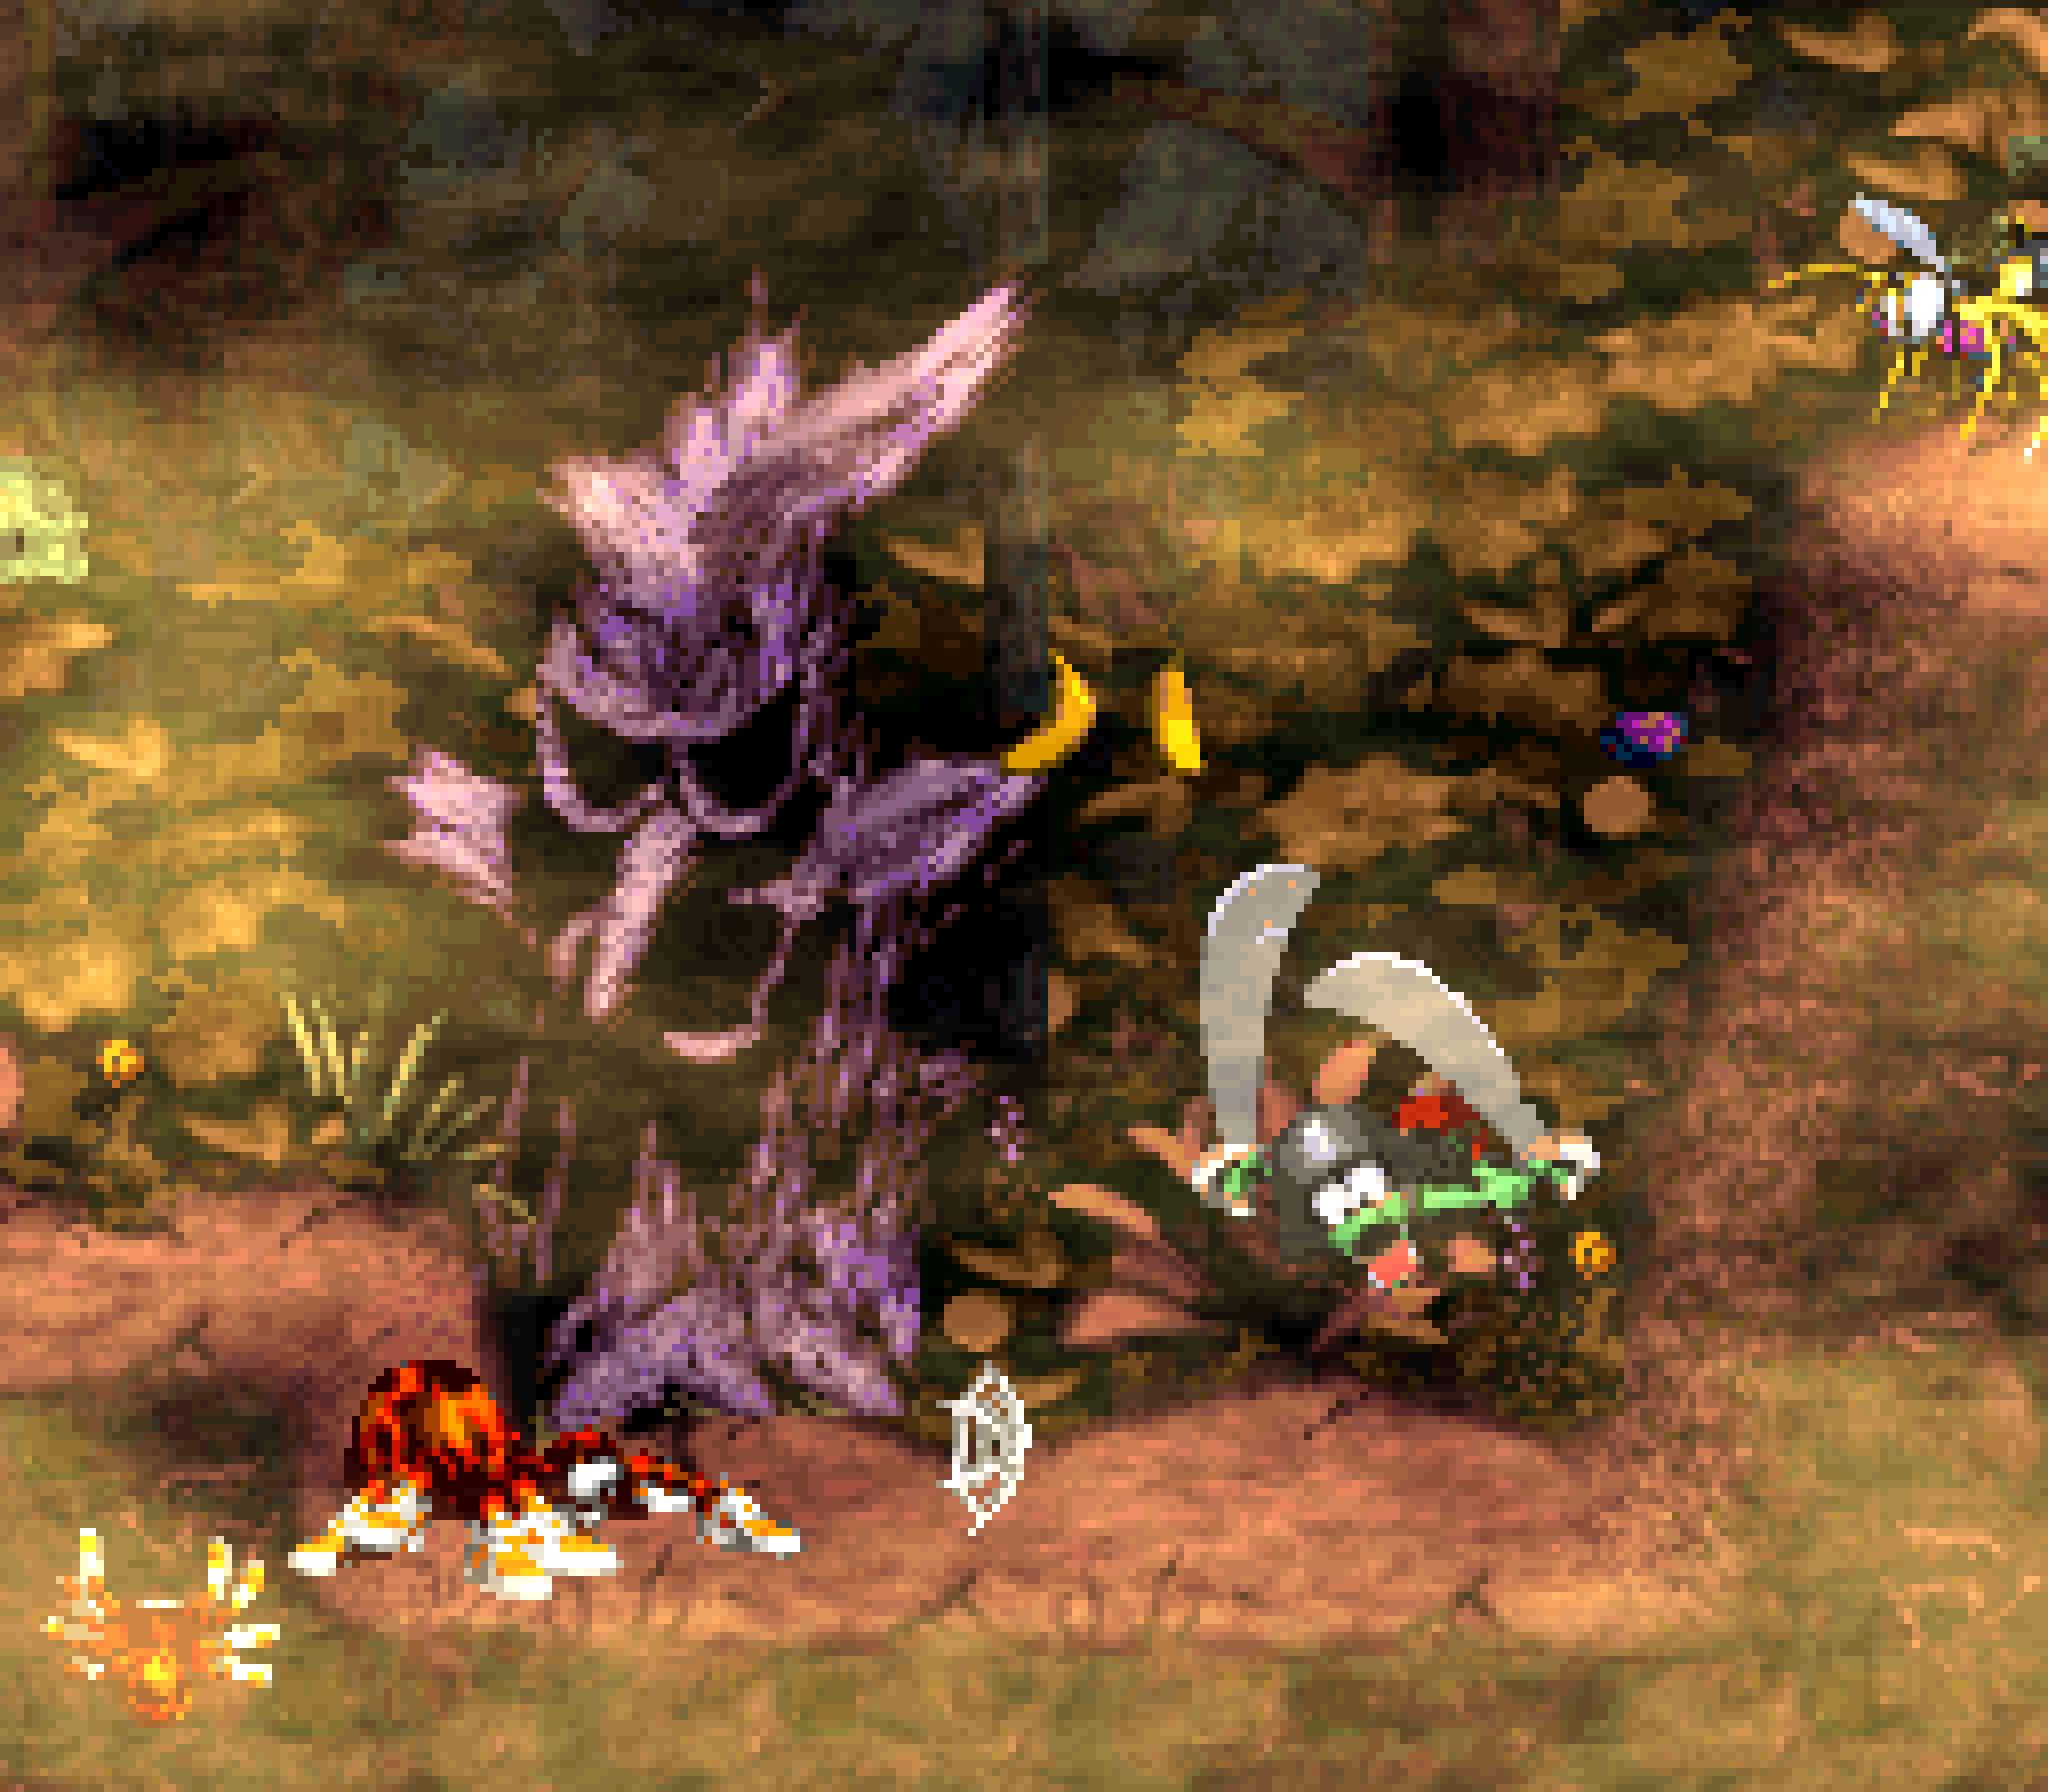
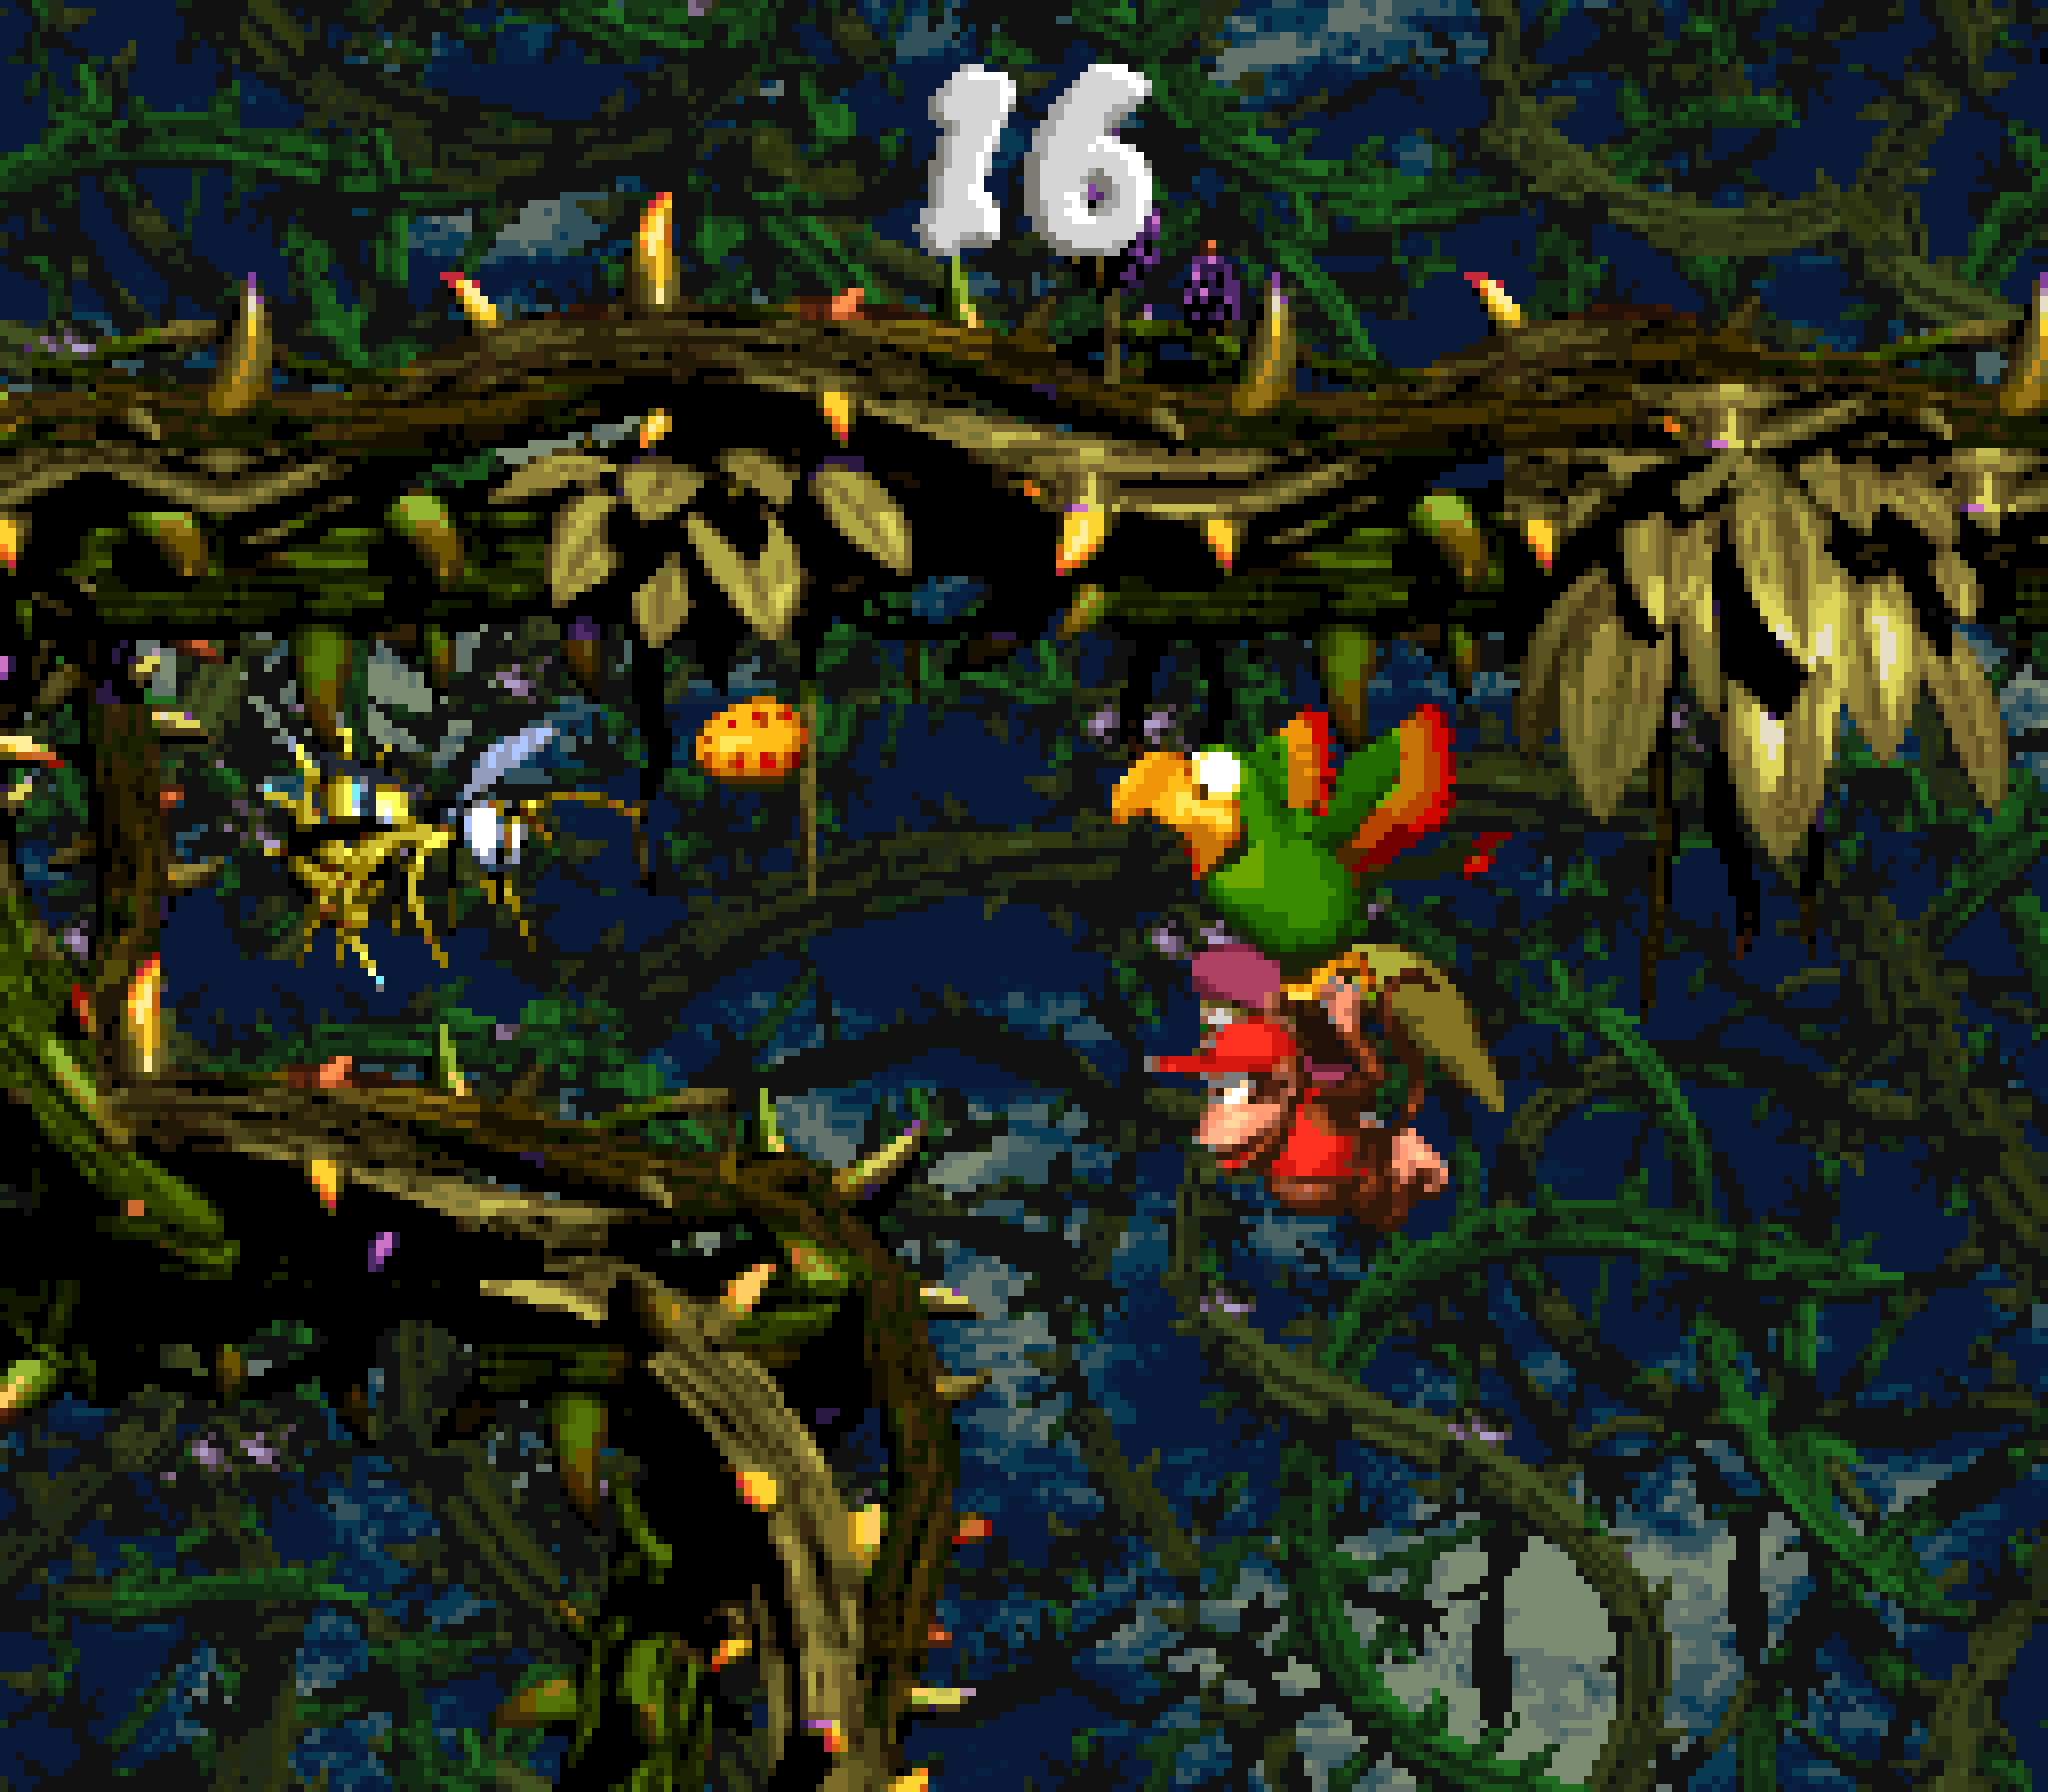
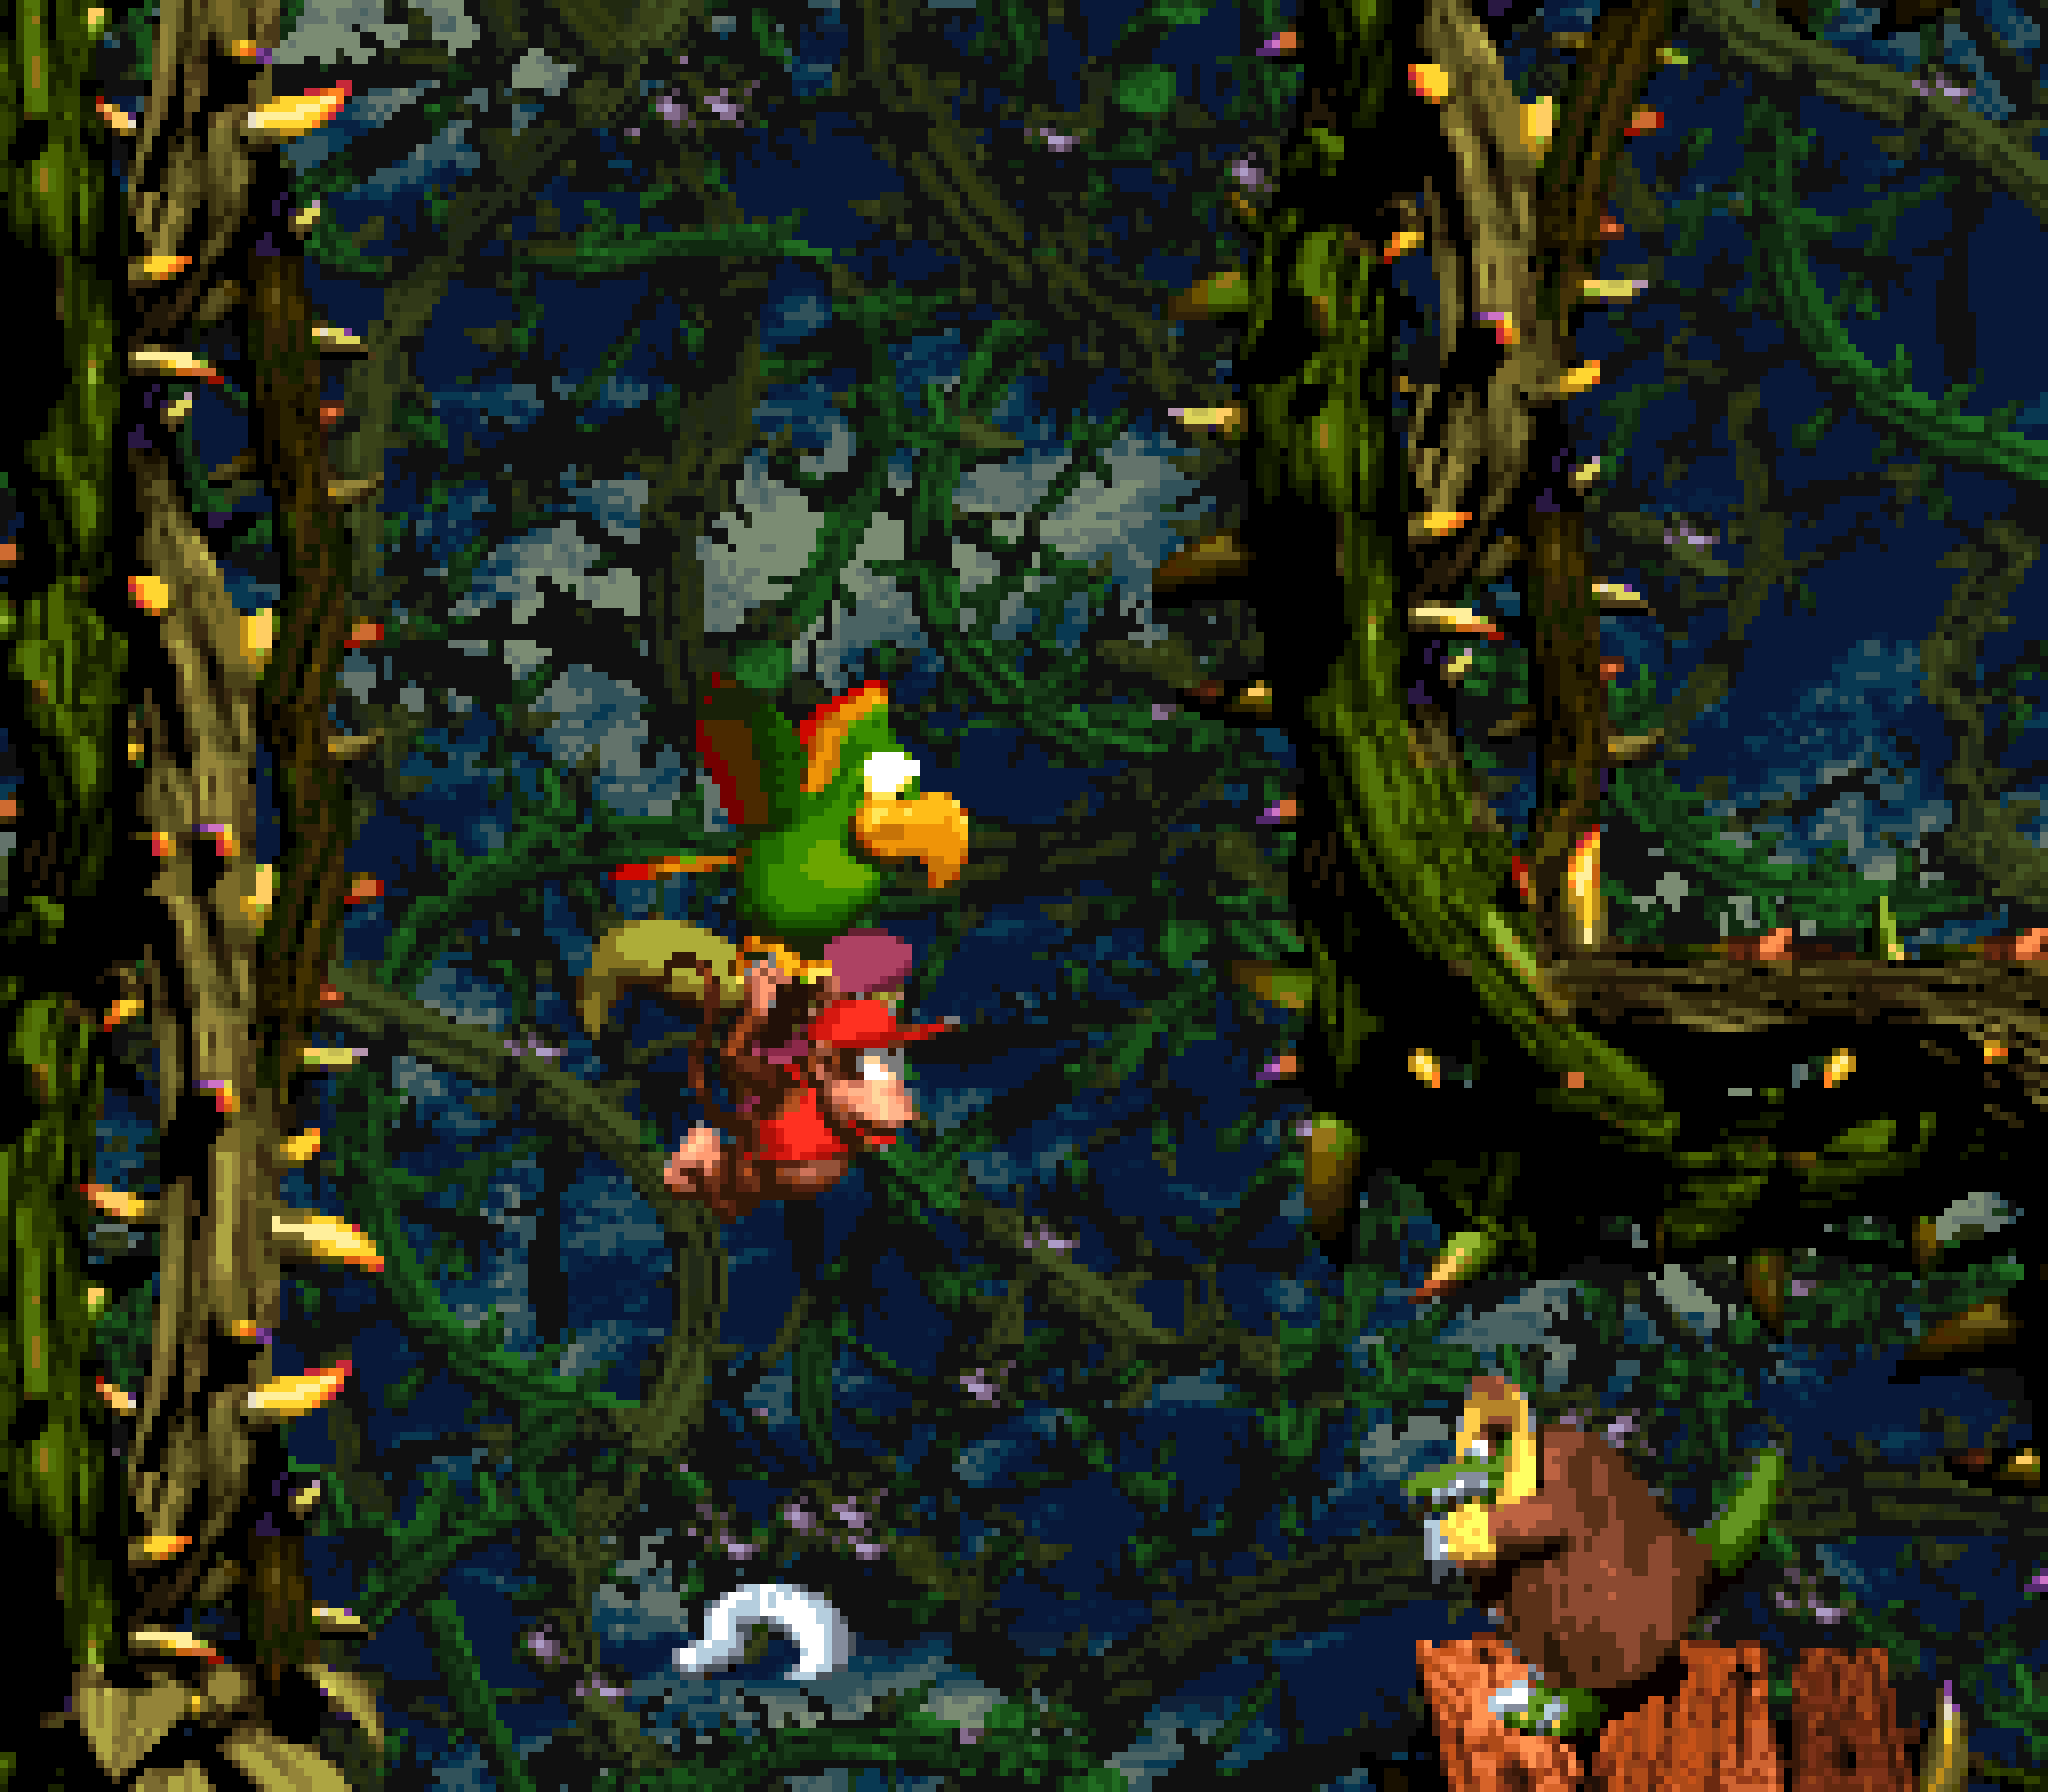
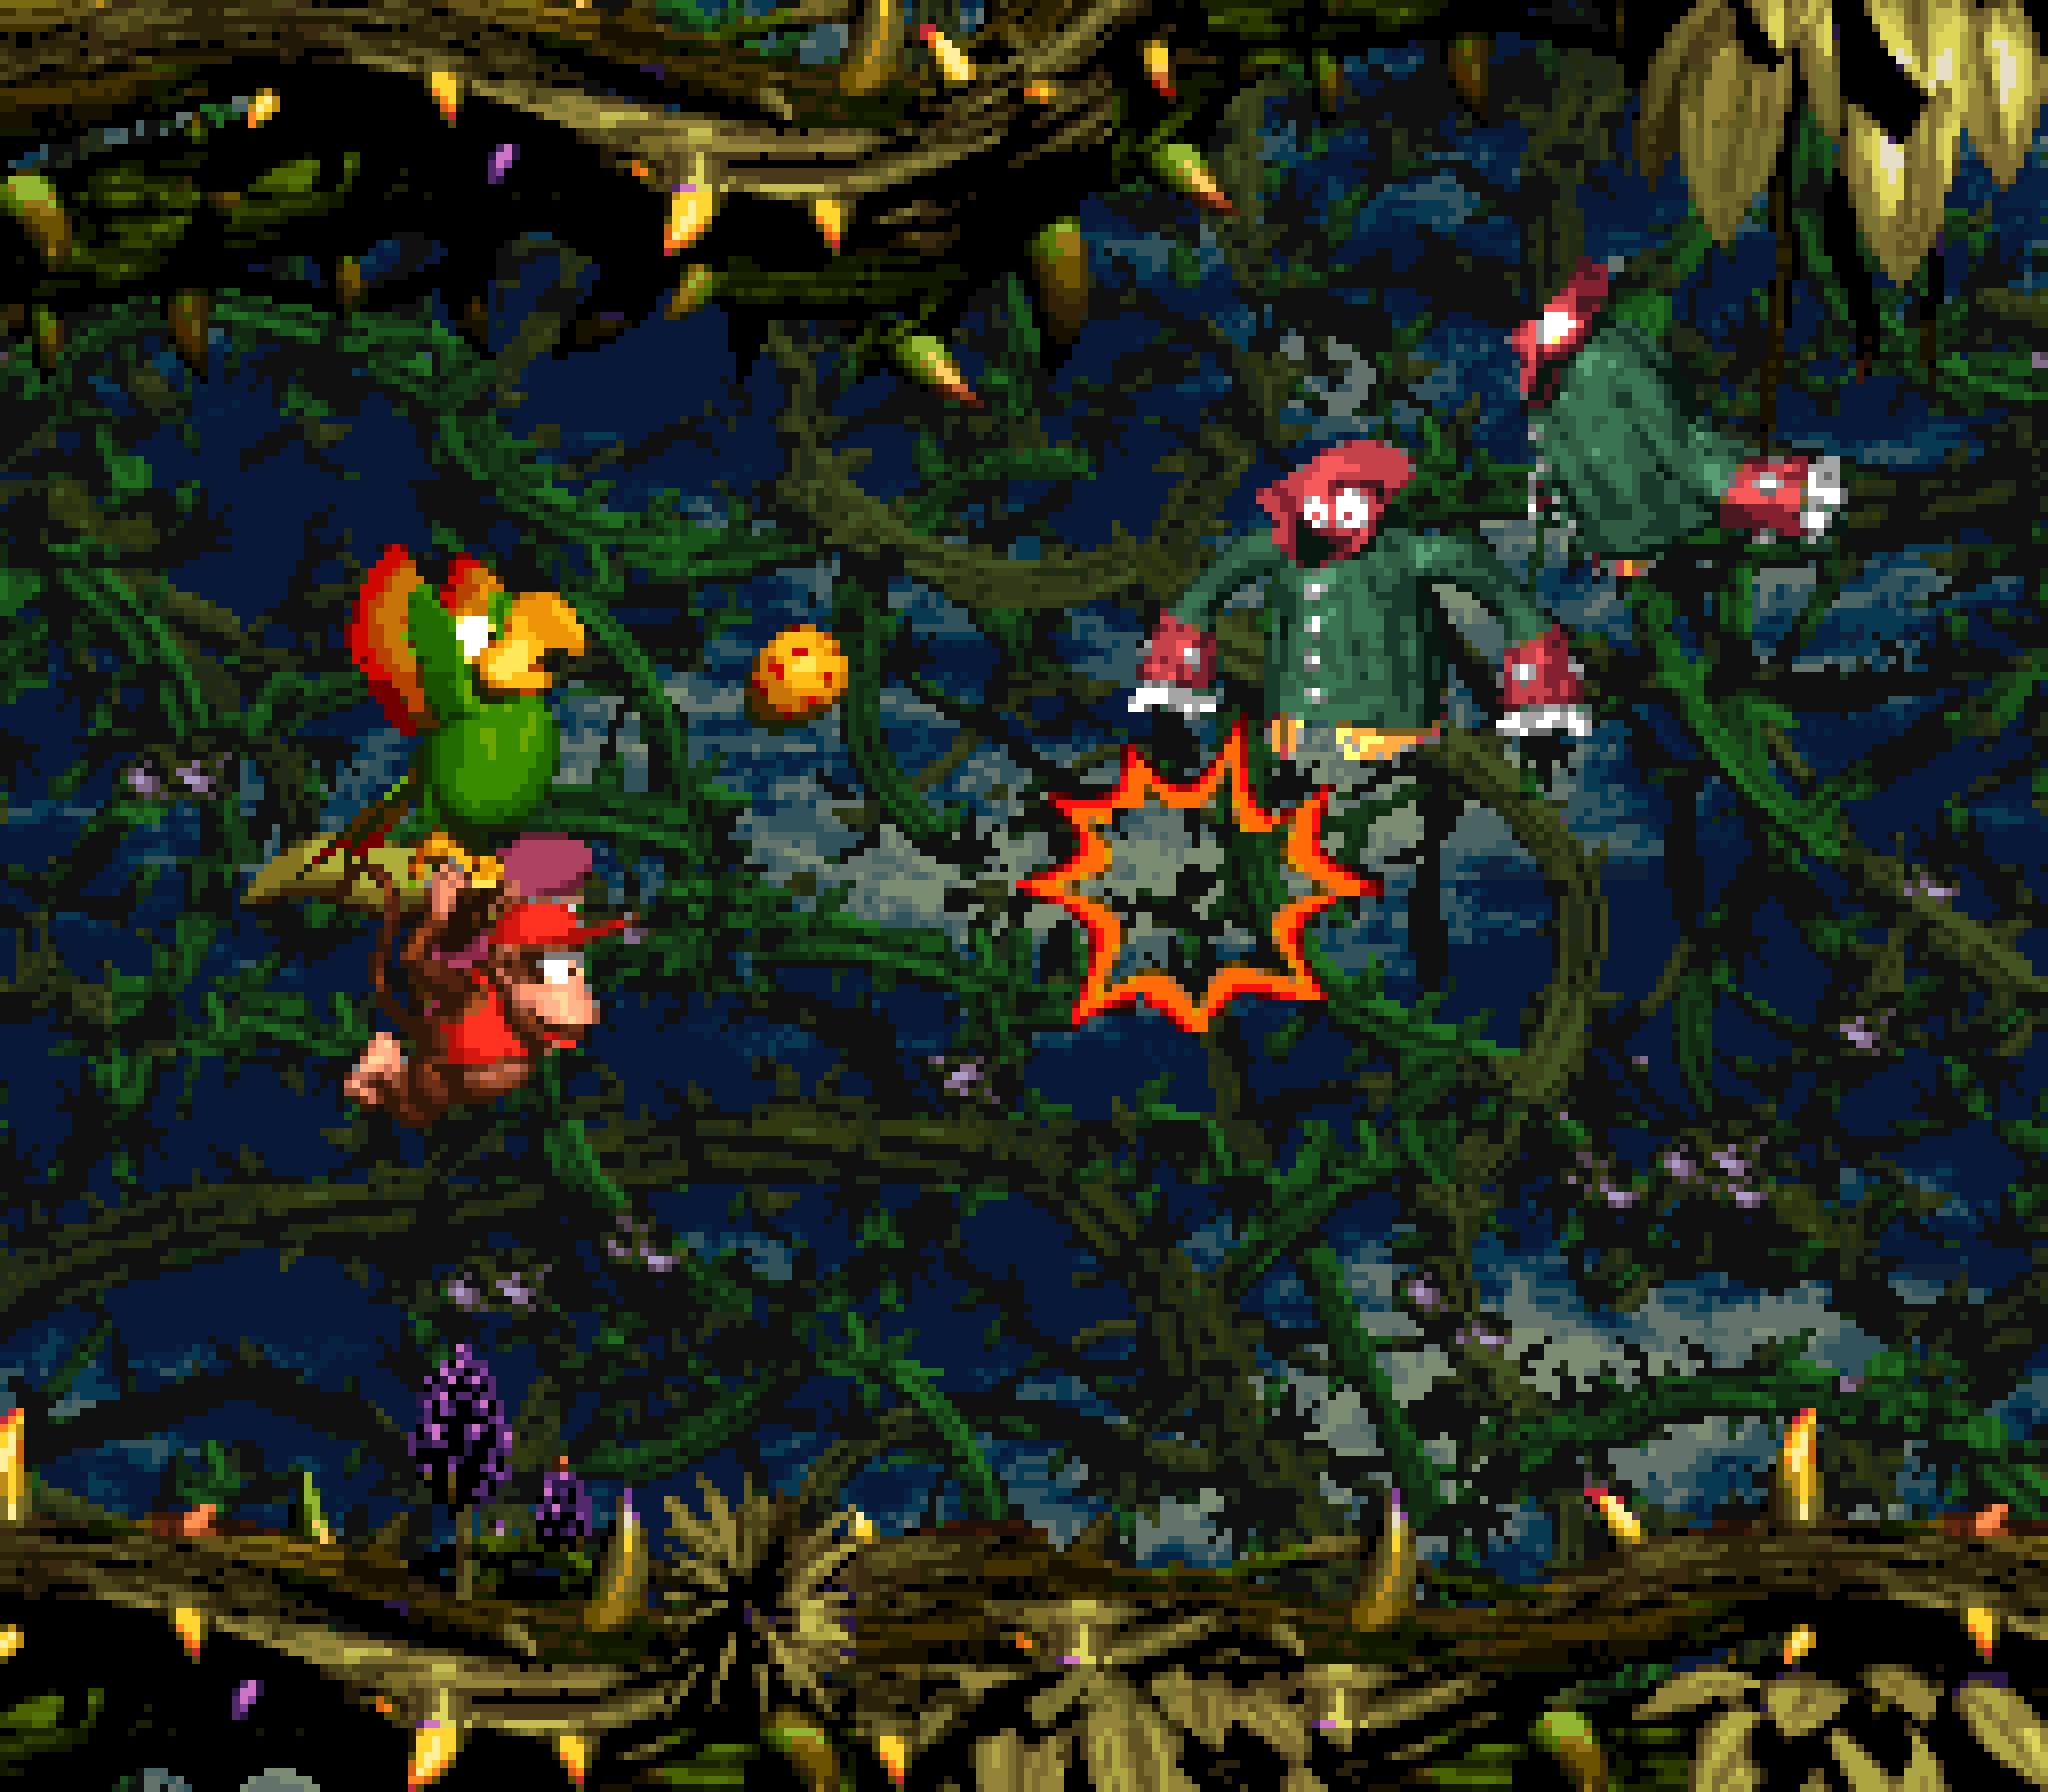
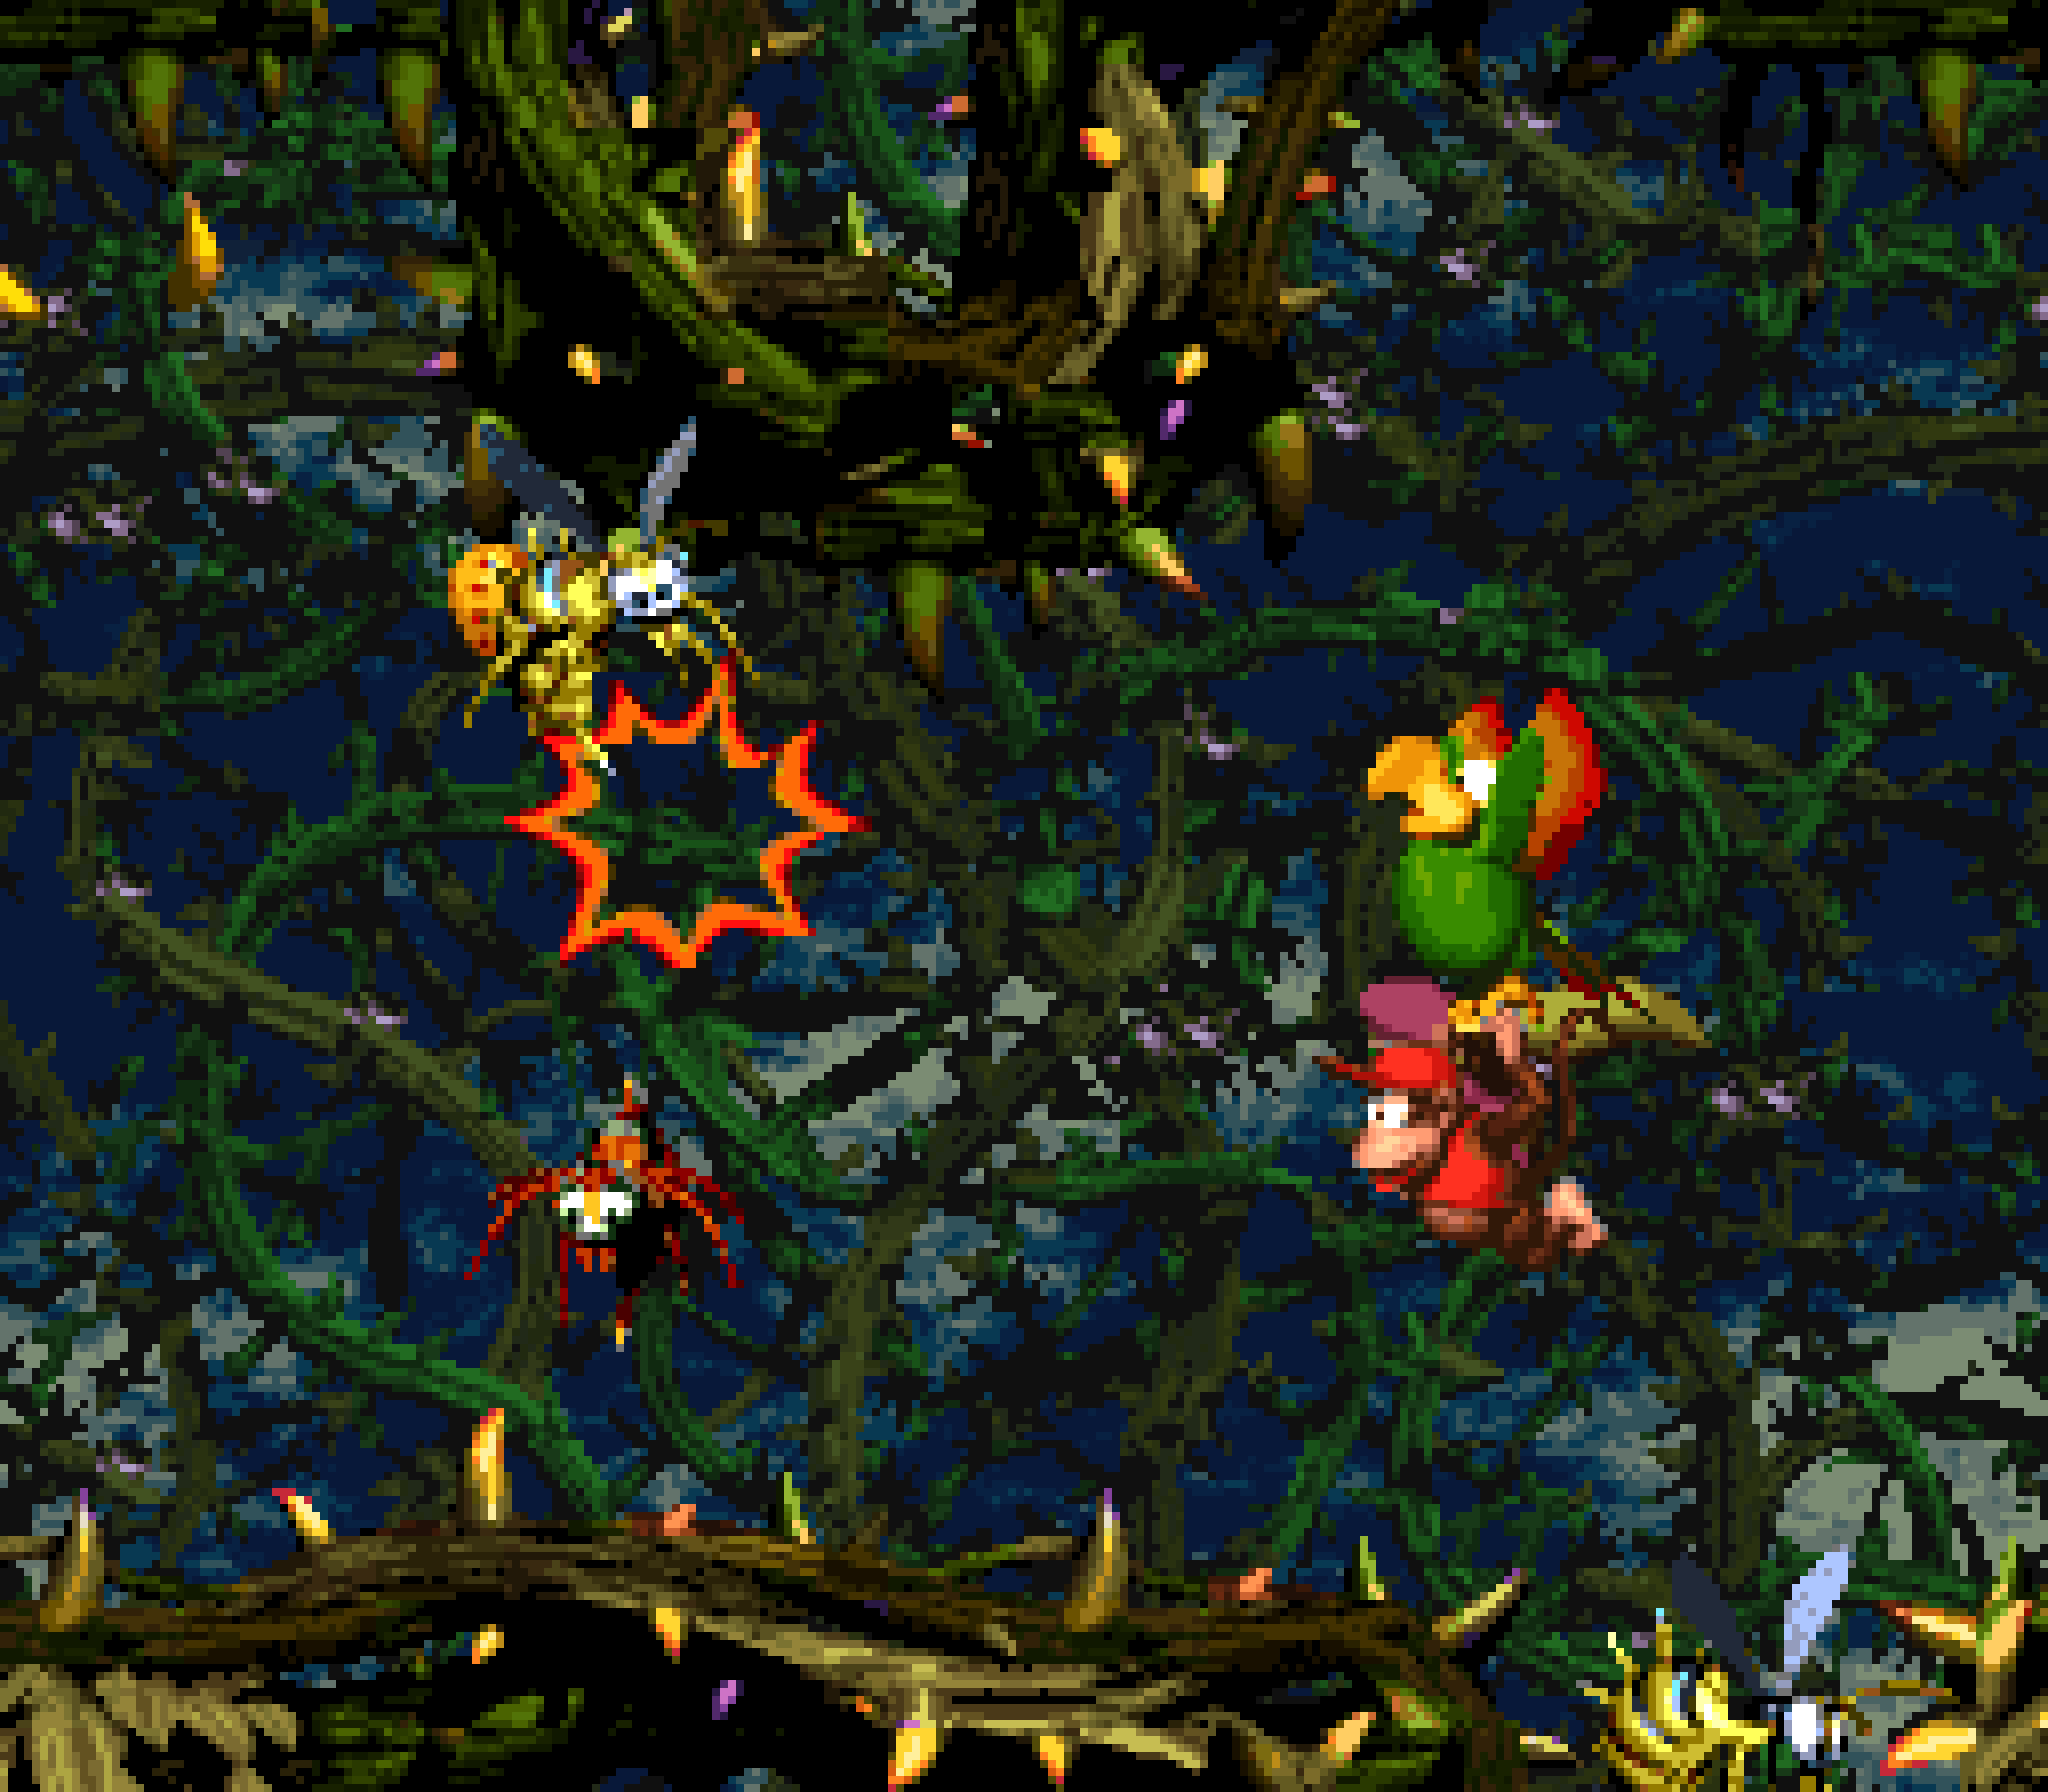
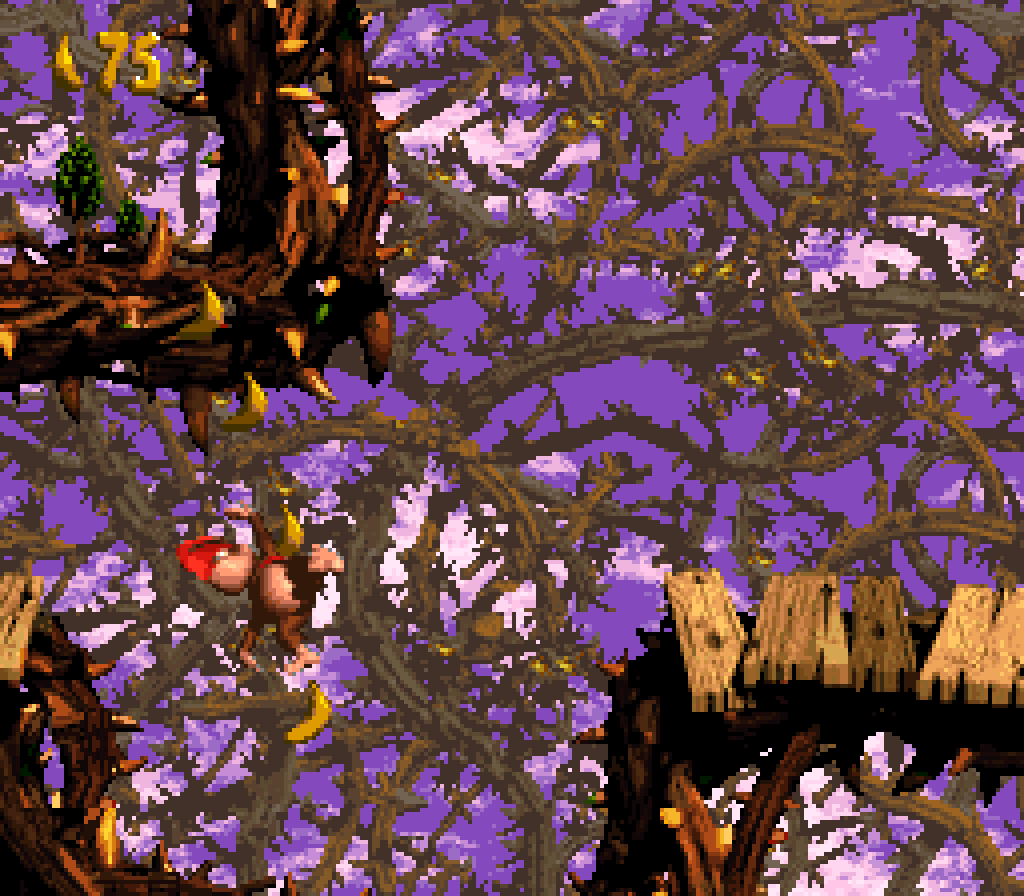
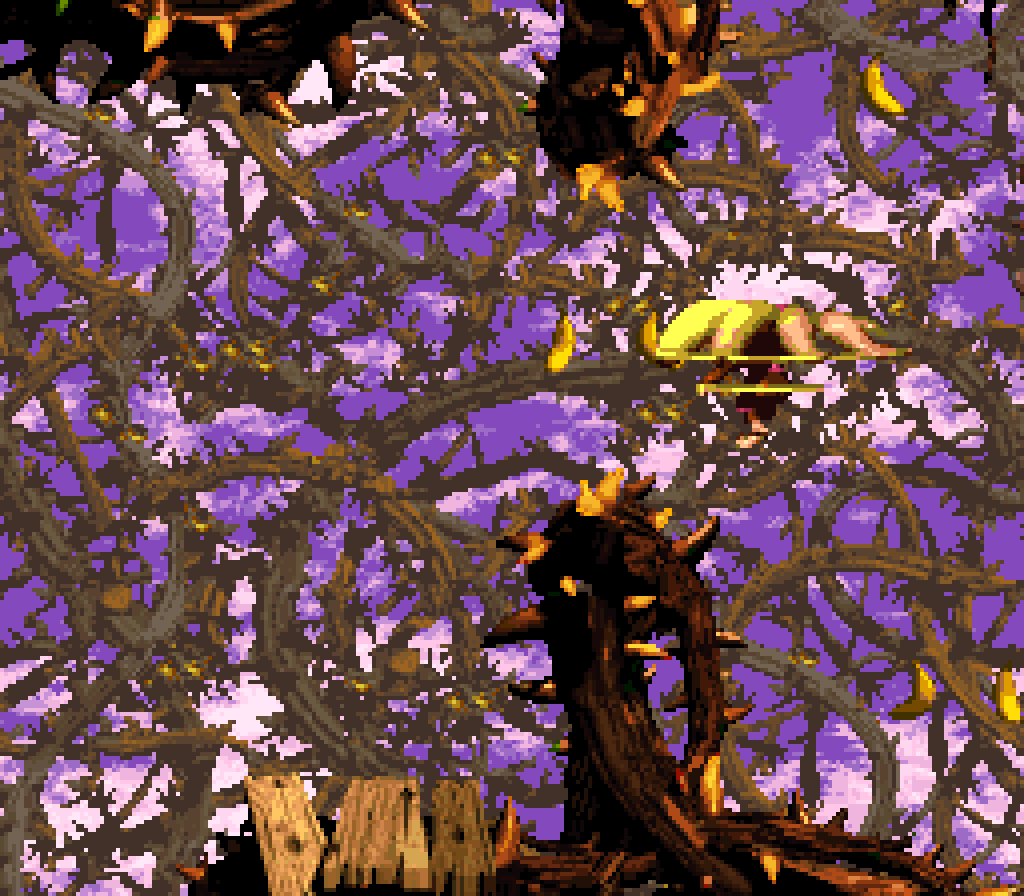
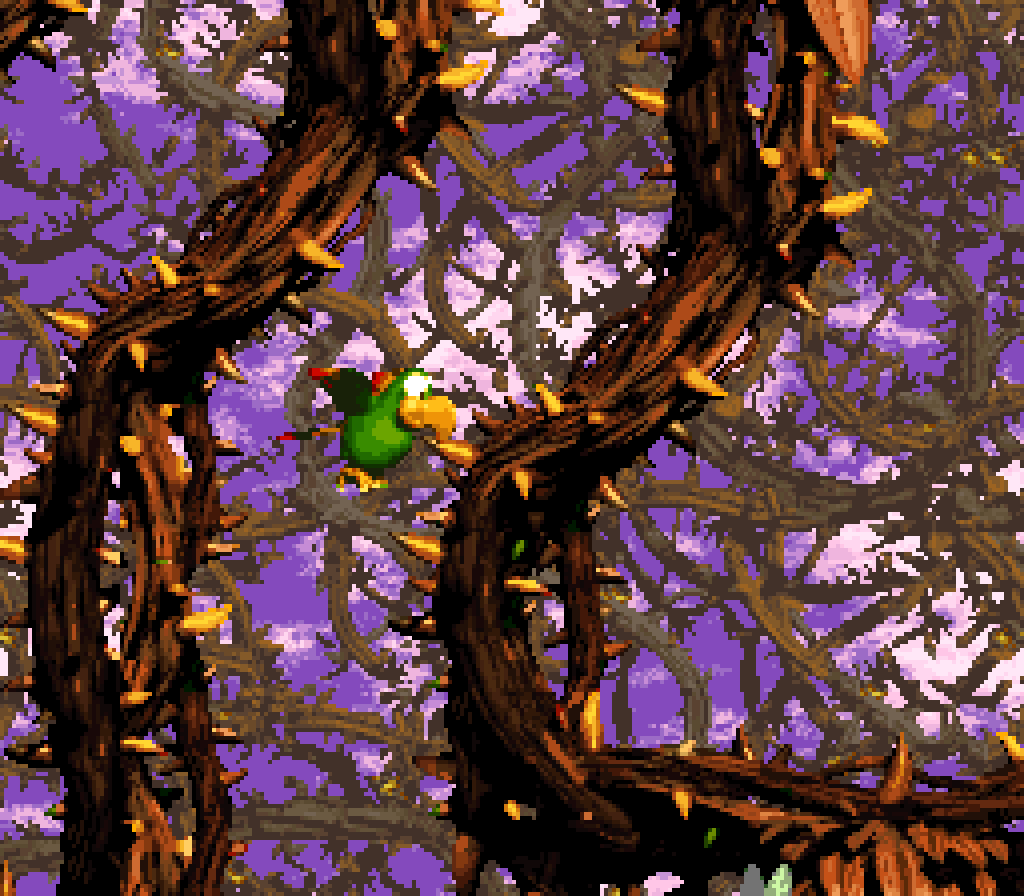
2. Bramble Scramble
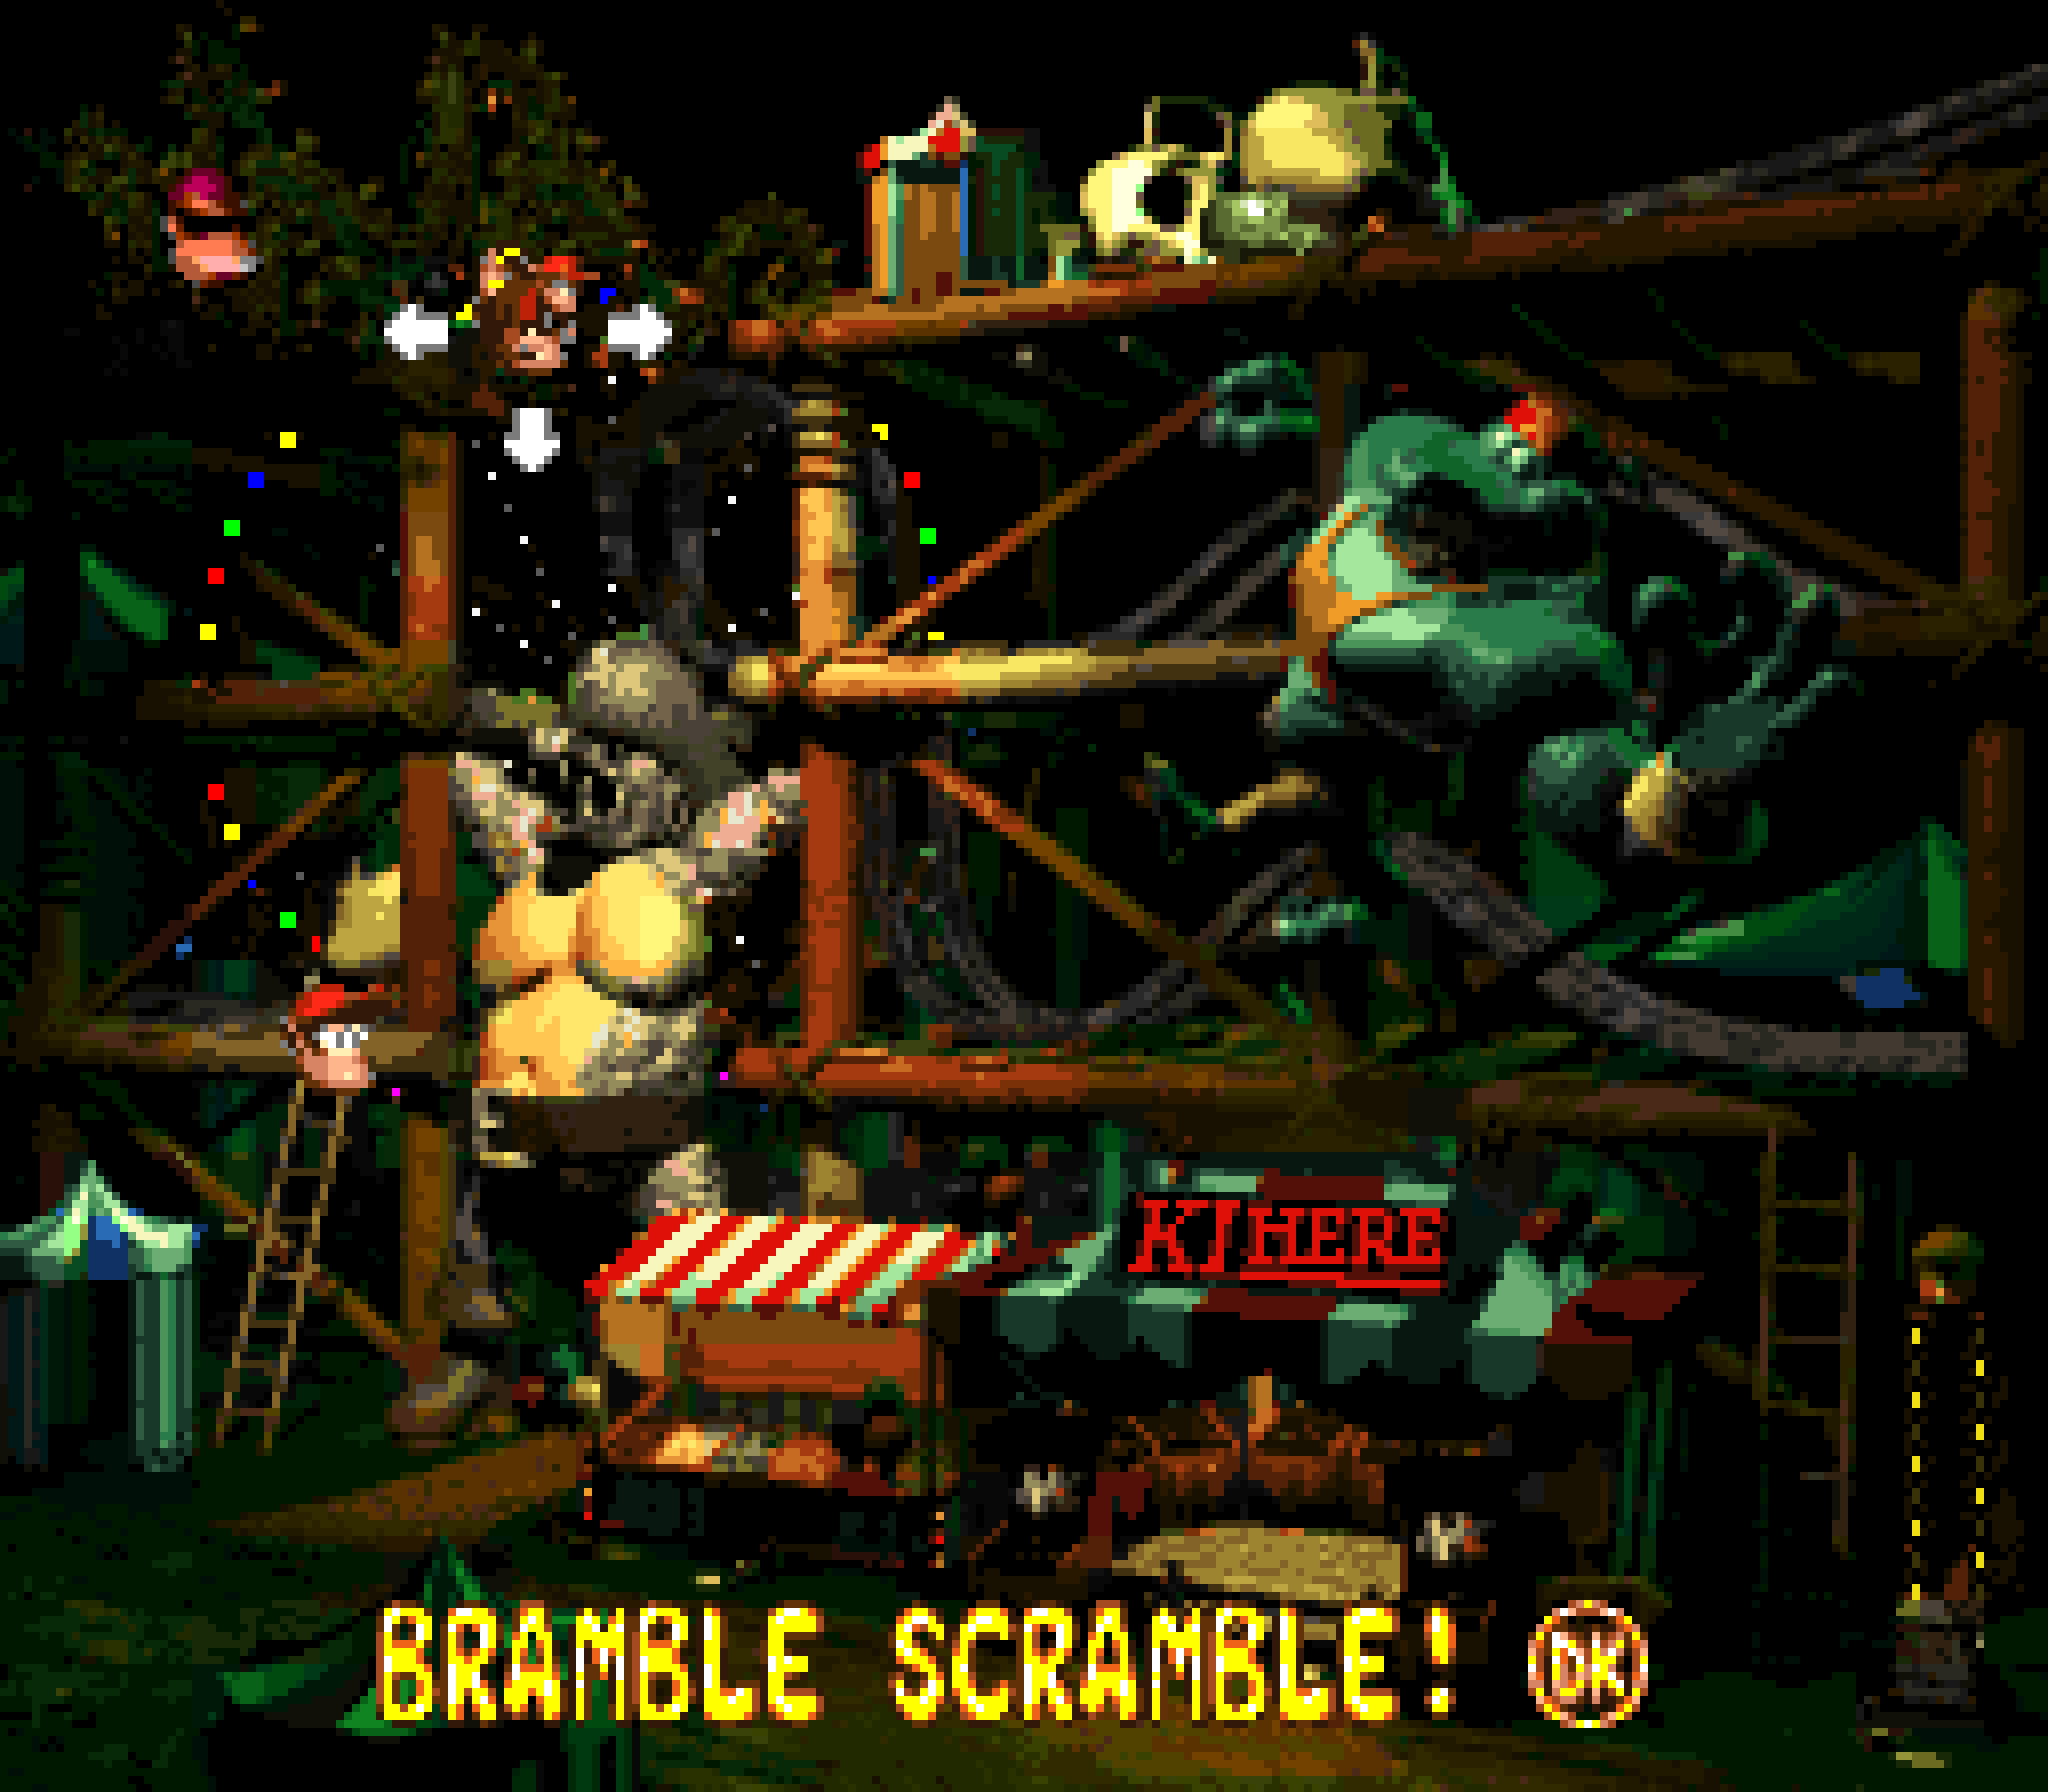
Much as when people think o’ the 1st DKC they think o’ the mine cart levels or, to a less extent, “Snow Barrel Blast”, when people think o’ DKC2, they think o’ the bramble levels with their famous symphony music; & they don’t just think o’ any bramble levels, they think o’ the infamous challenge o’ navigating thru thin passages bordered by bramble walls & battling bees with the parrot animal buddy. What they’re thinking o’ is the 1, the only, “Bramble Scramble”. After all, what makes “Stickerbrush Symphony” so famous is the mood whiplash o’ having such a saccharine song mixed with such hard levels. But “Bramble Blast” wasn’t a very hard level — in fact, ’twas a breather level compared to all the other levels in its world. No, when people are thinking o’ brutal bramble levels, they’re thinking o’ “Bramble Scramble”. If players don’t consider “Red-Hot Ride” to be a sharp difficulty jump, they will definitely consider “Bramble Scramble” to be so, specially ’mong the relatively mellow rollercoaster & beehive levels. While “Squawk’s Shaft” went easy on players, allowing them to get used to Squawk’s controversial controls with dangers that could be easily rushed past, “Bramble Scramble” with its tighter passages with damaging walls on all sides & mo’ complex obstacles makes no such concessions.
For instance, while “Squawk’s Shaft” positioned Mini-Neckies in a wide-open vertical passageway so that you could rush past them, the Mini-Neckies in the horizontal passageway near the end o’ “Bramble Scramble” are right in your way: you can either dispatch them with an eggshot or carefully maneuver yourself in the very tight space ’tween them & the farthest bramble wall, & if you don’t react quickly ’nough to their sudden divebombs downward, you will be hit.
Tho, I want to note that the level designers did find a way to callback to the Mini-Necky section in “Squawk’s Shaft” with the Mini-Neckies round the vertical vine just after the midway point you climb without Squawks. Similarly, you can just rush straight upward & ignore them. It’s no major loss, since if you take the alternate hero coin path, you’ll skip this section, anyway.
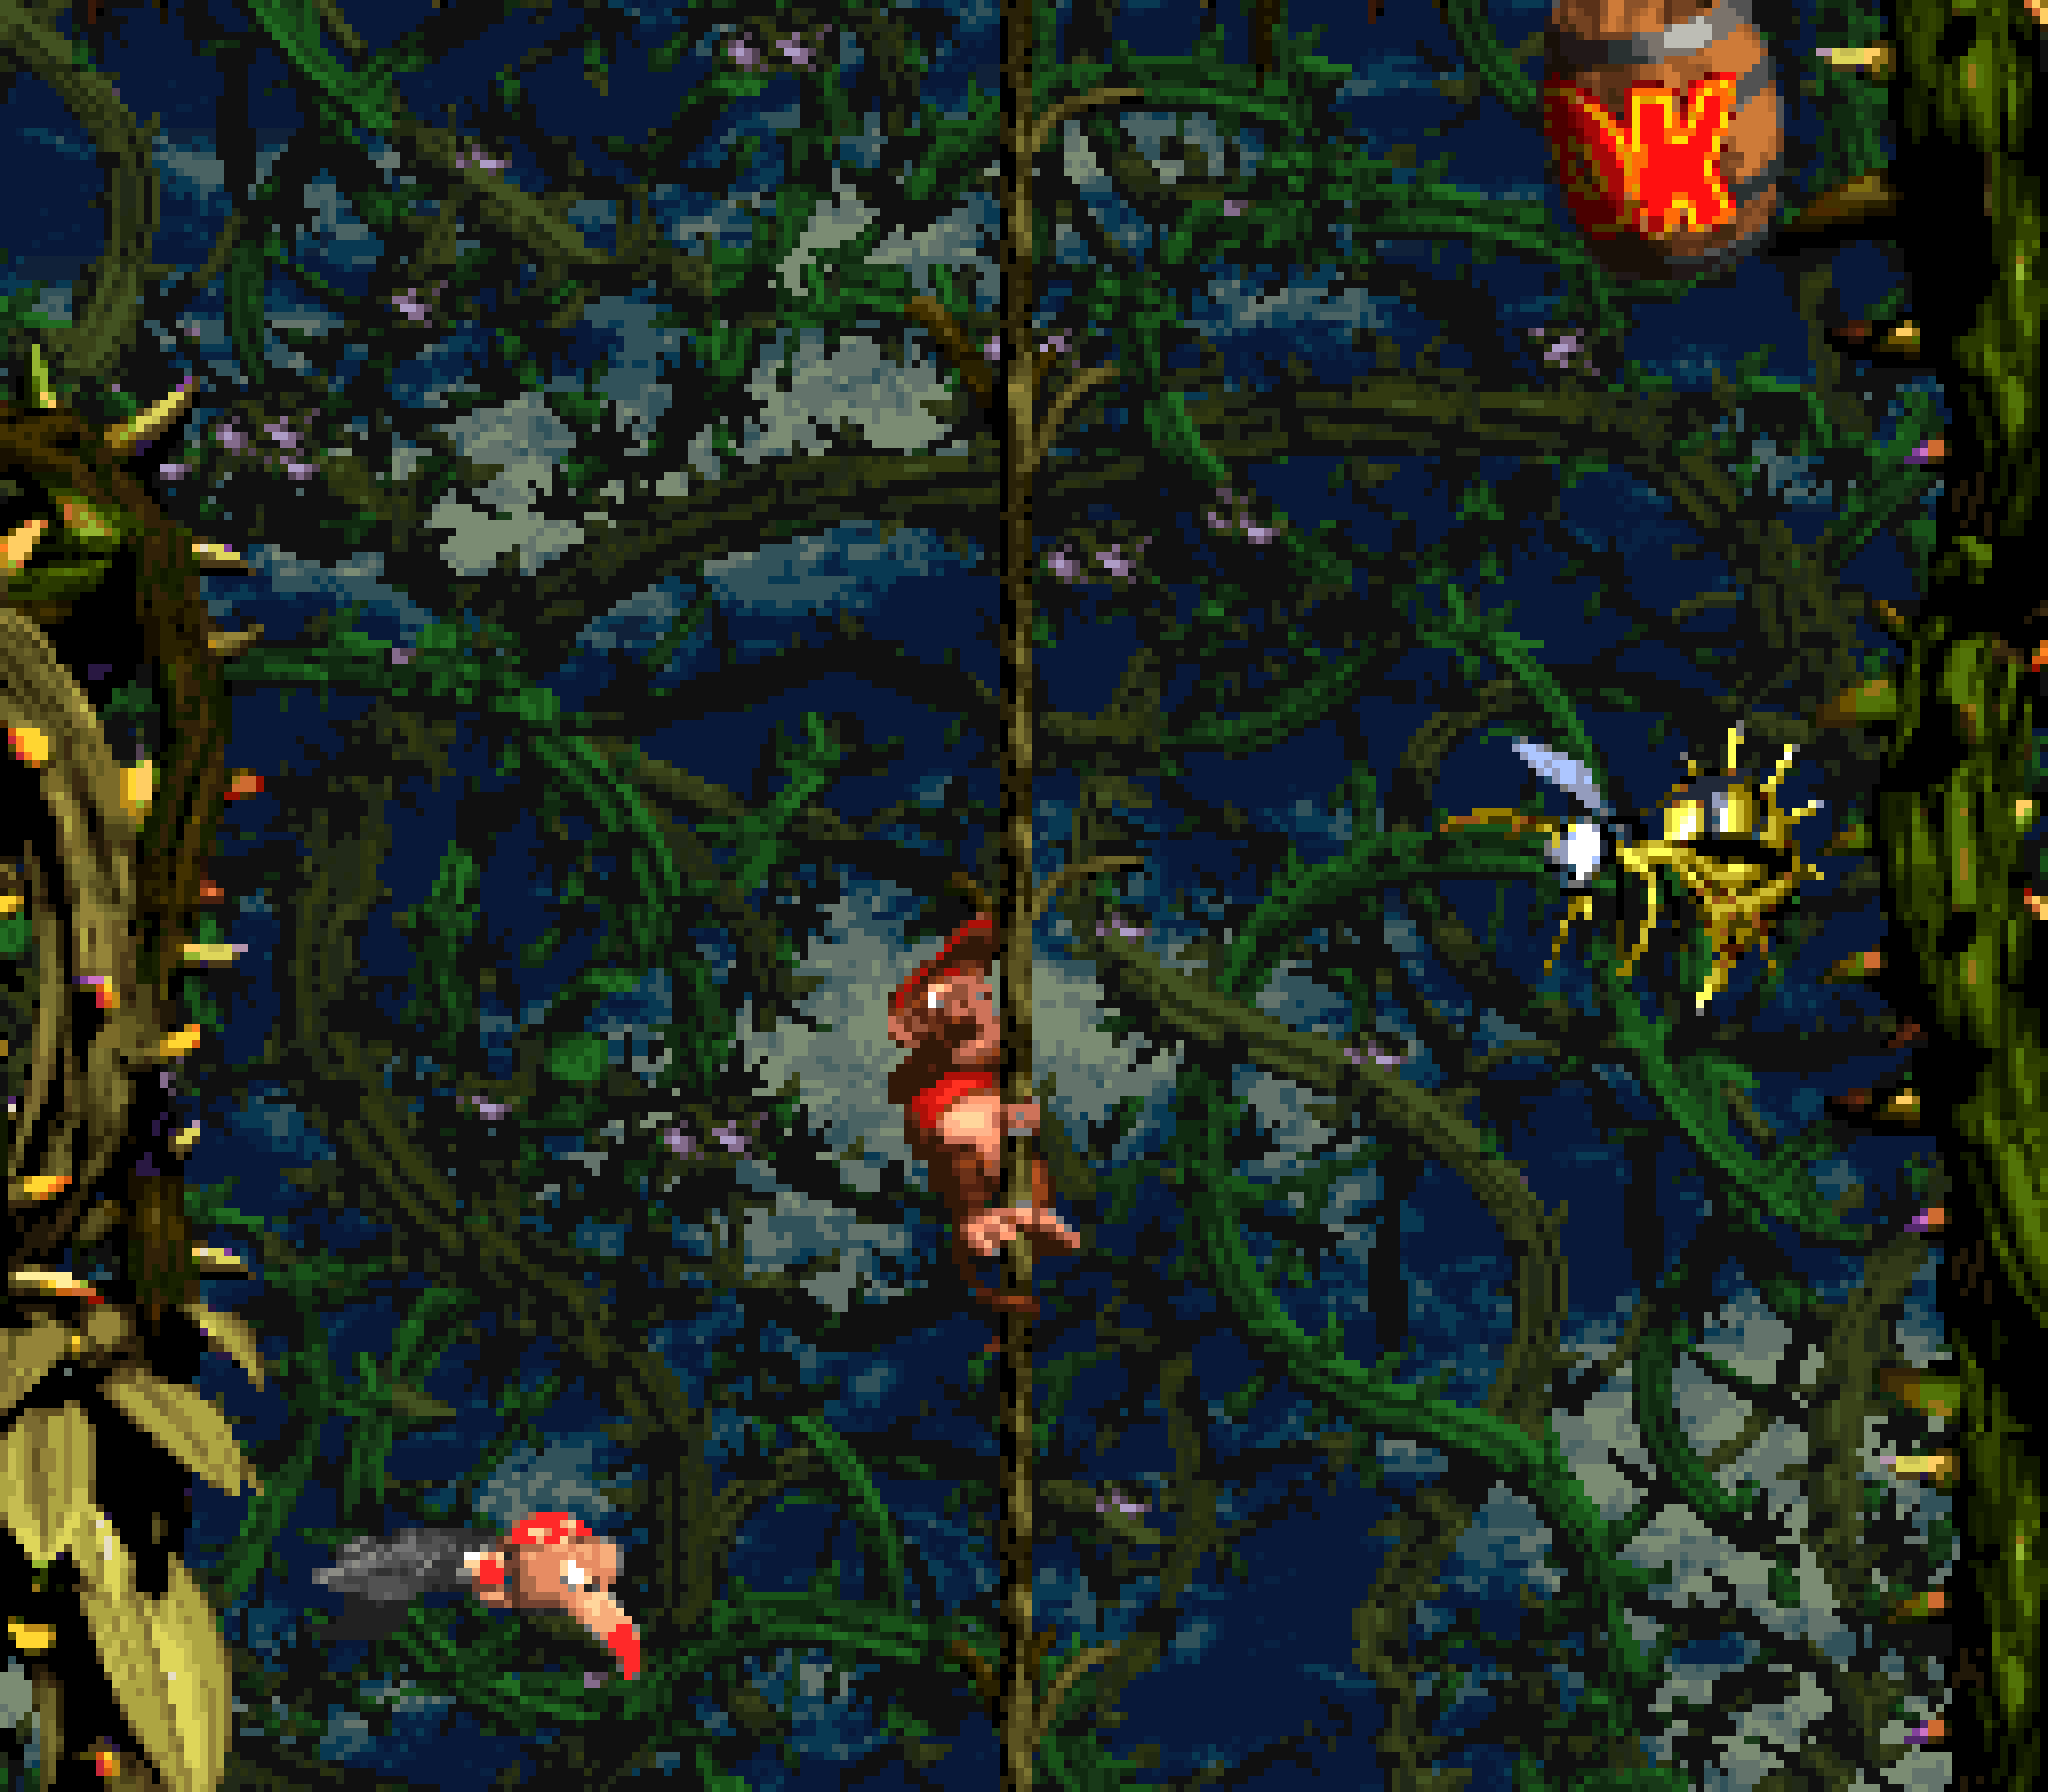
Really, this level is packed full o’ interesting setpieces. For example, I always found the opening very memorable: you’re met with a split path going either left or right, a rarity in DKC games. If you jump o’er the low bramble wall — which is quite a tight jump — you find a hidden K. Unlike the vast majority o’ levels in DKC games, the main path is to the left. “Bramble Scramble” shows its hand immediately by having a Krook right in your path, where they can easily ambush the player, tho they also help the player by offering extra height for the jump o’er the bramble floor just afterward. Then, after that, you have a tight jump ’tween a Zinger & a low bramble wall & have to race ’long the horizontal vine past the synchronized pair o’ Zingers moving up & down while they’re up ’bove the vine. Tho “Bramble Scramble” is known for its Squawks sections, its regular sections with just the Kongs are also great & work as palate-cleansers to keep the level from feeling too 1-note or monotonous. The level wouldn’t be nearly as effective if it just started you out with Squawks right @ the beginning.
After the midway point & the aforementioned Mini-Necky section on a vine, the vines continue with sections where you have to dodge Kannons’ cannonshots, including 1 wherein you have to go toward the Kannon shooting toward you while racing from under safety hole to safety hole so you can jump up into the safety holes before the cannonshots reach you, followed by a section with a low bramble ceiling with Klick-Klacks, whom you need to roll thru, since the ceiling is so low, but not too far to hit the bramble wall @ the other end.
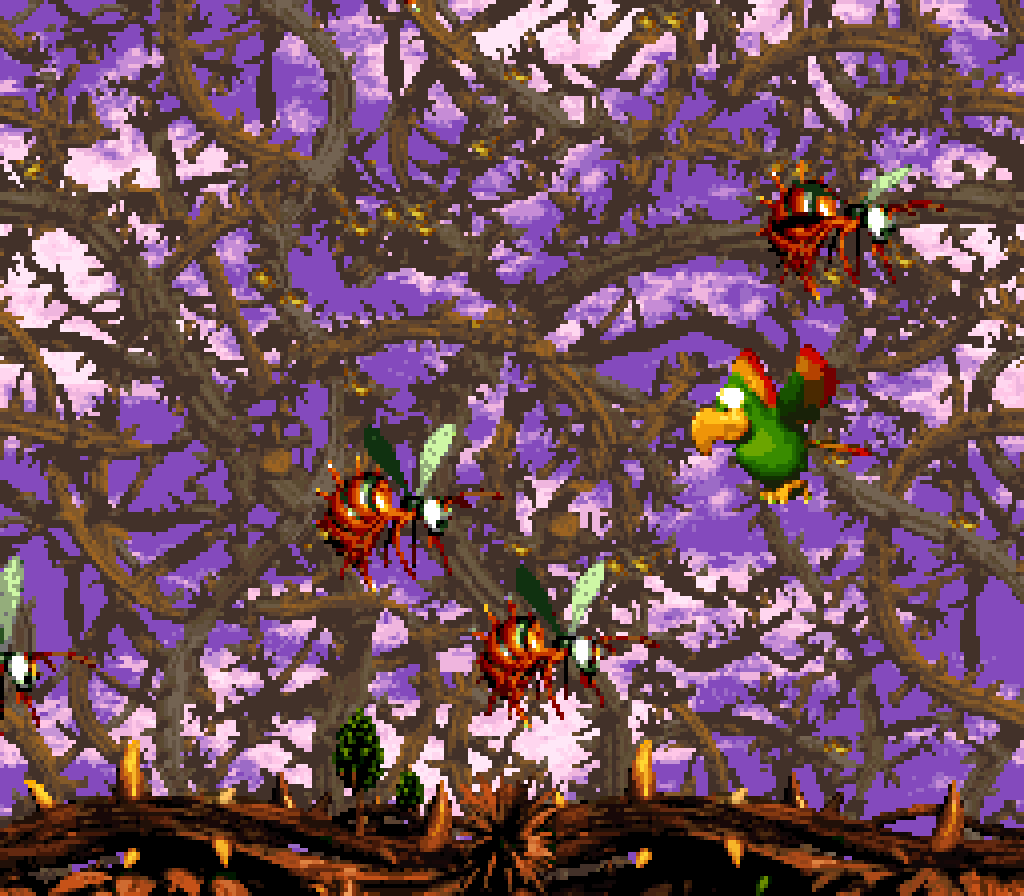
& then you have the bulk o’ the level, the Squawks sections, which employ a variety o’ enemies & obstacles in just ’bout e’ery meaningful way. Admittedly, there are a few obstacles that didn’t need to be there: going up the vertical shaft guarded by the 2 Krooks doesn’t feel all that different from what you did in “Squawk’s Shaft” — tho the Krook whom you have to dodge downward is a much harder obstacle, since you can’t just dispatch them with a spit egg from below, which makes me wonder why this comes before the 2 Krooks going upward. I’m also not sure if the colony o’ Kloaks @ the end o’ the level make the most compelling conclusion, tho I s’pose the way they throw crates @ you @ an angle is a bit different from, say, the Krooks, tho I would say they’re easier, since you can just bust the crates with your eggs. But these are nitpicks & the vast majority o’ setpieces in this level feel like you would lose a lot if they were taken out.
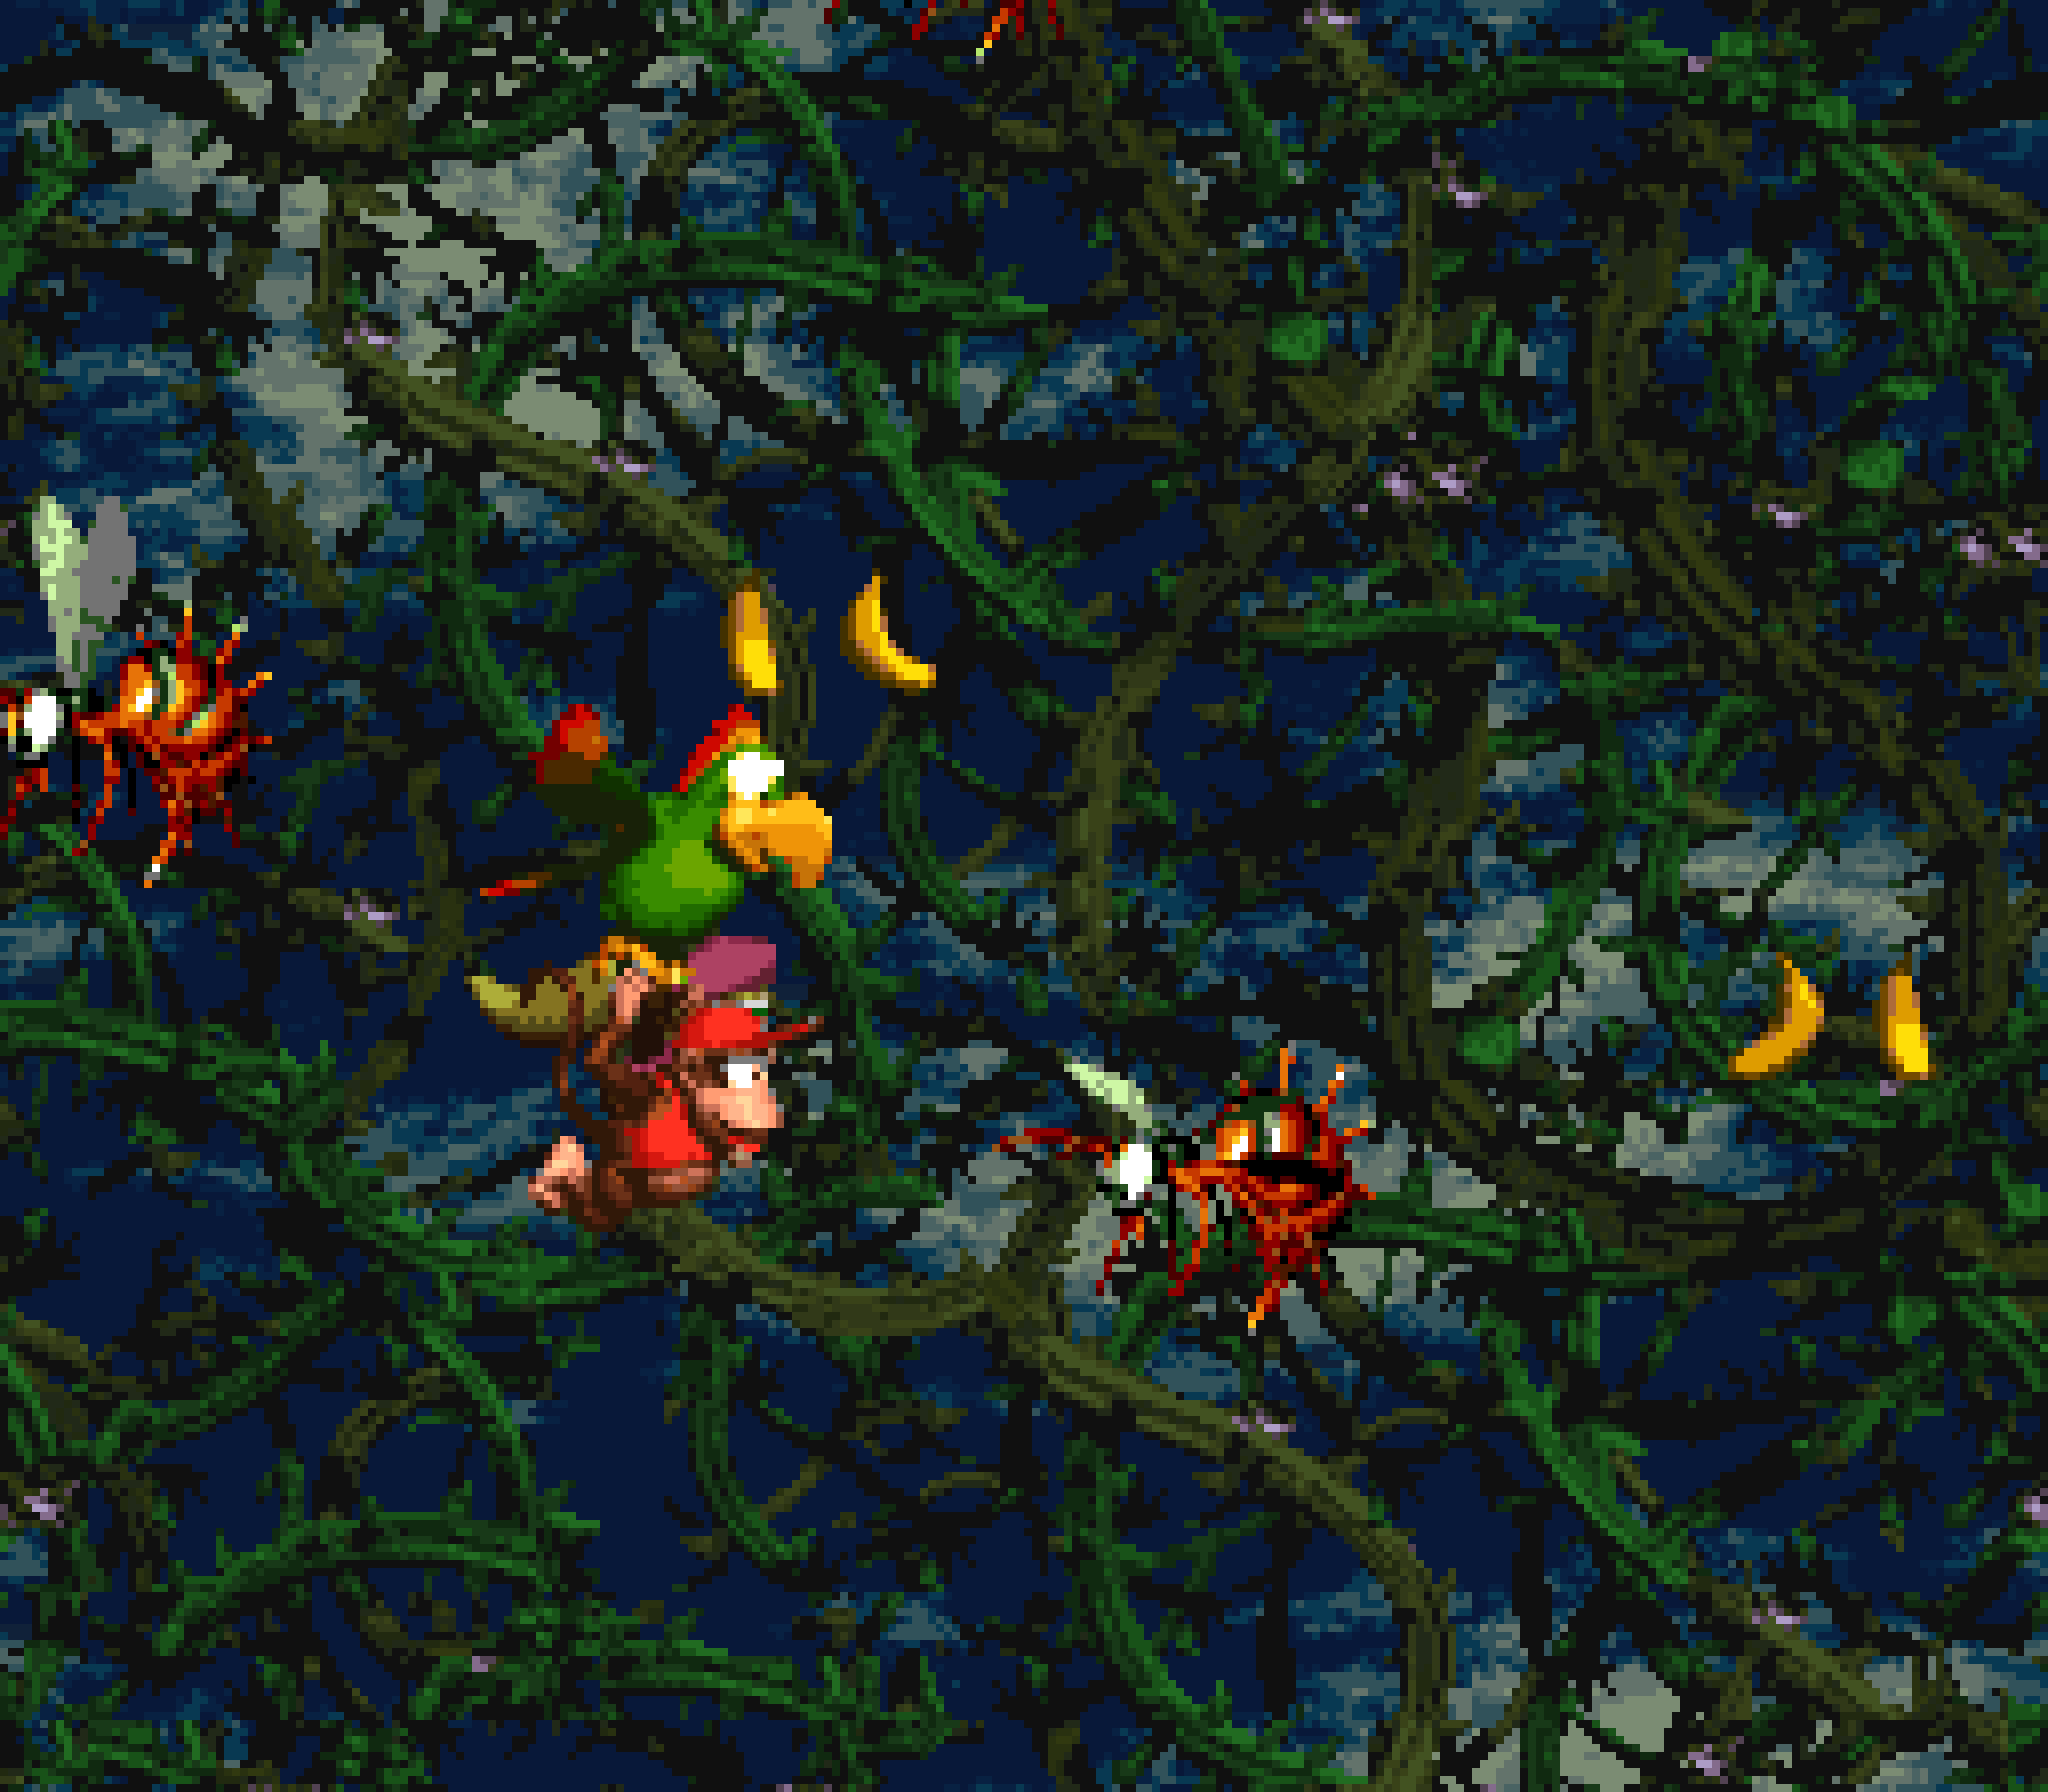
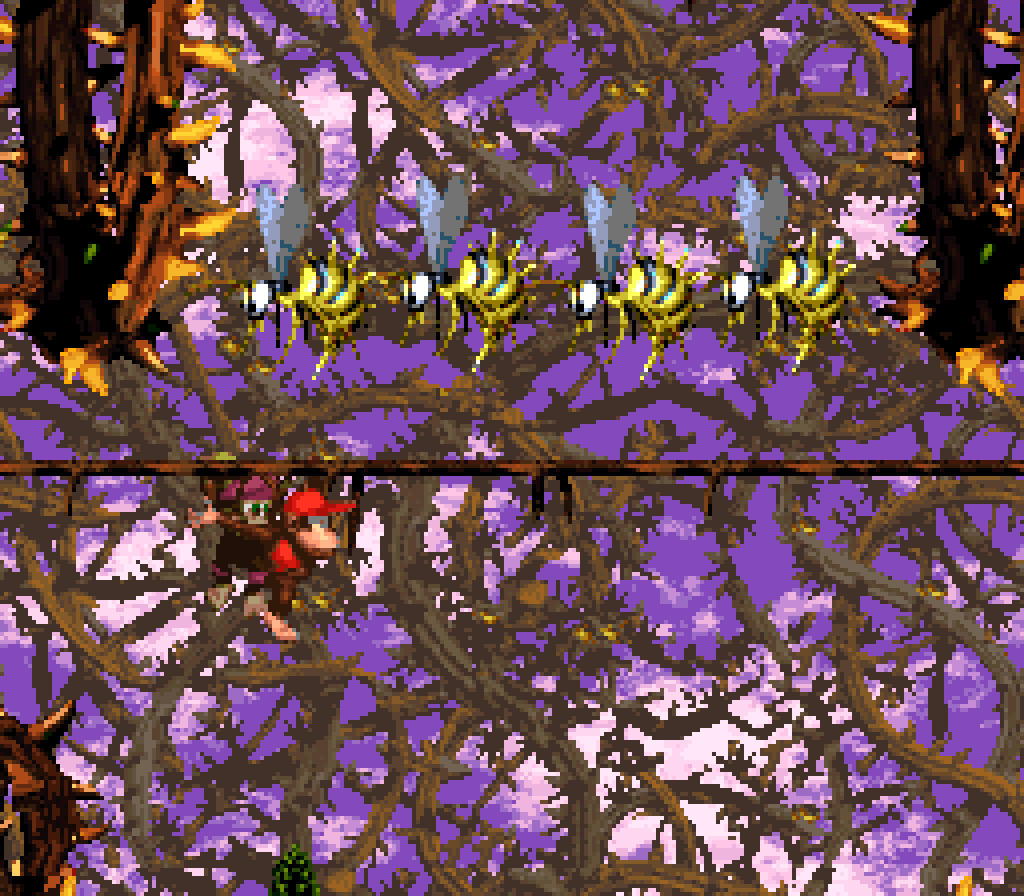
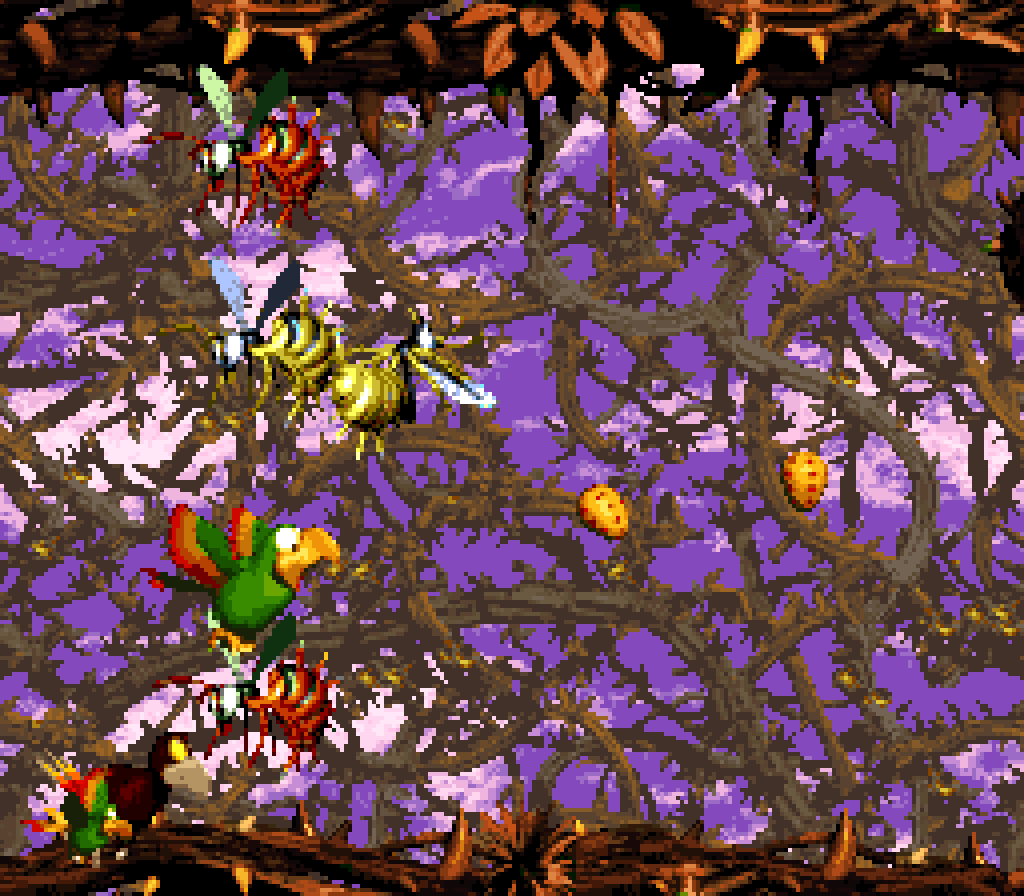
E’en the Zingers, who are probably the most common enemy in the trilogy, are put in all kinds o’ memorable patterns to keep them from getting stale, specially the way this level mixes the yellow Zingers, whom you can dispatch with eggshots, & the orange Zingers, who are invincible & can only be dodged. For example, right after the early Flitter swarm are a column o’ Zingers going back & forth, blocking a passageway, the top o’ which is yellow & the bottom orange. Now, the player can squeeze in, thanks to the opening in the middle o’ this passage @ the top; but players can also eliminate the top Zinger to give mo’ breathing space.
Much later in the level there’s a twist on the aforementioned Flitter swarm, but this time with a mix o’ yellow & orange Zingers flying toward the player. ’Gain, players can squeeze thru the thin space ’tween them all to get thru without harming anyone, but players can give themselves extra space if they can quickly identify which Zingers they can defeat. Before this the player has already had to warm up to squeezing thru tight spaces, albeit with stationary Zingers, as this earlier swarm is nothing but orange Zingers, forcing the player to finally rely completely on their maneuvering skills & not being able to use their weapon as a crutch.
Scattered thruout the level are rings o’ Zingers going in a circle. The 1st iteration, not long after the start, not only give plenty o’ space to go thru, but also have 2 o’ the Zingers be yellow, & thus removable. Later, you will have to go round tight bramble passageways with circles of only orange Zingers, 1st going in a half-circle from 1 end o’ the circle to the other, while a later version makes you go round the whole circle before the orange Zingers spin round, as there’s a stationary orange Zinger blocking the opening just 45° from the opening.
Tho this level is technically linear, this level takes advantage o’ Squawks’ flying to make a mo’ interesting path that twists all o’er the place as you go from the bottom right to the top right — e’en mo’ twisty than the zigzag S-shaped serpentine path that most levels that don’t just go from left to right go in DKC games. In fact, the only other levels I can think o’ that have paths as weird as this level’s are the other bramble levels. That said, this level does offer 1 branching path: after the 1st ring o’ Zingers there’s a Kannon in a bramble cage shooting cannonballs downward. The player can try to dodge the rhythmic pattern o’ cannonballs while going the lower path or try to squeeze thru the narrower path @ the top & get some extra bananas… or you can just shoot an egg @ the Kannon, as your eggs can go thru the bramble walls, & go under safely.
Speaking o’ bananas, this level has some weird niches with bananas & banana coins, like the 2 banana coins in the tight bramble area just ’bove the topmost Krook in the upward passage. ¿Why would anyone take the risk & time to squeeze thru those bramble walls for 2 banana coins when this game throws banana coins @ you? Similarly, @ the bottom o’ the Flitter swarm there’s an easy to miss secret passageway blocked by a Zinger that leads to a bunch o’ bananas & a single banana coin — tho, to be fair, there’s also a DK barrel down there… which isn’t all that useful, since there’s also a DK barrel just after the very next obstacle on the main path. I guess if you’re really not confident in your ability to get thru that column o’ Zingers…
Surprisingly, such a large level only has 1 bonus, & it’s very easy to find. It would be hard to ignore the conspicuous invincibility barrel up in that corner near the start or the bramble path branching downward from the following path just afterward. It’s a cool way to integrate the rarely-used invincibility barrel with the bramble patches in a new way, tho it would’ve been interesting if they could’ve made the maze go a li’l longer to make it feel mo’ like an actual race — maybe e’en force you to jump up bramble platforms to reach the bonus barrel ’stead o’ just using a launch barrel to shoot you up to it.
As for the bonus itself… ¿remember when I praised “Target Terror” for having a bonus where you shoot out all the Zingers in a bramble patch with Squawks & how I said it would’ve been less interesting if ’twere in this level ’stead? Well, this bonus is basically that bonus, but you also have the collect the stars ’hind the Zingers. You know, maybe this bonus should’ve been the race thru brambles with the invincibility barrel.
But the absolute worst part o’ this level is the hero coin’s location: it’s the return o’ the magical solid-looking terrain that you can secretly move thru. In this case it’s a bramble wall just before the midway point, “telegraphed” only by a single banana on the other side. The problem is, that doesn’t telegraph that you can go thru the very-solid-looking bramble wall @ all. As mentioned, this level twists in all different directions: the most logical assumption when seeing that banana is that there’s an alternate route to reach the other side & this just hints that that alternate route exists somewhere. As if that weren’t ’nough, you need to go thru a 2nd magical move-thru bramble wall to reach the hero coin itself. Nor can you go thru the whole wall: you have to guess to go thru the very middle part or you’ll get hit. Taking this alternate route also skips the Kannon parts on the vines… which is very disappointing, as those setpieces are far mo’ interesting & better designed than this pointless section where you play as Squitter for a minute or so. It’s very disappointing that an otherwise excellent level is bogged down by such a lame hero coin area. With all the nooks & crannies that could’ve been hidden in this complex bramble maze, this level begs for a better hiding place.
O’ all the extra niches for hiding the feather ( like that aforementioned pointless thin passageway with the banana coins ), it’s odd that they just put it in some passageway guarded by Zingers, not hard to find, & not hard to get, as the Zinger who’s in the way can be dispatched by an eggshot.
For the photo, which is o’ Diddy, they added a Diddy-only barrel near the beginning that you can shoot into by aiming right after shooting upward from the moving barrel cannon ’stead o’ left. Kinda weird, but certainly interesting, & “Bramble Scramble”, as famous as it is, is hardly the worst level in which to place the main character’s photo.
This level’s palette is slightly darker & dimmer than “Bramble Blast”’s, with a darker blue sky, which gives a mo’ menacing cast to this mo’ menacing level. I think it’s s’posed to be night, which would fit with the night skies in the other “Krazy Kremland” levels, but the bright clouds make that questionable. As a kid I ne’er noticed ’twas s’posed to be night, & this may be why. I think they should’ve made the skies darker — maybe dark purple or e’en black.
The GBA version looks completely different, with a bizarrely green sky & way brighter, mo’ saturated brambles. I’m guessing this is to fit in with Kremland now being @ daytime for the same reason as the rollercoaster levels. While those levels’ sunset background could be said to have a charm to them, this green background mixed with the similarly green brambles just looks terrible. ¿They couldn’t think o’ anything better?
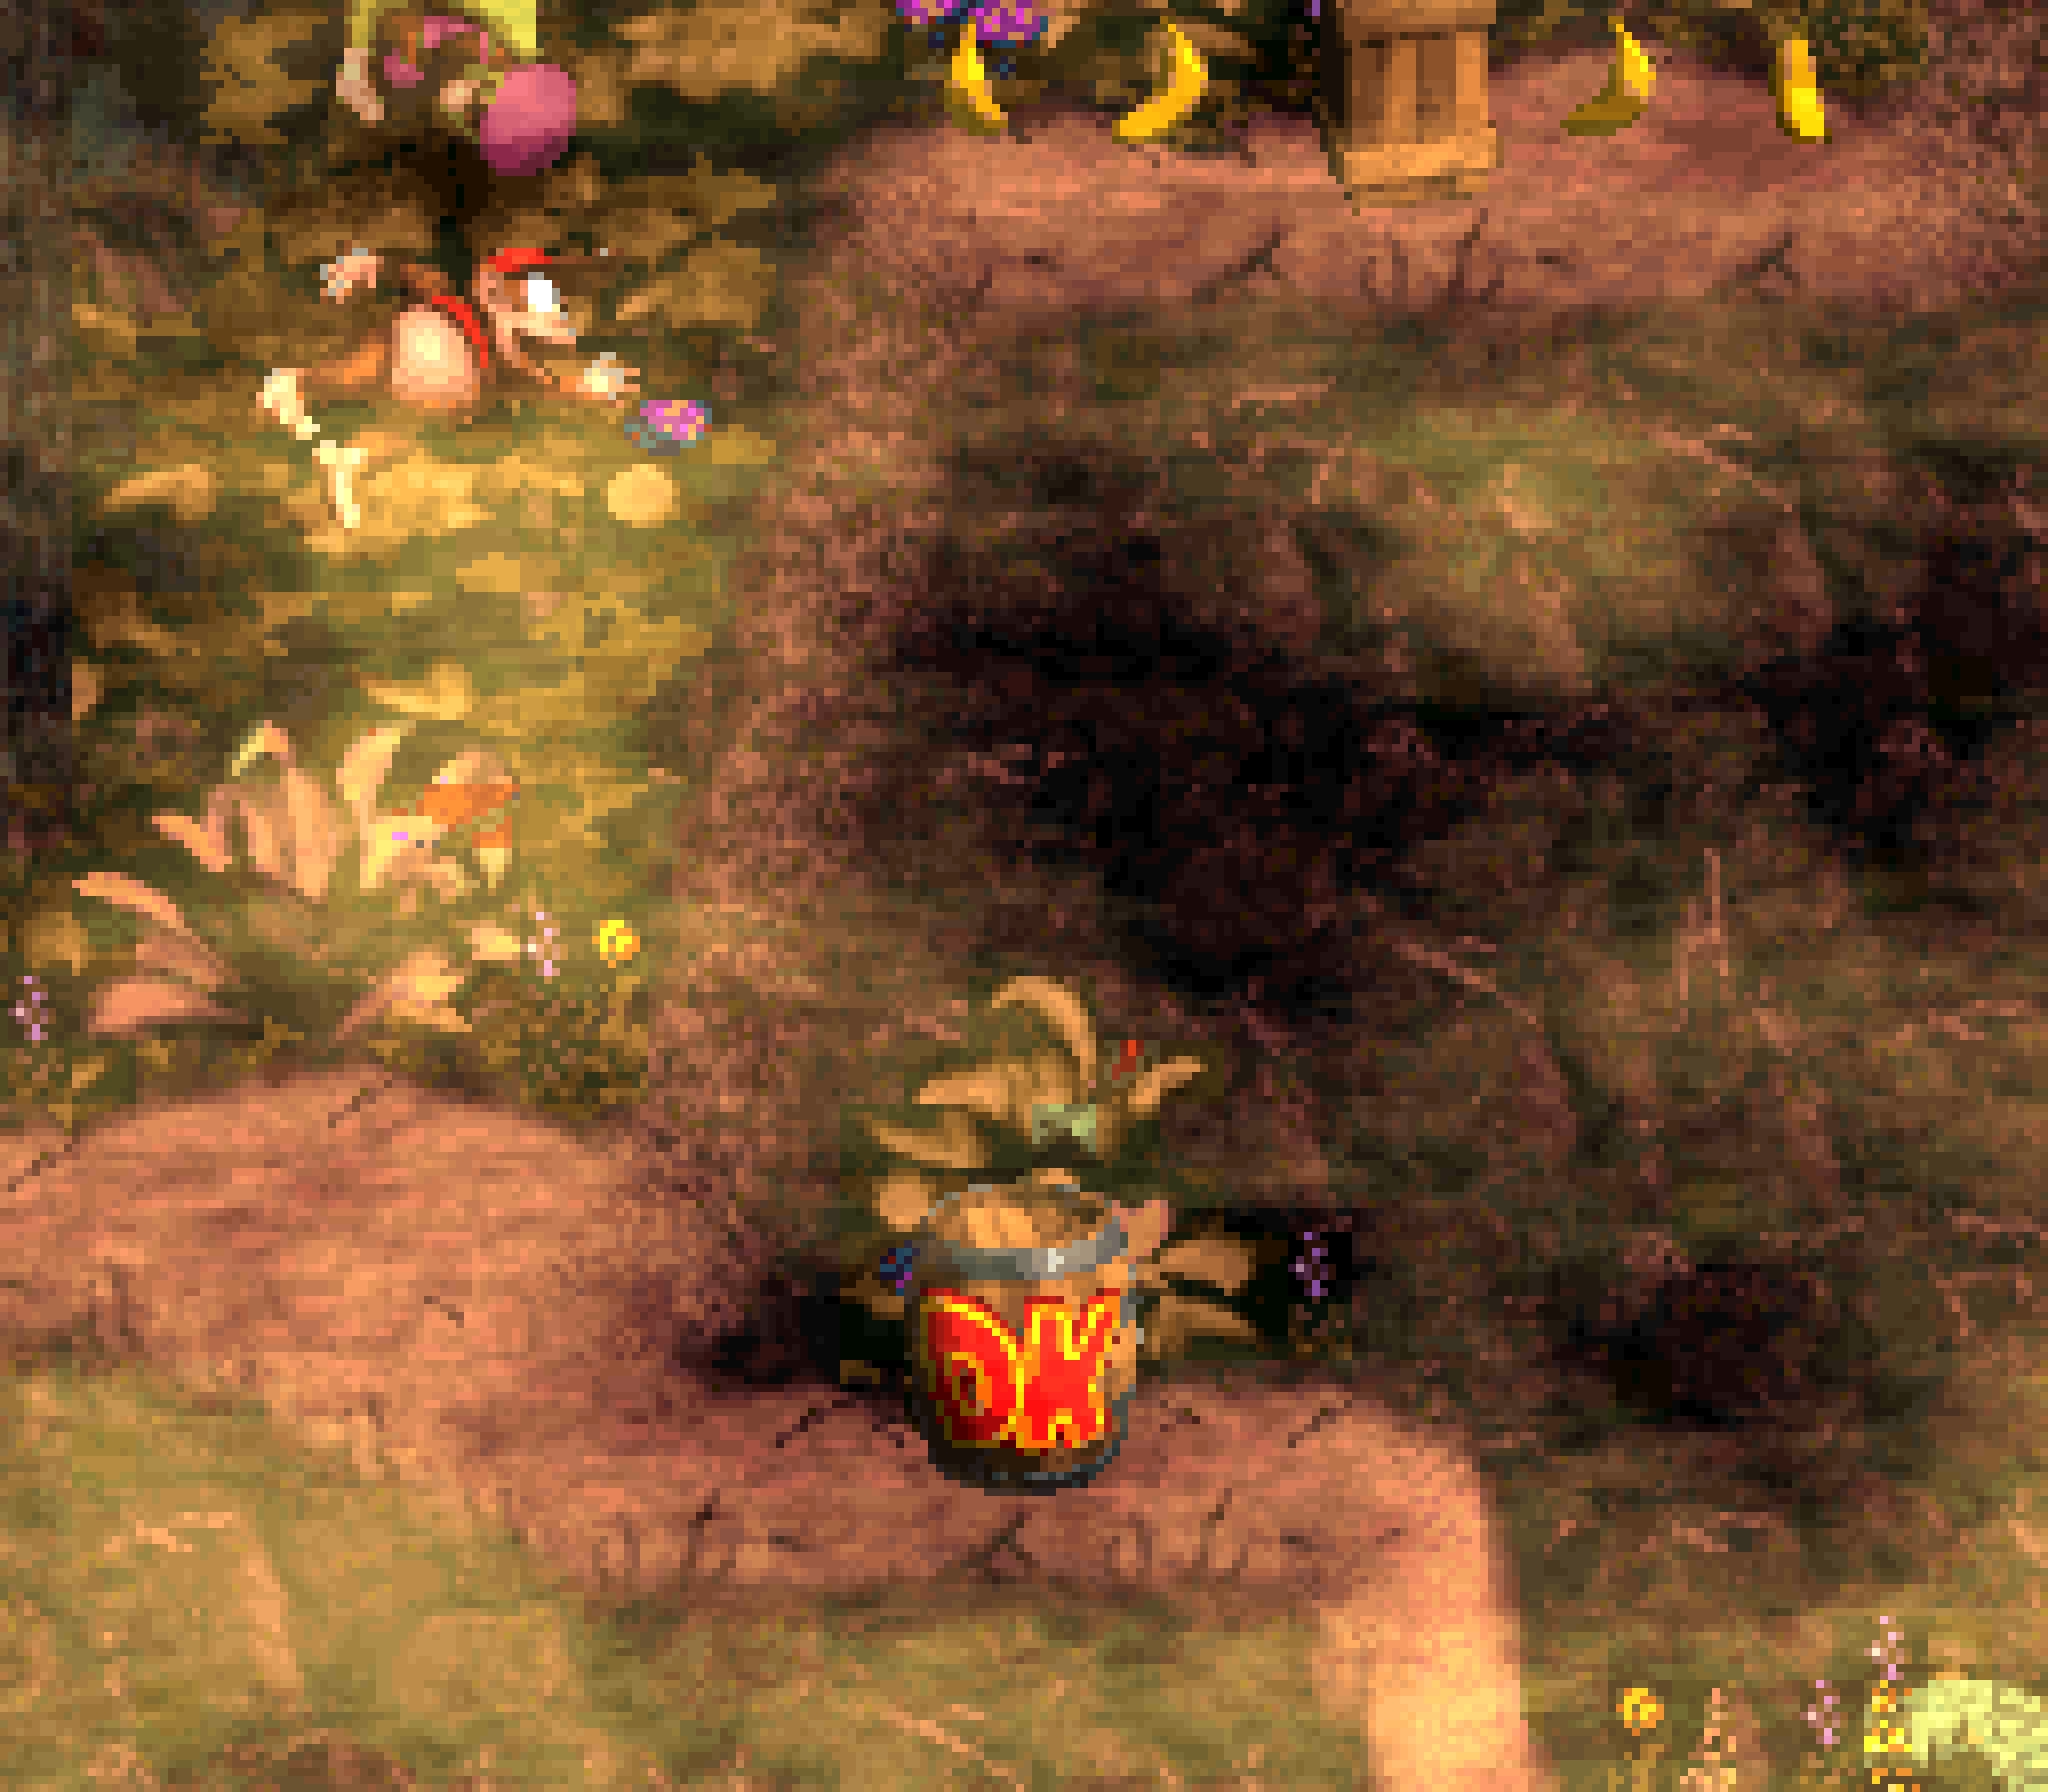
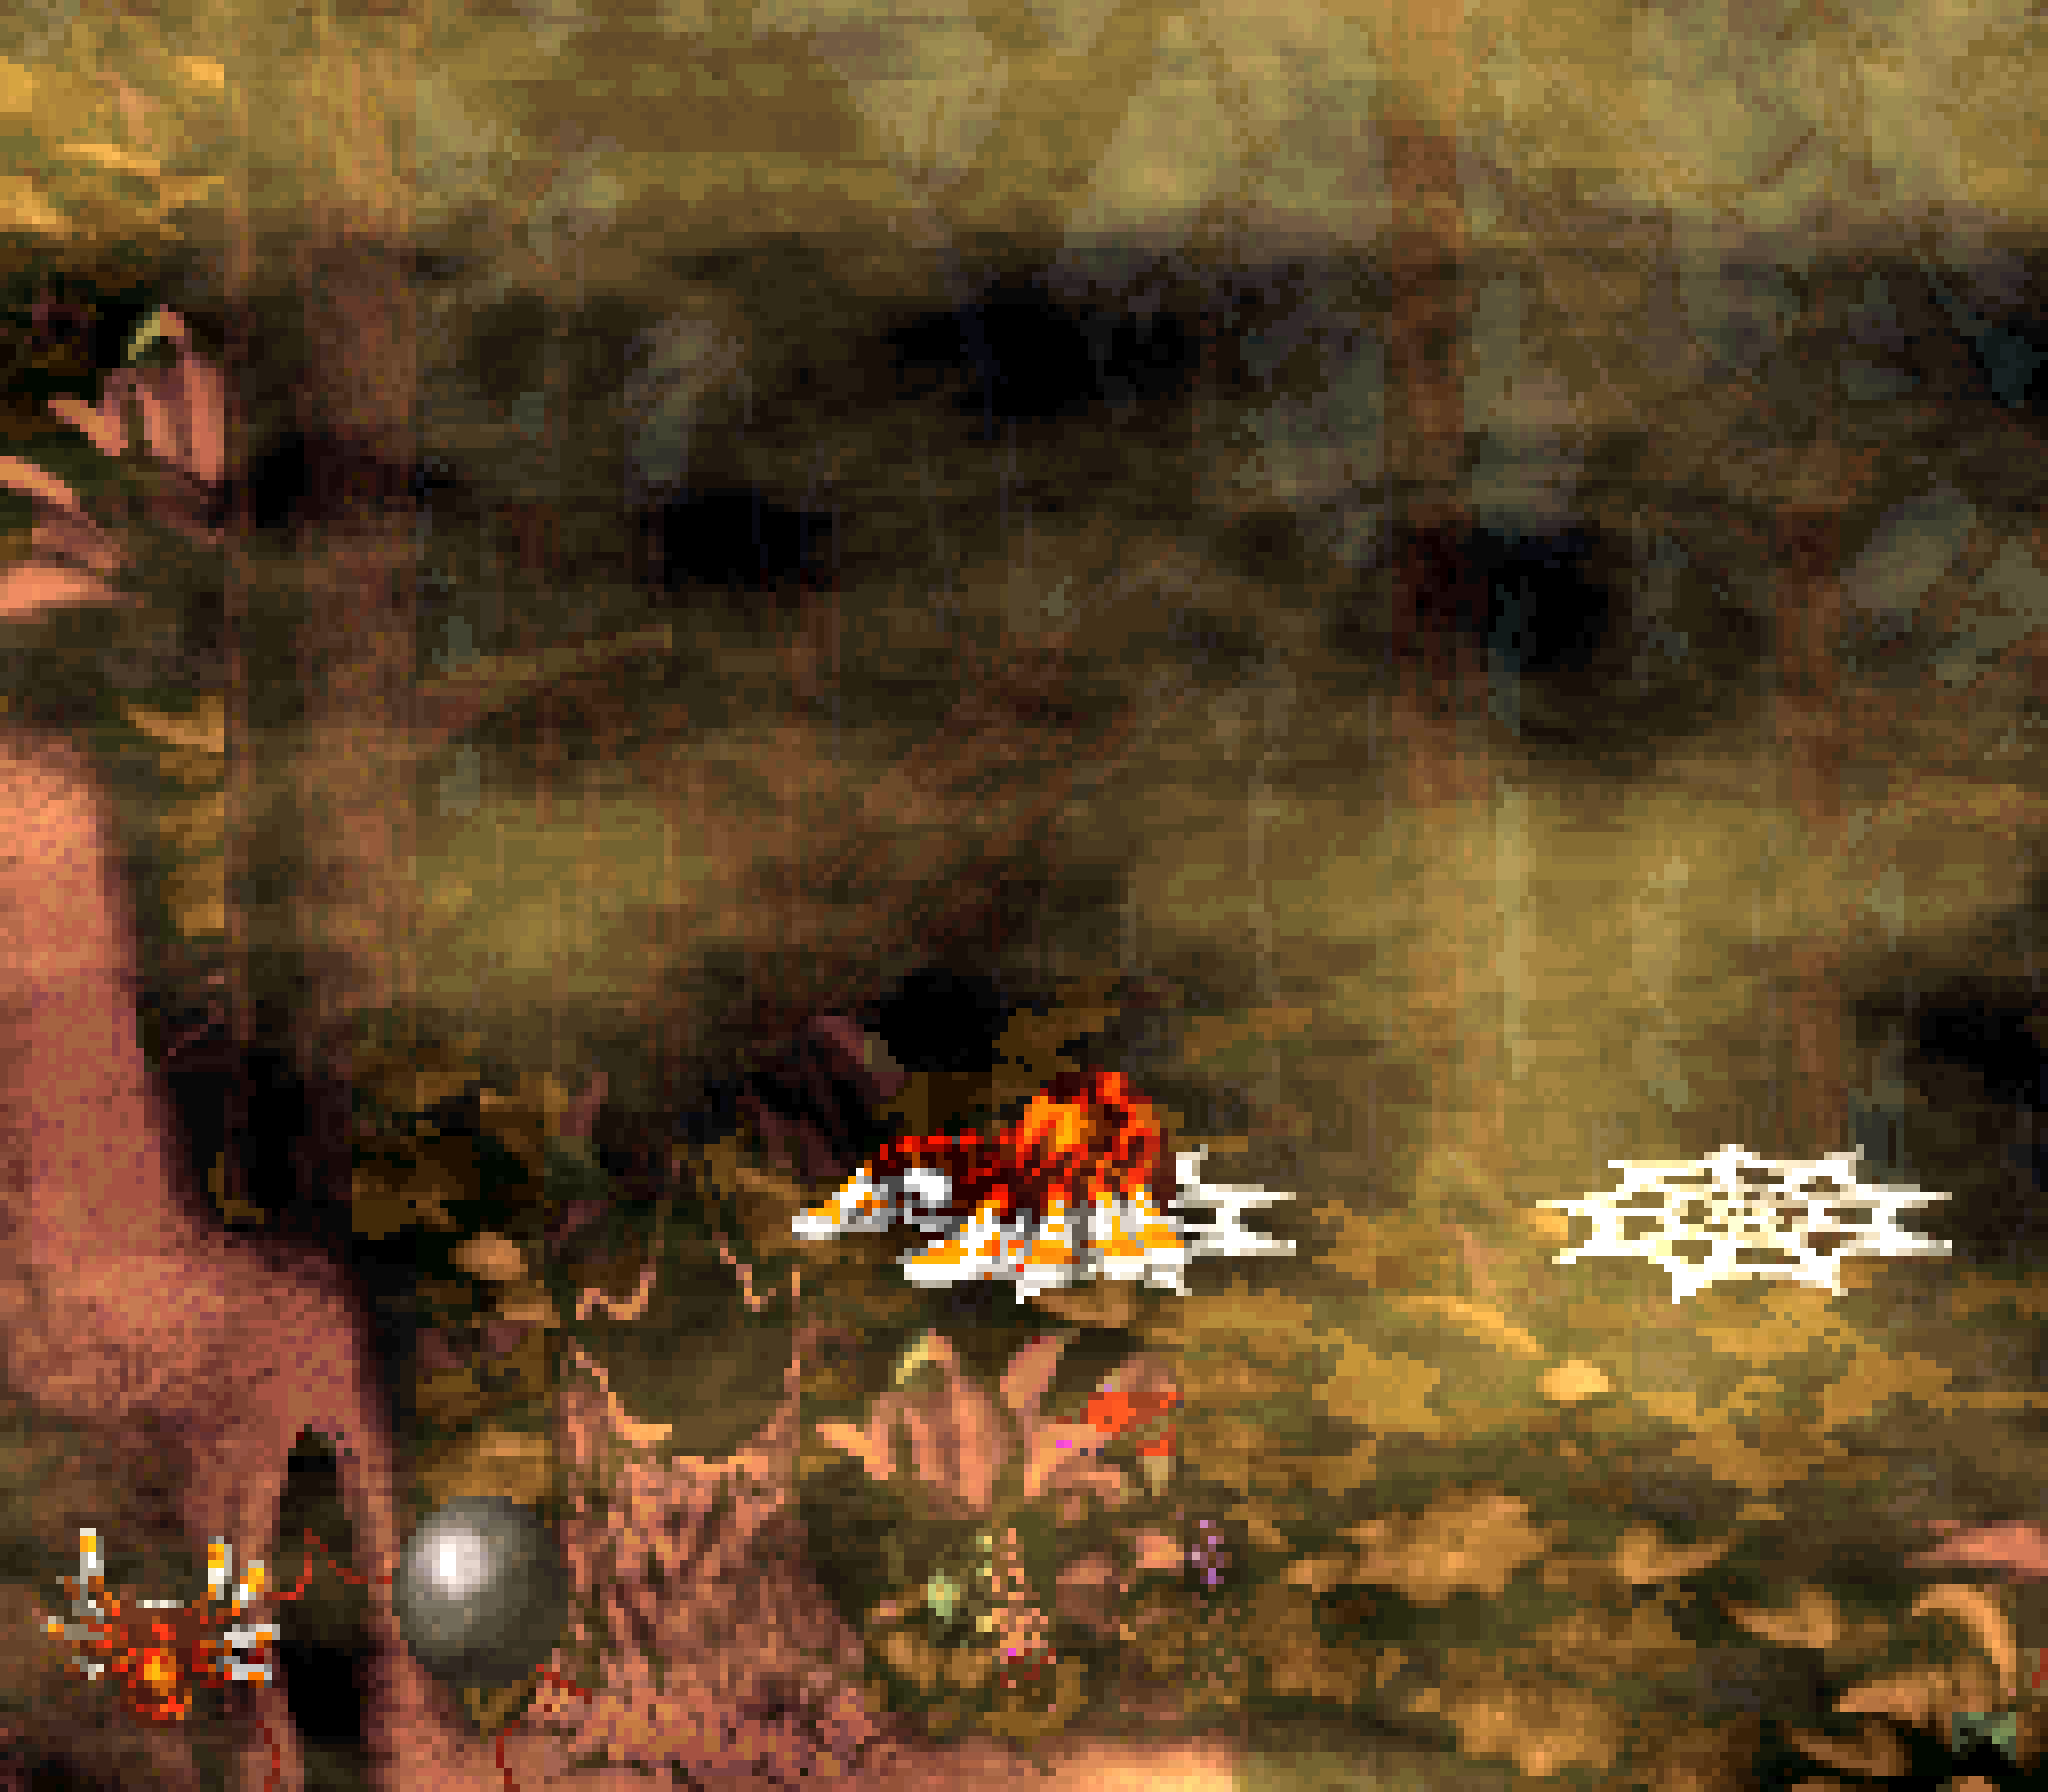
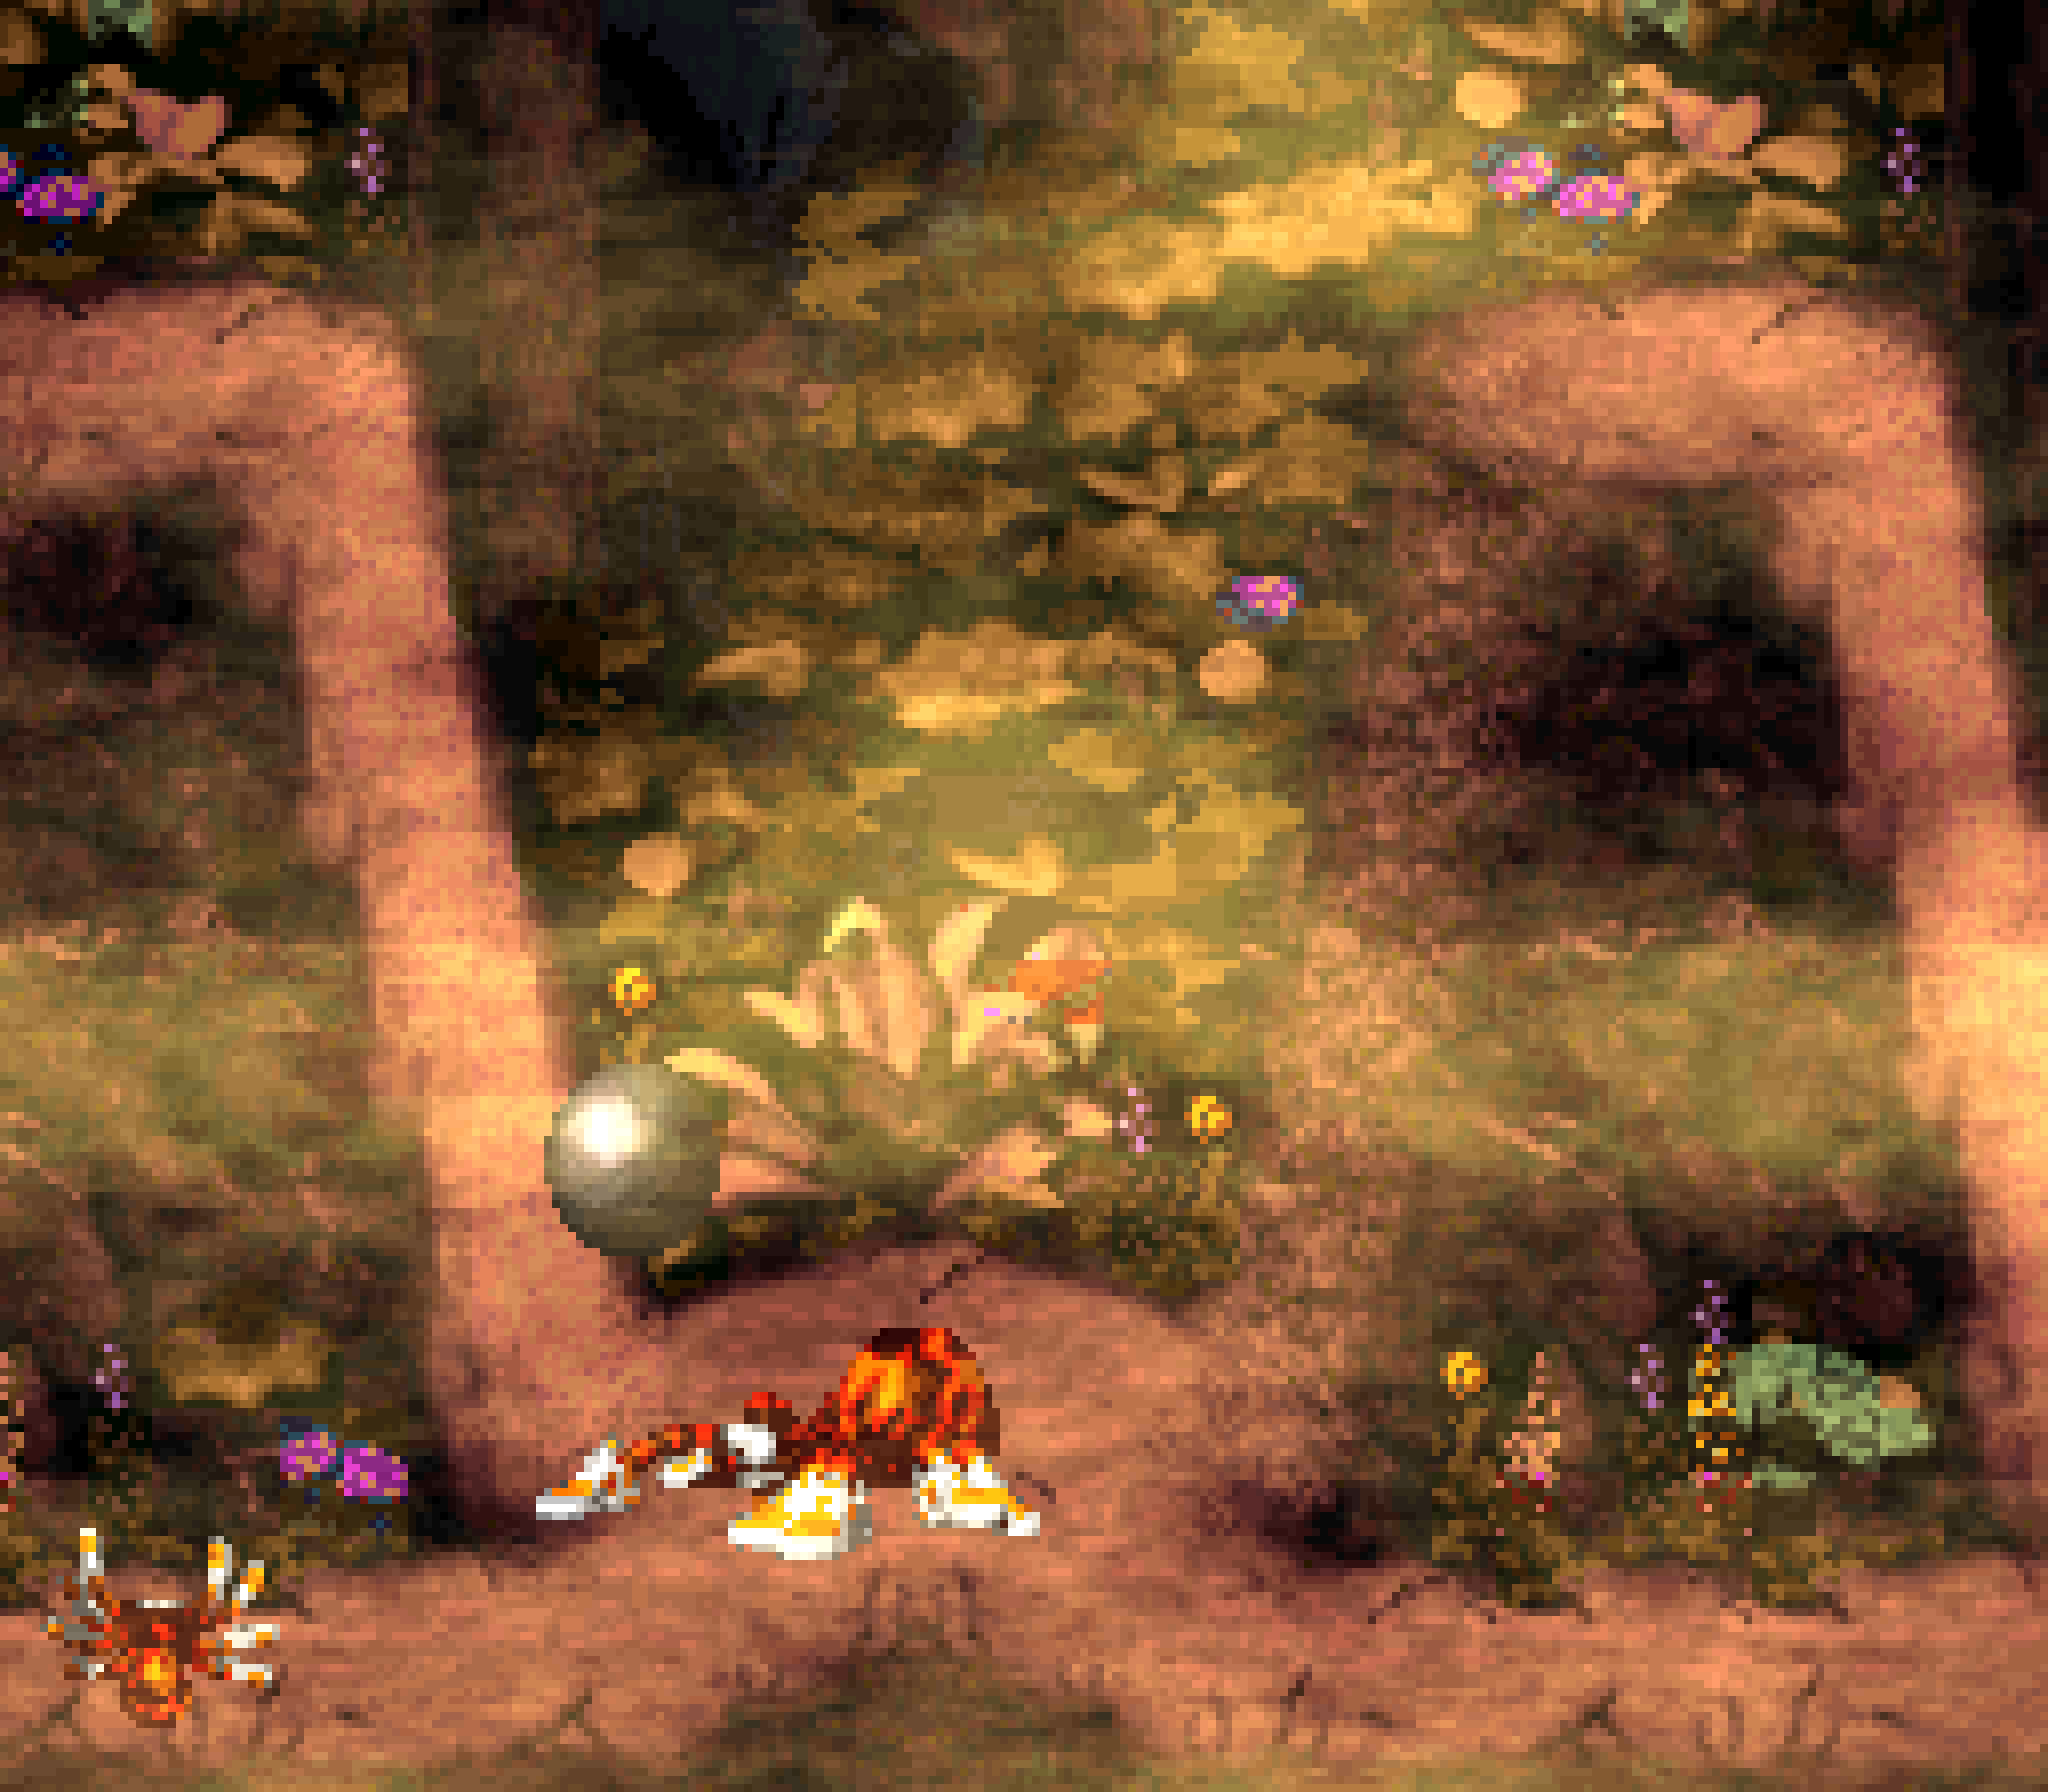
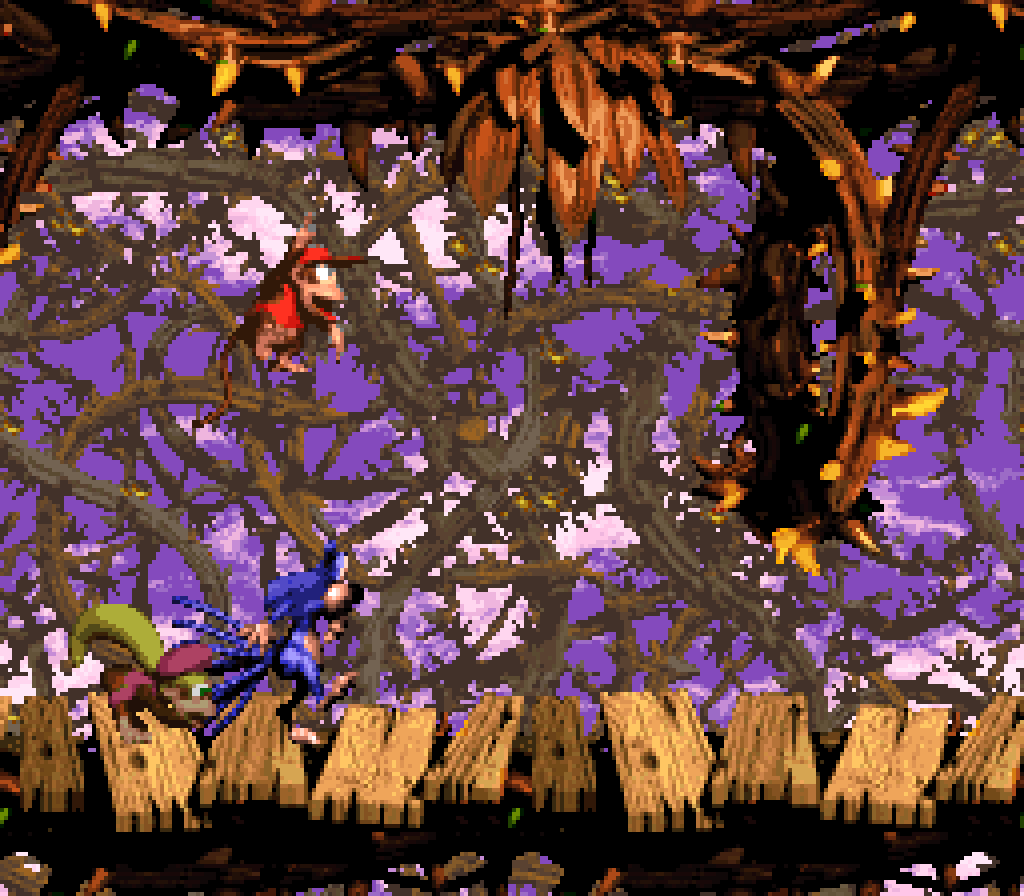
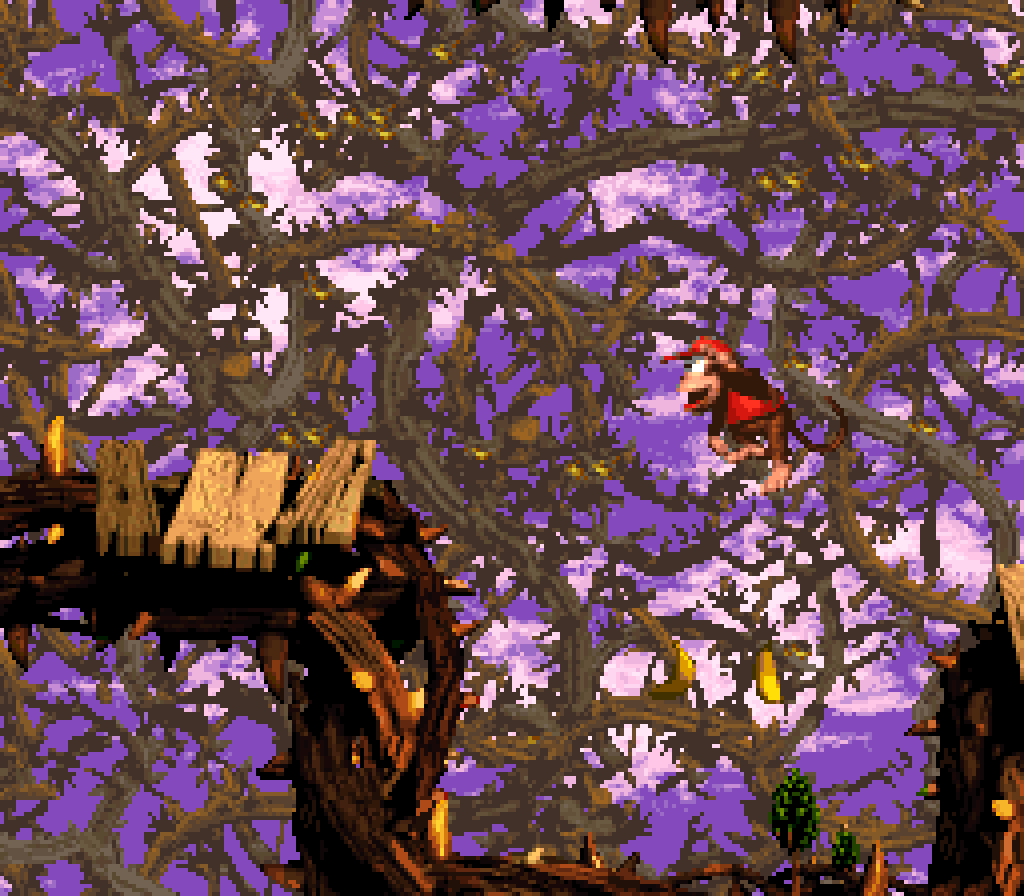
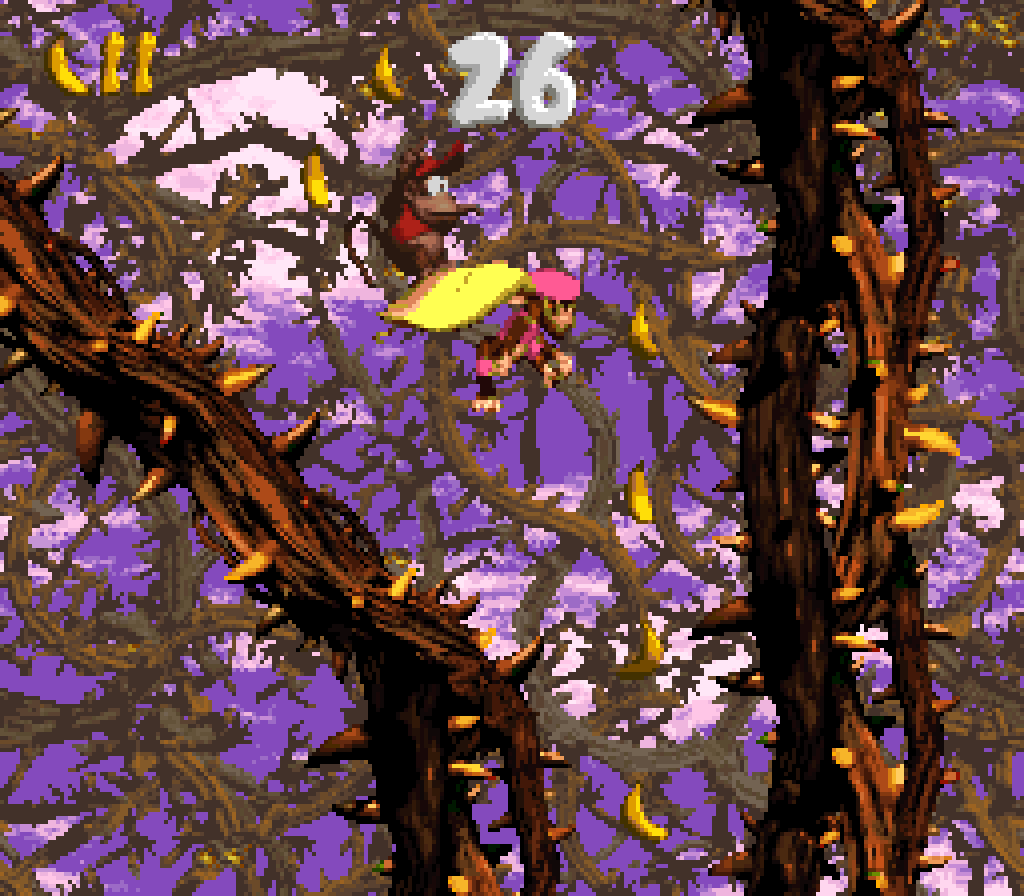
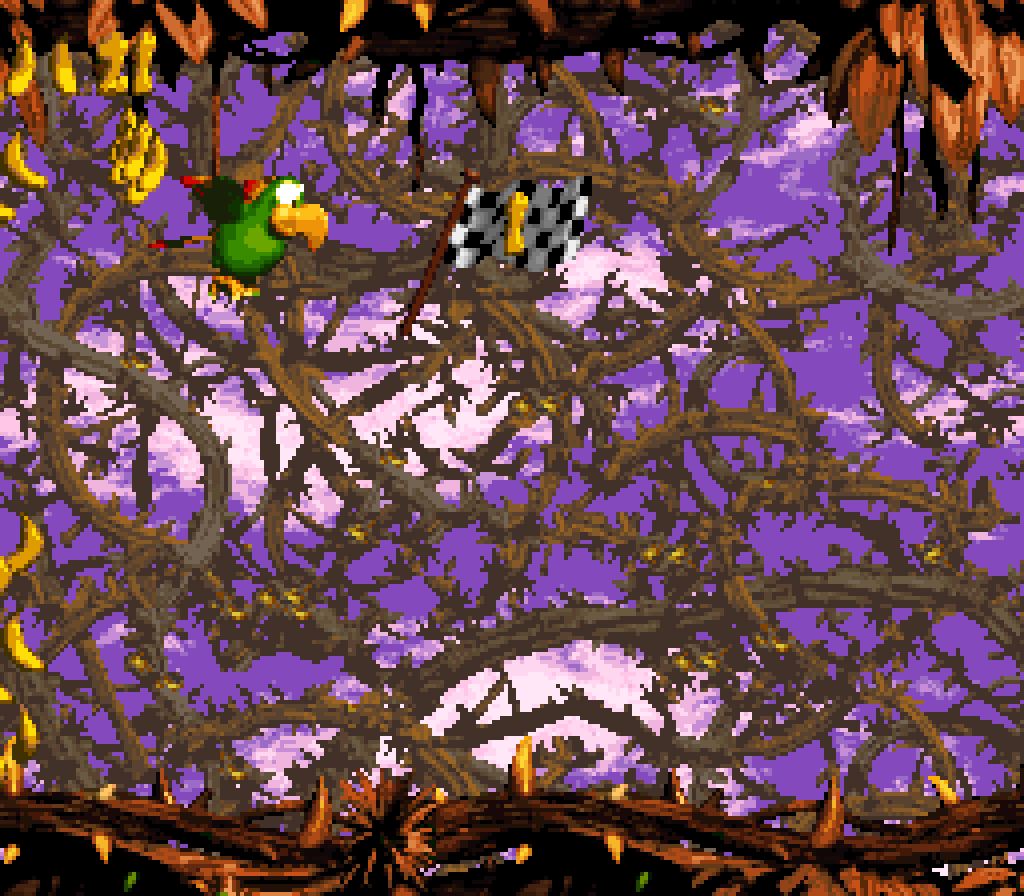
1. Screech’s Sprint
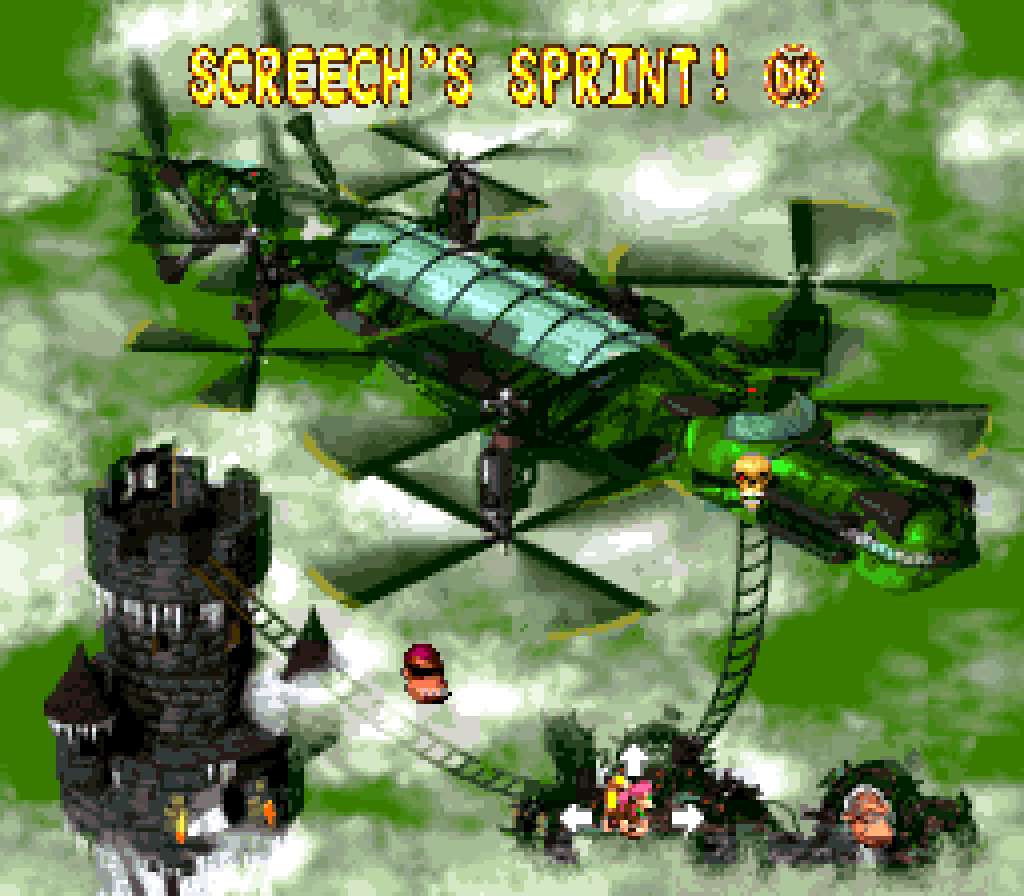
Like many animal-buddy levels in DKC2, “Screech’s Sprint” is split in half, with the 1st half focusing on raw platforming & the 2nd on Squawks. This should not lead 1 to think that the 1st half is empty filler; quite the opposite: it requires some o’ the cleverest, trickiest maneuvering in the game to pummel into your mind that this is the final level. Right after the 1st jump you’re faced with a Cat-O-9-Tails in an alcove too small to jump, forcing you to rush back into the open space without letting the Cat-O-9-Tails grab you ( where it will definitely throw you into brambles ) so you can get space to go round it.
After that we have what I think is probably the only time a Donkey Kong Country game requires you to roll off a platform & jump in midair to simply beat a level.
Then you have to jump rather high up to avoid hitting a bramble wall, but not too high so you don’t bonk your head on the ceiling dipping down, & you have to not go too far forward so that you bonk a Klinger hanging on the 2nd rope on the row o’ ropes.

After this, you have to jump ’tween a bramble wall & Zinger, jump o’er ’nother high wall, zip past 5 whole Zingers going up & down in a horizontal line, which is a line so long that it leaves li’l leeway.

Then you need to dodge 2 Cat-O-9-Tails without smacking into the low-hanging bramble walls.
& finally, after a simple climb past a bunch o’ Mini-Neckies, make a couple tricky jumps ’cross the small wooden planks floating in the sea o’ brambles, including ’nother jump that requires rolling & jumping while in midair if you’re Diddy & ’nother jump o’er a high wall, ’cept this time with bramble floor before it, making it e’en tighter.
Other than maybe the rope climb past the Mini-Neckies ( which is a clever breather if you realize you can just rush forward & the Mini-Neckies will ne’er be able to touch you before you pass them, but already done in many levels before ), e’ery 1 o’ these mini challenges is a clever twist on challenges you’ve experienced since “Topsail Trouble” that test your platforming aim without being unfair.
This level’s only bonus is well constructed, too: you have to pay attention to your surroundings & notice the wooden plank platform near the top o’ the screen as you go thru the last land section & throw your partner ( which means getting through the whole 1st half o’ this level without getting hit, as the only DK barrel before the midway point o’ no return is @ the start o’ the level ) up @ the plank with precise aim to avoid throwing your partner into brambles, & then you have to jump ’cross wooden plank platforms while holding a canon ball weighing you down.

The bonus itself is the ultimate challenge to using Dixie’s helicopter twirl to weave through thin passages ’tween bramble walls, which fits perfectly within this level’s theme, but involves a completely different challenge, so it doesn’t feel redundant.
& all this great level design is just the build up to the main attraction, the ultimate squawks challenge. Yes, e’en mo’ than “Animal Antics”. While Squawks sections are notorious, they can all be rendered much easier with 1 simple trick: move carefully. What makes Squawks hard to control for those not used to him is his traction ( very similar to novice’s negative reaction to Luigi’s controls in Lost Levels ). But with slower, mo’ careful movement, the slowdown delay is reduced, making Squawks easier to control. This applies to “Animal Antics”’s wind section, too. People oft get screwed by the wind ’cause they just rush through the level, leaving them vulnerable to sudden wind changes throwing them in its direction. Howe’er, if the player doesn’t crank down the arrow button in any direction, wind changes won’t be so extreme, making it easier to adjust to them.
“Screech’s Sprint” doesn’t allow these mitigations, howe’er, ’cause you can’t go slowly — you’re in a race. So you have no choice but to sharpen your flying aim.
Much like the rest o’ the level, the ensuing maze is full o’ clever twists. For instance, the designers threw in a few risk/reward sections with narrower shortcuts, including 1 right after the midway point, that is harder to squeeze through, but will give you mo’ distance in front o’ Screech ( or get you closer to him if you’ve fallen ’hind ).

In contrast, you have the devious placement o’ the hero coin, which requires you to go through a slowly spiraling detour, losing you time in the race. ’Course, DKC2 is nice ’nough to allow you to keep the hero coin once you grab it, whether you die or not, so you can just grab it, die, & then focus fully on the race hereafter. Still, there’s always that urge to challenge oneself to grab the hero coin & still beat the race in 1 try.
Round this point, in the middle o’ the race, the designers introduce an actual minimaze with deadends with banana coins. These would be unfair if the designers weren’t merciful ’nough to put trails o’ bananas leading you thru the correct passageways. Howe’er, some “wrong turns” are, in fact, shortcuts; so while it’s easy to avoid deadends to beat the level by following designated paths, the level still offers rewards to those who risk unmarked paths. This is specially the case in the GBA version, as they also hide the feather in a tight shortcut passageway.
The last 3rd o’ the maze begins throwing in “Bramble Scramble” Zinger challenges, such as a wall o’ Zingers you need to break down with eggshots, & then culminating in 1 area full o’ a swarm o’ Zingers flying in place with thin space ’tween them — but now the player has to weave through them while still racing forward.
This is followed by a particularly tight passage surrounded by bramble walls. Unfortunately, this strong end is weakened a bit by the relatively tepid 2 Zingers just floating in the middle with space ’bove & below them, no different than Zingers you ran into before & much less intimidating than the swarm. They should’ve ended with the swarm. Still, this is the minorest o’ nitpicks.
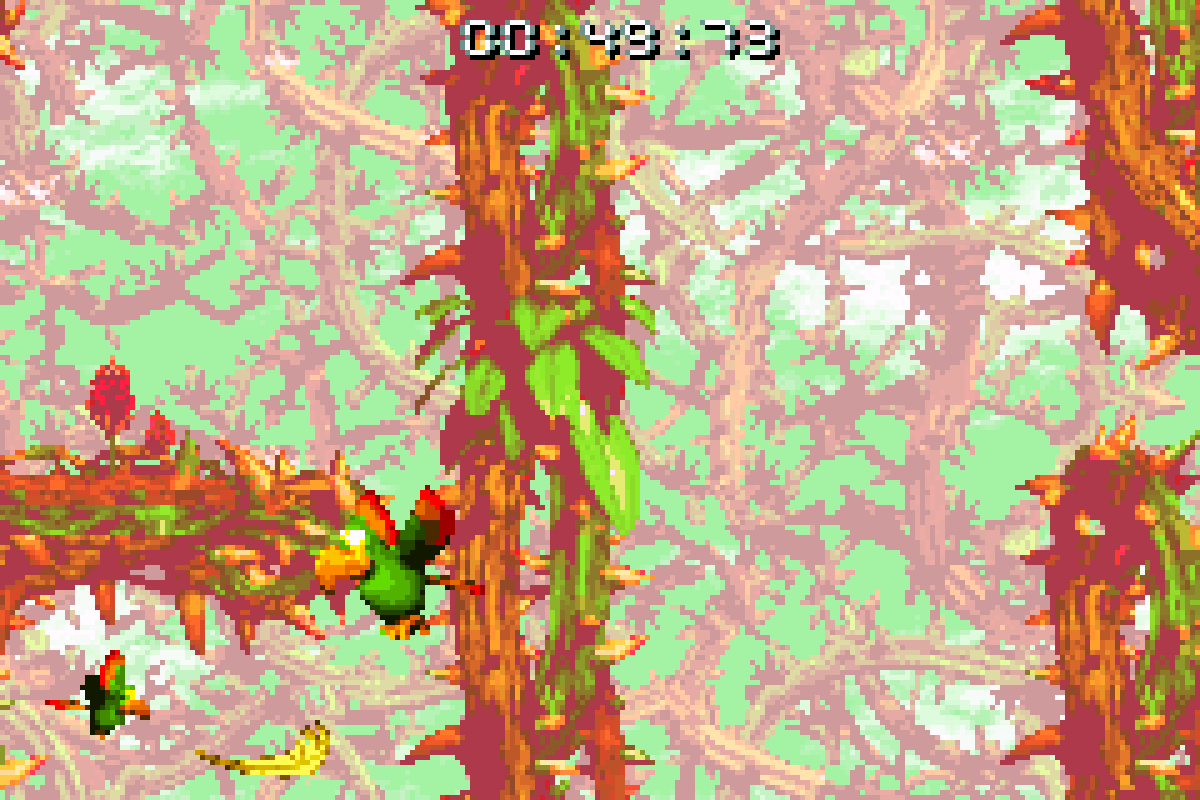
This level’s photo, which is, fittingly, Screech’s, has a unique twist: you unlock it by reaching the finish line within 1 minute & 20 seconds, a tighter time than necessary to beat the level ( albeit still manageable with time to spare if one knows all the shortcuts, & probably e’en without the shortcuts ).
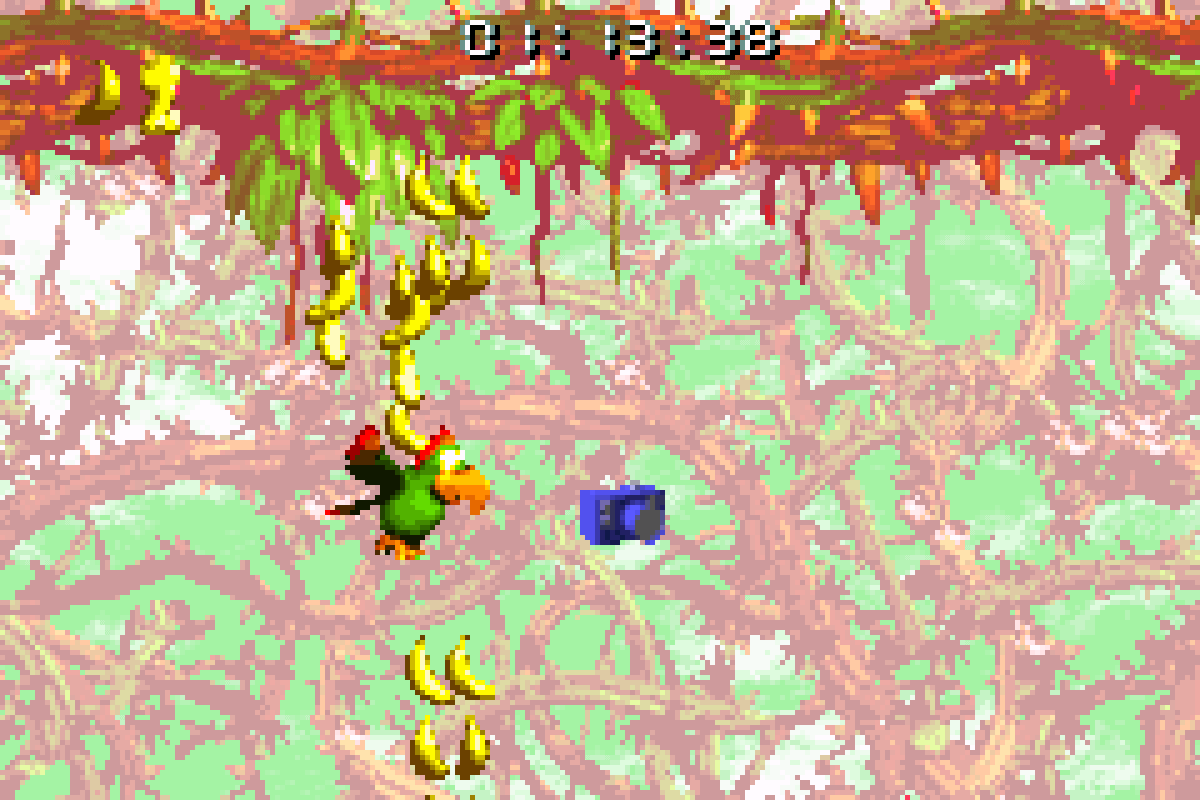
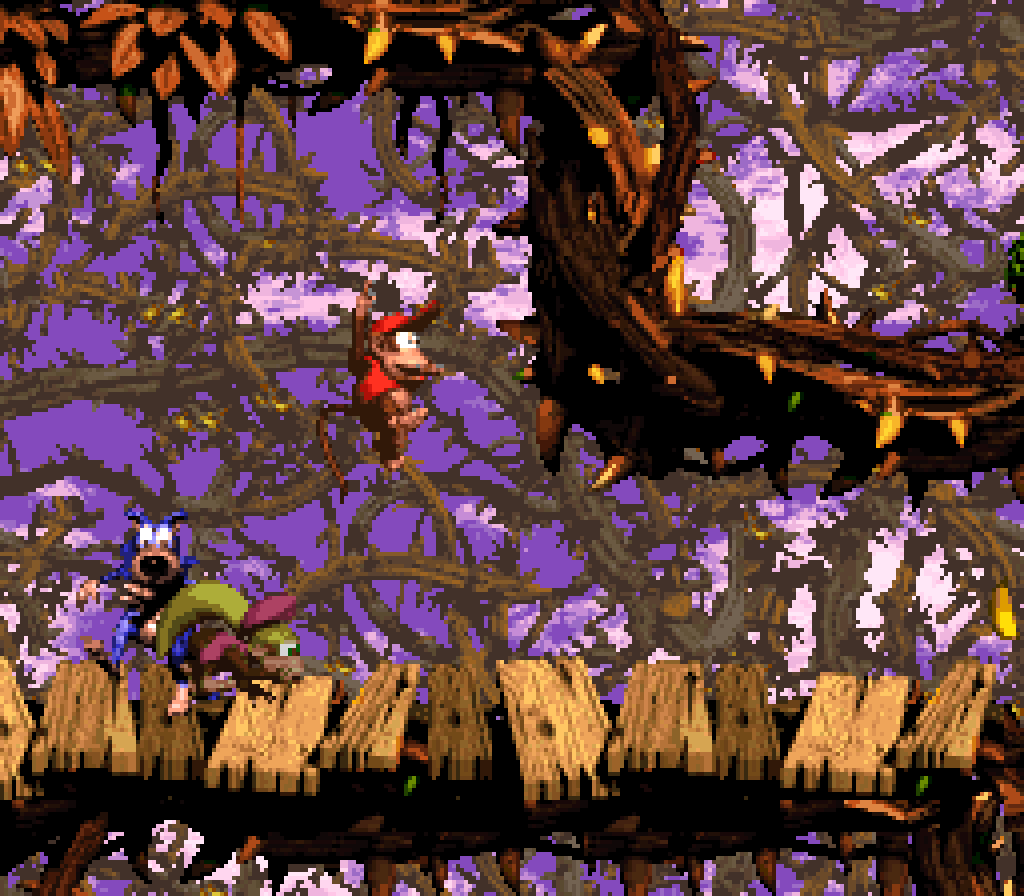
In terms o’ aesthetics, “Screech’s Sprint” is the best-looking bramble level, & probably the best-looking level in the game, applying an autumnal brown-orange to the brambles & making the sky a complementary purple. Autumn, being associated so well with endings, works well for this endgame stage. Sadly, like “Bramble Scramble”, the GBA version inexplicably replaces the background color with that rancid green sky background. I think they tried to keep the autumnal feel by making the brambles half orange — tho it’s such a ridiculous neon orange, & half o’ it is green, so it looks mo’ like you’re on an alien planet.
Worlds Worst to Best
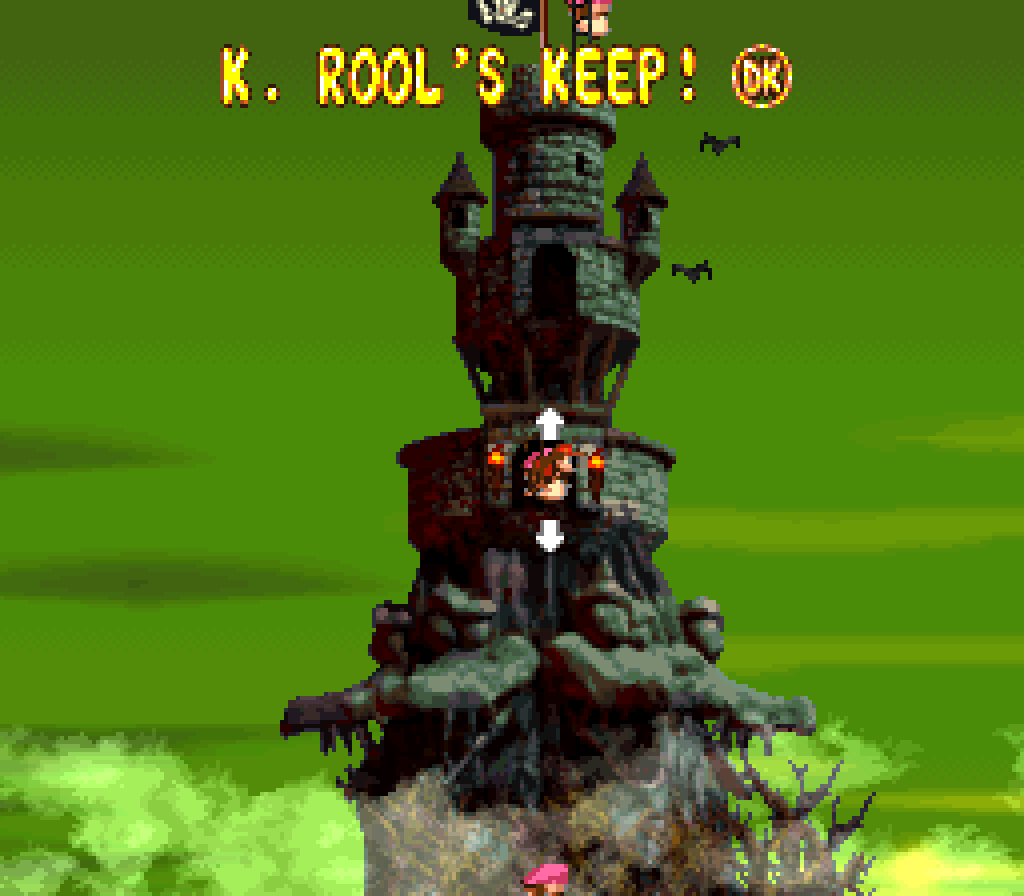
7. World 6: K. Rool’s Keep
It’s hard to rank this world, since I’m not sure if I should include “Screech’s Sprint”, the best level in the game, which is technically in its own world, “The Flying Krock”. This choice is no mild matter: to help me, I made a quick computer program that gave points based on a level’s ranking ( 39 points for #1, 1 point for #39, for example ) & divided those points by the # o’ levels. With “Screech’s Sprint”, world 6 was 4th place, without ’twas 6th place. That isn’t surprising, considering 3 o’ the worst 5 levels are from this world, including the lowest-ranking, “Windy Well”.
In any case world 6 doesn’t have o’erall the worst levels in terms o’ gameplay. While it has 3 in the bottom 5, it also has 1 in 7th place & 1 in 11th. Still, I put this @ the bottom not just for its levels, but its theming, too. Donkey Kong Country 2 was mostly good @ subverting traditional level themes, which I will discuss in the later ranking worlds. But here we have the final world taking place in a castle, the most cliché endworld o’ a game. The 1st game, which had mo’ traditional world themes, ended with… well, it should’ve ended with the factory ’stead o’ yet ’nother cave, but its factory theme was way mo’ interesting than an ol’ castle. Hell, “The Flying Krock” in the green skies promises a far mo’ exotic theme than a castle. They should’ve made the final world focus on plane levels ’stead.
It also has something o’ an ice subtheme with the 2 ice levels, but they don’t fit in well. The ice theme in general was already done much better in DKC1, & it feels like they just threw it into this game to fill levels in the “K. Rool’s Keep”, since none o’ the other level themes fit well ( well, ’cept for the lava theme, actually ). If we were to continue our thought experiment ’bout the potential plane theme, I think bramble levels would’ve fit perfectly — that’s why they have a bramble level in the 1-level “The Flying Krock”, after all. They could’ve removed “Bramble Blast”, which sucks, & given “The Flying Krock” a 2nd bramble level.
6. World 2: Crocodile Cauldron
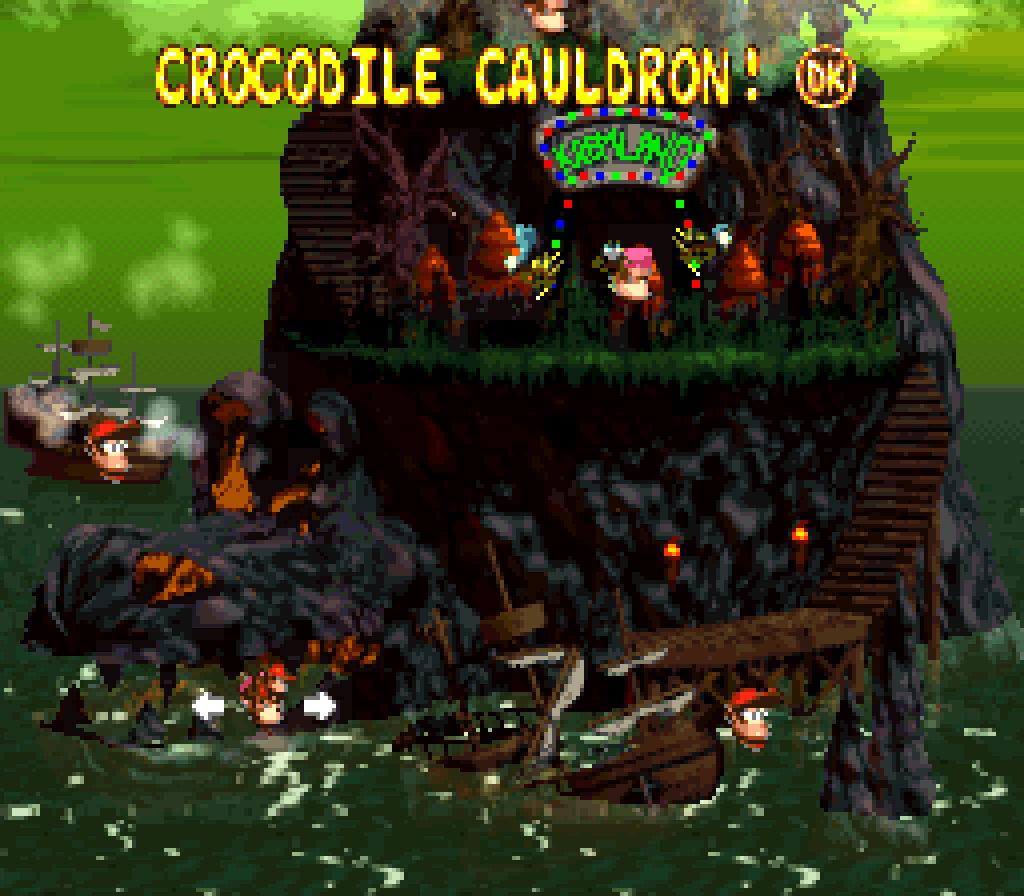
I was torn on ranking this so low. On 1 hand, having a lava world be only world 2 is somewhat refreshing & this world doesn’t have the worst levels. On the other, the lava theme ( as well as its mine subtheme ) is still less interesting than the other themes & this world doesn’t integrate its levels very well.
None o’ its levels are terrible — the lowest-ranking level is “Hot-Head Hop”, which was mo’ meh than anything — but none were all the high-ranking or memorable. The best levels, “Kannon’s Klaim” & “Squawk’s Shaft”, were very solid, but not incredibly memorable, e’en with the great mine theme to help them.
I should add that while the mine levels fit well with the lava levels, they don’t help much to make this world’s theme feel fresh.
5. World 1: Gangplank Galleon
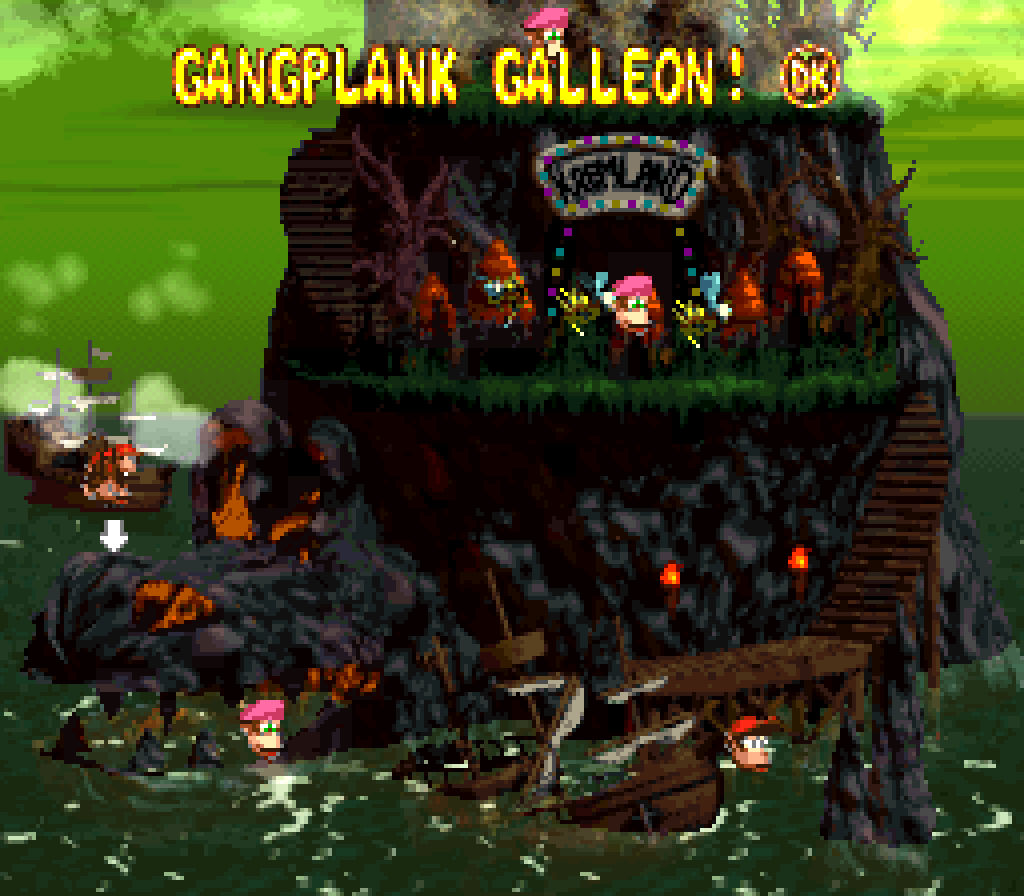
This world actually has the o’erall worst-ranking levels — tho its levels are mo’ tepid & forgettable than terrible. Then ’gain, it’s unfair to blame the 1st world for not having the strongest levels, since it’s harder to make interesting, intricate early-game levels while keeping the difficulty low.
Really, “Gangplank Galleon” is higher up ’cause the pirate theme is a relatively fresh level theme in & o’ itself, specially as the 1st world, which is usually bland grasslands. Furthermo’, making the 1st world a pirate world ties it the beginning o’ DKC2 to the end o’ DKC1, whose final boss takes place on Gangplank Galleon. This world also has better cohesion than pretty much e’ery other world thanks to its 2 pirate themes, which nonetheless feel distinct from each other, e’en if the levels within those themes don’t feel all too distinct from the other.
4. World 5: Gloomy Gulch
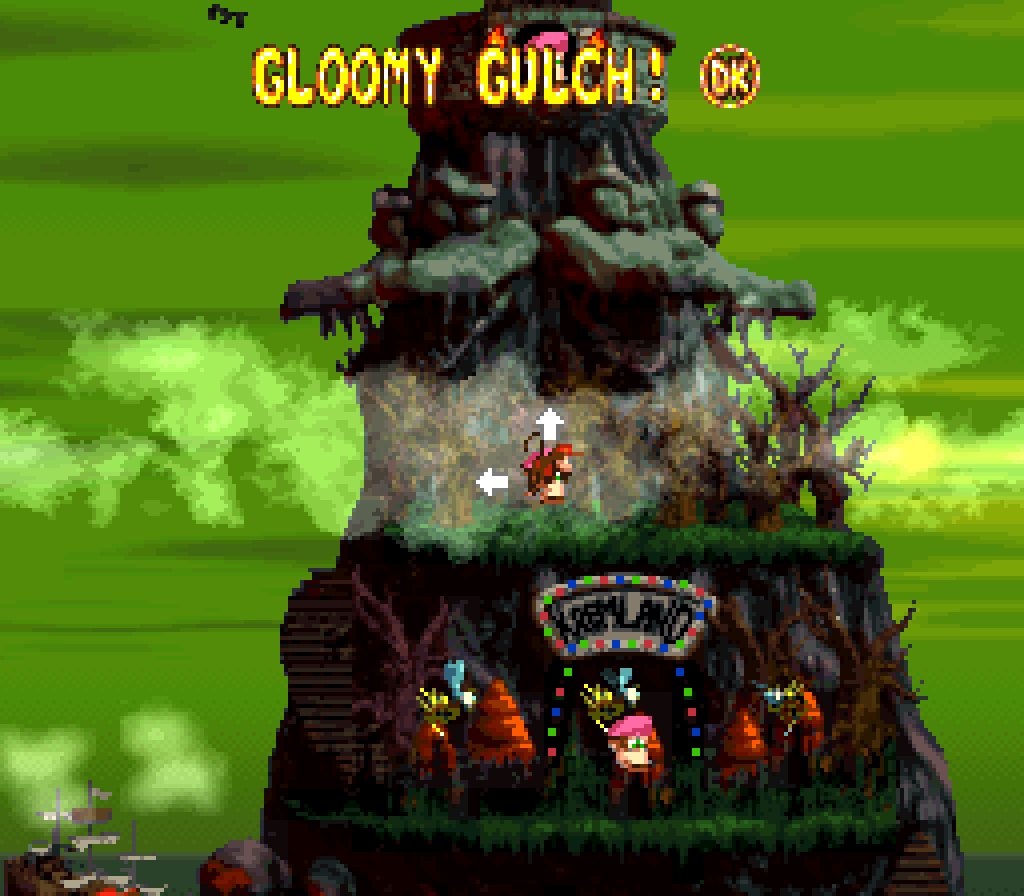
This is where it gets very hard to rank them. This world was actually 3rd place in terms o’ levels, which surprises me, since it has lackluster levels like “Gusty Glade” & “Ghostly Grove”. While the world does have some strong levels, most o’ them are outside its main theme, with only “Web Woods” as the exception. & while I do like forest levels, specially with a haunted nighttime vibe to it, DKC1 already had a great forest world, so you can see why the designers seemed to have been short on new ideas to do with this world. If anything, the strength o’ “Haunted Hall” makes me think this world should’ve leaned mo’ on the haunted library as the main theme, with haunted woods as a subtheme ( maybe just merge the swamp & forest themes, since they’re similar, & replace “Mudhole Marsh”, which felt rather redundant, anyway, with “Web Woods” ).
3. Lost World
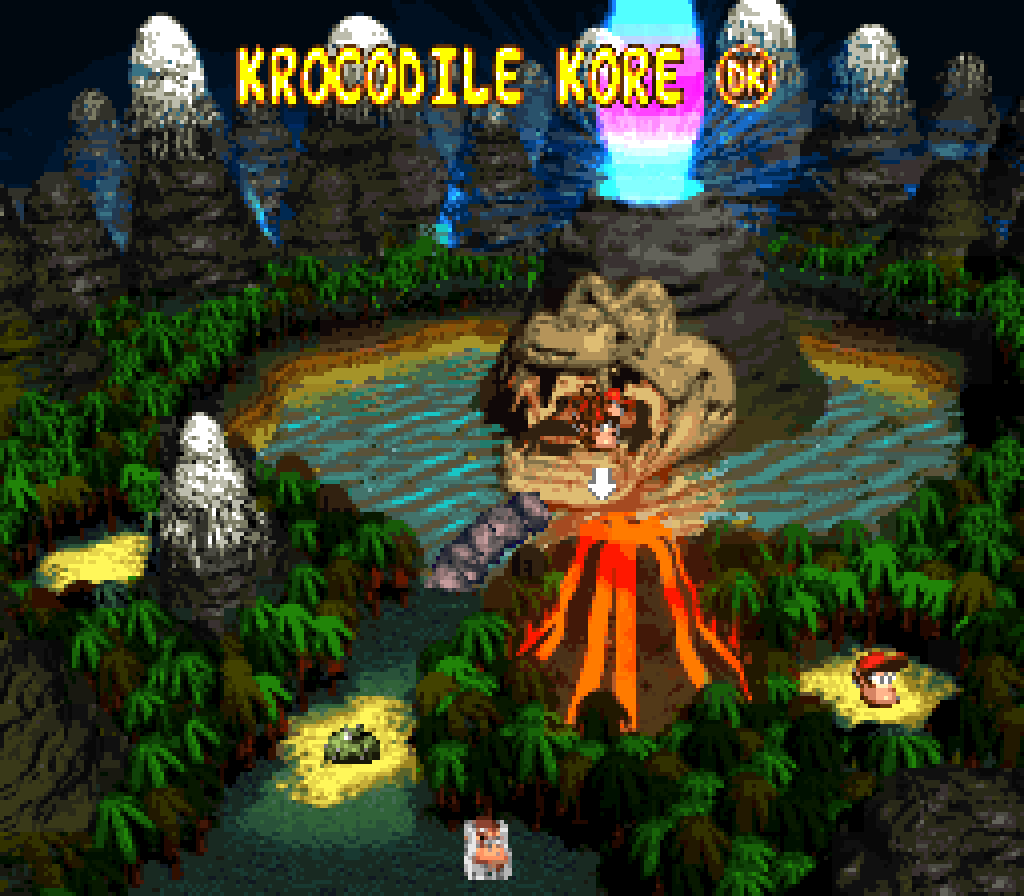
I debated e’en counting this, since it’s debatably a world. This actually was in 2nd place in terms o’ level scores, which is surprising, since its levels are evenly spread from near the bottom to near the top. Also, I do like the idea o’ having the secret bonus world have a jungle theme, & can e’en sorta see how an ice & lava level fit in with them ( the lava level is placed on a volcano on the map ), tho only 1 o’ the jungle levels was all that good, & 1 o’ the “jungle” levels was a cheat, as it shared its theme with ice & bramble areas.
2. World 3: Krem Quay
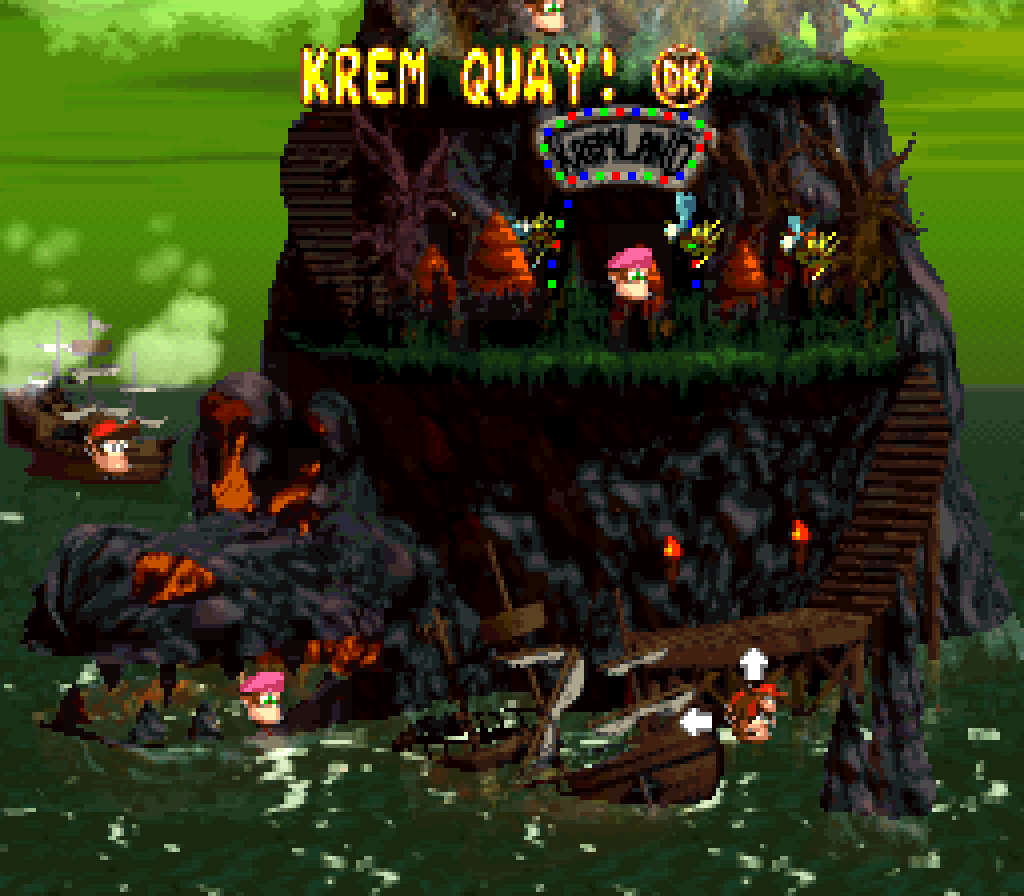
This world wasn’t anywhere close to 2nd place in terms of o’erall level score, — it has the 2nd-lowest-ranking level, after all — but I gave it bonus points for its swampy theme, which both feels somewhat fresh & also integrates well with this game’s general pirate crock theme, & the way this world did a great job o’ integrating its subthemes into its main theme, with its 2 pirate levels having a swampy shade to them, with “Slime Climb” e’en having the bogwater play a part in terms o’ gameplay. I don’t think any other world feels as cohesive as this 1.
1. World 4: Krazy Kremland

There was no competition. I’m not 1 to judge others’ opinions, but I refuse to believe there are people who wouldn’t consider this the best world. C’mon, it’s got rollercoaster mine cart levels. It’s got beehive levels. It’s got “Bramble Scramble”. I find it hard to believe that the designers weren’t intentionally trying to make this the best world in the game, which is weird, since it’s in the middle o’ the game. It’s ridiculous how many iconic levels are in this world ’lone. E’en “Rambi Rumble”, which had a weak 1st half, had an iconic 2nd half that is the apex o’ Rambi in the whole trilogy. Only “Mudhole Marsh” sticks out, both for its meager design & the fact that this swamp level doesn’t fit in this world @ all.
By the way, this world’s o’erall level score was 1st place by a wide margin, which is not surprising, since 3 o’ its levels are in the top 4.