

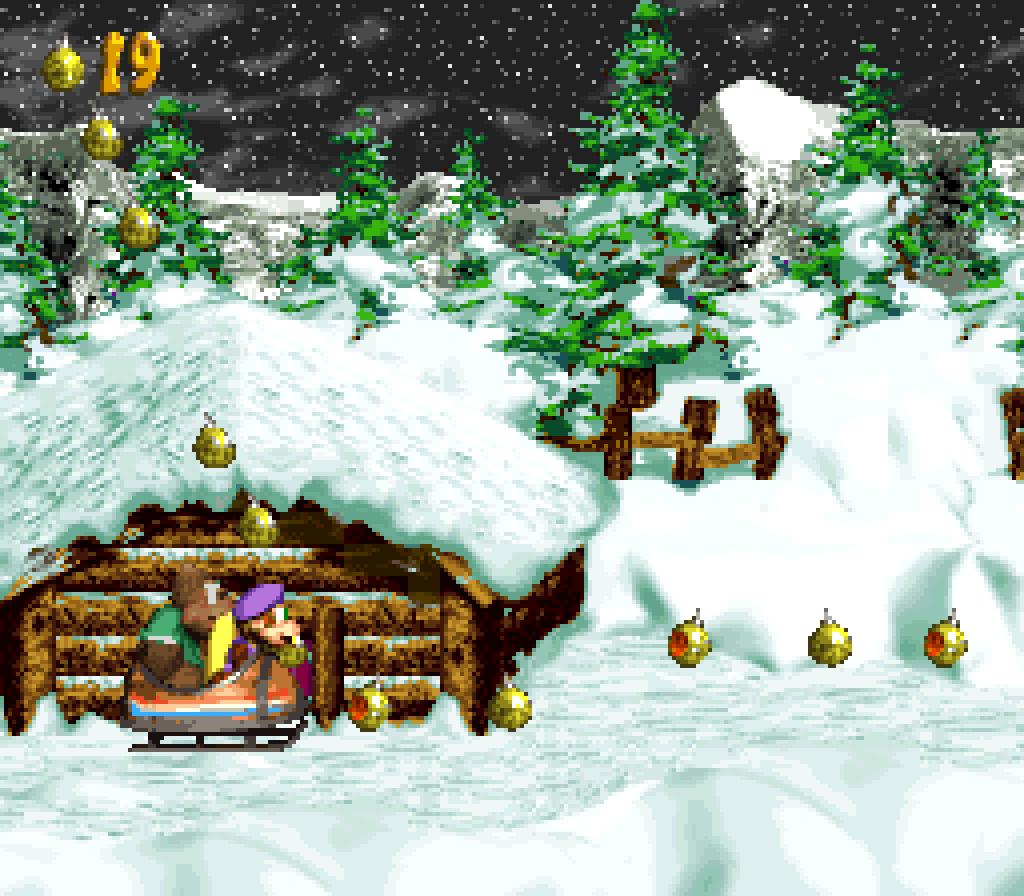
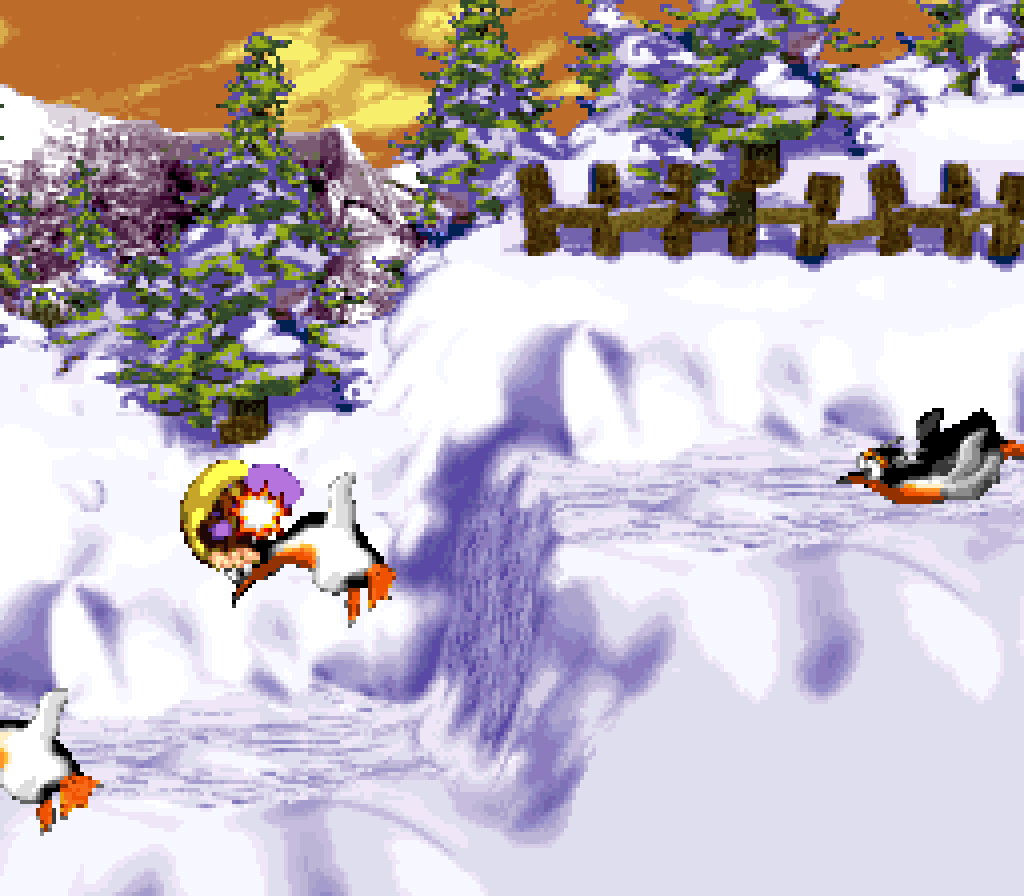
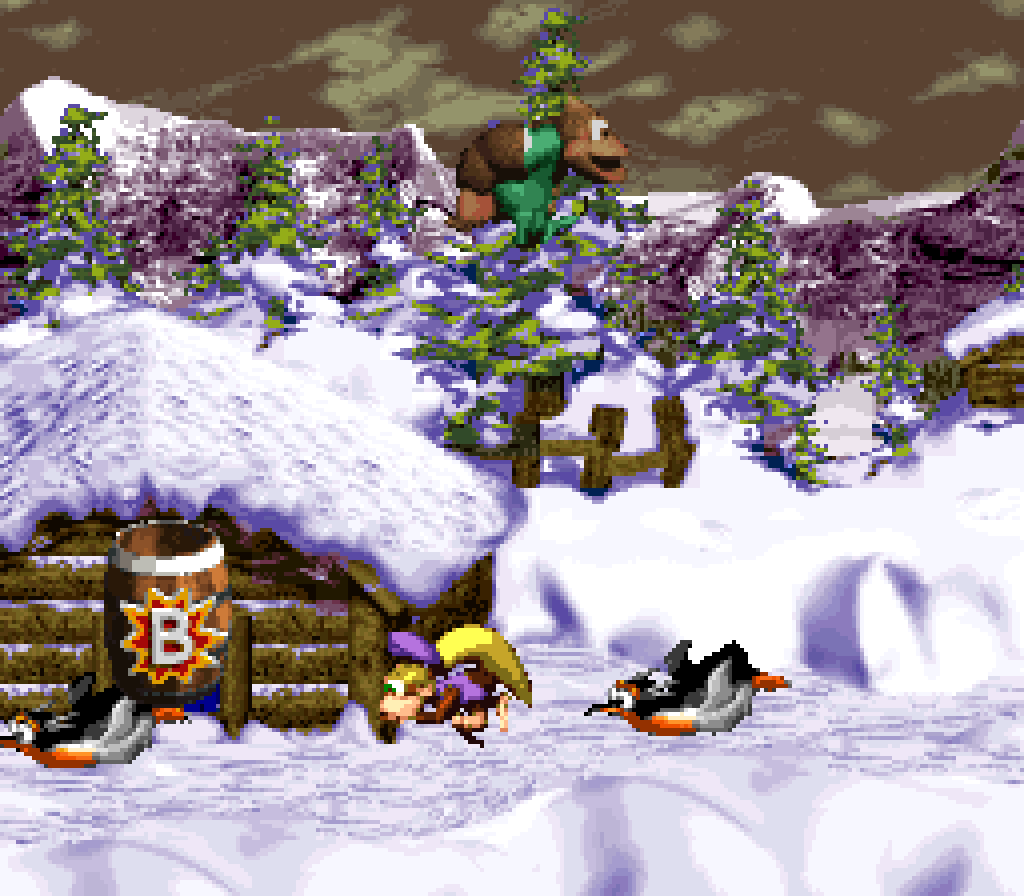
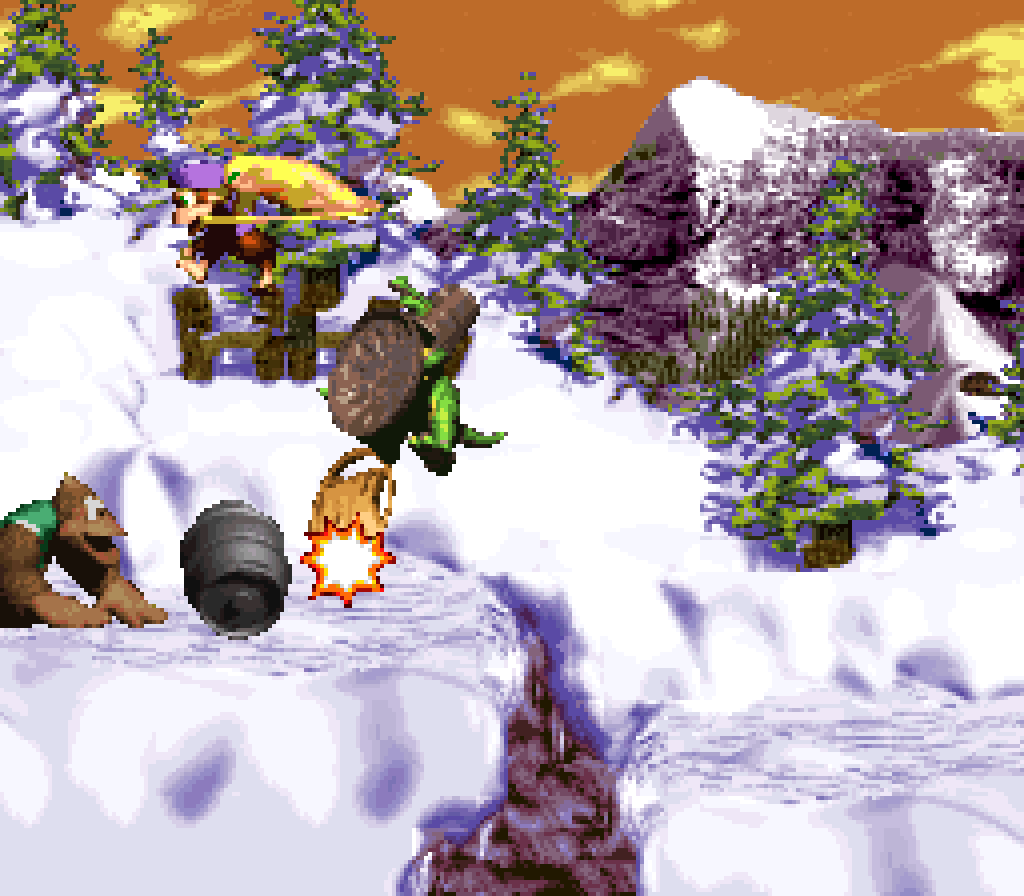
22. Tearaway Toboggan
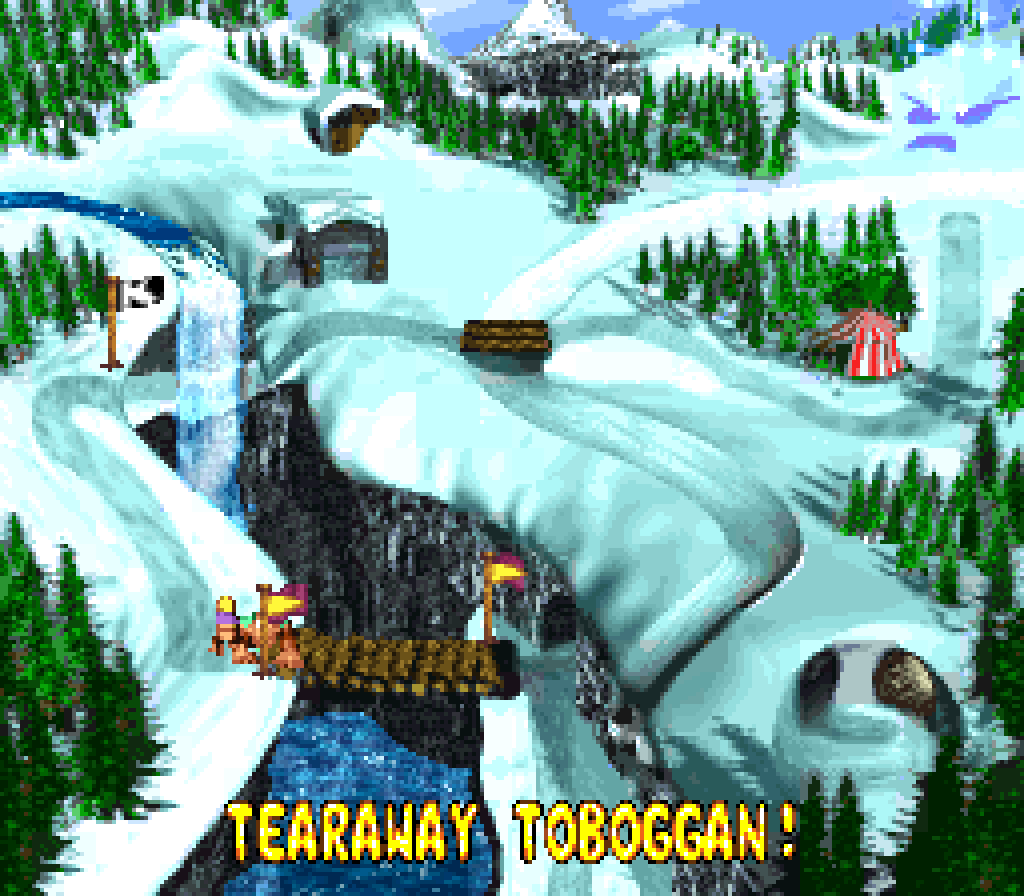
As I mentioned with “Demolition Drain-Pipe”, these cart levels turn DKC3’s proclivity for repetition into a strength — or a’least not a hindrance — as its mo’ urgent gameplay doesn’t warrant much complication, & like “Demolition Drain-Pipe” — in fact, e’en mo’ than “Demolition Drain-Pipe” — this level is packed with mo’ dangers than this games 2 predecessors. There’s a simple but strong enjoyment in bouncing on 3 Skiddas in a row that, surprisingly, doesn’t appear in any o’ the previous cart levels.
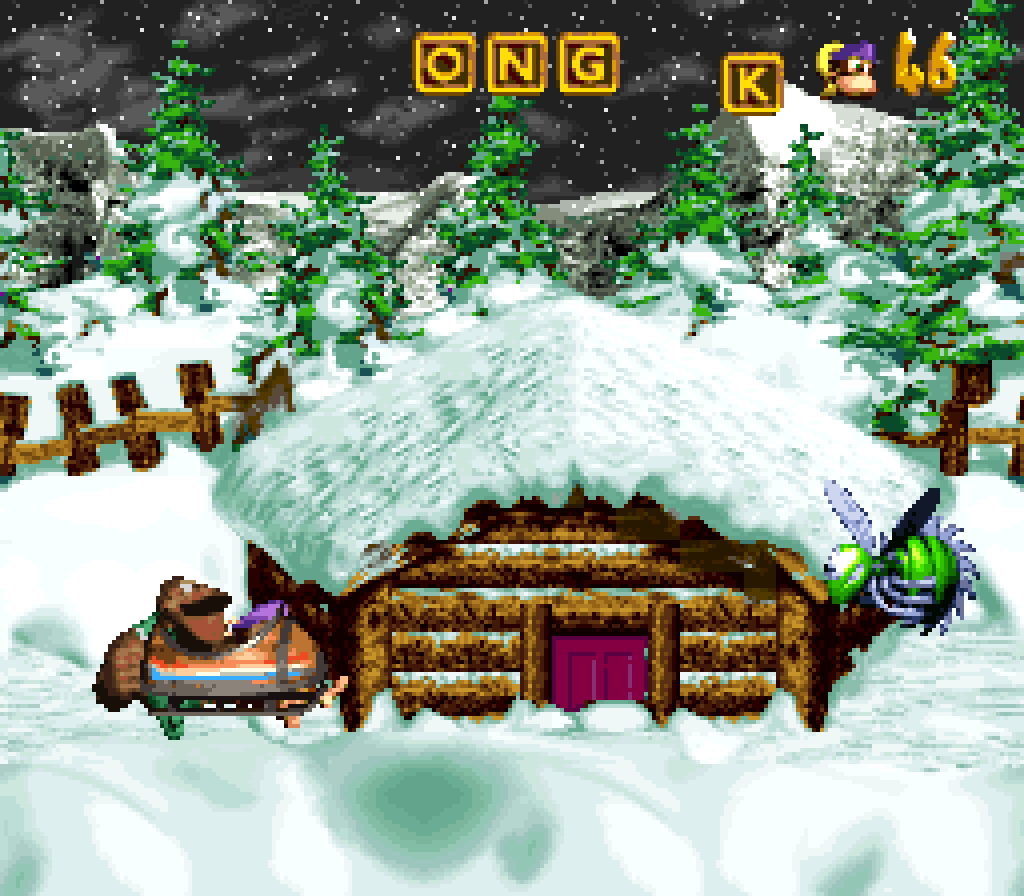
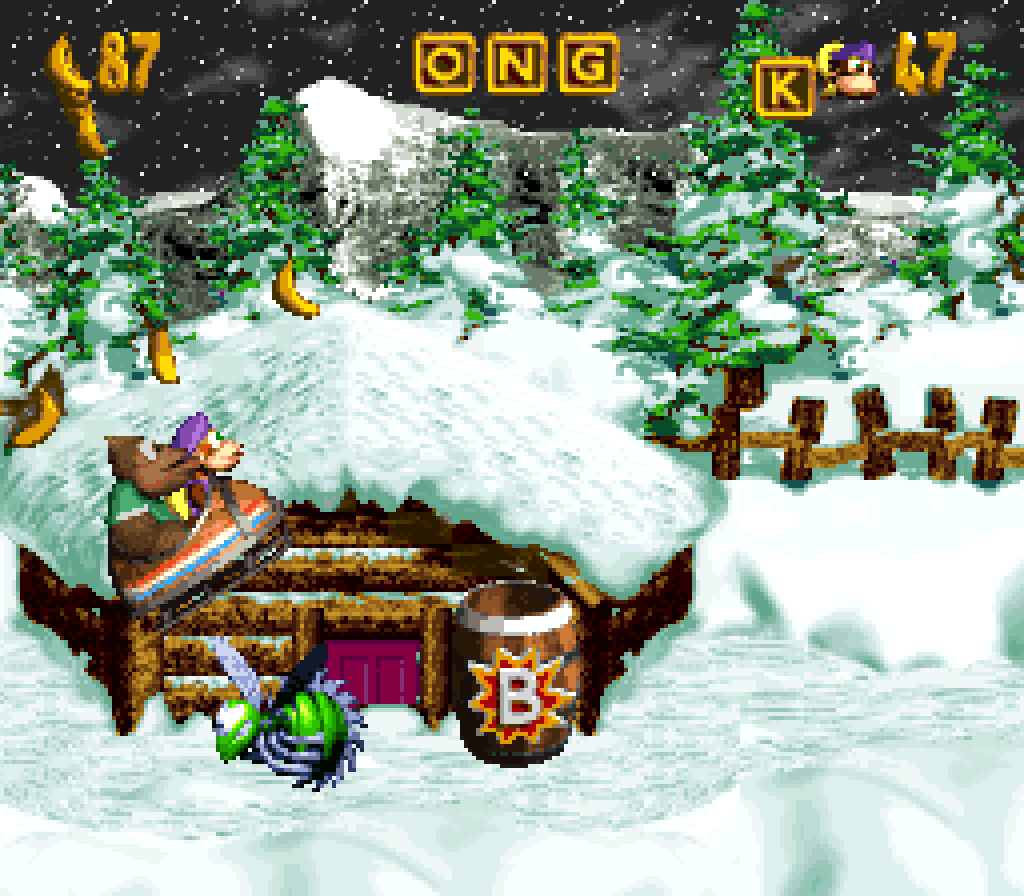
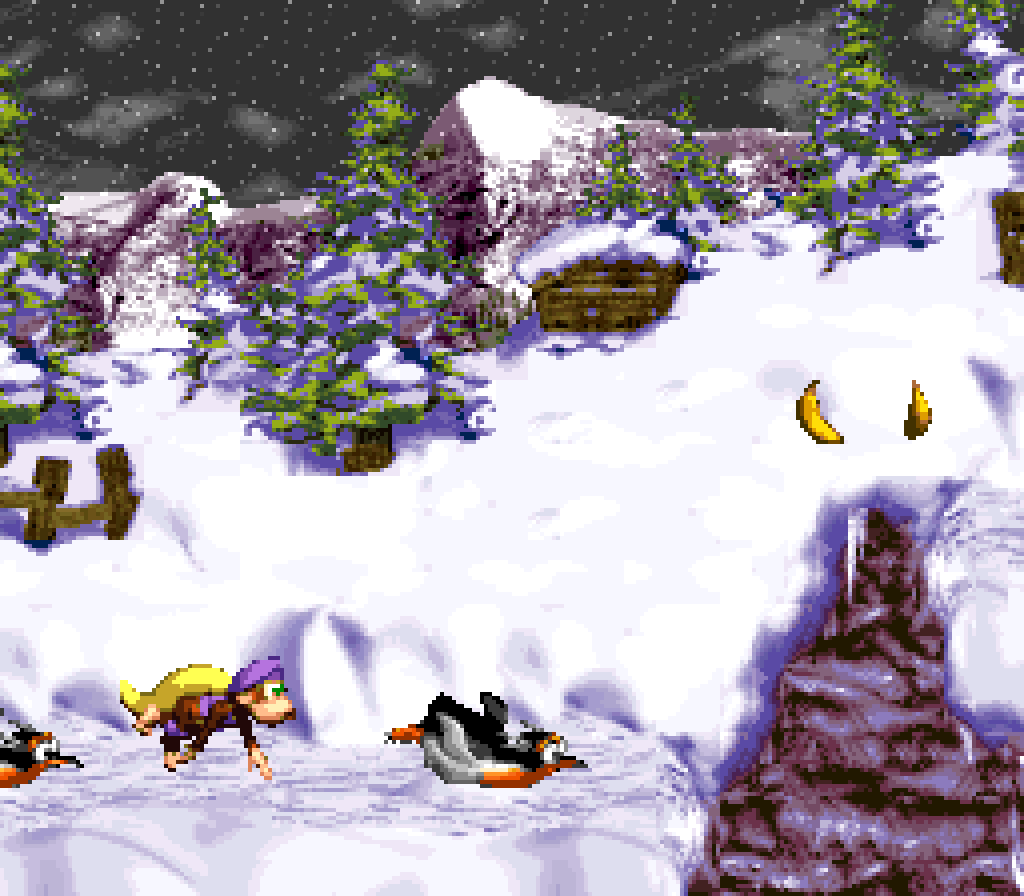
Perhaps too many, in fact, as it can sometimes be confusing to know what is a danger: this level’s “twist”, if you could call it that, o’ having branching paths with log cabins where you can go thru them or ’bove them is marred by the decision to make the log cabins only sometimes let you go thru them, while other times they harm you if you run into them, with no visual difference from these different kinds o’ log cabins that should be, presumably, @ different distances from the camera, other than that the level usually puts elements in from o’ the log cabins you can go thru. This could be a major problem if this level forced you to go thru the log cabins all that much, but luckily you can safely jump o’er e’ery log cabin, ’cept for 1 near the end hiding a bonus barrel inside it, with a banana arrow before it just to make sure you know that you can keep going right there.
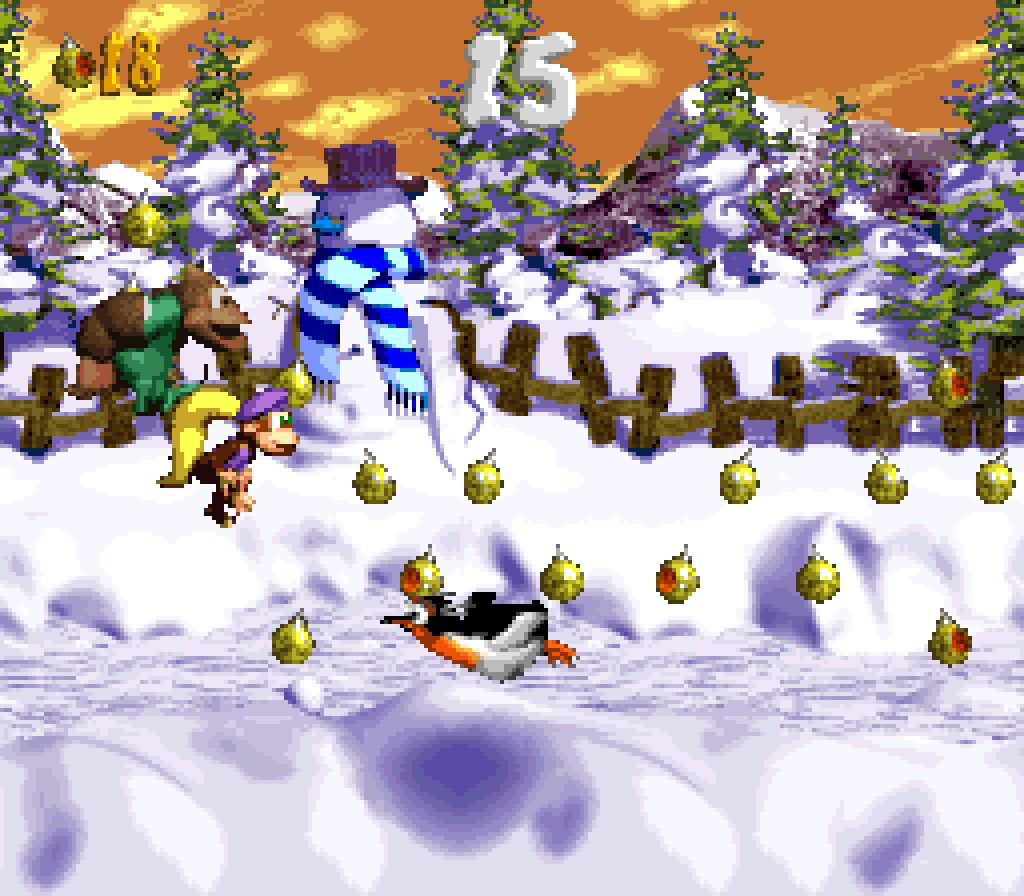
This applies just as much for the bonus itself, challenging you to follow the path o’ ornaments to the end on your toboggan, which includes going thru a cabin @ 1 point.
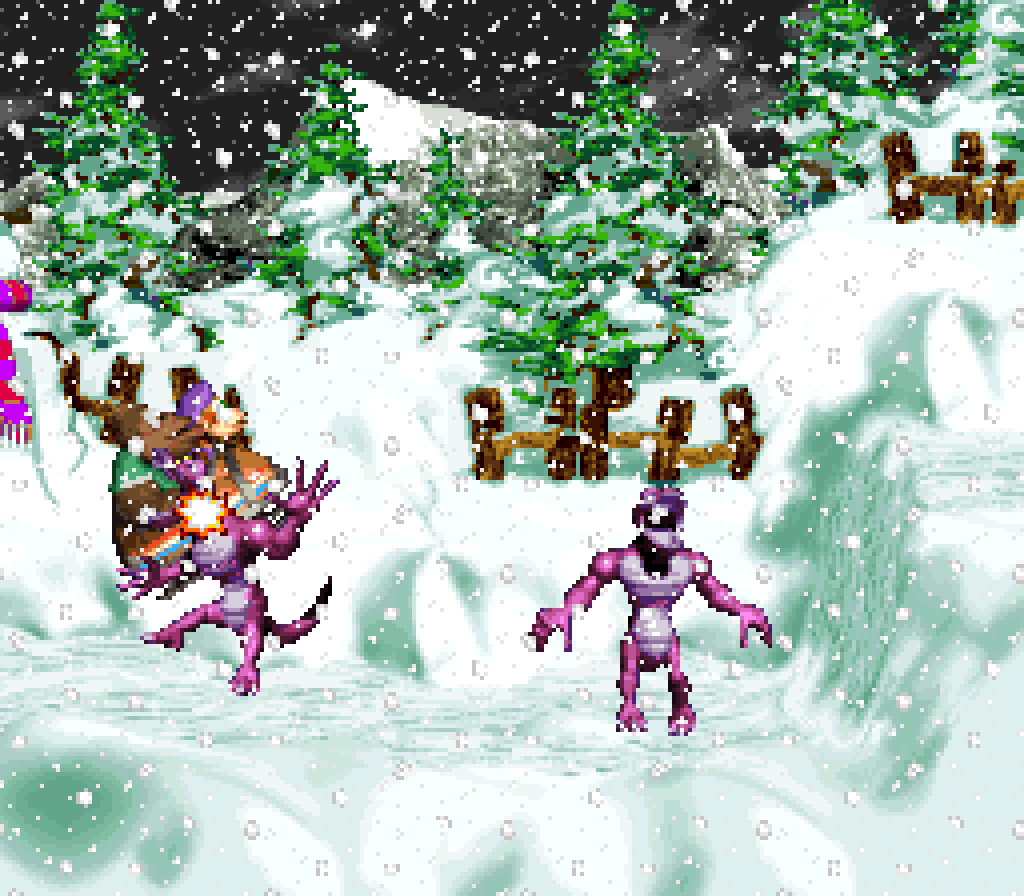
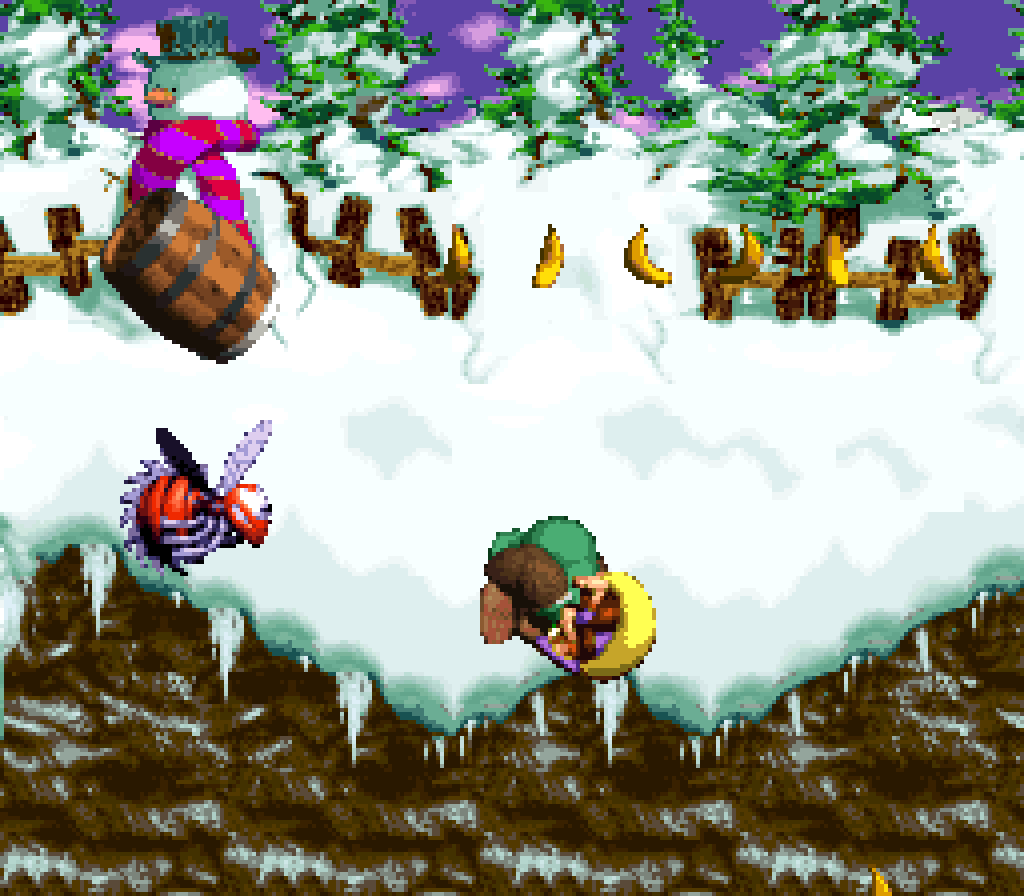
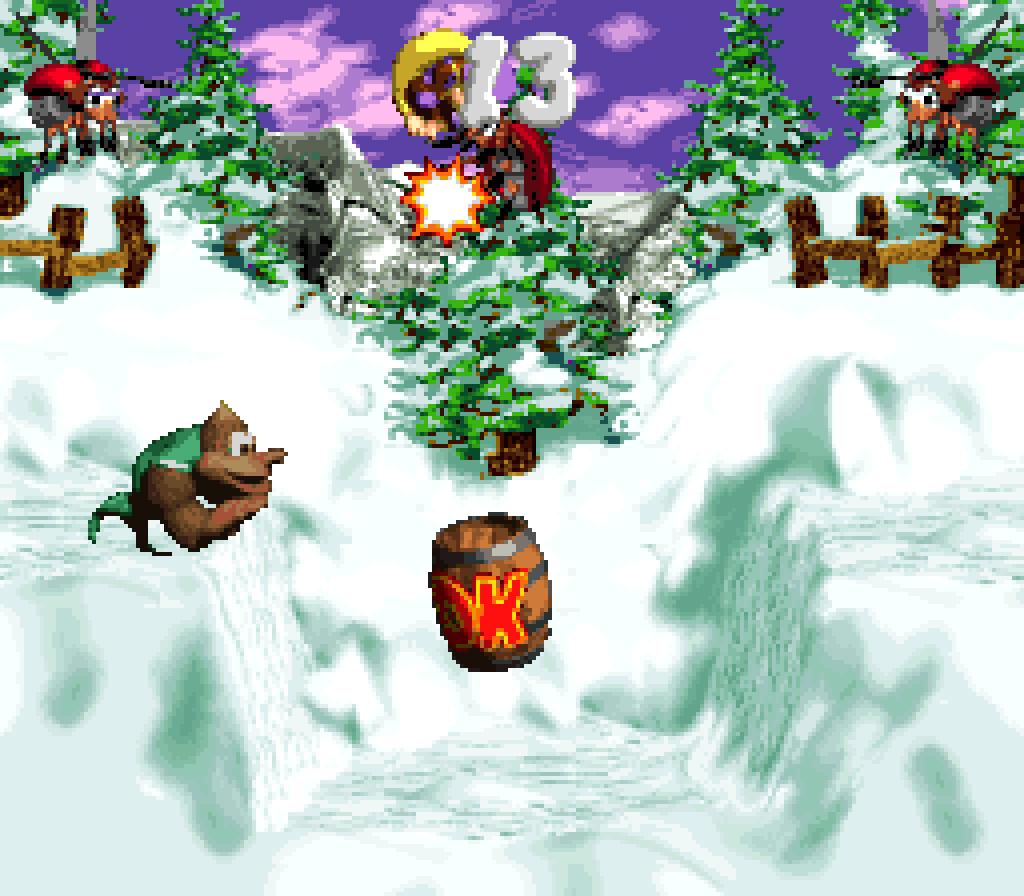
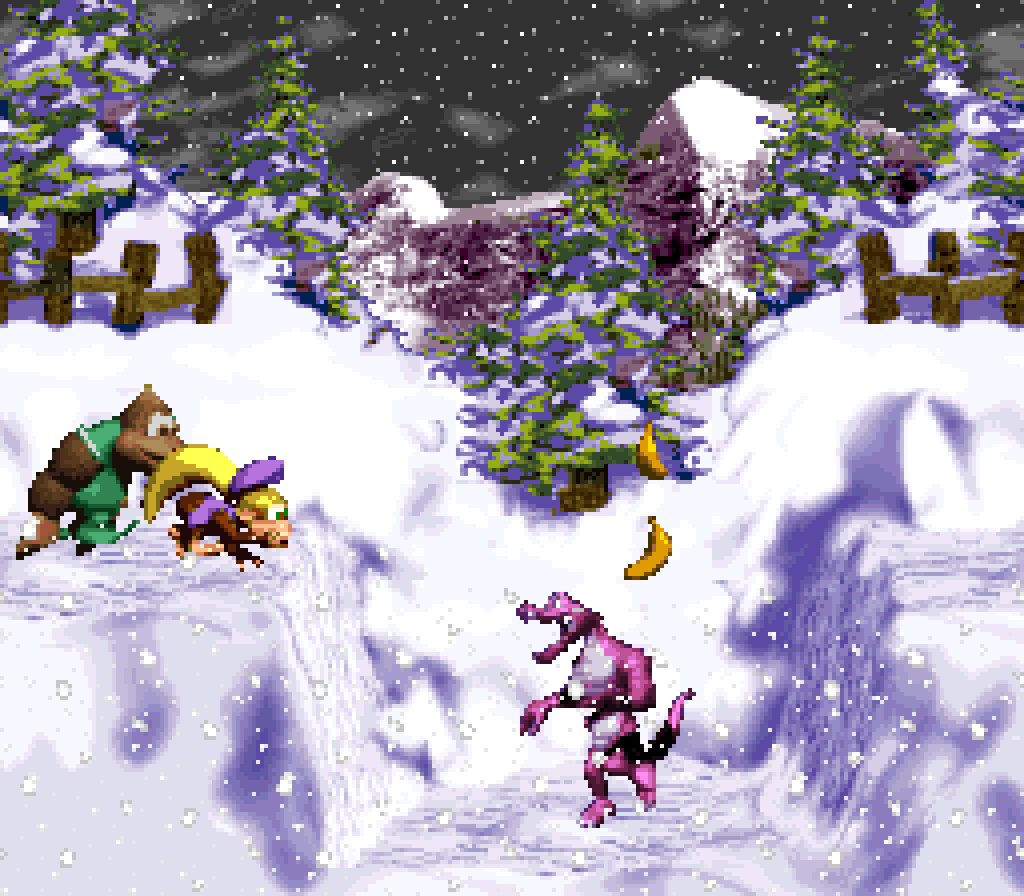
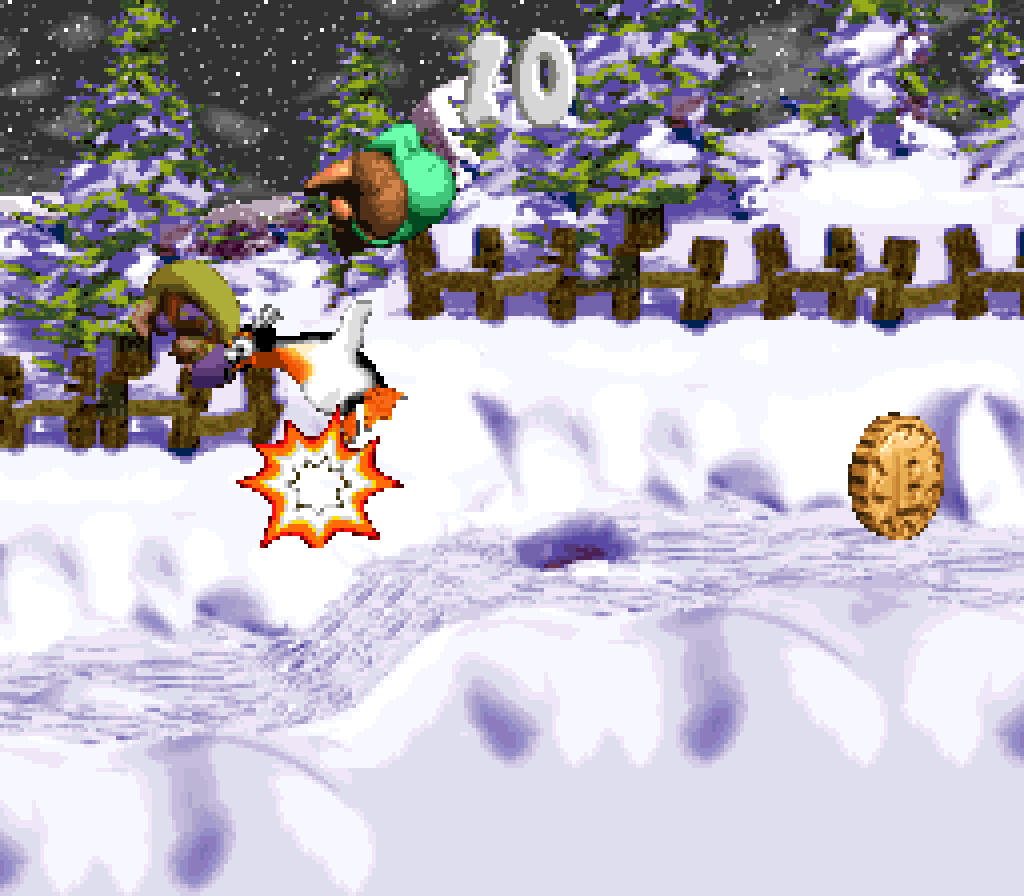
I also kind o’ like the meta joke, whether intentional or not, o’ the 1st bonus: like the iconic 1st mine cart level in the trilogy, you need to shoot not forward to progress thru the level, but into the pit to the bottom right, tho this time it’s mo’ fair by telegraphing it with a ’lone banana. Too bad the bonus itself has nothing to do with this level, having you pair up to throw your partner @ 3 Knik-Knaks, which is not too common in this game, but was e’erywhere in the previous game. Granted, it’s better than DKC2’s, as this 1 lets better players skip the Kong-throwing & just jumping onto the lower middle Knik-Knak & from there landing on the 2 other Knik-Knaks with well-timed maneuvering to save time.
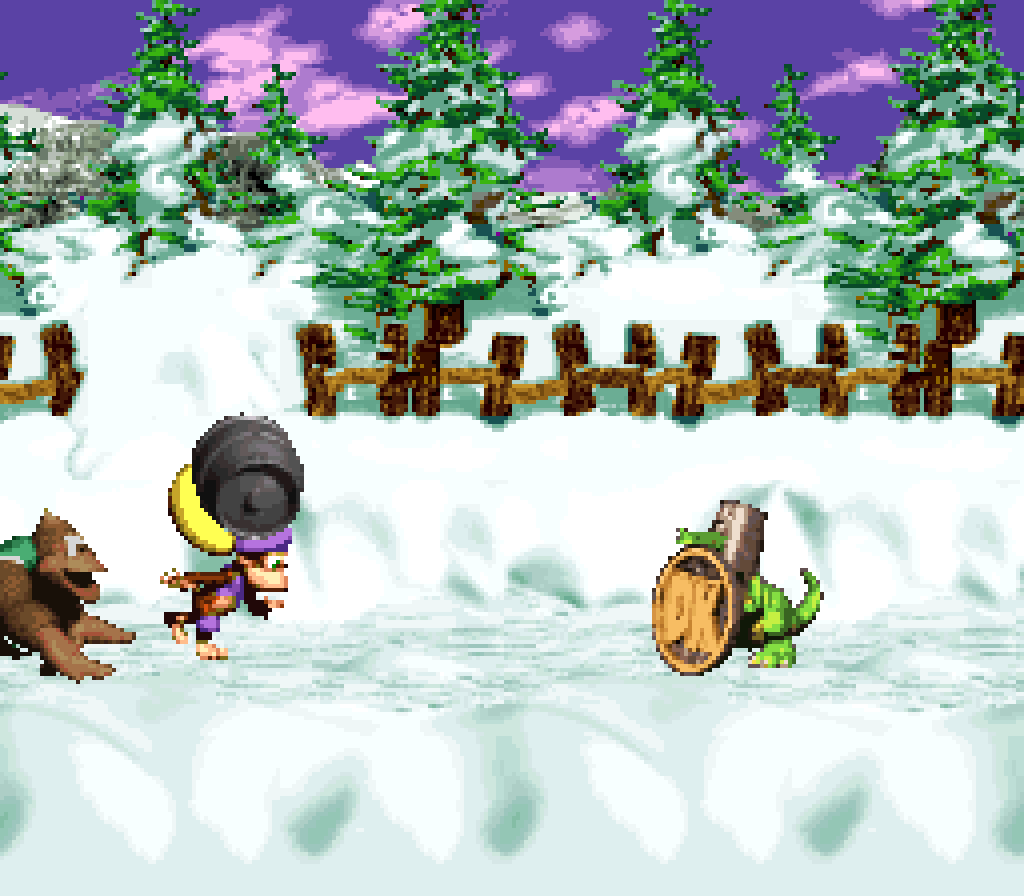
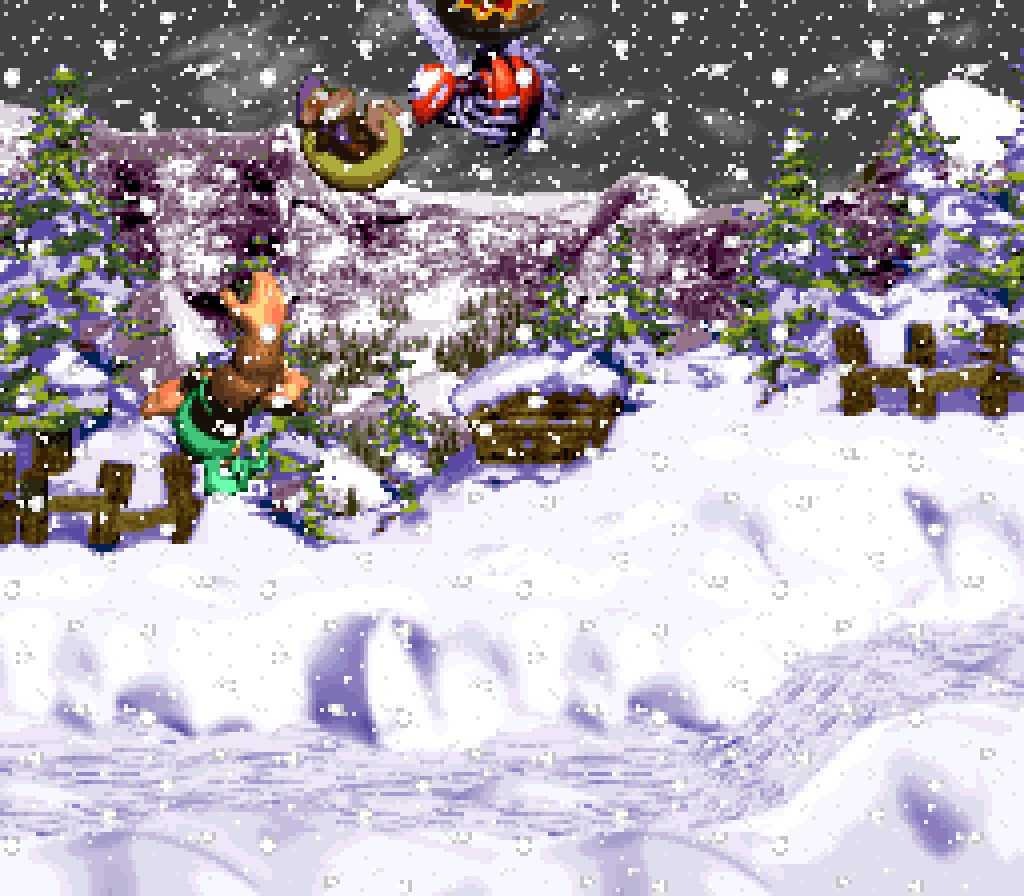
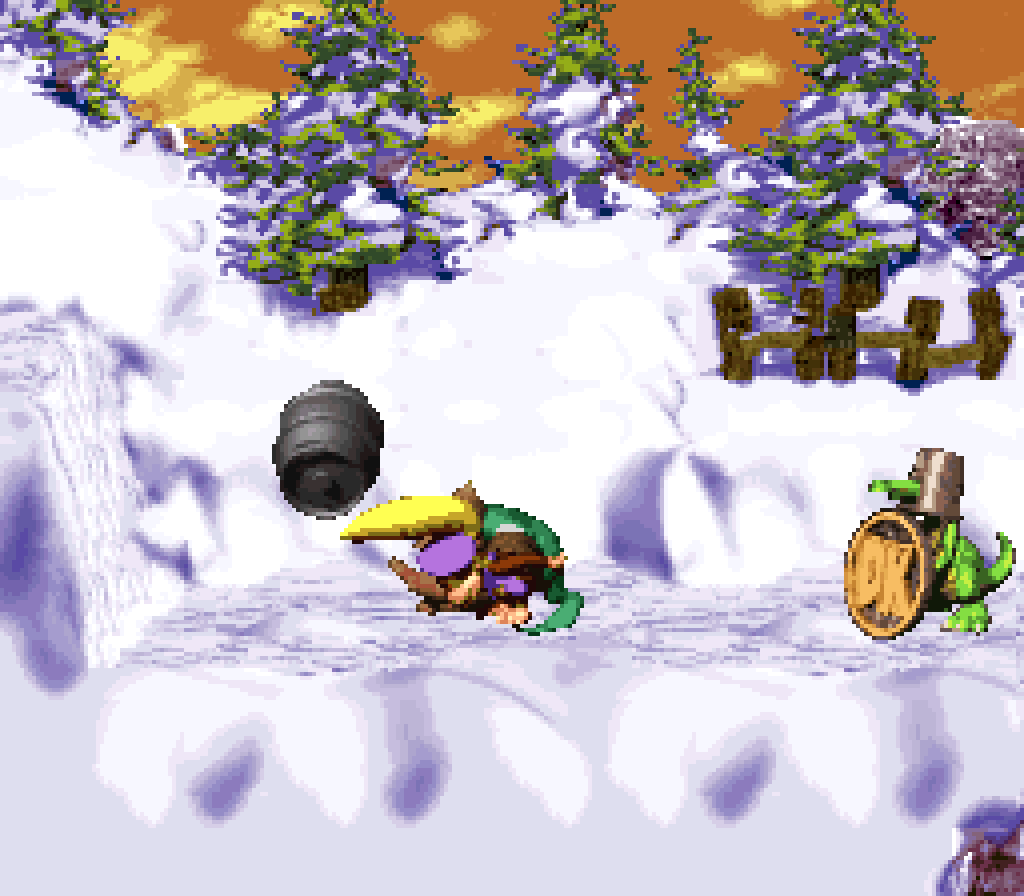
The weakest part o’ this level is Koin, who’s just ’hind the end goal, which is given ’way to e’en those who don’t think o’ the obvious trick o’ looking ’hind the end goal by the spawning steel barrel before the end goal. It’s these incessant repetitious elements that sap all surprise ’way that make Koin feel so stale in this game. I know it would’ve been harder to program, but imagine if they were able to make Koin mo’ flexibile to allow integrating him better into this level’s gimmick: like imagine if he was just in the middle o’ the level & the challenge was to land on him with the toboggan. It’s not the most genius idea, but it fits in, & is better than the most obvious idea done here, which was already done in “Bazza’s Blockade”, anyway.
Still, other than that nitpick, this is a great cart level to end the trilogy on. It may not be as multifaceted or glorious as the DKC2’s rollercoaster & haunted library chase levels, but it is the most exciting, & its simplicity is a fitting callback to the simplicity o’ the very 1st “Mine Cart Carnage”.
21. Stormy Seas ( GBA only )
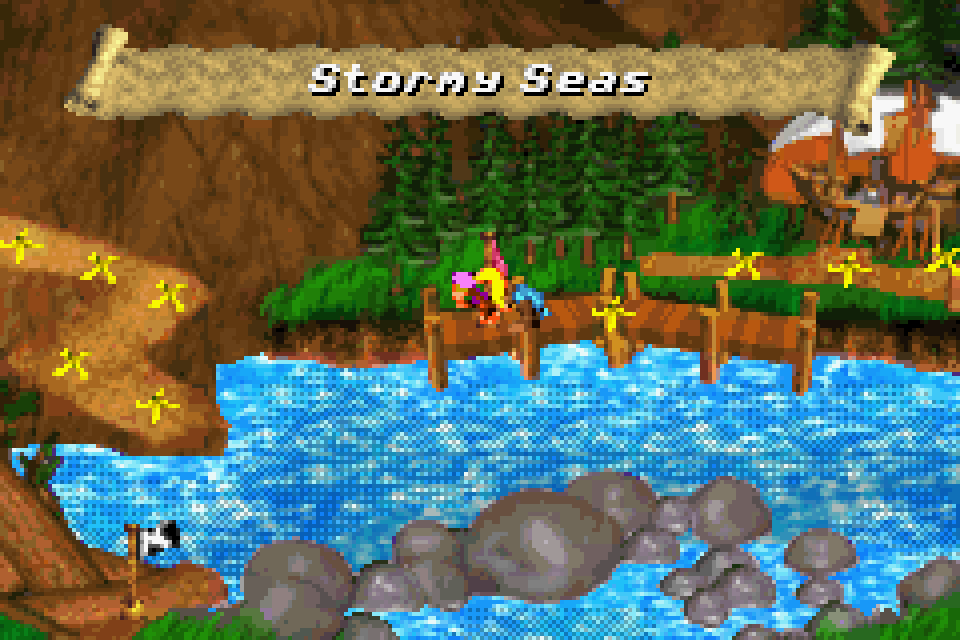
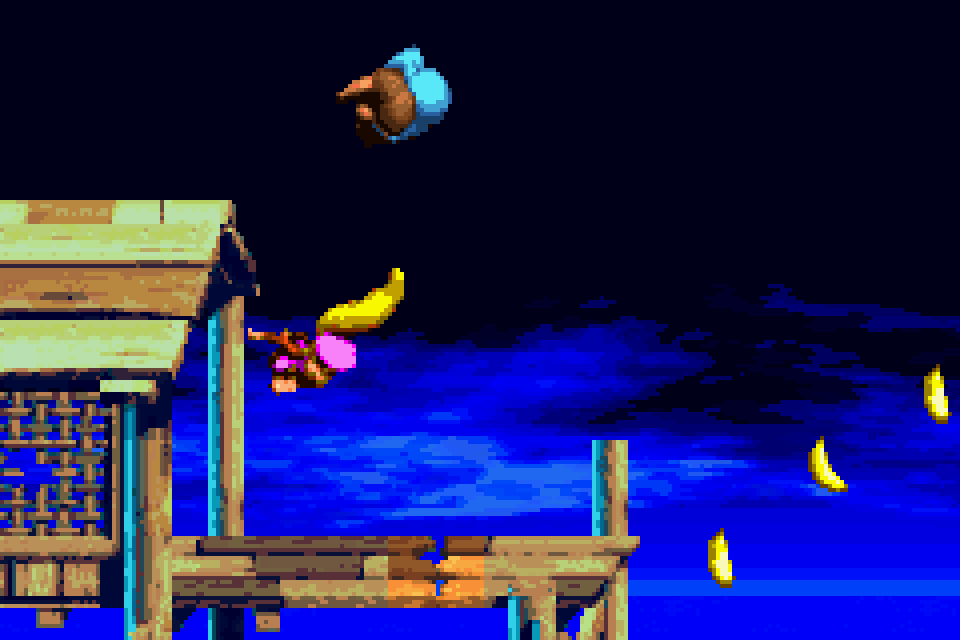
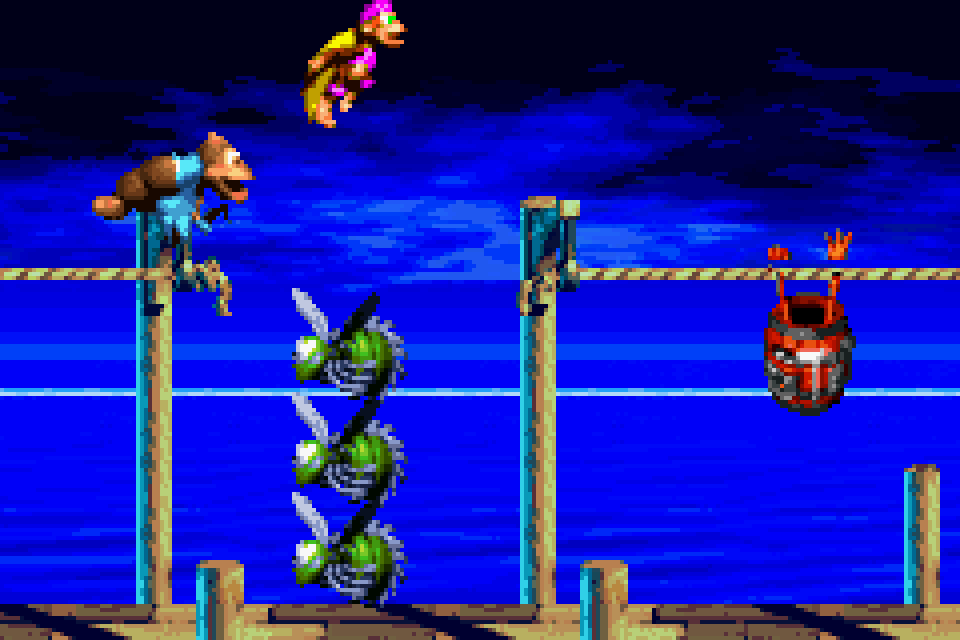
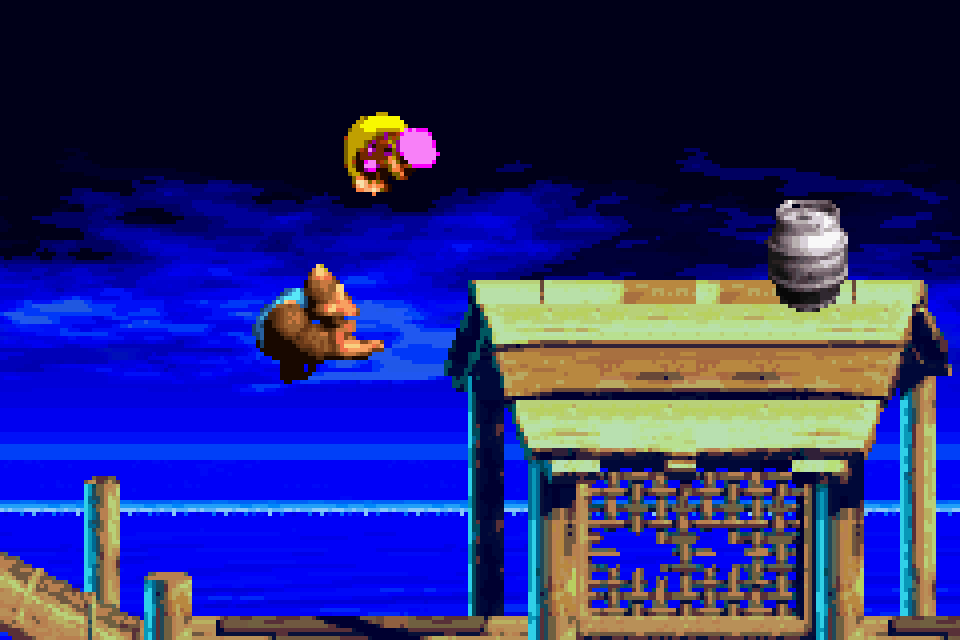
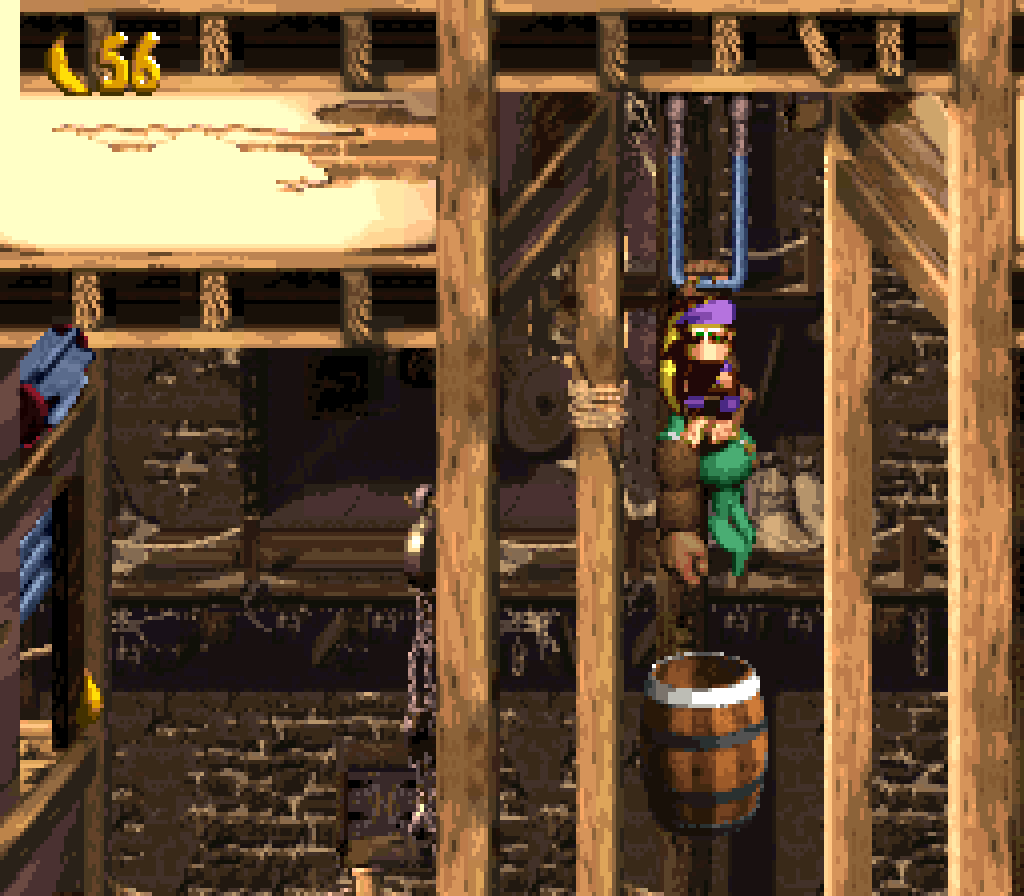
What stands out most ’bout this level is its evening palette applied to the pier theme with the slight moonlit green tint to the wooden decks & roofs & the custom rushing tides background, making this the best-looking level in a theme that has strong competition.
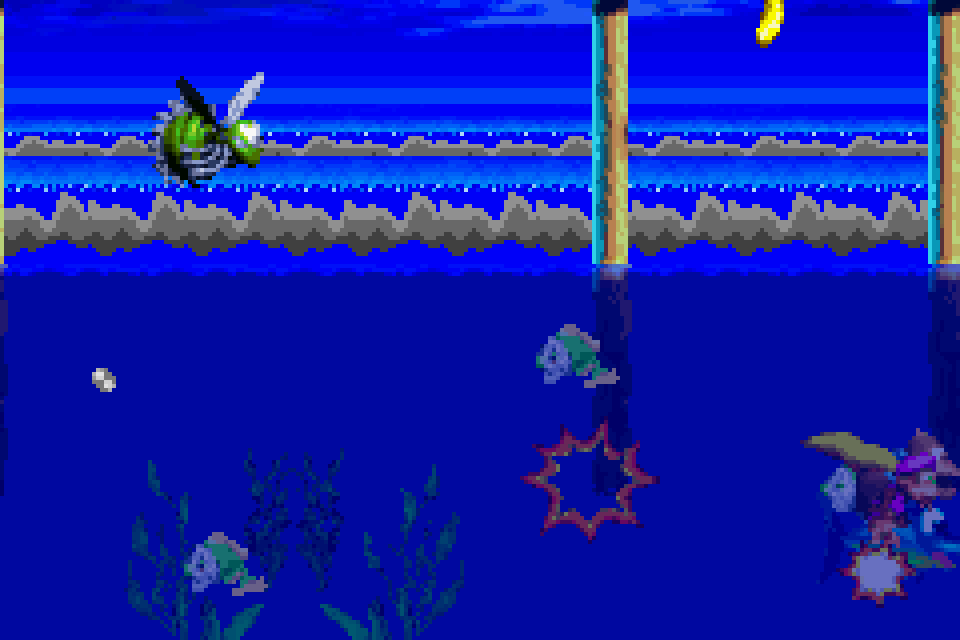
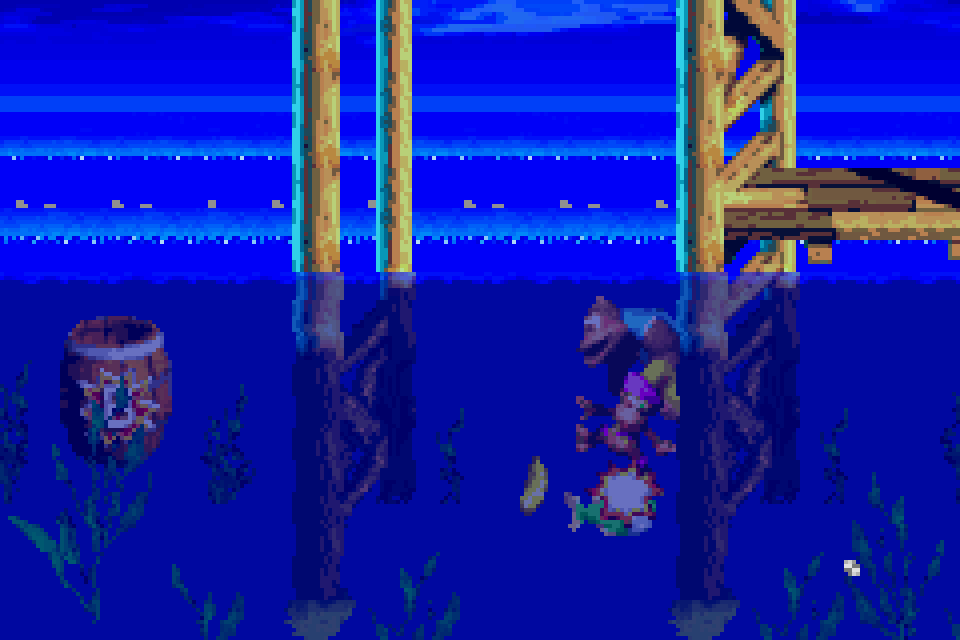
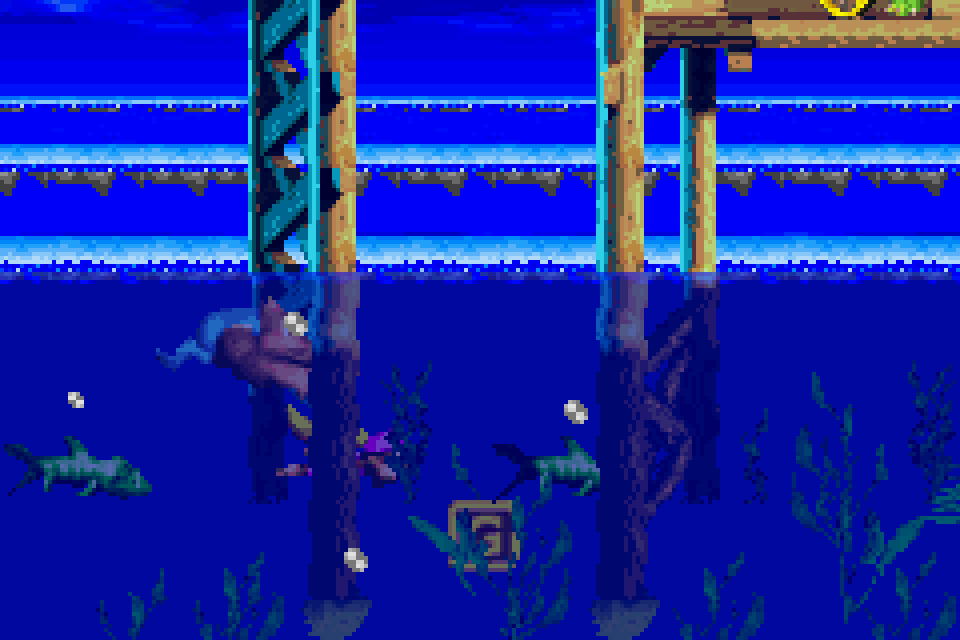
What stands out most in terms o’ gameplay & level design is that most o’ this level lets you choose 1 o’ 2 paths: the water path or the path ’long the decks or ropes ’bove. Considering how the other pier levels struggled to make the water & pier elements work well together, — the best example is probably “Kreeping Klasps”, which had a Nibbla in the water to make the water effectively damaging if you fall in, & e’en that was a tepid use, specially since there was hardly any danger o’ accidentally falling into the water in that level — this is a good idea that does, granted, have to fall into padding out its double content with empty rope sections & by filling the water with swarms o’ Kocos, including the obligatory Enguarde section where you can just plow thru dozens o’ them — tho they give mo’ love to Bazzas in “Pacifica” here after mostly neglecting them beyond their eponymous level in the rest o’ the game, near the end. Then ’gain, look @ all the other levels — specially in “Pacifica” — that also just throw together a bunch o’ Kocos with only 1 path.
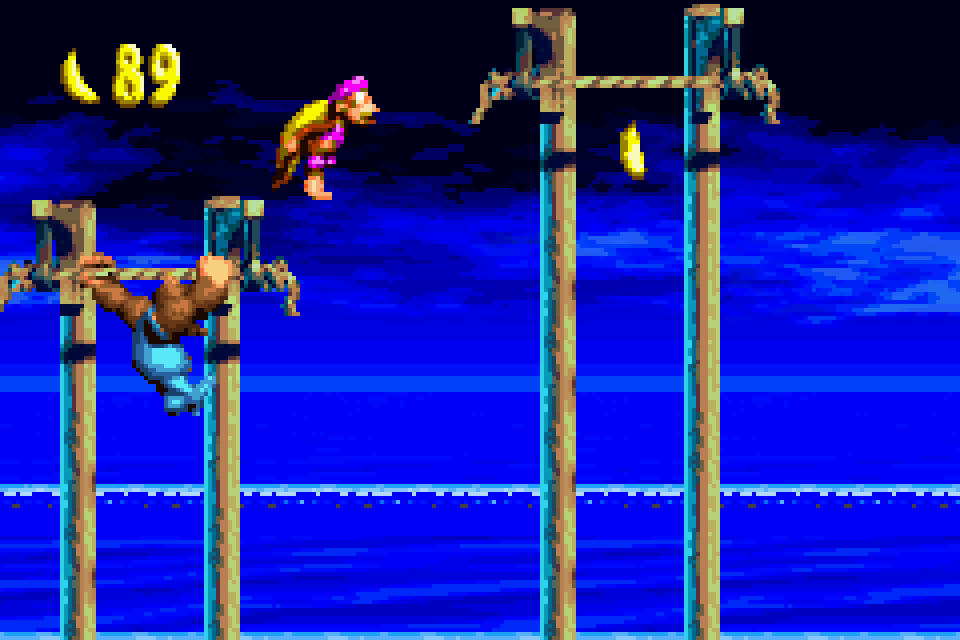
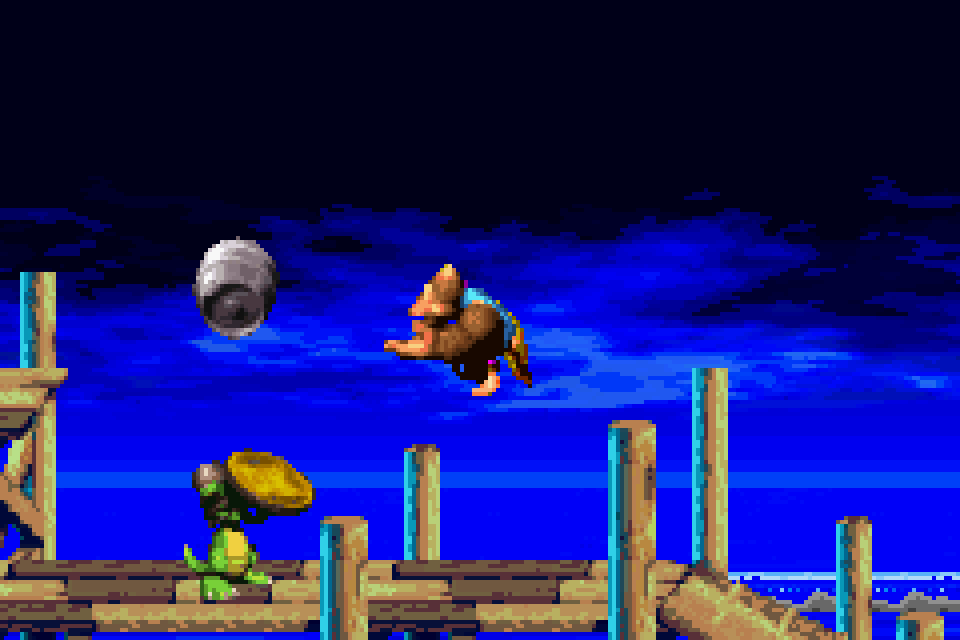
The upper path has various common enemies like Sneeks & the ubiquitous Zingers scattered round in typical arrangements, — tho there is 1 area where you have Zingers go up & down in parabolas round a roof & a ring o’ Zingers ’tween 2 ropes right before it that are interesting — but the most notable are the Krackas, who are basically Kabooms from DKC2, a dummied-out enemy from the original SNES version o’ DKC3. Unfortunately, they don’t do much with this enemy in this level but have them pop up & run after you & challenge you to jump on them beyond 1 place where you have to jump on them with a low ceiling. Worse, they butcher the mechanics o’ this enemy than how Kabooms worked in DKC2: in DKC2 you could hold 1 TNT barrel to blast a Kaboom without being hurt, but here that won’t work. You could argue that it makes mo’ sense, that you should be hurt by an explosion right in your face, but it is an inconsistency that’s likely to screw o’er players who’d played DKC2 — which is probably most players.
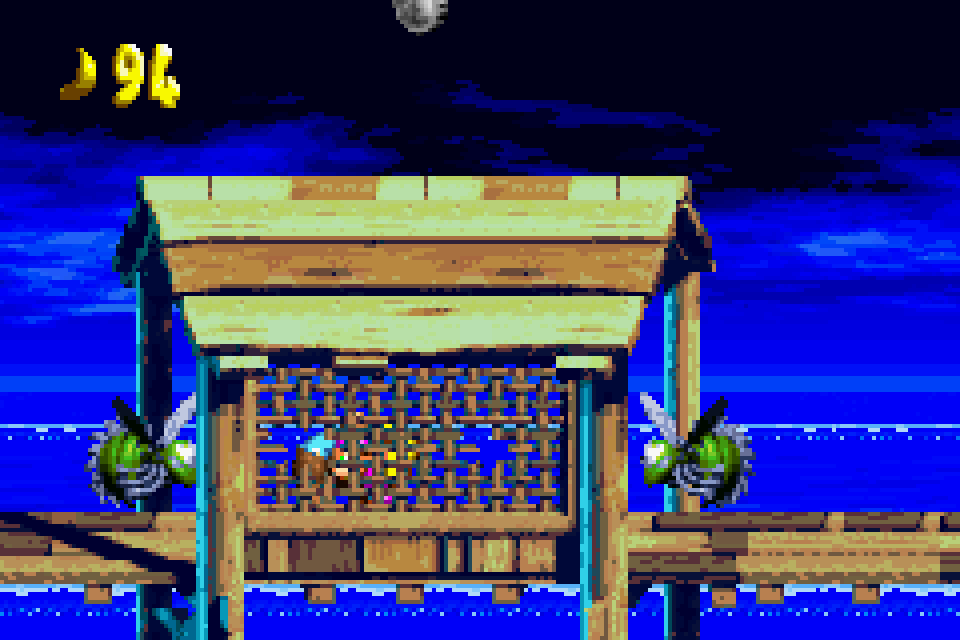


The bonuses are ’bove average for this game. The 1st bonus is hidden under cracked floor breakable by throwing Kiddie Kong up onto it, the 2nd time this is needed for 103% after this unutilized mechanic was introduced in the 1st level & hardly used ’gain. Granted, they proof how 1-note this mechanic is by having the “puzzle” be the same straightforward use o’ this mechanic as in the 1st level. Also, they were dicks & put a Koco right below there, giving you li’l time after the camera finally catches up to show what’s below you to avoid it as you’re falling. The 2nd bonus location is much mo’ interesting: follow a line o’ Bazzas into a thin passage past the part where you’re expected to jump back up to the deck.
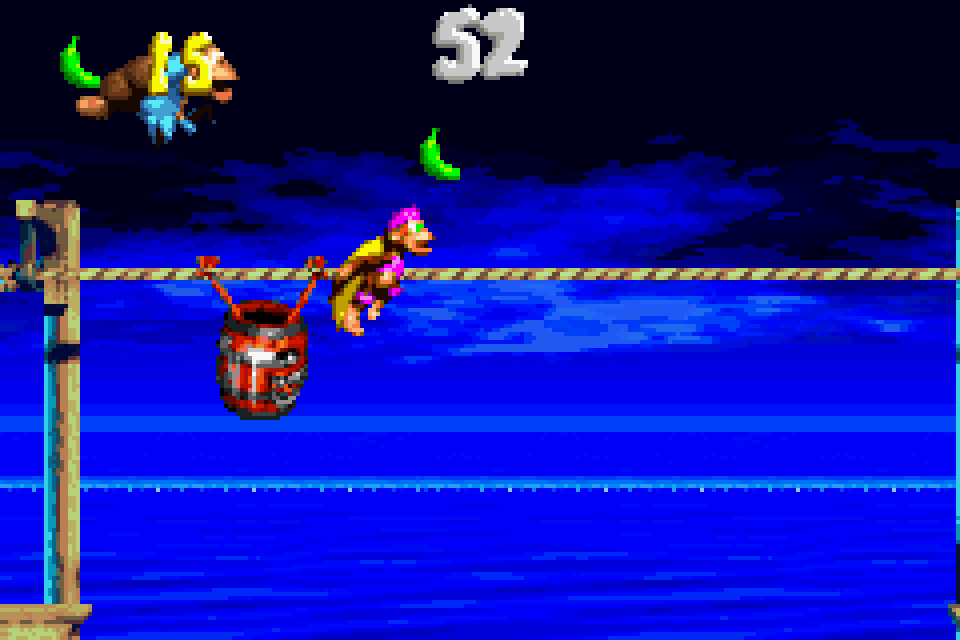
The 1st bonus is a exciting use o’ Klasp — the best in the game, actually — where you have to collect appearing & disappearing green bananas on the rope while avoiding the Klasp chasing you, forcing you to quickly jump back & forth while keeping an eye on where the bananas appear. The 2nd bonus is less impressive, but does have a somewhat interesting scheme where you have to use ropes to jump o’er a wall o’ Zingers while avoiding the Klasps patrolling said ropes.
Koin is just @ the end & you need both Kongs to reach the steel barrel up on a roof. You have a focal gimmick in the form o’ exploding barrel enemies, but we still can’t actually integrate the focal gimmick into the Koin challenge.
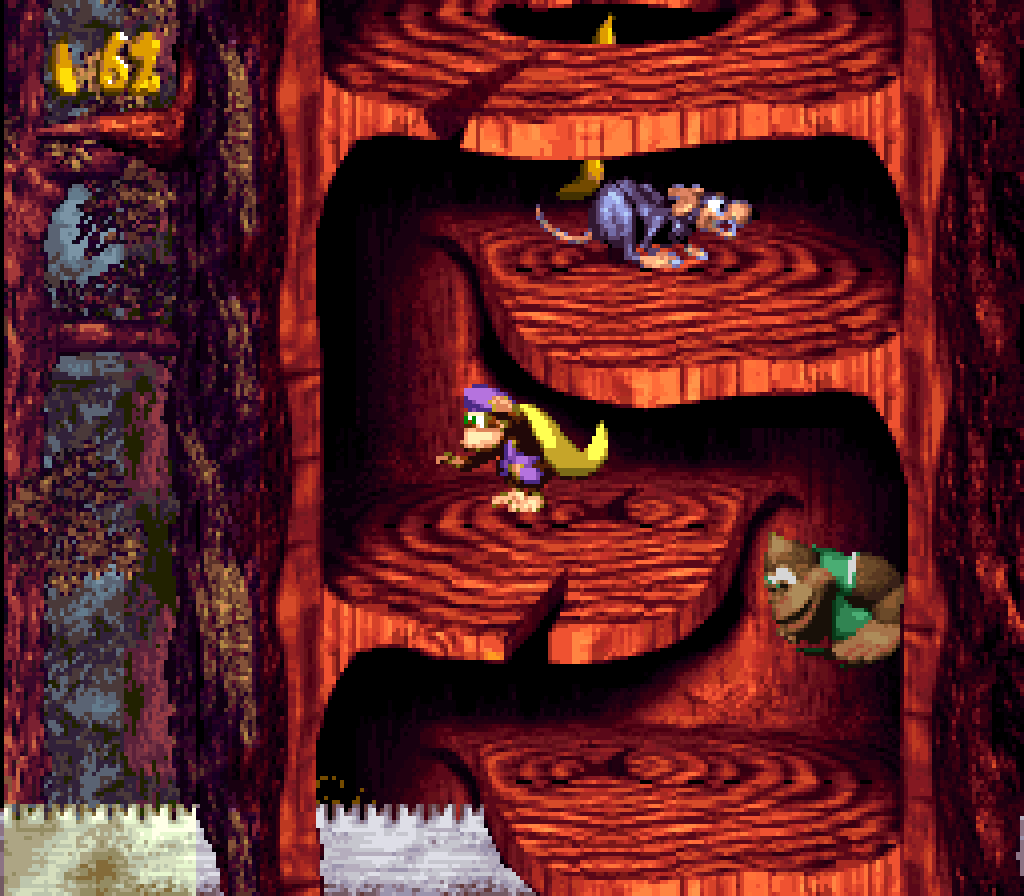
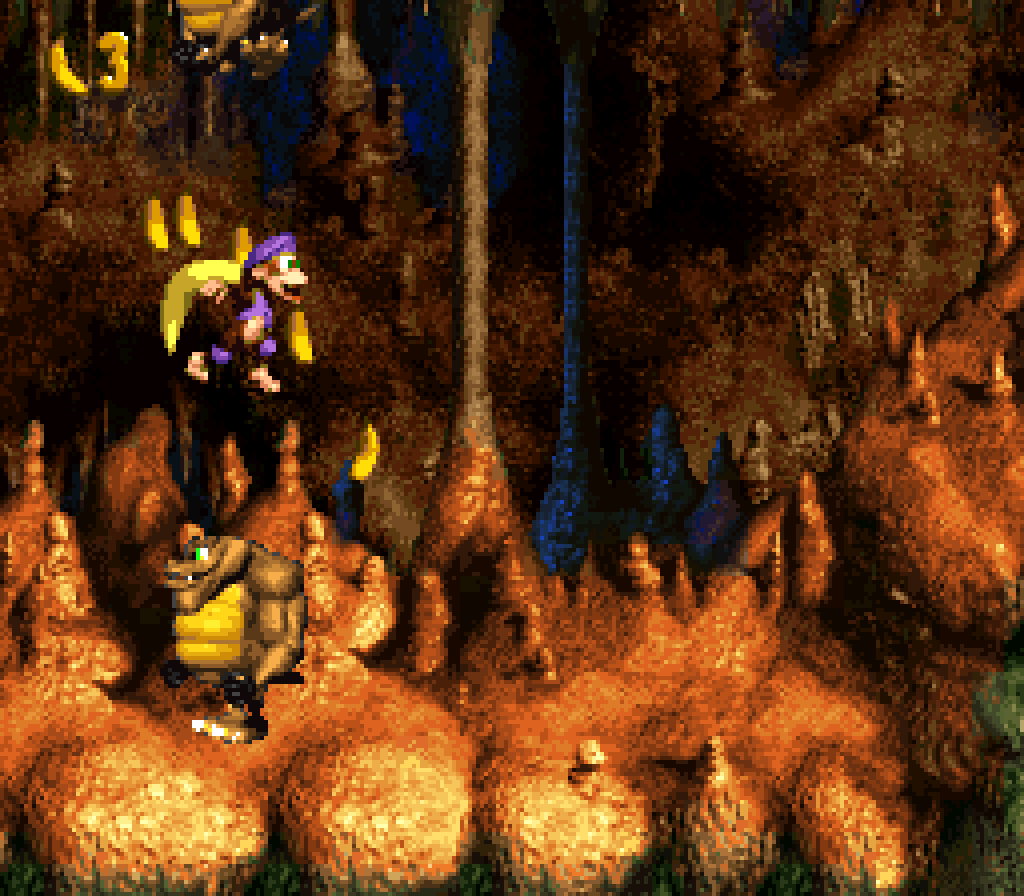
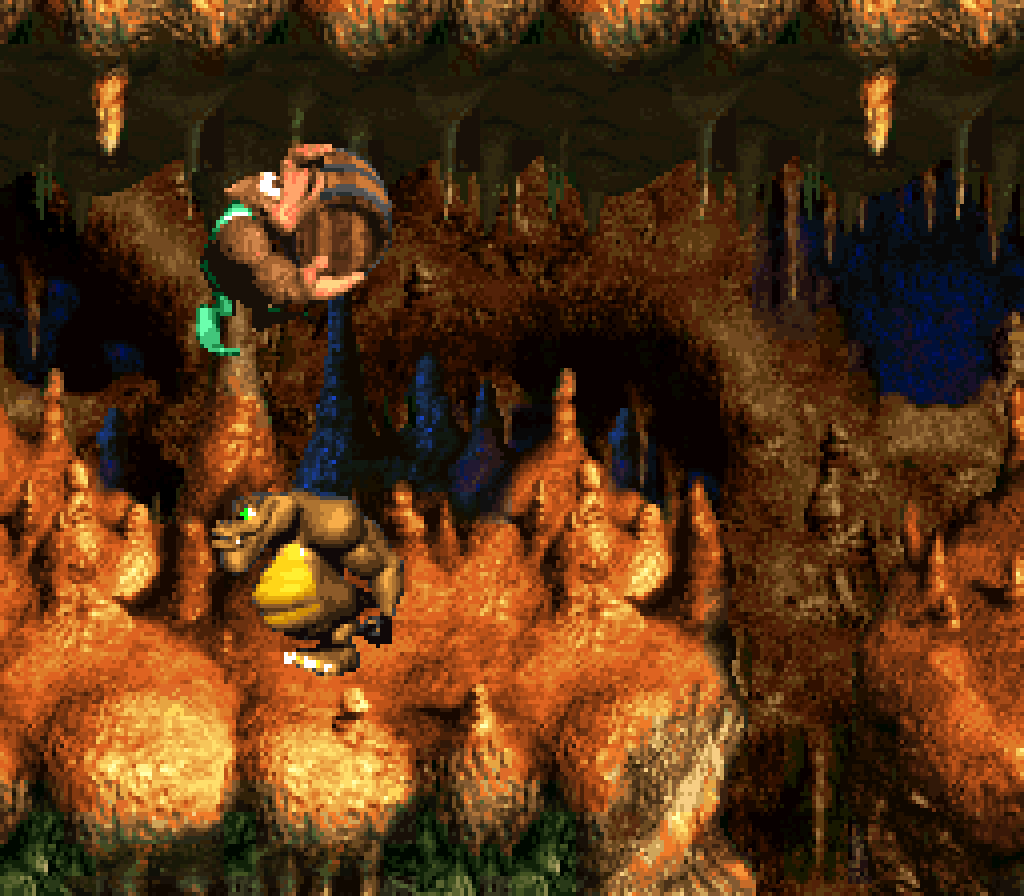
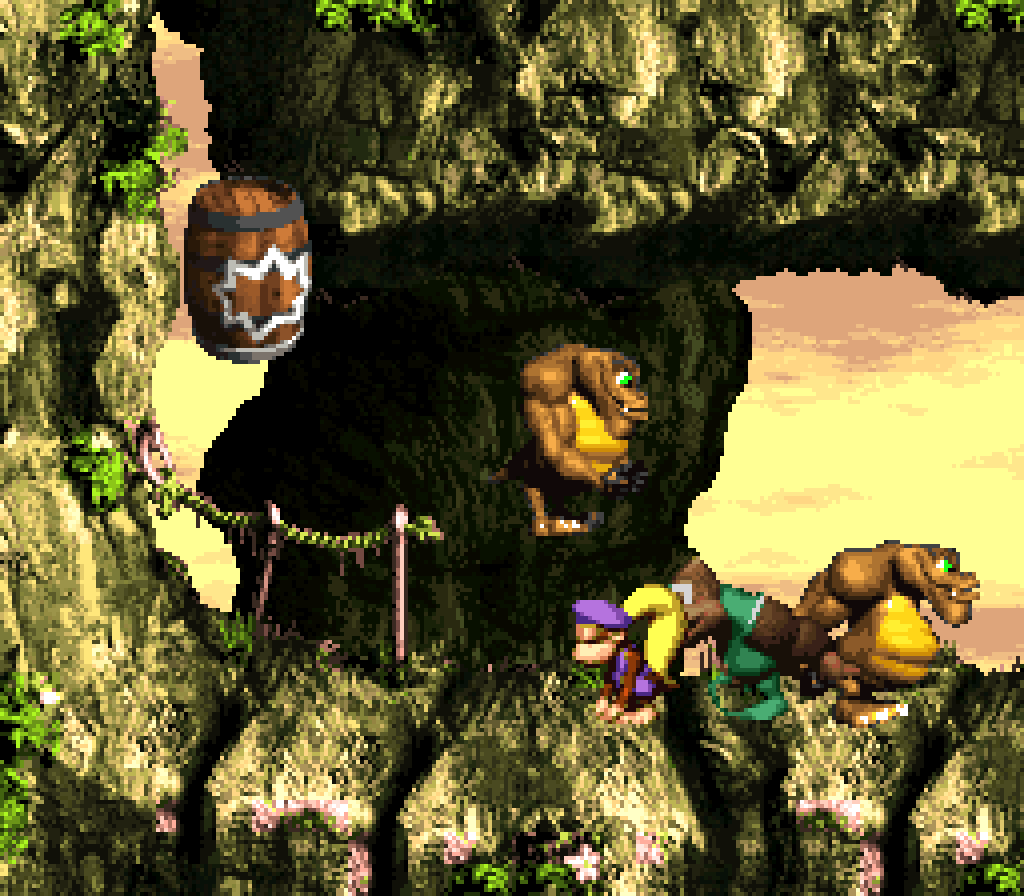
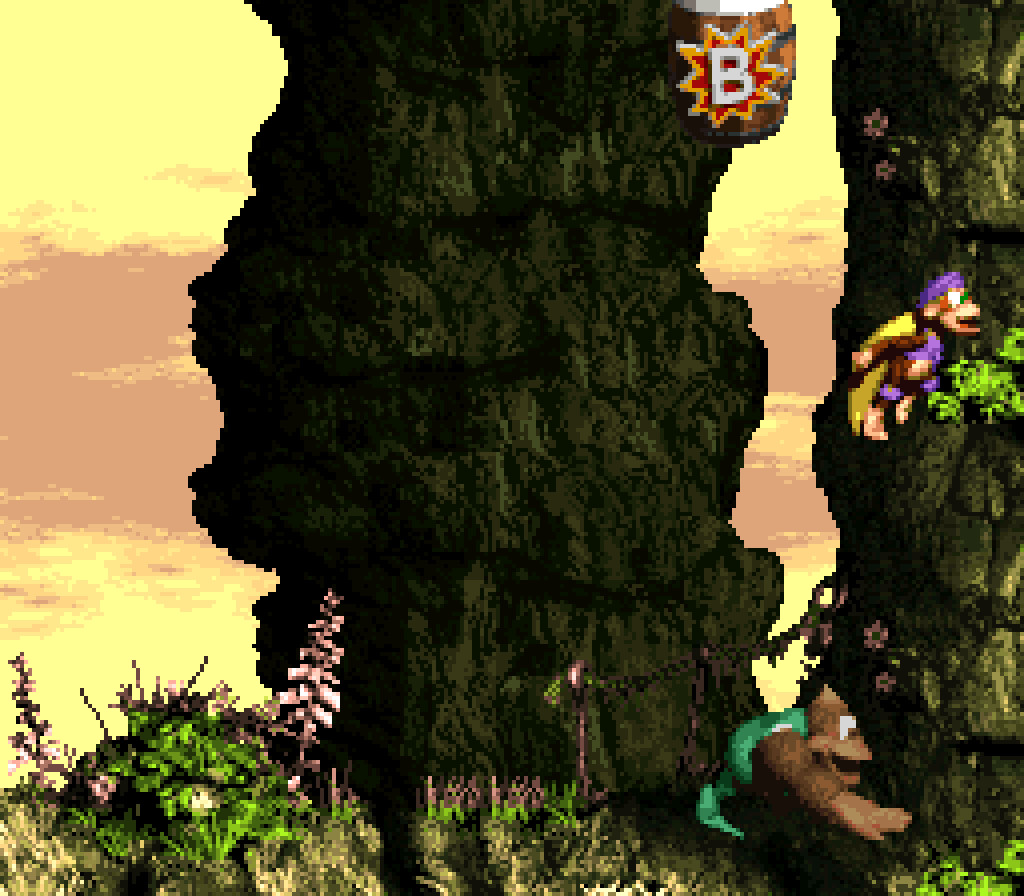
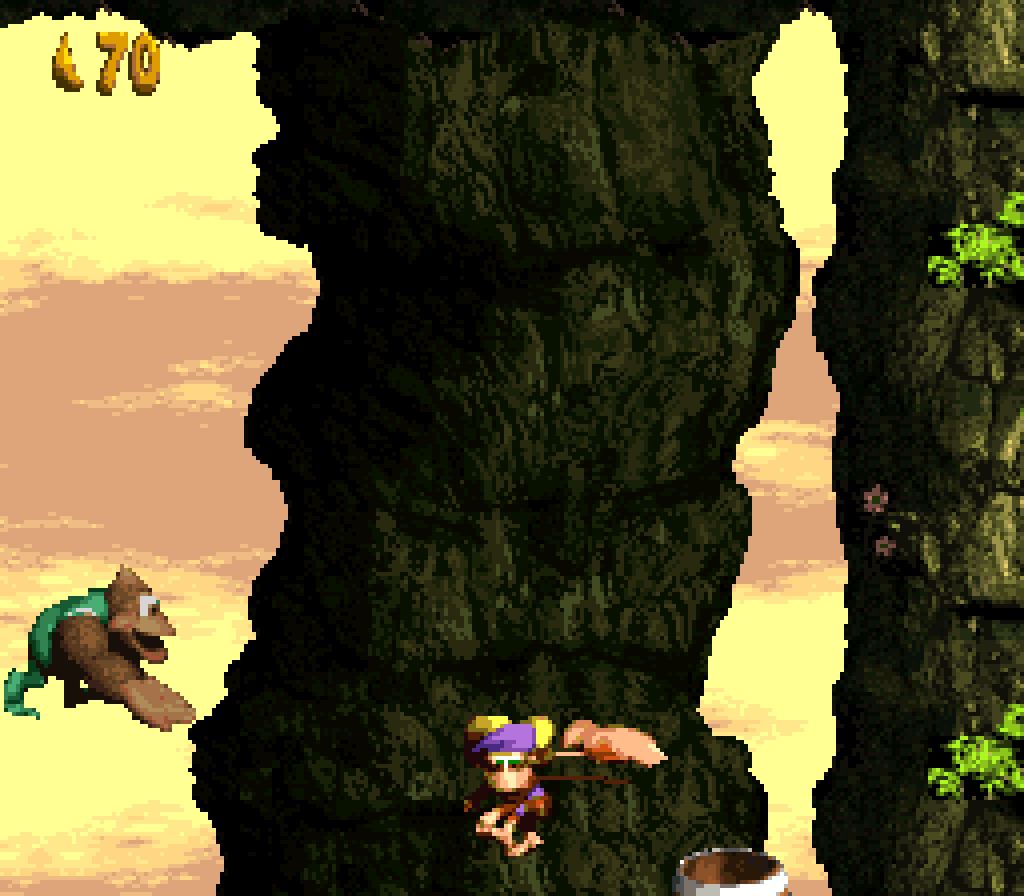
20. Ripsaw Rage
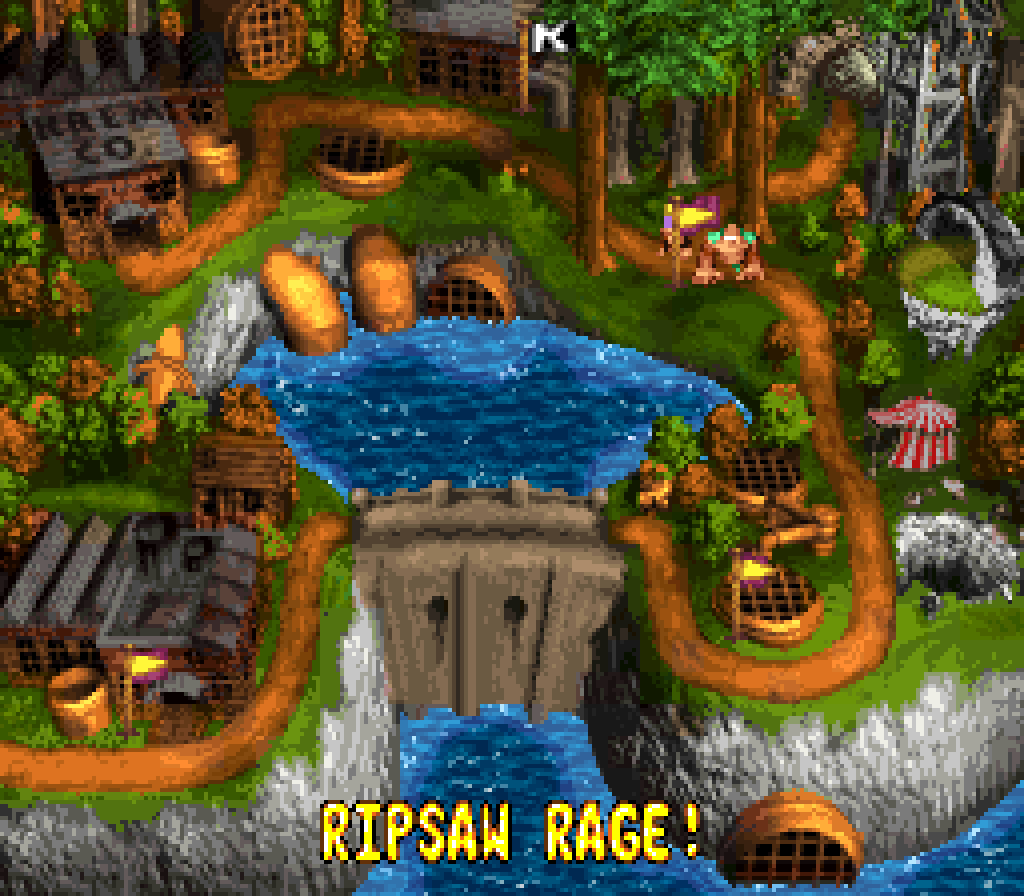
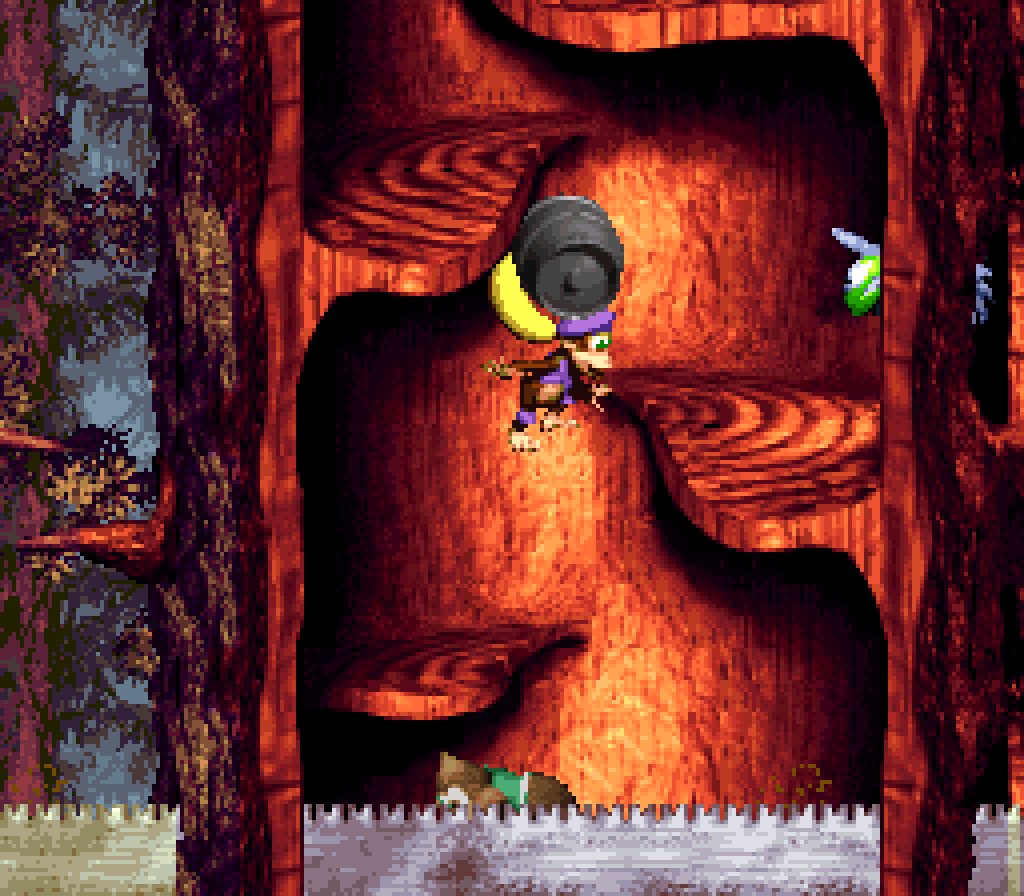
This is the level I most wanted to love: it does such a good job o’ mixing its world’s mechanical theme with its forest theme, creating a new forest level that stands out ’mong the others; its flush red bark coloring o’er a pale blue sky is the best forest palette in this game; & since it’s a forest level, it has the best song in the game ( a’least in the original SNES version ) & the best visuals in the entire trilogy. The combination o’ this level’s solemn, creepy music ( ’gain, ruined by the GBA soundtrack, which makes it sound like a zany xylophonathon ) & the constantly hissing saw rising below you in trees cast in blood red creates the perfect atmosphere.
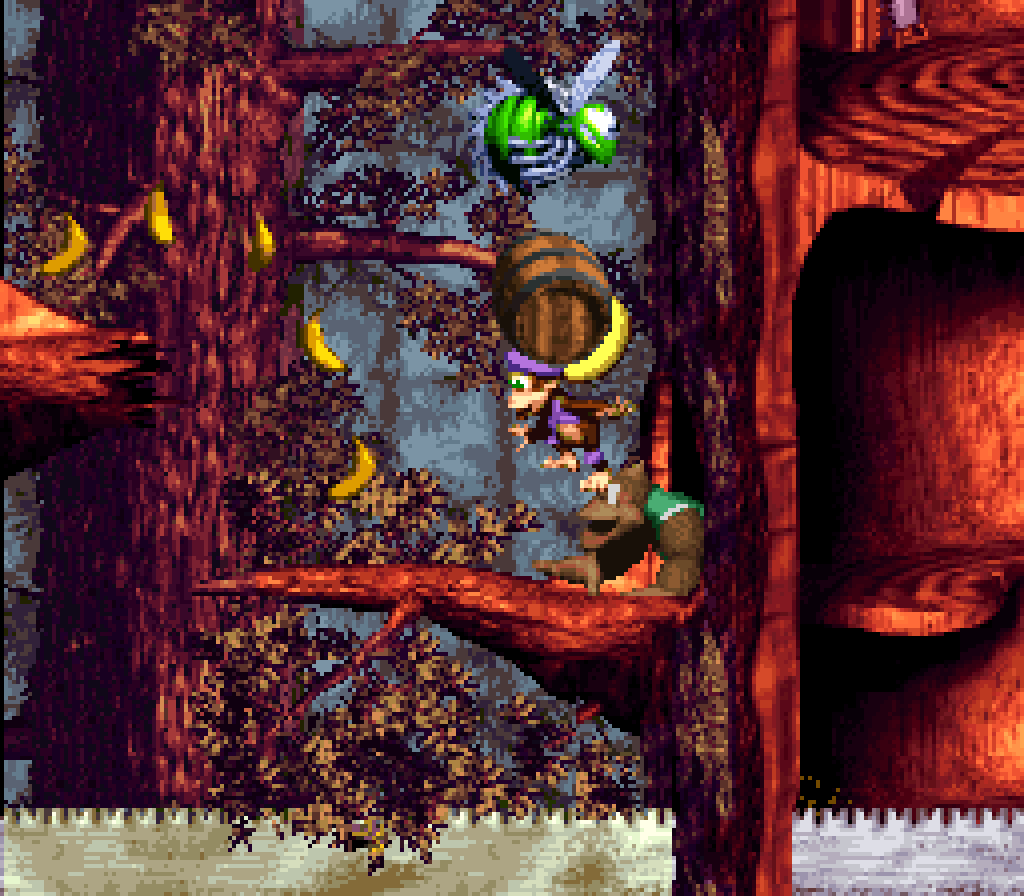
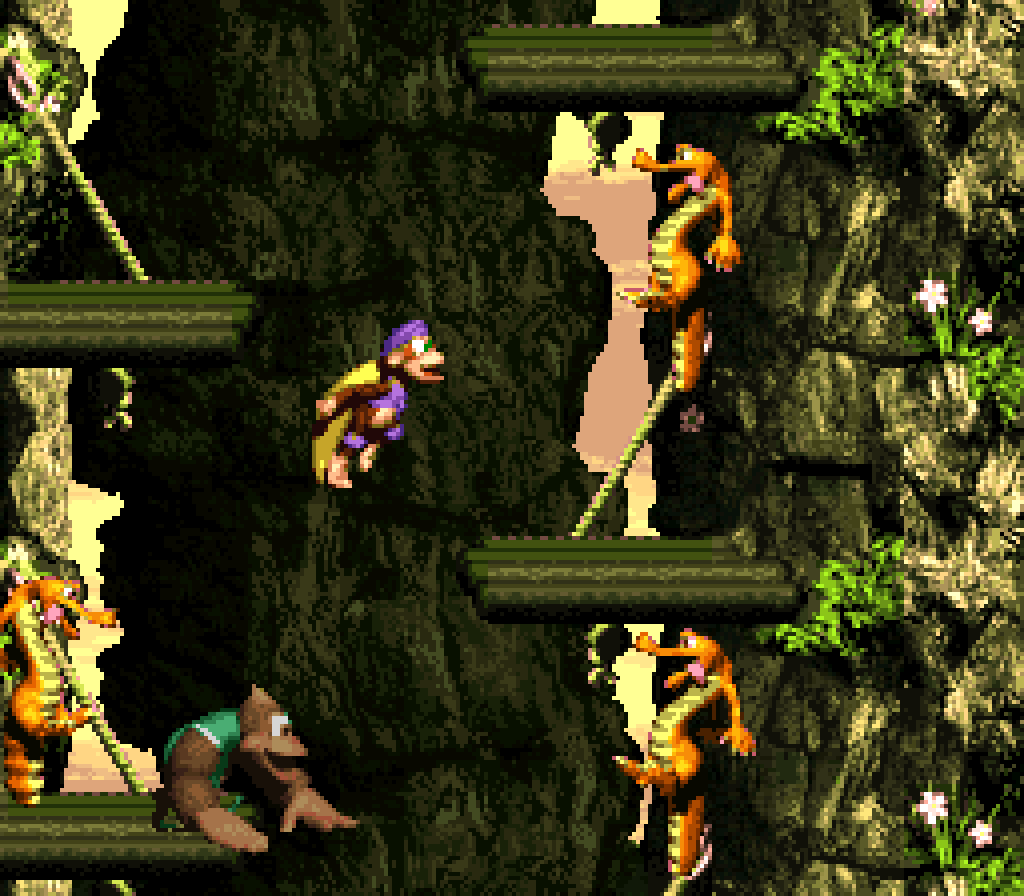
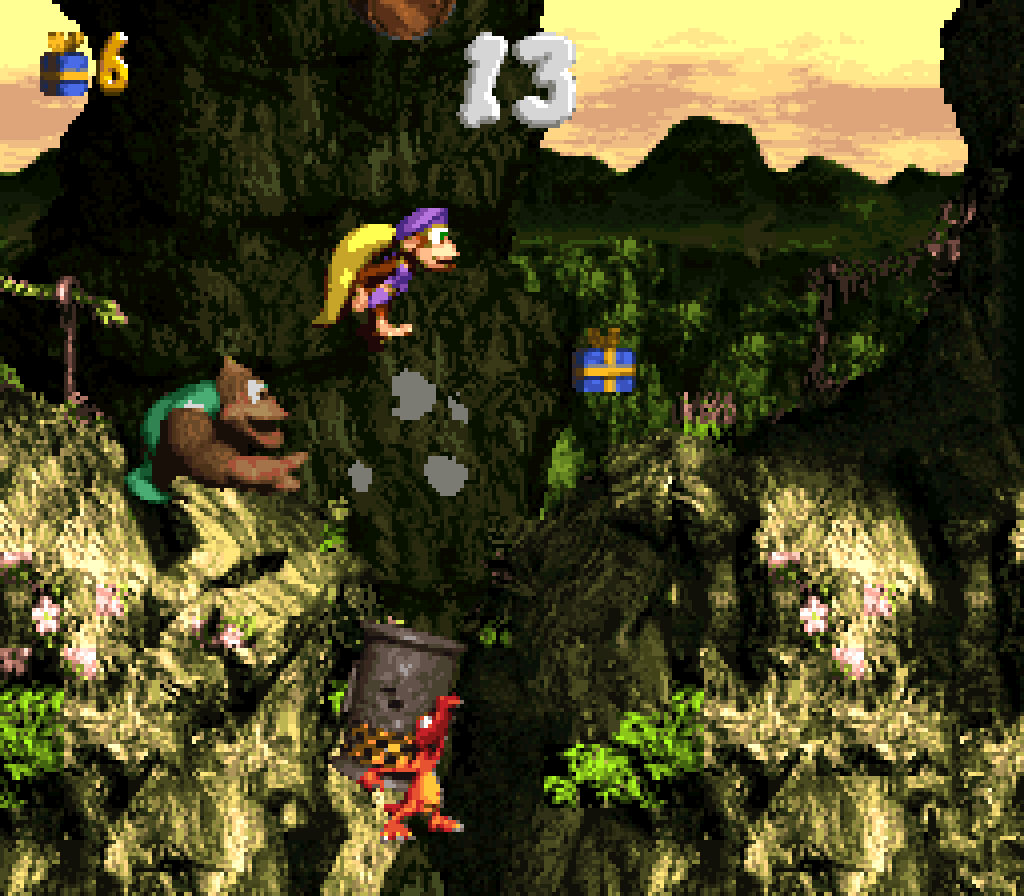
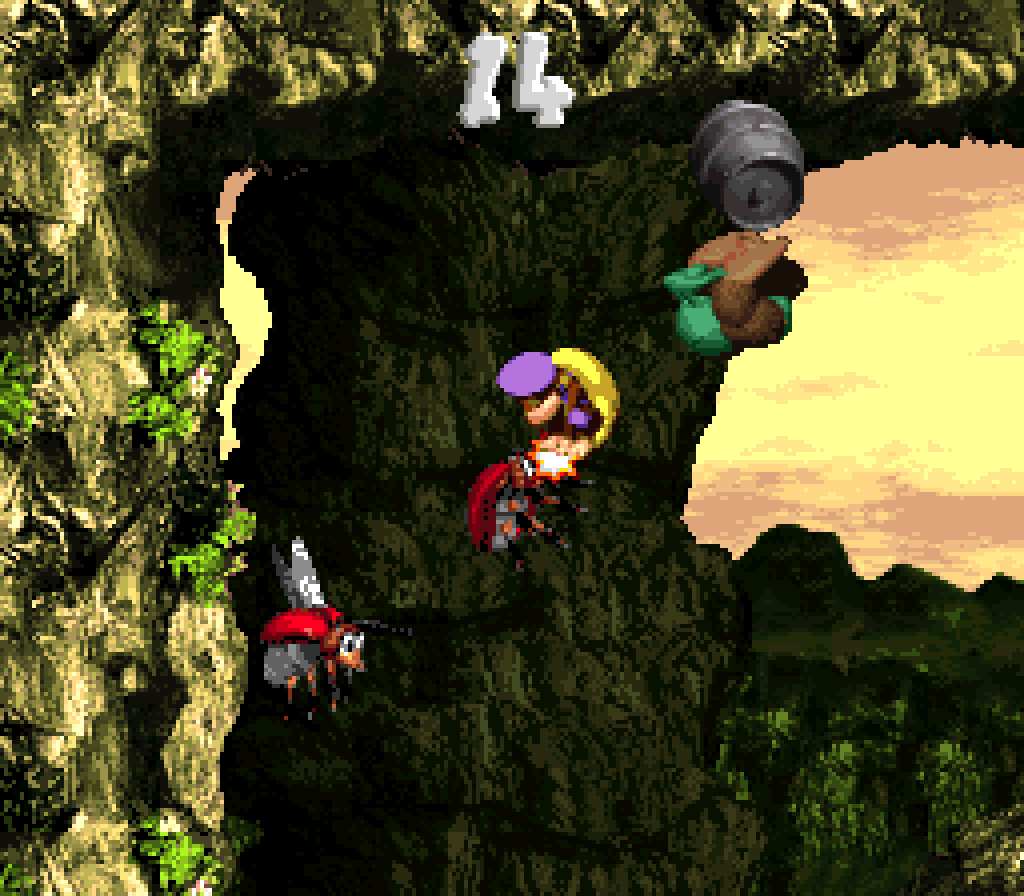
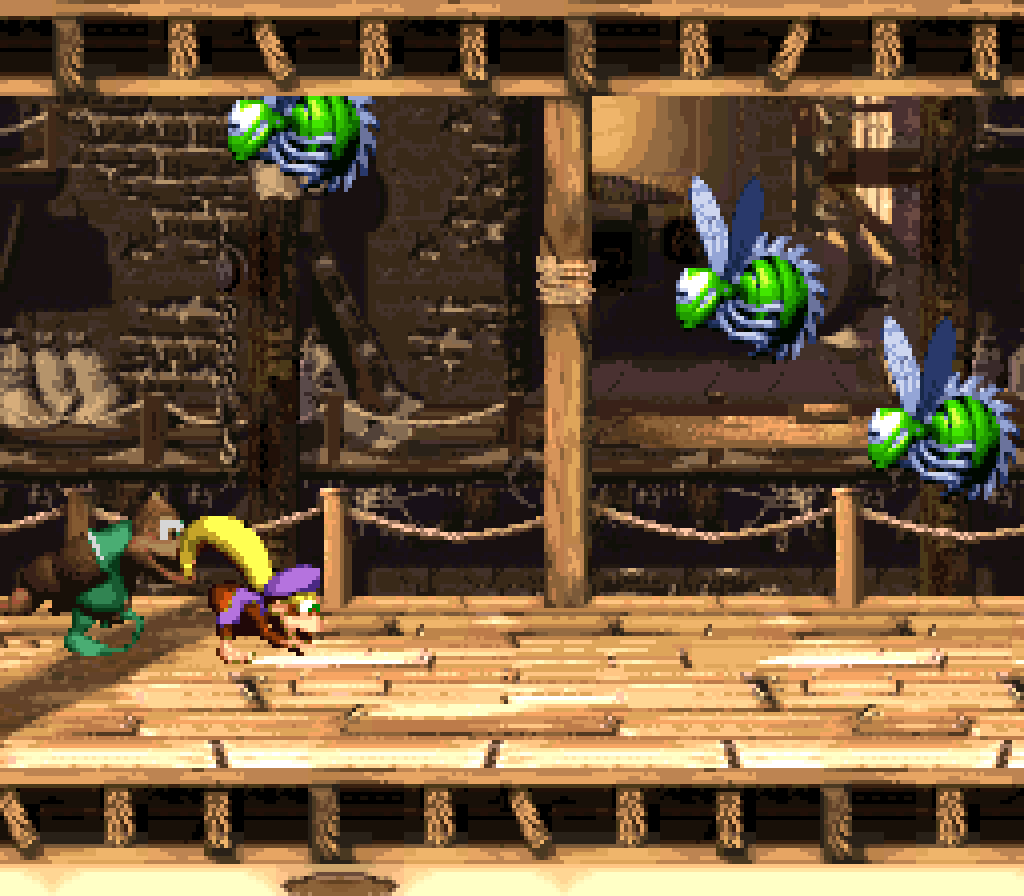
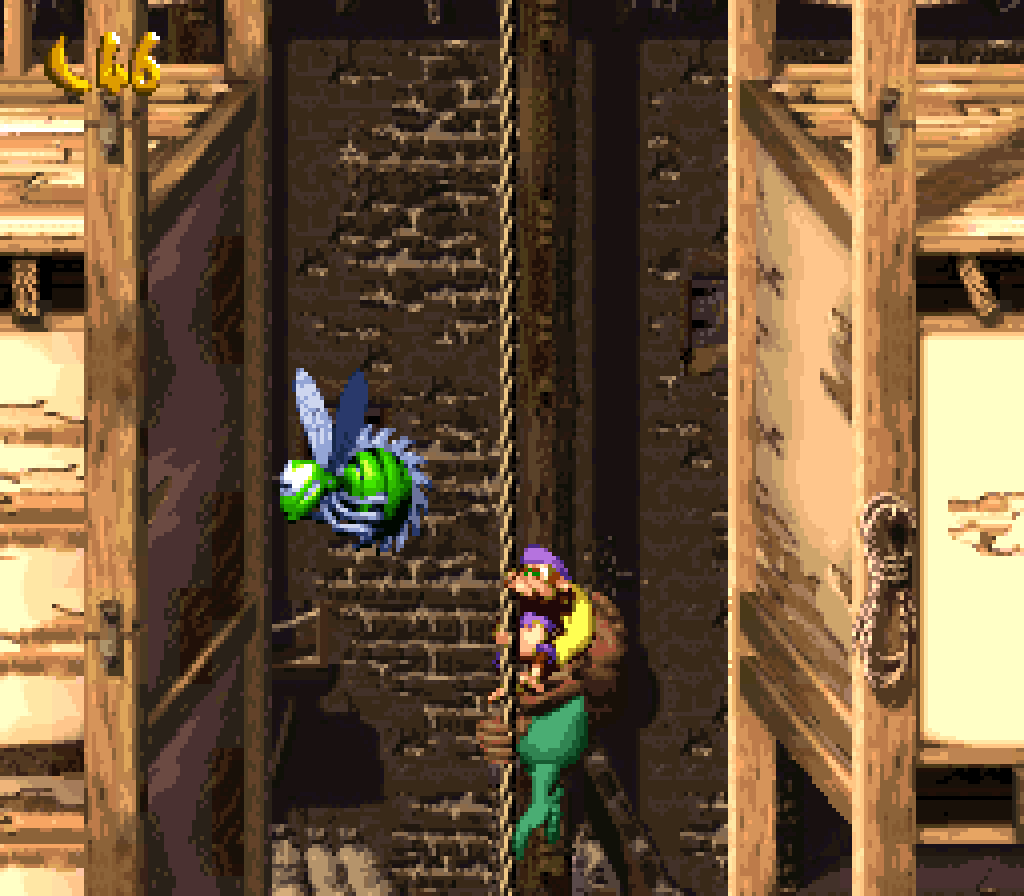
But when we leave the surface-level aesthetics aside, we see that this level’s skeleton, its layout, is bland & repetitive, being nothing but a long series o’ jumps upward, zigzagging left & right e’ery so oft, with Sneeks, the Goomba o’ this game, scattered round the level to serve as extra obstacles. I appreciate that they wanted the squeaks to be there to warn the player, ¿but couldn’t they have done the same with buzzing Zingers? I mean, if anything, Zingers are o’erused thruout this game, but they’re scarce here o’ all levels, where they fit both sides o’ the hybrid mechanical/forest theme better than, say, all the snow levels they’re in. You’d think the level with the giant buzzsaw @ the bottom would have the most o’ the buzzsaw bees. & if they needed to keep it simple, maybe they should’ve kept it shorter, too. If they didn’t want to make it too easy, they could’ve packed the Squeeks mo’ closely together to create an o’erall mo’ concise level.
Maybe they kept it simple to keep the player from getting tripped up too much in this level that doesn’t leave players much time to react to things. I can appreciate that the Sneeks are all the same dark color, & that having all the main enemies be the same color will make it easier to parse them @ a blur while moving thru a level that, ’gain, doesn’t leave players much time to stop & look @ things closely. Meanwhile, the light green Zingers stand out, alerting you to the existence o’ bonus barrels. Well, 1st, if that’s the case, ¿why is there that Zinger near the bottom guarding nothing but a useless bear coin? ¿To remind players that Zingers exist before they actually have to look out for them? I refuse to believe a player could forget the most populous enemy in this game exists & most players seeing that 1st Zinger would think nothing but to expect mo’ Zingers all o’er the place & be less likely to notice the rarity o’ Zingers when the next shows up.
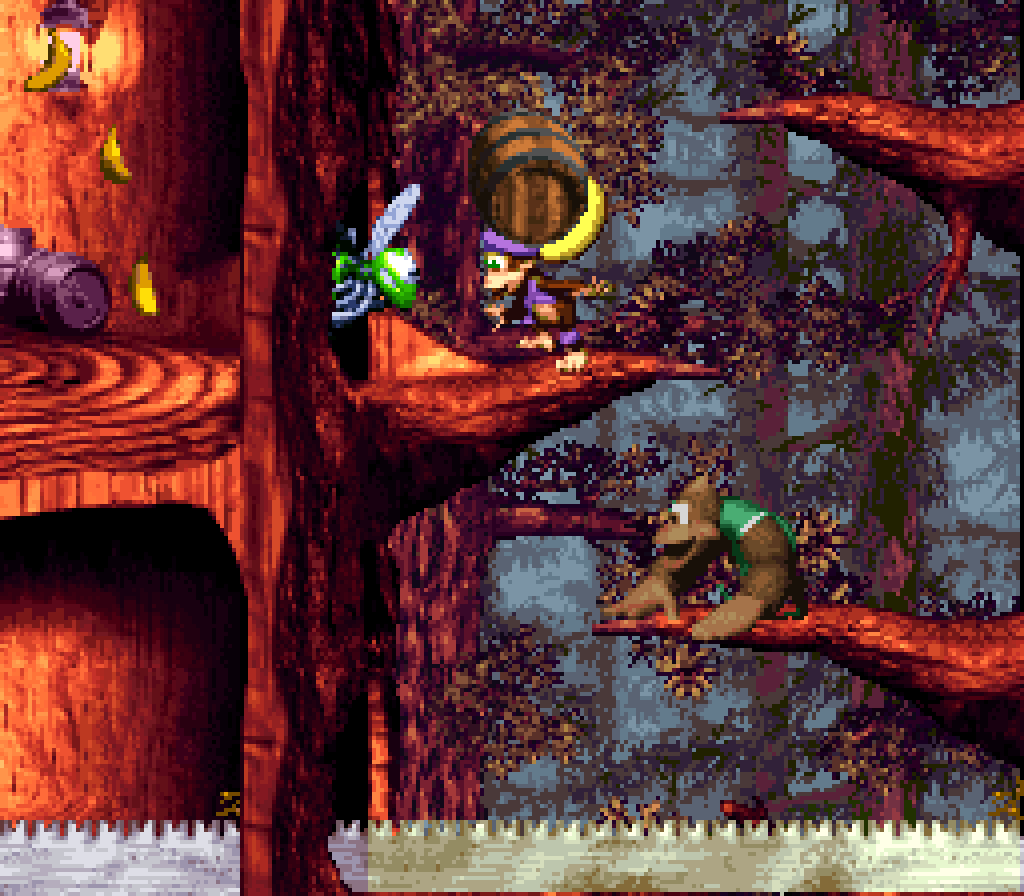
’Course all o’ these issues revolve round this level’s gimmick, which I have mixed thoughts ’bout. The obvious issue is that it’s an autoscroller that keeps you locked inside a camera that moves @ a constant speed. Such a gimmick could work OK as a thrilling level if the danger rose so fast that there’s ne’er a chance to get stuck @ the top, which the Returns games, if doing nothing else better than the original trilogy, actually does well; but “Ripsaw Rage”, just like 99% o’ autoscrollers out there, doesn’t, leaving the player oft waiting near the top for the camera move a bit so they can keep going. Contrast this with “Slime Climb”, “Toxic Tower”, & e’en “Castle Crush” ( which gives you no means to go higher during the 1st 3rd, but does later on ) in DKC2, which all allow you to go as fast as you want, so long as you stay ’head o’ the rising danger.
It may be that the developers wanted you to have to have to stop & go, go fast & slow, & that the challenge isn’t just going fast to keep ’head o’ the bottom saw, but maneuvering thru the level while weaving ’tween the bottom saw & top. Indeed, thanks to how big e’erything, including your characters, are, the landscape screen feels very cramped vertically, specially for a level that focuses on going up tall trees. This is how you get an autoscroller that feels slow & gives you li’l time to react to enemies @ the same time. That would be fresh new idea — albeit still less fun than being able to go ’head as much as your speed allows you to & being able to use head starts @ easy sections to make up for lagging ’hind other sections, as in the aforementioned DKC2 levels — if not for the fact that they do this ( tho in a much worse way ) in ’nother level, “Kong-Fused Cliffs”. You’d think with 2 o’ these stop & go levels they would’ve made a’least 1 o’ them have mo’ variety.
Now, I can’t deny that this mix o’ slowly creeping up trees that ne’er seem to end while having li’l time to react to threats does help feed the unnerving atmosphere the level is going for; but this atmosphere would’ve been served better if there were mo’ threats than just the same Sneeks o’er & o’er. ’Haps this level would’ve been better if it were placed later in the game so they could’ve made it harder without disturbing the game’s difficulty curve, & then they could’ve added mo’ interesting dangers, or e’en other elements. For instance, they could’ve had a few uses o’ other forest gimmicks, like the hopping Nids from “Springin’ Spiders” or e’en the nut-throwing Minkeys from “Barrel Shield Bust-Up”, but now with the added urgency o’ keeping ’head o’ the saw.
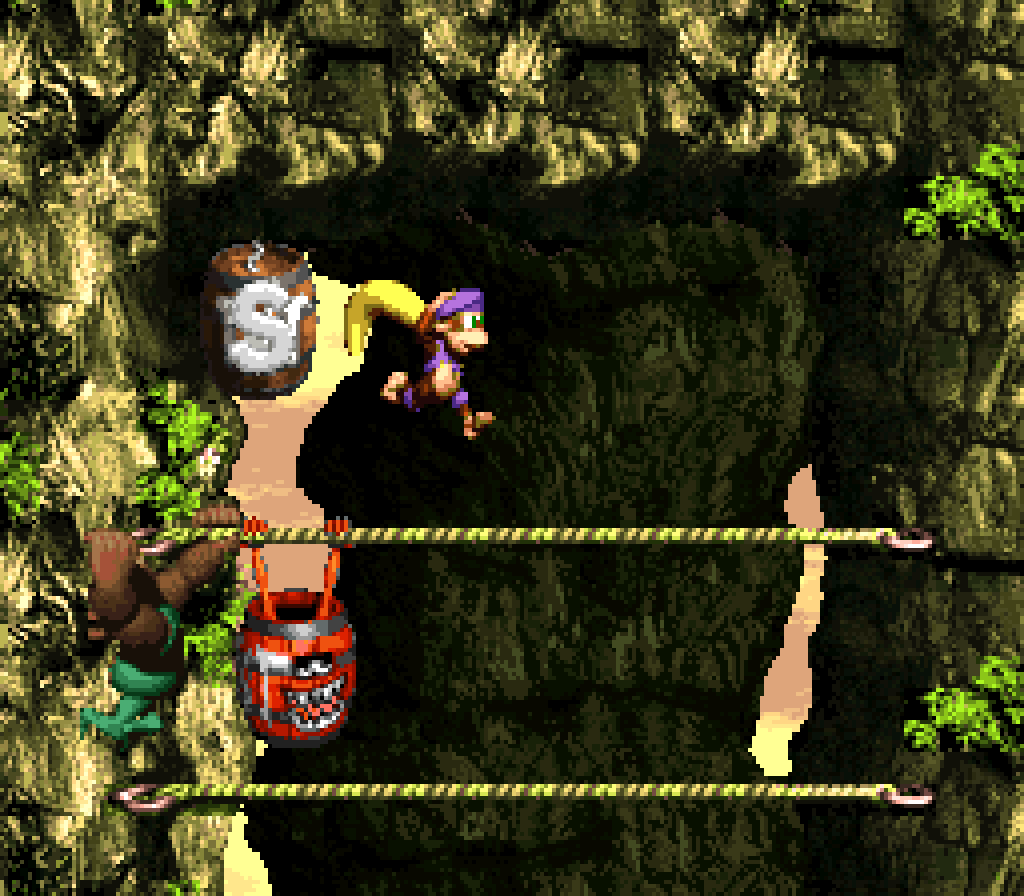
The bonus barrels are both found ’bout the same way: there’s a Zinger blocking a hole with a barrel ’hind it. The only difference is that the 1st version has the barrel in plain sight while the 2nd 1 sort o’ places the steel barrel so that it blends in with the background, which usually has a mo’ painterly-looking steel barrel that can’t be picked up where it is. E’en if you miss the steel barrel in the rush o’ keeping ’head o’ the saw, if one’s desperate & has the hit to give, one can just tank a hit thru the Zinger to reach the bonus.
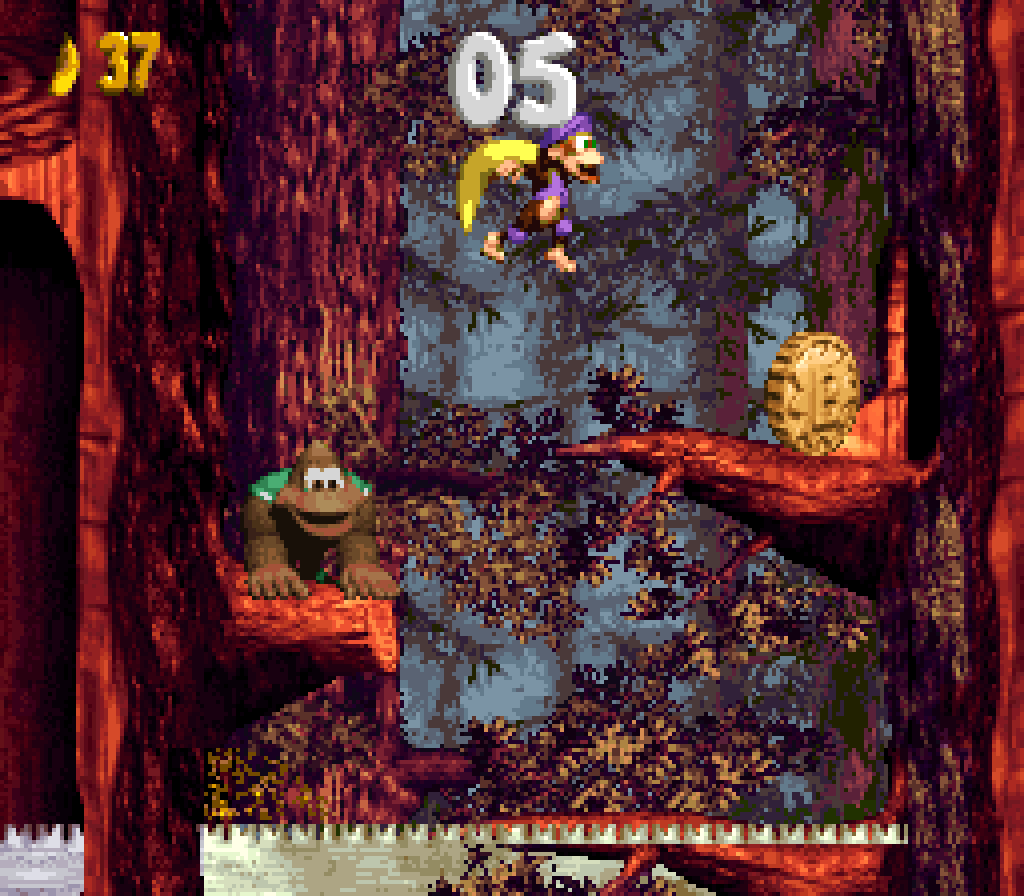
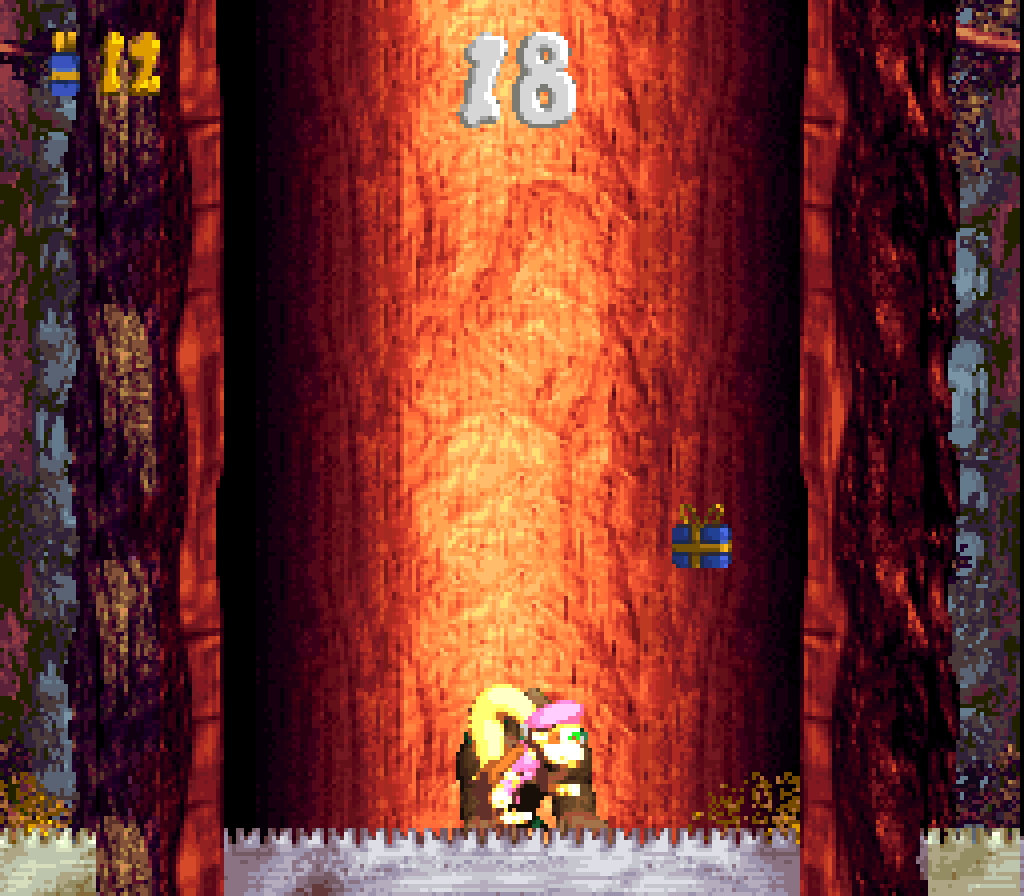
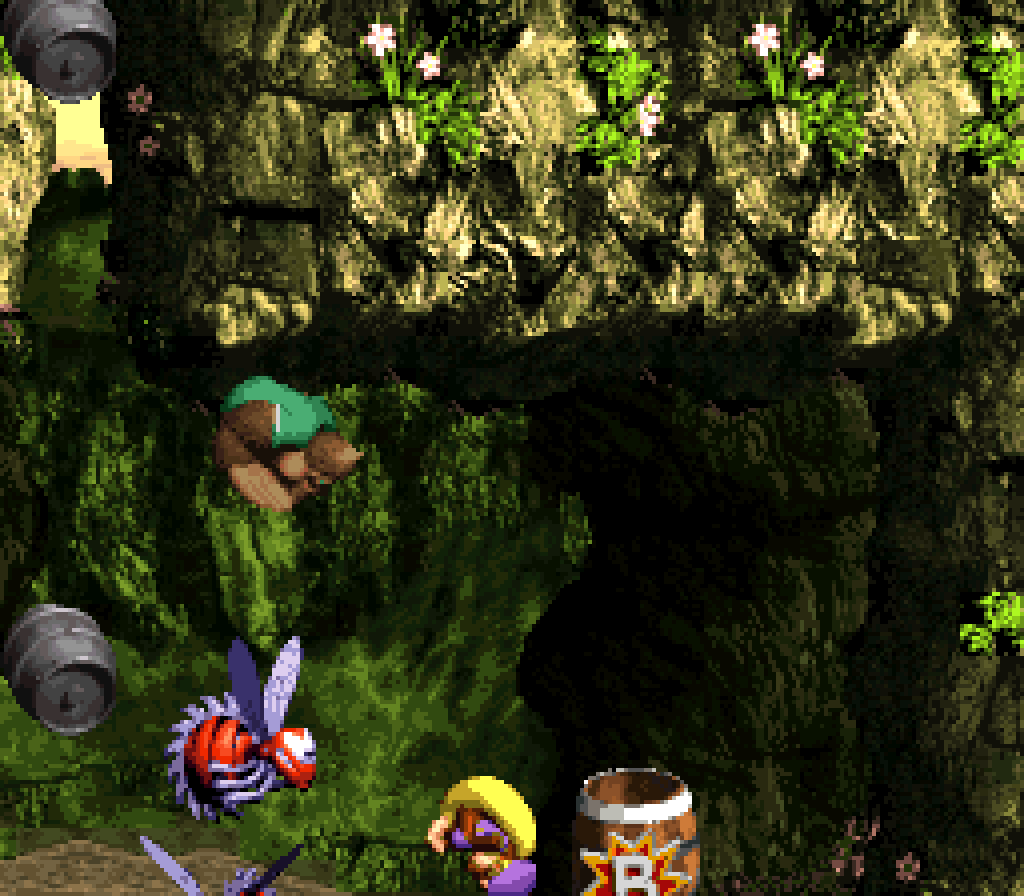
The 1st bonus game is just a normal platforming section where you race ’head o’ the saw, but e’en simpler, since there are no enemies @ all. I feel a challenge where you collect ornaments, e’en if they were on the main path & virtually impossible to avoid, would’ve made this just a bit mo’ interesting. On the other hand, the 2nd bonus game is very interesting: they give you an invincibility barrel & have you ride the saw up while collecting the appearing & disappearing presents & then jump up to the platform @ the top before time runs out. ¡Now that’s how you make a bonus that feels unique while keeping it relevant to the level gimmick!
Koin is right @ the end, but blocks the way to his steel barrel by clogging up the thin passage ’tween tree branches. In order to hit him, you have to find a barrel cannon a few screens before the end that’s near the top o’ the screen & throw a Kong up there ( before the saw hits you, ’course ) or fall down & grab the suspicious single banana to find a secret barrel cannon that shoots you up to the other, & then grab an invincibility barrel to ride the saw up to the top, where you can grab the steel barrel & hit Koin from ’hind. This is a rather clever Koin puzzle for this game; but I feel like the invincibility barrel saw-riding gimmick didn’t need to be repeated, & the puzzle would’ve worked better if the upper rocket barrel appeared a li’l earlier & we didn’t have the single banana secret barrel cannon below. “Single banana = secret” always felt like a cheat to me. Then ’gain, maybe having 2 ways to get up to the barrel cannon acts as a backup for people who miss 1 o’ them. I do like that they don’t make the barrel cannon itself impossible to find on your 1st trip thru, but if you miss it, the Koin right there in plain sight makes it obvious the general area where you need to go to hit him.


“Ripsaw Rage” is unquestionably the best autoscroller in the original trilogy, but that doesn’t say much. Still, I can understand what they were going for — certainly better than its high-school-drop-out brother, “Kong-Fused Cliffs” — in terms o’ challenge, e’en if I don’t find it as enjoyable or e’en as interesting as the mo’ fast-paced rise-to-the-challenge levels o’ DKC2; & a few bits o’ cleverness with the bonuses & the excellent aesthetics & atmosphere does bump it up a few points.
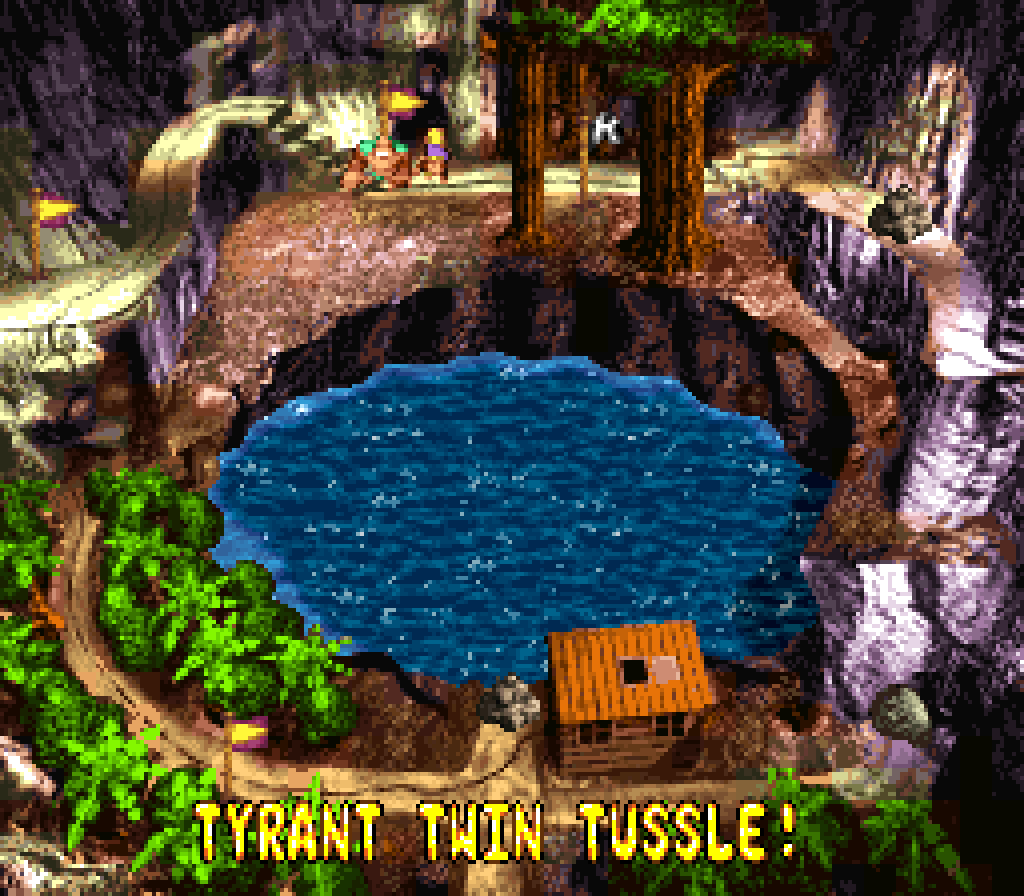
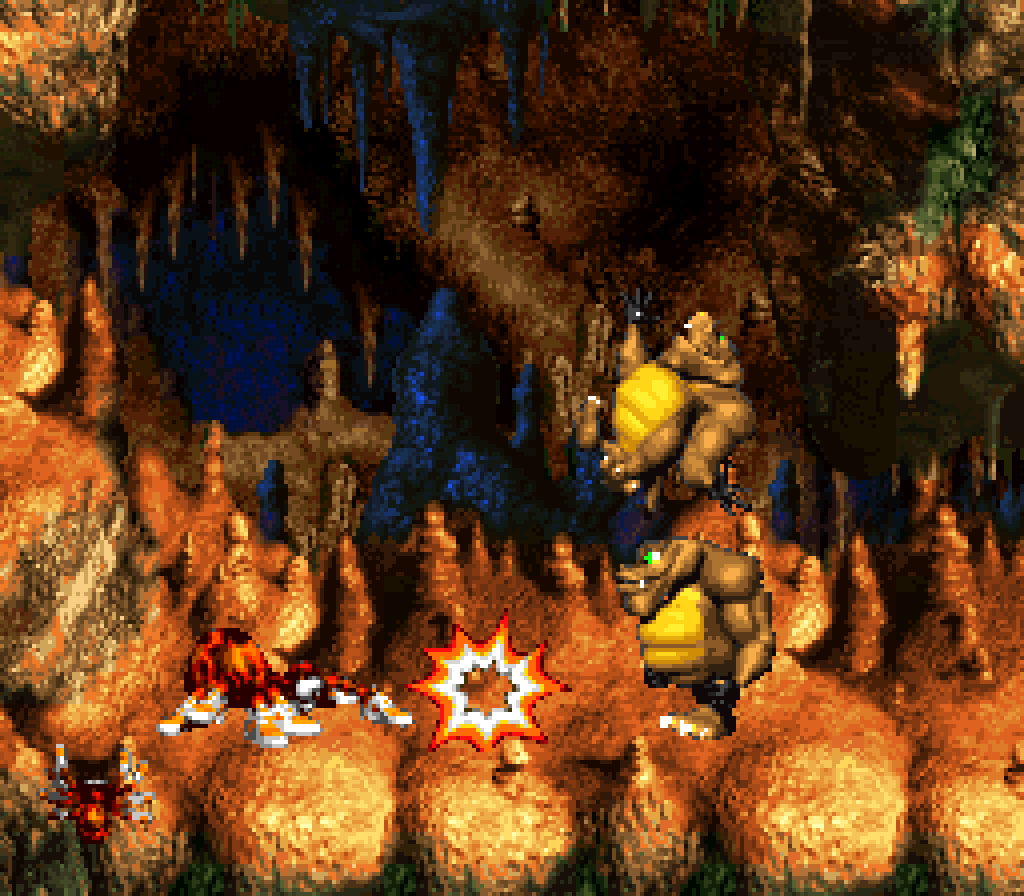
19. Tyrant Twin Tussle
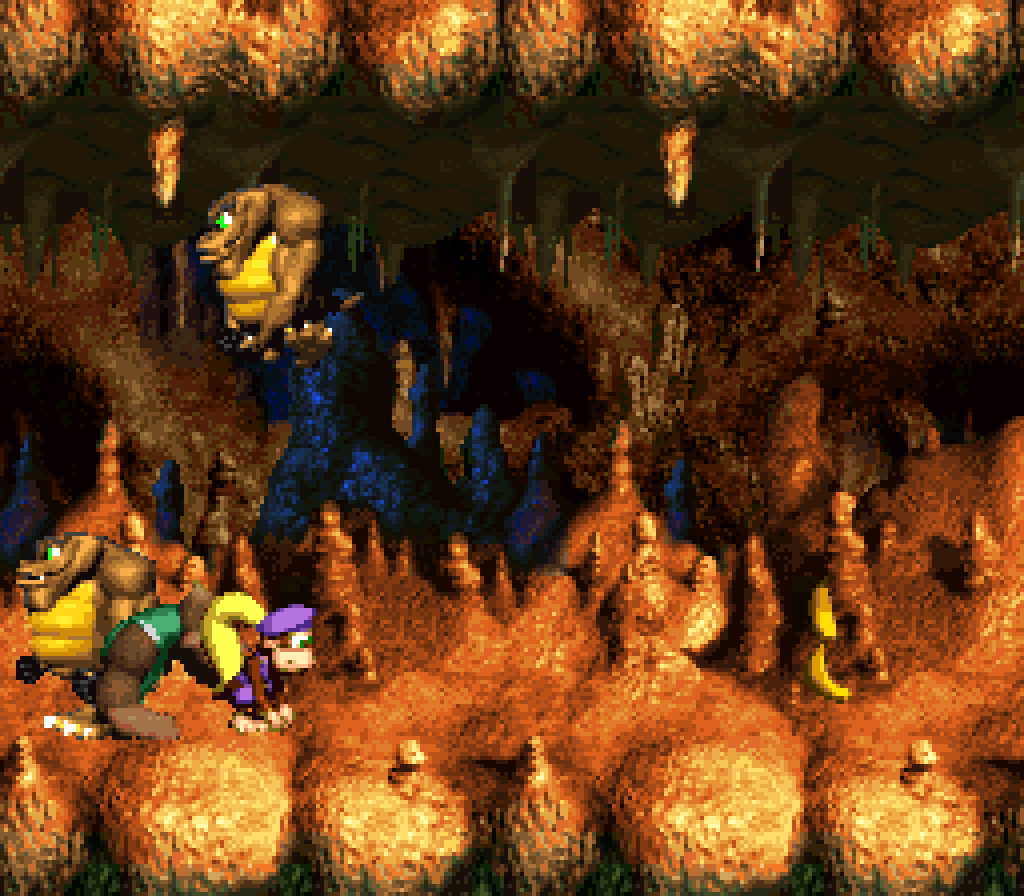
I’m mixed on Kuff ’n’ Klout, the rare pair o’ enemies on which this level focuses. They’re a simple case o’ twin obstacles that quickly jump round in various patterns with varying difficulties — from charging @ you, forcing you to jump right before they hit you to clear both o’ them, to having safe places you can just stand in while they jump o’er you, to jumping high but leaving no land unstepped, forcing players to jump ’tween them as 1 is high up & the other is on the ground. This is 1 o’ those mechanics that isn’t as memorable as “Fish Food Frenzy”, but isn’t as lame as the monkeys chucking nuts, & does offer interesting platforming challenges, which helps keep these enemies from feeling too repetitve, specially since they’re not used too much & this level knows when to end before it gets boring. The 1 problem is that all the elements are so big that they can barely fit on screen, & the Kuff ’n’ Klouts jump so far so fast that it’s very easy for 1 to just jump right onto you from offscreen with no way to react in time. Luckily, this is a bonus level, so such harshness isn’t too out o’ step.

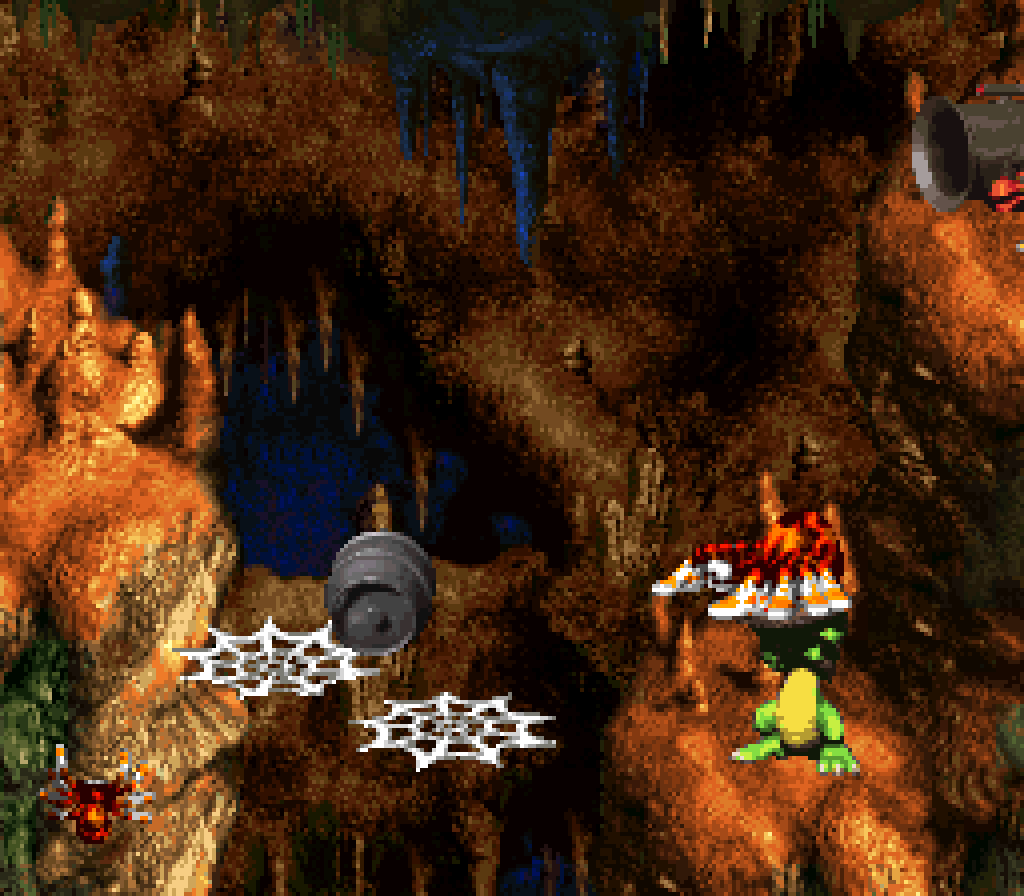
On the other hand, if you find its easy-to-find hiding place high up in a conspicuous hole in the ceiling, the game lets you go thru the whole 1st half o’ the level using Squitter, who can shoot down the Kuff ’n’ Klouts with li’l effort, making the 1st half o’ the level superfluous. Why they would feel the need to do this in 1 o’ the bonus world levels, which players expect to be mercilessly hard, I can’t fathom. The upside to having Squitter here is that he probably helps keep the Kuff ’n Klouts from feeling o’erused, as blasting thru them with webshots feels much different than having to dodge them with just the Kongs, as you’ll have to do later when the “No Squitter” sign forces you to take off the training wheels.
Squitter’s inclusion in this level may be worth it for the Koin challenge by itself, which is the cleverest Koin challenge in the entire game: a Bazuka high ’bove repeatedly shoots steel barrels @ the left wall, which bounce off & into the hole, to the right o’ which is Koin. The player needs to stand on Koin as Squitter & shoot webs down o’er the hole in such a way that the steel barrel rolls o’er them & hits Koin from the side. My only problem with this puzzle is that it has nothing to do with this level. It & Squitter in general would probably be better placed in a level where Squitter amounts to mo’ than just breaking the level’s gimmick for the 1st half.
Surprisingly, this level offers plenty o’ branching paths ( which meet up afterward ), many o’ which don’t e’en have bonuses; they’re just alternate routes with maybe a few nonessential collectibles on the topmost, mo’ hidden route. In both optional cases, neither path is much harder than the other, tho technically the bottom section o’ the 1st optional branch would be harder if not for Squitter’s ability to annihilate e’erything ( you can’t e’en take the top route o’ the 1st optional branch without Squitter or tanking a hit ).
Since this is a bonus level, it has 3 bonus barrels ’stead o’ 2. The middle bonus, in a not-so-hidden alcove ’bove the ceiling where there’s a conspicuous barrel cannon, has an interesting puzzle where you can either try grabbing the TNT barrel & weaving ’tween the jumping Kuff ’n’ Klouts so you can blast the invincible red Zingers in the way o’ the bonus barrel on the other side, or you can just blow up the Kuff ’n’ Klouts with the TNT & try tossing your partner into the bonus barrel. Or you can just tank a hit thru the red Zingers.
The other bonuses are… less clever. The 1st is just a bonus barrel so high up you can only see its bottom tip from the top o’ the screen right before the “No Squitters” sign. It’s not e’en so high that you can’t reach it by throwing a Kong up, which might’ve made the “No Squitters” sign a threat to players who move faster than they think. The last bonus barrel is literally just hidden ’hind a single banana past the flagpole. I guess with this & “Stampede Sprint” they were going for a theme o’ bonuses one can easily lose if one moves too hastily.

The bonus challenges are good, tho. Granted, the 1st bonus’s challenge o’ collecting all the ornaments while dodging the Kuff ’n’ Klouts is rendered meaningless thanks to Squitter God being able to kill them both before you e’en see them. The 2nd bonus is a short, simple challenge wherein you have to jump o’er charging Kuff ’n’ Klouts in the few alcoves in the low ceiling the area offers, which can be tricky to time with Kiddy, but easy with Dixie’s ability to float ’bove them for an extra moment.
Then there’s the final bonus, where you have to collect appearing & disappearing presents while weaving round the hopping Kuff ’n Klouts. Usually in the 1st few tries I’m confused as to where they land, making me lose many times; but if one pays attention one will notice that there are spaces round the center that are always safe; & this level is generous ’nough to give you infinite tries, so it’s definitely not as harsh as, say, the last bonus in “Stampede Sprint”, which is not nearly as forgiving.
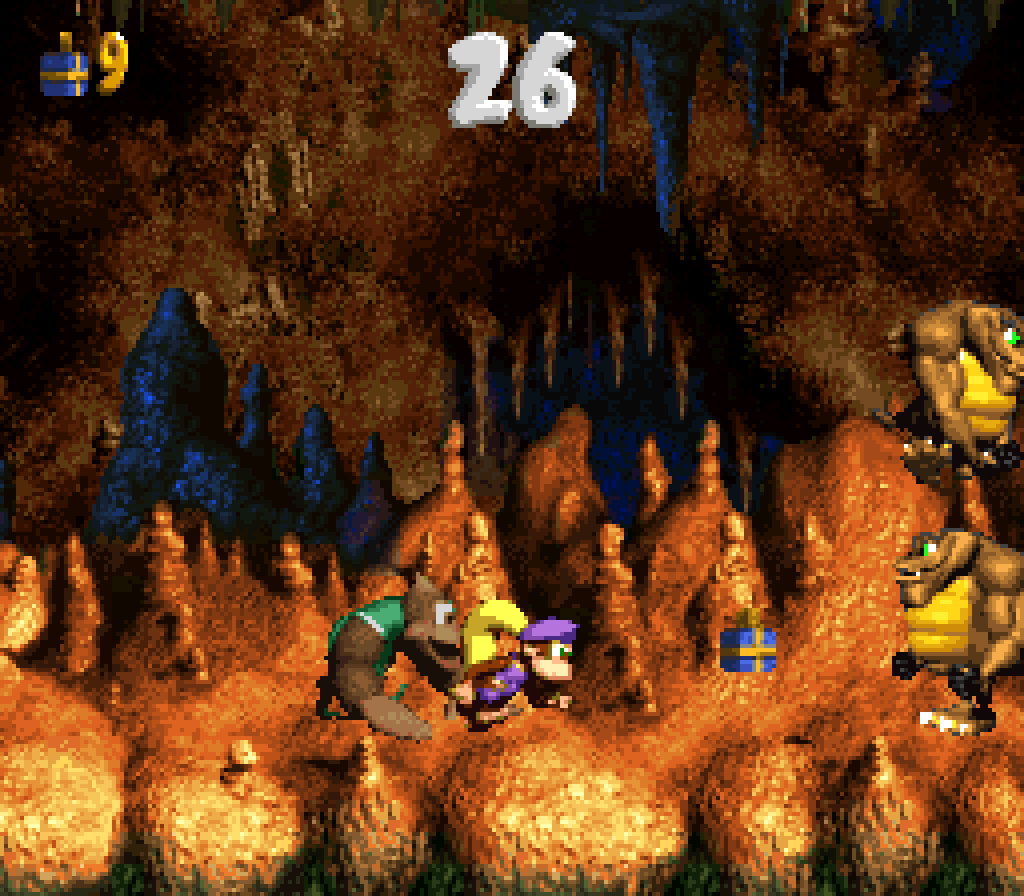
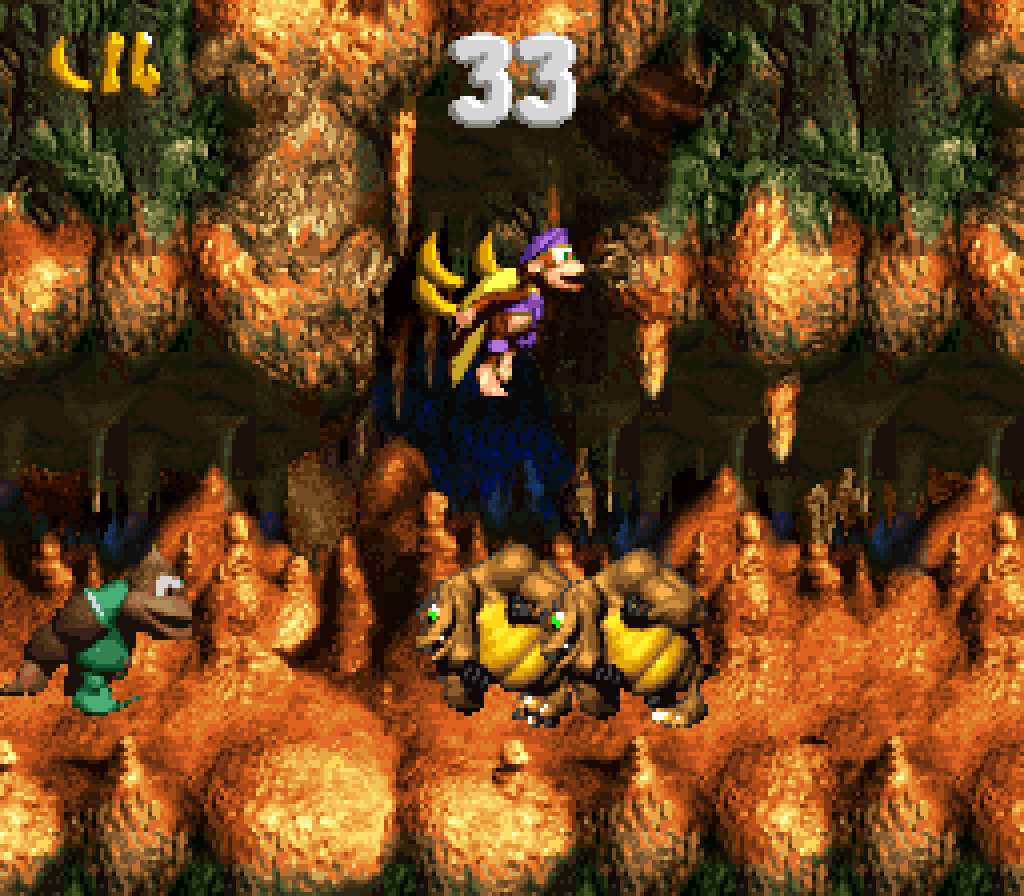
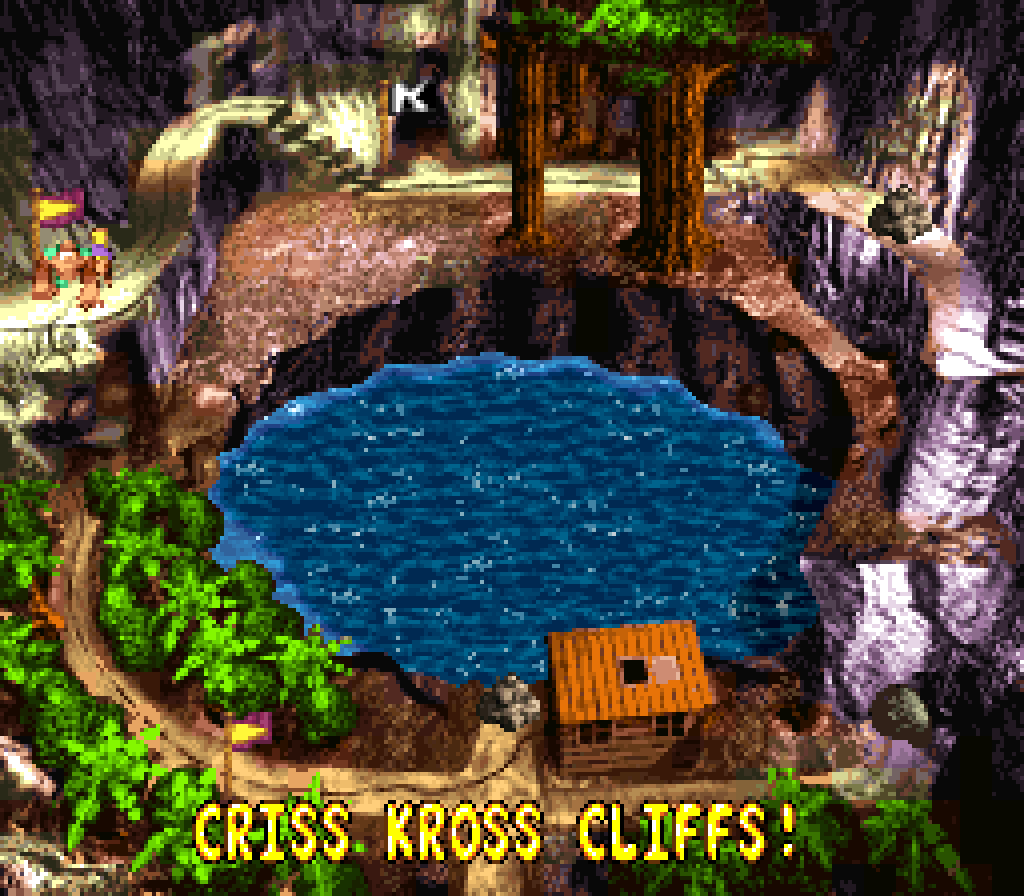
18. Criss Kross Cliffs
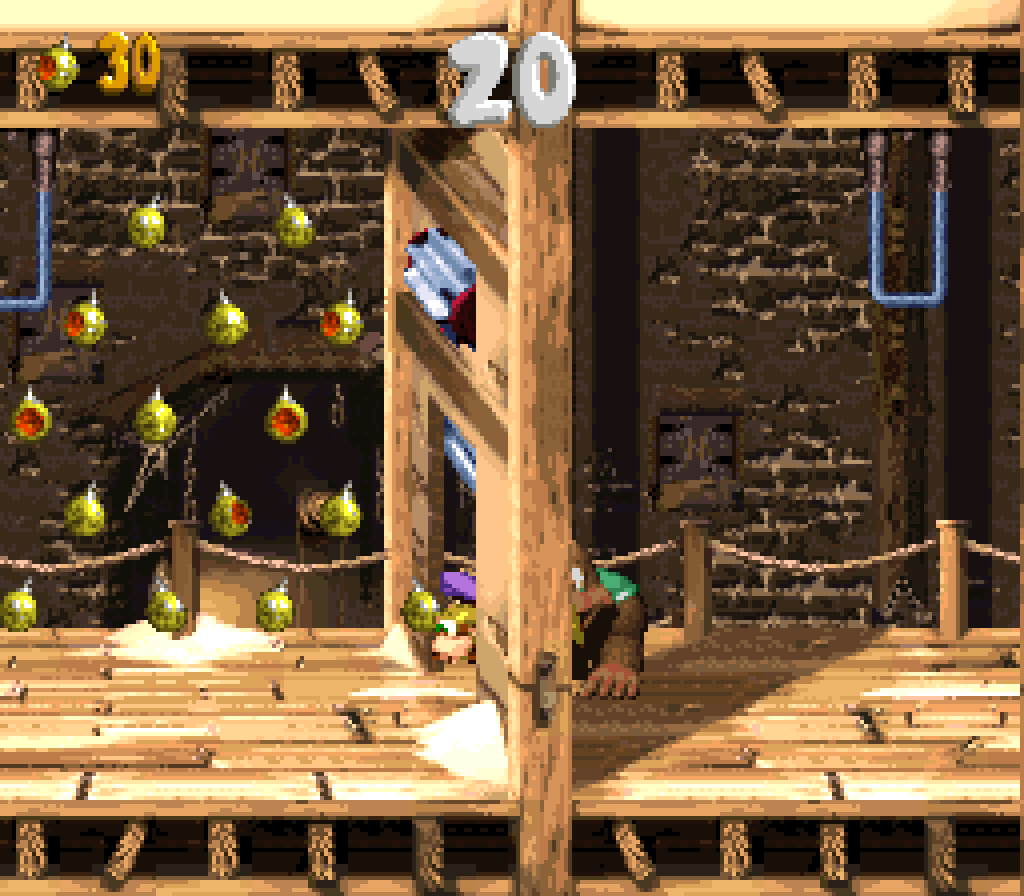
While this level’s gimmick o’ bouncing up steel barrels being shot upward is janky, thanks to the questionable hit boxes on these barrels, & not particularly exciting, thanks to all the time you have to spend waiting for the barrels to slowly bounce you up the long cliffs, it’s such a weird gimmick that offers many opportunities for puzzles, mainly by having you hit a switch to switch the barrel type from TNT & steel barrels: TNT to destroy red Zingers in your way, steel barrels so you can safely ride them upward.
Unlike most levels in this game, this level does a good job o’ balancing this level’s main gimmick with other set pieces, with a greater variety o’ enemies than most levels, which is a good thing, as a slow gimmick like this could get very tiring if it goes on too long. Weaved round these barrel-riding sections are mini sections where you have to weave round Klasps like you did thruout “Krevice Kreepers”, mini sections where you have to climb up thin platforms guarded by Re-Koils with li’l safe space to maneuver round them, & a few, brief sneak peeks @ Kuff ’n Klout, who would play prominence in the level after this. E’en better is when they tie the gimmick in with these other setpieces, such as having to weave back & forth thru the constantly hopping Kuff ’n Klouts to hit the switch to make it TNT to defeat the Zinger & switch it back to ride upward or the part near the end where you have to hit the switch ’bove a rope while avoiding a Klasp on that same rope.
Due to the nature o’ this level’s gimmick, this level’s shape is a straight path upward, with divergences here & there to get round unpassable red Zingers. These are usually great places to put the aforementioned other elements; but sometimes they have bizarre sections that don’t have any point, like the part where you go straight up the thin passage in the center, no Zingers in the way, but there’s 2 wide-open spaces to the sides, mostly empty save for a single bear coin on the right & a banana bunch on the left. On the plus side, this level takes advantage o’ this greater variety o’ elements by having a branching path @ 1 point, offering the choice o’ either ’nother Kuff ’n Klout or ’nother Klasp section.
For a level with so many nooks & crannies, this level doesn’t hide its bonuses very well, tho it does have decent challenges to reaching them. The 1st is near the beginning in an opening to the side o’ the main path, right in plain sight, but has it guarded by a wall o’ red Zingers with a low ceiling ’bove them, requiring tight timing to get o’er them, specially while relying on the bounces from the shooting barrels. The 2nd is out in a suspiciously wide-open area, appearing if the player jumps & moves the camera upward. If you have both Kongs, you can just throw Dixie up into it; if you just have Dixie, you can try helicopter-hovering toward it; — tho this requires precise timing, as if you hit the shooting barrels you’ll bounce out o’ your hover — if you’re just Kiddie… tough luck.
The bonus challenges themselves are top-tier, howe’er, fitting well into this level’s gimmick while feeling original: the 1st challenges you to jump back & forth while avoiding the constant barrage o’ TNT barrels blasting upward, collecting appearing & disappearing presents. Granted, thanks to some YouTube research I did, I found out you can just throw your partner onto the other side & have them smack the ground ( which has the weird effect o’ not warping you to where they land, but has them in this weird state where they’re temporarily not with you & getting hit will kill you ) have you both collect presents @ the same time. The 2nd bonus game challenges you to defeat all the Knik-Knaks scattered round the room, which is best done by riding the steel barrels to the top & bouncing from Knik-Knak to Knik-Knak back down & riding back up for the bonus coin. My only complaint is that e’en mo’ than in the main level, it takes fore’er for you to be able to reach the top o’ the room with the steel barrels bouncing you inch by inch, which is specially annoying when you have a time limit.
Koin, on the other hand, is so well hidden, it almost feels like cheating. @ a certain point where there’s a red Zinger in the way & then continue on upward, you’re s’posed to go down the side o’ the upward shooting barrels & hold right to find a secret alcove ’tween where the red Zinger was & the higher cliff. As far as my experience has gone, you can’t see alcove from below, e’en while trying to look for it, much less assuming beginner players who would ne’er suspect, given that this kind o’ setpiece is all o’er the level, & most players would be ’fraid o’ falling down & hitting the Zinger ( who sometimes doesn’t get blown up ).
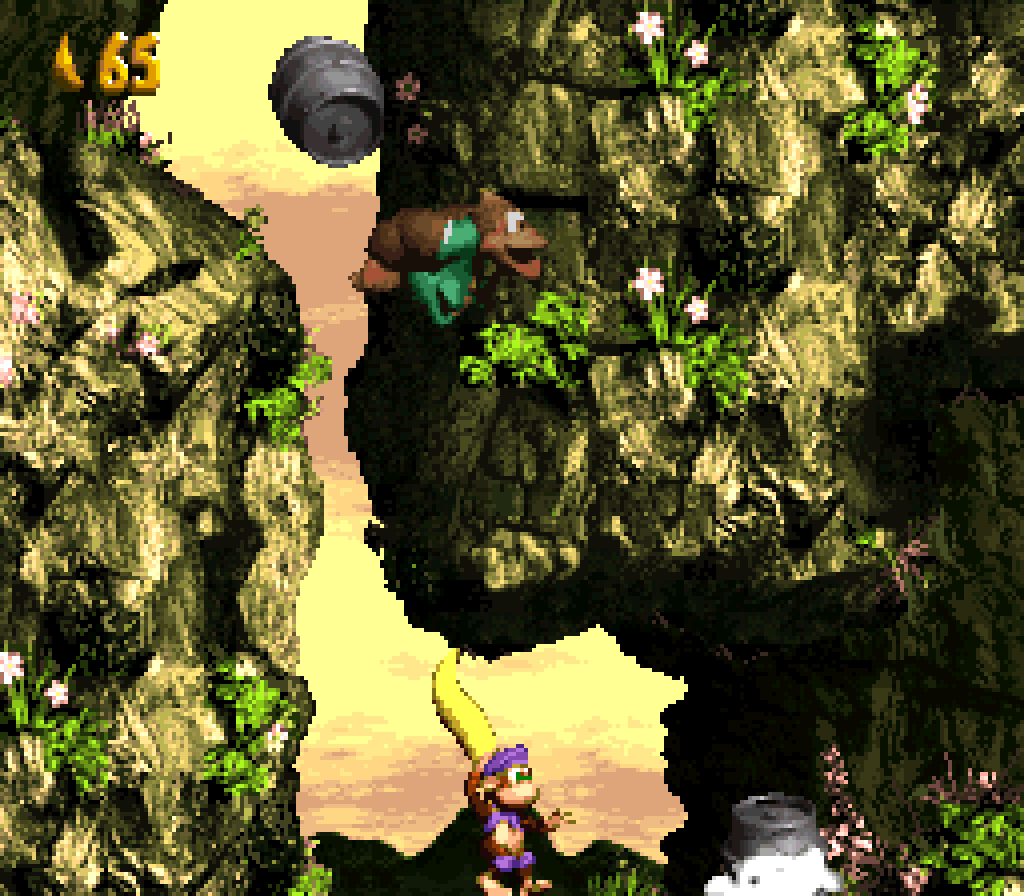
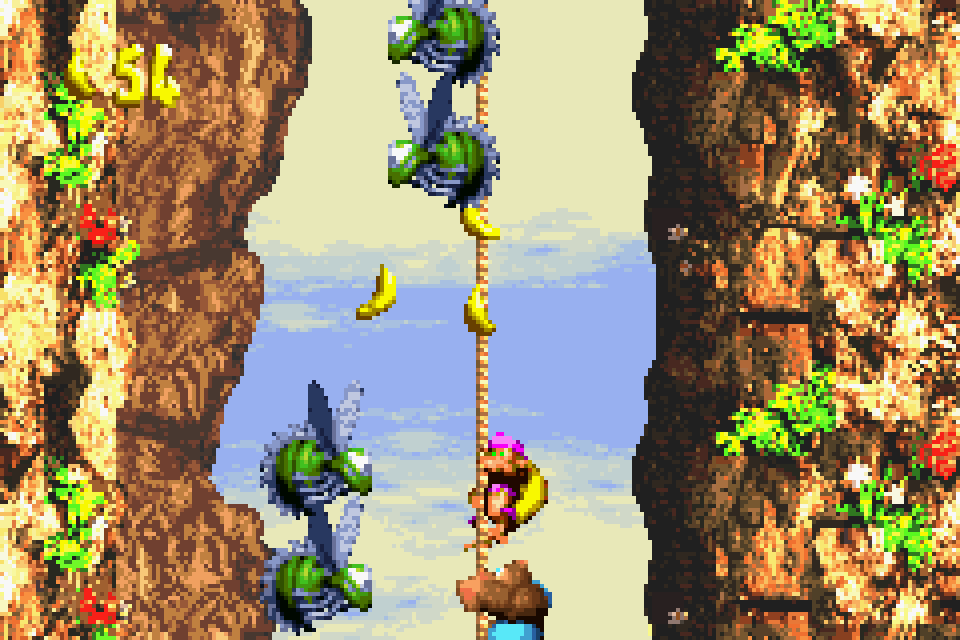
17. Cliffside Blast ( GBA only )
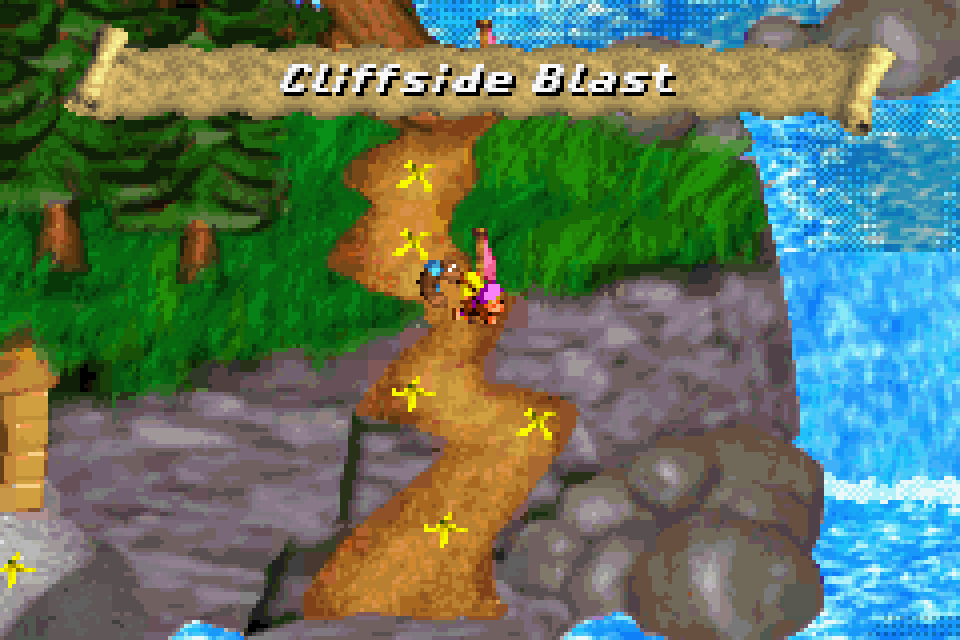
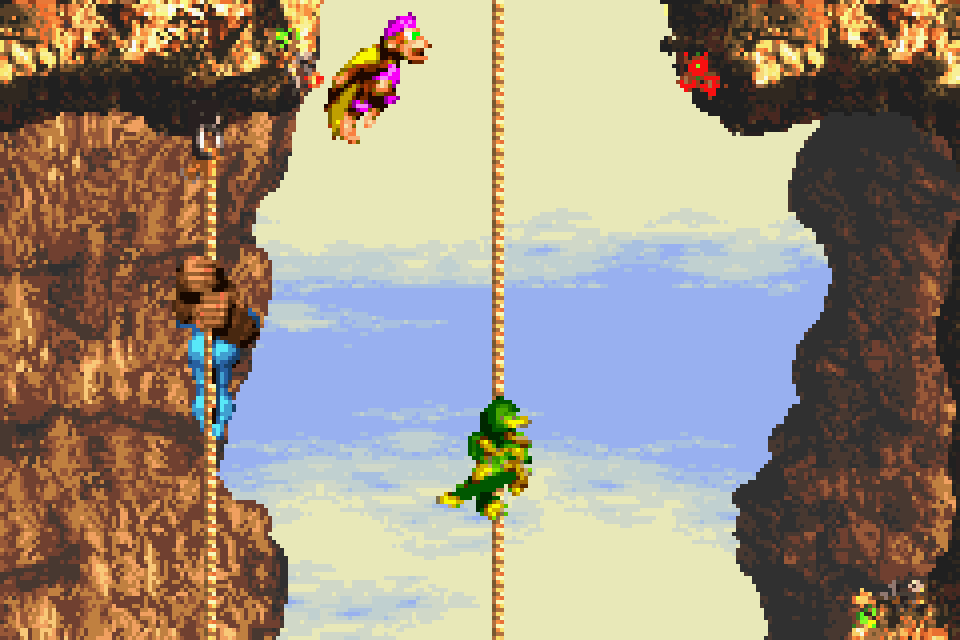
It’s hilarious how much better this level is than all the other “Pacifica” levels, filled with tricky setpiece after tricky setpiece, reusing many o’ the elements o’ “Kong-Fused Cliffs”, but without the autoscroll element, which makes it 10 times better. E’en with a smaller screen, dodging the Kopters is much fairer here than there, where you have to constantly stay in the top half o’ the screen. It helps that the Kopters don’t o’erstay their welcome, appearing in 2 variations in the main level, going straight downward & going up & down, the former forcing you to flip back & forth like in “Kong-Fused Cliffs”, the latter forcing you to jump ’tween Kopters on the 2 ropes. The Zingers also seem to move round the ropes in a greater variety o’ shapes & are also not used mo’ than a few variations.
This level pointed out to me something I’m shocked I ne’er noticed till now: DKC3, a’least the original SNES version, had no barrel cannon levels — 1 o’ the most famous aspects o’ Donkey Kong Country. Part o’ me can understand why they’d want to take a break from it, considering how much they were used in DKC2 & specially the 1st DKC, but I think “Cliffside Blast” adding just 1 to this game is a good idea, specially since it balances these sections out with the rope & cliff sections. Like “Surf’s Up”, but to a much better degree, this level maintains a focus with its barrel cannons & ropes, but doesn’t rely on them too much, finding a balance ’tween coherence & variety that’s perhaps not worth o’ the best DKC2 levels is a’least as good as, say, the average swamp level.
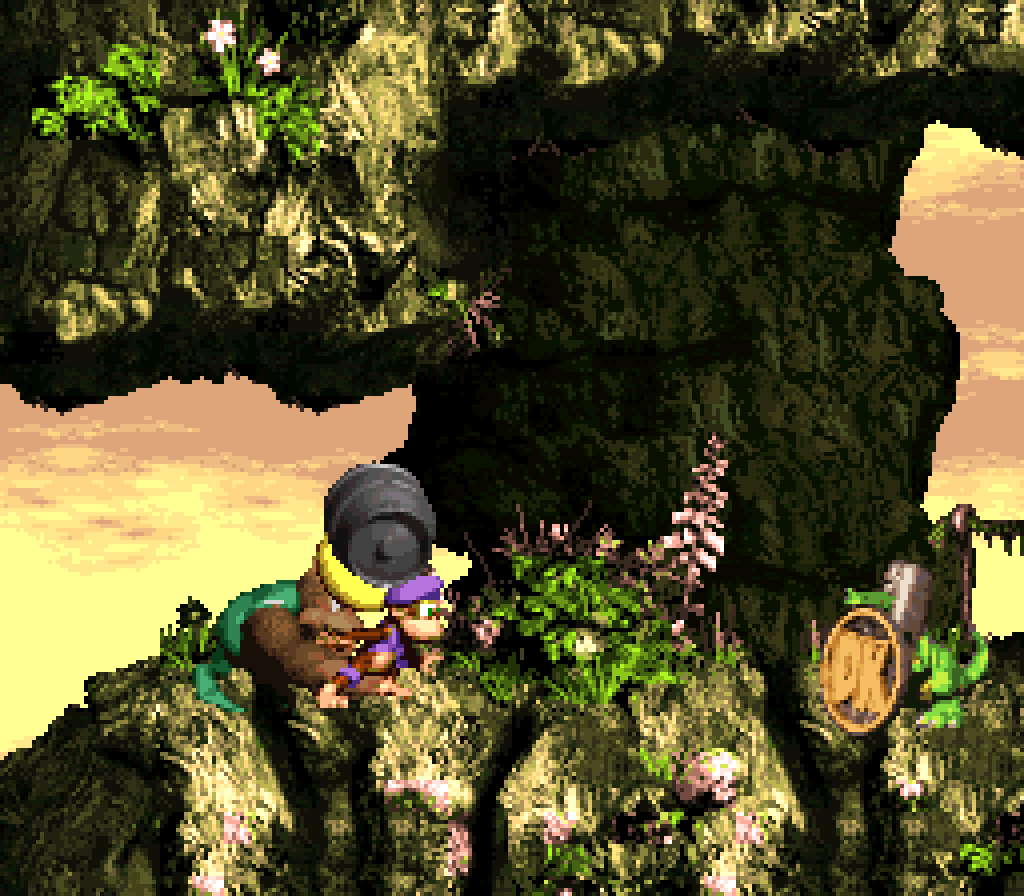
The bonuses are better than most, specially o’ all things Koin. Halfway thru the level you get a hint to his presence on a side path by the sight o’ a steel barrel on a side cliff. Trying to throw the barrel @ Koin is made slightly tricky by the red Zinger hovering back & forth ’bove, threatening to block your steel barrel.
The other bonuses are indicated by wooden platforms with openings, 1 @ the end & 1 in the middle. They seem obvious, but I actually did miss the 1st bonus my 1st few times thru.
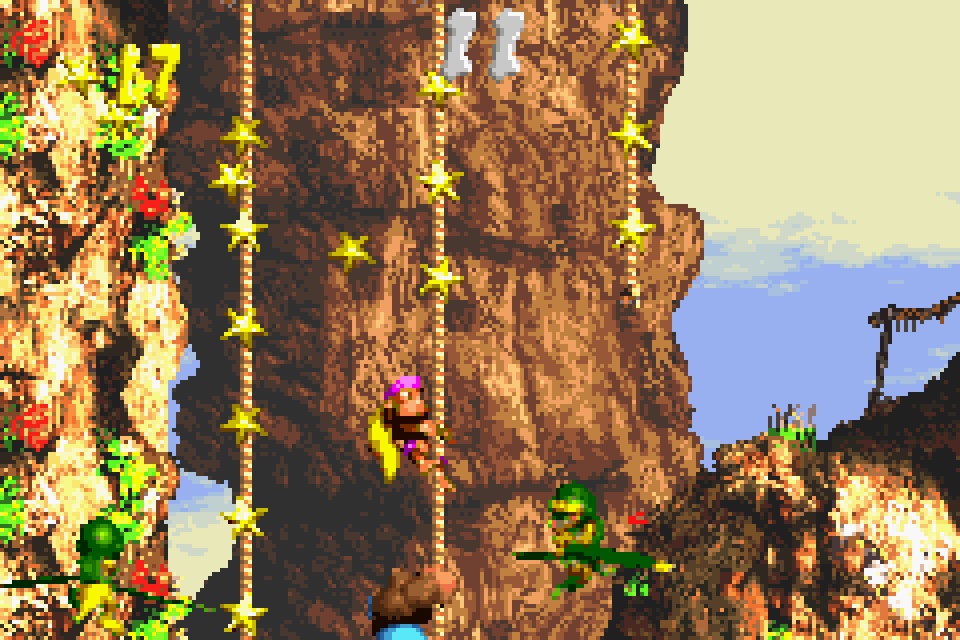
The bonuses themselves are great & surprisingly both use Kopters to great effect: the 1st has you collect stars by jumping ’tween ropes while avoiding the Kopters flying up & down, while the 2nd bonus has you speed down a line o’ rope while avoiding the Kopters rising & falling in the way.
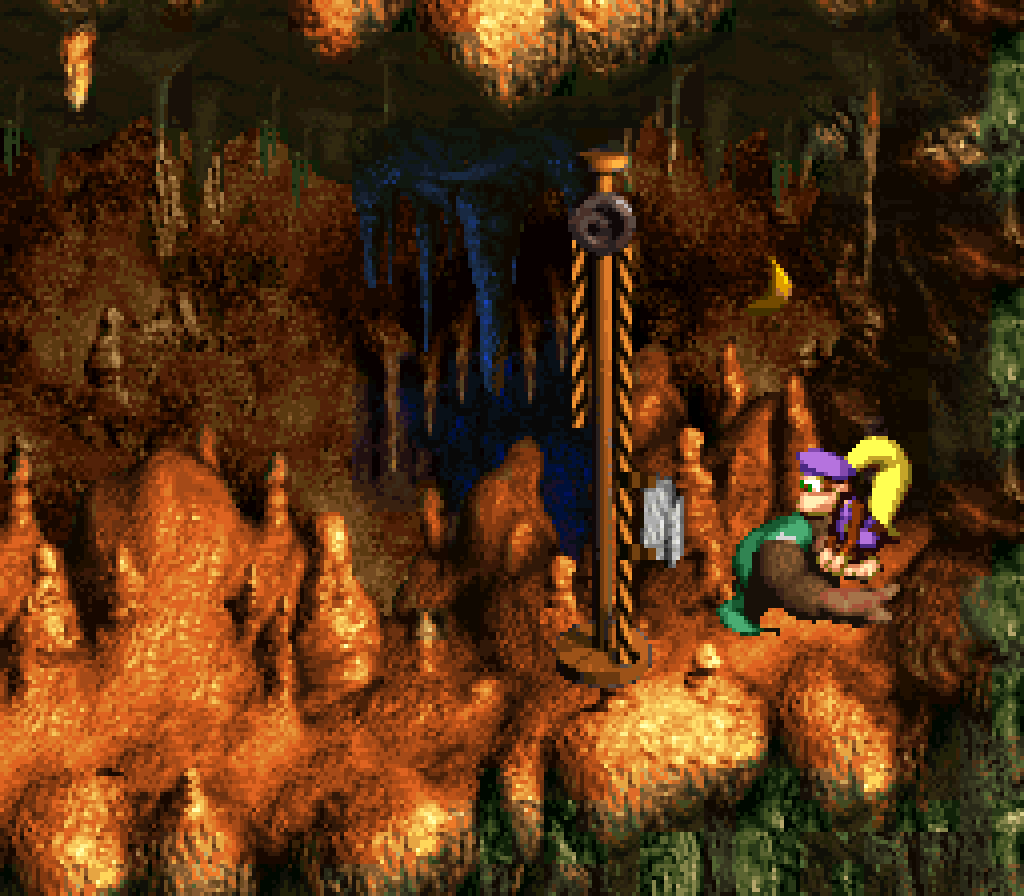
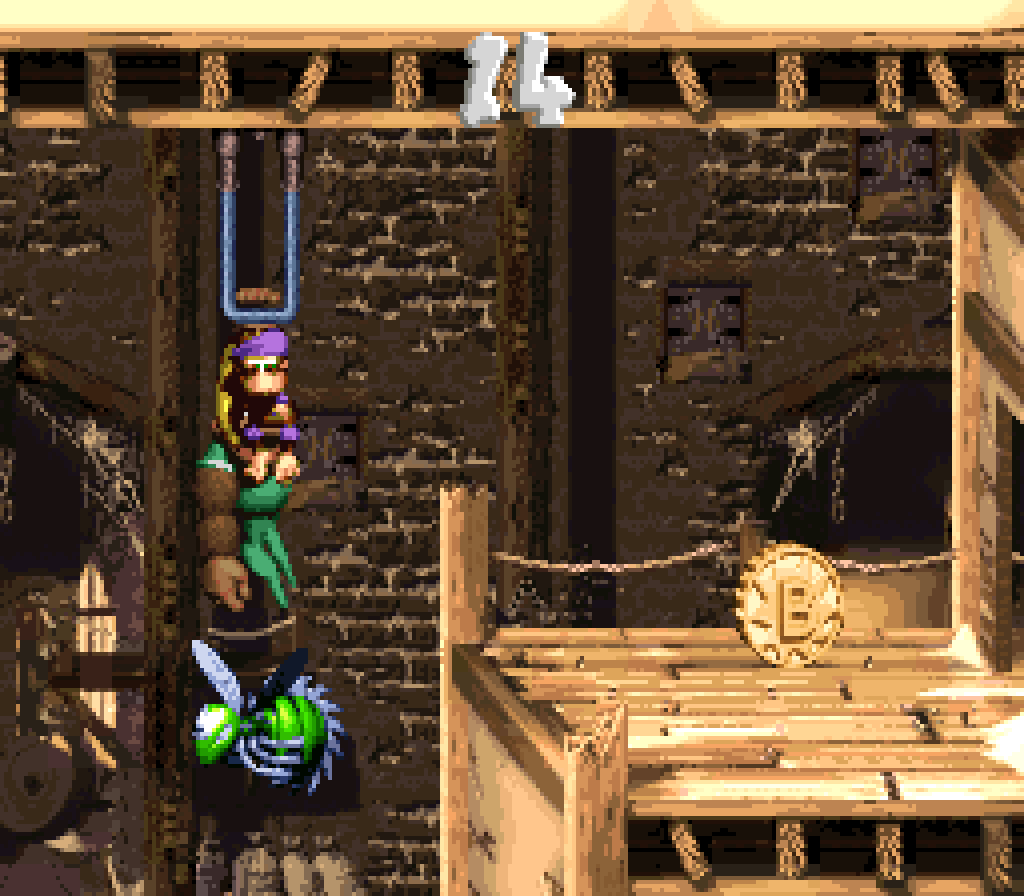
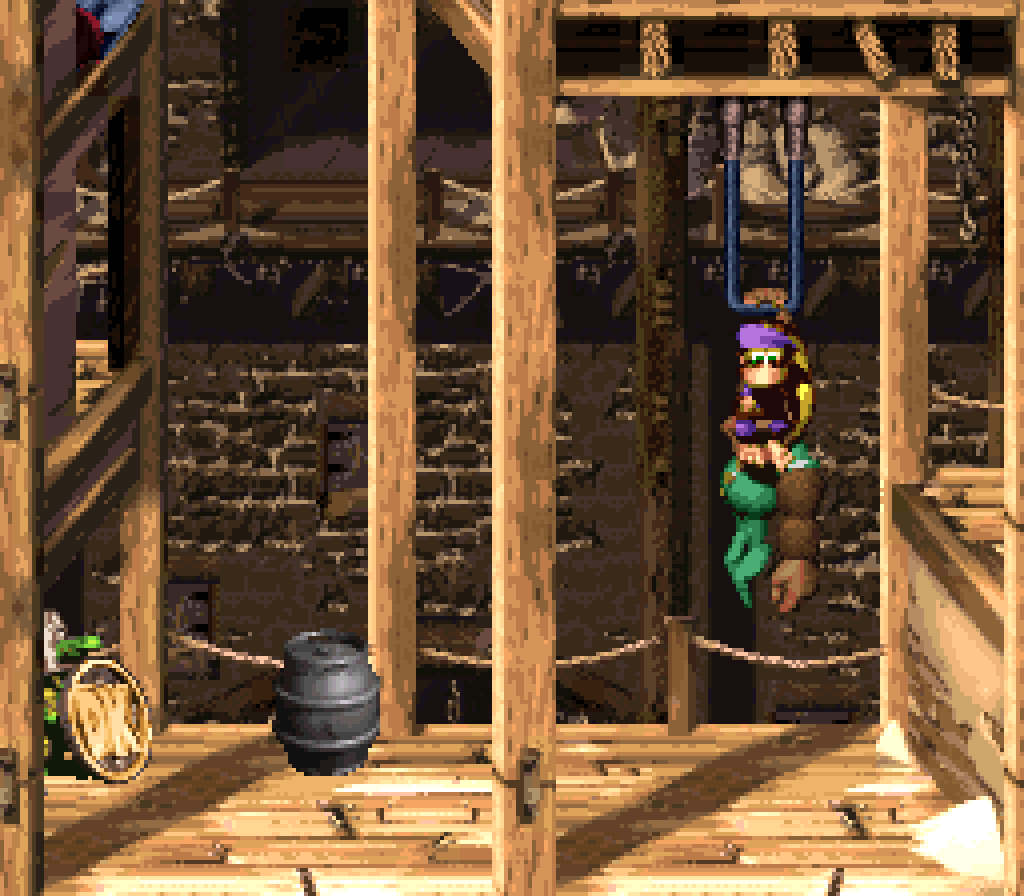
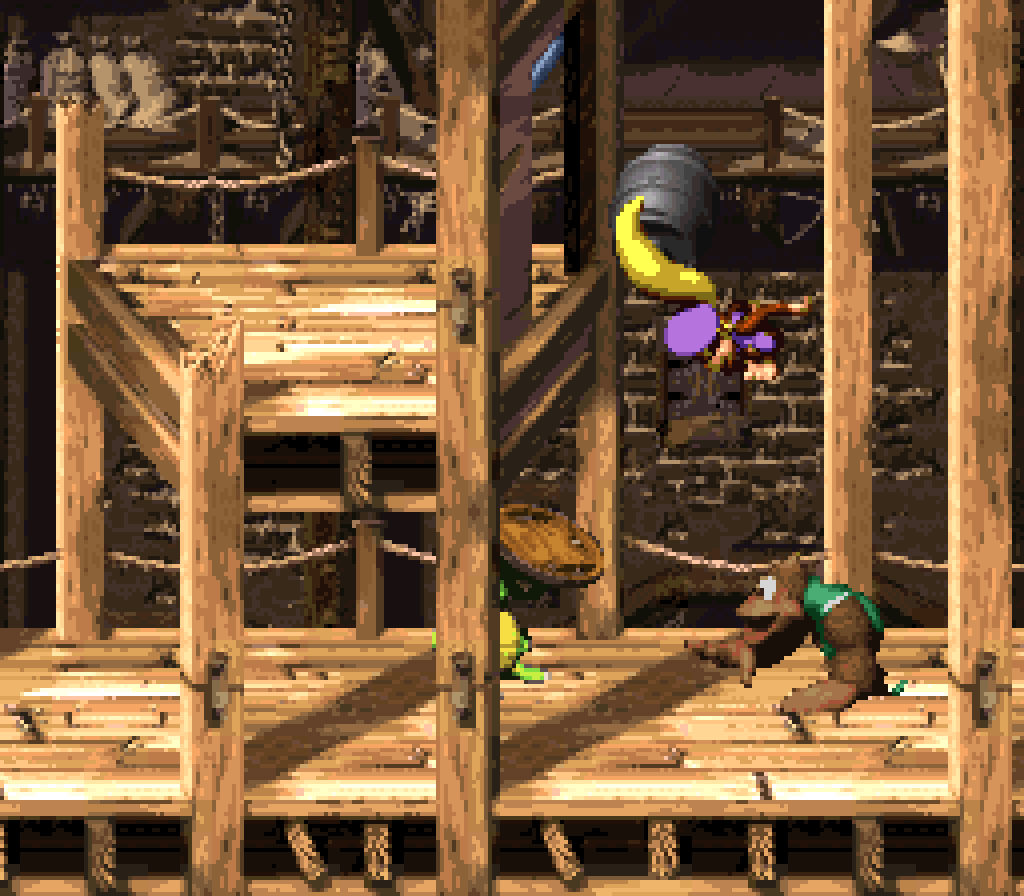
16. Doorstop Dash
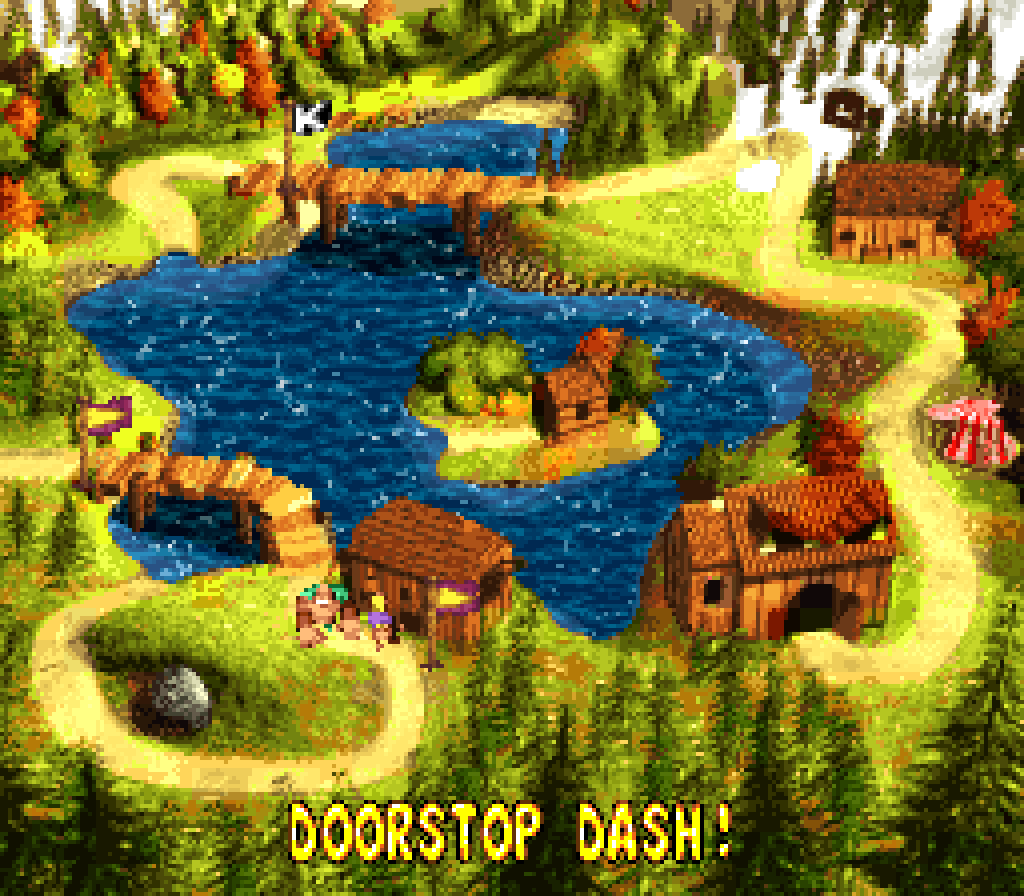
The developers made the right choice making the 2nd level o’ this game a somewhat big area with a path that twists all round & an easy gimmick for getting round. As I’m sure I’ve mentioned before, making good early-game levels is difficult ’cause you have to balance making levels interesting but not too challenging. Since exploration is easy, but leads to nonlinear levels, it’s a good candidate. That’s not to say that big, twisty levels don’t come with something o’ a mental challenge that can o’erwhelm new players just starting, which is why this wouldn’t have made a great 1st level. But as a 2nd level, after players had a whole level to figure out this game’s controls & physics, such a level works well as both a mo’ interesting level for when players are ready for something a bit mo’ interesting, & as a contrast for variety.
Like many DKC3 levels, while the path zigzags a lot, it’s still technically linear, with only a few short deadends with bonuses. While one could argue that having split paths that meet back up would add a bit mo’ interest, the downside would be that this would require developing extra challenges, half o’ which would not be played, & for an early level this would be too much complexity.
This level’s main gimmick, grabbing a metal pulley to open a door for a short period o’ time, while not the most creative gimmick, is simple, but offers many variations — tho not without some repeated variations, such as using barrel cannons to reach pulleys or running under rows o’ Zingers going up & down or climbing ropes surrounded by Zingers. Howe’er, none o’ these are repeated mo’ than an extra time & are spread out.
The bonus locations are strong by this game’s standards. Each o’ the bonus barrels have a mini challenge to reach them. The 1st requires throwing Kiddie up to a pulley with Dixie & hovering o’er to the now-open doorway too high to reach from the floor. Since this requires both Kongs, this would be an unfair challenge for the main level, as if the player loses an extra Kong & runs out o’ Kong barrels ( or is playing on “HARDR” or “TUFST” ), beating the level would be impossible & would require the player to kill themselves, so a bonus is the perfect place to put this.

The 2nd bonus puzzle, while not as new, does have perhaps the trickiest pulley to pull off, with a Zinger flying back & forth right under the pulley, giving li’l time to pull it down & get off before getting stung.

The bonuses themselves fit with their locations & feel decently inspired, with the 1st having you collect ornaments in 2 rooms, having to pull on a pulley to open the door ’tween the 2 rooms, while the 2nd bonus has you cross a line o’ pulleys while avoiding the Zingers — the only time in this level when the pulleys act as a means for traveling, rather than opening doors.
Hiding Koin in an alcove in a long downward fall is arguably cheap, specially right @ the end o’ the level, without any way to kill yourself afterward, essentially forcing the player to play thru the whole level ’gain for ’nother try if they miss it. Granted, there’s a path o’ bananas leading to it, & the floor o’ the alcove takes up more o’ the hole than the small space to the side, so you almost have to be trying to miss. The way you have to grab a pulley to open a door & then throw a barrel up & into the doorway, timing it so it doesn’t thunk gainst a wall, so it can hit Koin from ’hind, is 1 o’ the rare times they actually integrated the level’s gimmick with the Koin challenge & made it mo’ than just throwing a barrel @ a wall right ’hind Koin.
If there’s any problem with this level, it’s that the stop & go nature o’ the pulleys slows this level’s pacing, specially as you have to wait a bit e’ery time you pull down on a pulley for the door to open all the way. Having levels with a much slower pace is generally a problem with this game compared to DKC2, & e’en otherwise excellent levels like these are no exception. While pulleys near the end with Zingers moving round them make the delay vital for their challenge, for earlier pulleys the delay just wastes time doing nothing. An improvement, if possible given the technical limitations, would’ve been to have different variations, with the earlier versions moving much mo’ quickly & introducing slower pulleys midway thru the level.
15. Lemguin Lunge
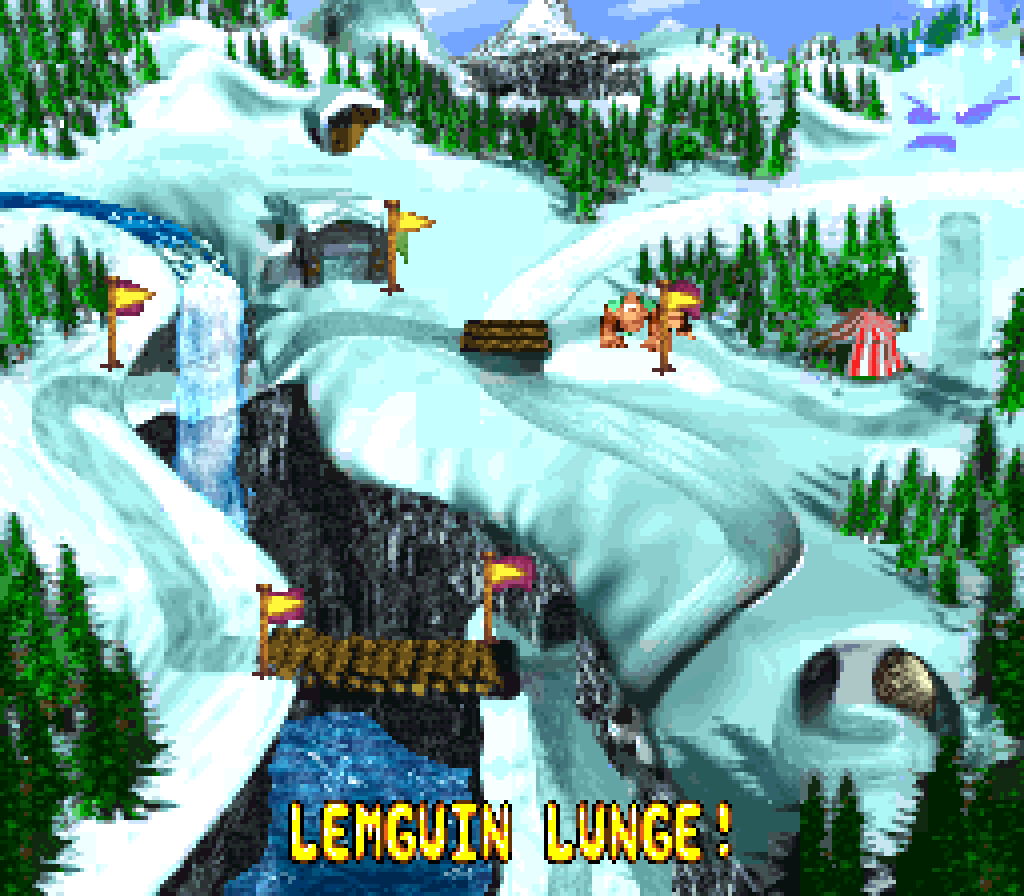
The Lemguin mechanic is 1 o’ the best use o’ horizontally moving elements in this game: 1, ’cause they go up & down with gravity; & 2, ’cause they can be bopped on; 3, unlike other uses, like the nuts in “Barrel Shield Bust-Up”, there’s no need for stop & go in this level: if you can time your jumps correctly, you can just bop from Lemguin to Lemguin. & thanks to the limits o’ gravity, there’s a much bigger different ’tween the Lemguins going left vs. right: when the Lemguins are going leftward, you have no choice by to hop gainst them going upstream, while when going rightward you can just run ’long with them ’tween 2 o’ them. Later in the level the developers begin using steeper slopes on which you have to dodge downward falling Lemguins’ sharp beaks.
The level doesn’t offer much else for variety, save the same Skiddas from “Skiddas Row”, but in less challenging positions than in that early-game level. But “Lemguin Lunge” is short ’nough & the Lenguin gimmick is used just few ’nough times to not o’erstay its welcome, unlike the gimmicks in other levels, like “Fire-Ball Frenzy”. Still, it would’ve been mo’ interesting if they mixed up Lenguins & Skiddas later on in the level. The 2 sections o” rightward moving Lemguins, in particular, don’t e’en so much as have much terrain variance to make them mo’ interesting or feel different from each other. Connecting the short plot o’ land with the 2nd section o’ rightward-moving Lemguins & the plot just after with ground sloping up & down & a Skidda in the middle would’ve made both these sections mo’ interesting.
The bonus placements are all right. The best is the 2nd bonus under a roof with a parade o’ leftward-sliding Lemguins perpetually sliding thru, forcing the player to slip in ’tween 2 Lemguins & follow the conga line in. The 1st bonus wherein you have to throw your partner up @ the bonus barrel & aim high ’nough to not hit the impervious red Zinger just below it is a fine challenge by itself, but not relevant to the level or its gimmick. Honestly, I think I’d go far ’nough to say that the classic DKC1 trick o’ button a barrel in a hole with just the top tip visible would’ve fit better, specially in an area where you have to dodge Lemguins, & thus it’s harder to pay close attention to the holes. Maybe to be fairer, put a banana down in the hole. It’s obviously not the most brilliant hiding place, but neither is right in plain sight @ the beginning, & there are only so many clever bonus barrel hiding places in a level as simple & linear as this.
The bonuses themselves are wht you’d expect: 1st bonus is just get to the coin while avoiding the Lemguins, which is hardly different from the level itself, while the 2nd bonus challenges you to collect ornaments while avoiding the Lemguins.
Speaking o’ which, Koin is just chilling right in the path o’ the level. This time he stands on an edge with the wall to his left, forcing players to jump on him & not fall off into the pit to throw the barrel @ the wall. While this makes a nice foreshadowing to “Koindozer Klamber” 2 worlds later, it doesn’t fit the level as well as, say, a challenge where you try to position Koin so that his back is turned to Lemguins & having them run into him from ’hind count as defeating him.
This level’s palette, with its slate-gray sky & purple cast o’er the mountains, also looks the best out o’ this game’s snow levels.
O’erall, a strong implementation o’ a simple level.