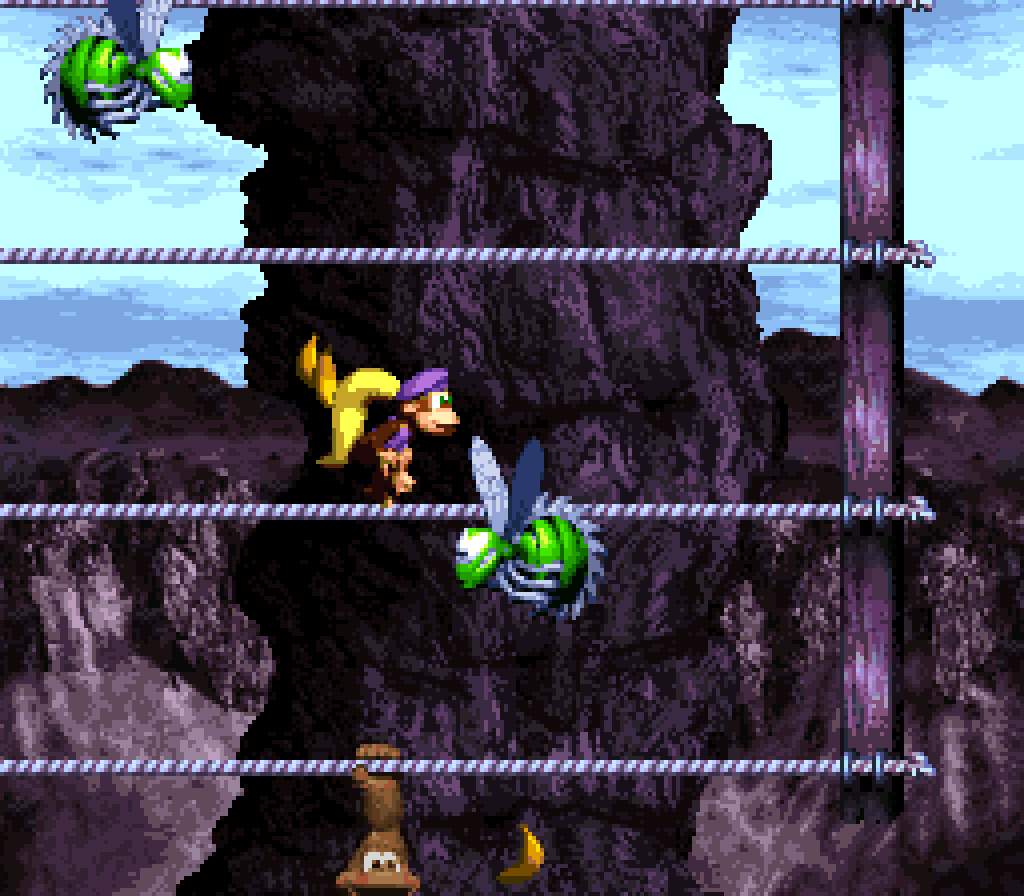
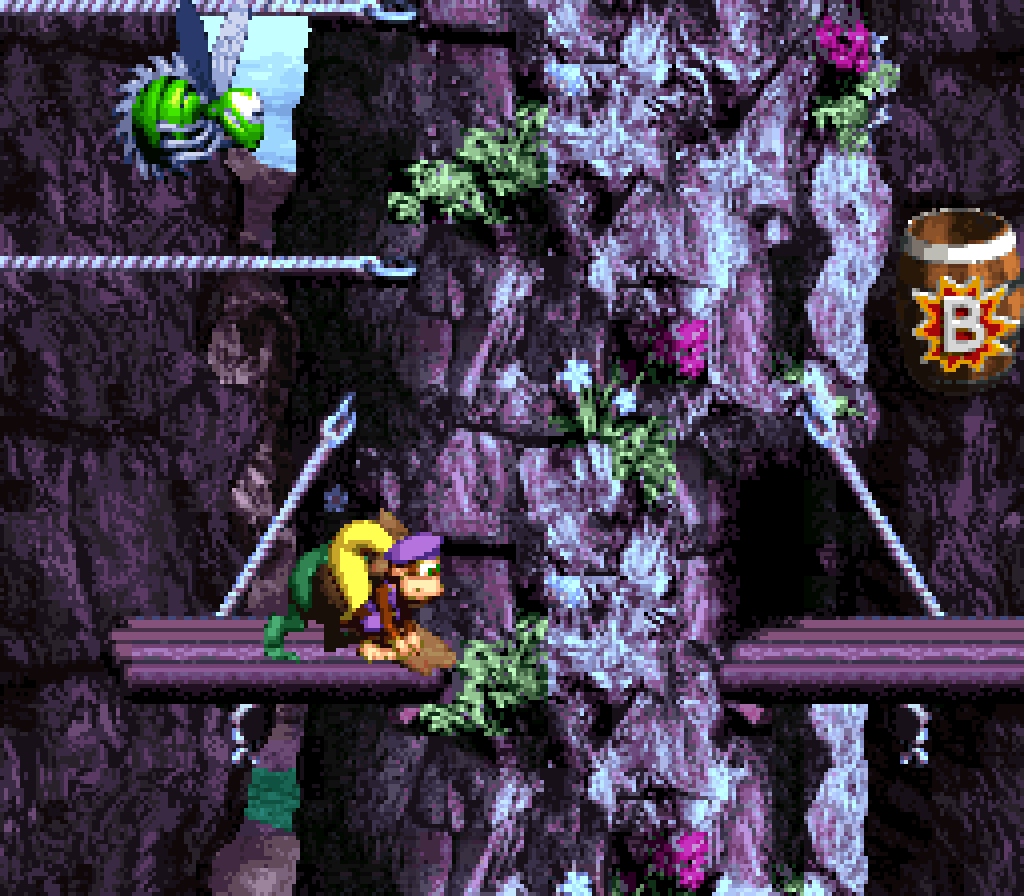
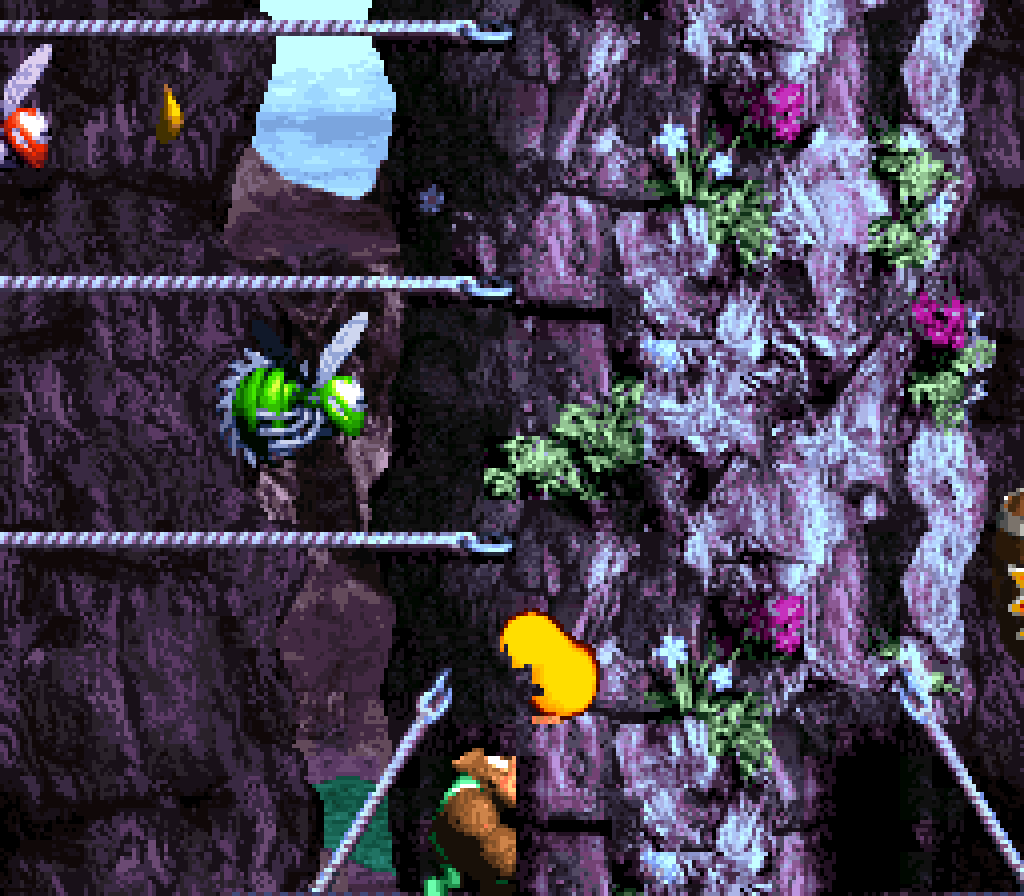
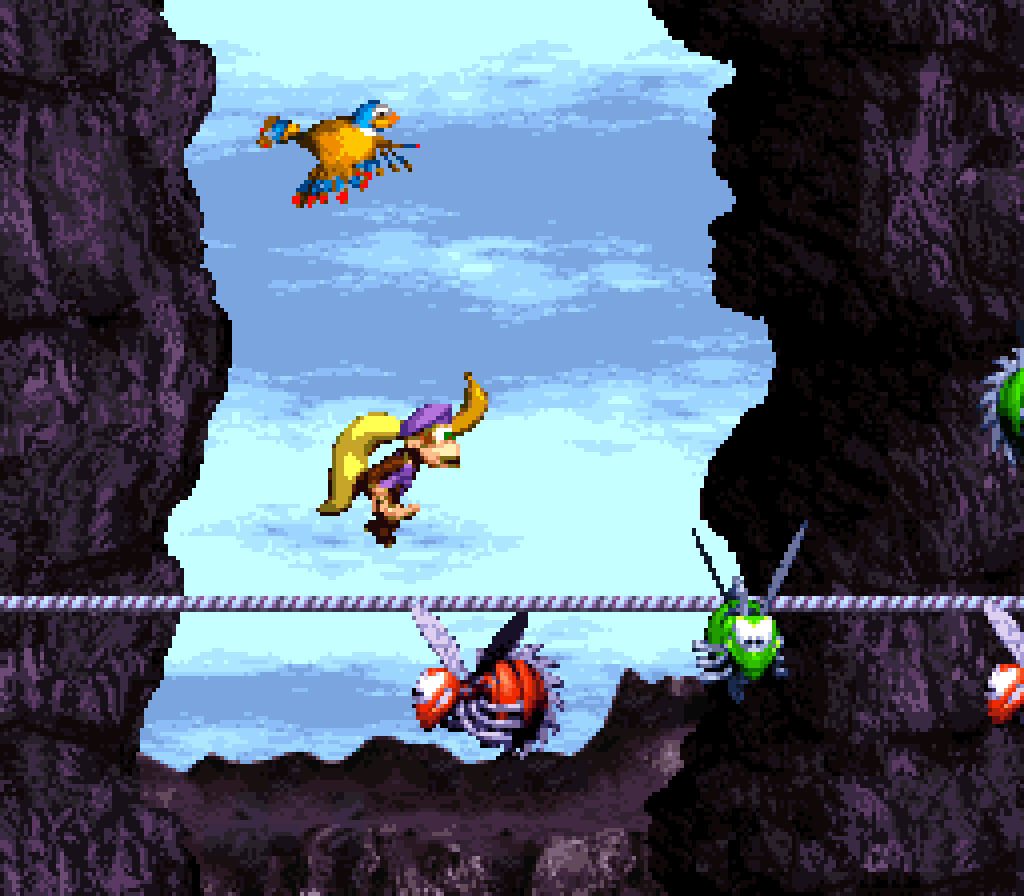
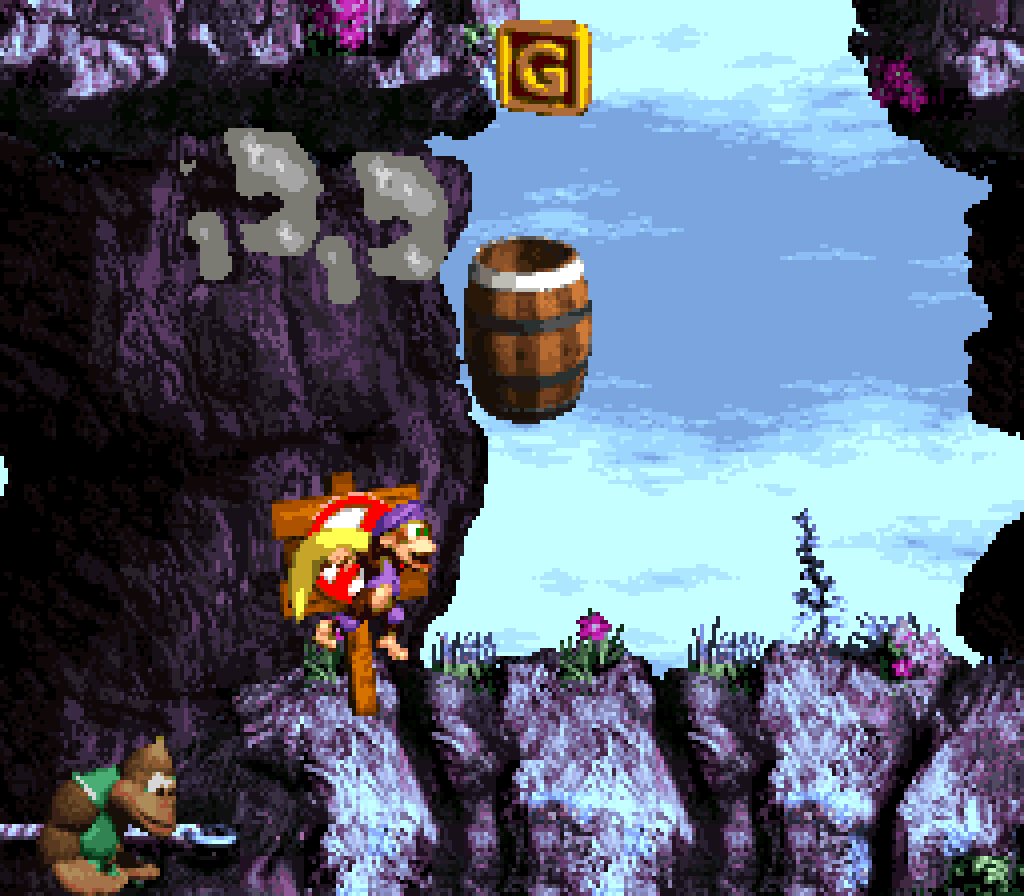
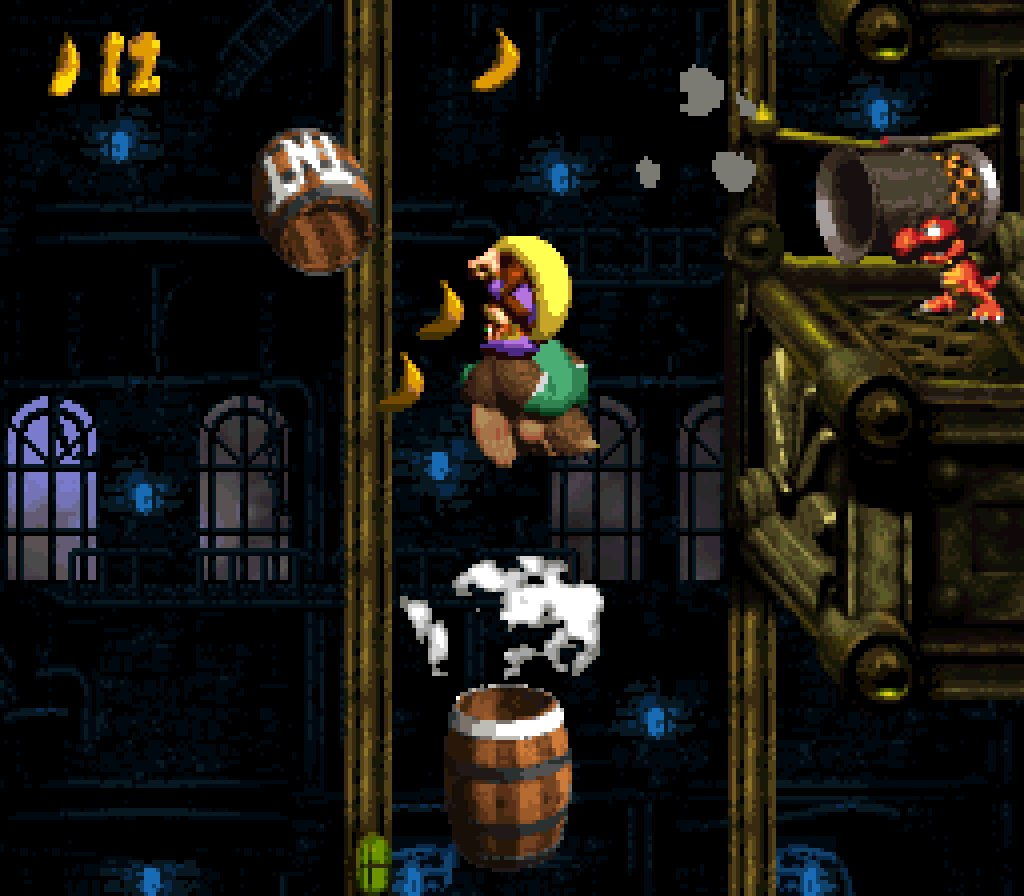
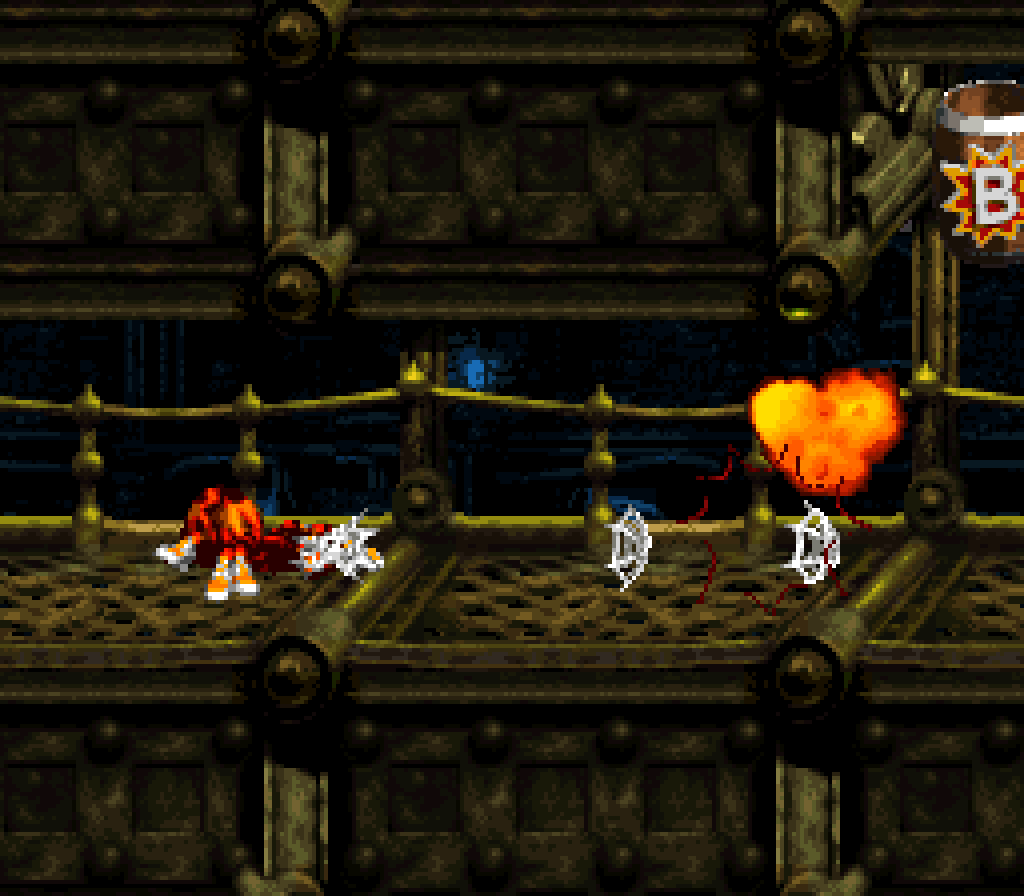
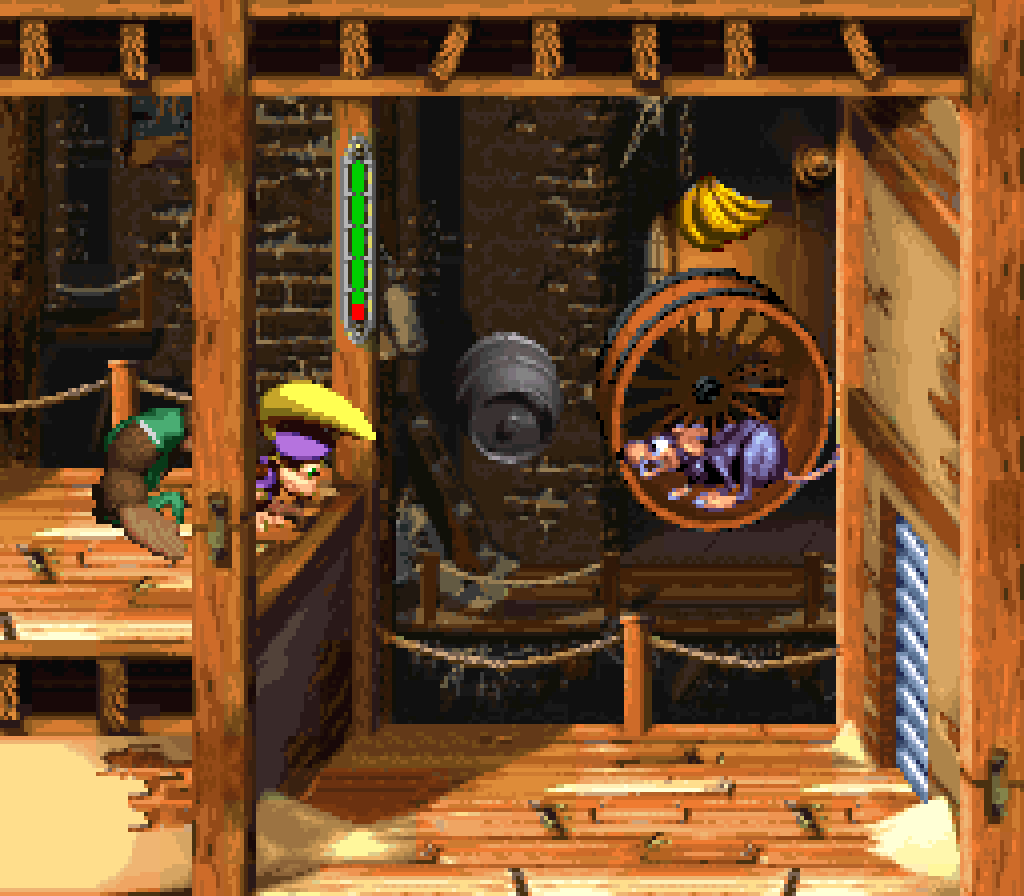
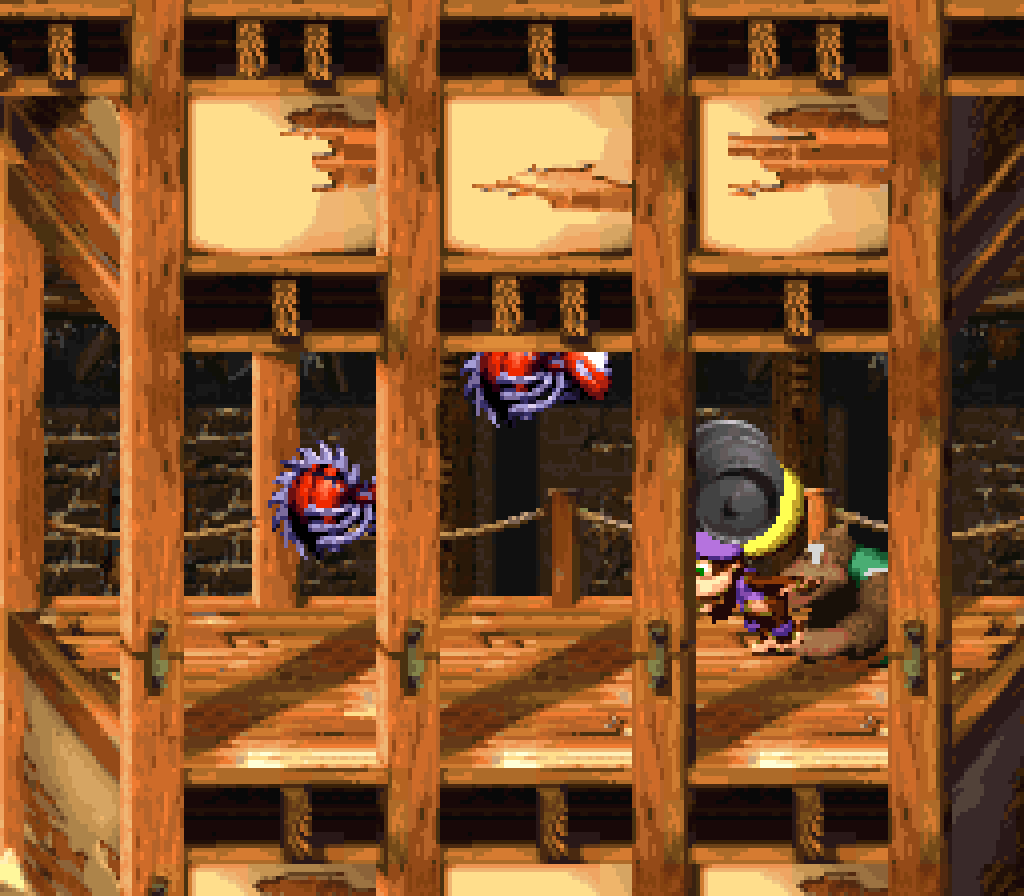
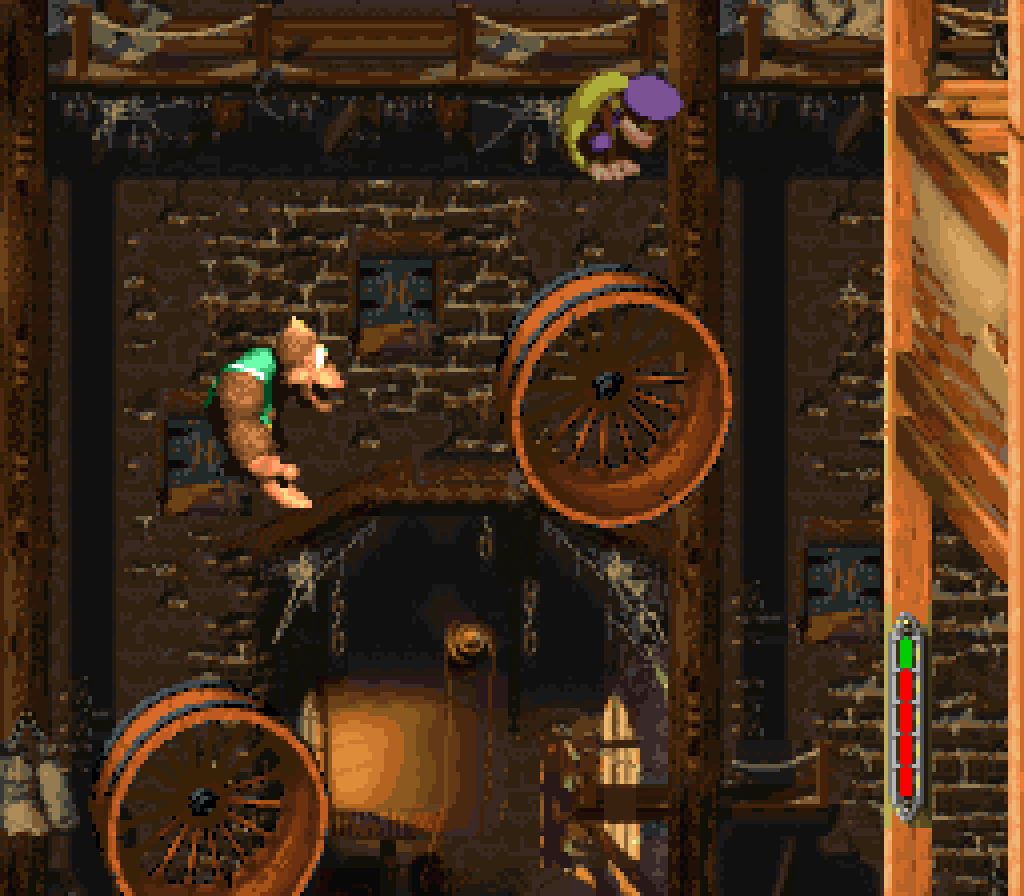
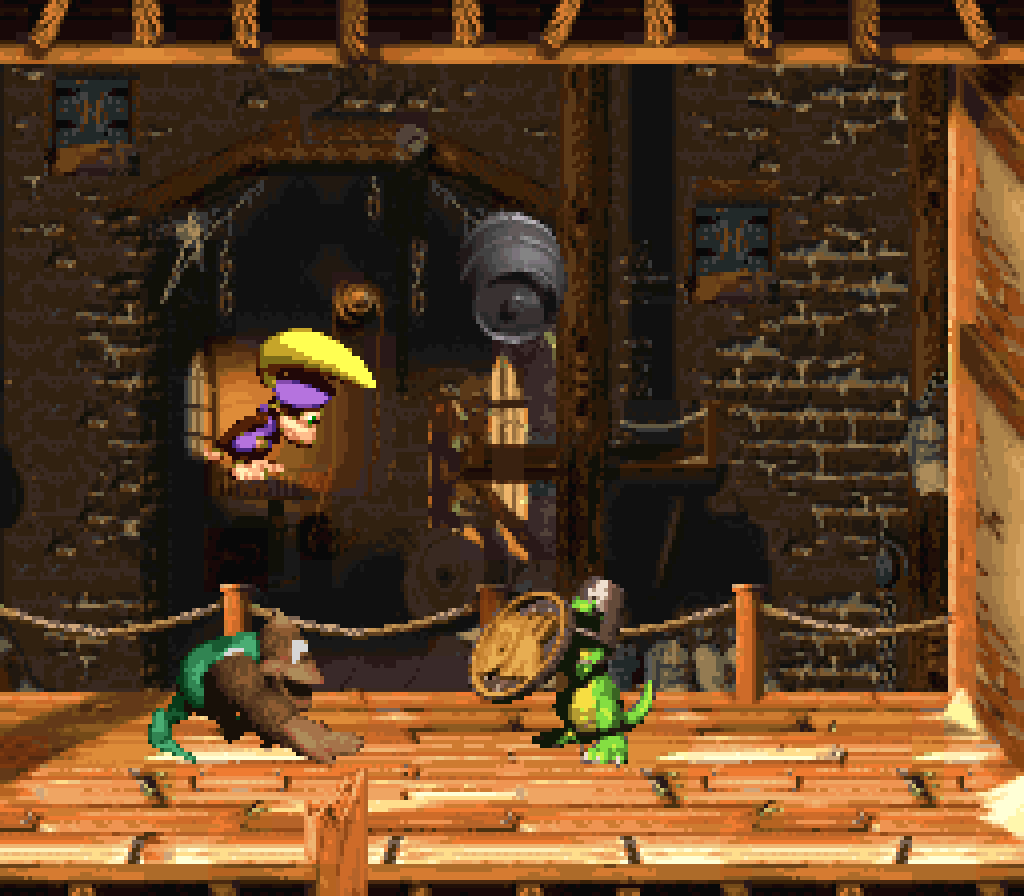
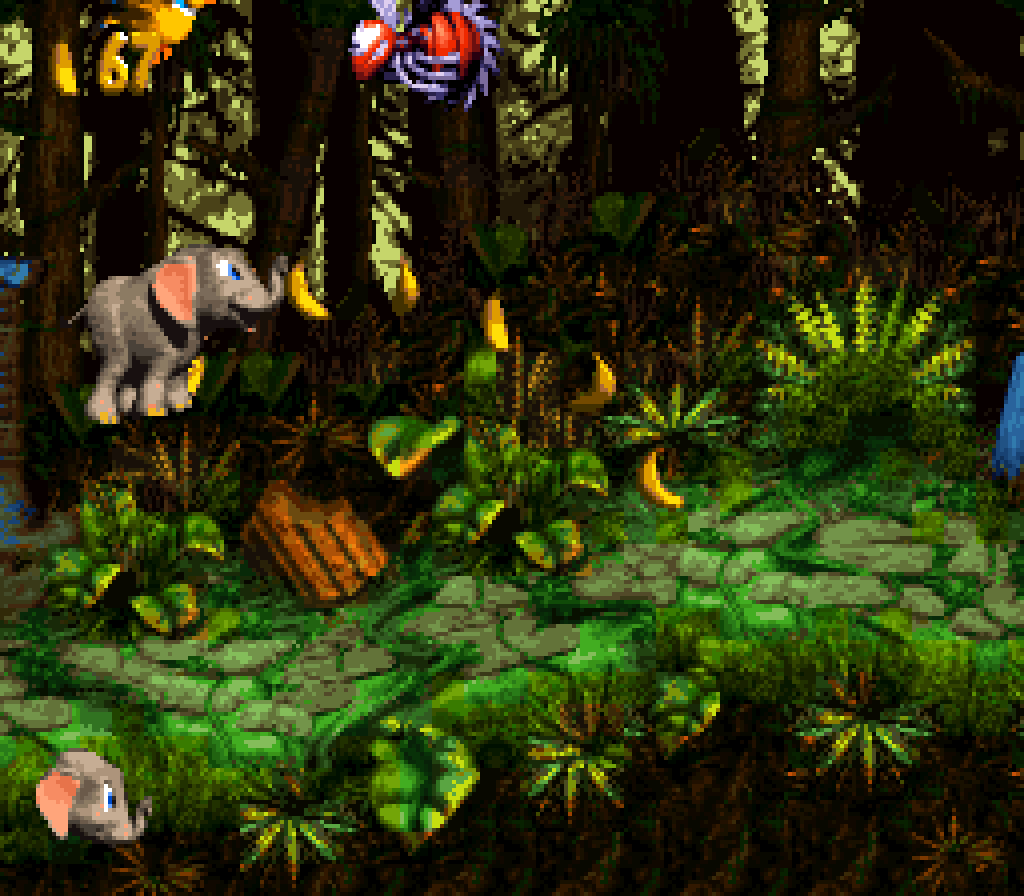
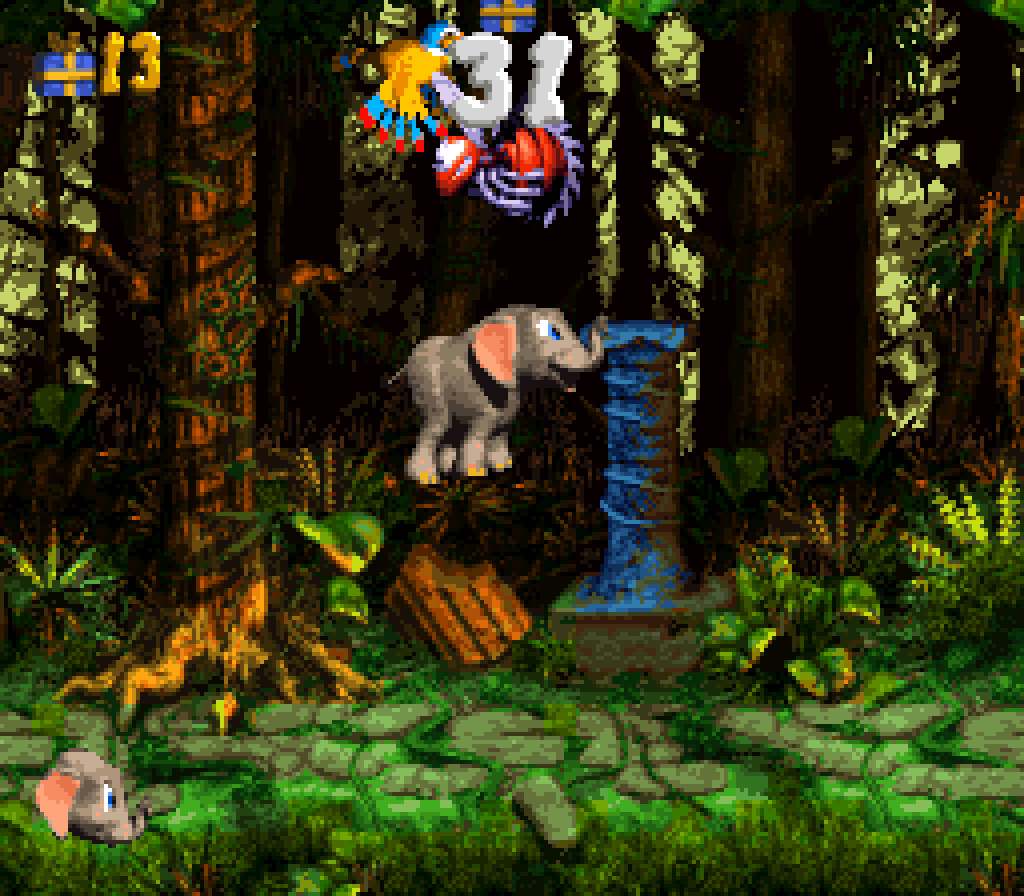
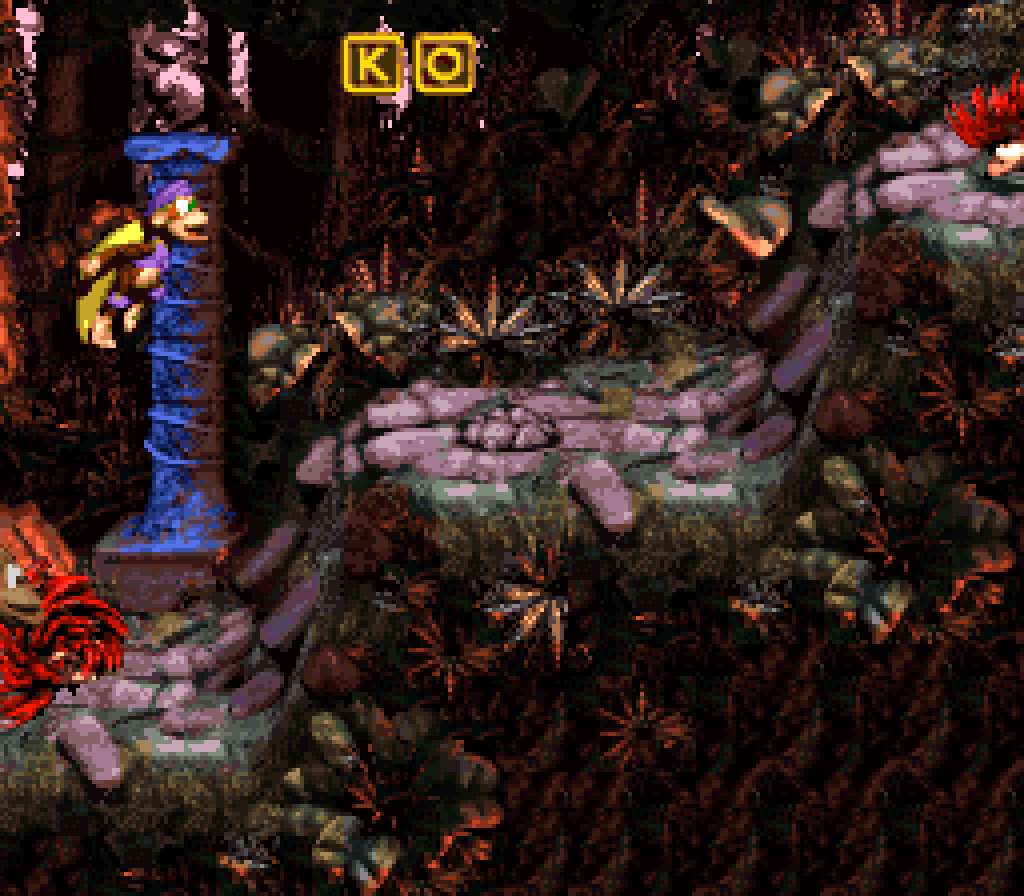
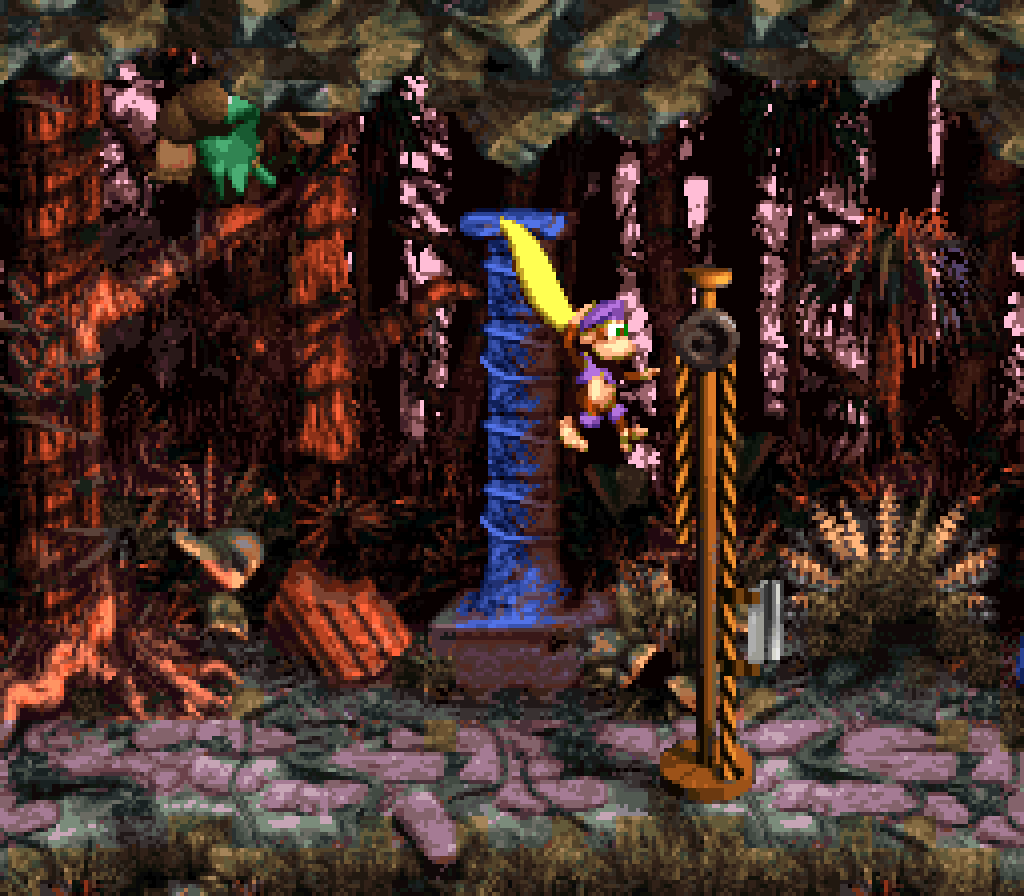
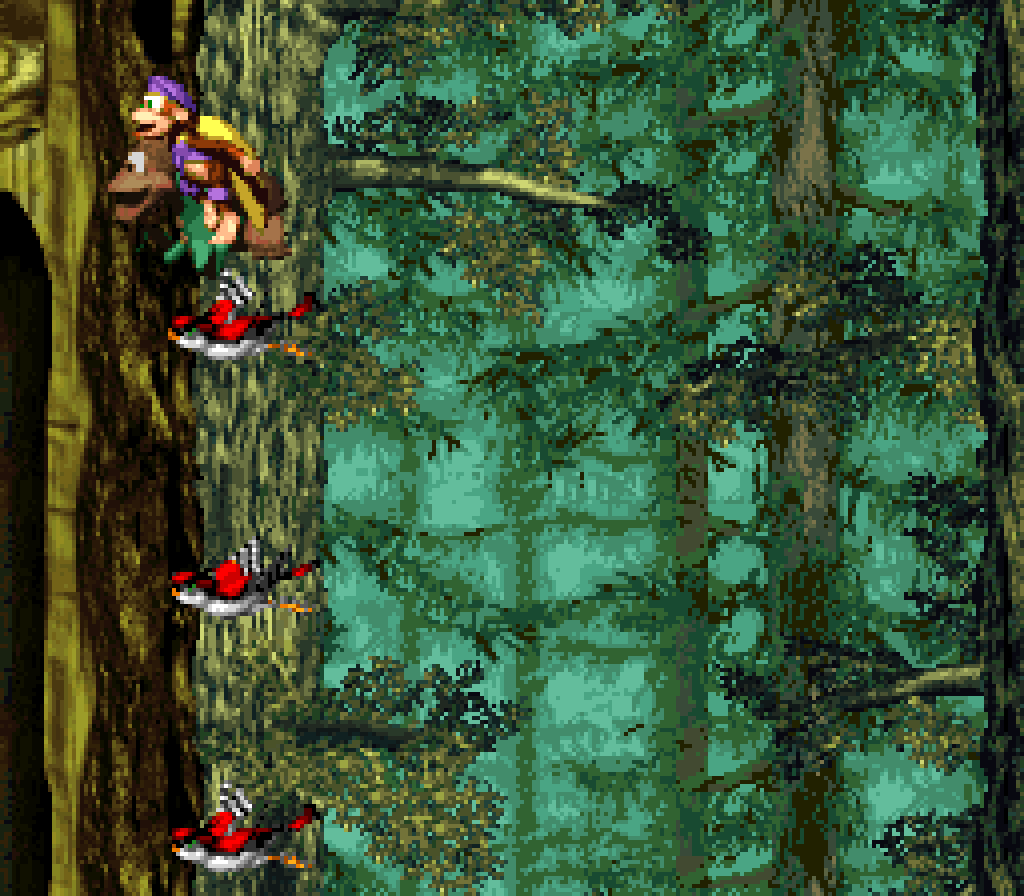
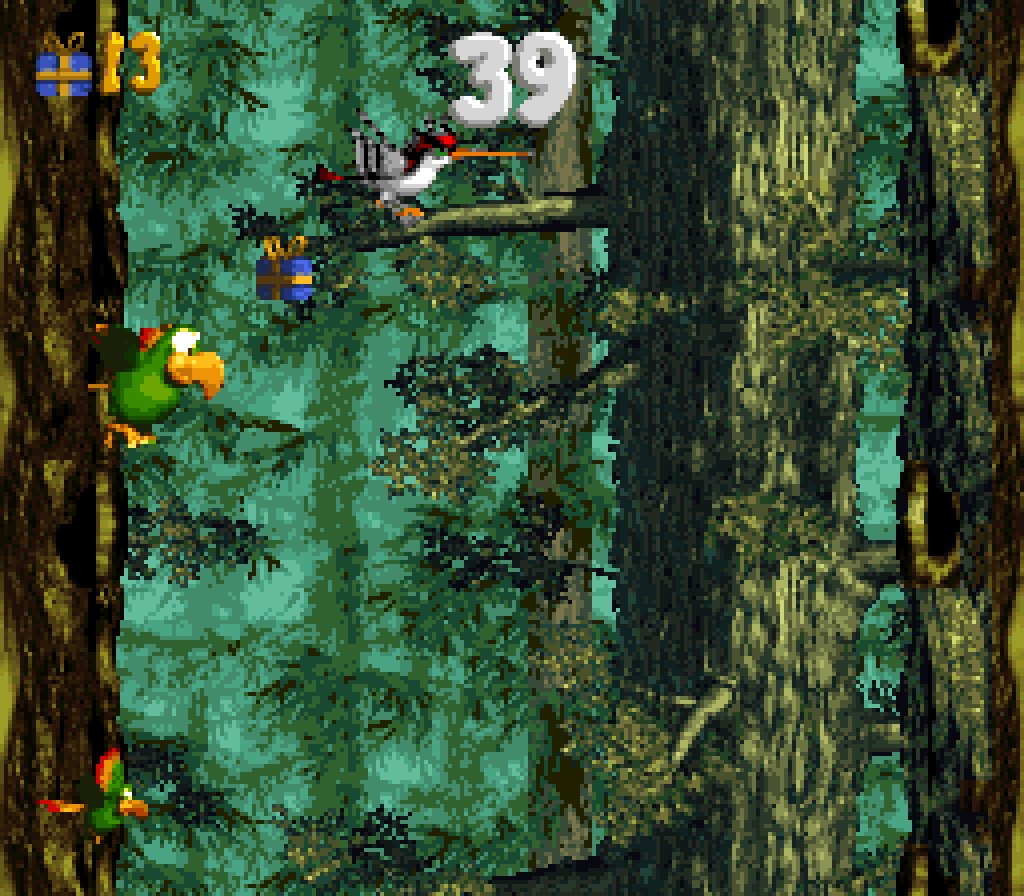
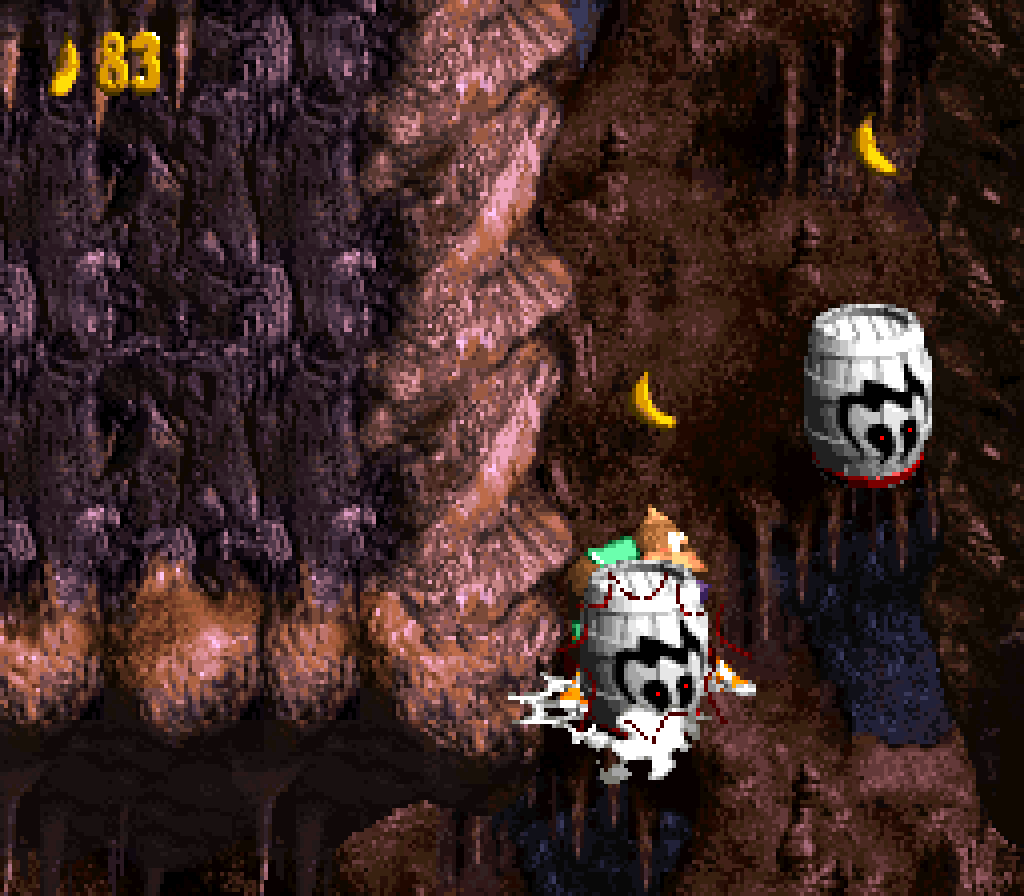
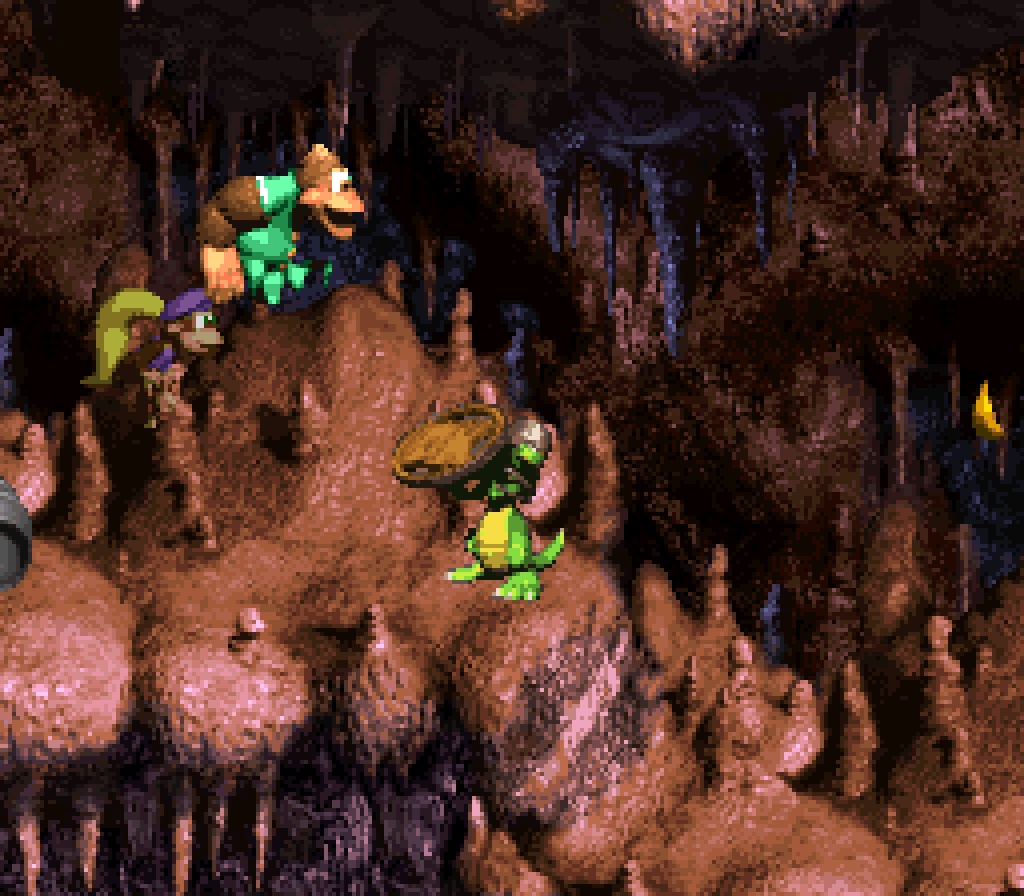
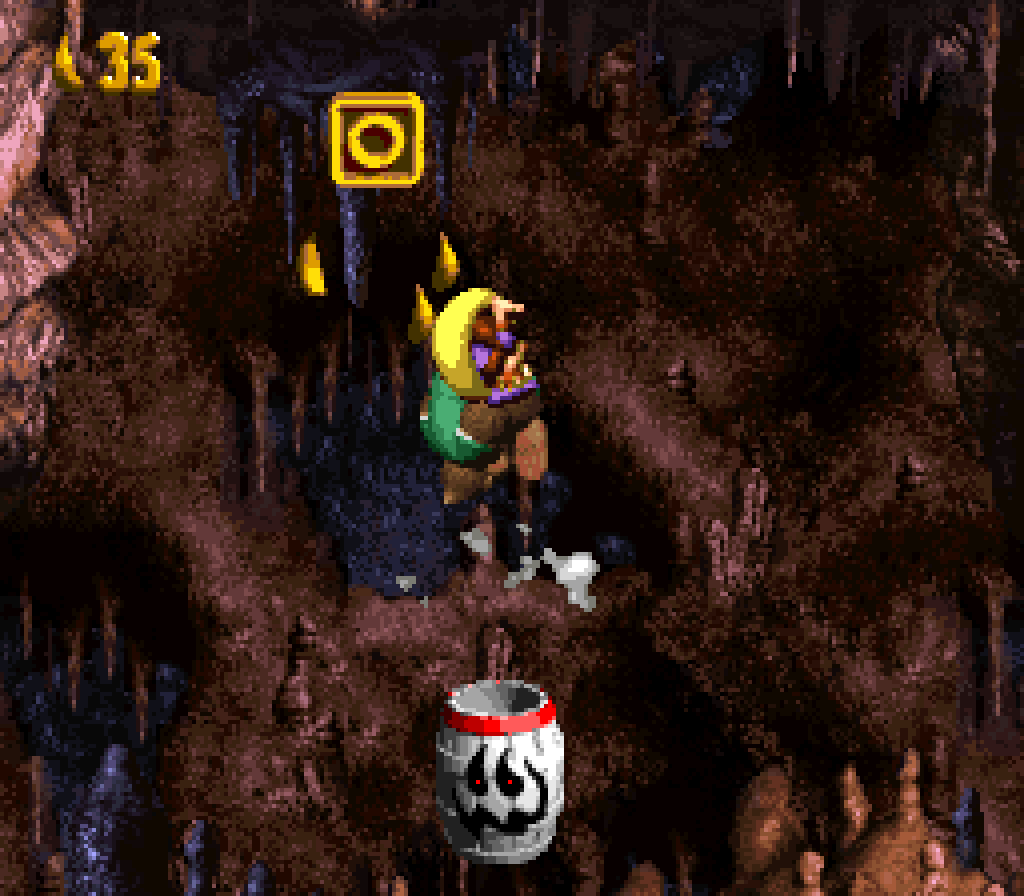
14. Ropey Rumpus
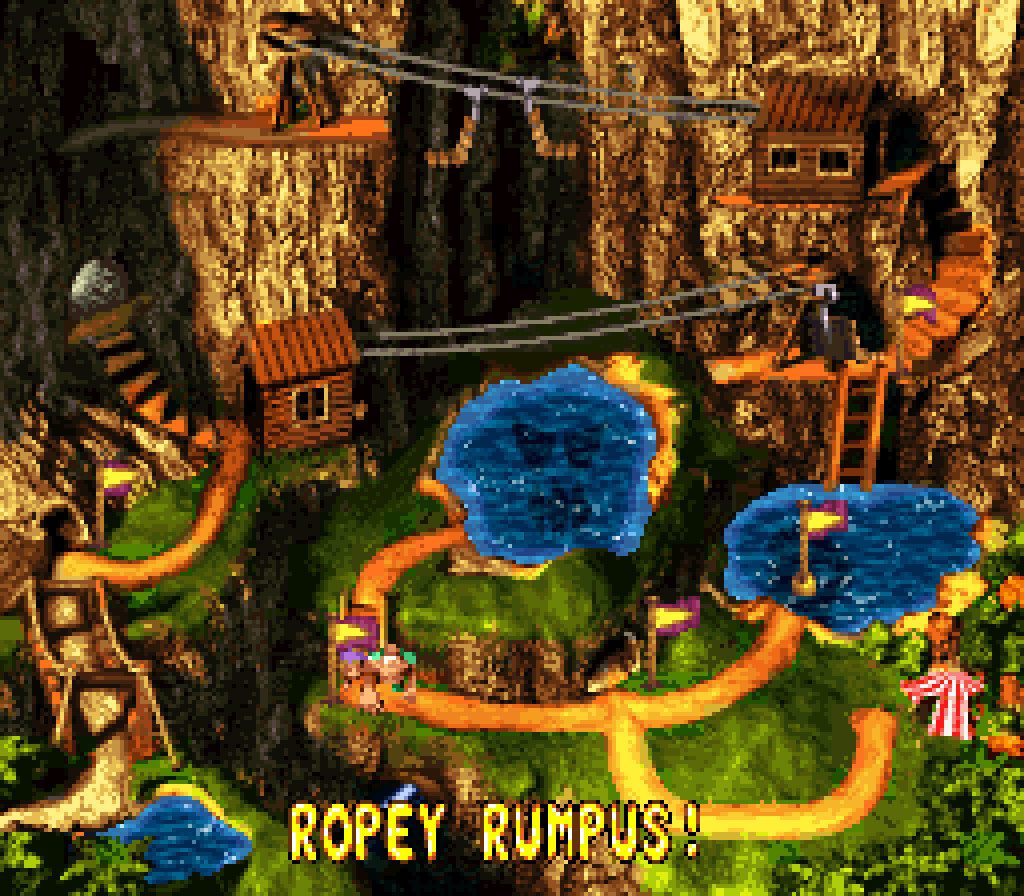
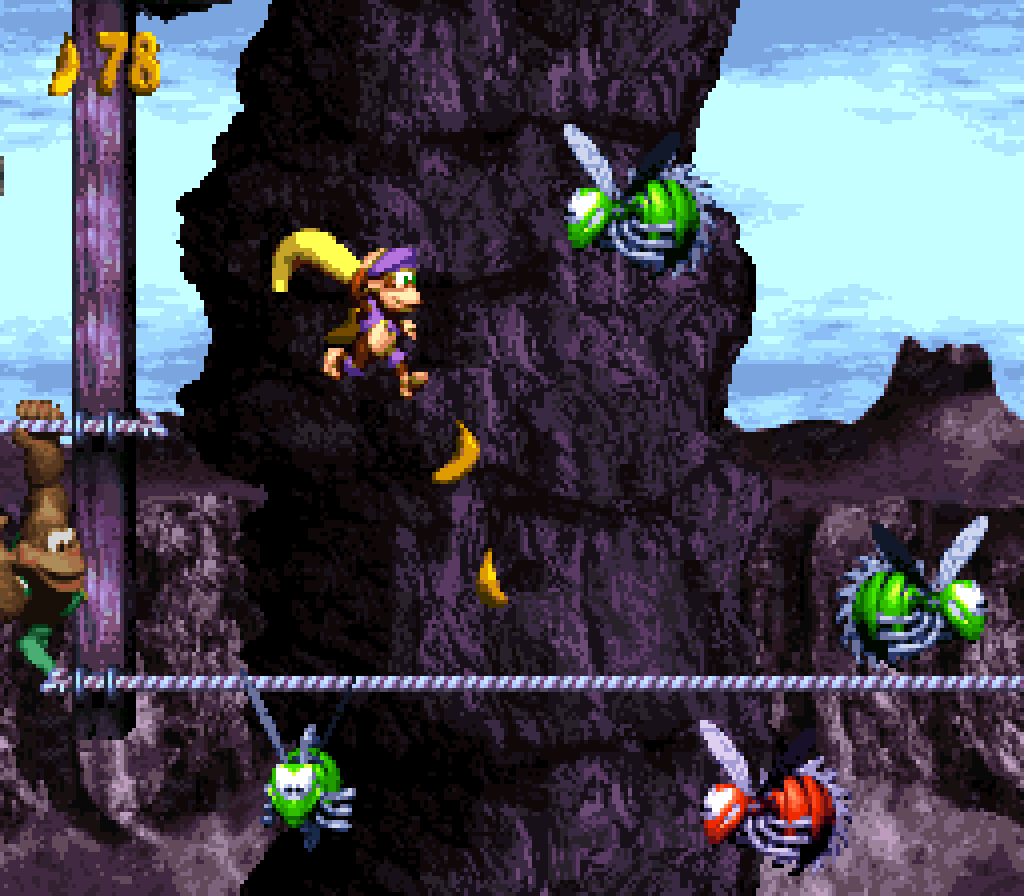
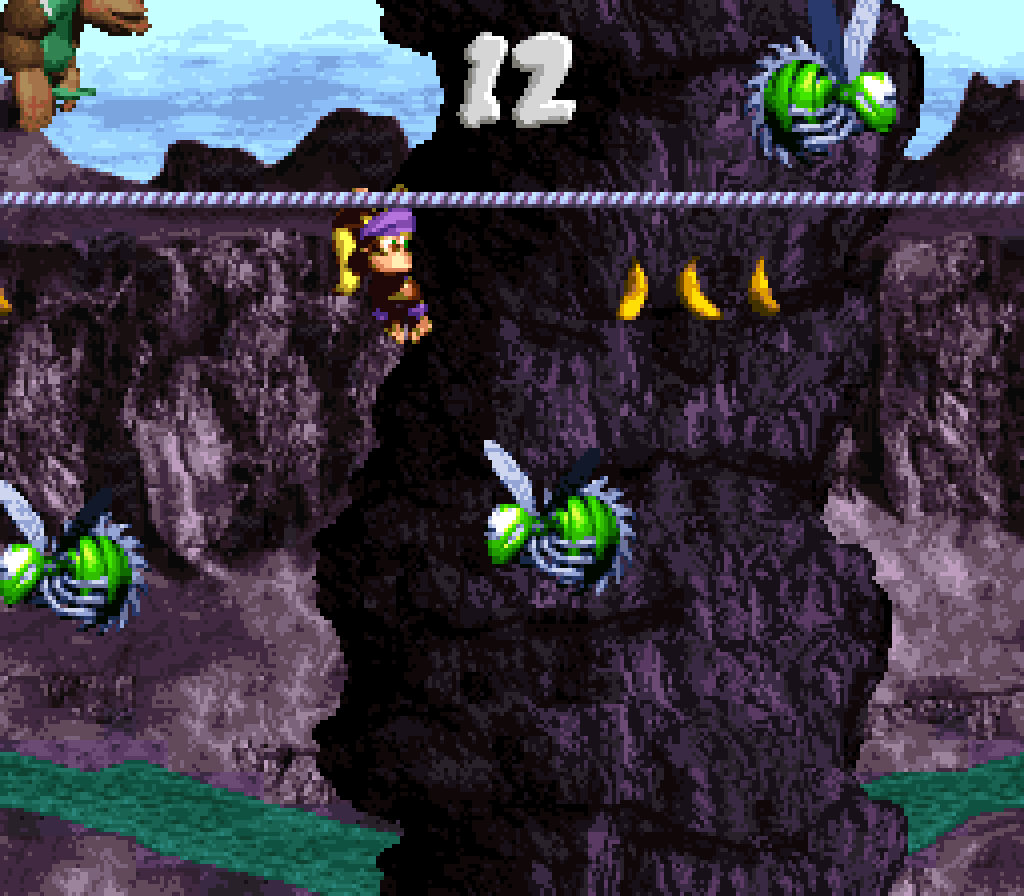
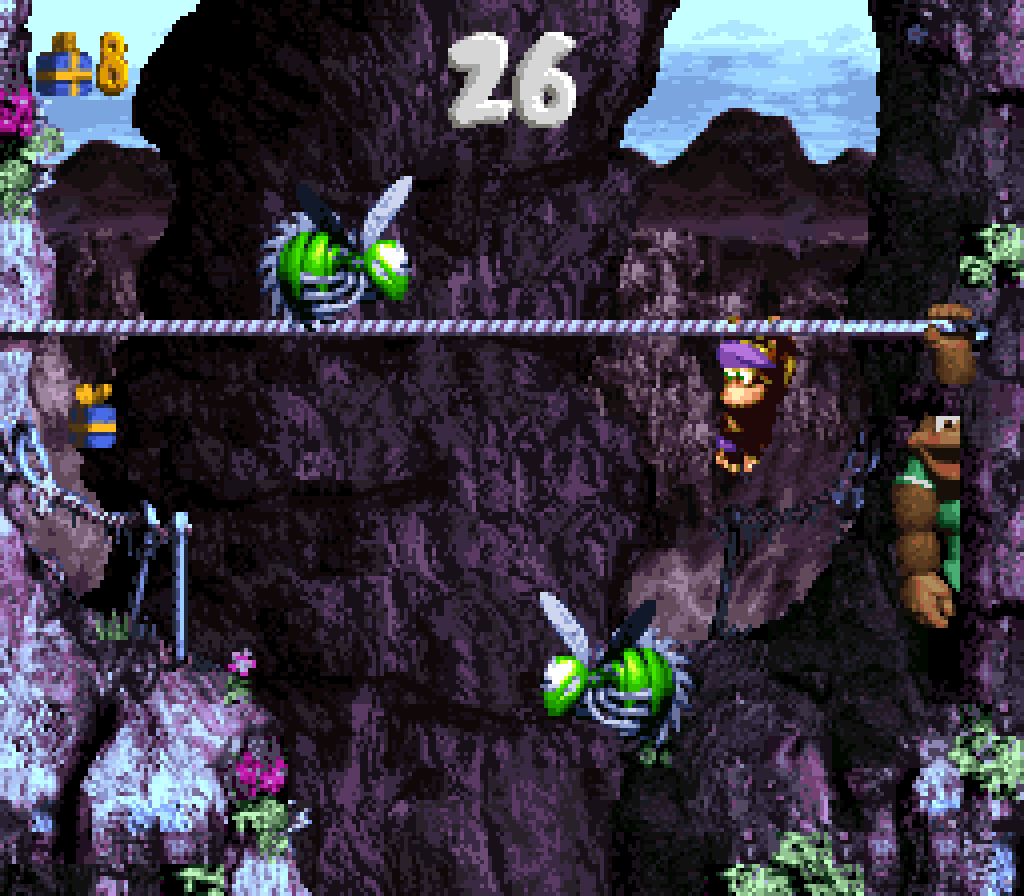
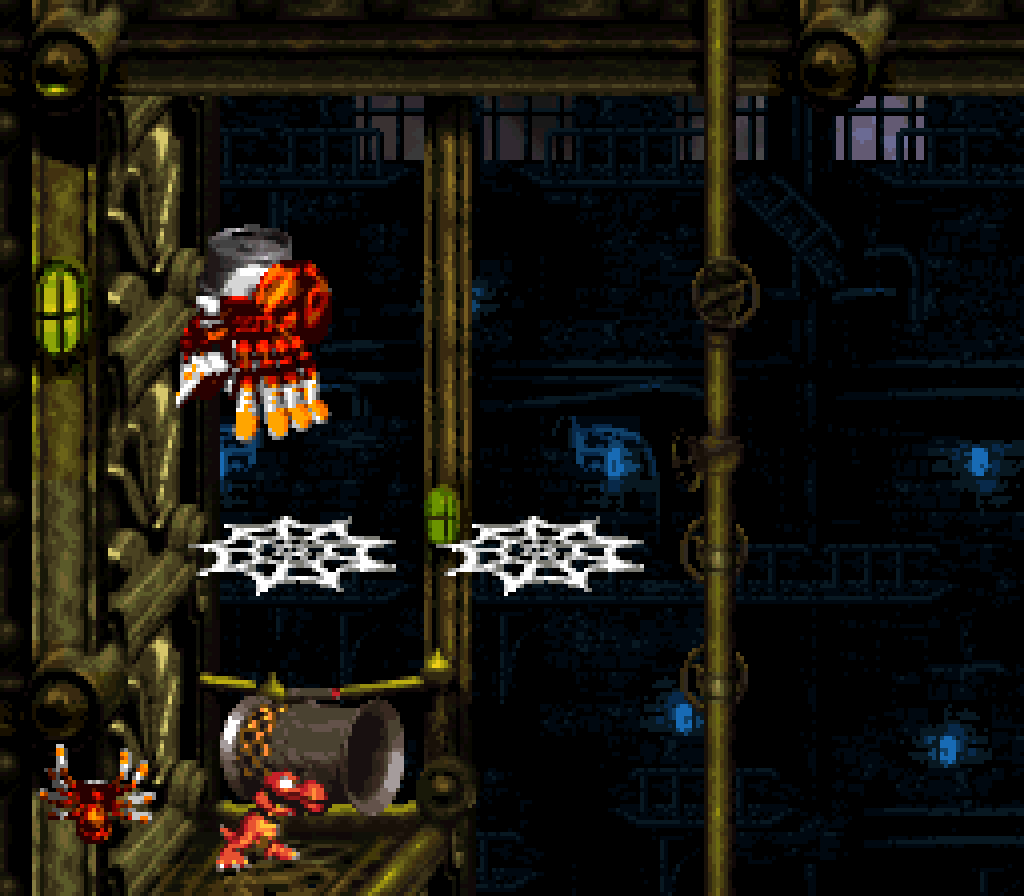
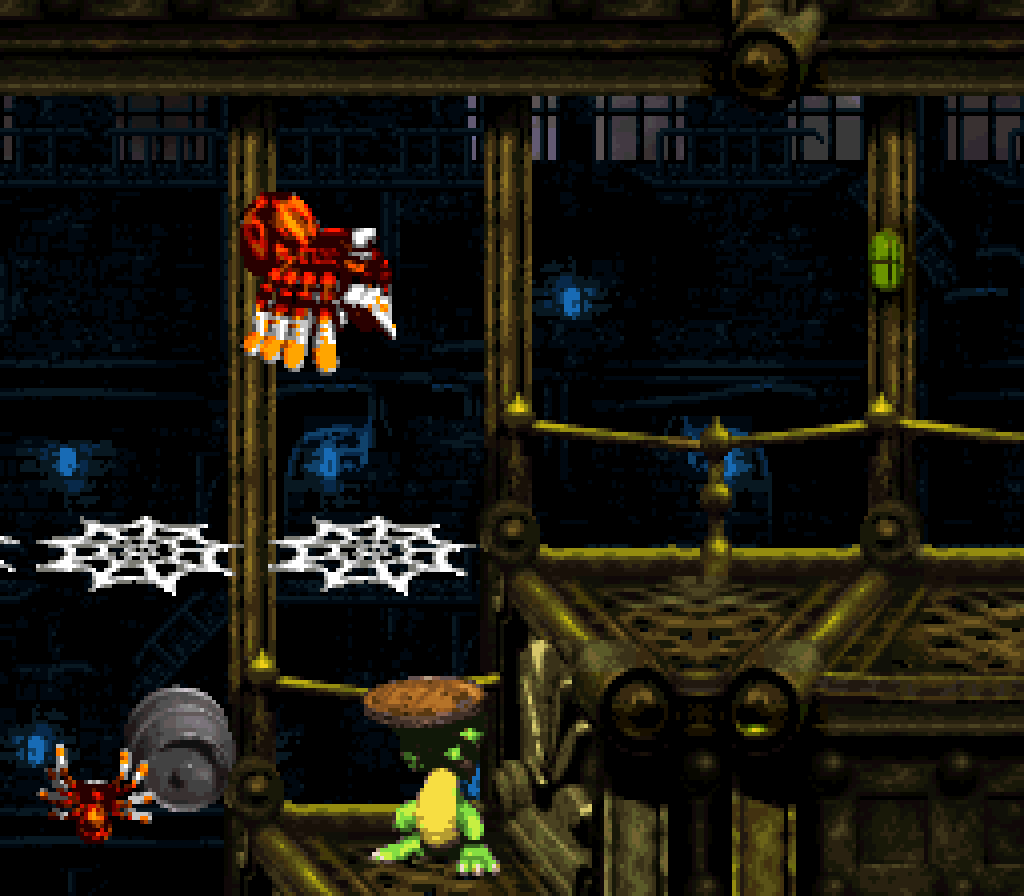
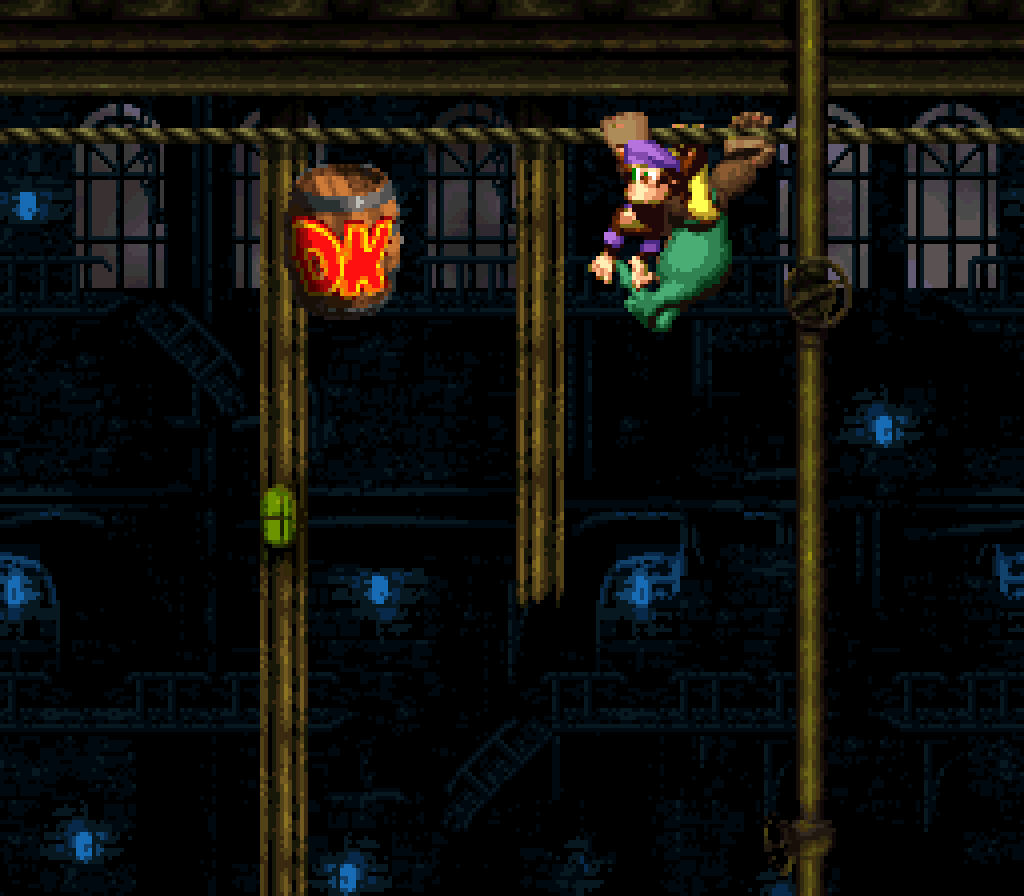
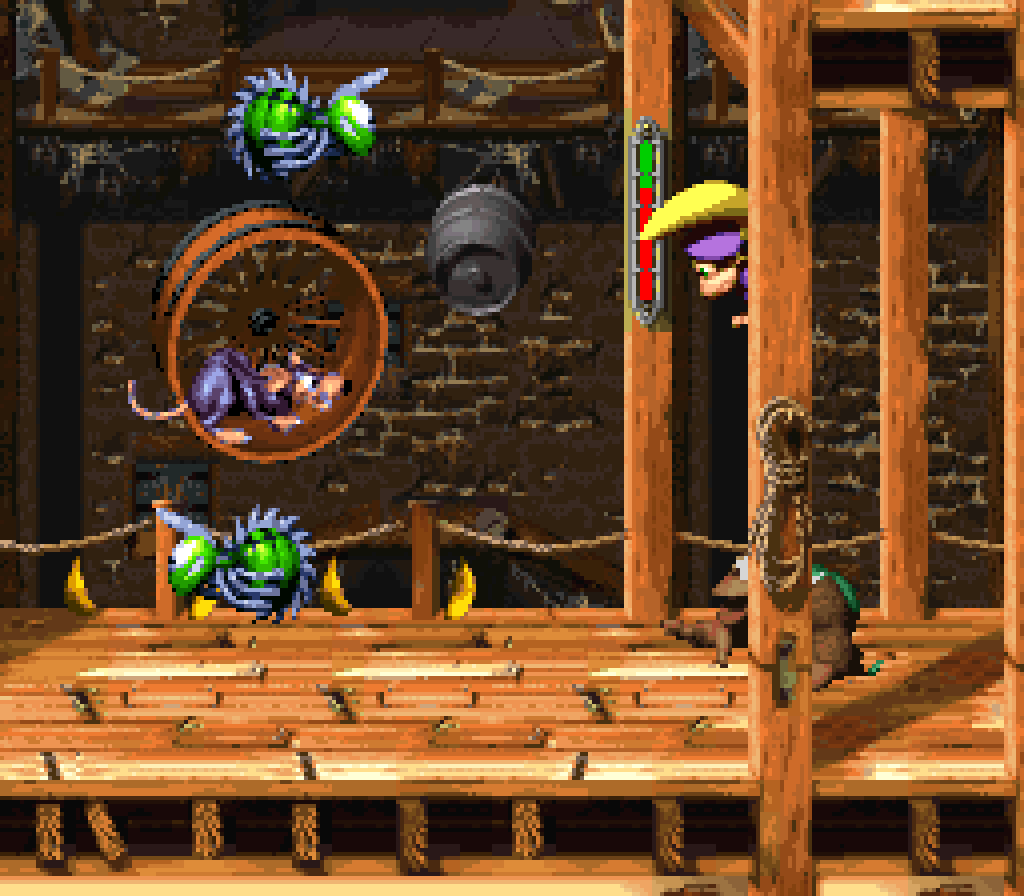
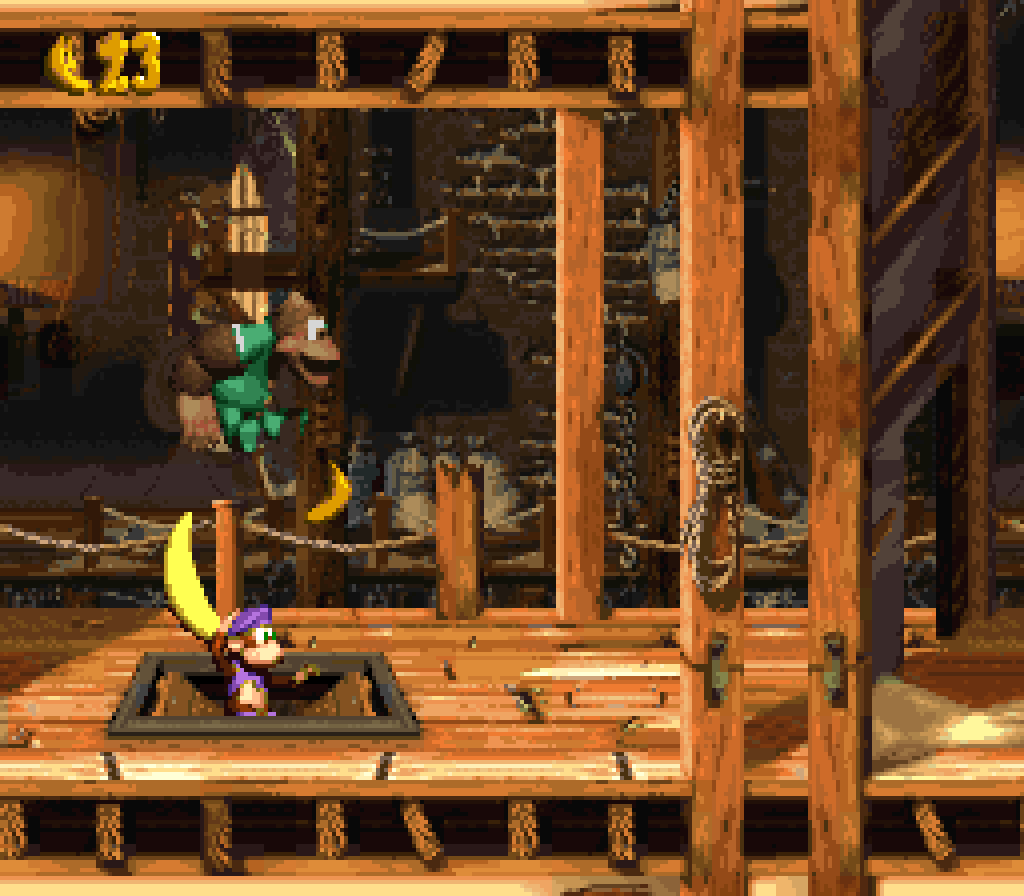
In a game that tended mo’ toward slower levels, it’s refreshing to see such an unapologetic romp o’ a level, where you can just zip down ropes, weaving thru intricate layouts o’ spinning or moving Zingers. Going right & left & up & down in zigzag patterns. ¿Is it yet ’nother level where you’re dodging moving bees in a trilogy full o’ dodging moving bees? Yes. ¿Does it repeat some setpieces, like the green Zingers circling red Zingers or the parts with the Zingers spinning round vertical passageways with rows o’ ropes where you have to jump up twice to find a safe spot? Yes. ¿Does this level, like many DKC3 levels, focus a bit too heavily on its gimmick, which isn’t e’en that amazing, rather than add some variety? Definitely. In fact, Zingers are the only enemies, ’less you count Koin as an enemy, in this level. Still, e’en if repeated once or twice extra, the arrangements o’ Zingers are novel & the arrangements o’ the ropes going all o’er the place, while still having coherent paths, are interesting, as well.
The weakest part o’ this level are the bonuses, & they’re not that bad. The 1st bonus is outright revealed to be ’hind a wall @ the bottom right, & just ’bove is a convenient TNT barrel. The only “challenge” is making a blind jump down with the barrel without hitting a Zinger, — who will destroy the barrel, in addition to harming you — which you don’t seem to have control o’er, since you’re @ the bottom o’ the screen as you’re falling, making e’erything below impossible to see. As simple as this “secret” is, it is surprisingly rare; howe’er, it’s not very interesting & has li’l to do with the gimmick, other than that the ropes & Zingers provide a way to climb up & jump back down & the Zingers offer dangers to avoid while jumping down.
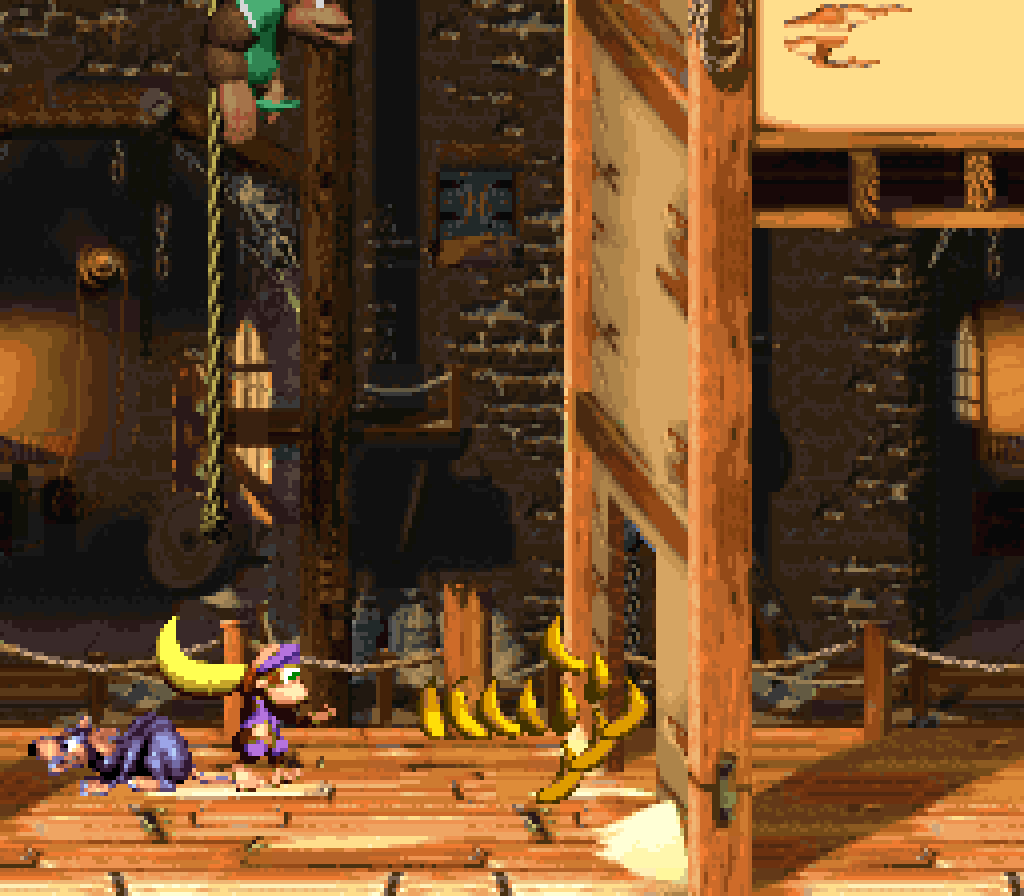
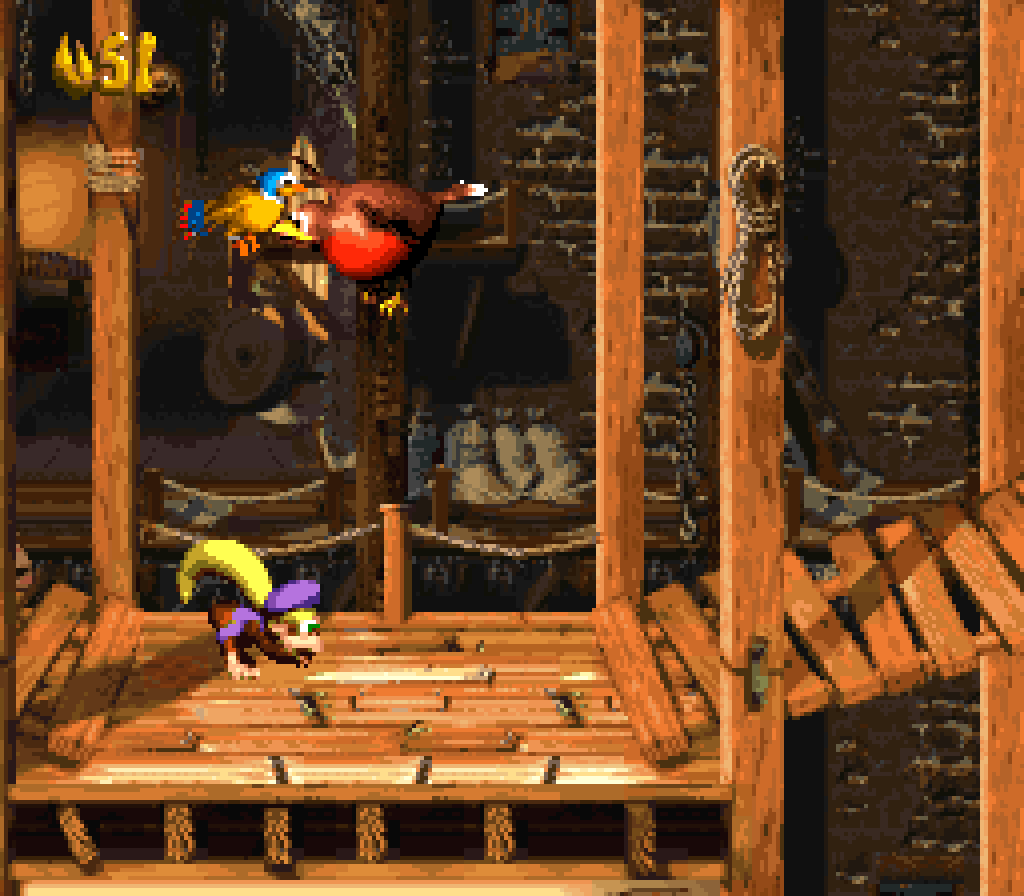
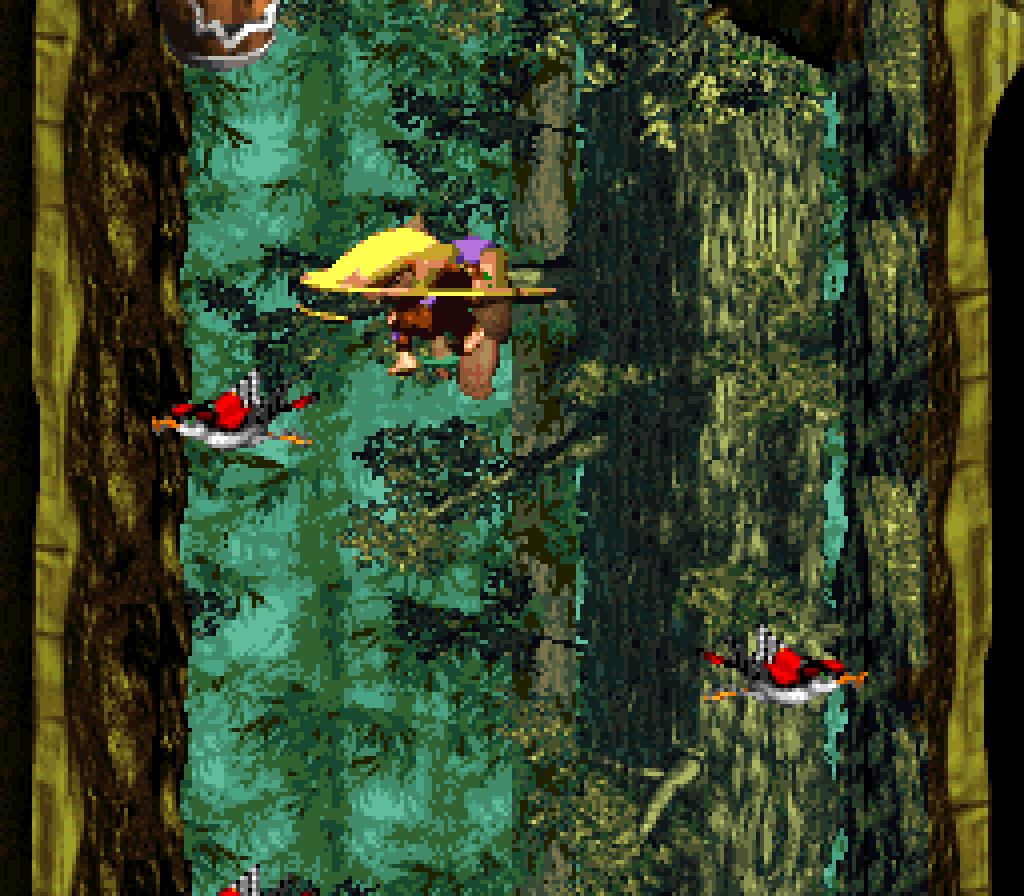
The 2nd bonus is just leading Parry to its sign without losing it, which would be mo’ effective if there were any dangers up high that might actually hit Parry. Yeah, you’d think they would switch up this level’s setpieces by doing so, adding a 2nd dimension to its challenge, but the Parry section has the same Zinger arrangements as the other parts. Plus, players who go after easy bananas will likely stumble ’pon the secret arrow barrel that allows they to skip mo’ than half o’ the Parry section — which is all but 1 ring o’ Zingers. It’s weird that insubstantial Parry sections in earlier levels like “Tracker Barrel Trek” were mo’ challenging & complex. That’s the problem with them adding those Parry sections to those cascade levels where they don’t really fit: they take up all the good ideas & make Parry feel less fresh here, where it would’ve counted. In any case, bonus world level “Stampede Sprint” does the same thing with Parry, but with much mo’ interesting dangers for Parry, making this Parry section feel e’en less needed.
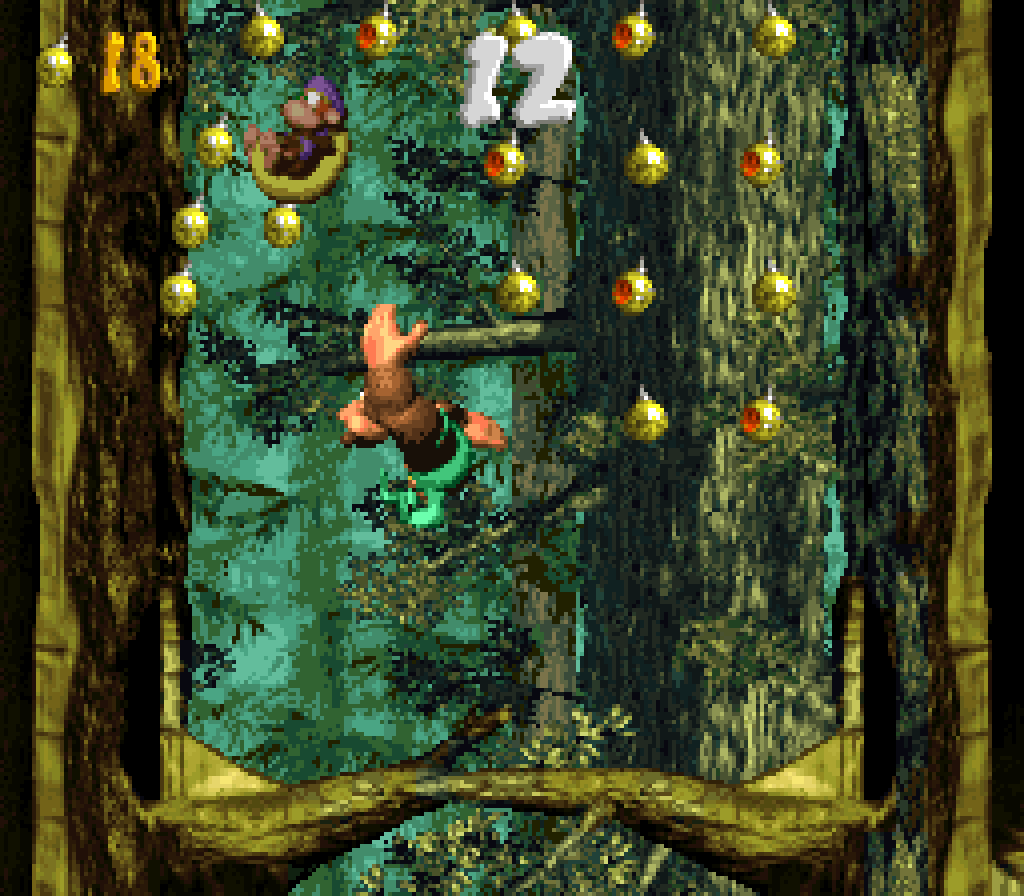
The bonuses themselves are what you’d expect: the 1st is just going thru a bunch o’ spinning Zingers, but with a time limit, simpler than the main level & redundant; the 2nd bonus challenges you to collect presents while weaving ’tween a ring o’ Zingers.
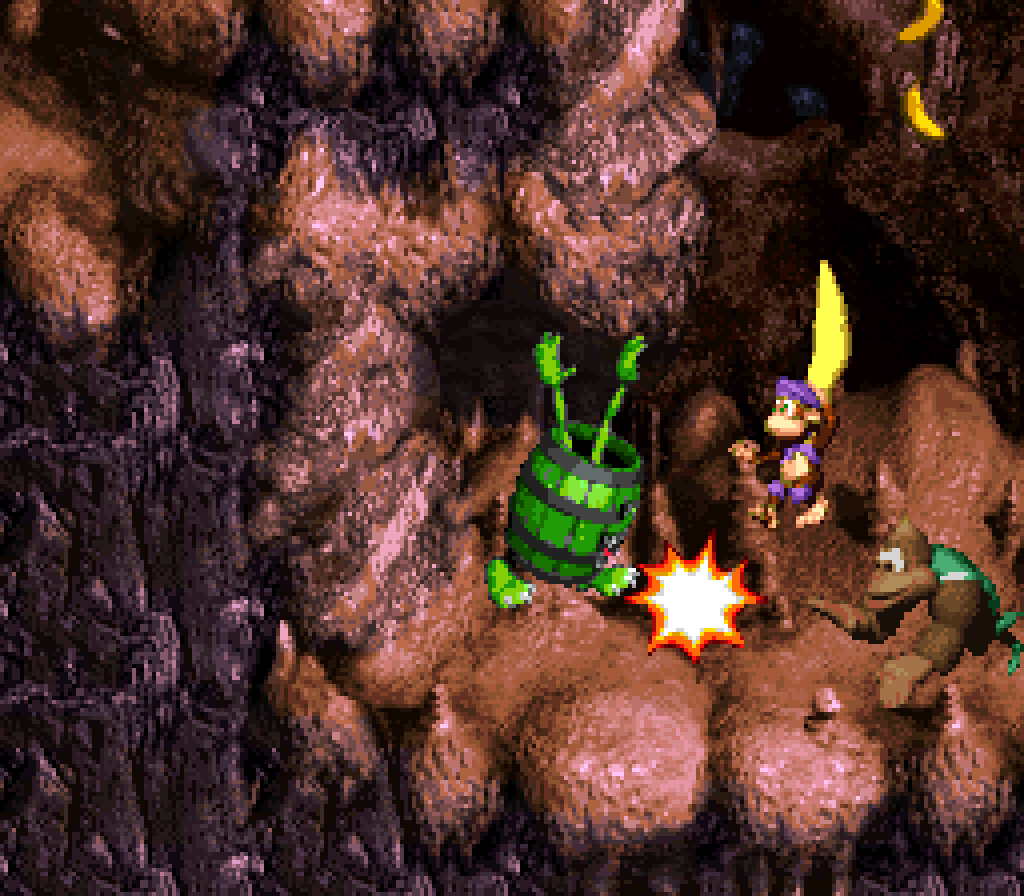
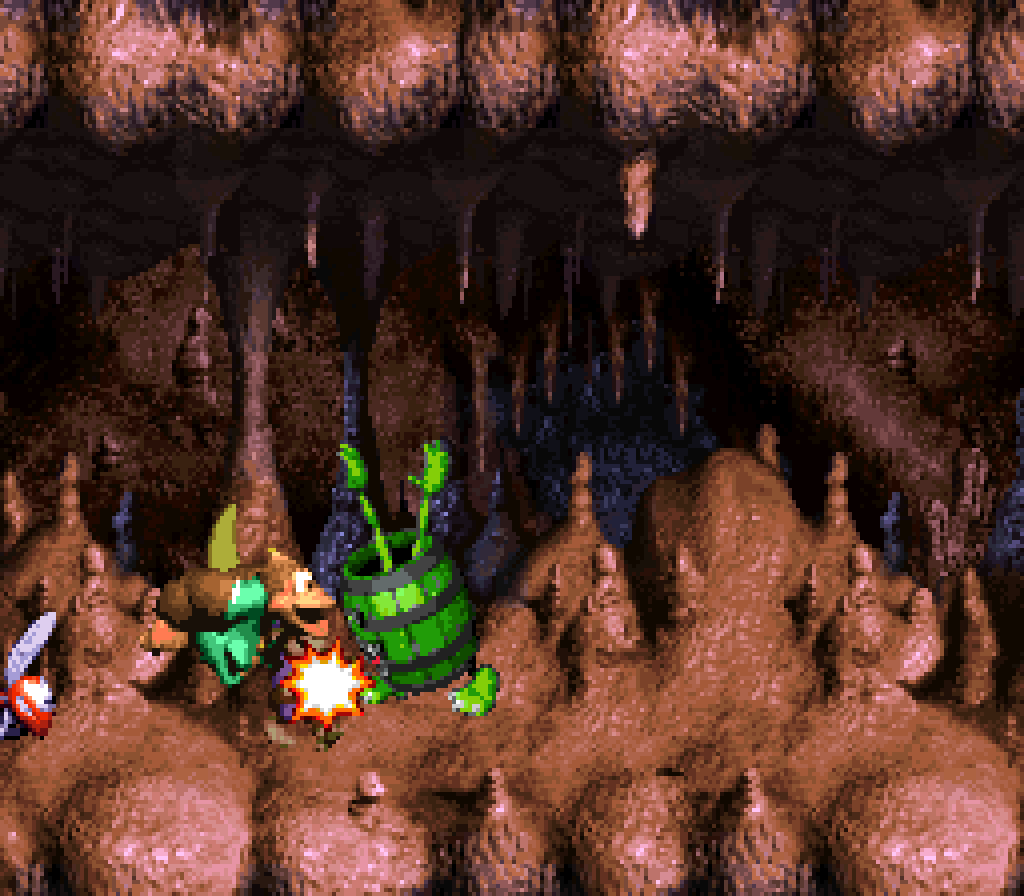
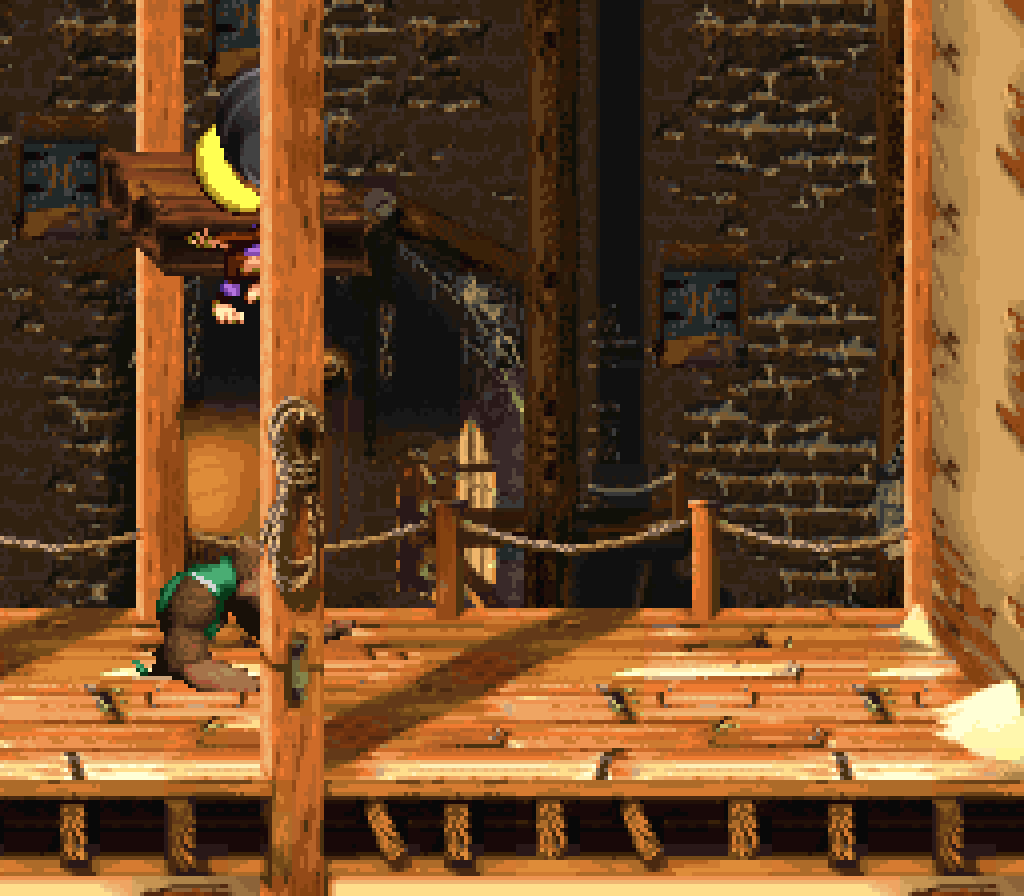
Koin is in a place so obscure, it belongs in the 1st DKC: halfway down the rope halfway thru the level there’s a pit you can drop down, as opposed to all the other parts o’ this rope, which drop you down to the beginning o’ the level, if not death. The only “sign” there is that this pit exists is that you can see the top o’ the walls with bananas on them. The problem is that there are also tops o’ walls earlier on in this section that don’t have pits, so a logical player isn’t going to make the logical jump, “bananas on short platform means drop down to the left to find secret pit”, if they didn’t make this logical jump the last time they saw a short platform; I’d assume they’re there for decoration. I guess if you wall on the left wall & move round you can see the tip o’ an arrow barrel; but that doesn’t mean there’s something under the arrow barrel, either, specially since there’s an arrow barrel below the end o’ this rope that, ’gain, doesn’t have anything below it but the start o’ the level.
1 advantage to this level focusing so much on ropes is that its bland tileset isn’t as noticeable.
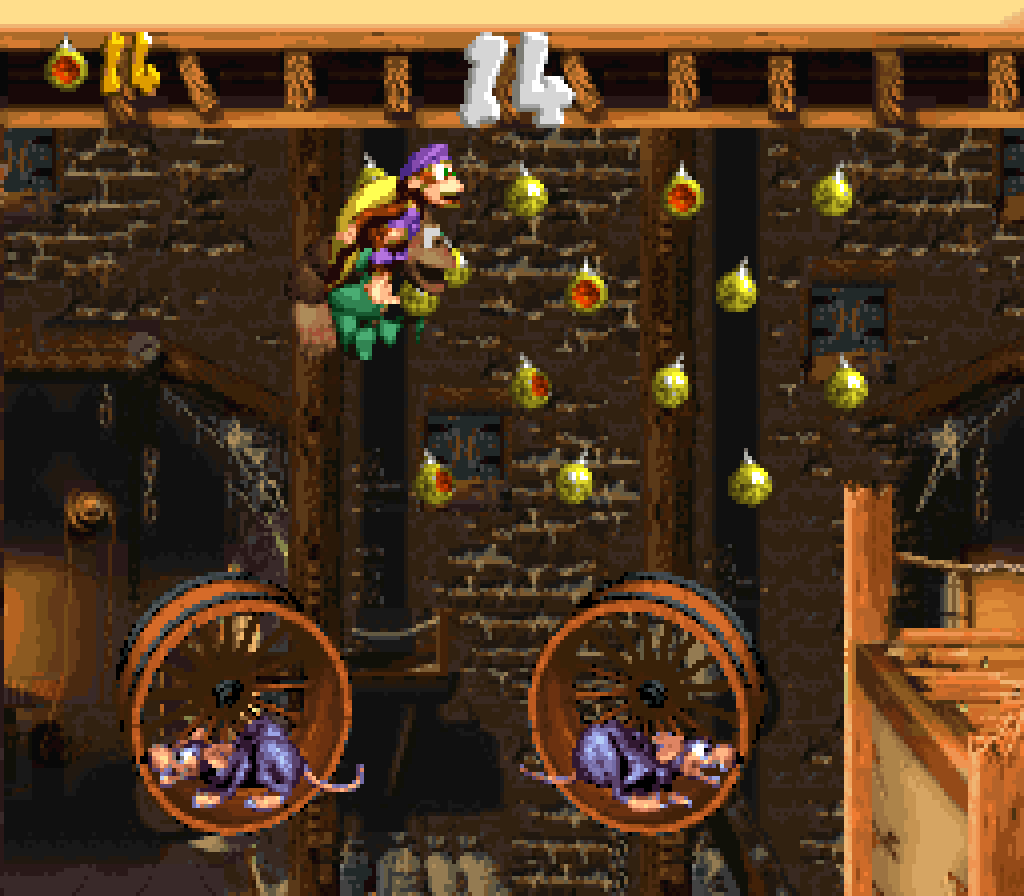
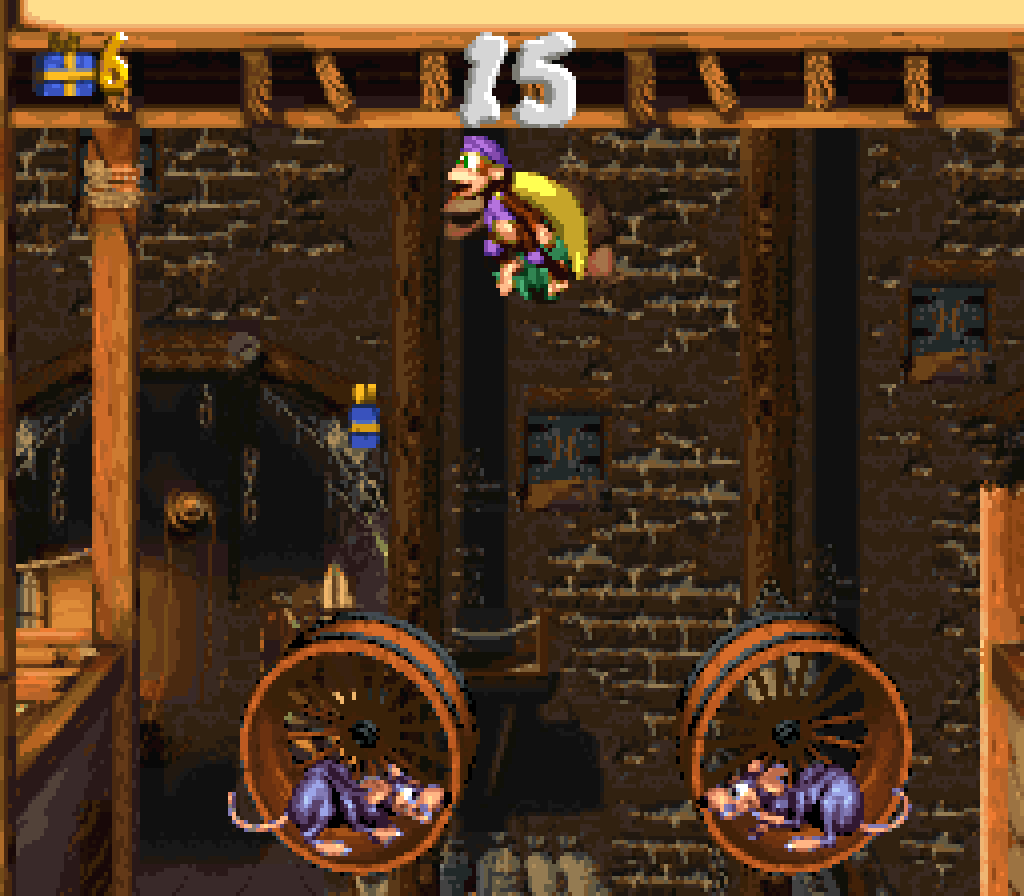
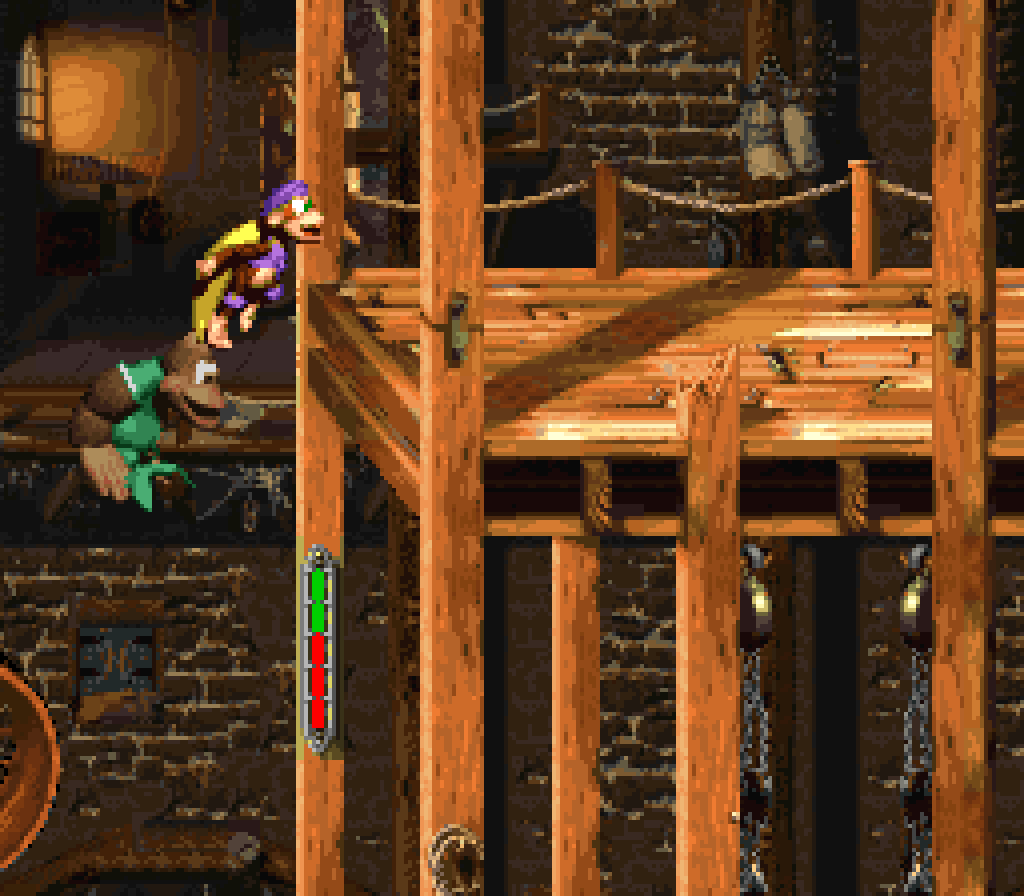
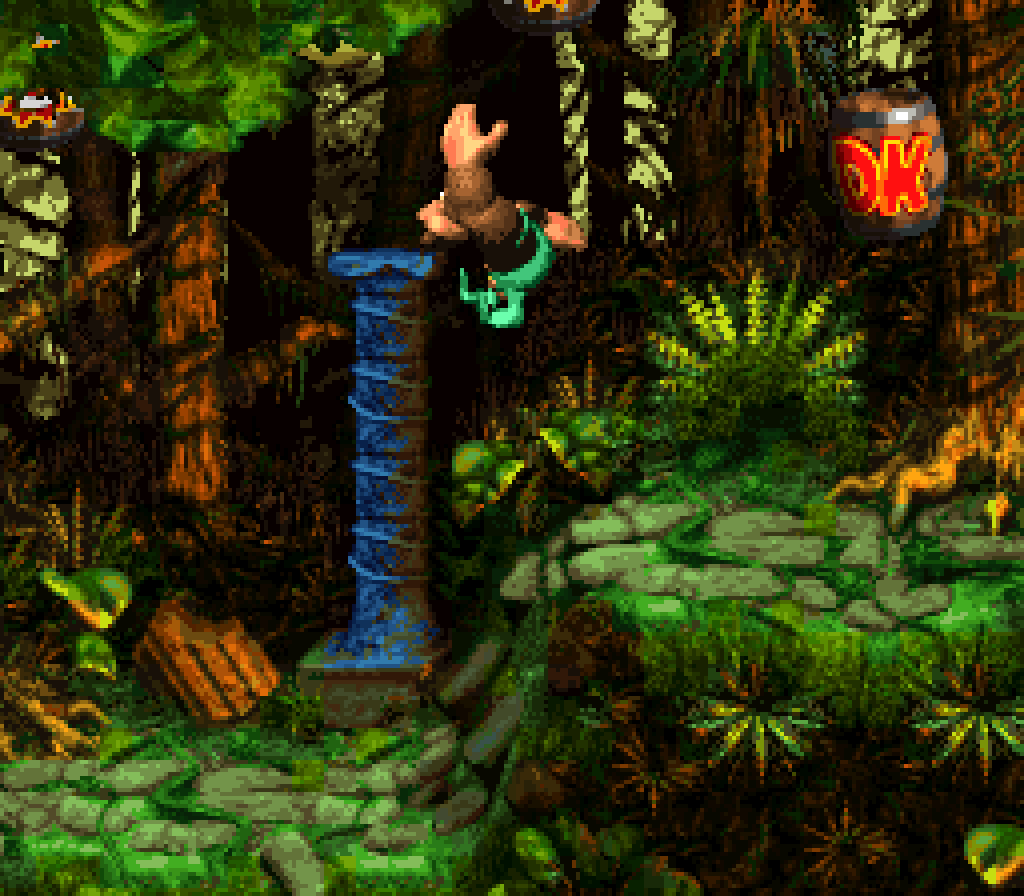
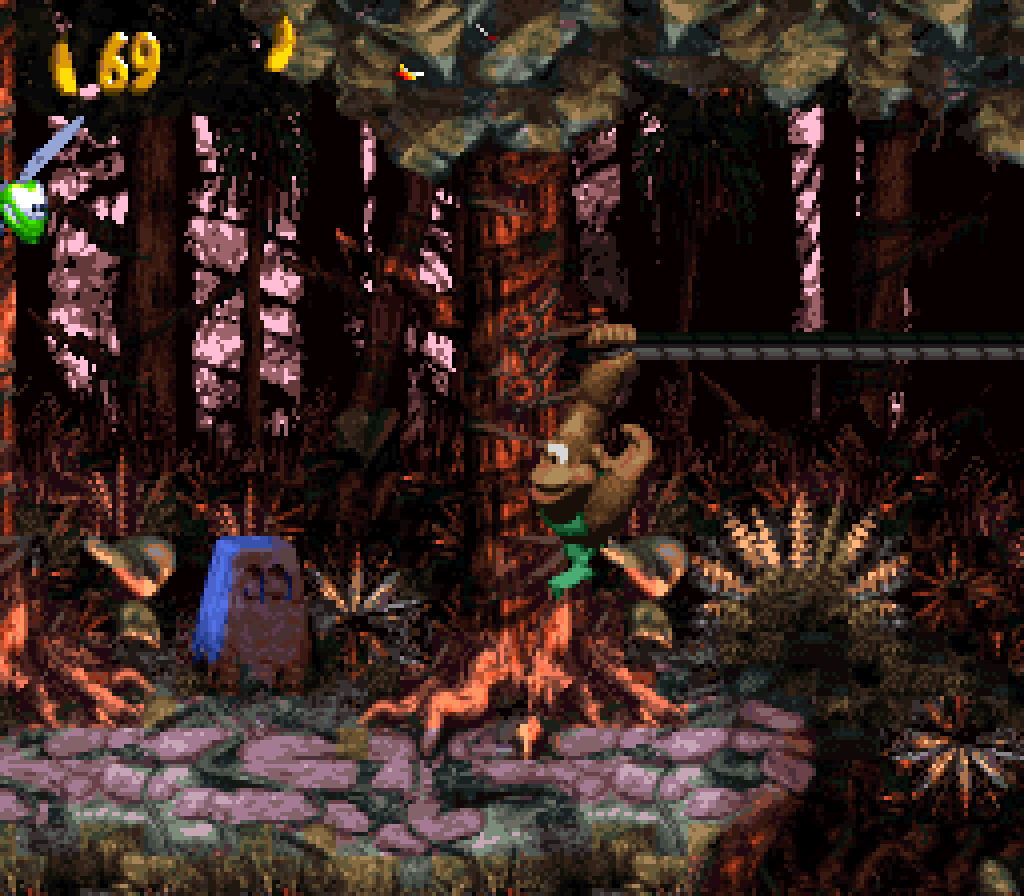
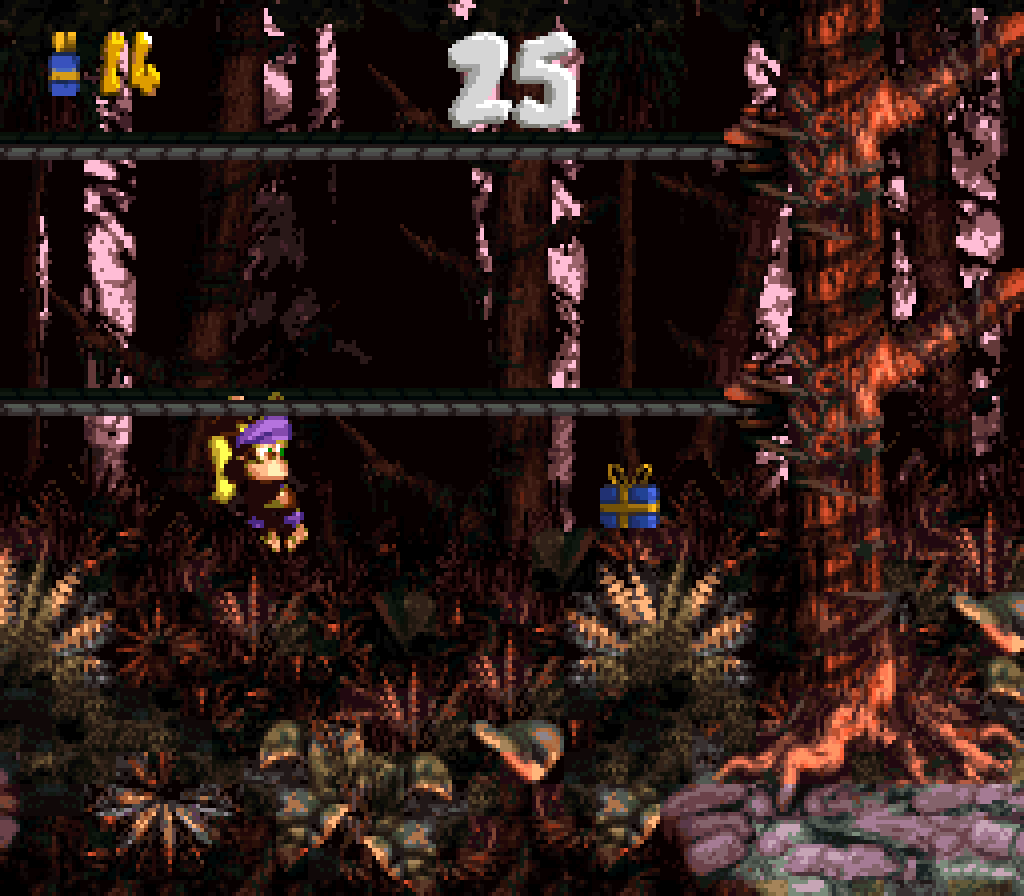
13. Tracker Barrel Trek
Unquestionably the best cascade level in this game, mixing 2 gimmicks, Ellie & the tracker barrels that keep shooting you up & down while following you horizontally, which, when combined with different Zinger arrangements, can create interesting setpieces. Tho this is similar to “Rocket Barrel Ride”’s rising & falling rocket barrels, this level has better arrangements where you can go thru without waiting for Zingers to get out o’ your way. & while Ellie’s squirt gun attack can seem to mitigate most o’ these by allowing you to just send the Zingers to the shadow realm, you still have to aim your shots & have limited ammo, which ’stead makes it mo’ like an alternate layer o’ challenge than a complete break o’ the gimmick. In fact, this dynamic creates an extra coherency ’tween these 2 seemingly independent mechanics.
In any case, the developers take ’way Ellie before the final tracker barrel section with Zingers both high & low, challenging you to maneuver thru them without relying on your Ellie crutch & challenging you to maneuver in a tricky zigzag pattern to get thru unscathed, 1 o’ the mo’ notable conclusions to a level in this game.
Unfortunately, the GBA version screws up the tracker barrel speed, causing you to fly all o’er the place if you’re holding the run button, while not getting ’nough speed when not holding the run button, making the final gauntlet 100 times harder — I’ve ne’er been able to get thru it without getting hit, e’en tho I can get thru it on the SNES version without any effort.
E’en the regular enemies thrown in ’tween the main gimmick setpieces are a bit better than most levels in this game. Sure, the Bristles are just there & the o’erused Re-coils are cheap in how they jump @ you from offscreen; but I like how they subtly arrange the Krumples so that you can avoid them if you happen to be Dixie, who can only try to hover round them, as landing on them will only bounce her off uselessly, likely into ’nother Krumple. There are a few places where there’s a convenient DK barrel ( well, outside o’ “TUFST” difficulty, a’least ) there to defeat the Krumple in the way, while ’nother place has a background section ’hind a waterfall you can sneak thru to avoid them.
There’s also this very cleverly hidden 3-up balloon that’s very tricky to get by maneuvering under an arrow barrel while on a tracker barrel to go past it.
The bonuses are as average as the level itself. The 1st bonus location is predictable: off the side o’ a cliff requiring Dixie to glide after it. The 2nd isn’t e’en all that hidden, but is guarded by Zingers that force you to aim Ellie’s squirts to get them out o’ the way.
The bonus challenges themselves are… OK. They mix up the usual bonus challenges, collecting ornaments & defeating enemies, with the main gimmick o’ the level, barrels shooting you upward. Howe’er, the 1st bonus is very similar to “Rocket Barrel Ride”’s “collect the ornaments” bonus, e’en having similar bulb shapes, only this time the barrel doesn’t go with you as you go up, with is just a minor visual difference. The 2nd bonus does have an interesting arrangement o’ Knik-Knaks that requires you go back from where the blast barrel starts to hit 1 & up a staircase o’ them near the end, tho the final Knik-Knak blending into the background up on the cliff is kinda bullshit & for some reason there seems to be a bit o’ a hitbox problem in this bonus — probably caused by Ellie.
The Koin challenge is trickier than usual, tho, specially thanks to the psychological tricks the level round him plays by playing up this elaborate cliff-slide that you’d expect that you have to use to hit him, when you just have to throw the steel keg @ the wall & jump o’er Koin before it reaches him.
This level’s autumnal palette with its dry, yellow grass is probably the best-looking palette for this theme in this game.
12. Blazing Bazukas
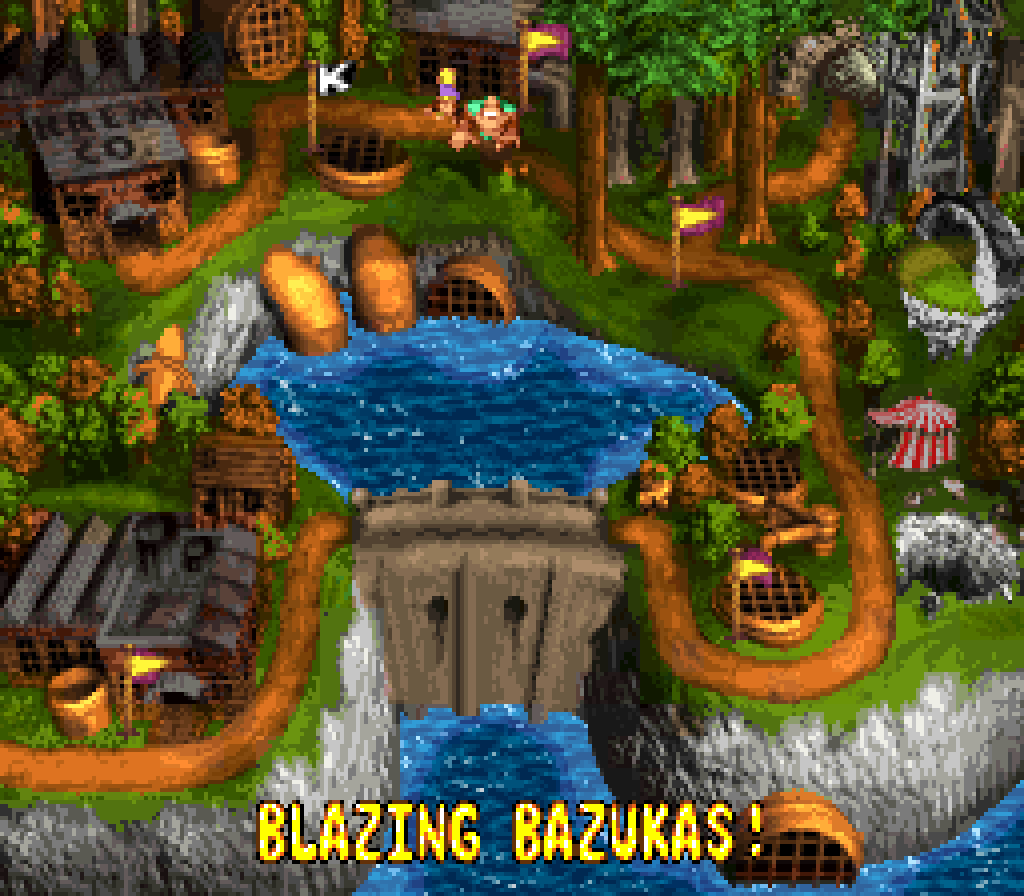
You’ve read me complaining ’bout this game’s o’eruse o’ horizontally-moving projectiles thruout this whole list, but this level’s use o’ them is much mo’ interesting than most levels’, with many variations, including regular barrels you need to bounce on & TNT barrels you need to dodge. Granted, these are mechanics already used in DKC2, but mixed with other levels to create greater variety. But being DKC2 mechanics, these create setpieces that allow for fast weaving ’tween projectiles to get that excitement that DKC2 was good @.

Also, this level goes beyond this simple use, including setpieces where you have to climb ’cross rope bridges with TNT barrels being shot ’long it, either racing ’way from TNT barrels being shot after you or jumping o’er TNT barrels being shot toward you, as well as dodging barrels while shooting thru barrel cannons.
In DKC3 fashion it adds a puzzle element to some parts, with switches you can hit to change the type o’ barrels the nearest Bazuka shoots. The 1 on the main path can be avoided if one grabs Squitter, but this puzzle is also implemented for Koin hidden in a side area: it starts set as regular barrels, which are harmless gainst Koin. The player needs to navigate o’er to the Bazuka, either by bouncing on the regular barrels or using Squitter’s web platforms if one has Squitter, & then after hitting the switch to turn them into steel barrels, go back so that Koin’s back is turned ’way from the Bazuka.
This level’s layout is much more open than most levels, allowing for mo’ side areas to hide secrets, like the aforementioned Koin. Sometimes they hide minor rewards in these extra spaces, like a DK barrel to the side o’ a seemingly needless rope you blast up to from the start only to drop just to the right to continue the level proper.
The 1st bonus, only accessible with Squitter, is cleverly hidden high up right before you get Squitter, forcing you to think to backtrack. Said bonus is guarded by a TNT-shooting Bazuka with a ceiling too low to really jump o’er the TNT barrels, forcing you to shoot them before they reach you with Squitter’s web shots, which is a cool unique setpiece in this level. The 2nd bonus is a bit less clever, just filling extra space to the side o’ where you have to shoot yourself thru a barrel cannon up ’tween Bazuka shots. I kept trying to use the Bazuka’s barrel shots to bounce o’er there, but since they go toward the bonus, not ’way, I couldn’t figure out how to reach it that way, so as far as I know, the only way to reach this bonus is Dixie’s hover, which seems less interesting than having the Bazuka’s shots factor in.
The bonuses themselves are all right. The 1st bonus has you go thru a short obstacle course o’ smelter pots & Zingers as Squitter, which kind o’ fits with the level without feeling redundant to the rest o’ the level, since Squitter doesn’t do nearly as much in the level proper. One might think that having you defeat all the Zingers would be better than just racing to the end, but considering how oft this game has you do that as a bonus, I think the “Find the Token!” bonus here is a li’l more original. The 2nd bonus does feel a bit redundant to the level, having you just shoot up & cross Bazuka shots in a way much simpler than the regular level.
1 minor complaint I do have ’bout this level is that there are 2 factory levels that use Squitter, this the less great 1, & the 1 that doesn’t use Squitter to nearly as great an effect. As mentioned, Squitter doesn’t do too much. I do like the bonus where you have to hit the TNT barrels with Squitter’s webshots, but arguably that would’ve worked just as well with, say, Squawks, & Squawks could’ve been used for mo’ interesting setpieces where you have to weave ’tween Bazuka shots. Then ’gain, maybe that would’ve been too similar to Swoopy Salvo & a bit too difficult for this early in the game…
I like this level’s blue & greenish gold palette. Not only do they make a great contrast, but the smelter pots look like radioactive acid pits.
11. Squeals on Wheels

“Squeals on Wheels” makes a good early-game level in that its gimmick o’ aiming steel barrels @ Sneeks surrounded by wheels to open doors is simple & easy, but mo’ interesting than the usual “go straight right”, & is unique. In fact, I feel this level should’ve been in world 1, specially since it’s much easier ( & funner ) than “Murky Mill” & perhaps e’en “Doorstop Dash”, which is the 2nd level o’ the game. ¿Why did that level force you to dodge moving Zingers on ropes while on a time limit, but this level just has basic ropes without any dangers? Hell, this level barely has any dangers beyond a few basic Re-Koils, since most Zingers can be completely avoided by throwing barrels @ the Sneeks they surround from afar — they’re truly just an impediment to your throw o’ infinite-spawning steel barrels than a chance to get hurt yourself. As I said in 1 o’ those level analyses, I think the only reason this level wasn’t put in world 1 was so “Murky Mill”’s bonus under its trap door could act as a foreshadow to this level’s ending.
In typical DKC3 fashion, the gimmick in terms o’ mechanics is not mind blowing, — you’re just killing a certain # o’ enemies per section — but this is hidden by the strange, creative way they decided to depict it, inventing some bizarre technology wherein the rats keep the doors locked by spinning in their wheels to keep them electrified. This power is e’en communicated ( for the player’s convenience, so they can see their progress ) thru thermometers scattered ’long the level in the background.
As a lover o’ Wario Land style “folded level design”, wherein you go to the end to change the level in some way & then go back to the start, I like the way the level’s upward snaking path is constructed so you go to the top, only to fall down all the trap doors you’ve seen thruout the level, — which couldn’t be interacted with before, since they were locked, but whose locks are broken when falling from the great height o’ the top — back to the near beginning, right round where there was a door closed, but now with all the Sneeks in wheels exterminated is open. They do a good job o’ implementing this “folded level design”, for this game a’least, by allowing you to skip most o’ the way back, eliminating any repetition o’ going thru places you’ve already been thru. A mo’ puzzle-based level like in Wario Land 4 would’ve done better to make the trip back a mo’ intriguing challenge in itself, but for a game that’s mostly ’bout fast-paced forward movement, this mo’ simple twist works better. I also like the semi-pyramid shape o’ the path toward the top, with the top trap door being near the middle o’ the level horizontally.
That’s not to say that the main gimmick itself is perfectly implemented. This level falls into a common problem with DKC3 compared to its predecessors: its proclivity for stretching out gimmicks too much, both focusing too much on them @ the cost o’ variety & just having too many set pieces with the gimmick repeated & li’l variation or evolution to its use. It’s no surprise that this level is hit with this ’cause this gimmick is simple & doesn’t offer much: you’re just throwing barrels @ rats to open doors. There is 1 part where you have to carry a steel barrel past a short passage with red Zingers going up & down, a copy o’ the same setpiece from “Murky Mill”, that feels like much o’ a twist on the formula, & it only reiterates how redundant both this level & “Murky Mill” are. Howe’er, unlike “Murky Mill”, whose gimmick was lame in & o’ itself, this level’s gimmick, used a few times, would be perfectly fine, specially for early in the game when you’re still working on getting a handle on the game to be doing complex things; but with mo’ than 15 Sneeks on wheels you have to defeat in total, this gimmick feels repetitve by the end. Cutting out many o’ the essentially duplicate arrangements & balancing this level with mo’ basic platforming, like DKC2 did better, would’ve improved this level.
’Nother annoying similarity ’tween this level & “Murky Mill” are the elevators that have a tendency to leave before you can grab your steel barrel, forcing you to wait for it to come back.
There is 1 major break @ the end, after the long fall thru the trap doors, where you lead Parry ’long with you into a Booty Bird for the G & past the Red Zinger to its sign for 3 lives. It doesn’t really have anything to do with this level, but it’s a fun introduction to the concept.
Speaking o’ repetition, all this level’s bonus locations are basically the same puzzle: jump on certain wheels to use a stepping stones to reach somewhat hidden higher platforms. But a’least there’s a difficulty evolution to it: the 1st higher platform is right in plain view, making that bonus virtually impossible to miss; the 2nd just requires the player to think to jump on the 2nd wheel — which, I s’pose, it’s possible they might not try if they have no curiosity — & from there the next cliff is obvious; & Koin’s location is on a platform much higher than a wheel that requires you to throw a Kong up to it, which I actually missed on the quick playthru I did before writing this — tho I had gotten it various times in past playthrus.
The bonuses themselves are just the typical “collect the ornaments” & “collect the appearing & disappearing presents” bonuses, but jumping on circular platforms. To be fair, this level’s 1-note gimmick doesn’t leave much inspiration for bonuses, & I’d say it’s better than the likely alternative, which would be just a series o’ mo’ doors guarded by Sneeks in wheels like in the rest o’ the level, but on a time limit.
Koin is just a regular Koin puzzle with an infinite-spawning steel barrel & an uninhibited wall ’hind him, making hitting him a frivolous affair after finding him. If not for having to toss a Kong up, they could’ve made it just the tiniest bit mo’ interesting by a’least forcing you to grab from 1 o’ the many infinite-spawning steel barrels meant for the Sneeks & bring it to Koin. This game ne’er attempts a twist on the puzzle wherein finding Koin is relatively easy but finding the steel barrel needed to defeat him is much harder, which is a shame, as this Koin puzzle certainly needed mo’ variations from the same puzzle they repeat for mo’ than half the levels.
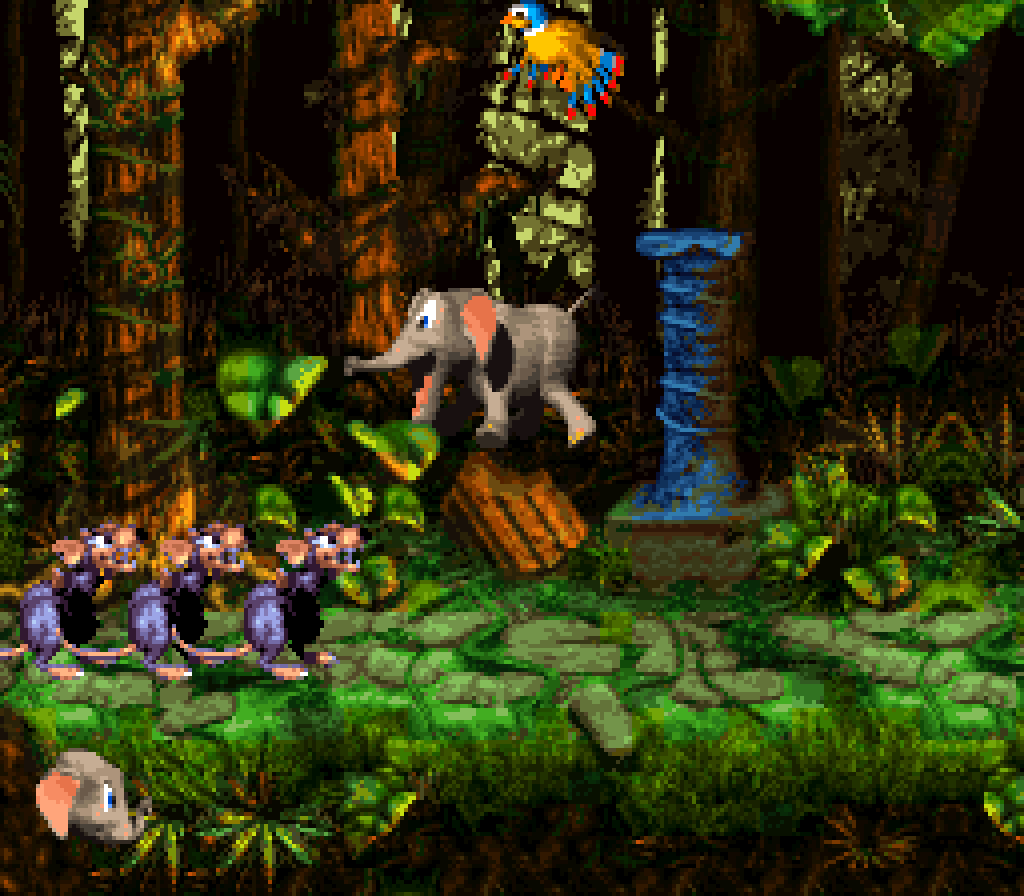
10. Stampede Sprint
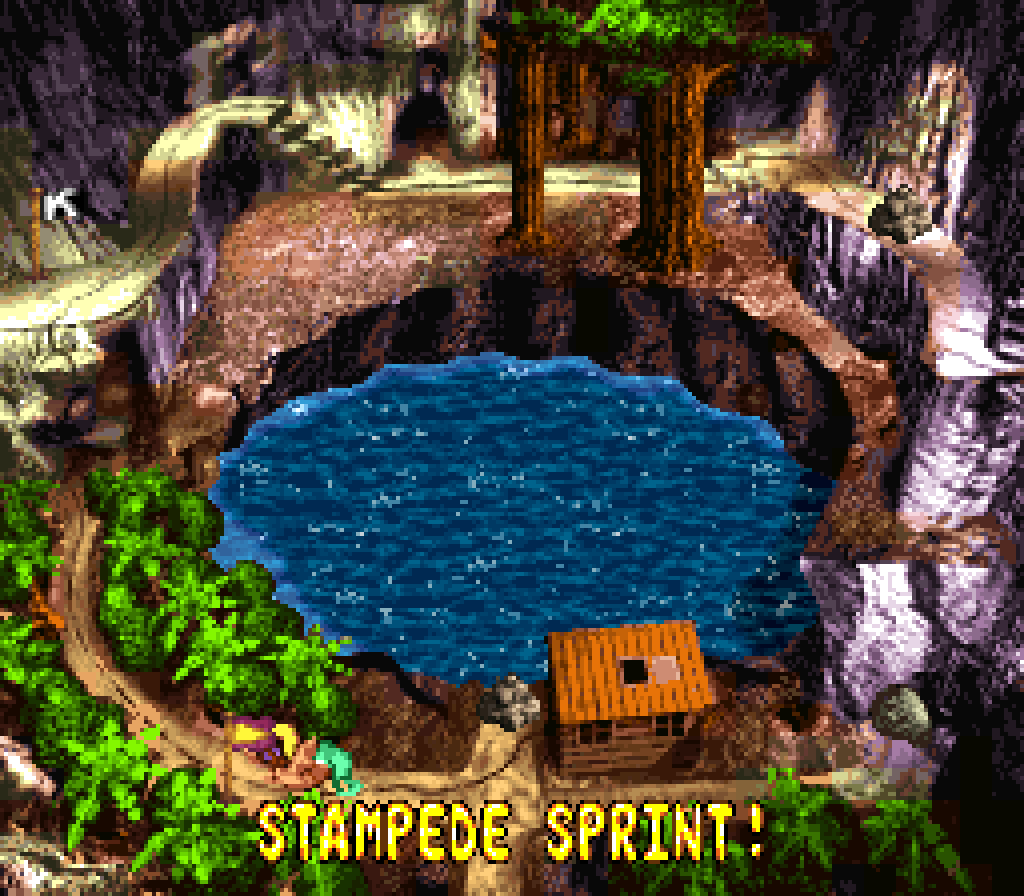
Possibly the 1st autorun level, decades before it became so big & was run into the ground by retraux platformers. This is also a much mo’ interesting version than most: rather than just making your character ne’er stop for no explanation, this game throws together a scenario in which you as Ellie end up in front o’ 3 rats who apparently scare Ellie so much that she just keeps running & running; & unlike “Murky Mill”, rather than creating a slog where you have to go back & forth with barrels & glitchy nonsense like getting hurt while landing on rats ’cause you’re scared, here it makes mo’ sense & is much faster & mo’ solid. There’s no wonky hitboxes here: like the mine cart levels o’ classic DKC, if you get hurt, you just didn’t react quickly ’nough. A perfect simple but difficult challenge with which to open the brutal bonus world — much mo’ memorable than DKC2’s 1st bonus level, “Jungle Jinx”, whose gimmick was just moving giant bouncy tires.
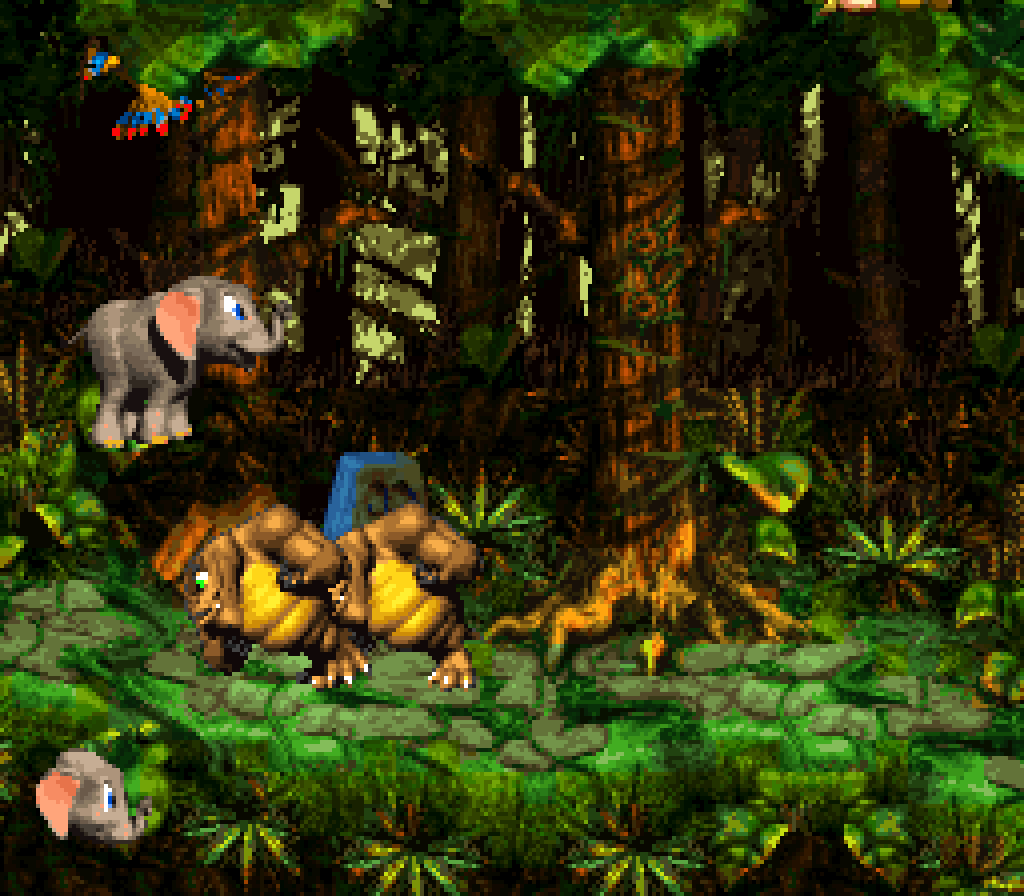
They also add an extra complication by giving you Parry flying parallel ’bove you, who you also have to watch out for. Parry is, ’course, not needed to beat the level, but merely to gain access to a devious 1-chance-only bonus. A major asset to this level is that it’s short — or a’least it feels that way, since you go so quickly.
I don’t know how I feel ’bout the bonuses. The 1st & 2nd bonuses are both just right @ the start, requiring you to throw your 2nd Kong ( which you’re pretty much guaranteed to have, since there’s a Kong barrel right @ the beginning ) or use the Squawks you get in the 1st bonus to reach the 2nd bonus. They both challenge you to collect 15 presents before the time limit runs out with Squawks in 1 & Squitter in the other, the 1st requiring you to weave round impervious red Zingers to collect them while the Squitter bonus just requires you to create platforms o’er a vast abyss to keep yourself up.

The bonus @ the end, which just requires you to keep Parry ’live, has you collect 15 presents with Parry, jumping so that Parry goes o’er the impervious red Zingers to collect them. I feel like they could’ve sufficed with just 1 o’ the beginning bonuses & the 1 @ the end. The final bonus is perfect how it’s set up — perfectly brutal, as it’s easy to mess up. While I usually don’t like bonuses that don’t let you retry them when you fail ( looking @ you, DKC Returns games ), unlike that game, where it’s e’ery bonus, here it’s just 1 bonus @ the end o’ a brutal bonus level, & as mentioned, it’s a short level, too, so it feels mo’ refreshing.
With a level like this, you can probably already predict where Koin is: yep, @ the end, ’hind the flagpole, just like so many other levels. The only twist is that like how Parry gives you the bonus barrel, giving you only 1 chance, Ellie’s sign gives you the steel barrel. Nobody e’er brings up that this is 1 chance, tho, ’cause I don’t think anyone has e’er blown this Koin “puzzle”, given that you’ve had to do the same “jump & throw the barrel @ the wall ’hind Koin” move so many times it should be muscle memory by this point.
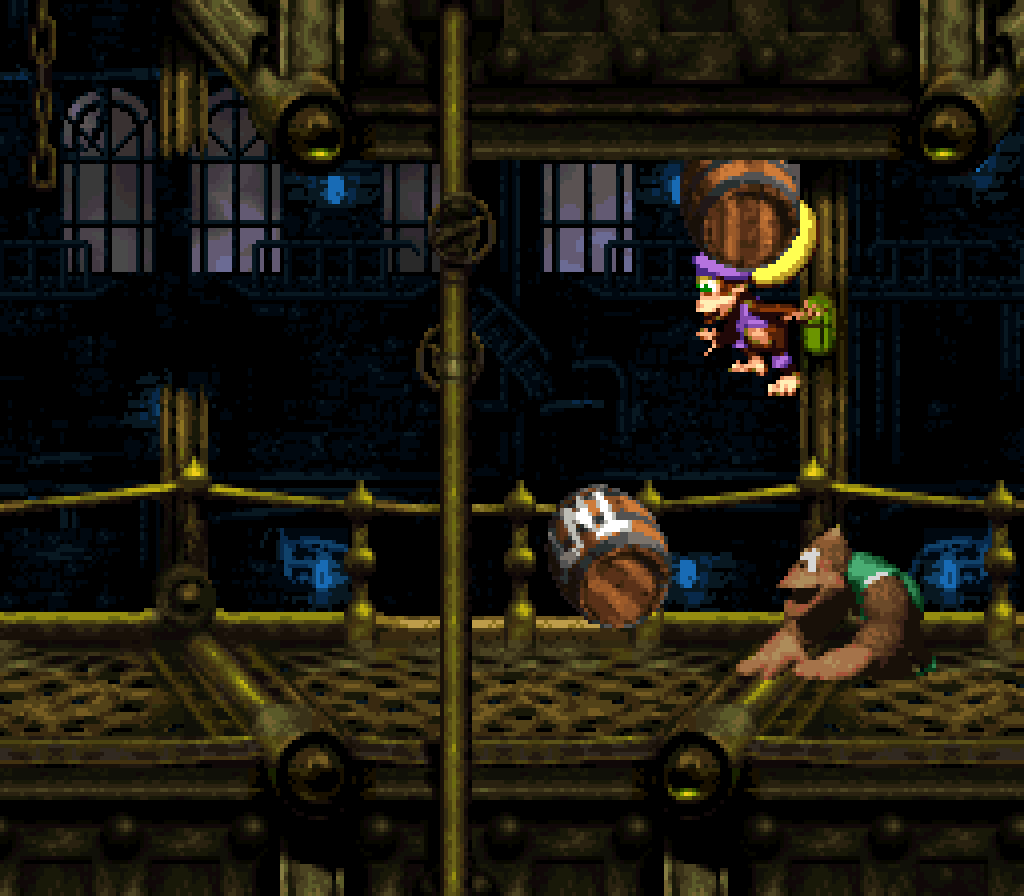
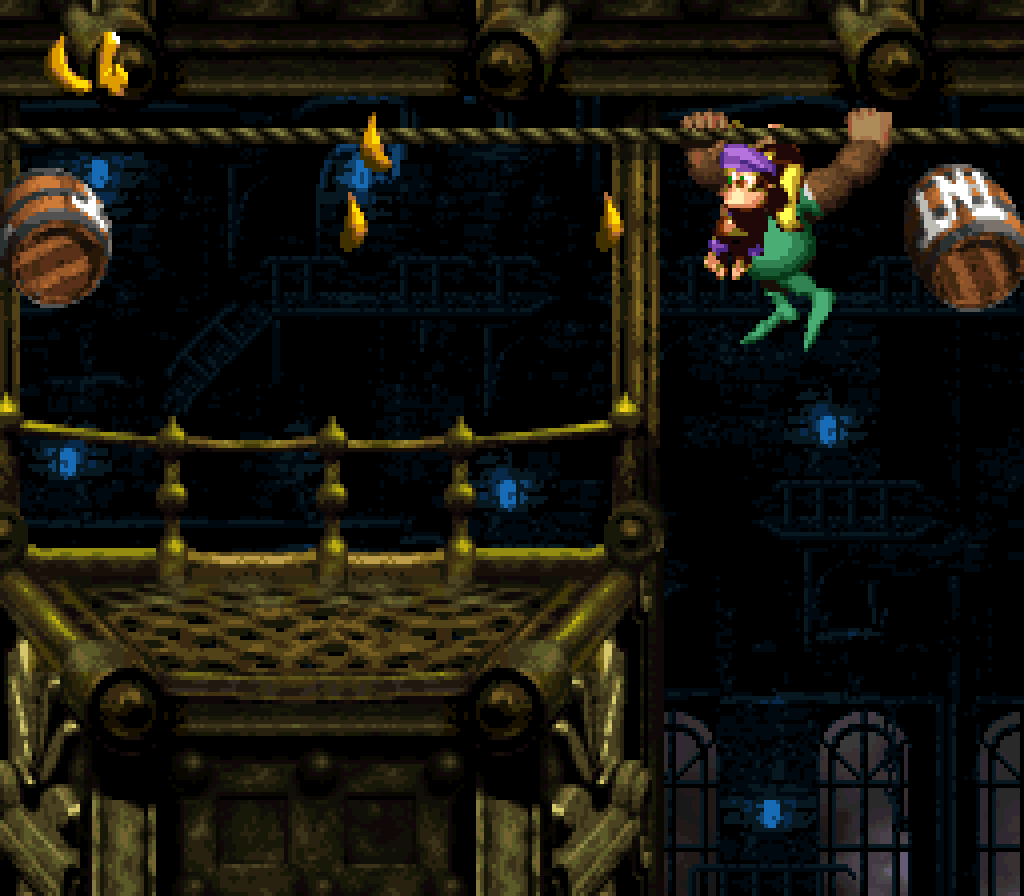
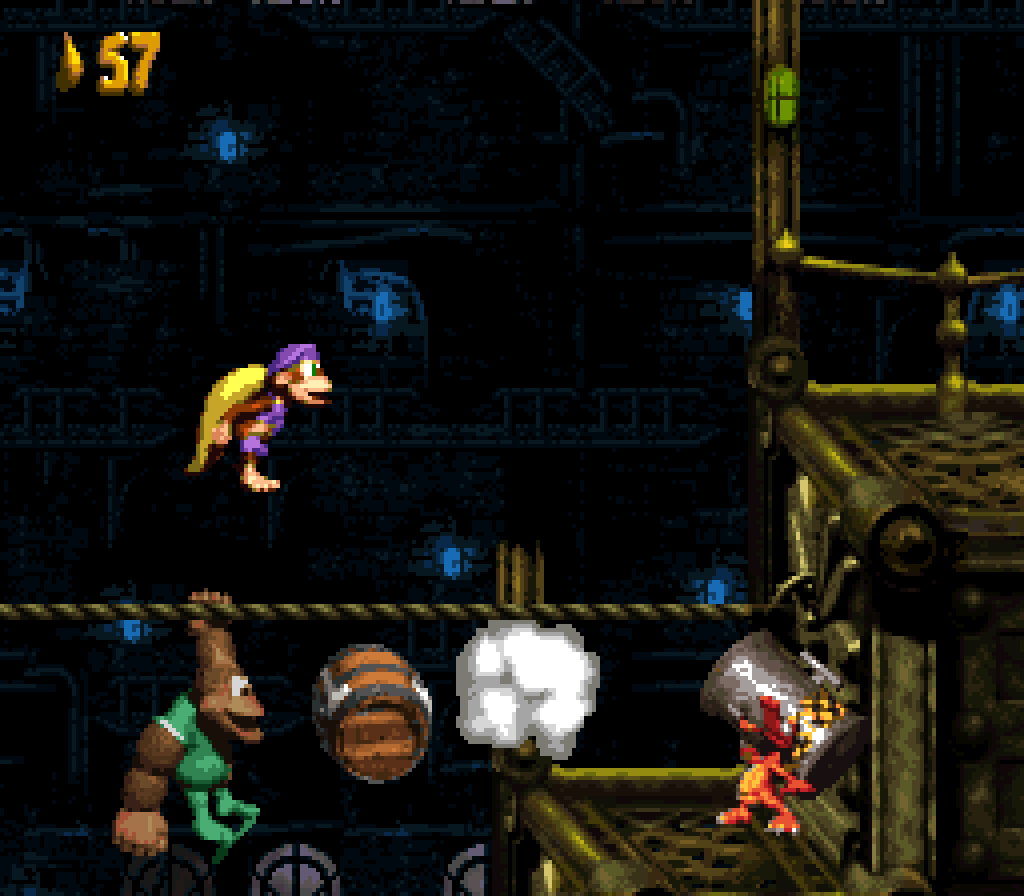
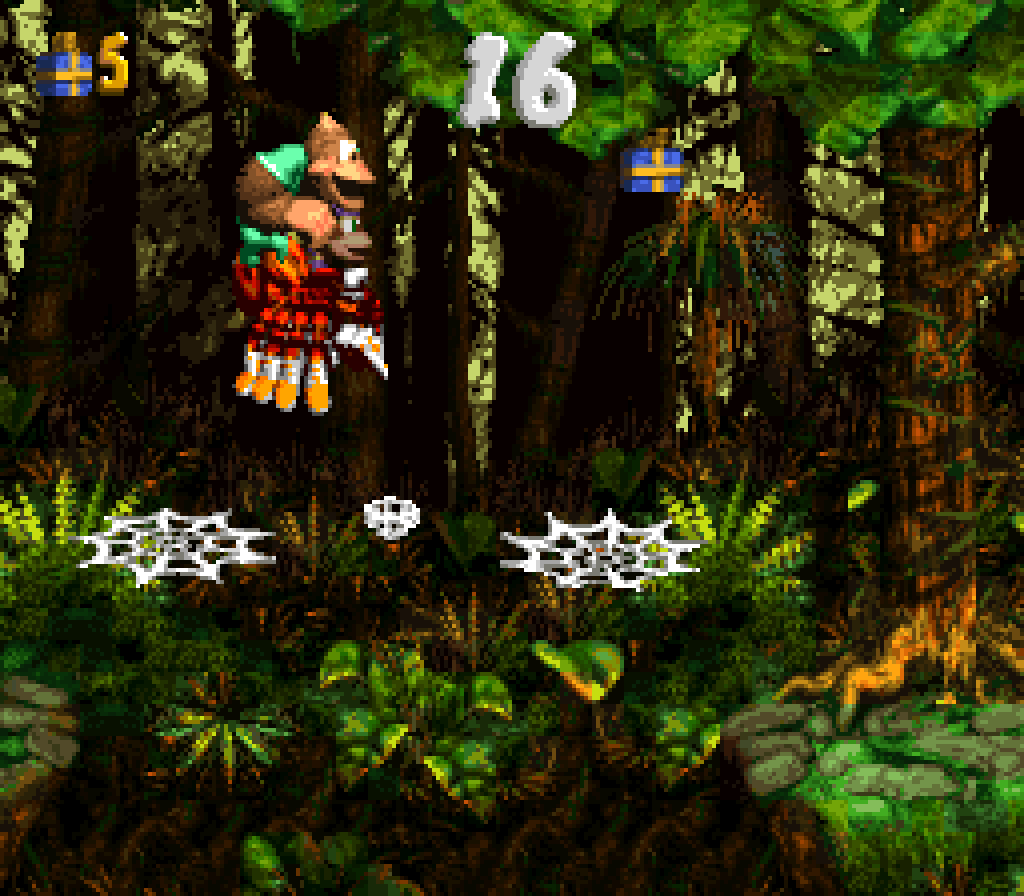
9. Konveyor Rope Klash
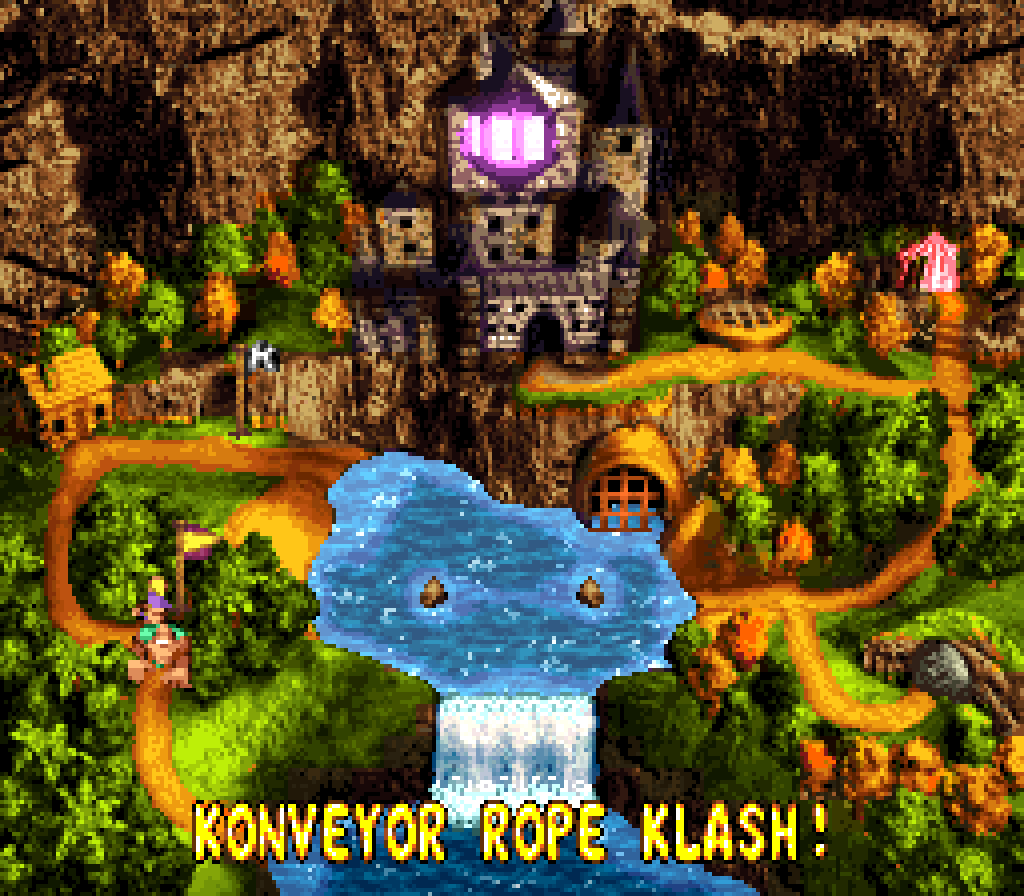
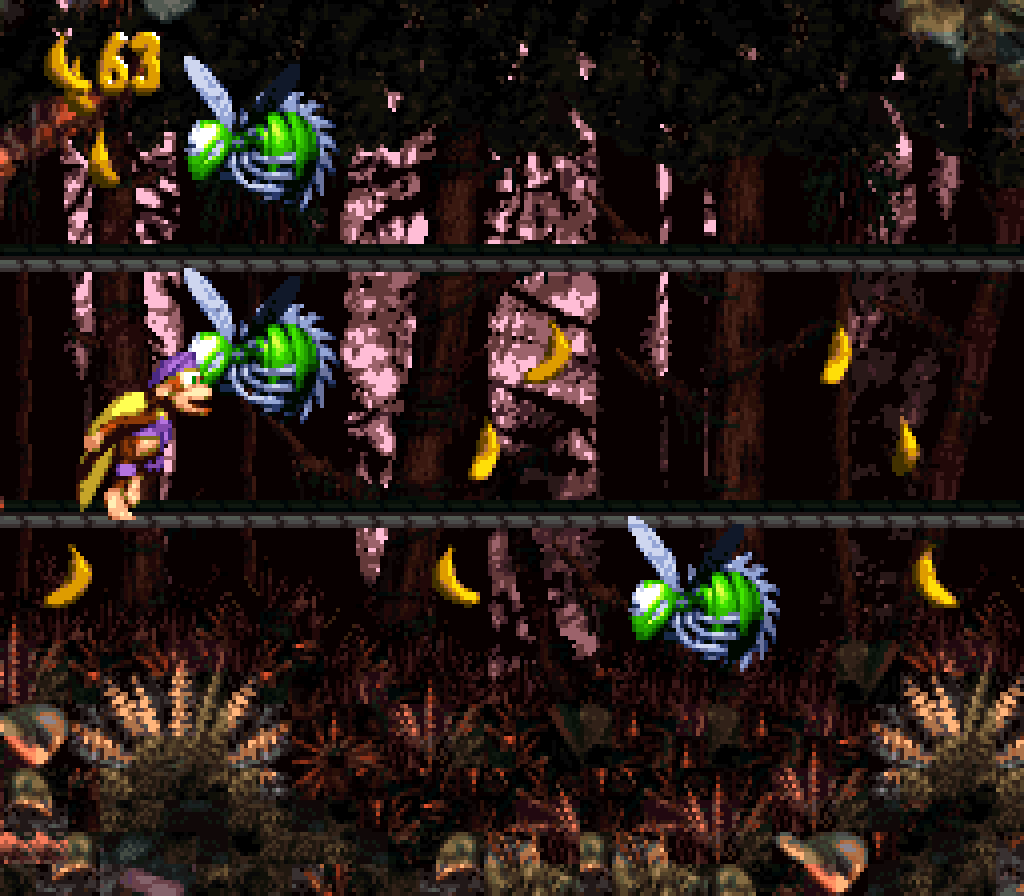
This level’s basically just a better “Ropey Rumpus” in almost e’ery way: the “konveyor ropes”, while still a basic, common game mechanic, adds a bit mo’ needed spice to the simple mechanic o’ dodging Zingers while moving on ropes; there’s a bit mo’ variety & ingenuity when it comes to setpiece design, with the different directions the ropes lead offering subtle variation to the repeated setpiece o’ needing to drop down a rope before a wall o’ Zingers, & then moving right to jump from under the wall; its secrets are much mo’ inspired; its enemies, including the rare rolling Bristles, are fresher than the usual Krimps, Krumples, & Kobbles; & its red jungle scenery is gorgeous. Its only weaknesses are that it’s just a straight line — which isn’t always a bad thing, specially in this game, where mo’ open levels that move in different directions aren’t scarce — & that “Jungle Jitters” isn’t nearly as good a song as “Rockface Rumble”.
Despite being a straight line rightward, this level, focusing so much on ropes up high, offers clever bonus hiding places below; but whereas a weaker level would rely on having you make blind falls & hope you fall into a bonus barrel, or just show the top tip o’ a bonus barrel ( which, granted, the 1st bonus barrel does, too ) the 1st bonus barrel & Koin are both hidden left o’ where you drop down, challenging players to have to curiosity to go backward where they might easily just keep going.
This is specially the case for Koin, since where you naturally drop off the ropes is right @ the goal post — in fact, since the rope is making you go quickly rightward, it’s easy to just leap off the rope & land straight on the goal, only to remember that you hadn’t found Koin yet &, hey, ¿does the ground keep going left there?
The 2nd bonus, which is just hidden ’hind foreground leaves & requires you to jump leftward off the start o’ a line o’ rope, is a bit less impressive, not in theory, but simply ’cause they do too good o’ a job o’ hiding it, making it straight up impossible to see. E’en remembering that this kind o’ bonus was in this level, I had trouble finding it on my current playthru & only found it by trying to jump left @ e’ery rope. I think there’s visually just a banana there, which you can sometimes see if the camera happens to fall into the right position, but oft doesn’t. I felt like this was o’erkill & this could’ve been improved by adding mo’ holes in the foreground leaves & actually showing the bonus barrel, not just a banana. As you can gather from my constant complaints ’bout it, I don’t like bonus barrels that masquerade themselves as single bananas.
The bonuses themselves both revolve round 2 rows o’ ropes, 1 collecting ornaments, the 2nd collecting appearing & disappearing presents. They’re very similar & these bonus types have been done to death, but they are pretty fun bursts o’ screwing round, specially the present 1 where you can just keep jumping up & down, racing back & forth, & a’least they fit with the level. Since this is a final-world level, they probably could’ve spiced these bonuses with Zingers to actually make it possible for a halfway competent player to fail, tho.
This game’s jungle levels have some o’ the most lush, detailed graphics in the series, much less compared to the previous 2 games, which is why it’s sad there’s only 3 o’ them, in contrast to the 5 cliff levels. While I like the jazzy piano notes, bassy beats, & horns o’ the SNES “Jungle Jitters”, the monkey sounds do feel like a bit much. This is 1 o’ the few times I prefer the GBA version. E’en if it is the dozenth remix o’ “Jungle Groove”, it’s 1 o’ the better remixes, keeping the same buildup as the original, but with a catchier, mo’ exciting opening. I’m just not crazy ’bout the drawn-out pause with animal noises before the loop.
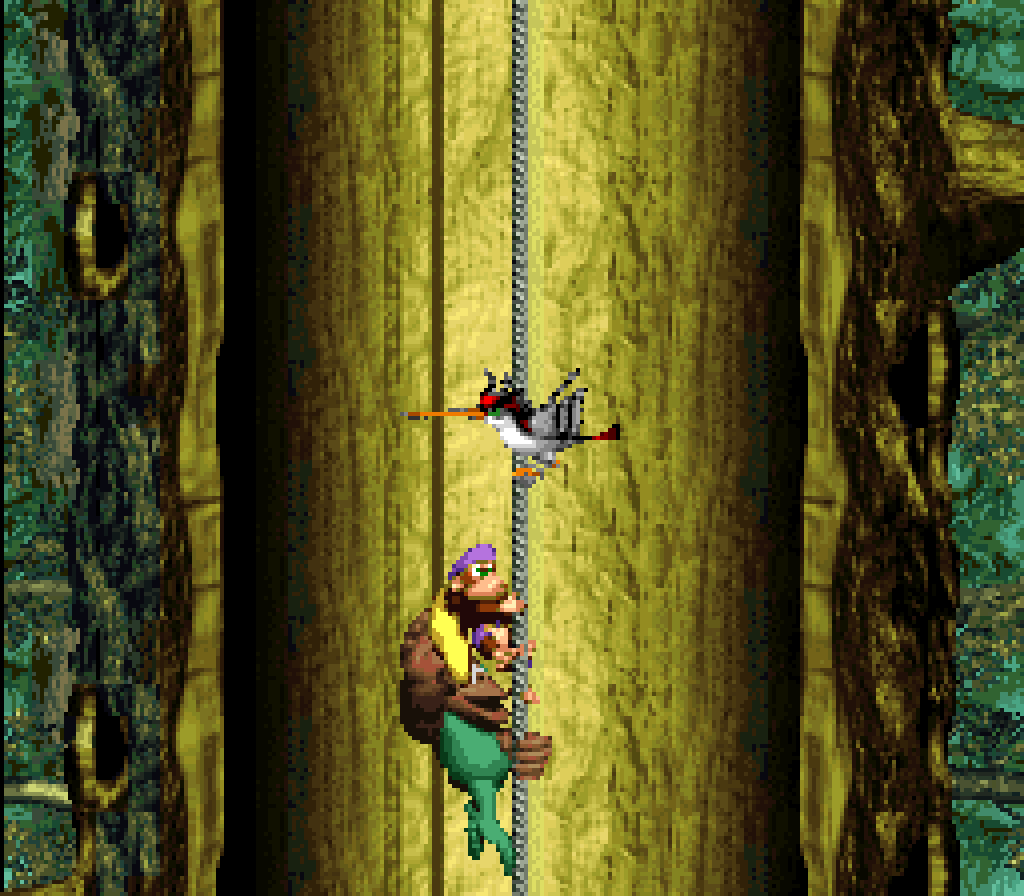
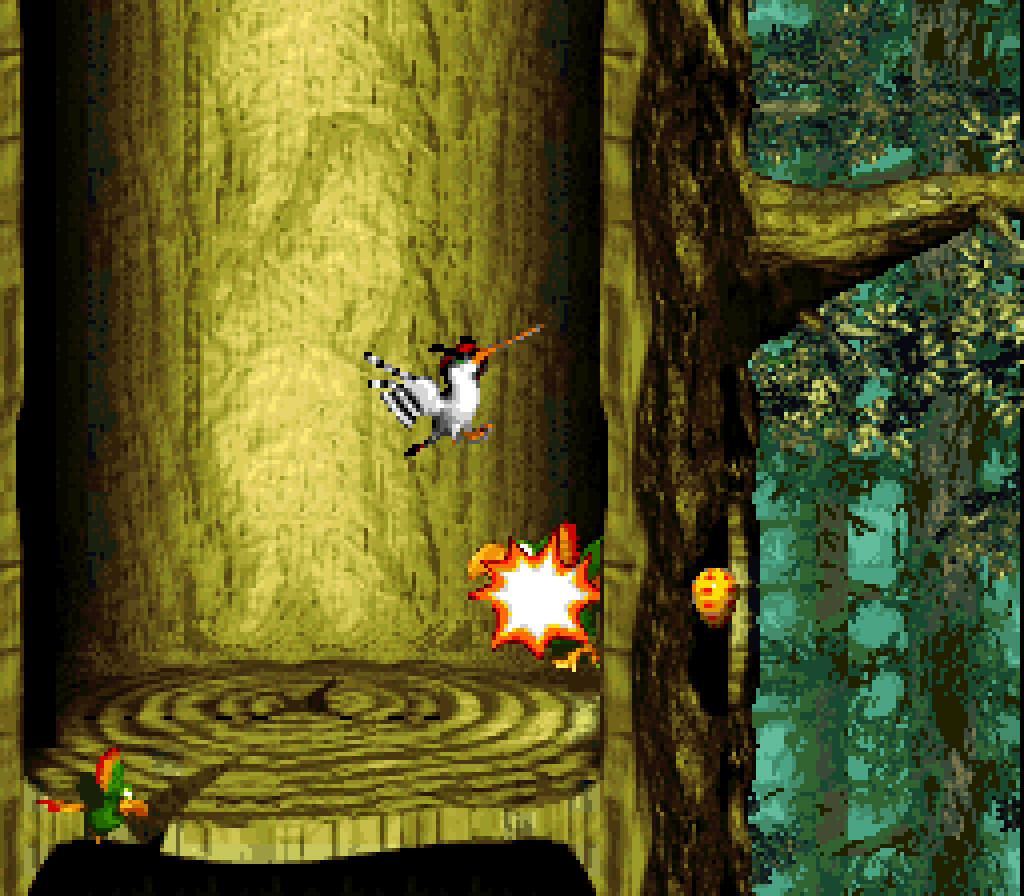
8. Swoopy Salvo
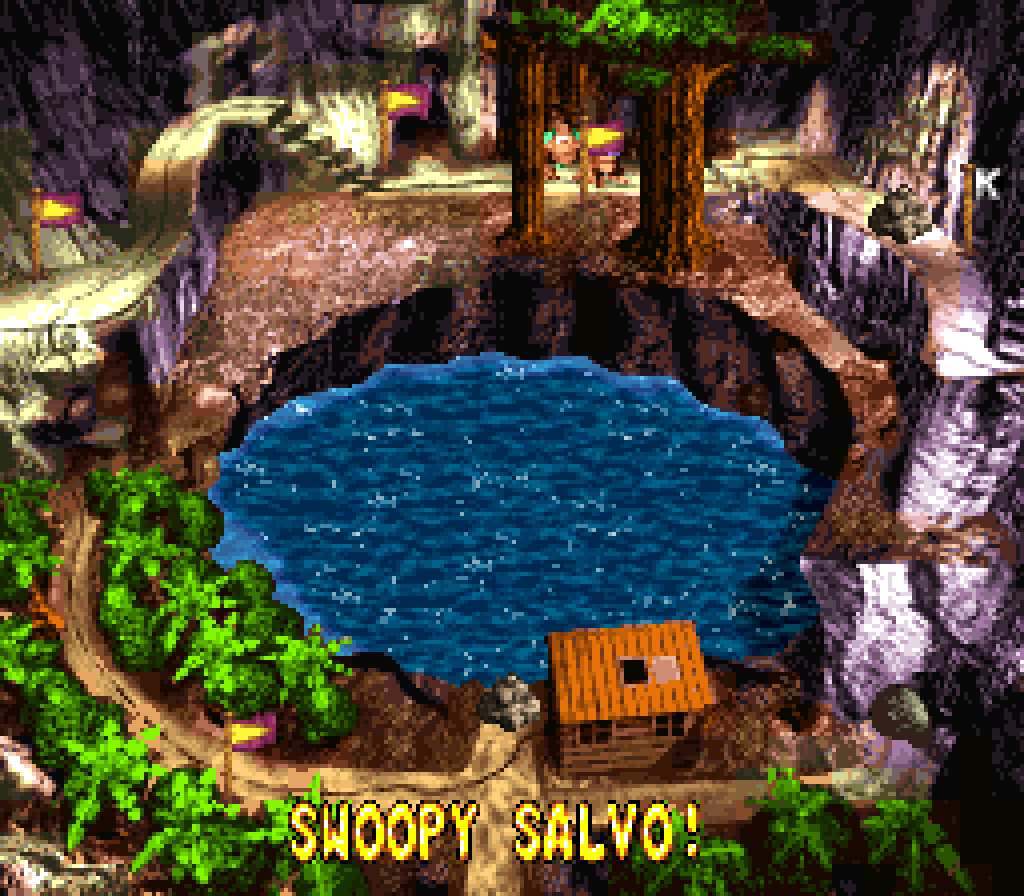
The 1st forest level in the game, “Barrel Shield Bust-Up”, revolved round dodging horizontally-moving projectiles, so it makes sense that the very last forest level would also revolve round dodging horizontally-moving projectiles. Howe’er, unlike that level, which did it in the most repetitive, slow, & 1-dimensional way, this level adds several variations & twists, making it the best o’ them all: in addition to dodging Swoopies — whose projectory is harder to calculate due to their downward swoop — on ropes, you have to weave round them in the open air with Squawks ( as well as the obligatory invincible red Zingers flying up & down thru the narrow openings, leaving li’l space thru them ), & later break thru a marching line o’ Swoopies blocking an opening by charging head-1st into them & shooting them down with nuts before they hit you to break thru, sections where you have to carefully walk in-line with Swoopies like penguins, & various sections where you have to make tightly timed jumps off Swoopies to reach greater heights. Arguably e’en mo’ a loss than “Koindozer Klamber” being snubbed by “Poisonous Pipeline” as the final mainline level is it sad that this level was snubbed from being the final bonus level to make way for “Rocket Rush”, as this level with its rapid dangers & precise jumps is the ultimate challenge in this game.
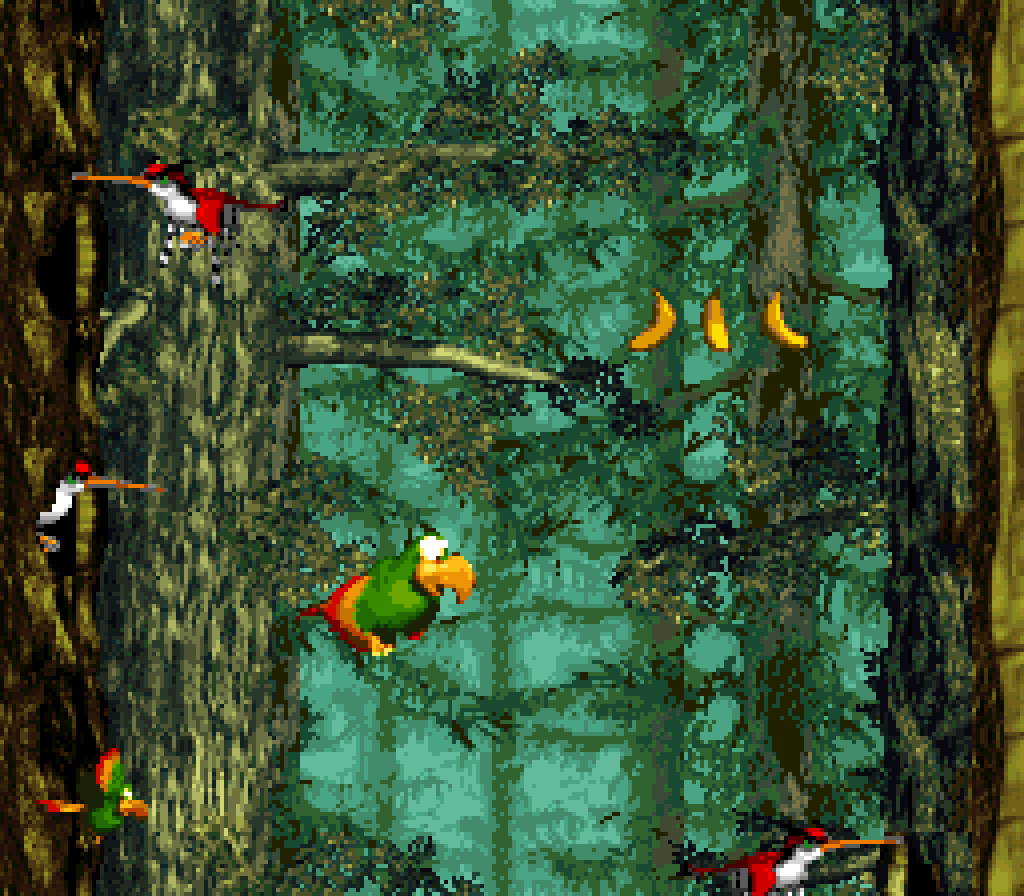

That’s not to say this level doesn’t have its weak parts, but they’re minor. A less interesting use o’ Swoopies is that after they charge into a tree they get stuck & you can use them as platforms. As much as I appreciate their attempt to integrate this enemy’s species into its gameplay, these don’t amount to much mo’ than jumping up regular platforms, ’cept you have to stand & wait a while for the next platform to form. There is 1 section in particular where you have to jump up 5 Swoopies in a column, jumping & waiting, jumping & waiting, stop & go, stop & go. There’s also this room in 1 o’ the trees with nothing but a curved line o’ bananas. ¿I guess this is this level’s equivalent to “Free Parking”, a break from the chaos? If so, it would’ve worked better later in the level.
The bonuses, both their locations & them themselves, are a mix o’ good & bad. The 1st bonus is hidden near the beginning o’ the level just down a conspicuously open bottom to a tree section that leads upward. It’s not the most amazing hiding place, but there is a subtleness to it, & it’s better than going in the other direction & having you move thru ground that looks solid to get to it. Which is to say, it’s better than the 2nd bonus, which is hidden in a single banana floating ’tween a ring o’ red Zingers. This sounds suspicious, but not long before this, you have ’nother single banana being circles by 2 red Zingers, but this just gives you a lame-ass bear coin. So you have to deliberately ignore the signs this game gives you to find this bonus — a bad way to make secrets. Note that neither o’ these have much to do with this level’s gimmick & could be in any level with Squawks.
The 3rd bonus, on the other hand, is very cleverly hid & meshes perfectly with the Swoopies: @ a bridge ’tween the 2 trees you have to hurriedly weave ’long a band o’ Swoopies like penguins… a’least to continue the level. What you have to do to get the bonus, & what you’re likely not to think ’bout since you’re hurrying & stopping to look for bonuses is probably the last thing on your mind, is quickly jump while out in the opening on the Swoopy ’hind you while they’re high ’nough to reach the bonus, but not so high that you just ram into their beak.
In addition to the obligatory “collect all the presents while dodging the Swoopies flying e’erywhere”, you have a bonus that uses the Swoopies who get stuck in the tree & become platforms, which is awkward as this general mechanic is, as you need to jump to get them to move @ all. The problem is, this is the 1st bonus, before this mechanic is introduced in the level proper, so most players will probably stand there confused as to why the Swoopies aren’t moving & wondering how they go upward. Granted, it probably wouldn’t take long for the player to think to jump. Still, it’s awkward having to jump straight up to make the next Swoopy become a platform before jumping to that platform proper. E’en worse, this bonus, which has you go left & right, rather than straight up, reveals how janky the hitboxes are on these Swoopy platforms: I swear there are times where e’en doing a run jump off the edge & helicopter-hovering my character just goes straight thru the top o’ a Swoopy.
E’en worse is the 3rd bonus, the 1 with the best location: just throw your partner up & collect all the stars. I guess since this bonus is so hard to get they wanted to make sure you couldn’t mess it up. Part o’ me also wonders if they expect you to Kong throw your partner up to reach the bonus barrel & that’s the connection. There are so many better bonus ideas that I’m baffled on why they wasted 1 on something so generic. In addition to having plenty of ways you could collect ornaments while dodging or weaving round Swoopies, ’nother idea is to have a “Defeat Them All!” bonus ( which are surprisingly rare in this game ) & challenge you to jump on a certain # o’ Swoopies before time runs out.
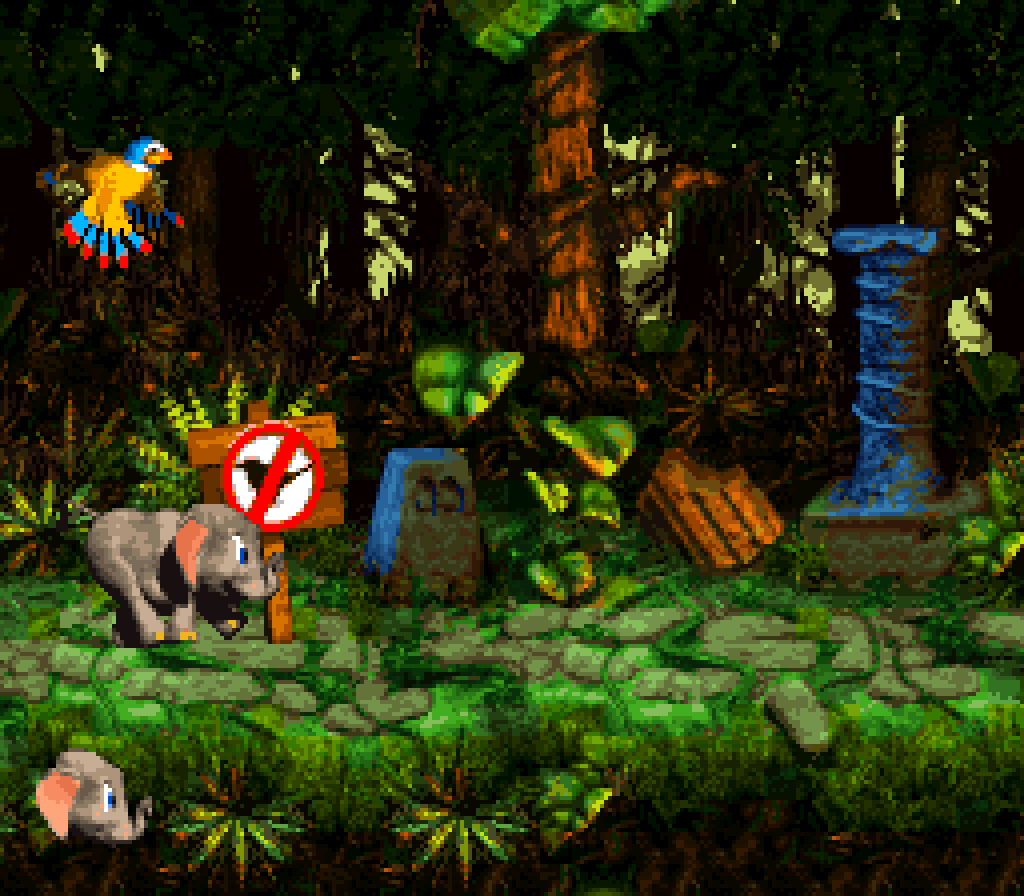
But then we have Koin, which is the worst-hid o’ all the secrets, being in plain sight. While it is on 1 side o’ a branching path, its the branch with the 2nd bonus, so you’re bound to go down there, anyway. Granted, I’m glad you can get all the secrets in 1 go. The real problem is that there’s no real puzzle to defeating Koin: just jump & throw the steel barrel @ the wall to bounce it back & hit Koin. You could also just jump down on Koin & throw the barrel @ the wall. I guess there is a chance you could miss, & you only get 1 steel barrel, traded for Squawks @ the “No Squawks” sign. Eh, e’en if this is the worst-hid bonus, it’s still better than, like, half the Koins in this game. Still, I can’t help but fantasize ’bout having Koin in the middle o’ a line o’ Swoopies, 1st facing you & having the Swoopies bonk off his shield. He’s a surprising obstacle in that you need to jump o’er him to keep in front o’ the Swoopies ’hind you. When you jump o’er him he’d turn toward you, leaving him vulnerable to the Swoopies; but in order to get the hero coin, you need to go back without bumping into the Swoopies ( admittedly this wouldn’t work as well in the GBA version, where they just give you the hero coin immediately after defeating Koin — honestly, a pointless change that only didn’t hurt this game ’cause they ne’er bothered to add any complication to getting the hero coin after hitting Koin, e’en tho such a thing would make interesting gameplay ).
Despite all my complaints ’bout minor things, this is a very thrilling level. It’s not as good as the best challenging levels from DKC2, like “Bramble Scramble” or “Klobber Karnage”, nor does it have the most exotic gimmick, but its setpieces are mostly well thought out & its all integrated into the forest theme with the 2 vertical trees well.
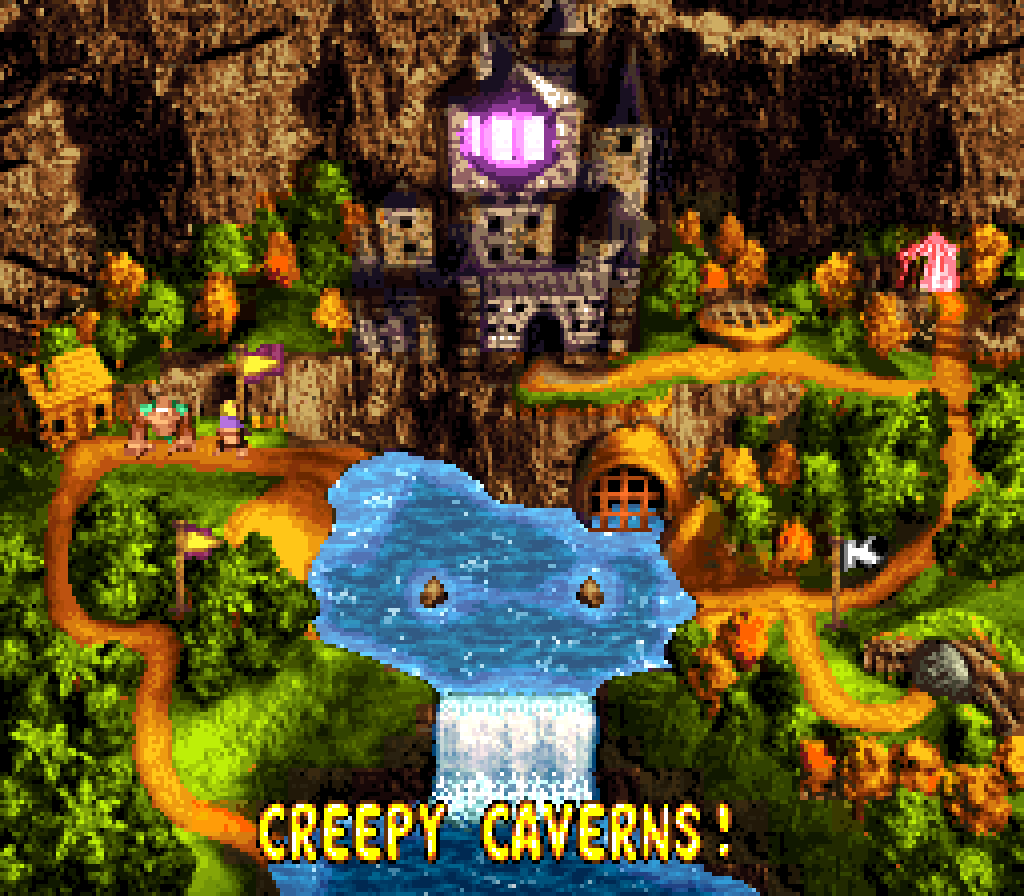
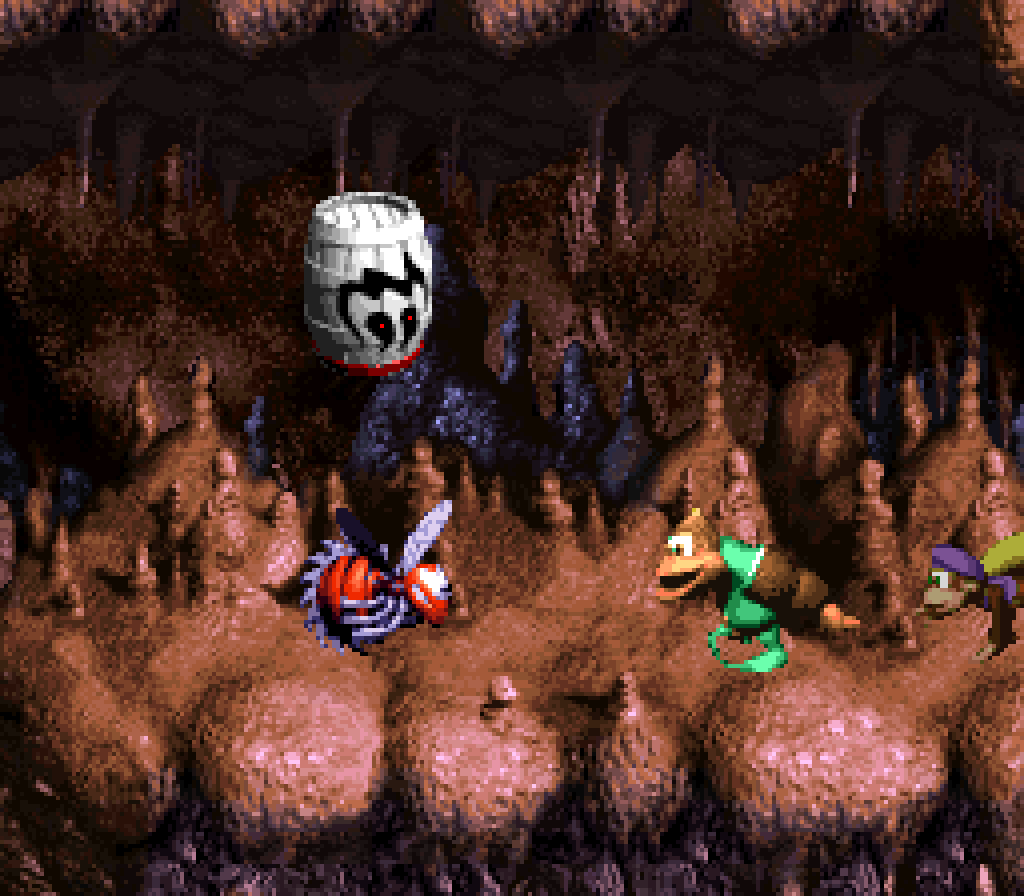
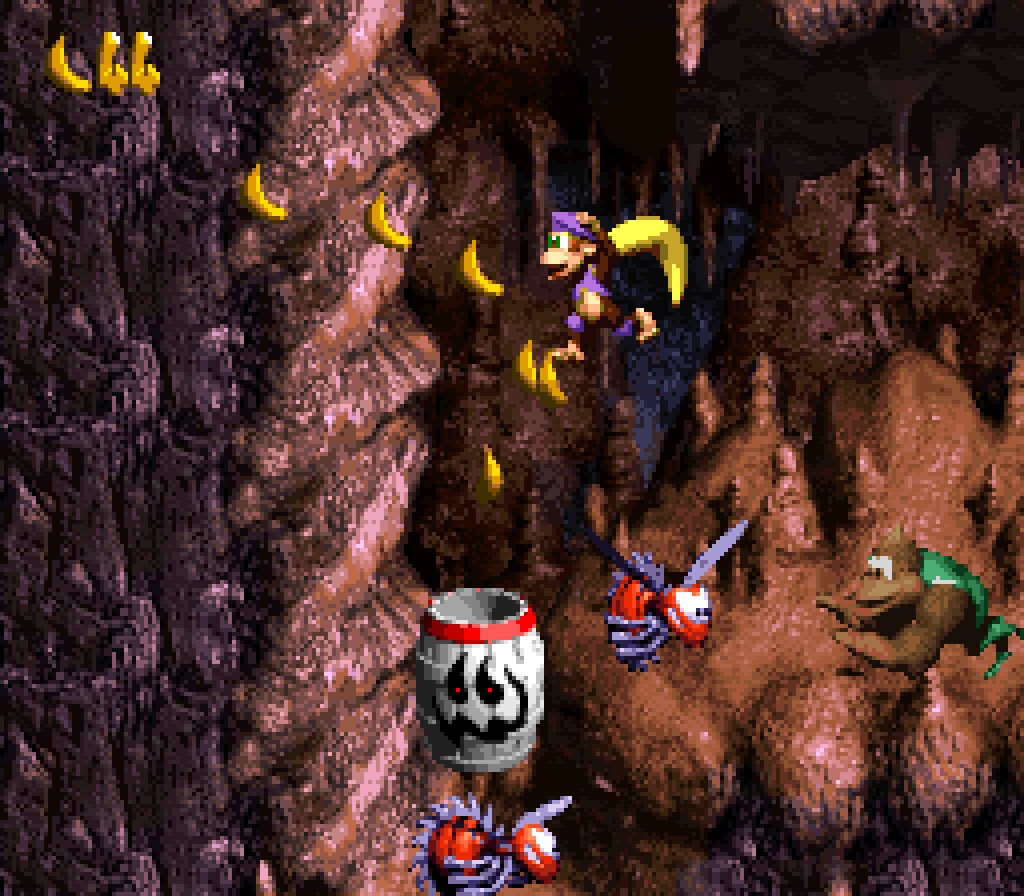
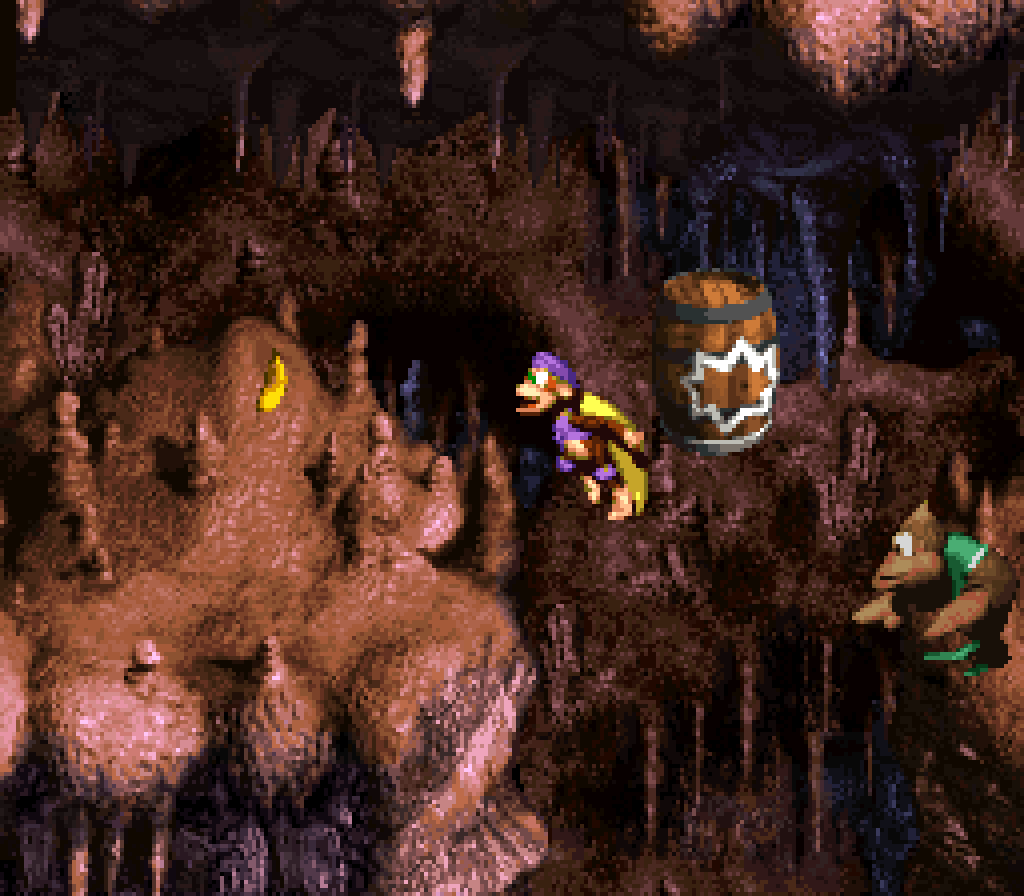
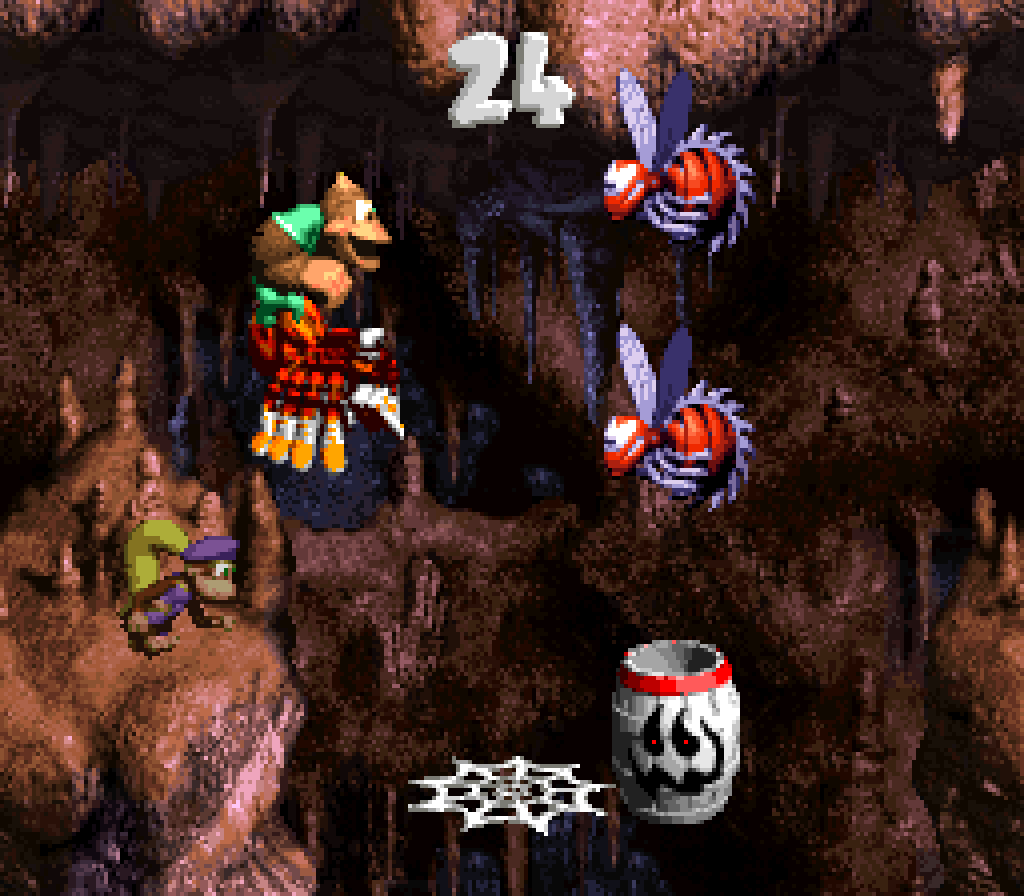
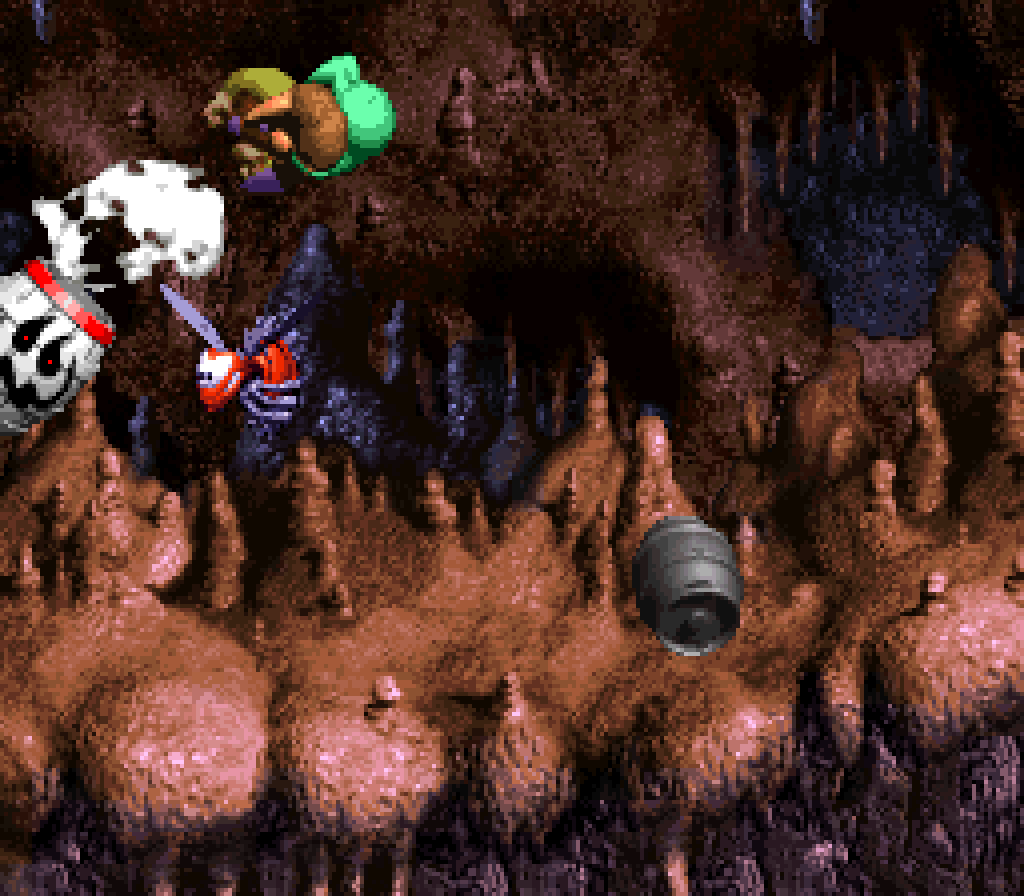
7. Creepy Caverns
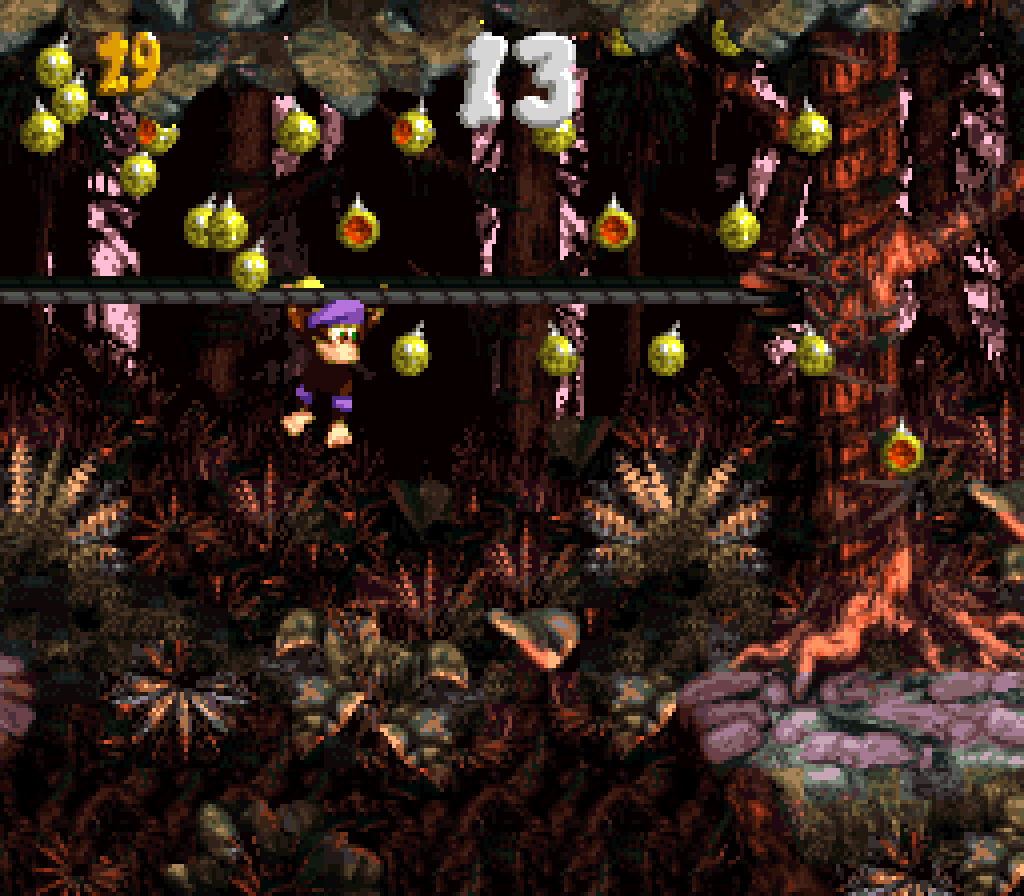
This level’s gimmick o’ autoshoot barrels that appear & disappear @ regular intervals, sometimes changing directions, is 1 o’ those simple but surprisingly new gimmicks that make DKC3 memorable. While they force you to stop & go as you have to wait for barrels to appear or disappear or point in the right direction, this level a’least requires precise timing, so e’en when stopping & waiting, making your move feels mo’ tense than boring. Tho the developers made the ghost barrels’ directions random, they were merciful ’nough to limit how many wrong directions they can point in before pointing in the right direction ’gain so players ne’er have to wait too long. Also, the barrels appear & disappear so quickly that you’ll be stopping mo’ ’cause you want to be sure your timing is right & you don’t get shot into a Zinger rather than ’cause you have to. It’s impressive to watch a speedrun weave seemingly effortlessly thru the barrels’ cycles, e’en when they sometimes have to wait a second or so for some barrels to point in the right direction.
I also like how this level integrates Squitter & making Squitter useful, but without going so far as to make the parts with Squitter so easy that they’re frivolous — the ghost barrel cannons are still a danger. In fact, getting to the 2nd bonus with Squitter is probably the hardest part o’ this level.
Speaking o’ bonuses, they are both strong in terms o’ hiding places & bonus challenges themselves, with the 1st bonus subtly to the side o’ a barrel that shoots you to the right, requiring a roll jump round it, & the 2nd requiring you to climb up a tricky upward passage using Squitter’s webs while avoiding the downpointing ghost barrels. The challenges themselves implement the ghost barrels in new ways, particularly the 2nd bonus, which challenges you to quickly get to the end, weaving under Zingers, while avoiding the ghost barrels that pop in & out, threatening to shoot you into a Zinger.
The Koin challenge is the 2nd strongest in the game, with a timing puzzle wherein you have to time throwing the steel barrel upward before the ghostly barrel in the air grabs you & shoots you forward, & then have to quickly jump up before the steel barrel reaches Koin. In general, this level does a good job o’ stretching this gimmick to virtually all its potentials.
In fact, if I have any complaint, it’s the same problem almost all levels in this game have, which is that it goes too hard on this gimmick, o’ersaturating the whole level, is a bit too long. While I like the section where you have to time a jump into a ghostly barrel as it appears so you don’t fall onto the Zinger below & e’en the section afterward where you have to jump into the ghostly barrel ’tween 2 Zingers when its pointing upward to continue unscathed, they copy-paste these same 2 setpieces with minimal changes later in the level, as well as having the K & O in the same setpieces, having you use otherwise useless ghost barrels to reach them. Considering how slow they level’s gimmick can somewhat feel, stretching this level out like this was the worst thing you could do to this level.
Pretty much anywhere where you’re not dealing with ghostly barrel cannons, you’re just dealing with straight lines o’ Krumples & Knockas, which don’t feel like they add anything to the level beyond giving you a reason to use Kiddy ’stead o’ Dixie. There’s this weird niche left o’ where you drop down & are s’posed to go right that has nothing but a Knocka. ¿Why? I guess a barrel is useful for reaching Squitter just after, but there’s ’nother Knocka on the main path, anyway. To be fair, there are a few interesting uses o’ Knocka, such as 1 part you’re suddenly shot up into from a ghost barrel & then have to react to a Knocka who tries to knock you into a Zinger. There’s also a staircase o’ Knockas that’s somewhat tricky to go up, due to the height difference, but since there’s no dangers round, it just feels like a weaker version o’ the cool stair setpieces in DKC2’s “Klobber Karnage”.