

27. Reptile Rumble
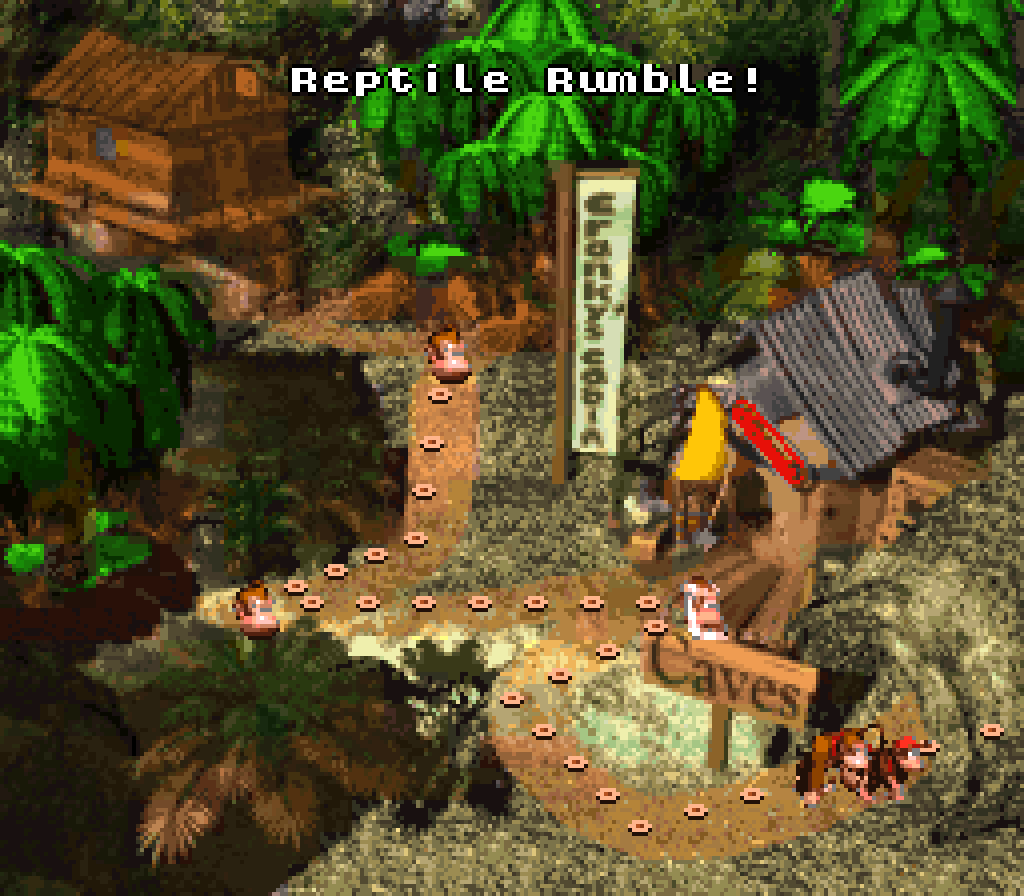
“Reptile Rumble” is a deceptively simple level, thanks to its focus on the obvious mechanic o’ hopping Kritters — basically hopping Paratroopas that go all the way back to the 1st Super Mario Bros. Howe’er, this level uses them with a subtle challenge evolution, starting you with fighting them going down-steps, with a height advantage, while forcing you to go thru them while going up-steps, where they have the height advantage, @ the end. This mechanic, too simple to deserve its own level, is broken up with simple Zinger dodging, as well as the introduction o’ Slippa, who is basically just an e’en faster, smaller Gnawty. 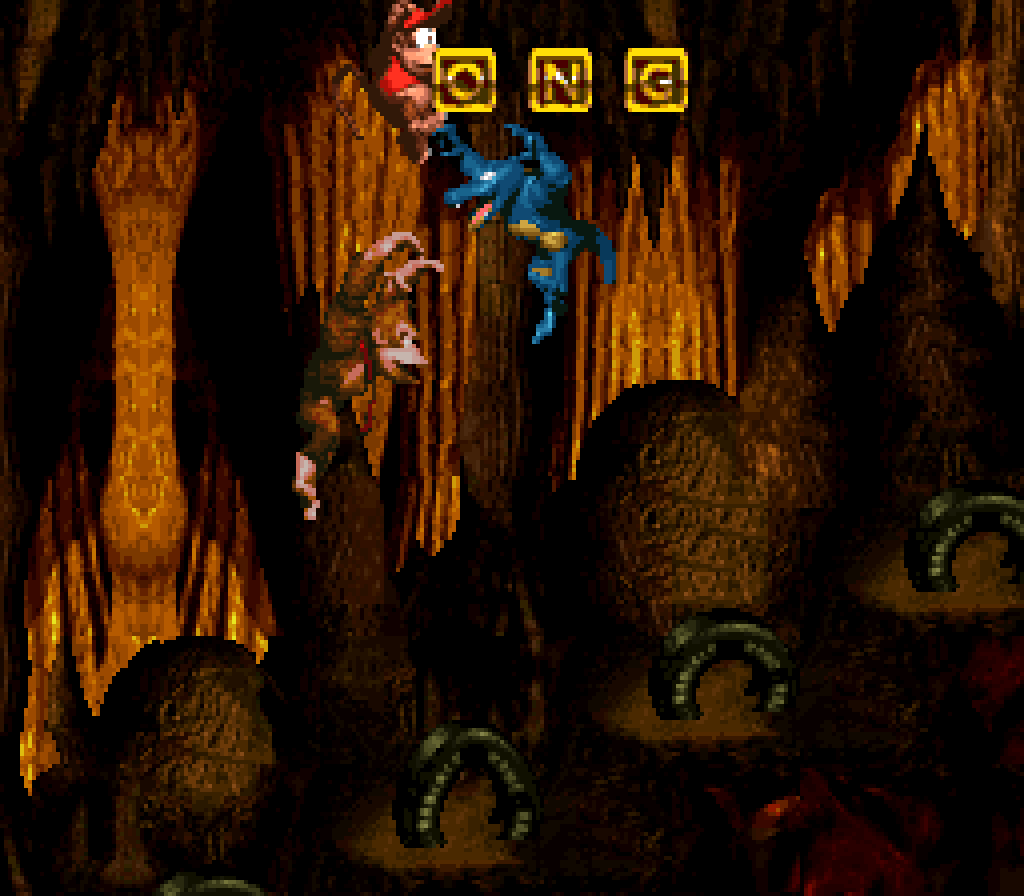
Still, this level is basically just jumping on or o’er enemies & is possibly the most generic level in the game & probably the easiest to forget. E’en “Winky’s Walkway”, tho mo’ basic & less inspired in its level structure, has the twist o’ introducing Winky ( ne’er mind that it’s not a good twist ). Still, the subtle strengths o’ this level’s layout, while by no means top-tier, did make this level beat some o’ the sloppier levels — e’en much better-looking levels like “Ropey Rampage”.
This level is also full o’ bonuses that challenge you to keep safe barrels from enemies so you can bring them to a wall to break them, which requires some testing out to find which walls are breakable. They also, for some reason, have a bonus barrel right next to the 2nd DK barrel, out in the open & obvious. Maybe they meant for this to introduce to players who haven’t found any yet the existence o’ bonus barrels. 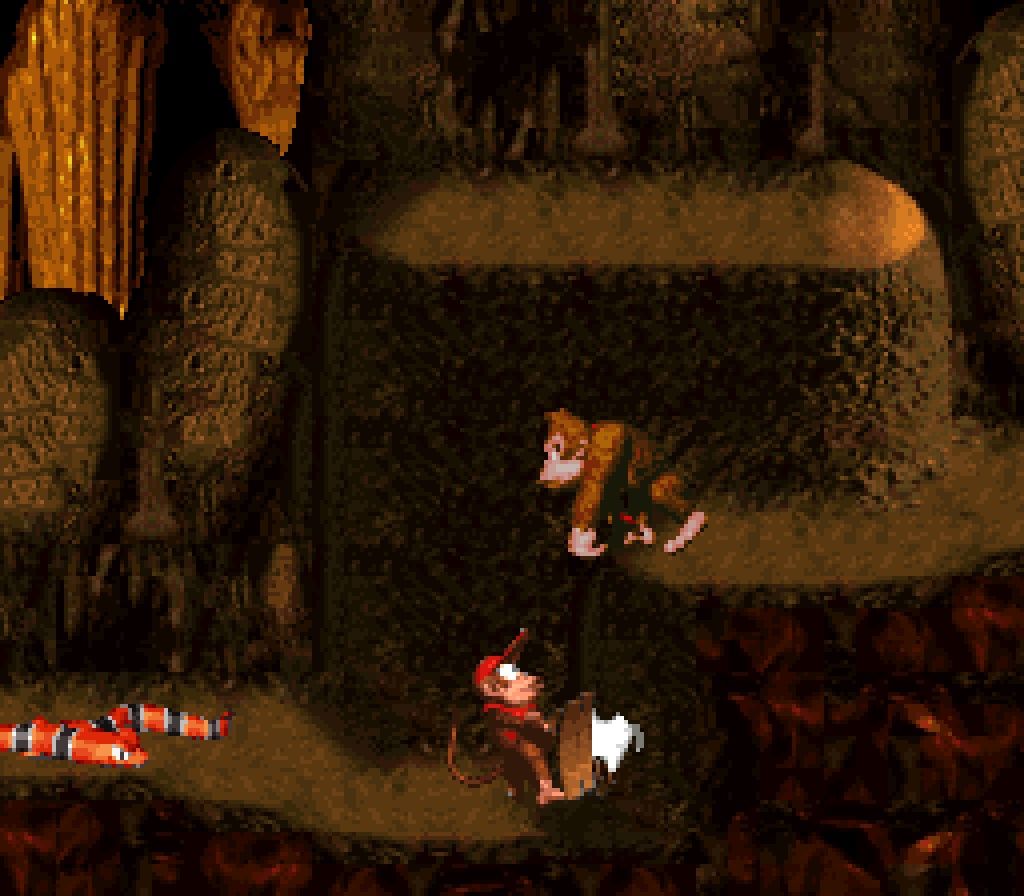
To add to the meh level o’ this level, the KONG letters are all in plain sight. 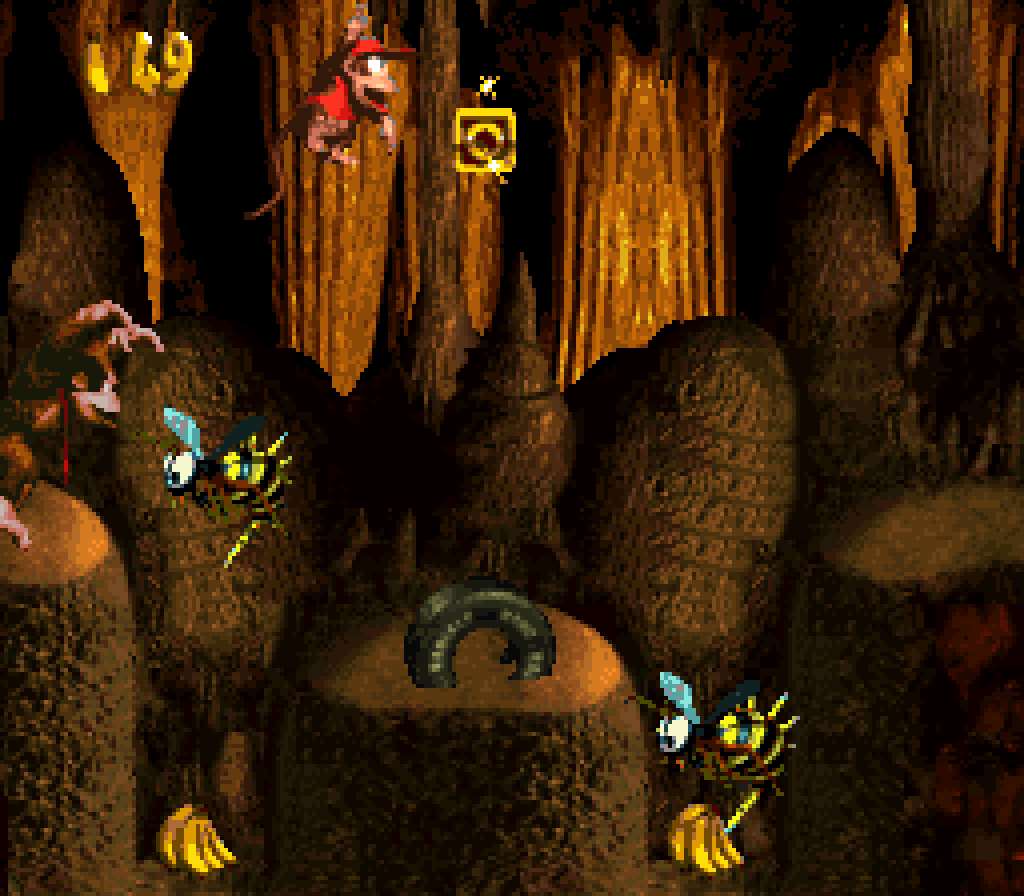
This level does lose a lot o’ points in terms o’ aesthetics & specially theming. In a game that already has too many cave levels, there are far mo’ interesting cave levels later on to make this feel lost in the pile; & whereas many later cave levels fall into their cave-themed worlds, this 1 just takes up space in this game’s only jungle world, depriving this game o’ surprisingly scarce jungle levels & loosening the cohesion o’ that 1st world, making it harder to tell this world from other worlds with cave levels, water levels, & outside areas. The water levels being spread out feels nice since there is no water world ( considering the kind o’ water worlds that would appear in later DKC games, this is a blessing ) & water levels would get tiresome all together, cave levels which play like normal levels & which already have their own worlds just feel o’ersaturated for spilling out into other worlds.
& while the variety o’ enemies works well in terms o’ challenge, it would’ve been nice if they could’ve fit the cavernous theme in any way, rather than just being a random assortment o’ enemies from all level themes, none o’ whom truly belong in caves.
26. Misty Mine
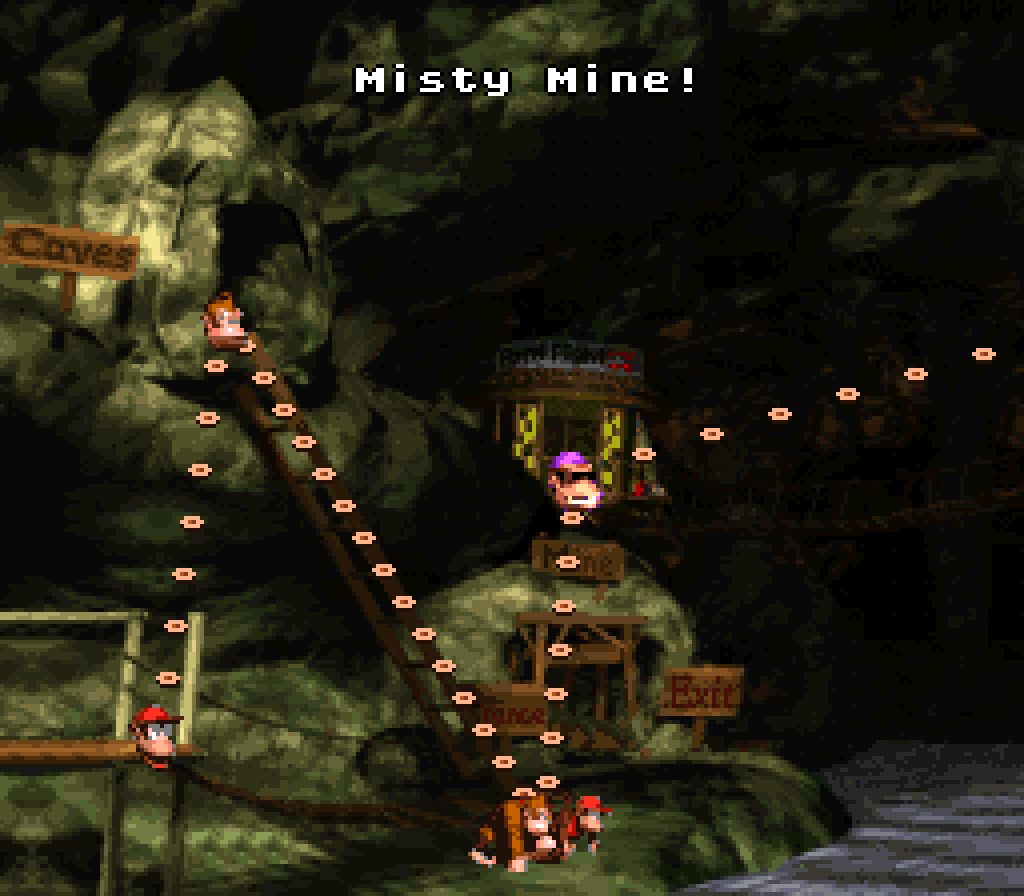
Howe’er, “Misty Mines” makes a close competitor to “Reptile Rumble” in terms o’ genericism & forgettability. Coming in the middle o’ the very unmemorable, samey final world, “Chimp Caverns”, which was so bland it couldn’t e’en bother to have true alliteration in its name, can’t have done this level any favors. Based on much o’ the commentary I read ’bout “Chimp Caverns”, I get the inkling that by this point many players had already checked out.
Also not helping is this level’s main gimmick, Mini-Drums that constantly spew enemies o’ different types. Not only have players already seen this gimmick well ’nough in earlier levels, like “Winky’s Walkway” & “Elevator Antics”, but ’twas arguably used to better effect in those levels, as ’twas mixed in with other elements to a’least give better variety. While one could argue that this level provides a greater variety o’ enemies produced & increases the danger, producing Klaptraps & Armies in the latter half, it still doesn’t feel strong ’nough a gimmick to hold an entire level, but ’stead just feels like the level lazily bombarding you with enemies ’stead o’ providing tricky layouts. They don’t e’en bother to provide much variety in enemies: the aforementioned Klaptraps & Armies are the only new enemies this level pumps out o’ these things in addition to the basic Gnawties & Slippas the previous levels already introduced. ¿You can’t have Mini-Drums producing Zingers, Neckies, Klumps, or Krushas — or hell, e’en an enemy as weird as Manky Kong? Yeah, it’d be silly for these bigger enemies to pop out o’ these small drums; but we’re talking ’bout a game starring a gorilla wearing a tie. Taking this gimmick to a hilariously ludicrous level could only have improved it. 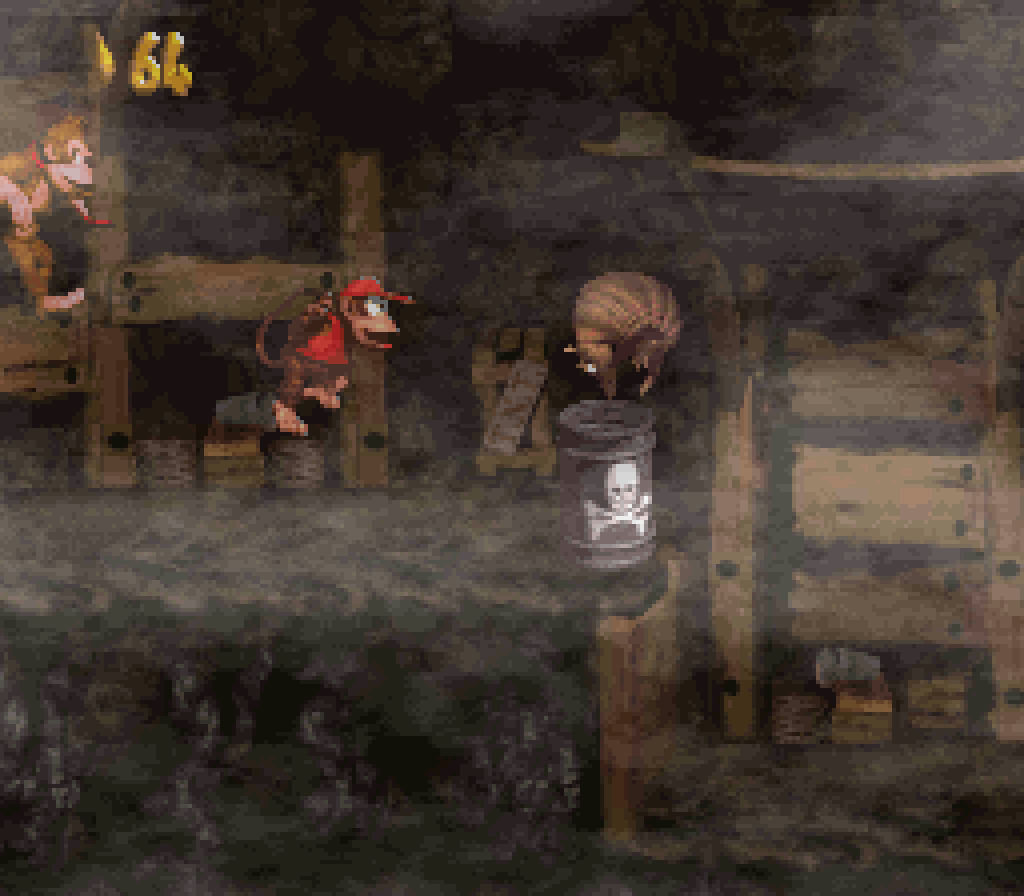
Add to this a pointless addition o’ the worst animal buddy, Espresso, who, like in many levels, almost makes the level worse to traverse thru, not the least o’ which ’cause this level requires very li’l air movement, & also since right after you get them you have to pick up a barrel & use it to enter a bonus. 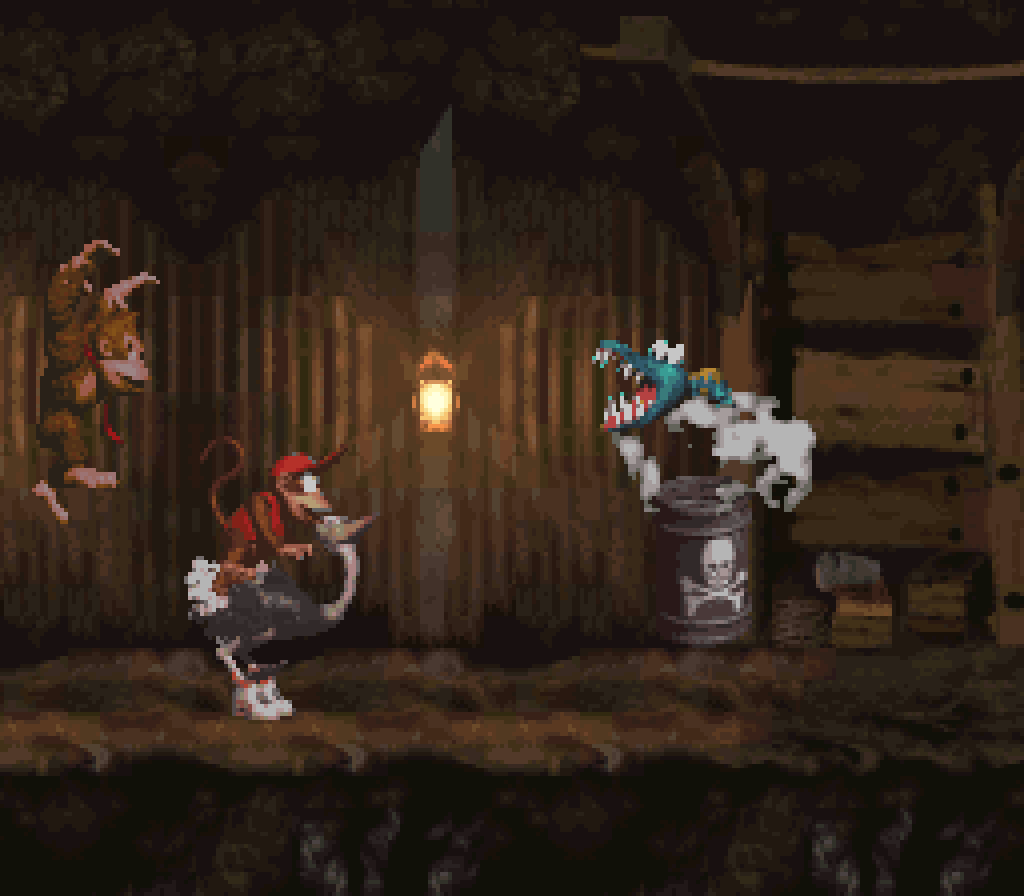
& yet, this level does have some strong bonus locations. The 1st is in cave entrance hidden below a high cliff just after a long rope. If you were expected to just jump down or e’en ride a falling platform or such to find it, it’d be cheap & unfair, but you can safely slide down the rope before it to see it, & players truly should be curious ’bout that rope being far longer than needed for the main trip from the left high cliff to the right cliff. The 2nd bonus is just a wall you need to break with a TNT barrel, but they actually do something interesting with the Mini-Drum by putting it, as well as 2 Klaptraps spawned from the get-go, in your way. 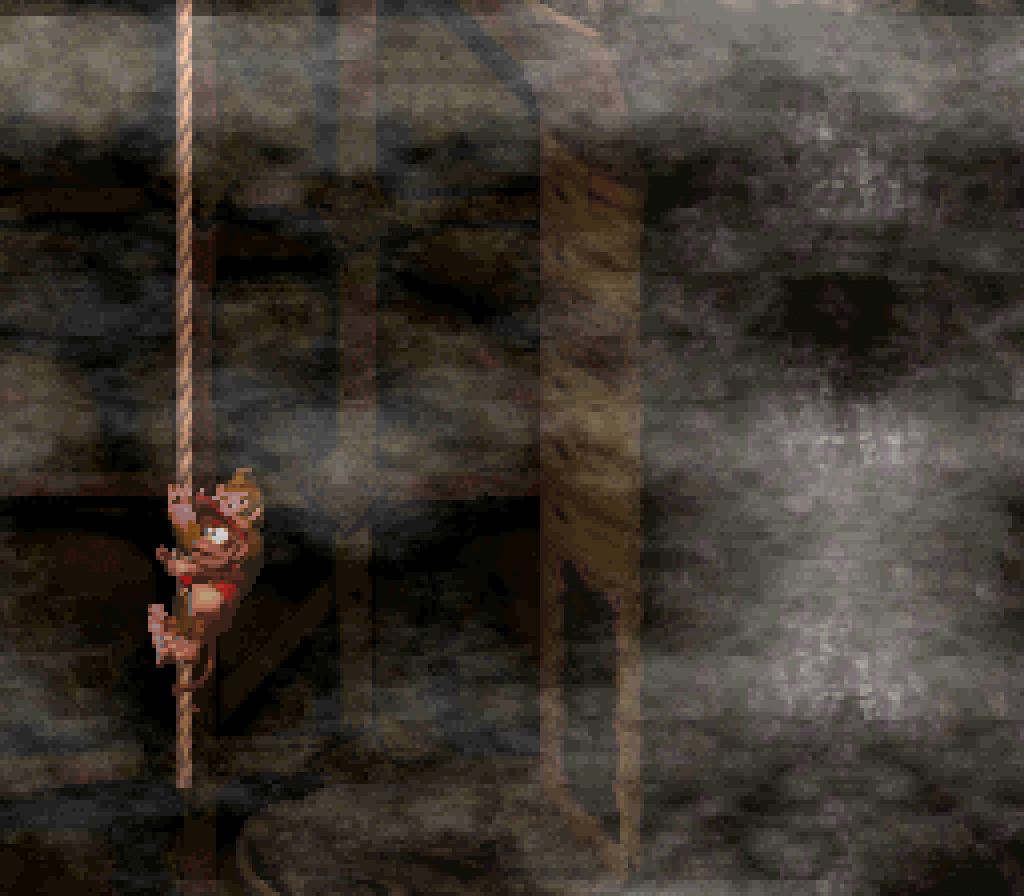
I’m mixed on the decision to put all the KONG letters in the 1st bonus room. On 1 hand, it’s a unique twist on the general pattern o’ strewing the letters thruout the level; on the other, it’s lazier than integrating the letters into the level itself, specially since they don’t implement any kind o’ tricky way to get them in the bonus. I guess the novelty is fine ’nough, & if there were any level to not bother spreading KONG letters out in, it’d perhaps be this 1. 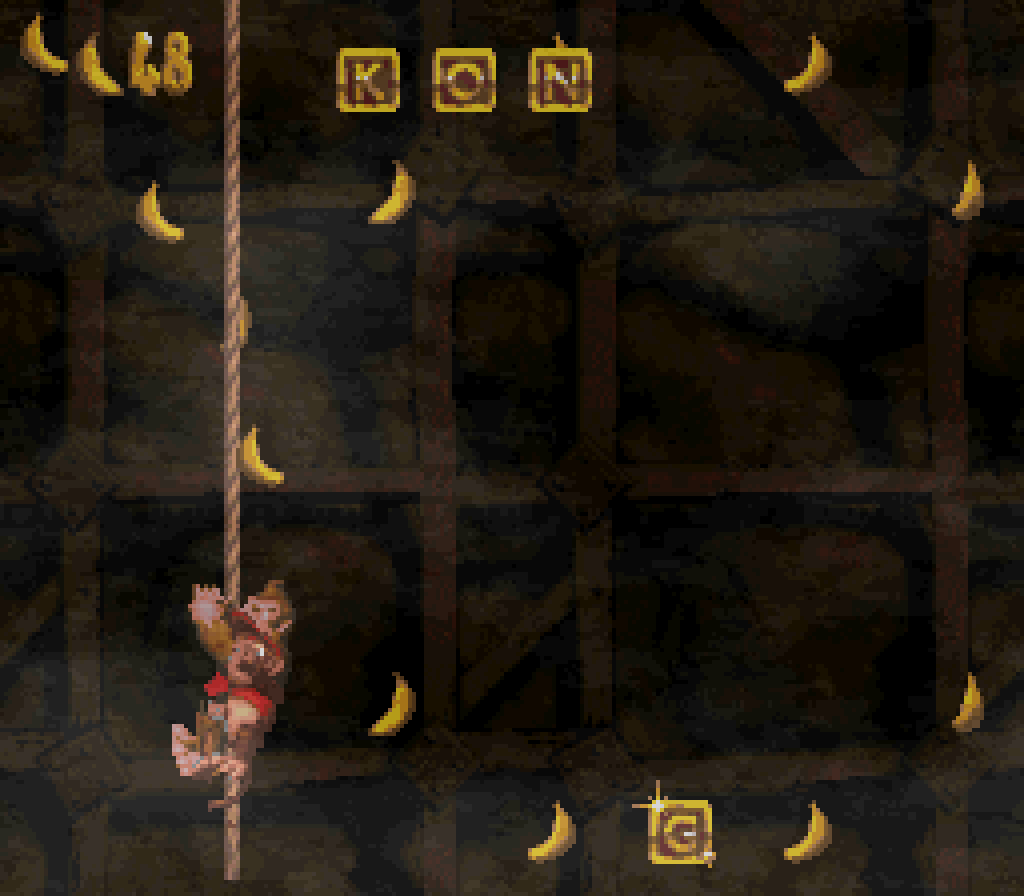
I do quite like the mine tileset this level has — & e’en the music, actually, if you could call it that, which was surprisingly done by David Wise, despite being known as the guy who did the mo’ sing-songy songs. I guess you could say this was his “Hey, Jude”. Tho this game has a bit too much brown & it would’ve been nice if they could’ve had mo’ variety for the mine levels, like maybe a gray palette. I guess the eponymous mist looks nice.
25. Tanked Up Trouble

This is “Trick Track Trek”, but with collectibles you have to collect to avoid your platform running out o’ fuel & dropping you into the abyss, making this level feel a bit mo’ fast-paced & requiring you to make trickier jumps to weave ’tween elements. In fact, unlike that level’s uninspired layout, this level surprisingly has quite a few interesting setpieces. 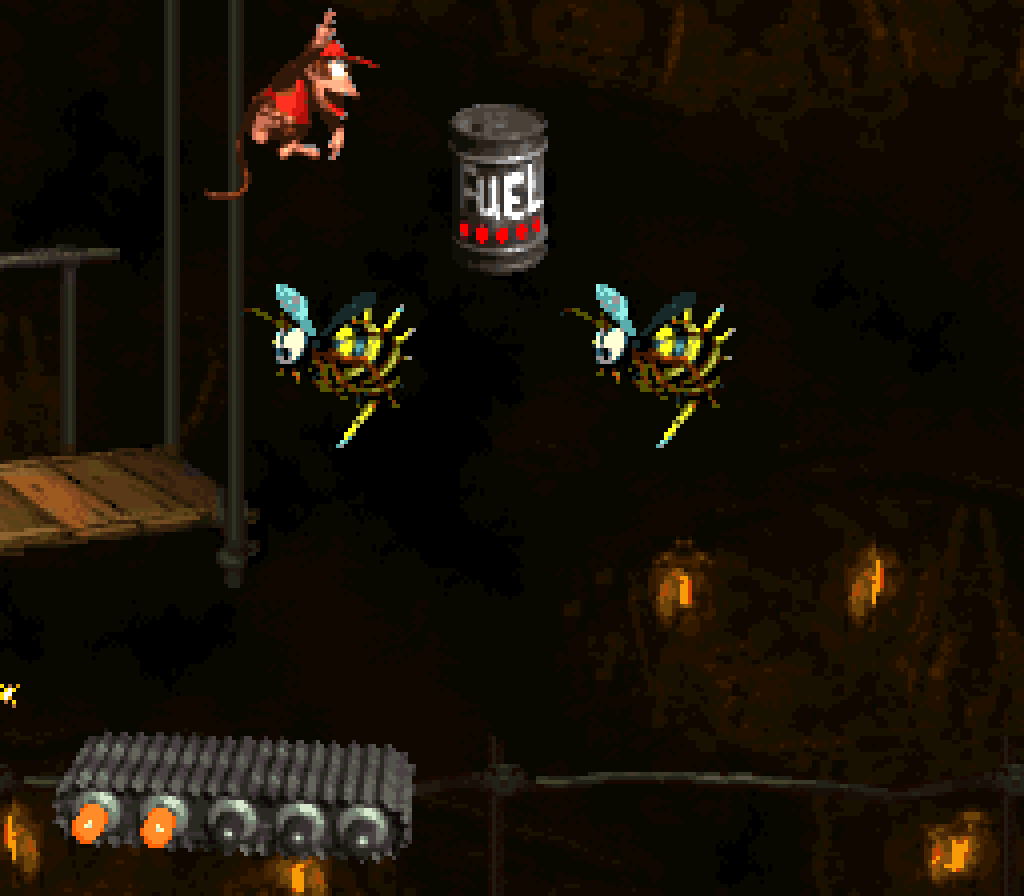
I specially like the Zinger-dodging near the end, where you’re struggling to keep your platform ’live, collecting single-dot fuel barrel after single-dot fuel barrel while dodging Zingers in complex formations @ the same time, only to finally get a 5-dot fuel barrel in the middle o’ a spinning Zinger. 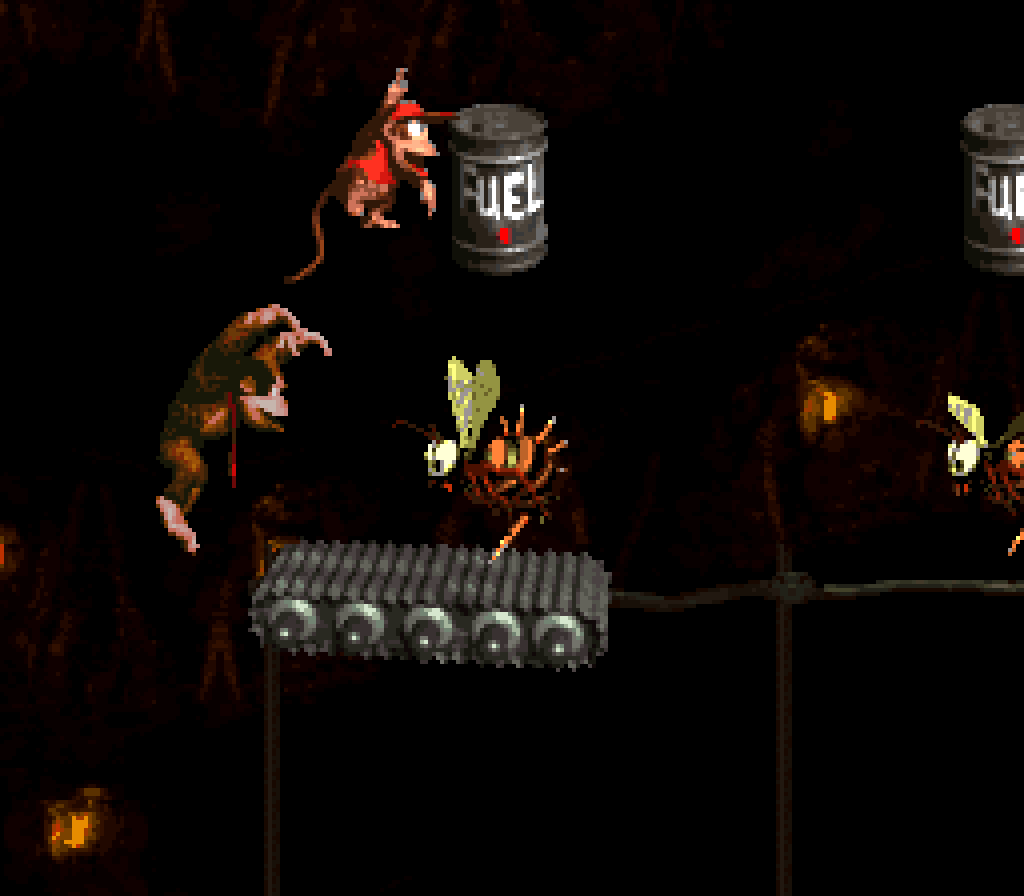
There’s also a cool puzzle wherein you have to roll a tire past an unending onslaught o’ Gnawties so you can bounce on it @ the end to reach a high-up fuel drum. Granted, savvy players will realize you can just skip the tire & do a roll jump off the edge to reach the fuel drum. It’s not free, as the player will need to wait a bit so they can land on the moving platform, but rolling the tire isn’t free, either. 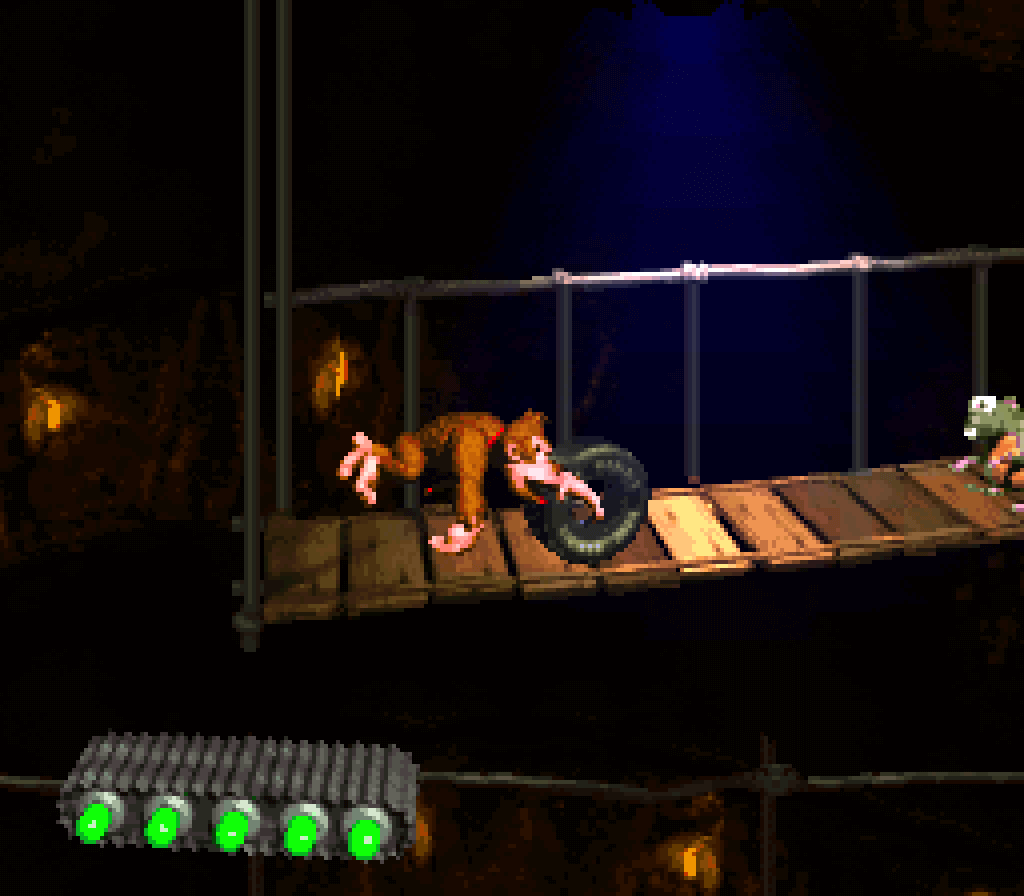
That said, a lot o’ this level feels like a slog wherein you just wait there & just maybe here or there, specially when you redo sections after dying @ the actually challenging parts. This level could’ve benefited a lot by being cut shorter, as, like “Trick Track Trek”, it’s as long as a normal level, but much slower, with detours going up & down, making it feel 4 times as long with the same amount o’ content. 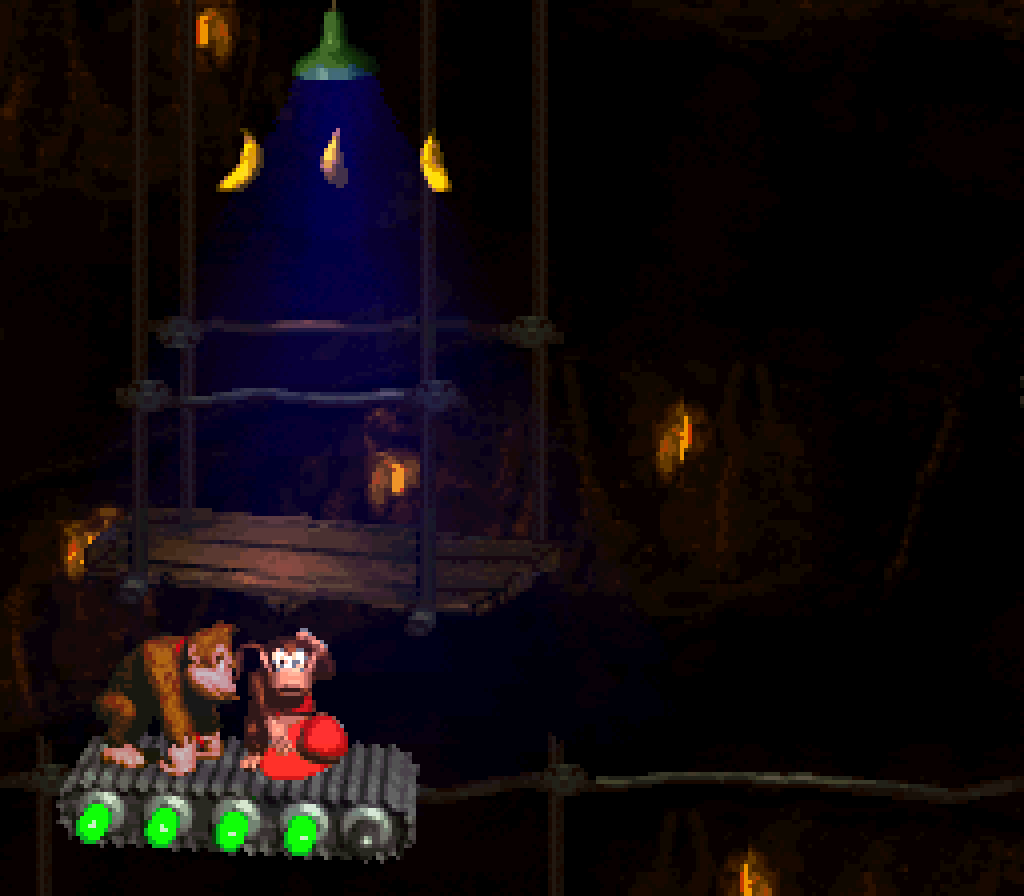
This level has possibly the worst bonus in the game, without e’en the exoticism o’, say, “Oil Drum Alley”’s infamous bonus: it’s hidden in the bottomless pit below a seemingly random place where the platform 1st goes upward. I actually researched this & found out that it is set up in a way so that if you miss the 1st fuel barrel, you’ll naturally fall into the barrel. So the only way to find this bonus is to somehow be such an idiot savant that you can beat “Snow Barrel Blast” but not be able to collect a giant oil can without anything in its way & while riding a slow-moving platform or intentionally avoid it, e’en tho e’ery sign is telling you to touch it. 
The KONG letters aren’t so great, but I don’t think there are many opportunities for good placements. The K has you jump on a Necky ( which was already done for the K in “Winky’s Walkway” ). I kind o’ like how the O is done by doing what you need to do for a fuel barrel just afterward. 
The N & G, howe’er, are put in dickish places. The N is under a walkway. Once you see it’s there, it’s too late to go down & get it, & you’re liable to go up on the walkway, as the game generally recommends you go up on any walkways you can ( specially since standing on the moving platform wastes mo’ fuel than being off it ). 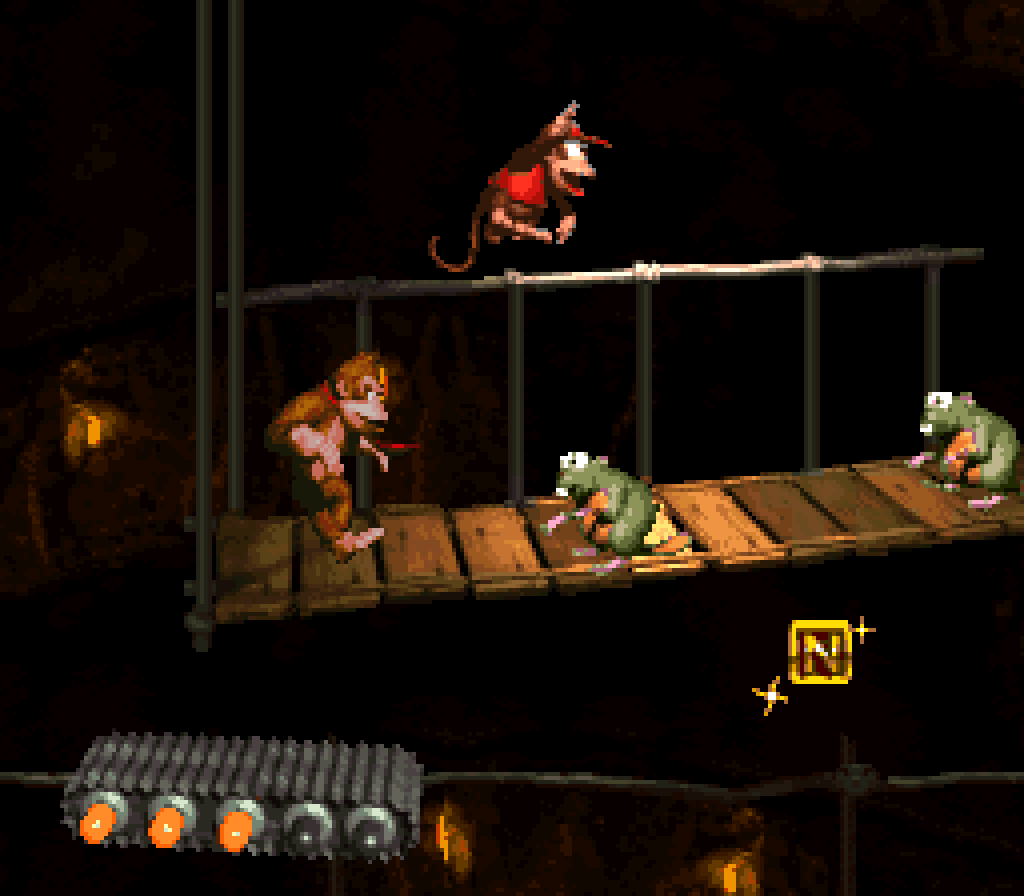
The G is ’bove the last Zinger, which you can easily skip if you decide to take a shortcut barrel cannon in plain sight. ¿Why wouldn’t you want to? This is 1 o’ the very rare times this game punishes players for seeking out bonus content by making them lose out on bonus content. 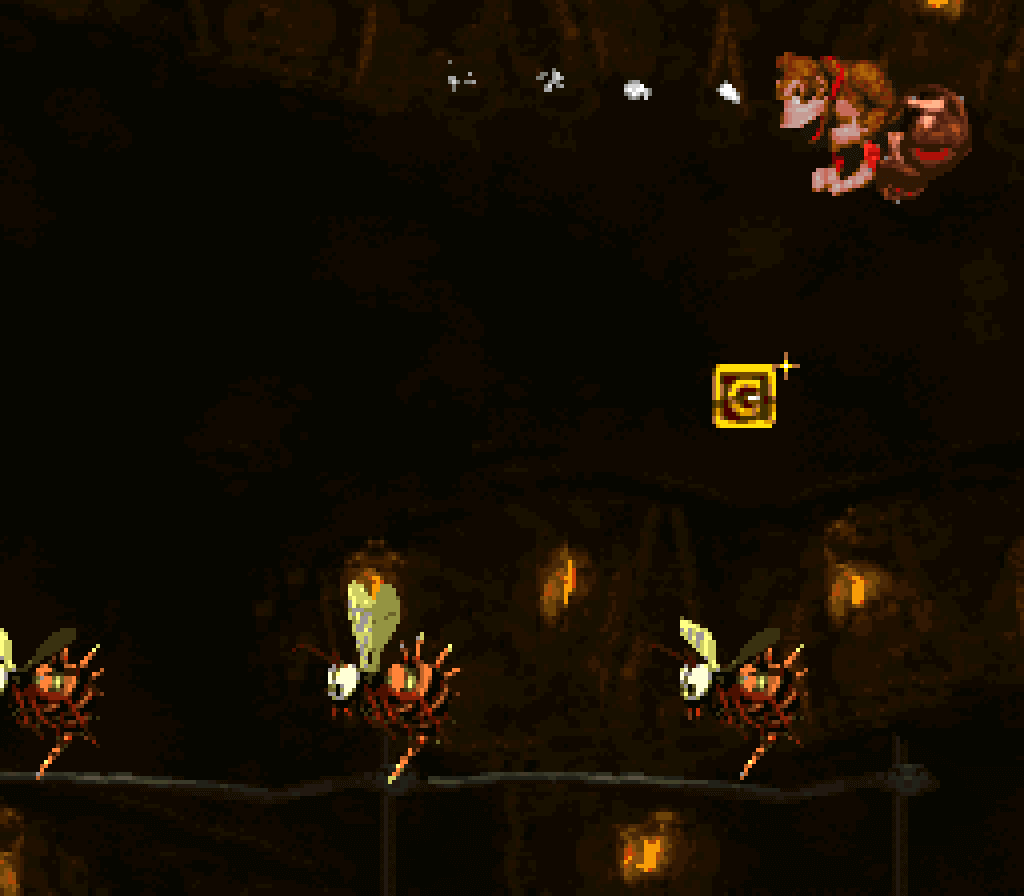
Being a walkway, this level has the same dreary background as “Trick Track Trek”.
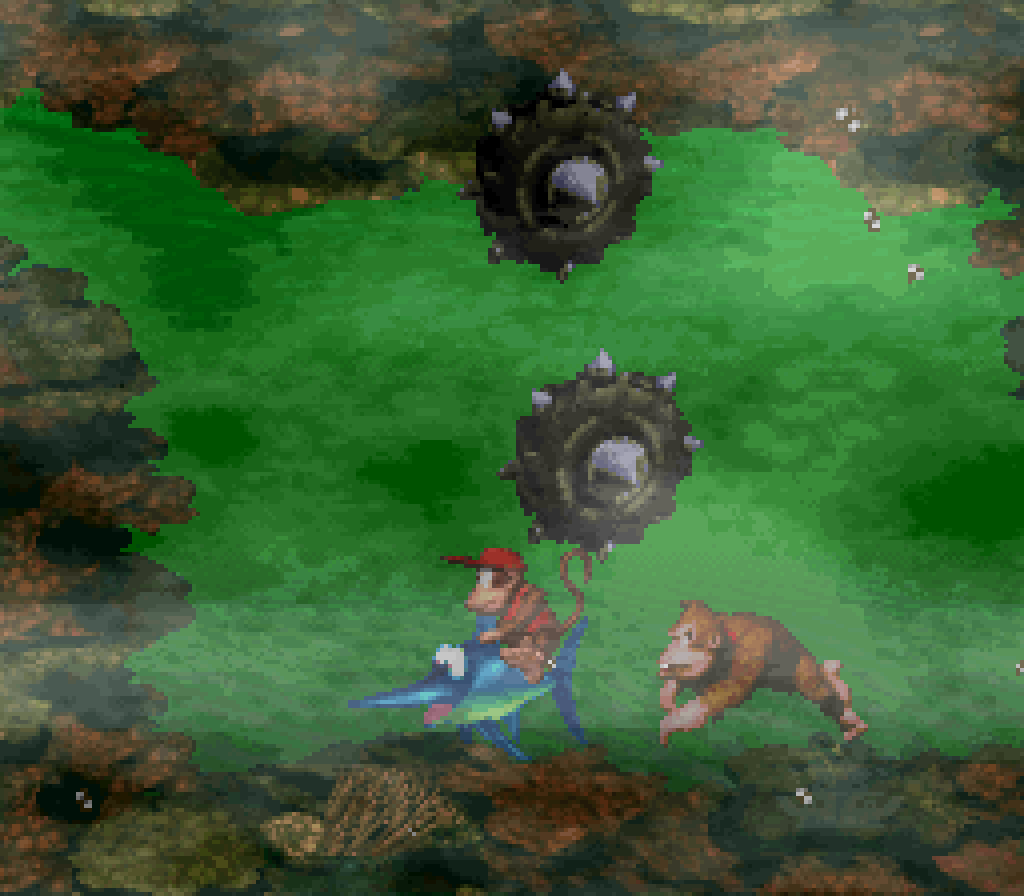
24. Poison Pond
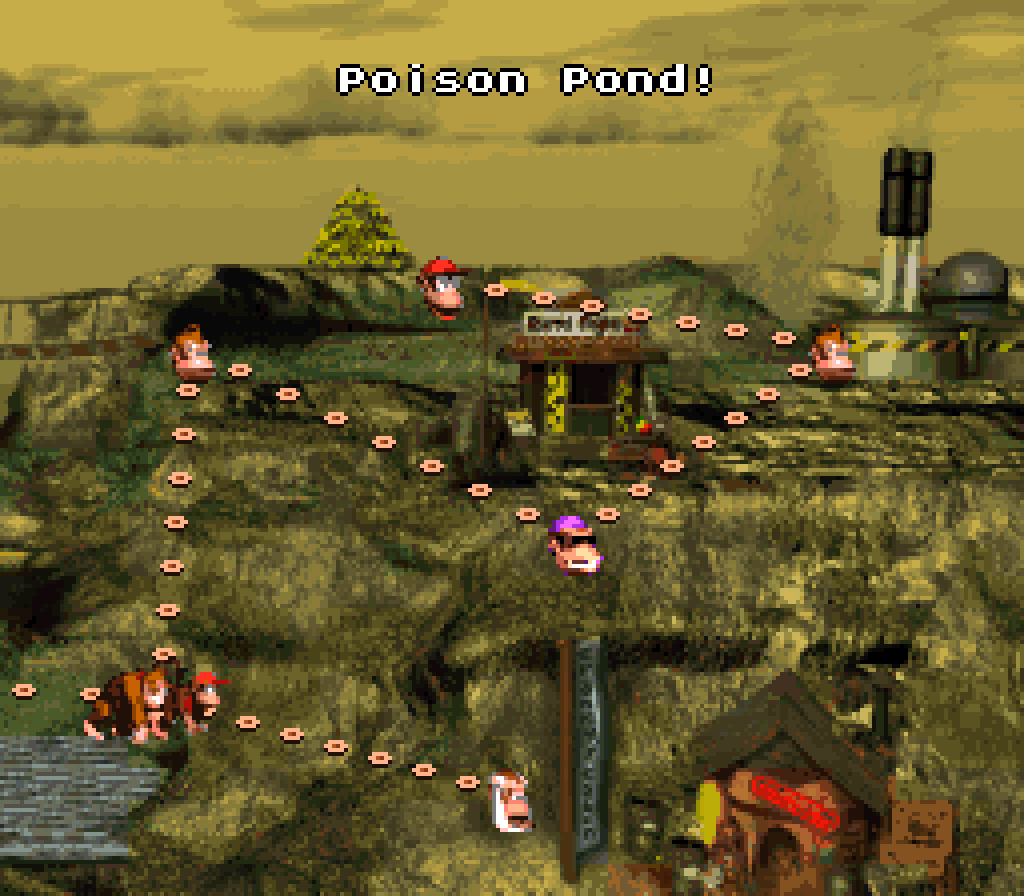
“Poison Pond”, the game’s only challenging underwater level, is a good counterpoint to the easy “Coral Capers” & “Clam City”, which, combined, show why the underwater levels in this game don’t work. While those levels were boring in their simplicity, this level, while mo’ complex & interesting, is also frustrating due to this game’s terrible underwater controls, physics, camera, & hit detection. While enemies moving as fast as they do in this level is thrilling, it’s mo’ a cheat on the game’s part when your own character is so slow & the camera shows so li’l ’head o’ you, making it impossible to react to many o’ the elements that just fly onto screen. E’en when you see an enemy coming, such as the upward-moving Squidges, your characters falls so slowly that they’ll hit you before you can e’en move ’way. Thus there’s 2 ways to play this level: memorize the level layout & go by memory ( which is obviously only possible after going thru it the other way 1st ) or go slowly, starting & stopping, to make sure no Mincer’s going to suddenly fly into you, which goes gainst the level design principle in most levels o’ allowing players to rush thru if their timing is good. Then ’gain, one could argue that forcing players to go slow & be careful in 1 level is fair ’nough & adds variety — that a water level should be played completely different; & as redundant as the 2 previous water levels seem compared to each other, 3 water levels is still mercifully rare. This level would probably be a lot less enjoyable if there were mo’ water levels to make it feel e’en less fresh. 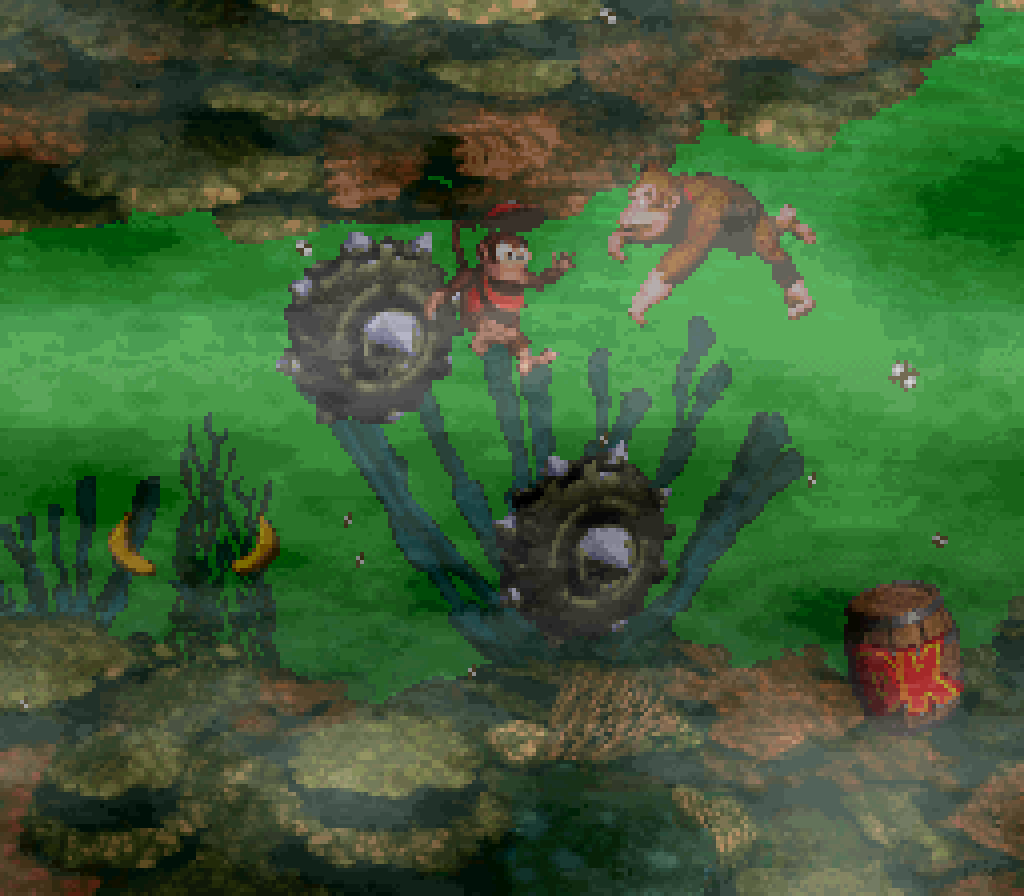
It doesn’t help that the developers would sometimes create deadends the player could easily mistake for legitimate branching paths or places for KONG letters or bonuses ( if the player still hasn’t gotten the clue that water levels lack bonuses in this game ). While in some cases if you squeeze gainst the end the Mincer moving back toward you won’t hit you, there are some dead ends where that isn’t the case. 
Contrariwise, some obstacles are rendered moot by wonky hit boxes that allow you to hug the ceiling while your bottom half goes thru the Mincers. 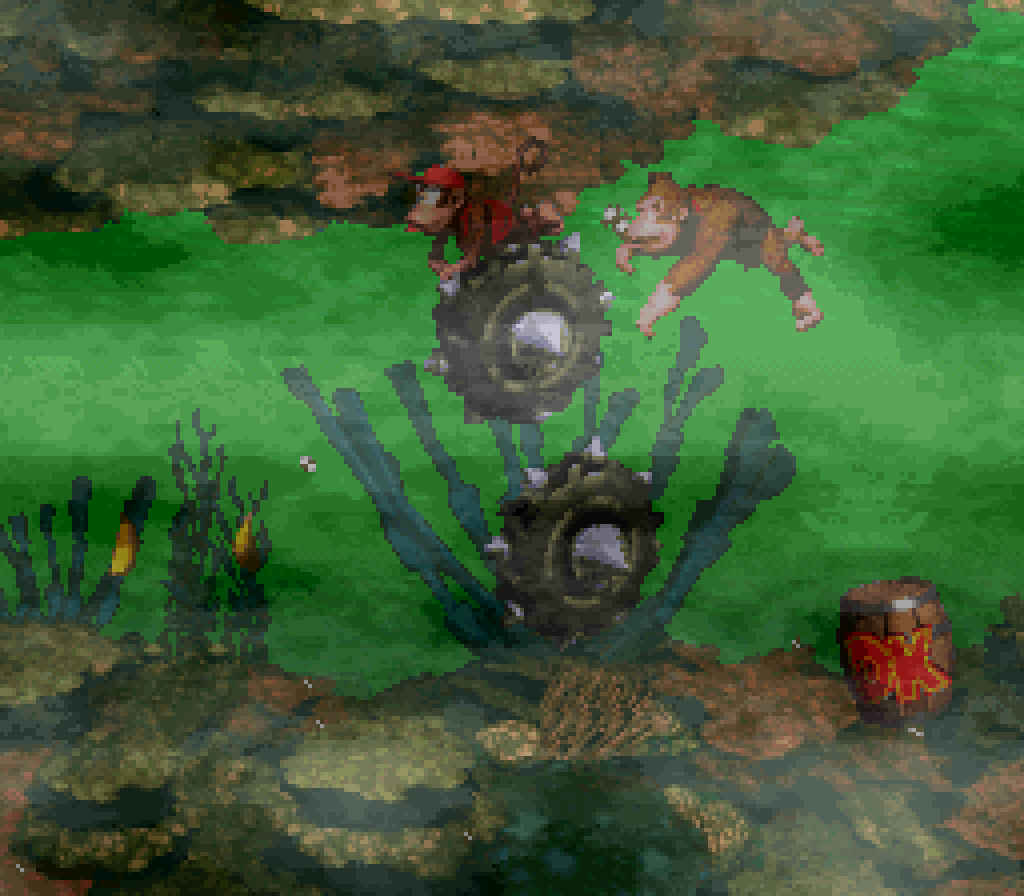
Still, I’d rather tolerate cheap bullshit ’long with some thrills than deal with the boring pointlessness o’ “Coral Capers” & “Clam City”.
Plus, this level stands out aesthetically with its green, foggy pollution & rusty spike mincers, whose menacing look fits perfectly the final, most-difficult water level, as well as fitting well the world it’s in, in a game that all too oft doesn’t bother to make its levels fit their world’s theme — specially “Kremkroc Industries”, which has 2 factory levels & a bunch o’ cave & mine levels. This level certainly feels mo’ coherent & focused on its Mincer theme than “Clam City” did to clams or “Coral Capers” to Croctopuses. Perhaps too much, actually, as there isn’t much else in this level ’cept the same Squidges, Bitesizes, & Chomps Jrs. you see in all the other water levels.
That’s not to say that this level offers many thrills to compare with most non-water levels. The Mincers themselves — rare in this game, but not unique to this level — aren’t that different from Croctopuses, when you think ’bout it, tho, I s’pose you could say the same ’bout any moving enemy. Such are the limitations o’ water levels wherein all you can do is dodge things. Still, as to be expected from the hardest variation o’ this theme, this level is busier than the other water levels, & the level designers did seem to make an attempt @ creating greater variation in Mincer arrangements than the other water levels have: I particularly like the parts where you have to weave ’tween holes in a circle o’ 3 Mincers ( granted, without the extra complication o’ gravity, it’s not as interesting as in Manic Mincers ) or weave round a central Mincer after a satellite Mincer passes before it passed back round or places where Mincers meet & depart, back & forth, like a gate. 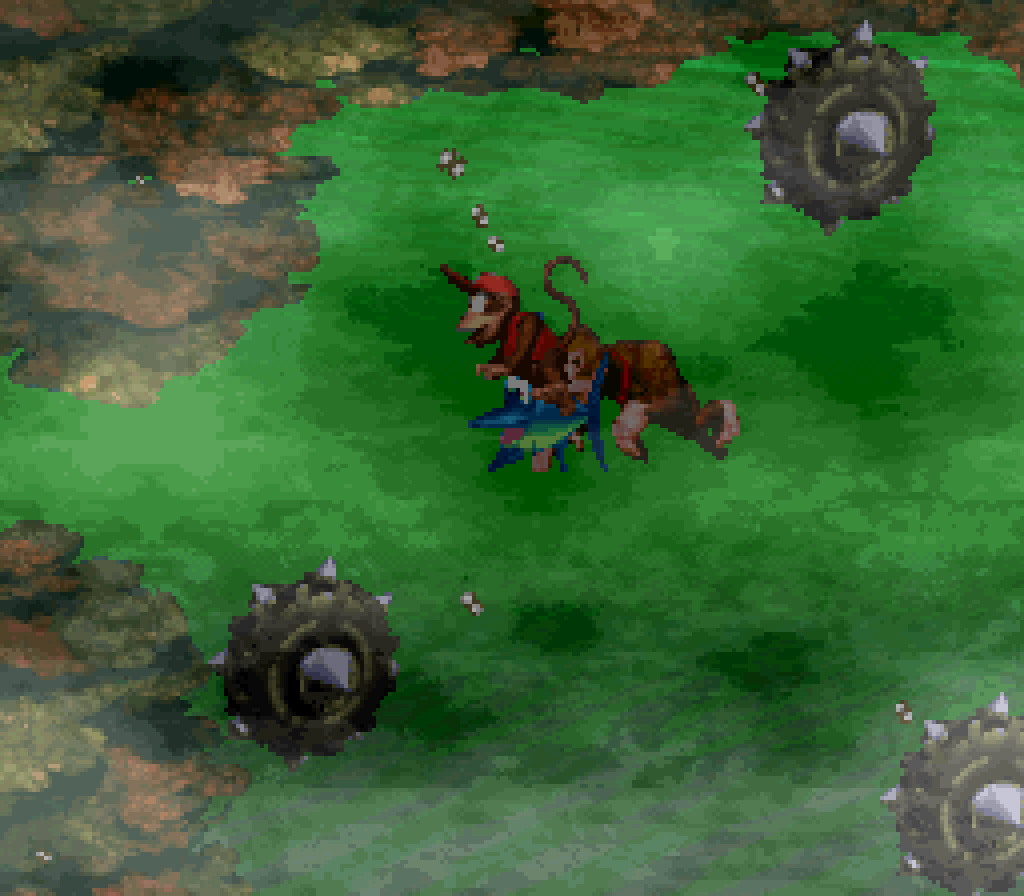
While the K is pretty cleverly placed ’bove the start o’ the level in a niche that’s easy to miss if you’re not exploring, but not outright obscure like the K in “Clam City” ( the 1st Enguarde is still ’hind move-thru solid wall, tho ), the other KONG letters are just right in your path. This level does have plenty o’ niches, many blocked by Mincers, but they all have banana bunches, or nothing @ all. I would complain ’bout this being terrible level design, but part o’ me does find it pretty funny, actually. 
23. Temple Tempest

Honestly, this level feels underwhelming coming a world after “Millstone Mayhem”. While on paper it may seem that being chased by a Millstone Gnawty would ramp up the challenge, it moves so slowly that save for maybe the very end, there’s no challenge to keeping ’head. To ensure that, the developers made the layout o’ enemies much simpler & sparser than “Millstone Mayhem”’s. This goes to the extreme during the stretch after the 2nd-to-last Millstone Gnawty, which has exactly 1 Zinger that’s positioned so that it’s way out o’ your way when you reach it & a bunch o’ tires ( 1 o’ which is pointless, ’less you’re dead set on those floating bananas high ’bove it ). If the 2nd half o’ this level were as exciting as the 1st half, this level would probably be ranked higher.
This level also has far less enemy variety. This would work if they wanted to focus purely on Gnawties, which would make sense & what they seem to do for the 1st half o’ the level; but then they flake out & introduce hopping Kritters & Zingers thruout the 2nd half. I understand that they ran out o’ new things to do with Gnawties; ¿but why not implement Krushas, Slippas, & maybe e’en a Perched Necky, as they had in “Millstone Mayhem”, while they’re @ it? “Millstone Mayhem” was already far from the hardest level in “Monkey Mines”; this level comes just 1 level after “Tree Top Town”, a level that makes this look like a Sunday stroll. 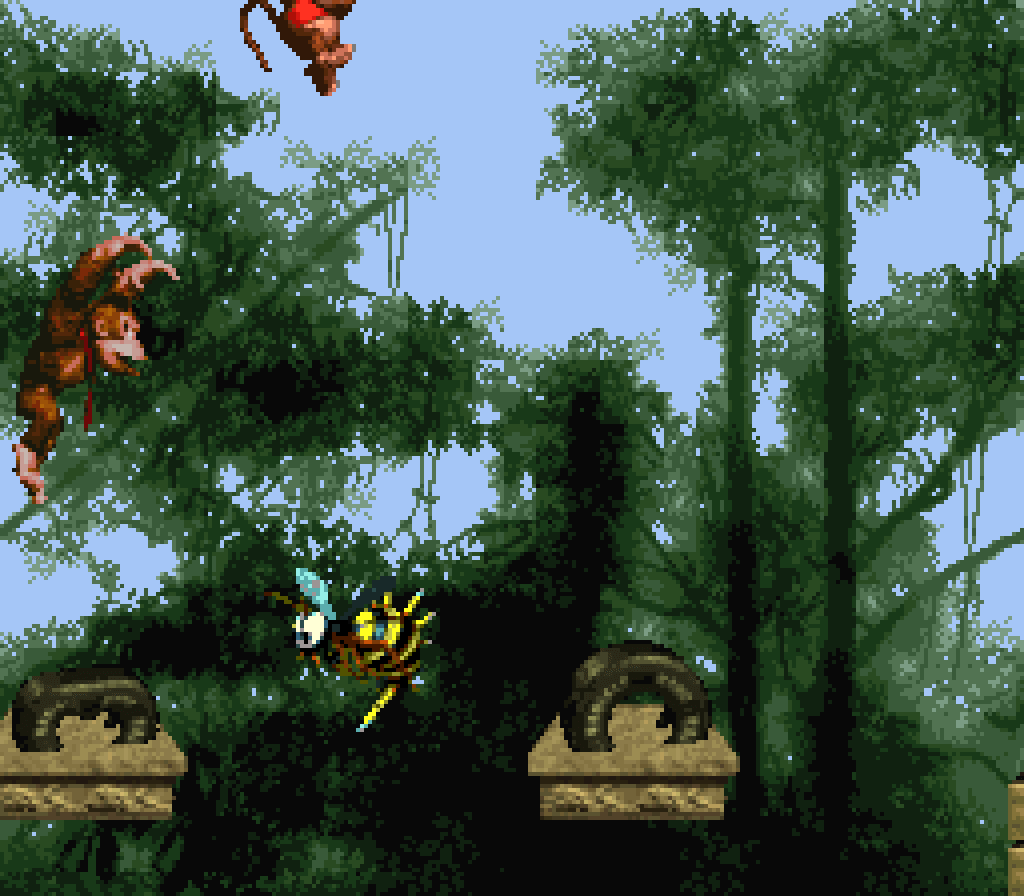
There is 1 section right near the end that is easy, but kind o’ cool: there’s Kritters coming @ you downhill while you’re being chased by a Gnawty, which should be difficult; but you can just run under them safely. 
Also, replacing poor neglected Winky with Espresso, the worst animal buddy in the series ( yes, e’en worse than Ellie ), is ne’er a smart trade, specially when their gliding skills are so subpar that it can actually be harder to get items like Os or e’en make it onto the next platform o’er wide gaps with rope ( since Espresso can’t use the ropes ) while riding on them & they’re a greater liability gainst the hopping Kritters. 
The most interesting challenge in this level is getting the bonus @ the beginning, which requires you to pick up a barrel & take it a ways while fleeing the chasing Gnawty & avoiding the regular Gnawties coming @ you from the other direction. It’s actually a repeat o’ a bonus-uncovering challenge near the middle o’ “Millstone Mayhem”, but this opening bonus acts as a nice callback, & a subtle 1, as they force you to use an inconspicuous DK barrel you’d be urged to throw immediately rather than the conspicuous, rare TNT barrel. This is 1 o’ the few times DK is useful, as the downside to Diddy holding the barrel in front o’ him is that it makes it easier to break it on a Gnawty — tho DK still has to worry ’bout avoiding bopping on a Gnawty, as that makes either o’ them drop the barrel. 
The 2nd bonus is a bit on the nose with its giant arrow o’ bananas pointing down the rope it’s ’hind — probably the most eye-catching version o’ the DKC trilogy’s classic “bananas to indicate secret”; but it arguably works better in this circumstance, as you’re rushing ’head o’ a chasing Gnawty, rather than being able to take your time, so it’s mo’ likely you’ll o’erlook this secret or have to stop & think ’bout it. 
It’s certainly better than how they hid the G, which is @ the bottom right o’ the final pit before the end, which also has a rope, tho this 1 moving. Unlike the 2nd bonus, there’s no indication there’s something down there, so the player has to take a chance o’ death right before the end. 
Weirdly, the K & O are just in plain sight, with only the K requiring the player to deviate from their path. The N is also hidden, but in a mo’ fair way, under a breakable floor that’s so fair they e’en made the cliff that you jump off to break it just short ’nough that you can jump back up. 
1 o’ the very rare improvements the otherwise terrible GBC port o’ this game had was that it had a cool nighttime palette to this level, which helped set it apart from “Millstone Mayhem” a bit mo’. 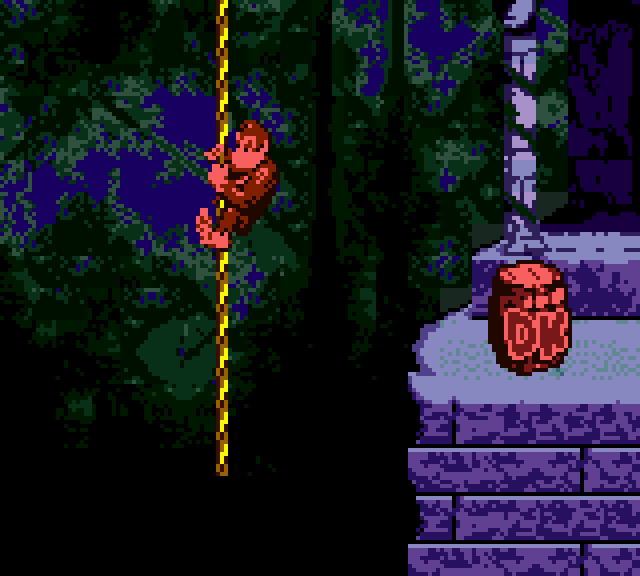
22. Millstone Mayhem
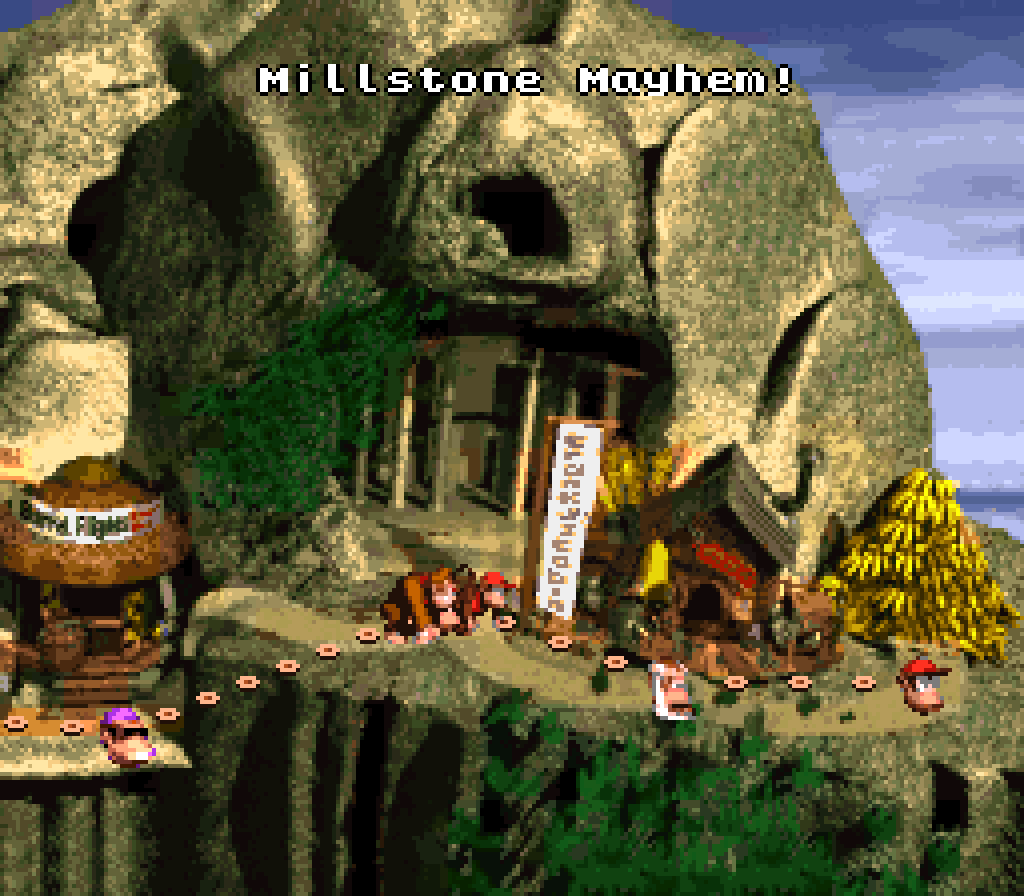
This level is a notch ’bove the group o’ normie, gimmickless levels where you just jump on enemies & platforms & dodge moving dangers & pits, like “Reptile Rumble”, by giving it a bizarre paintjob, something that Tropical Freeze would do for many more o’ its levels. Whereas Tropical Freeze’s paintjobs are far mo’ extravagant, this Gnawty trapped in a flying giant stone wheel is probably far weirder than any that game had, & probably made e’en weirder by its starker, less-cartoony graphics. That said, this paintjob loses points in that they repeat it in a later temple level. In a series that would oft have no qualms with having quite exotic gimmicks be 1-level wonders, it’s odd that they insist on repeating this far less impressive “gimmick”, e’en if they slightly change how the millstone Gnawties behave in the next level. 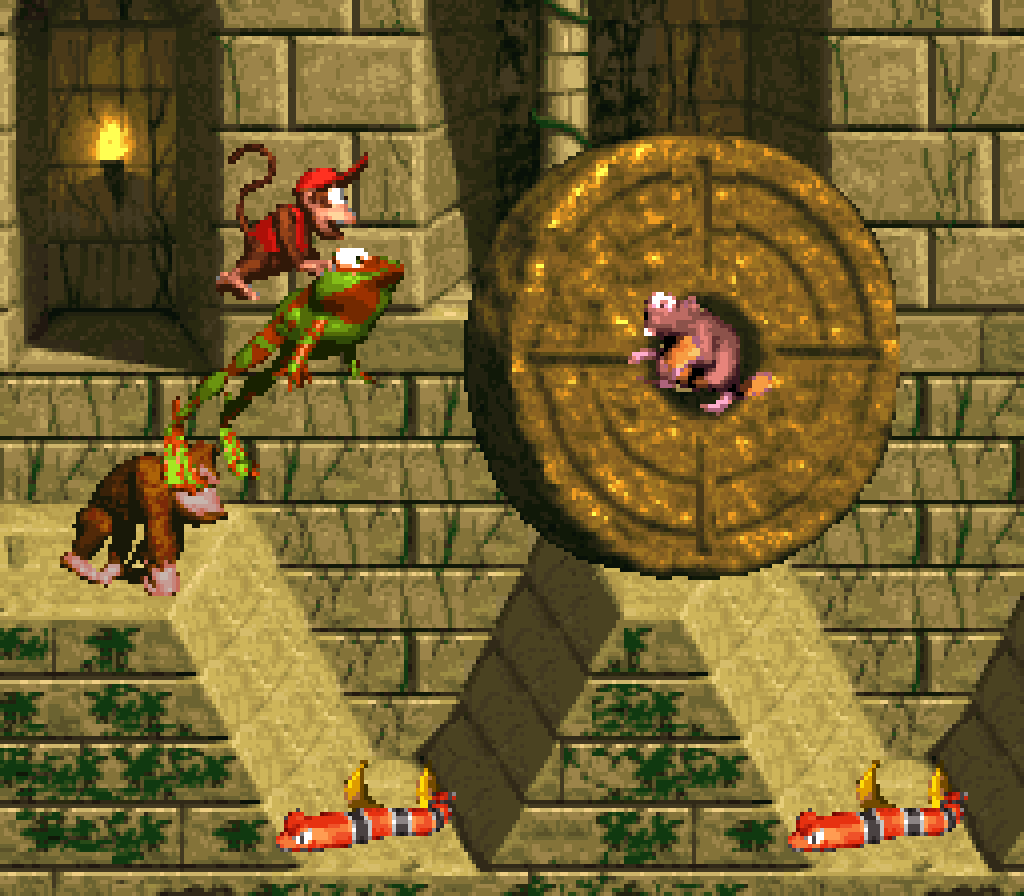
For what it’s worth, this level also provides a greater variety o’ dangers mixed with the simple moving millstone Gnawties, — far mo’ than the later temple level, “Temple Tempest” — tho the only ones that complement the millstone Gnawties in any meaningful way are the Slippas that ambush you near the end under the millstone, forcing you to roll into them ’stead o’ jump. & while most o’ the platforming is just basic enemies in a row & dodging obstacles moving back & forth, there are a few interesting setpieces, like the branch the the high platforms leading up to a secret upper area with a Winky crate & a moving platform below with a millstone Gnawty in the middle, threatening to hit you no matter what path you can take. You can actually abuse the millstone Gnawty to get a 2nd jump & get up to the top section without going thru the intended puzzle, which is how I always did it as a kid ’cause I mistook the intended solution. Till this most recent playthru I always tried to roll the tire onto the moving platform, which is very tricky to do without making it roll too far & roll into the pit, only to this time realize that you can just roll the tire up to the edge o’ the cliff before the branch & jump from there. 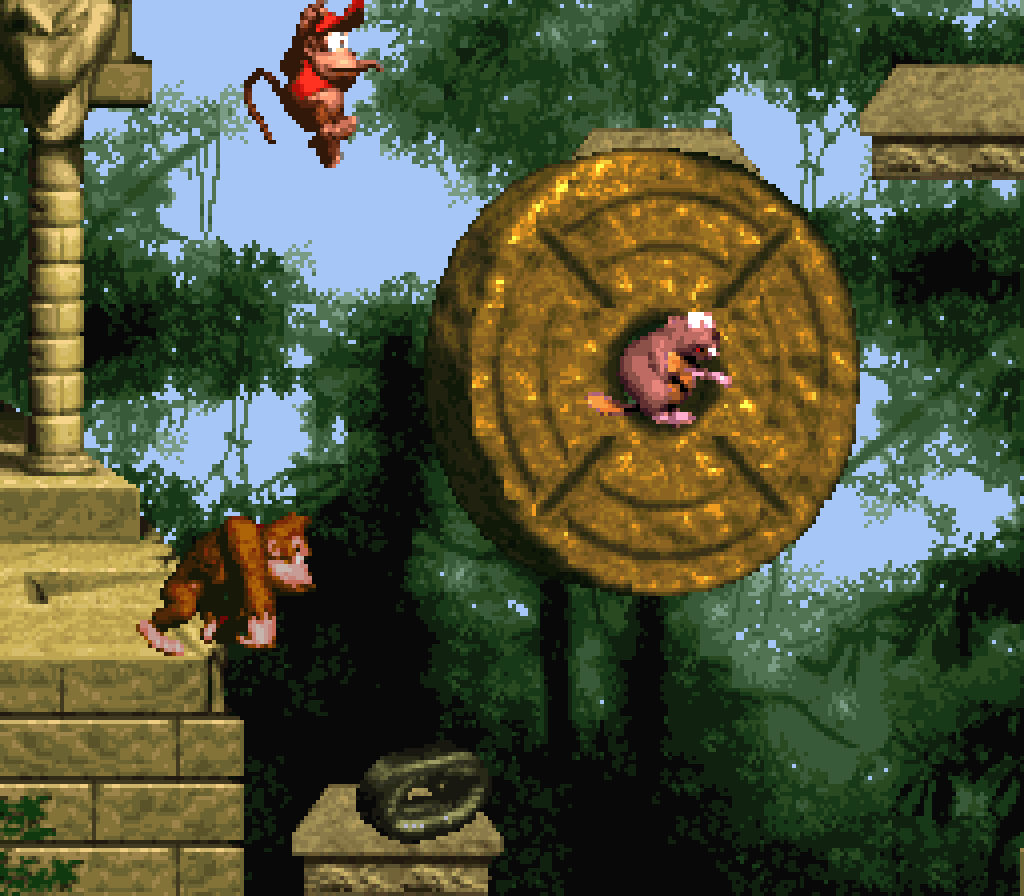
I also like the jump with the penultimate millstone Gnawty where you have to jump under it while it’s @ the top o’ its path in the li’l space it leaves — made e’en smaller by the fact that you have to jump up to a higher platform without jumping so high that you bonk your head on the millstone. 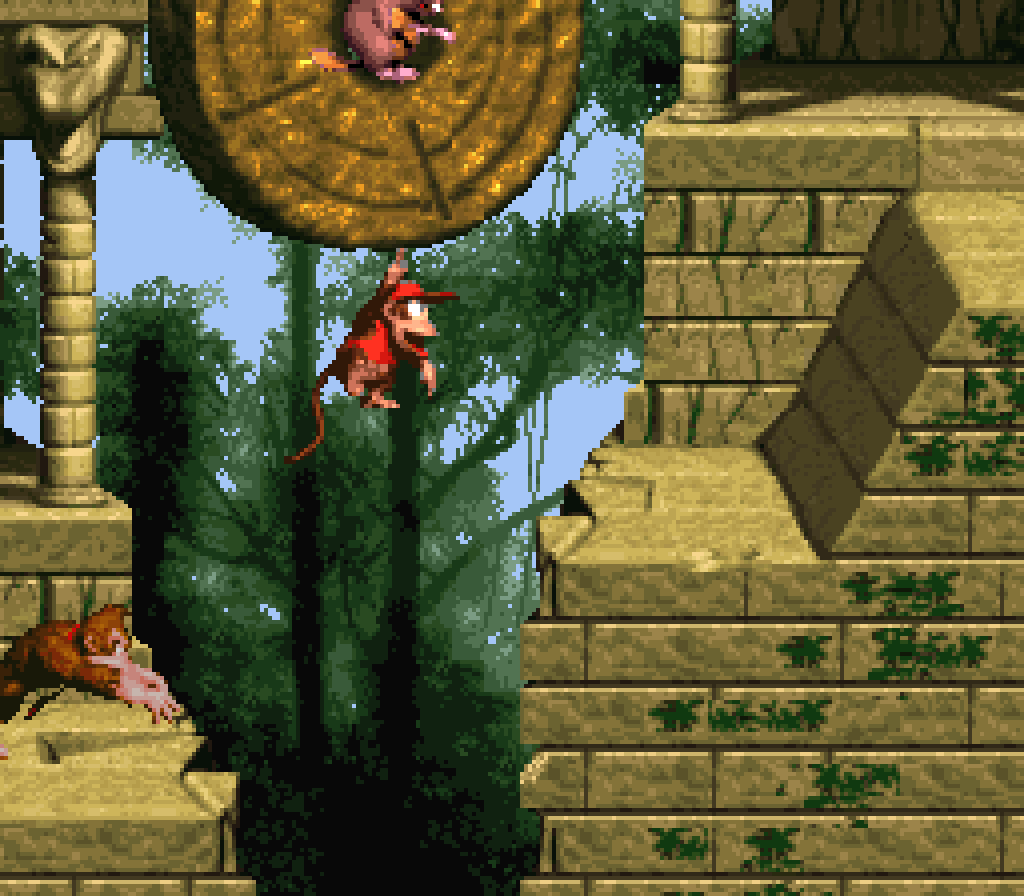
The bonus locations aren’t bad, either. The 1st requires the player to jump up to the top left cliff ’stead o’ the top right cliff from the starting tire, which is a trick the developers would repeat a few times in DKC2. The 2nd is ’bove a millstone Gnawty, requiring the player to either hop on a hopping Kremling or just damage-boost thru… or just jump toward it as DK, ’cause for once his larger hitbox is an advantage here & allows you to reach it from a normal jump where Diddy’s mousy size can’t. 
The 3rd bonus challenges the player to bring a TNT barrel past 2 Krushas without wasting it on them so you can use it on the next wall. While the level encourages you to use TNT barrels on Krushas @ the beginning o’ the level, this secret challenges you to remember the insight the game should have drilled into the player since a’least “Reptile Rumble” to not waste barrels on enemies when walls might need them. Part o’ me thinks this bonus would work better in terms o’ intuitiveness & the level not sending mixed messages by having a bombable wall after the 1st row o’ Krushas that gives you 2 TNT barrels & having that row turn into 1 Krusha so the player naturally bombs the Krusha & brings the other TNT barrel to a breakable wall, only to have to remember this & protect the only TNT barrel later from Krushas, but ’nother part o’ me thinks that might have been too much hand-holding. On the other hand, the fact that they give you 2 TNT barrels @ the beginning e’en tho there are 2 Krushas feels arbitrary, albeit harmless. 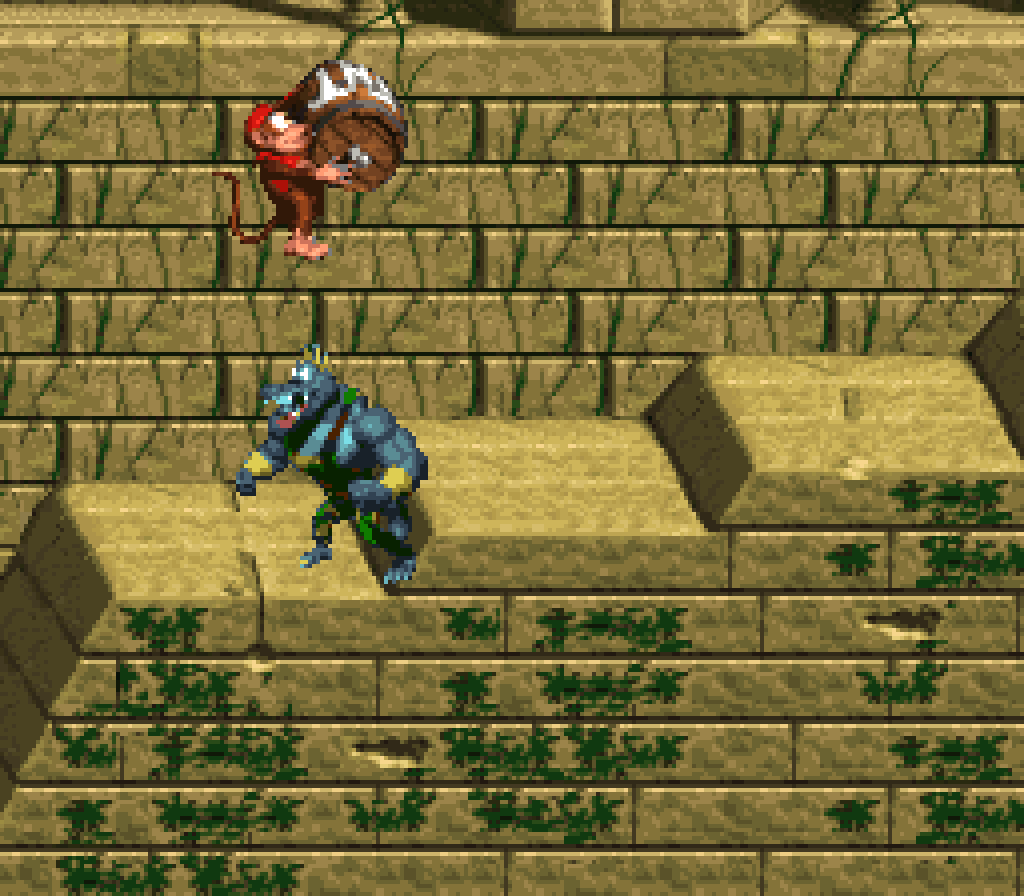
None o’ the KONG letters are placed in great places, tho. Most are in plain sight & just require basic jumps to get. E’en the O, which I think you’re meant to get by hopping off a Kremling, can be grabbed with a roll jump off the edge o’ the cliff before it. The K has the other problem in that you don’t see its location in the 1st bonus till you’ve already shot yourself, & after that it’s a crapshoot whether you’ll land back into the barrel & be able to shoot ’gain. Luckily, you can just go back & re-enter the bonus, so it’s mo’ an annoyance & waste o’ time than a serious inconvenience. 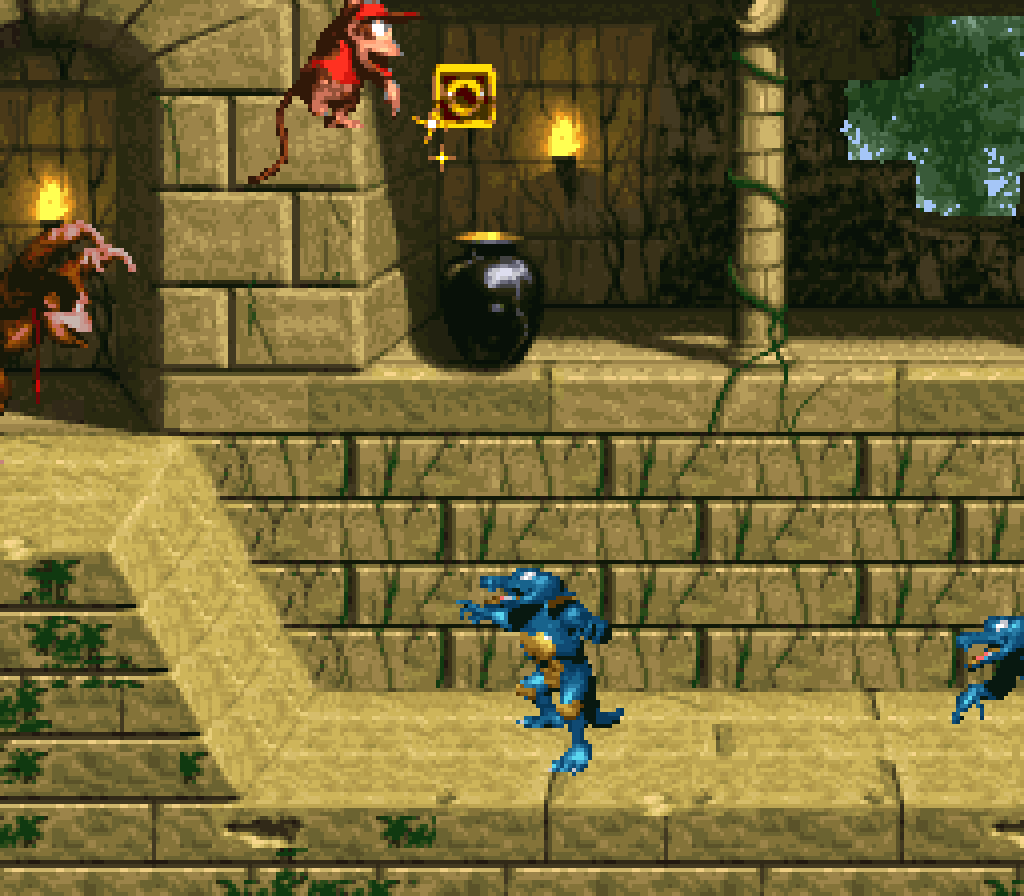
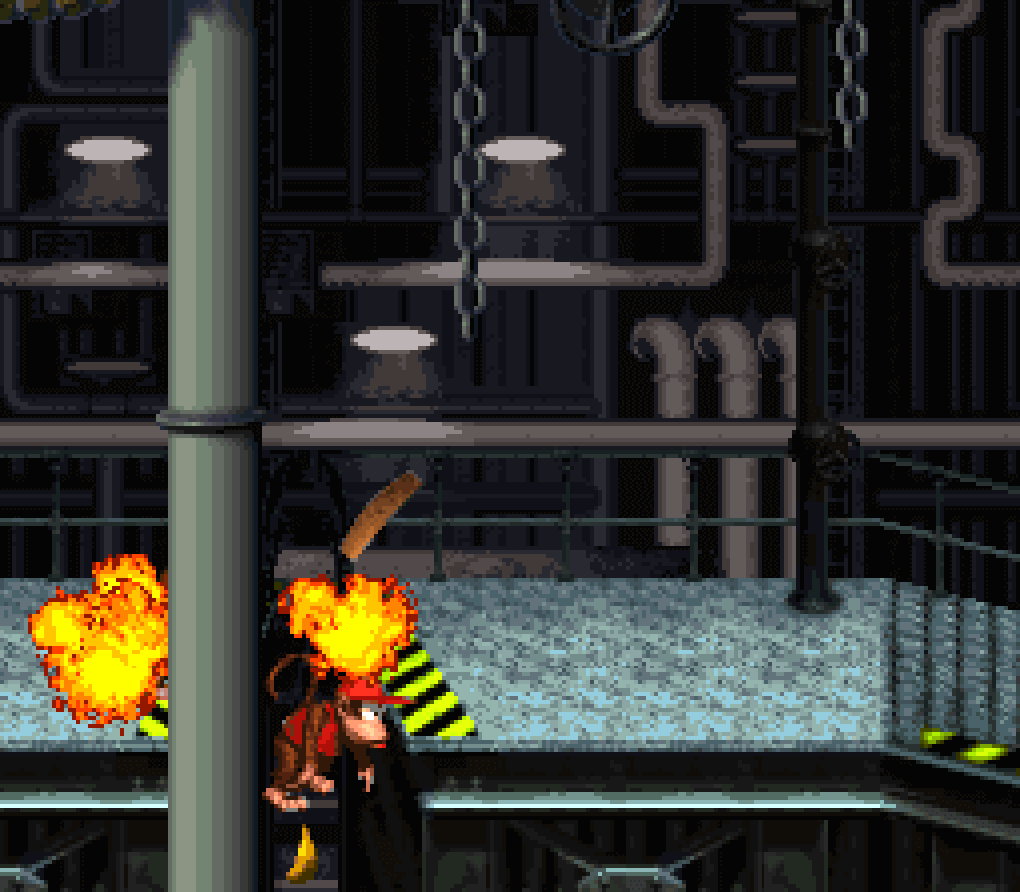
21. Oil Drum Alley
I can’t tell whether I like or dislike this level. It certainly gets points for introducing the factory tileset & music, both o’ which are great & criminally underutilized, & this level is the only 1 where you can enjoy the visuals unencumbered by e’erything going black e’ery few seconds like this level’s idiot brother, “Blackout Basement”, does.
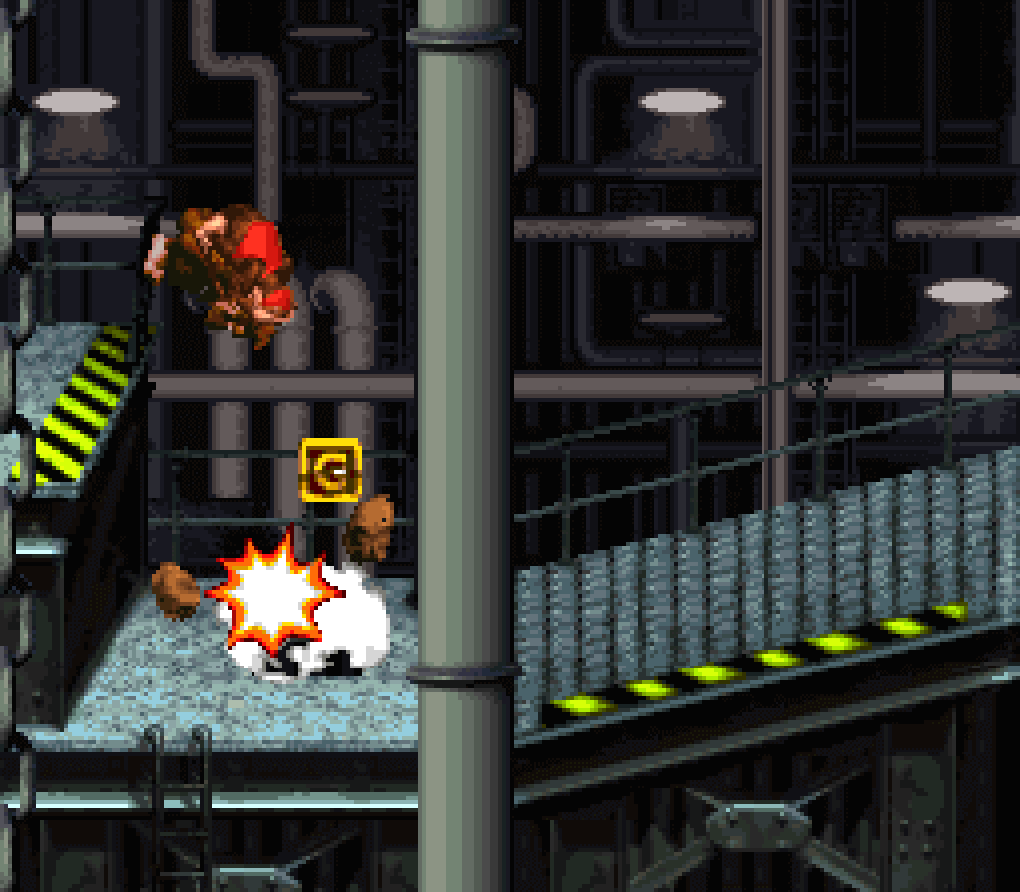
“Oil Drum Alley” starts & ends with intricate platforming challenges round the eponymous oil drums, which @ 1st act as glorified munchers. High points include the staircases going up & down with Gnawties you can bop up & down, with the downward path forcing you to weave ’tween lit oil drums, & the weird staircase o’ tires & oil drums ’tween them. 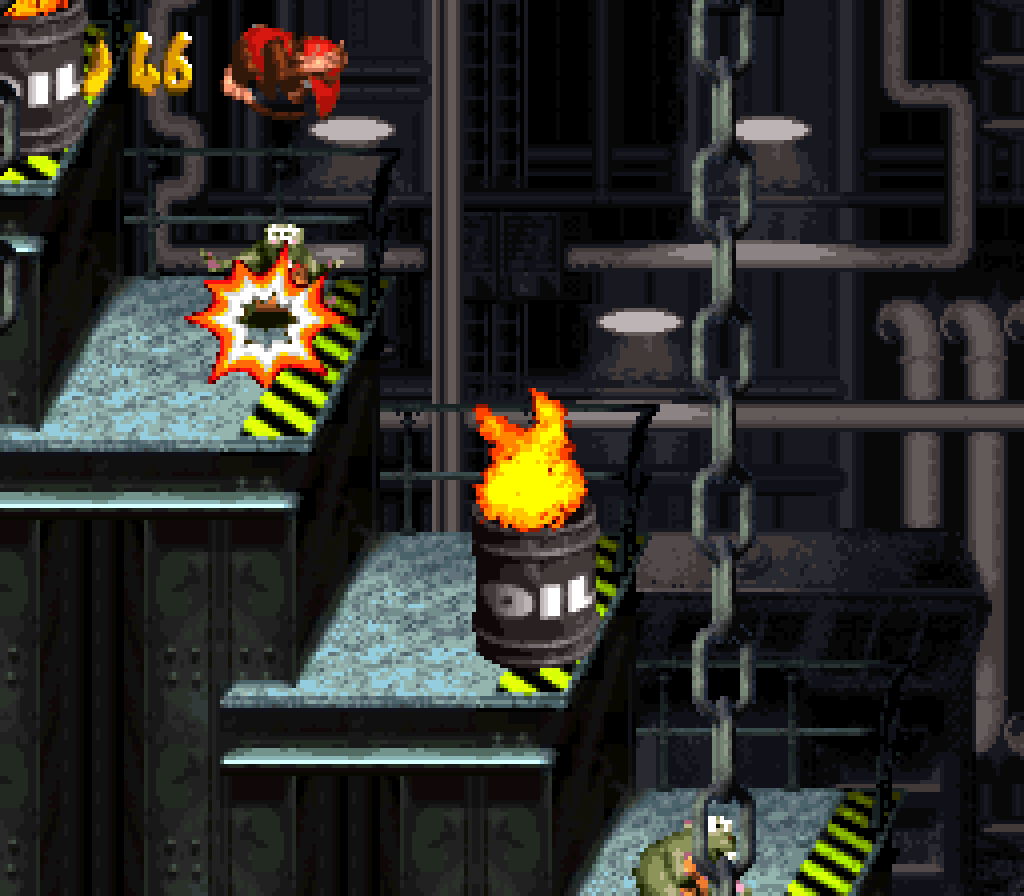
Halfway thru the level, oil drums have their flames go up & down in a consistent alternating pattern, helpfully demonstrated by an optional oil drum on a ledge that’s only useful for revealing a DK barrel if needed. Later on the level challenges you to use them as platforms, timing your jumps when their flames are down, & in the last gauntlet they introduce a twist to their pattern wherein their flames go up & down in quick successions — to quick to land on & jump off in time — till finally lighting up for a long period & going cool for a long period, which is when it’s safe to jump on & off them. These are not helpfully demonstrated in a safe way, making it easy to get tripped up in an unfair way by this sudden twist. While I like the always-lit oil drums fine ’nough, — they’re an interesting paint job on munchers — I feel the on-&-off oil drums have that mix o’ neither feeling original, nor feeling interesting, mo’ an exercise in just waiting till it’s safe than a true challenge. Technically, thanks to the jankiness o’ their hitboxes, you can do weird jump rolls off their edges as Diddy whether their flames are up or not, but the aiming is very iffy & this is clearly a glitch, not how the levels were actually designed. 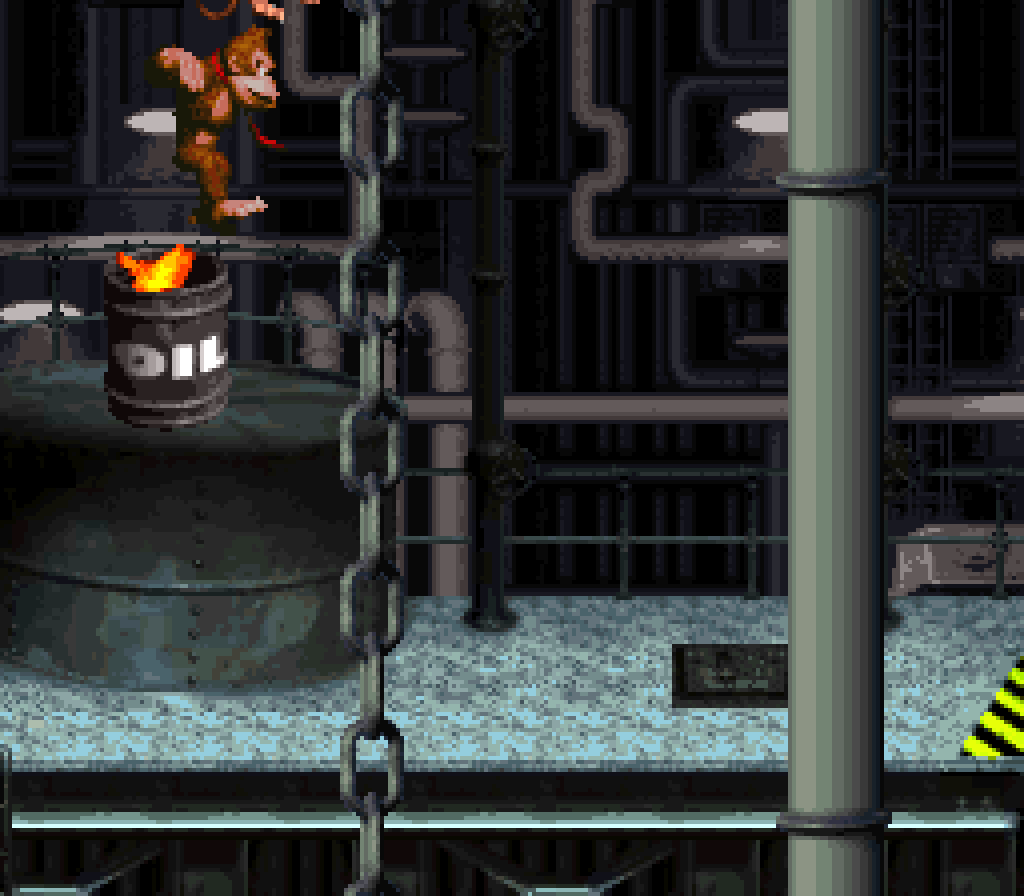
They introduce ’nother twist in that they give you a hidden Rambi down what seems like a pit, indicated by a banana & maybe the crate-breaking noise a barrel thrown by a Manky Kong up ’head makes when it falls down & hits it. Unlike all the previous levels, where Rambi was an unambiguous powerup that instantly made those levels twice as easy, Rambi here, due to his larger hit box & slippery movement ( specially on the GBA version, wherein he for some reason always feels like he’s moving on ice ), Rambi adds a bit o’ extra challenge when hopping ’cross the tiny oil drums, whose flames can hurt Rambi. Rambi’s only useful for breaking a wall just ’head o’ where you get him, howe’er, so there’s no threat in losing him. 1 last level to give you Rambi after this will truly challenge your ability to keep Rambi. 
While the start & end are rather strong, this level’s middle feels like a bit o’ a slog, specially that long path littered with lit oil drums just sitting there on flat ground with what feels like dozens o’ Kritters all hopping forward in the same formations. It’s e’en mo’ tedious if you make the mistake o’ trying to roll the tire that’s revealed @ the start o’ the section all the way to the end only to discover it’s useless. I think maybe it’s s’posed to help you get the O; but you can just bounce off a Kritter, which may not be free, but is much less o’ an ordeal than dragging the tire so long. 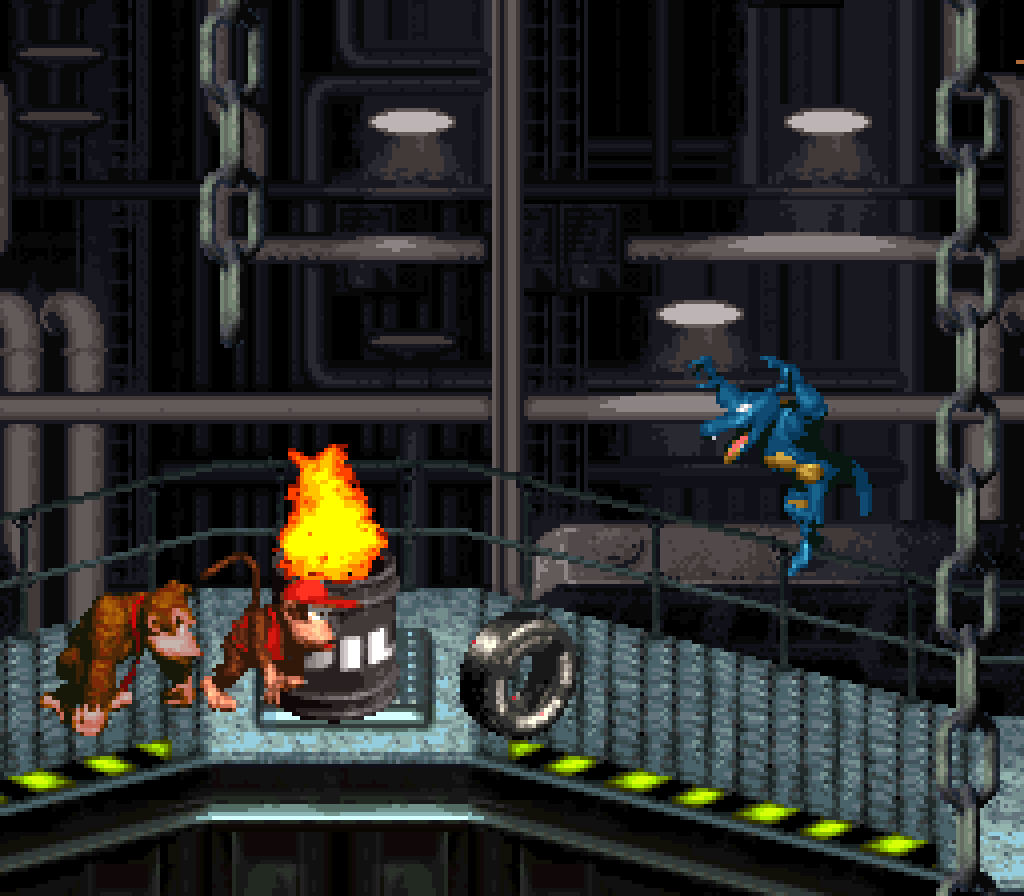
’Course, I can’t talk ’bout this level without discussing its infamously obscure bonus: the bonus within the bonus. The thing is, I think hiding a bonus within a bonus is a brilliant idea that is 100% fair. Nowhere does the game so much as imply that bonuses themselves are off-limits for finding bonuses, so it’s reasonable to expect players truly thinking outside the box to consider the idea. DKC2 does this to greater results with a hero coin hidden in 1 o’ its bonuses. That the bonus is found by breaking a wall in ’nother bonus is perfectly intuitive — certainly mo’ intuitive than the bonus found in “Tanked Up Trouble” or that bonus in “Ropey Rampage”. The problem with this bonus is that you break the wall with a barrel that only spawns when you hit all 3 roulette barrels while showing a single banana. This is where the bonus goes completely gainst any intuition or logic. Any reasonable player would assume that 3 single bananas would give you, well, a single banana, as all the other roulette entries give you what they show when you collect all 3 o’ them. So this is a case wherein the developers do break the rules & outright lie to you. 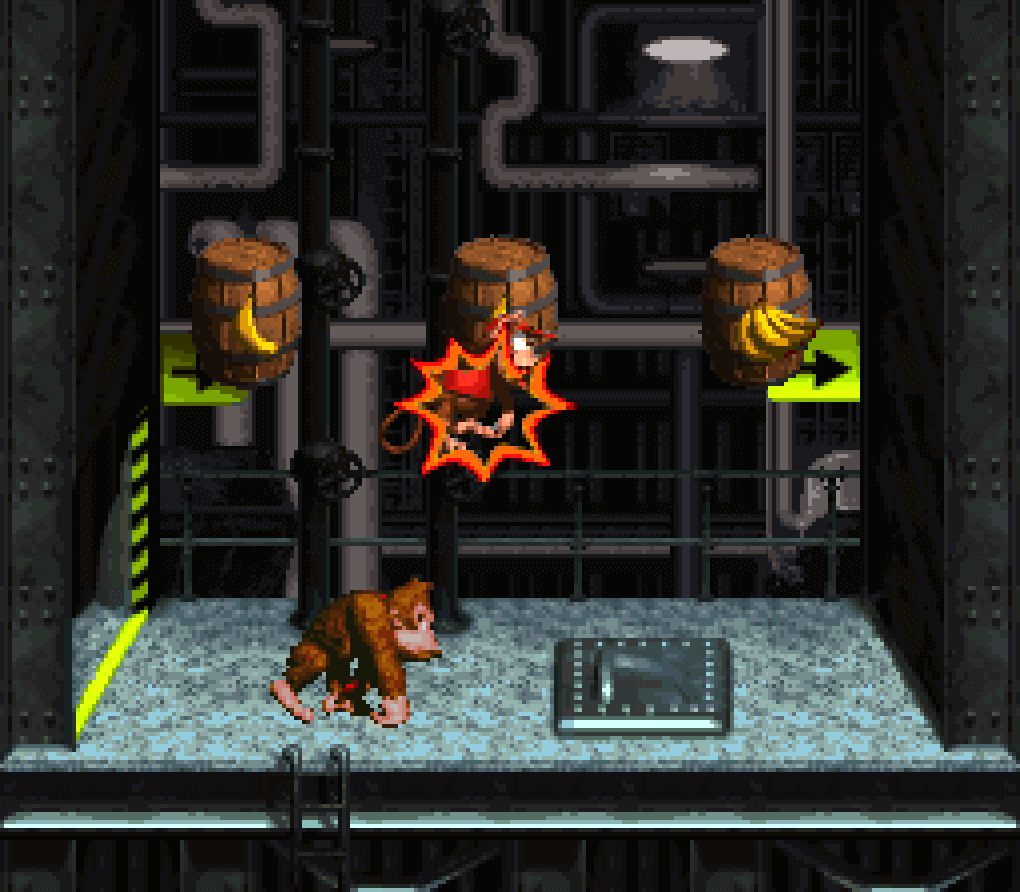
What’s worse is that the developers missed the perfect opportunity for a clever puzzle: ’stead o’ having it be 3 single bananas in a row, they should’ve made 1 o’ the roulette entries show nothing — that is, it shows only the barrel itself. That would’ve been a clever trick that sort o’ makes sense when you think ’bout it, unlike the single bananas, which have nothing to do with barrels — or a’least nothing mo’ than any o’ the other roulette entries — & is just arbitary.
While the bonus game you get for this super-secret bonus feels big, having 3 o’ those “hit the letters” games, which spell out the 3 words “Donkey”, “Kong”, & “Country”, e’en the 6 lives they give you isn’t worth how long it takes to do them all. 
But other than that, the bonuses are rather strong. Breaking open the 1st oil drum with a TNT barrel revealed from the clearly-marked breakable floor after falling down to it from a rope is, if not hard, a’least interesting for something you only e’er have to do once. The 4th bonus gives you 2 optional challenges: bring Rambi there without losing Rambi or dodge 1 o’ Manky Kong’s barrels & follow it to the door it opens. Ironically, the least interesting bonus is the 2nd bonus, where the secret 3rd bonus is found, as it’s just a wall right ’hind where you reveal the TNT that breaks it. I guess the fact that you have to think to go backward to open it is the “puzzle”; or maybe it’s intentionally innocuous to make the bonus hidden in it e’en mo’ hidden. 
The KONG letters are mostly lame. The K is just right there, gotten by a basic jump. The N is in the 4th bonus, which thankfully you can just mash the jump button to complete. The G is kind o’ interesting, tho: hidden in breakable ground after the last oil drum, challenging the player 1 last time to jump on the oil drum when it’s safe & then jump off to get that extra height necessary to break the floor. 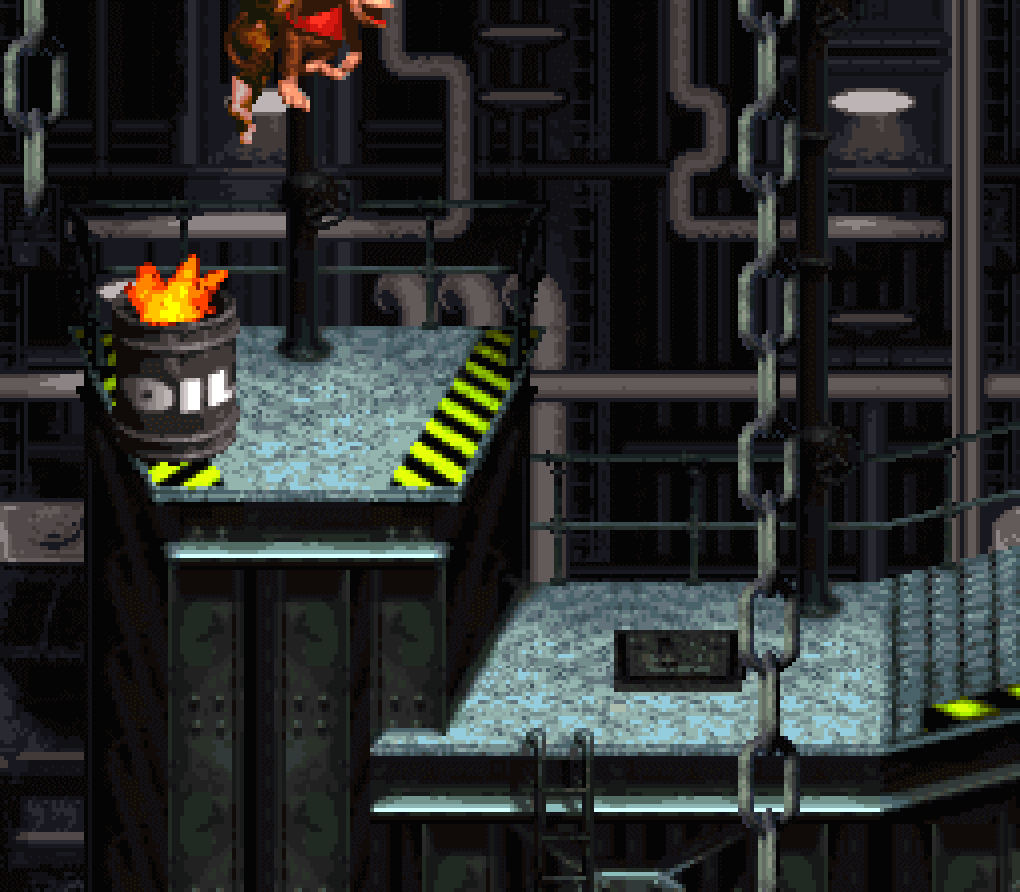
“Oil Drum Alley” perhaps could’ve benefited from being shortened a bit — a’least removing that pointless long section with the hopping Kritters e’erywhere. They also probably didn’t need 4 bonuses in this level — but then maybe they did that on purpose to better hide the 3rd bonus till the player notices that after completing 3 bonuses they’re still missing that “!”.