

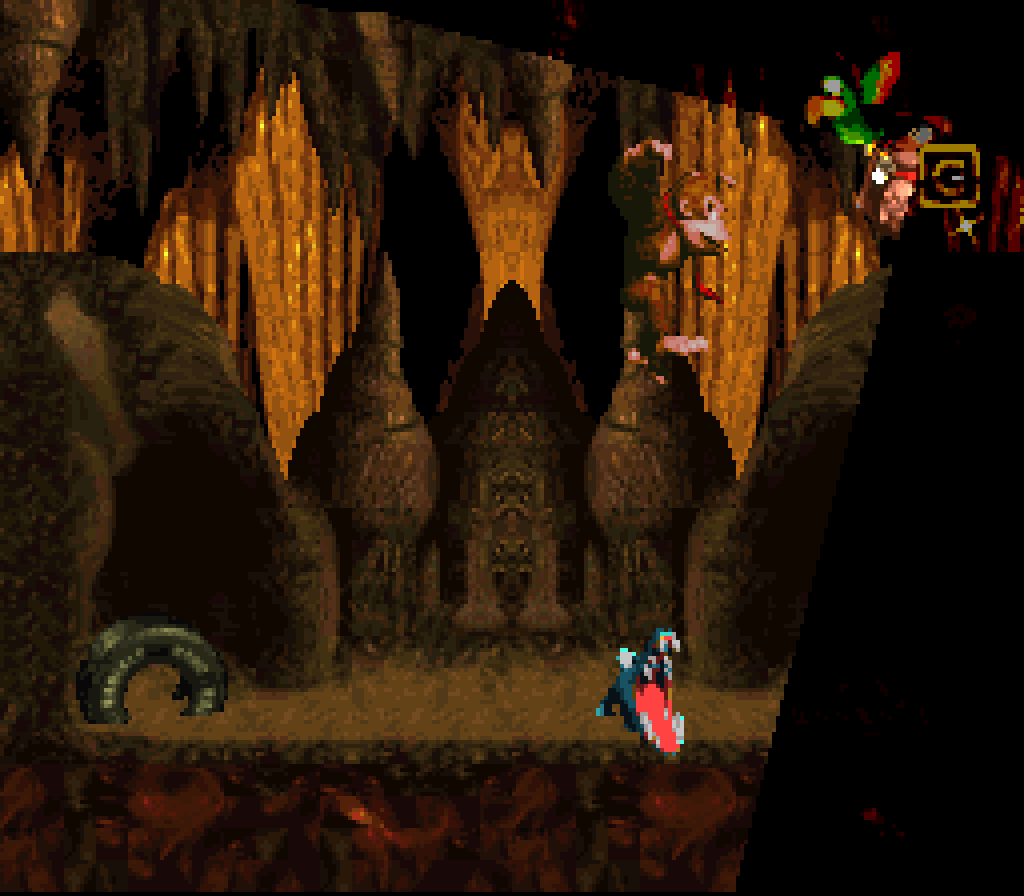
20. Elevator Antics
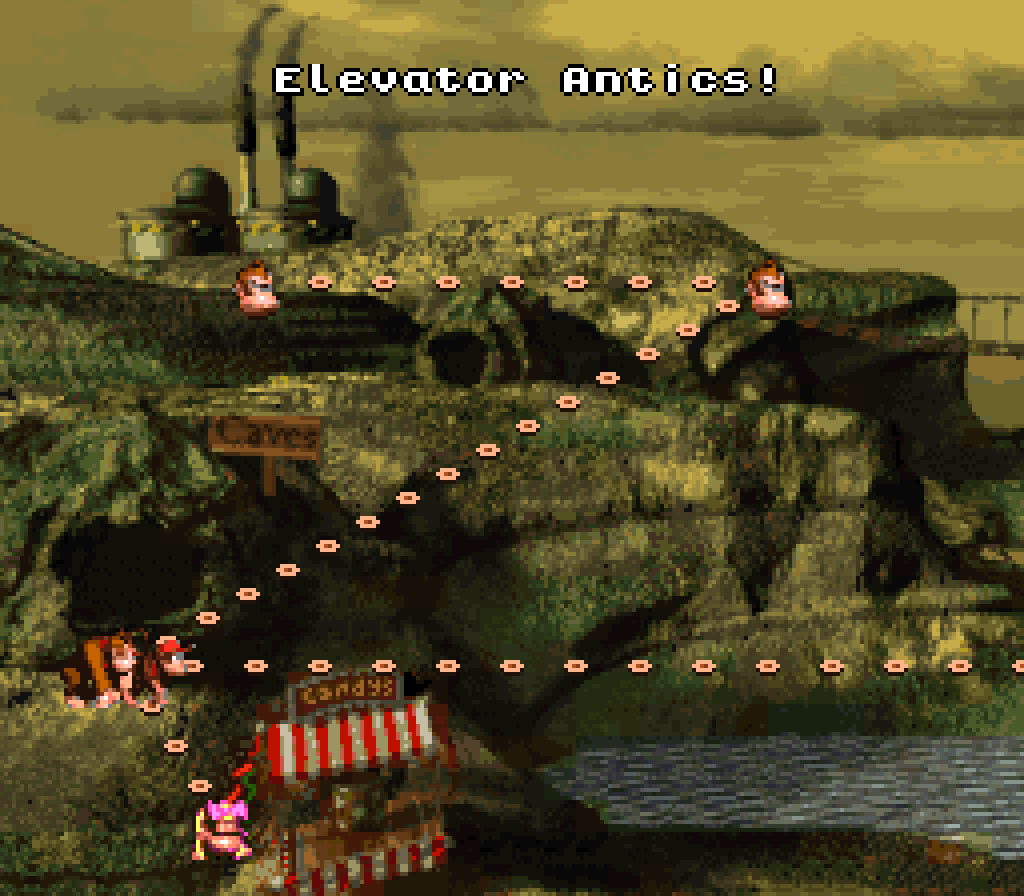
¿Why is this a cave level? I couldn’t see any reason why level, whose main focus seems to be be steel kitchen sinks that rise & fall down metal poles, couldn’t use the underutilized factory tileset, in which case this level would fit snuggly in “Kremkroc Industries Inc.” ’stead o’ making me wonder why it’s here & not the “Chimp Caverns” just after. The ropes could be turned into chains. & as for the Zingers, Neckies, & Slippas that inhabit this cave, Neckies & Zingers appear in caves & snowy mountains, where they don’t belong, all the time & there’s apparently not problem with Manky Kong appearing in both the factory levels. Zingers & Neckies are the dominant species in “Tanked-Up Trouble”, which feels mo’ like it belongs in “Kremkroc Industries” ( it’s in “Chimp Caverns” ) than this level.
Anyway, the fact that they decided to make this level the 4th out o’ 5 cave levels doesn’t help this level stand out — specially when it uses the same putrid brown & yellow palette used in 3 out o’ 5 o’ these levels.
That’s not to say this level doesn’t have its subtle touches. Contrasted gainst the dull “Oil Drum Alley”, “Trick Track Trek”, & “Poison Pond” & the challenge-by-cheap-tricks “Blackout Basement”, “Elevator Antics” feels like we’ve gone back to the subtly intricate challenges o’ “Gorilla Glacier” — tho not necessarily as fair. I remember hating this level as a kid ’cause o’ how hard ’twas, which is odd, since it’s definitely easier than some o’ the levels in “Gorilla Glacier”. E’en the fact that this level comes before the save point isn’t a big deal, since by this point I should have had to survive thru 4 other levels after “Snow Barrel Blast”.
1 difference is that I don’t think there were any cheap tricks in any o’ those levels, save the relatively moderate “Croctopus Chase”, while this level is full o’ cheap hits hidden by that giant conspirator, the camera: Zingers that crash into you as you’re slowly moving up & down or jumping from 1 rope to the other from offscreen, giving you no time to react in such stilted movement; Slippas placed so that right after you jump down from a rope they’ll hit you, with no way to know they’re there till you land ( or worse, you might, in the urge to go as fast as possible, you may lean right up gainst the wall as you jump from the rope, only for that to make you go into the small alcove under that wall immediately ’pon landing, where you can’t defend yourself from a Slippa, as you can neither roll nor jump there ). To a lesser extent, e’en the 1st Mini-Necky is rather dickishly placed, right round where you lose the roll you’ve likely used gainst the 2 Slippas before it, leaving you vulnerable to 1 o’ its nuts as your character slowly recovers from their roll. 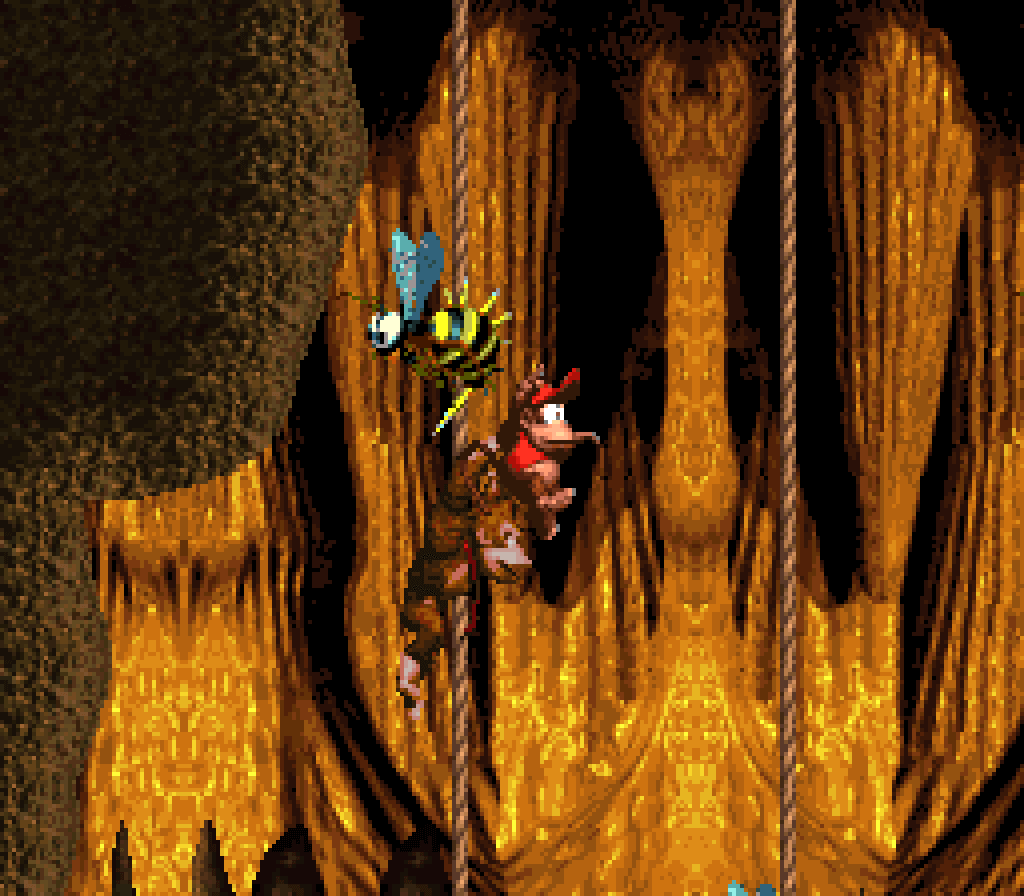
Not helping is the uncharacteristically finnicky hitboxes on the “elevators”, which, in contrast to how most good hitboxes work in this game, are smaller than they appear & don’t allow you to stand on their edges, which can lead to unexpected deaths in the thick o’ action. Elevators also don’t seem to be physically there when they’re @ the bottom o’ the screen, as players may learn if they happen to try landing on 1 right @ the bottom & see, to their confusion, their character phase right thru it. 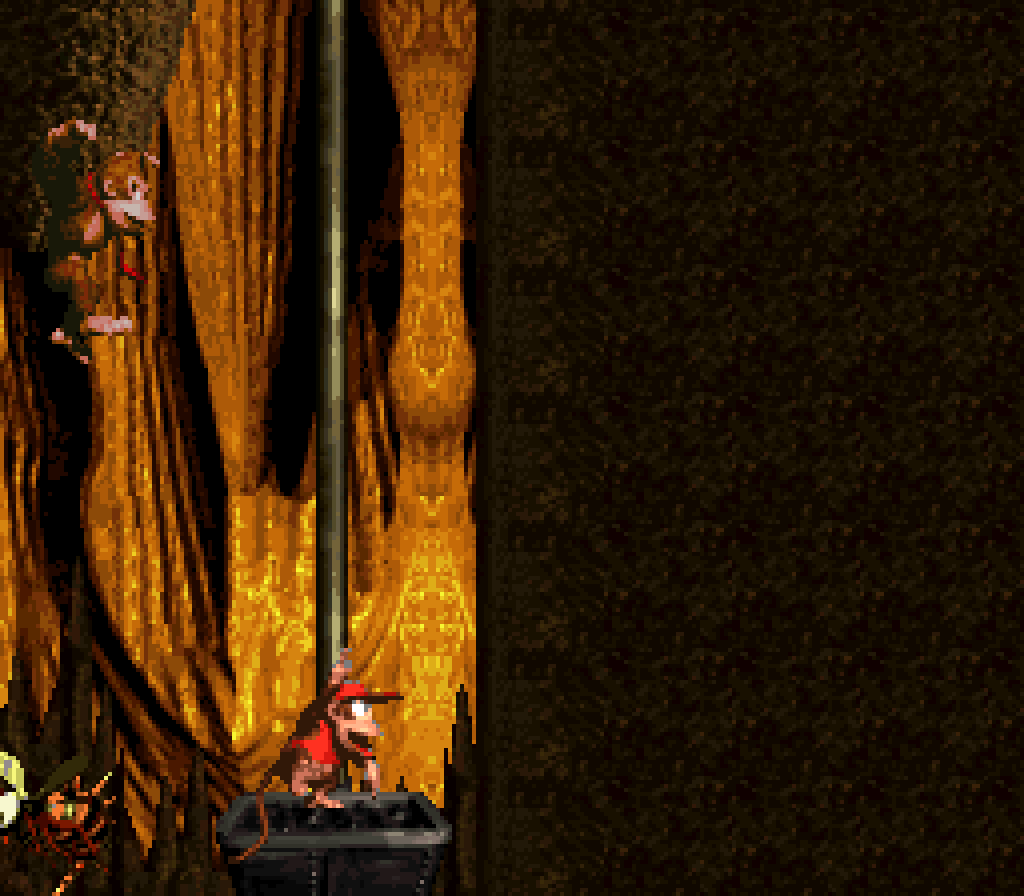
Then there are a few places with illogical design, such as 1 o’ the many cliffs with Klumps on it, but this time going the other direction you’re going, so you can just slowly follow them till they fall off the cliff themselves or the drop from 1 cliff down to ’nother with just a row o’ bananas there ( presumably to show you you can go down there safely ), & nothing else. 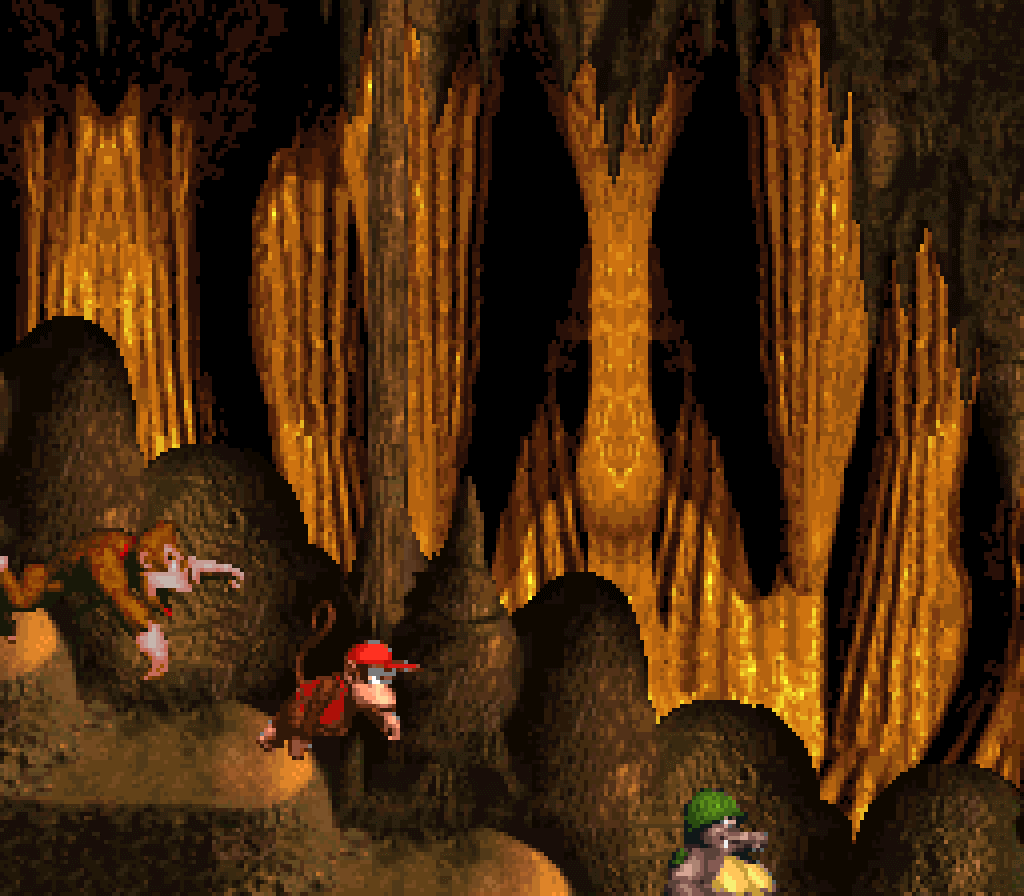
The eponymous elevators don’t appear till just after the midpoint, which is understandable, as there’s not much to do with it. They’re basically just the elevator platforms in Super Mario Bros.. They do come up with a few interesting ideas, like jumping from 1 to the other with Zingers both ’bove & below, neither o’ which feel as cheap as the rope jumps with Zingers, & the penultimate section with the low ceilings that give you e’en less room to jump from platform to platform. The 1st 2 sections, howe’er, are the exact same, just that the 2nd has an N near the bottom o’ the elevators. Considering the cliff with the Mini-Necky & the steel barrel that kills it before you reach it is pointless, this section & the 1st elevator section could’ve been cut out with no loss. As a kid I always thought these platforms were s’posed to be kitchen sinks, but I think they’re actually s’posed to be buckets. I think kitchen sinks are cooler, tho, so I’m still going to interpret them as kitchen sinks. 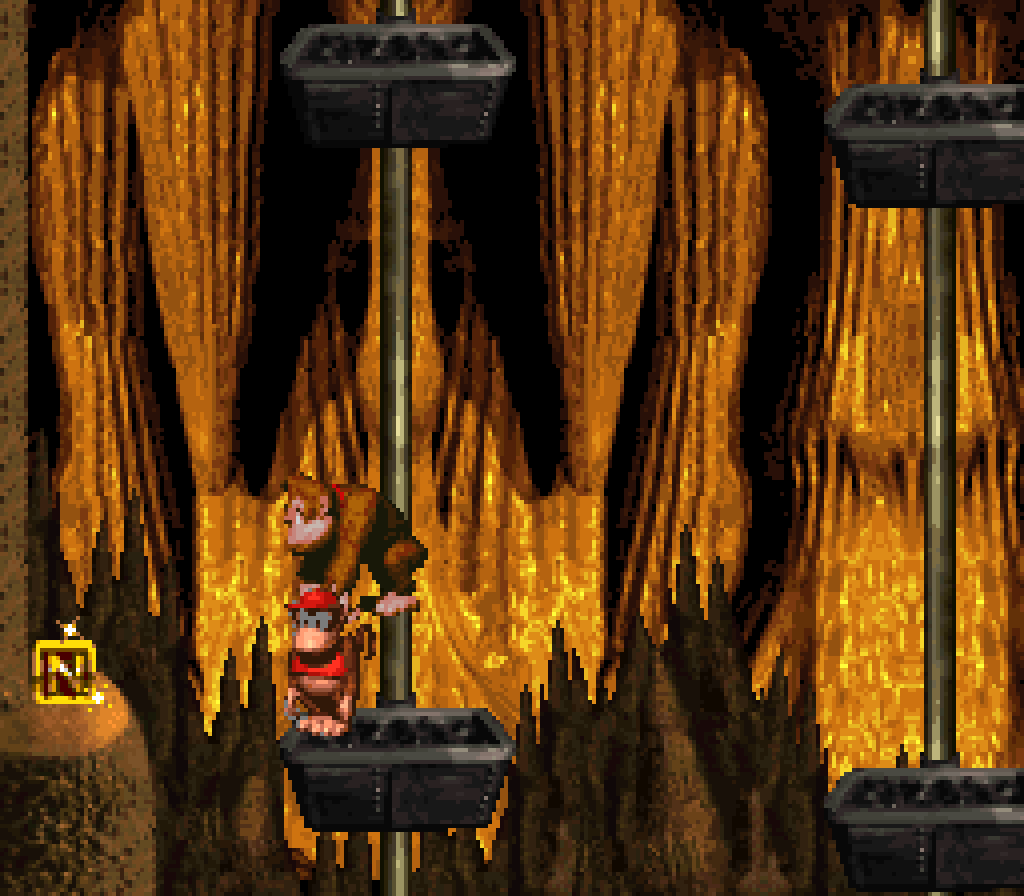
I do like that the other gimmick they use for most o’ the 1st half o’ this level, the ropes, a’least still fit this level’s concept o’ elevating up & down, & it does offer this level some variety that mo’ gimmick-heavy levels lack. It perhaps would’ve been better if they mixed these 2 gimmicks together, as by the time you go thru the 4th pair o’ fighting Klumps & riding elevators in a row, I’ve gotten my fill.
If this level’s shining point is anything, it’s some o’ the Mini-Necky sections, specially the parts where the Mini-Necky goes up & down throwing nuts, creating particularly fun dodge & hit situations, & the final challenge with the Mini-Necky throwing nuts ’bove a tire, forcing the player to time their bounce round the constantly volley o’ nuts. 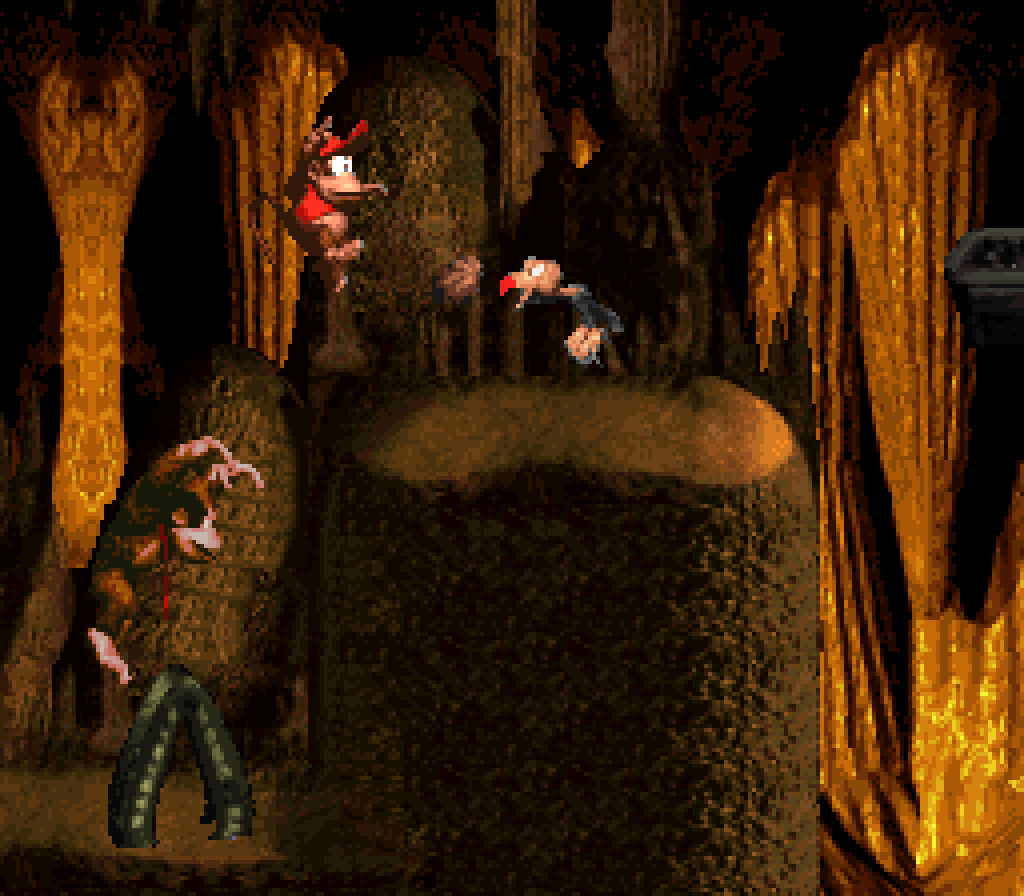
I have mixed views on the bonuses in this level. The final bonus, in particular, is a bit rude. Yes, it makes sense for the player to be suspicious o’ an elevator going downward that seems to have to use other than, perhaps, as a jump that feels very short & easy @ the climax o’ the level ( tho they do move much mo’ quickly than any other elevator in this level ). But you’re still expecting the player to take a risk going down there when there was just as likely a chance there was nothing down there & they have no way to get back up — right @ the end o’ a relatively hard level. As you can imagine, as a kid I rarely took the elevator up on its 1st offer & oft played thru the level ’gain to get it, now that I didn’t care whether I beat the level or not anymo’. This could’ve worked fine if they a’least spaced the platforms close ’nough that you could jump back up them, so the player wouldn’t feel like they were rolling the dice on a level that hasn’t exactly inspired confidence with some o’ its earlier dick moves. E’en better might have been to make the bonus up high, which fits better with elevators which are mainly for, you know, elevating, which has the bonus o’ not seeming suicidal, since there are no “sky pits” in this game to screw you o’er & you’d be able to just jump down back to the rest o’ the level. 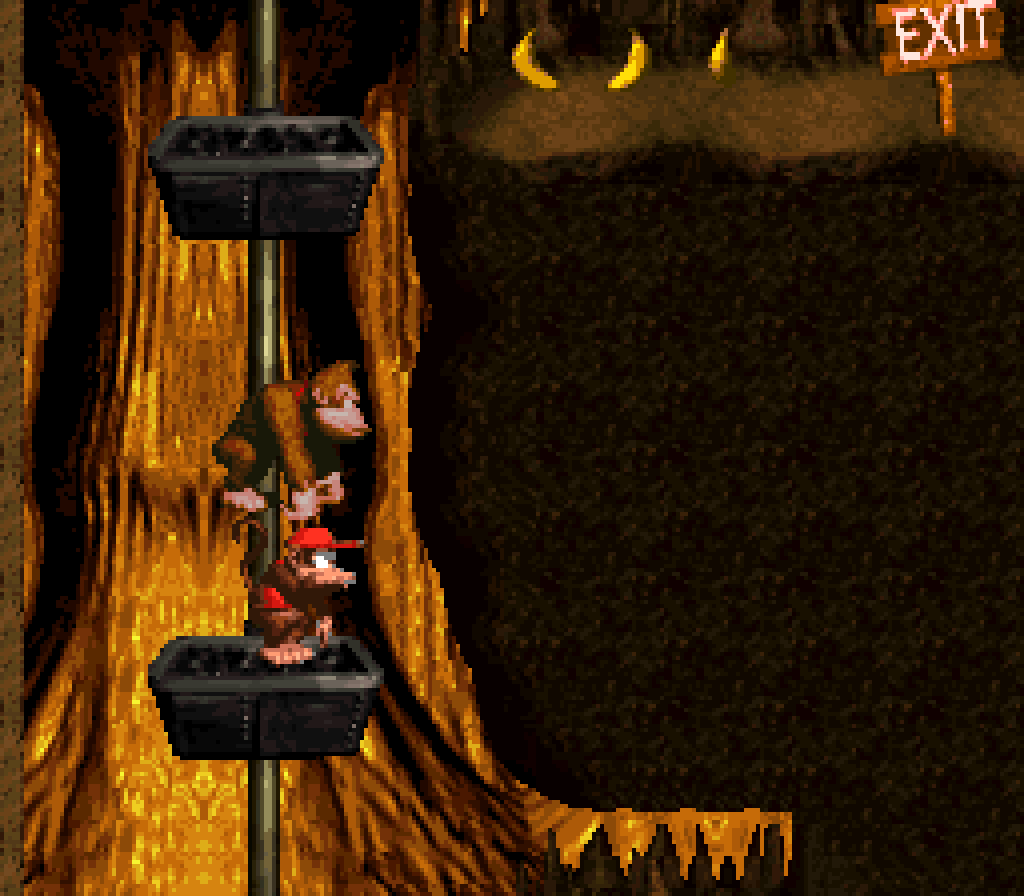
Then there’s the middle bonus, which is just invisible & requires the player to randomly guess there’s something o’er a wall that seems to reach all the way to the top o’ the screen, round a hectic rope section full o’ Zingers where you’re as unlikely to try such a Hail Mary as, well, the end o’ the level. It doesn’t help that, due to how slow your character moves on the ropes, you have to unintuitively jump toward the 3rd rope while the Zinger is right in your way to land on the other side safely & get ’nough time to jump ’gain to reach o’er the wall. What’s specially annoying is that, if you look @ the DK Atlas map, it seems like a great bonus placement, since the DK Atlas map doesn’t indicate that that top few blocks are blocked by the camera ( also, it’s questionable accurate, as you can’t climb up past the camera, so those ropes are mo’ likely floating without a top, ending right where the camera ends, rather than extending past it as the map implies ). A perfect example o’ the developers going too far with obscuring a bonus when they had 1 hidden well ’nough without the camera cheat. 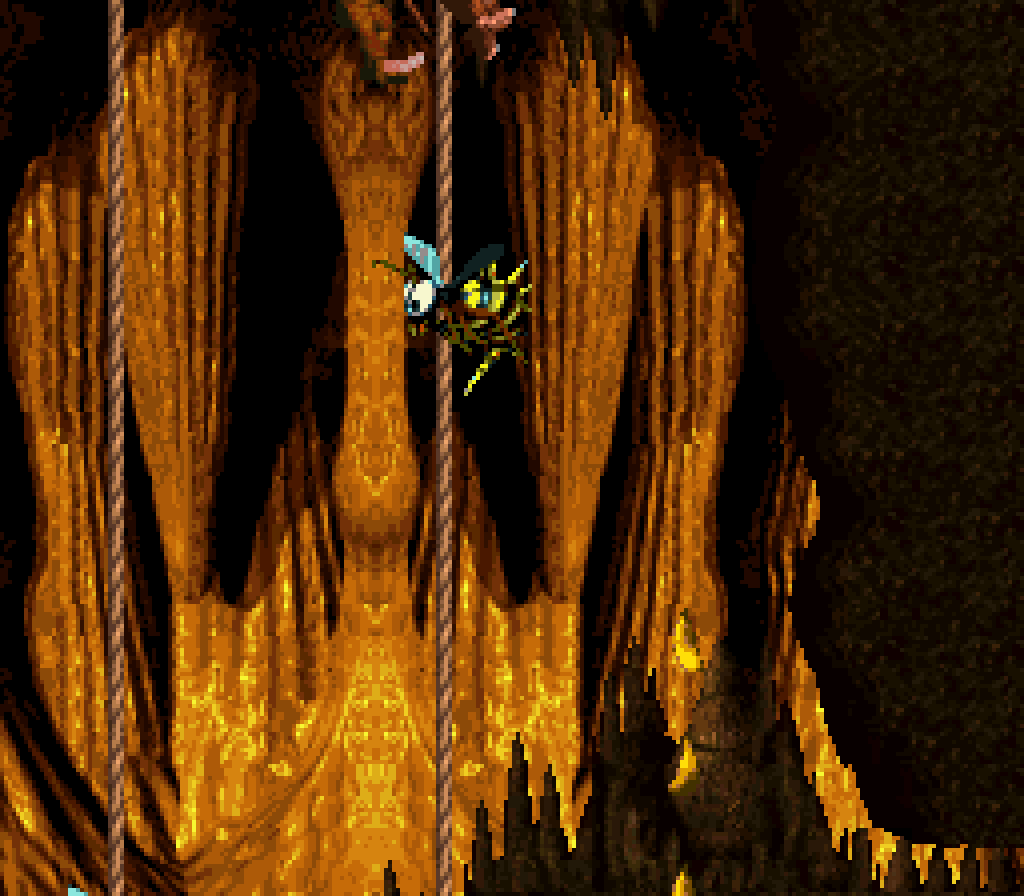
I do like the 1st, right in front o’ your face, but still surprisingly easy to miss; & if you do miss it, it’s right @ the start. 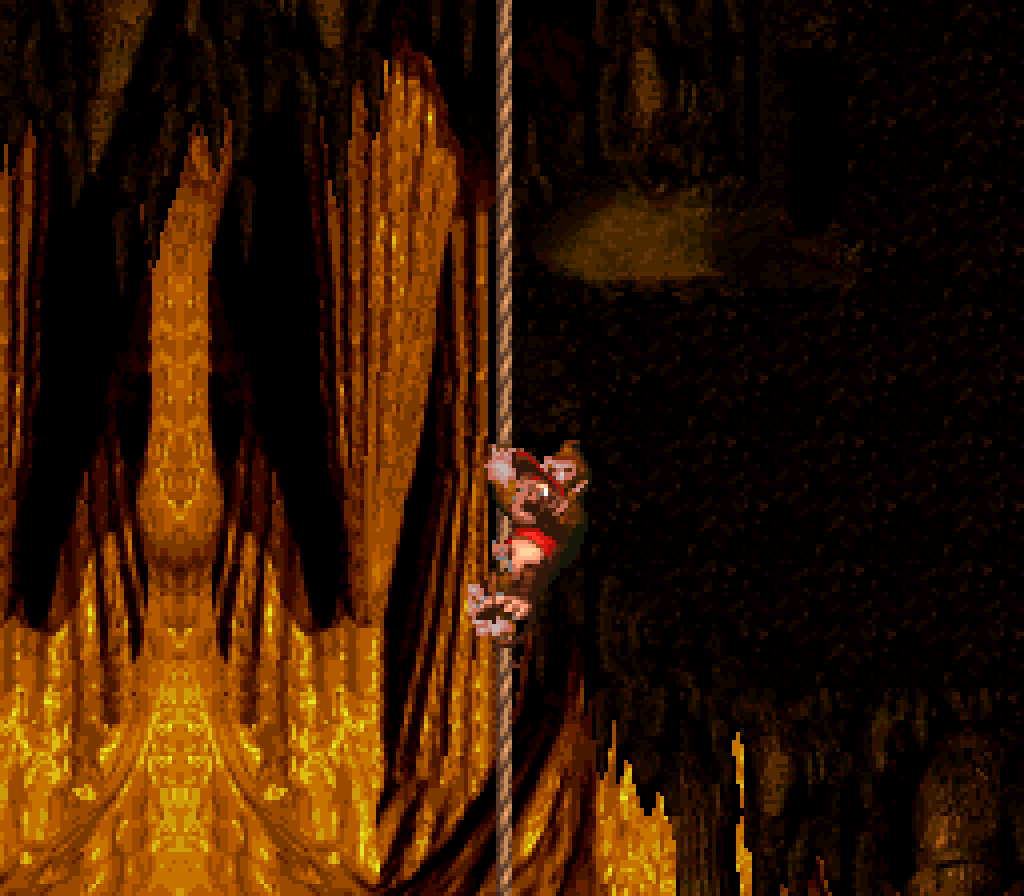
Other than the G, the KONG letters feel well-hidden, specially the K @ the end o’ the ropes @ the start & the N @ the bottom o’ an elevator section ( showing ’nother case where the bonus @ the bottom o’ the elevator could’ve been made mo’ fair: put an upward-moving elevator next to the downward-moving elevator ). I don’t like having to keep getting the O in the bonus with the slowly rotating barrel cannons e’ery time I die, howe’er. 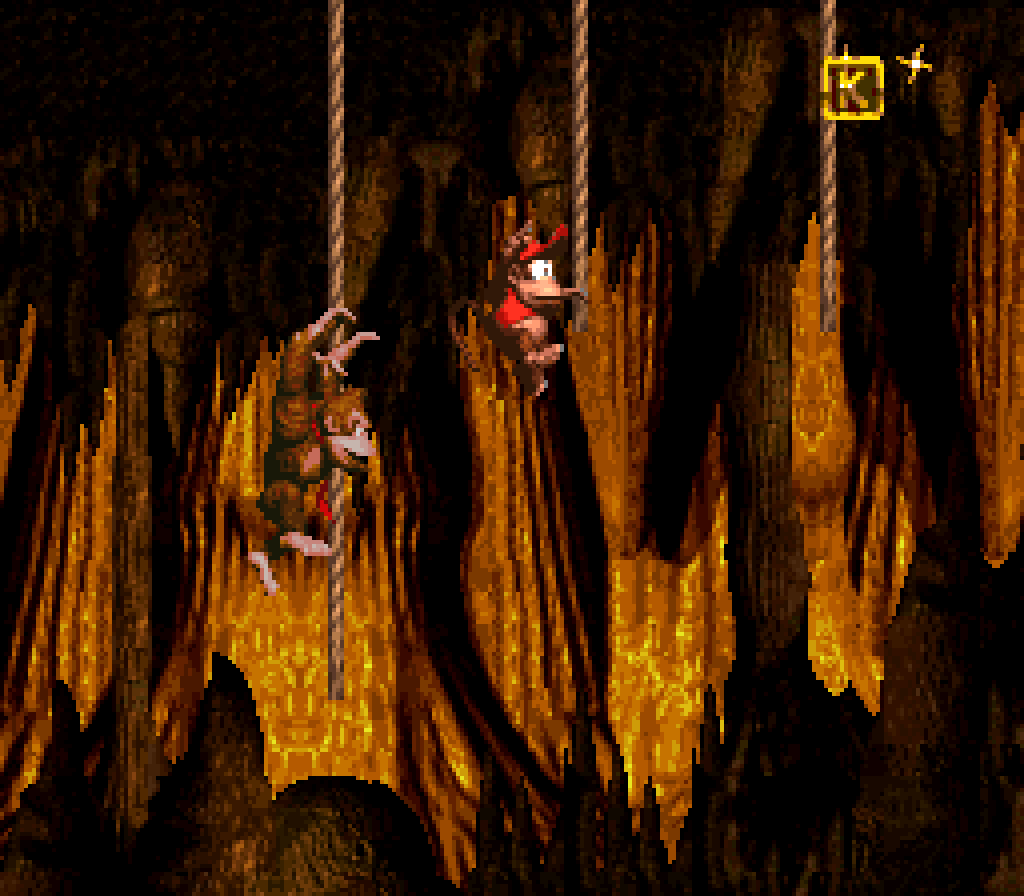
19. Vulture Culture
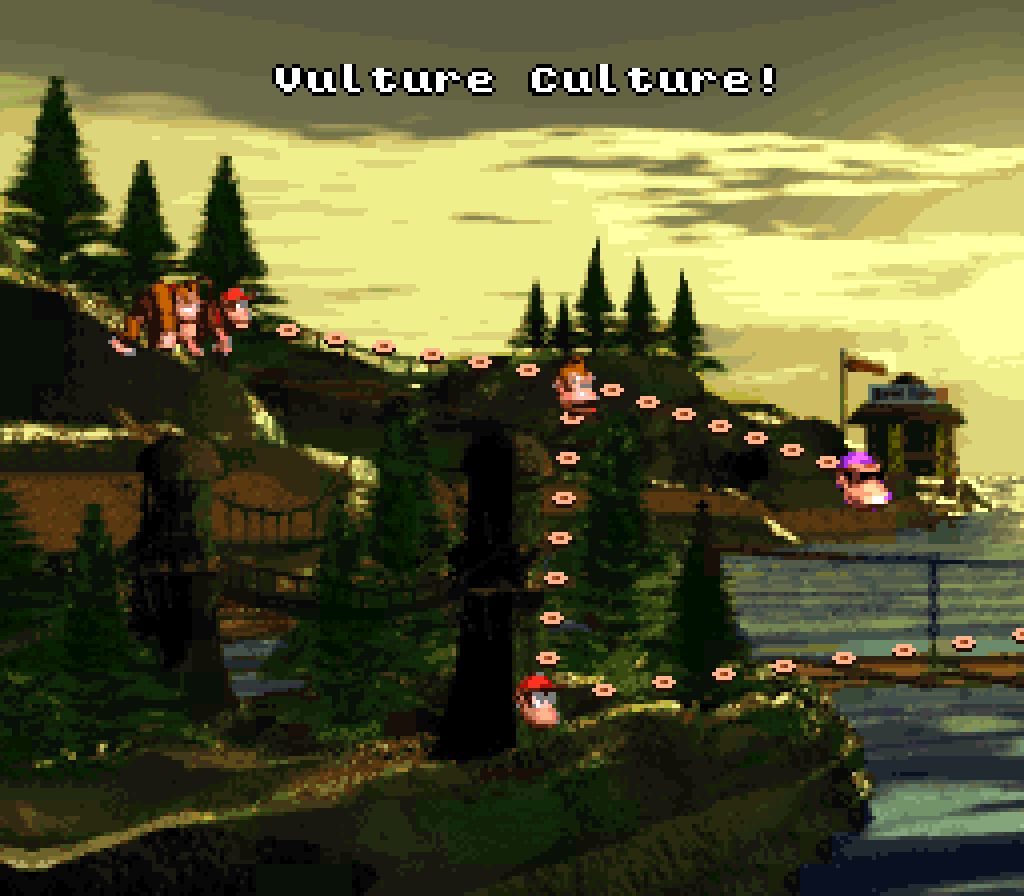
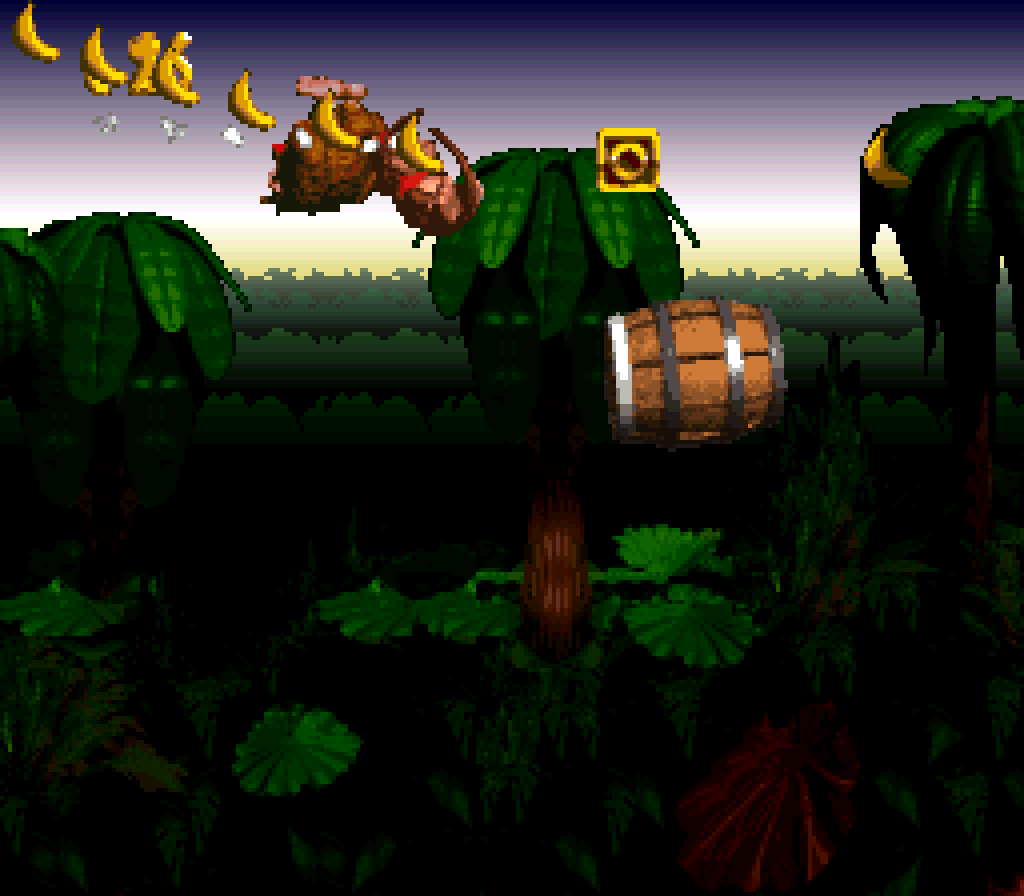
This level has just the right mix o’ a general mechanic to cohere round & other general mechanics to keep the level from getting too repetitive or generic, something the sequel would master. While shooting yourself @ birds from floating barrel cannons is far from the most exot — actually, now that I think ’bout it, that is a very weird gimmick. Such is the staying power o’ DKC that it has managed to make the bizarre seem normal, just as how Super Mario Bros. normalized floating blocks & jumping 7 times your height. Anyway, after our 1st taste o’ the barrel cannons, “Barrel Cannon Canyon”, insisted we avoid the invulnerable Zingers with our cannon shots, it’s refreshing to be able to intentionally aim @ & destroy enemies this time — tho it does sneak back to forcing you to dodge Zingers in the latter 3rd or so. 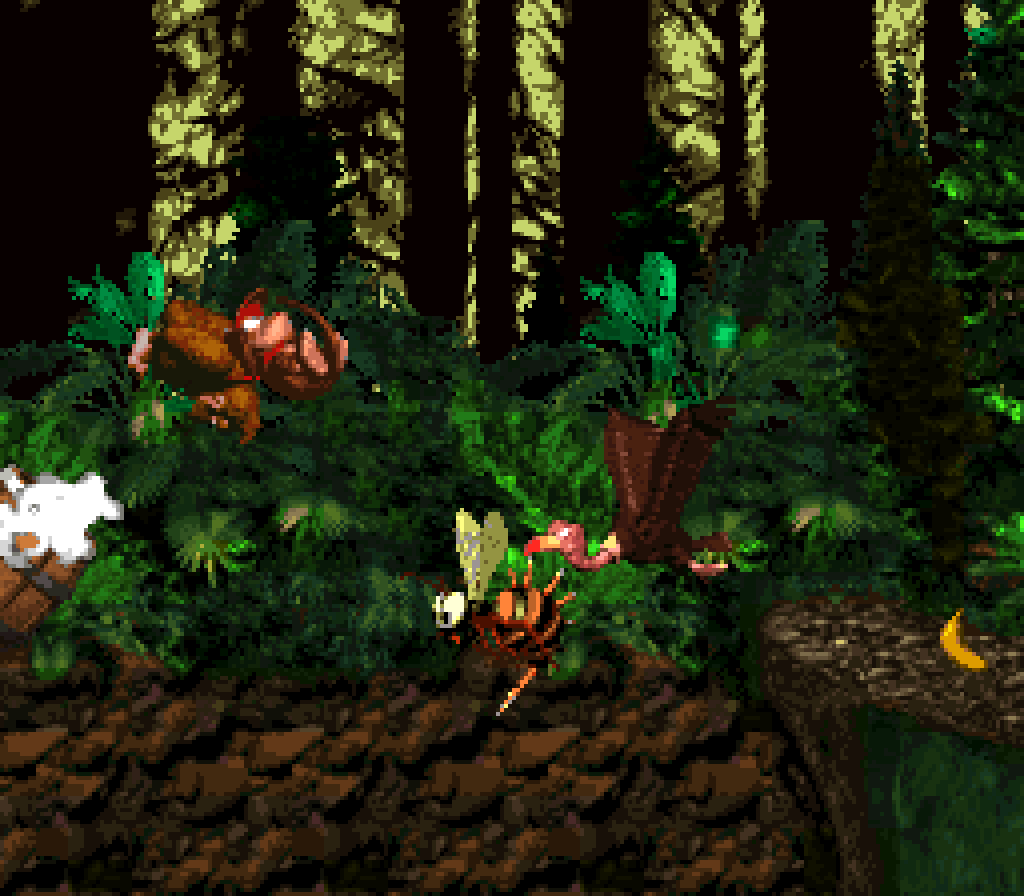
This level does offer some interesting Necky arrangements & paths gainst which to aim your shots, from stationary Neckies to Neckies moving left & right, up & down, & then circling, to a staircase o’ stationary Neckies whom you bounce up. When this level reintroduces Zingers, it does so by forcing you to bounce gainst a Necky to jump o’er the Zinger. I particularly like the tutorial that is the 2nd Necky, who moves left & right with a half parabola o’ bananas showing precisely where they expect you to shoot — only it’s actually safe to hit the Necky when it’s in the wrong place, which is a much mo’ interesting safety wheels than the ol’ “safety ground that lets you climb back up & try ’gain”. 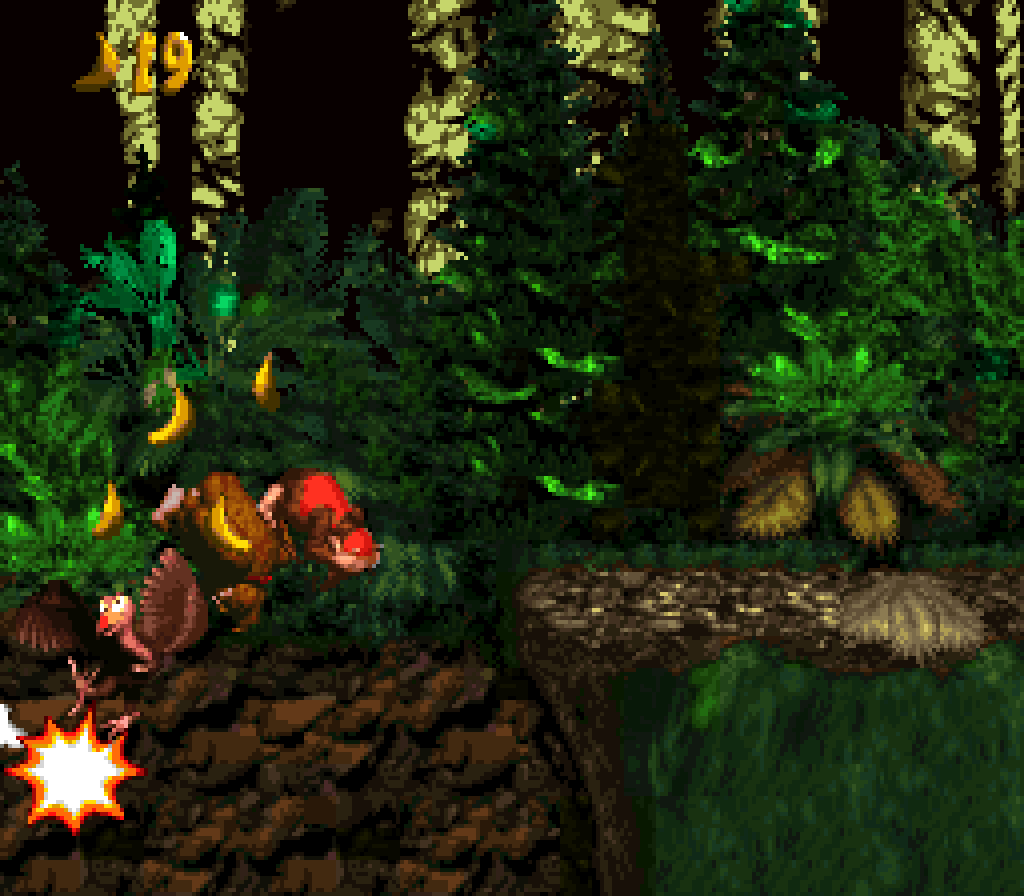
Ne’ertheless, this level’s layout is nowhere close to as interesting as the intricate web o’ cannons in “Barrel Cannon Canyon”, & is thus oddly easier, despite taking place 2 worlds later. I guess this level was meant to be more o’ a warm-up, being the 1st level o’ the world ( as opposed to “Barrel Cannon Canyon”, which is the last level o’ world 1 ) & being before the player reaches the safety o’ the save point. This level comes right before “Tree Top Town”, which is, contrariwise, quite a difficulty spike ( & which also comes before either a save point or a Funky warp that lets you go to an earlier save point, so if “Vulture Culture” is trying to be merciful, “Tree Top Town” makes that mercy fall in vain ). Some set pieces are repeated a bit too oft, such as the aforementioned staircases o’ Neckies, o’ which there are 3 & specially the Mini-Neckies just standing there spitting nuts. While the 2nd iteration where you can throw a barrel down a set o’ steps to plow the Mini-Necky down is interesting, they repeat this idea many other times, including a plainer version 1st & a few times afterward. There are 2 instances o’ just the Mini-Neckies without a barrel, offering something o’ an actual challenge, but by that point they feel diluted with all the other Mini-Neckies. Cutting some o’ these parts probably would’ve strengthened this level. 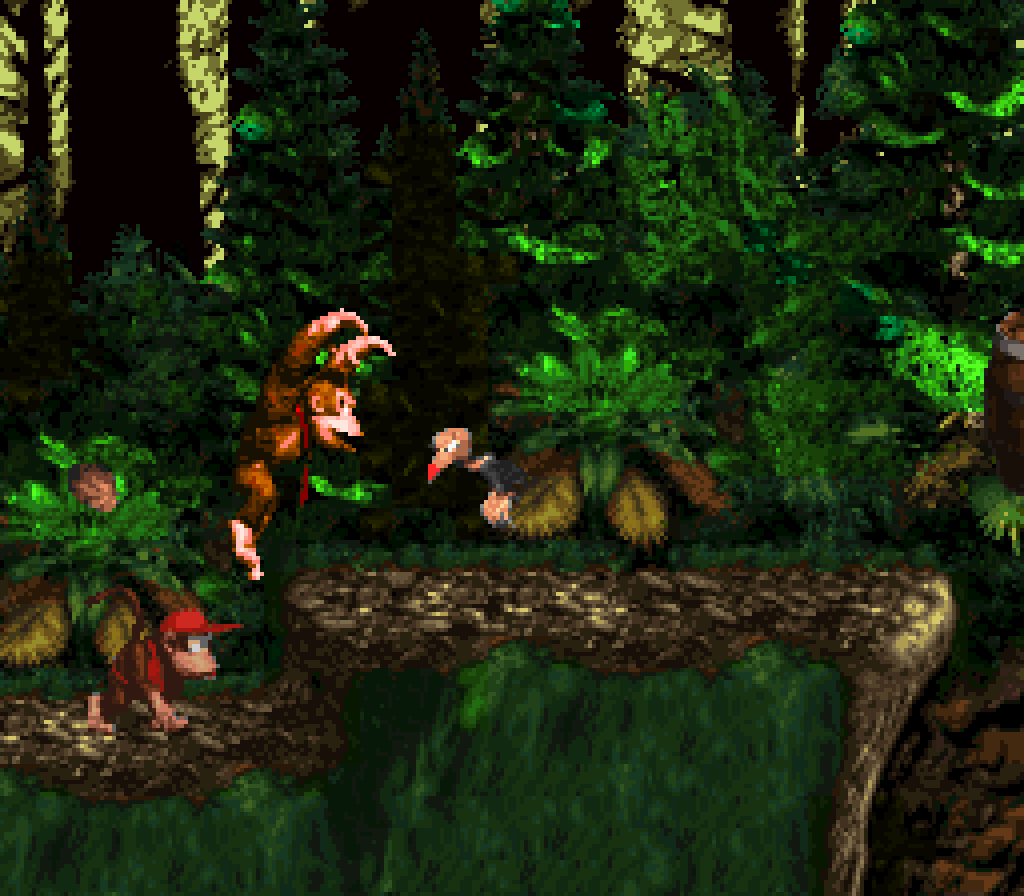
The bonus locations aren’t that interesting, either. The 3rd bonus does tie itself to the sort o’ micro gimmick o’ this level, the Neckies perched up high dropping nuts, making the 2nd iteration something beyond just falling dangers to be avoided, challenging the player to climb up & bop them while avoiding their nuts so they can jump down &, with that extra weight, break open the floor to produce a barrel to open a cave wall. That said, I don’t like how quick the cave wall rebuilds itself after breaking it just by making it go just the tiniest bit offscreen ( the barrel needed to break it, sadly, does not respawn ). They hide the N in the bonus section itself & I like the way you can just mash the A button to go thru all the barrel blasts. 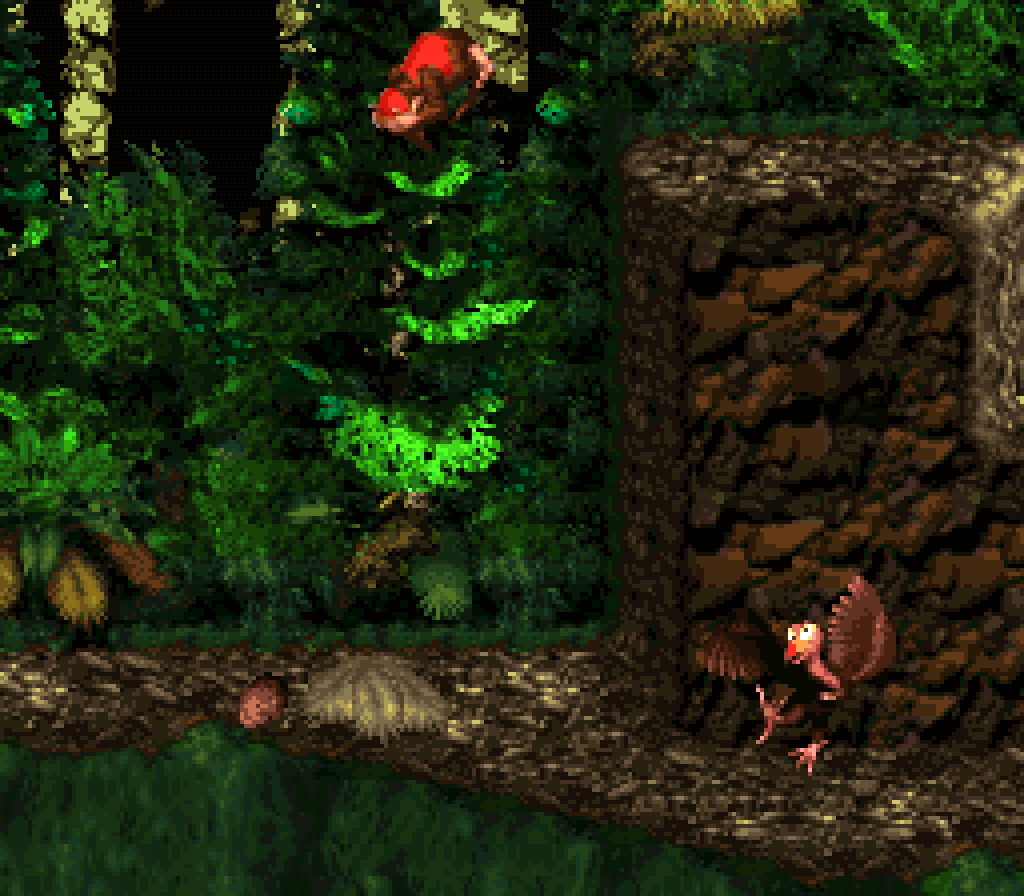

Howe’er, the 2nd bonus is, ’less you’re unlucky ’nough to precisely move so that you don’t land on either the cave wall or the floor with the barrel or the Necky & then 1 o’ these other 2, which seems like something you have to try to do, just given to you, & otherwise feels like it cheaply robs you o’ a bonus. 
The 1st bonus, the least weak o’ them, relies on a trail o’ bananas to indicate its presence, & expects the player to roll the tire under it, which is a repeat o’ a similar bonus in “Stop & Go Station”, but not as cleverly hidden or arranged, despite coming in a later level. 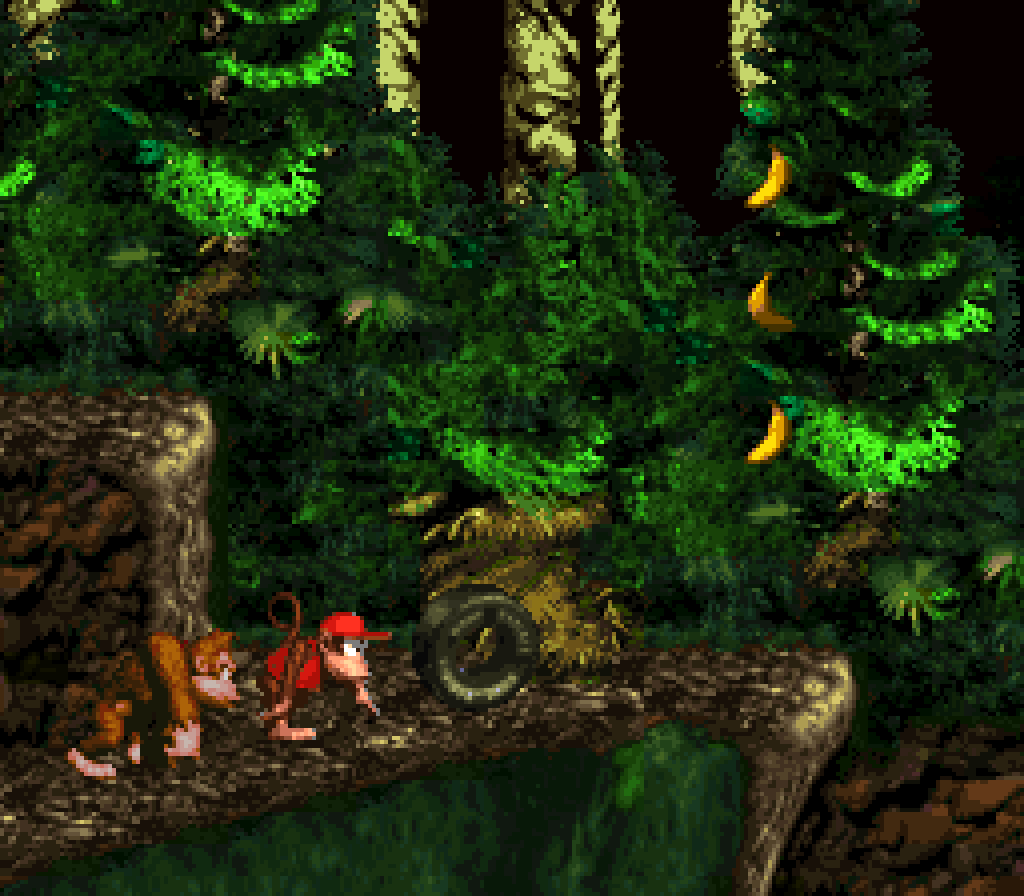
None o’ the KONG letter placements are interesting. Most are in plain sight, with the N in plain sight in a bonus. Only the 1st is hidden in a new place under breakable floor. 
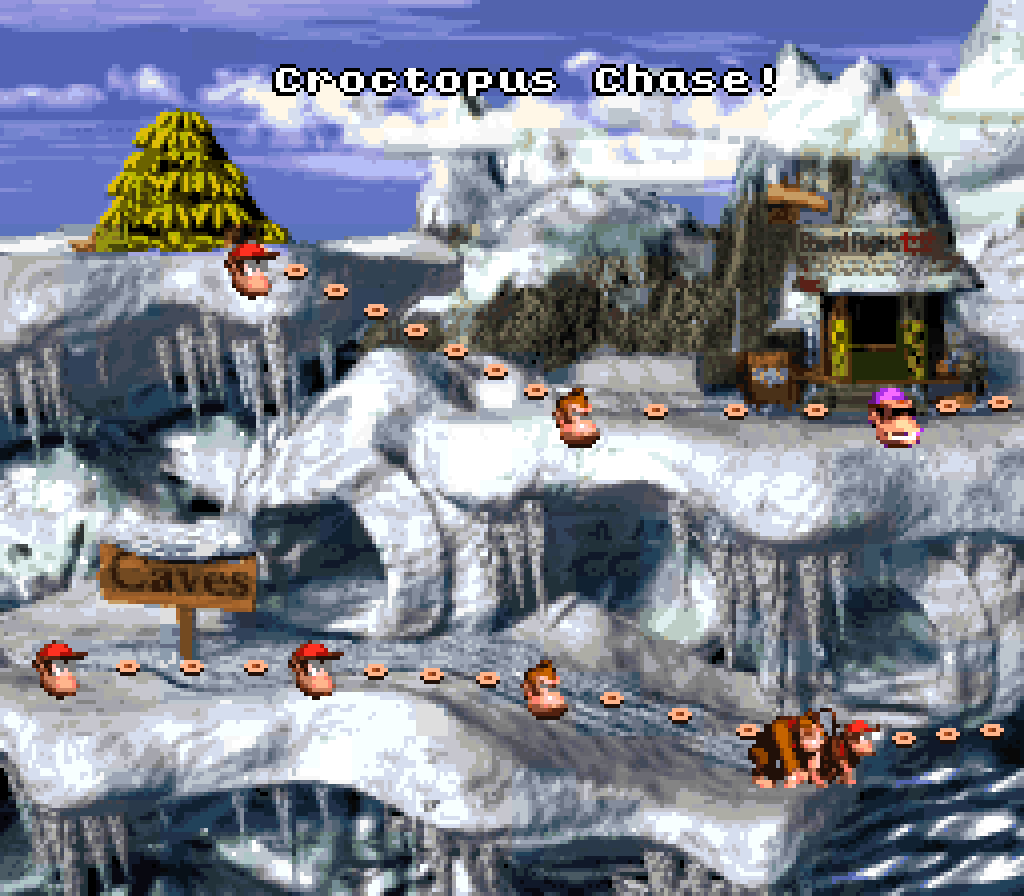
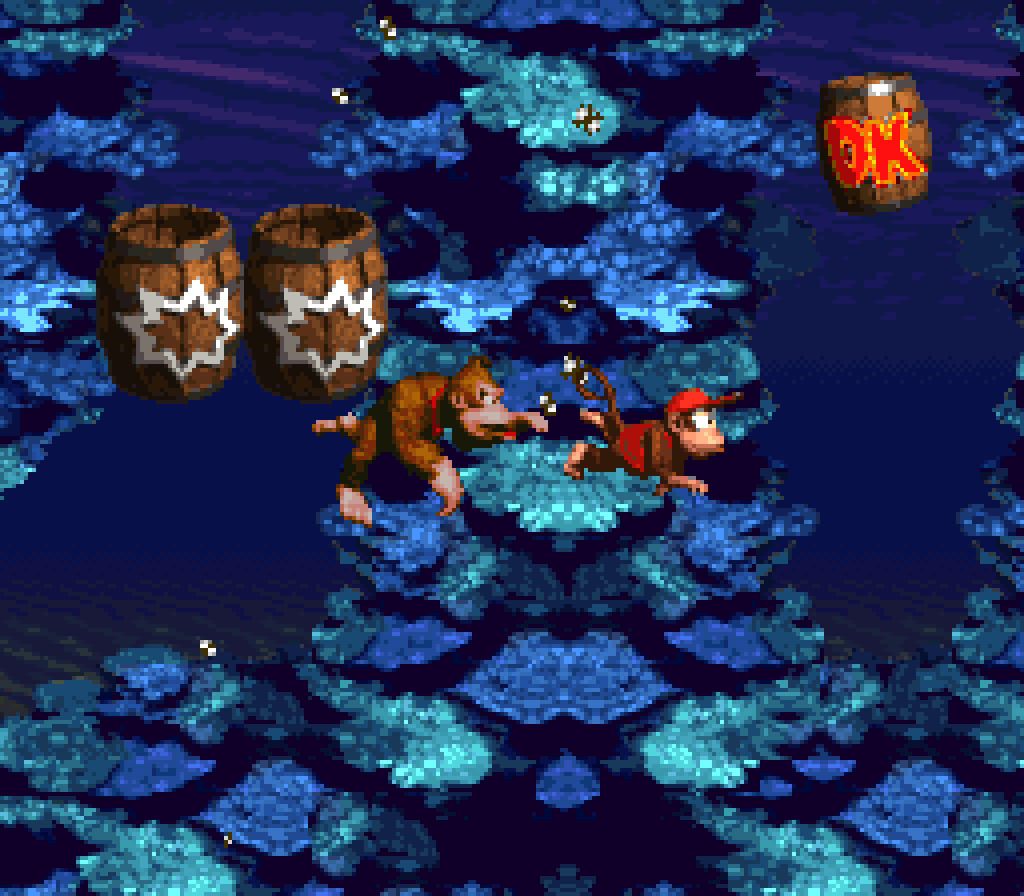
18. Croctopus Chase
Definitely the best water level in this game, since this level has a gimmick beyond dangers that slowly move side to side or in circles: the eponymous Croctopuses this time don’t just spin in simple circles but start chasing you after you pass certain points, starting with small, simple paths, & then building into longer, a bit mo’ serpentine paths & starting with breaks ’tween chases, but then ending with chases following right after the other. Granted, I think they could’ve had much mo’ twisty paths than they had here, which doesn’t go beyond zigzagging left, right, left right. 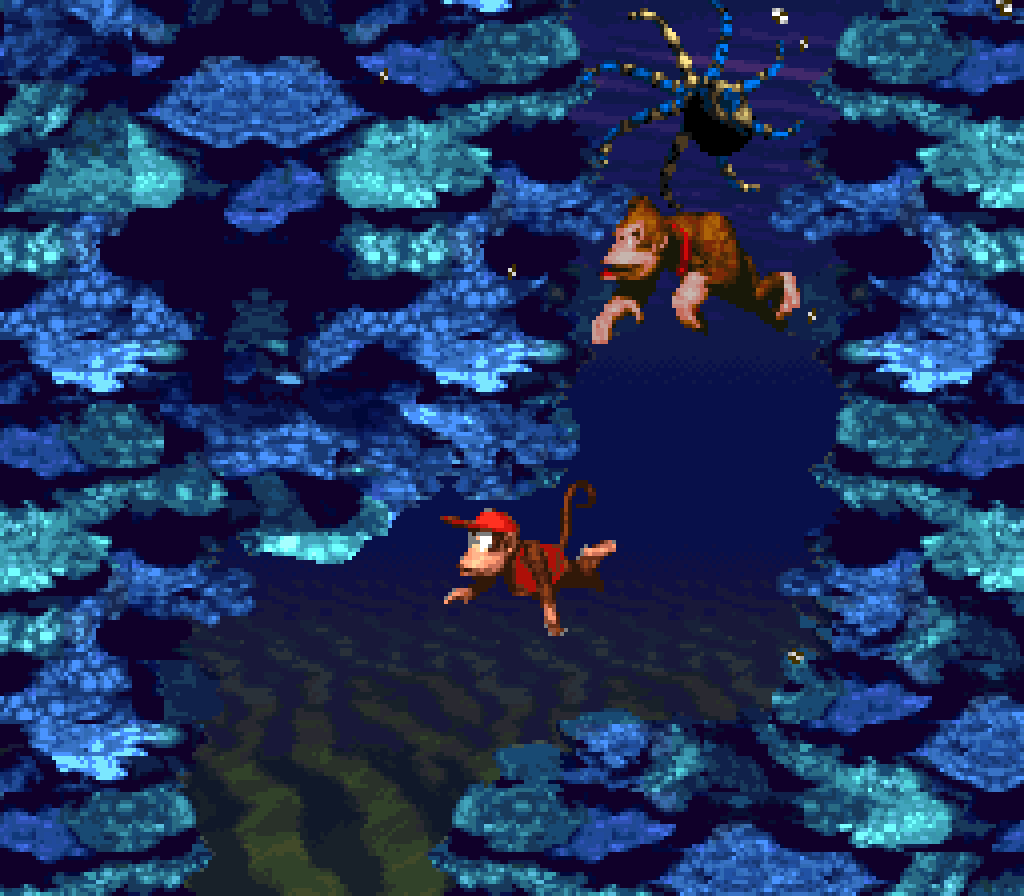
Since this level involves races gainst dangers, this level actually pushes you to go fast, while the other levels usually encourage you to go slowly to avoid running into the enemies that just fly into you from offscreen with li’l warning, including the later “Poison Pond”, which is arguably easier than this level. This level accommodates this by having fewer enemies strewn thru the race paths, tho it still has stealth Chomps that just fly into you from offscreen & obnoxious Squidges that blend in with the scenery. Unfortunately, the developers decided to put 1 Squidge in the path o’ the race, forcing you to stop & wait for it to get out o’ your way. It seems the developers realized there were a few too many cheap hits, as this level has a whopping 5 DK barrels strewn thruout — & I can’t help but notice that they usually placed them after cheap hits, like after the 1st Chomps Jr. 
This is not to say this level doesn’t have any interesting arrangements o’ enemies. I do like the 2 Chomps round the middle, 1 on top & 1 on the bottom, forcing you to weave ’tween them, which is tricky when you essentially only move in diagonals. 
That said, this level does have an odd difficulty curve. After quite a ramp up in difficult near the end o’ the 1st half, with Squidges & Chomps thrown into your races ’head o’ the Croctopuses, most o’ the 2nd half returns to focusing on just races ’head o’ Croctopuses, with the few cases where they do mix in Chomps being near the start o’ the 2nd half, only to finally culminate @ the end with a whole colony o’ Squidges, which would be hard to get thru if you couldn’t just stop & wait for them to swim by ( or just plow thru them if you found Enguarde ). 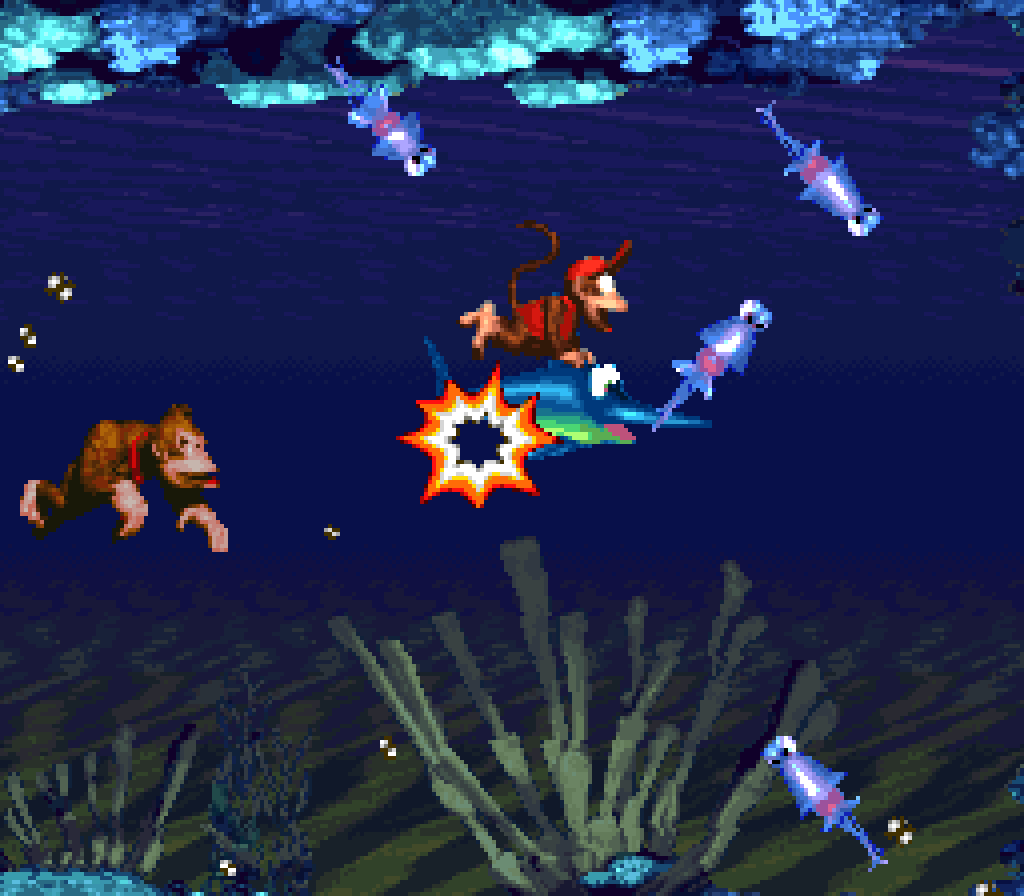
Thanks to the races’ somewhat twisty paths, this level has the most intricate shape, e’en mo’ so than the mo’ difficult “Poison Pond” in a later world, which is nice. Unlike the sequels, water levels are the only levels that go beyond straight left to right, so a mo’ intricate layout is refreshing here. I’m still disappointed that — yes — being a water level, this has no bonuses in it, despite being mo’ fit for hiding secrets than most o’ the linear levels.
While I like that the secret Enguarde — which is near the end, so you can’t coast on it thruout the whole level like in other water levels — is hidden using a thin hole @ the top o’ the wall like I recommended for “Clam City” & not magical move-thru wall, I don’t like the way the N is hidden ’hind a hidden wall, in a particularly stupid way. It’s in a space ’tween 2 barrel cannons, 1 o’ which shoots you straight into the other & then onward, skipping o’er the hole. You might expect that you’re s’posed to go back into the 2nd barrel cannon, but that just shoots you back ’way from the middle gap, nor can you squeeze thru the barrel cannons. No, you’re s’posed to just press gainst the right wall to move thru it. A’least this level outright shows you that something’s in the middle there, that doesn’t make magic move-thru walls any less stupid, & a reasonable player would use that as a hint that they can later reach that part from a different point, not that the wall next to you is an illusion. Luckily this is only a problem for GBA players, since the SNES version doesn’t count KONG letters toward 101%. 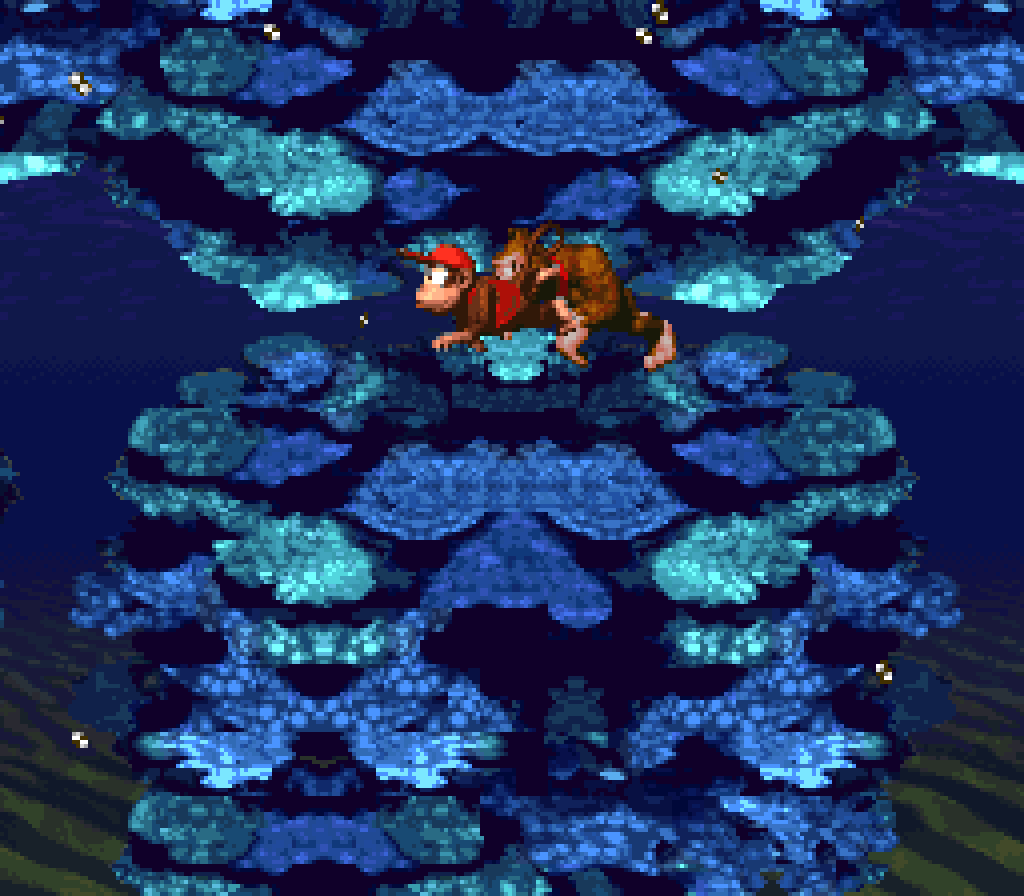
@ the other end o’ the spectrum, despite this level being full o’ crevices in which to hide goodies, all the other KONG letters are straight in your path. I guess the idea is that needing to hurry by is challenge ’nough; but these letters are all in such narrow spots that you’d have to try avoiding them. Mo’ importantly, this only applies to the K, as the N & G — the latter o’ which I don’t e’en think is possible to avoid if you tried — aren’t e’en on paths where you’re being followed by Croctopuses. 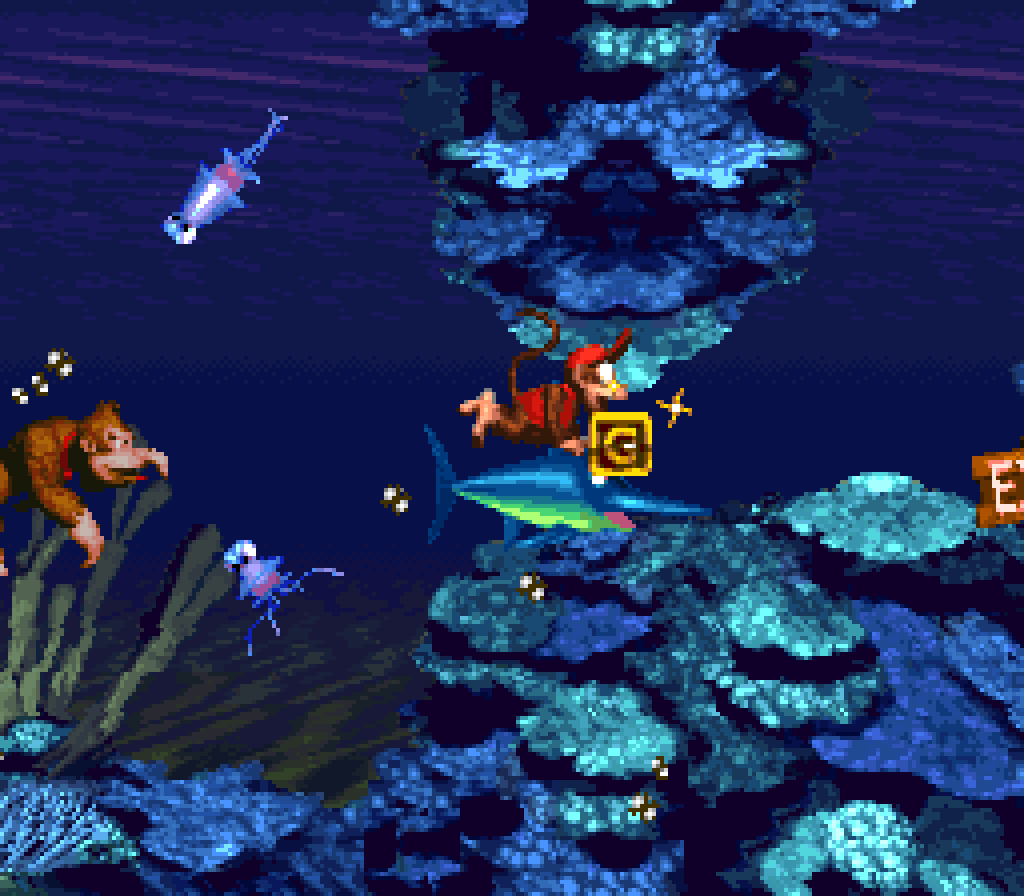
While this level doesn’t look as nice as the toxic green “Poison Pond”, the icy-blue palette ( since this level is in “Gorilla Glacier” ) makes it stand out better than the 1st 2 water levels, which both have the same palette.
17. Bouncy Bonanza
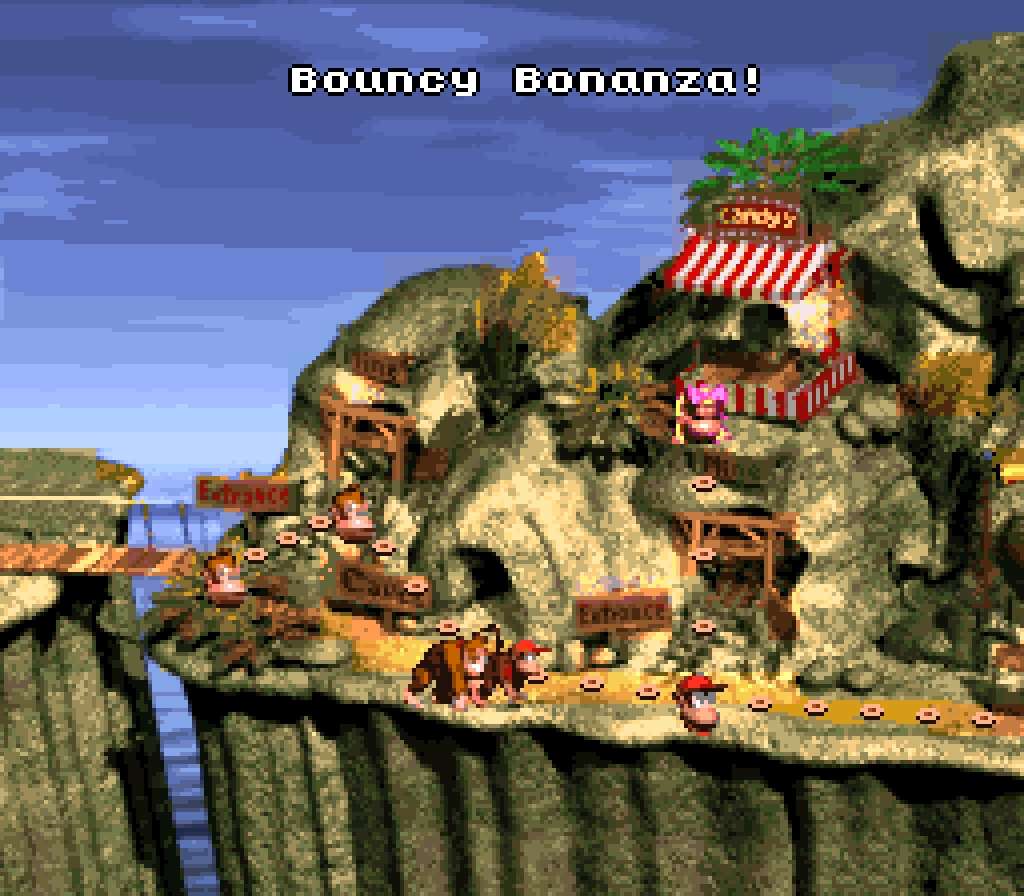
Tho not the most memorable o’ levels, thanks to its focus on basic jumping mechanics, “Bouncy Bonanza” does a better job o’ balancing fast-paced action & slower, mo’ deliberate puzzle-solving than most. For 1, it’s nice ’nough to offer faster solutions to its puzzles, allowing you, for instance, a way to skip e’ery instance o’ rolling tires with way too much momentum for their own good onto small platforms & hopping they don’t fall into a pit, either by using the hidden Winky or just jumping with Diddy.
This level also does a good job o’ creating a cohesive theme for a level without any particular gimmick: it’s just a bunch o’ hopping Kritters & tire jumps. They e’en integrated the midway point into it by forcing you to roll a tire to bounce up & reach it. 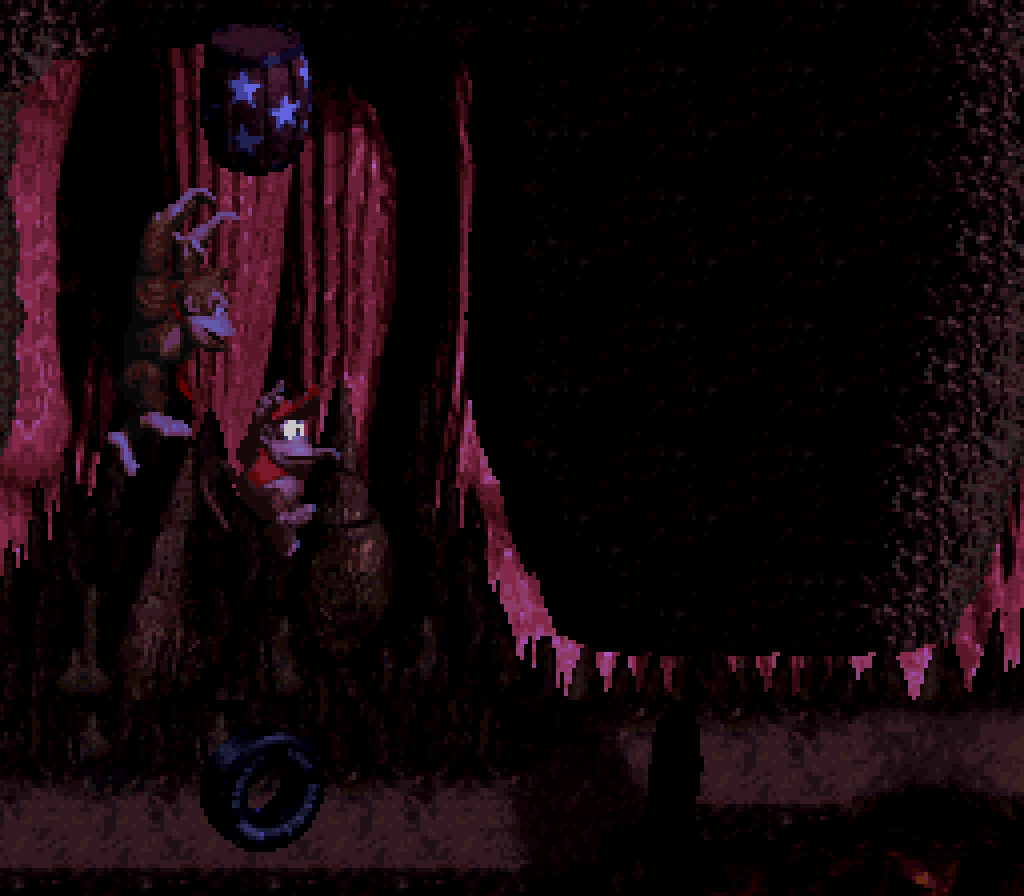
Howe’er, near the end o’ the level they seemed to run out o’ ideas, as they repeat the “jump on tires while doddging Zingers” thing 3 times with not much variance to differentiate them. 2 o’ them are literally only differentiated by a single extra Zinger. Challenging you to roll a tire while dodging a moving Zinger @ the end was a nice touch, tho — specially since you can skip it if you were good ’nough to keep Winky to this point. 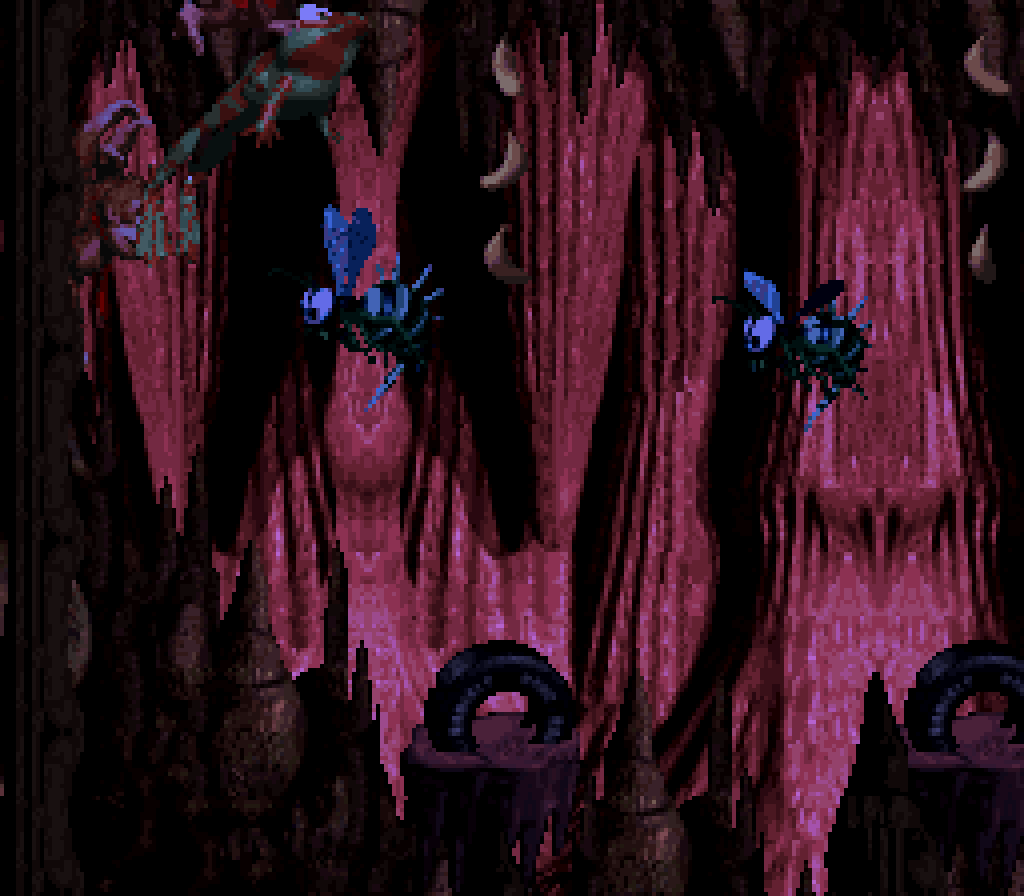
This level also benefits by breaking the straight left-to-right path by introducing a branch near the middle. I think the top branch is s’posed to be easier, but that’s debatable, thanks to the cheap Kritters that jump @ you from offscreen. Howe’er, this branch does lead you to a cave with Winky ( who can be traded in for Rambi on the 1st North American release, thanks to a great glitch ). My only problem with this branching — other than the cheap Kritters @ the top — is that they have a magical move-thru wall @ the top. I don’t think I was e’er tricked by it, ¿since why would you have a platform moving up if I wasn’t s’posed to go up there?, but that just makes it pointless. 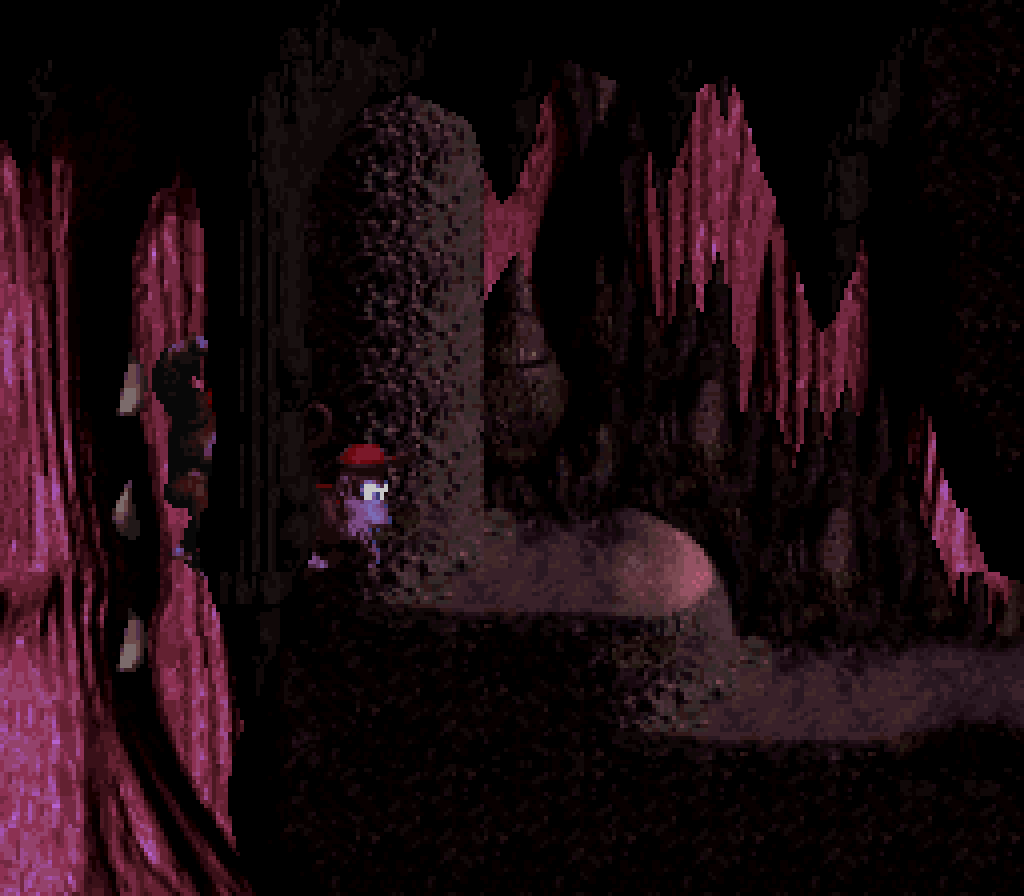
The bonuses are all great. In addition to the aforementioned tire-rolling challenge for the bonus @ the end, there’s a bonus near the middle that challenges the player to weave round Zingers moving up & down to hit a wall with a barrel. 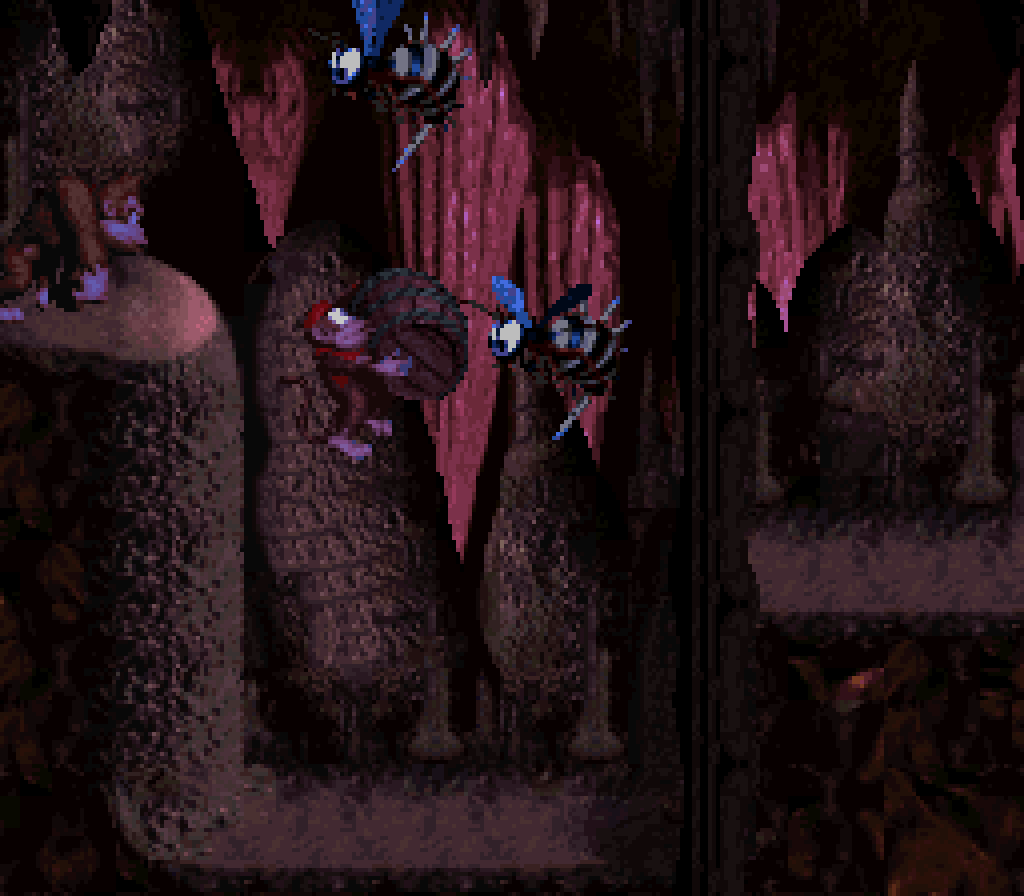
They also did a good job o’ placing the KONG letters in tricky places round enemies without making you do tedious busywork not worth doing to get them. The only 1 I don’t like is the N, which you pretty much have to get while going down the secret path, but you can only get on the secret path. Granted, unlike other levels, the secret path is mo’ a nontrivial alternate path than just a way to skip a part o’ the level. 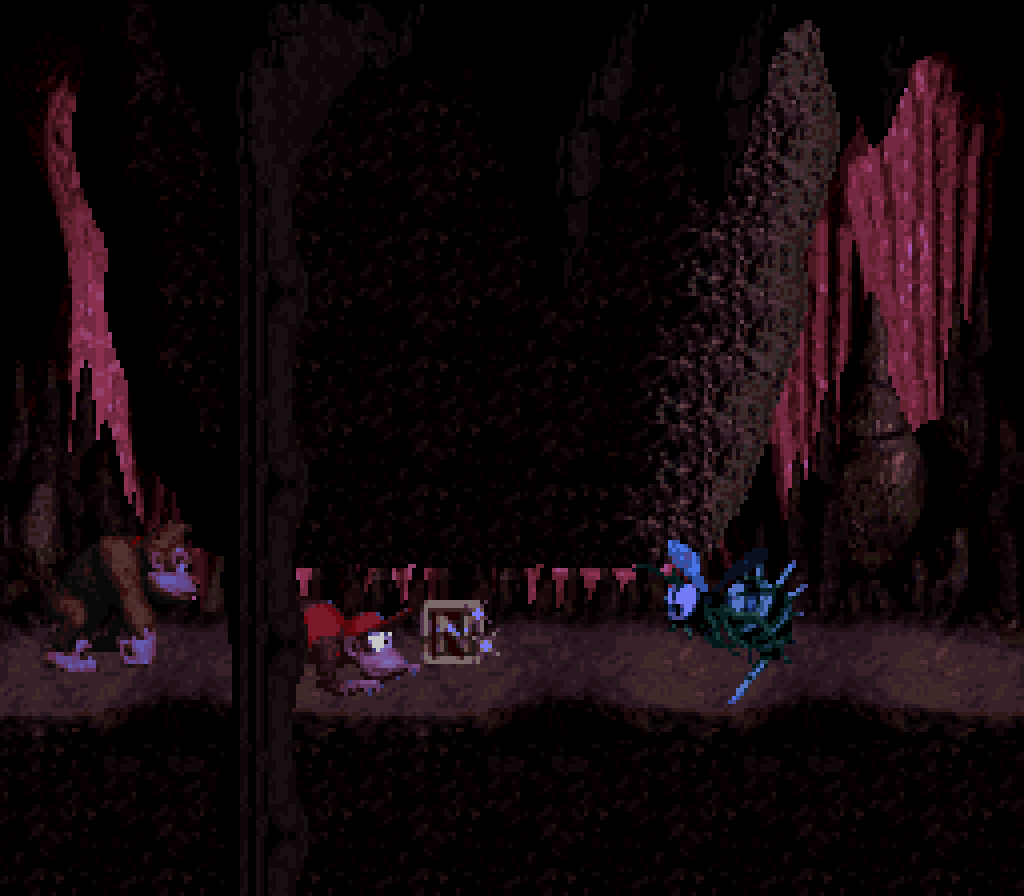
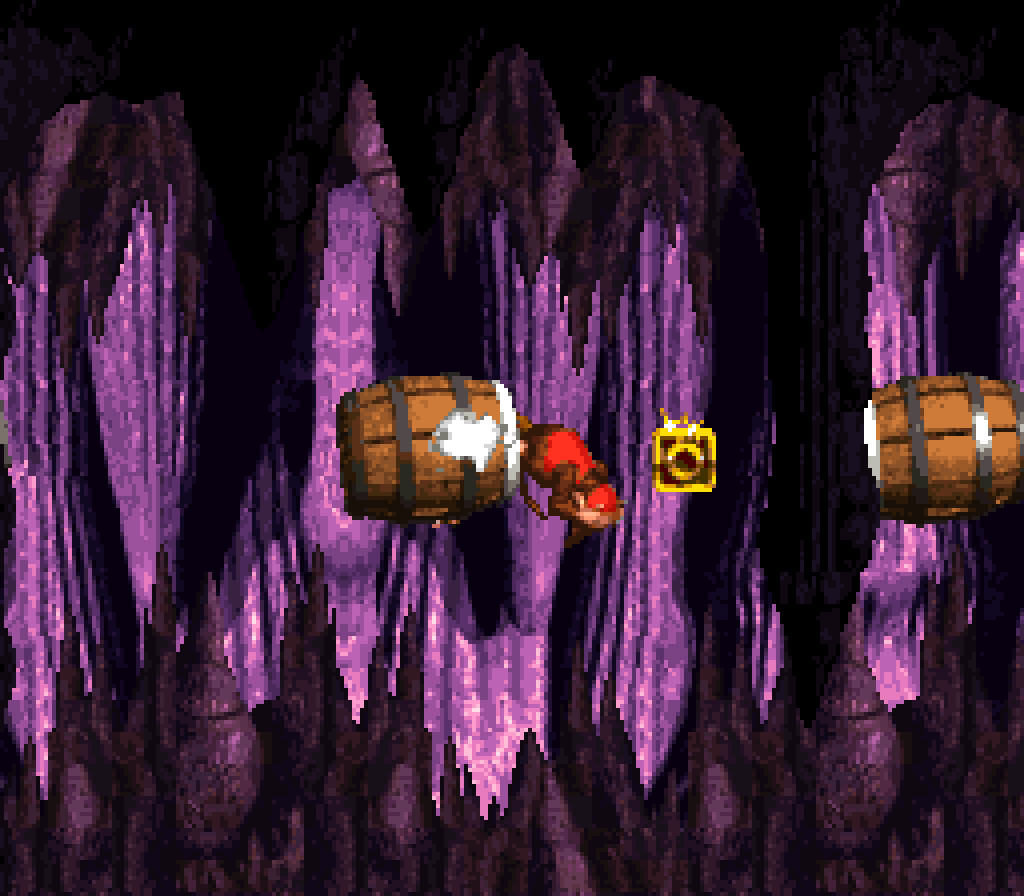
While “Bouncy Bonanza” uses the o’erused & uninteresting cave tileset, it a’least uses a unique dark pink palette that looks nicer than that gaudy yellow-brown palette most cave levels use.
16. Mine Cart Carnage
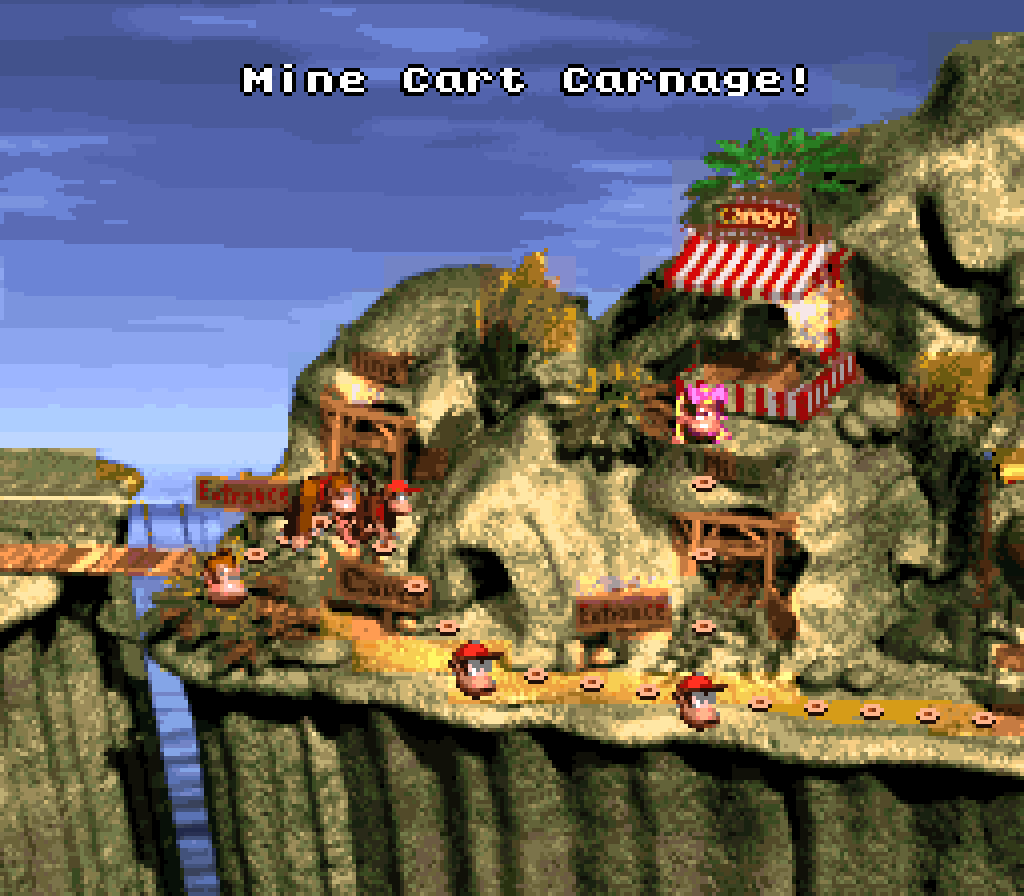
“Mine Cart Carnage” is probably the most famous level in this game, e’en mo’ well-known than the 1st level. Despite mine cart levels being far from the rarest, most exotic level gimmick in a game, much less a platformer, this level single-handedly elevated DKC to the top o’ people’s minds when it comes to mine cart levels. Mine cart levels play such a big part o’ the general consciousness o’ what is DKC that Returns dedicated half a world to mine cart levels.
“Mine Cart Carnage” is also a perfect example o’ the great difficulty curve the classic DKC trilogy has, with its general upward trajectory pocked with minor difficulty spikes that also increase in difficulty thruout the game. For many kids “Mine Cart Carnage” was the 1st difficulty wall ( if not “Barrel Cannon Canyon” from the 1st world ), only to be superceded later on by far harder levels like “Tree Top Town” & “Snow Barrel Blast”. By having both the average upward difficulty trajectory & the minor spikes here & there, DKC is able to have its Twinkie & eat it, too: you get the enjoyment o’ feeling the game gradually become harder as your skills gradually increase while also getting the excitement, surprise, & memorability o’ the minor spikes.
This notoriety ’mong people’s childhood memories is amusing in hindsight as an adult with better skills, ’cause if you try the level now, it’s not that hard — far from the hardest level. It’s far easier than the mine cart levels Returns unleashes on you. Whereas that game would oft change the level & add gotchas right as you’re playing it to trip you up, this level operates purely on “What You See Is What You Get”: you see an abandoned cart in the track, a hole in the track, or a Kremling in a cart charging toward you & you need to time your jump to just before you collide. If you jump too early, you’ll risk landing on the danger & get hit; if you jump too late, you’ll bump into the danger as you jump. With this greater simplicity comes a greater fairness, something the original trilogy did a lot better than the Returns games. 
The only true trouble comes from the Kremlings riding toward you @ a faster speed, as you have to time your press with 2 moving objects ’stead o’ just 1 & a 1 that’s static. This can actually make remembering the level a bit worse, as you can become paranoid that you know a Kremling’s coming & get twitchy fingers, only to jump too soon & land just before a Kremling charges into you. This is particularly the case for the last section, where you have suspicious empty track for quite a long time for the end’s ramped-up pace, e’en tho you know a Kremling’s coming, you know he’s coming… 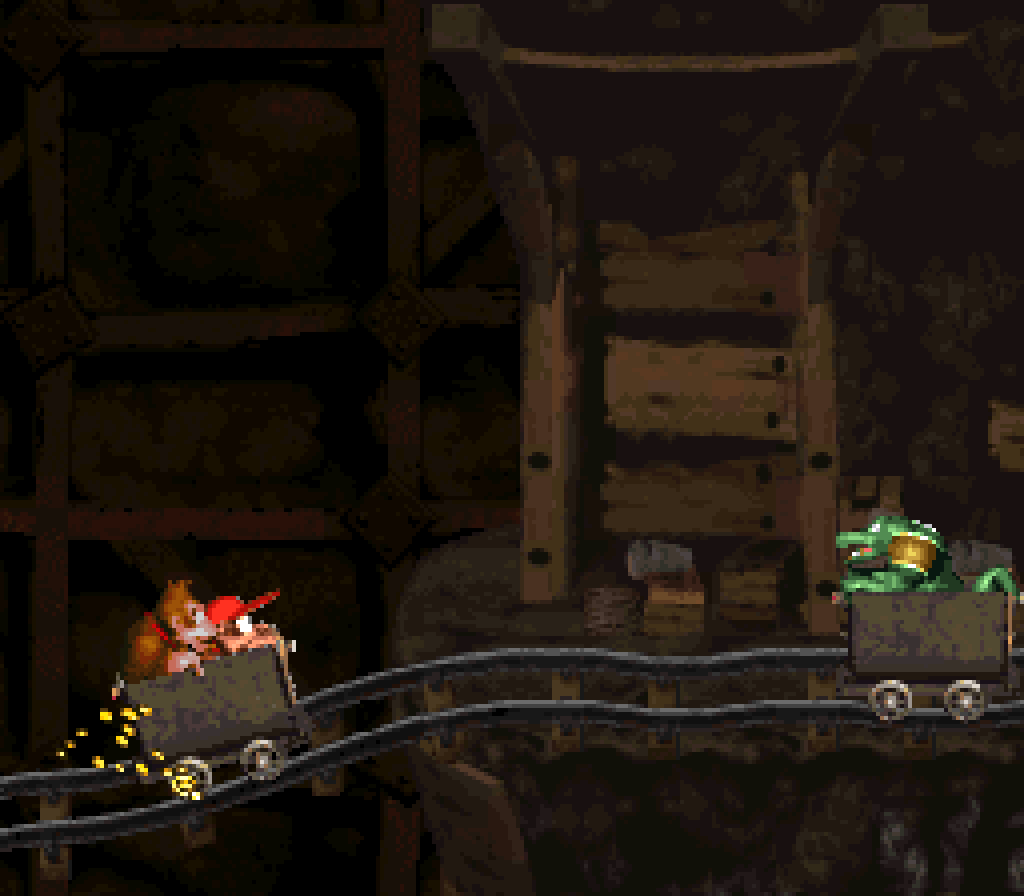
The layout o’ obstacles is also tamer than one might remember, with the 1st half relying entirely on small gaps ’tween tracks, only to gradually introduce lying carts & Kremlings with large plots o’ safe track ’tween them, till it finally starts putting them closer & closer together, with the rails pointed @ sharper angles for added difficulty. This can make the earlier parts a bit boring on repeat playthrus when you’re only having trouble with the early parts ( a common problem with levels slowly going from safe & easy to hard that many critics who lavishly praise Nintendo for doing this kind o’ level design of neglect to address ), but your cart moves just quick ’nough that you can rush thru these parts without making the cart go so quickly that a normal player can’t react to obstacles in time. While “Mine Cart Carnage” is the longest level in the game, you move so quickly that it feels shorter than the average level. The rush o’ this level also probably makes its simplicity a positive rather than a negative, as it’d be hard to appreciate too much complexity while blasting past e’erything. 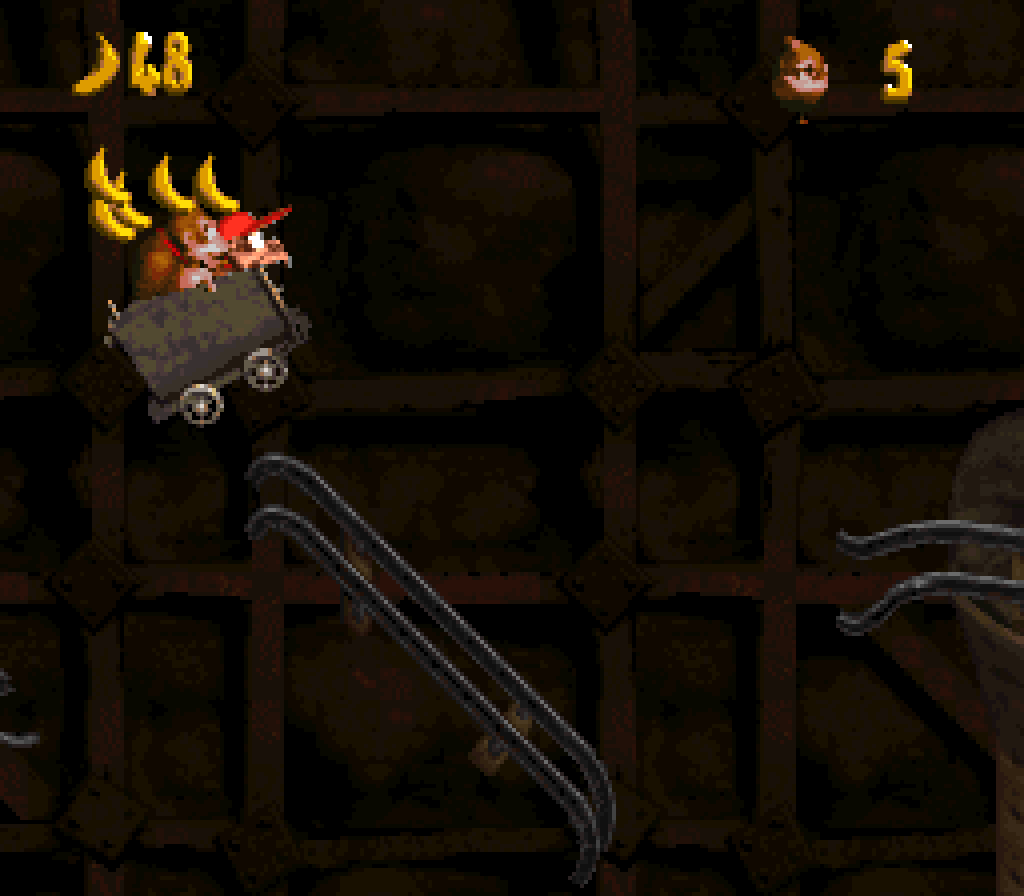
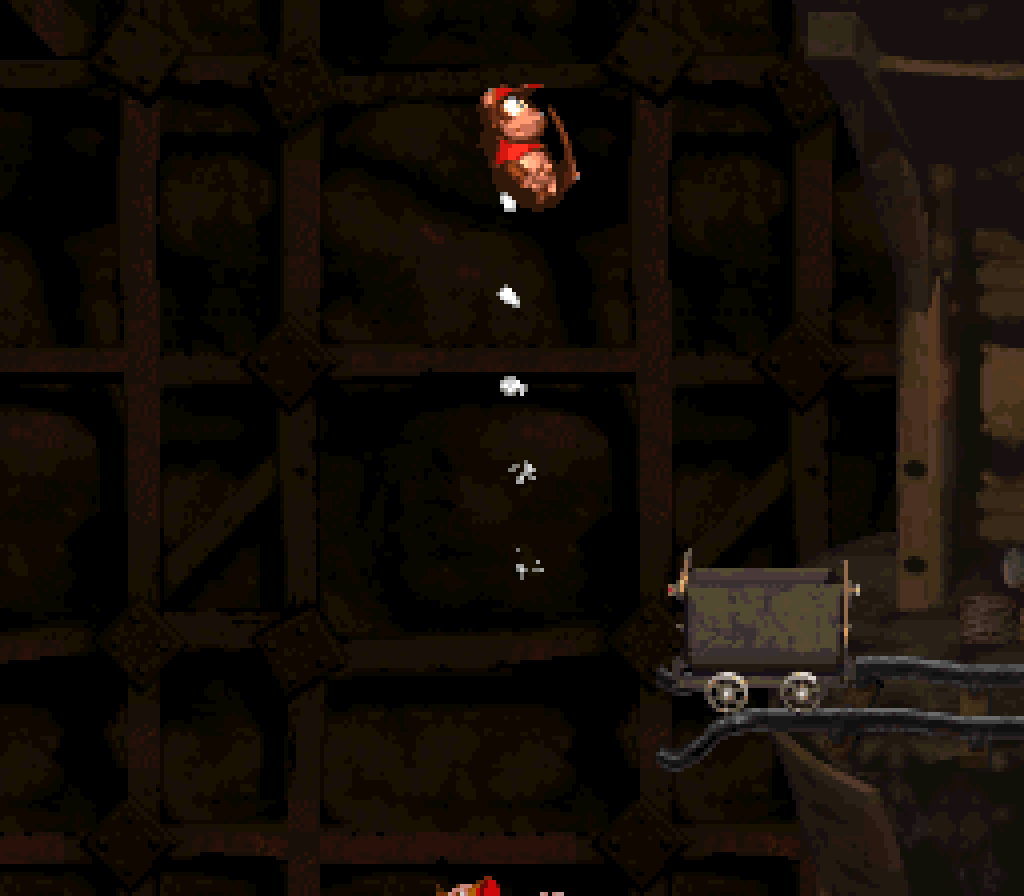
Aligned with this, the KONG letters are in plain sight, tho they all but maybe the G require a jump to get them, & it’s easy to accidentally jump o’er the N just after a fallen mine cart. 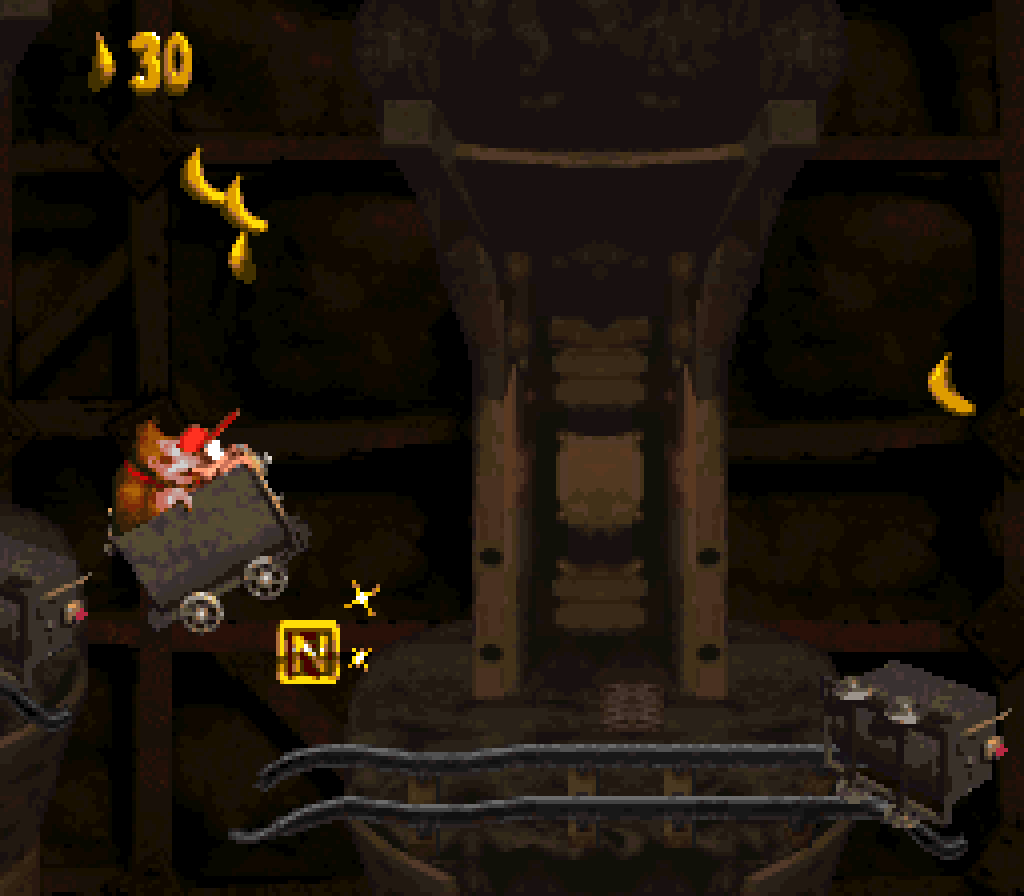
’Course, if this level’s still not easy ’nough, the devs offer what we would now call a “dev path” ( but back then was known as “the way to get you to subscribe to Nintendo Power” ) that allows you to skip the entire level but the last Kremling by jumping o’er the 1st barrel cannon & pressing gainst the leftmost wall to enter an invisible barrel. While obscure, this is just an extra not required to get so much as 100% — tho I will add with amusement that, since this level has no bonuses in the level proper, using this warp to skip the entire level not only allows you to beat the game without playing this level, but allows you to 100% the game, as well. In essence, it’s not different from a cheat code. 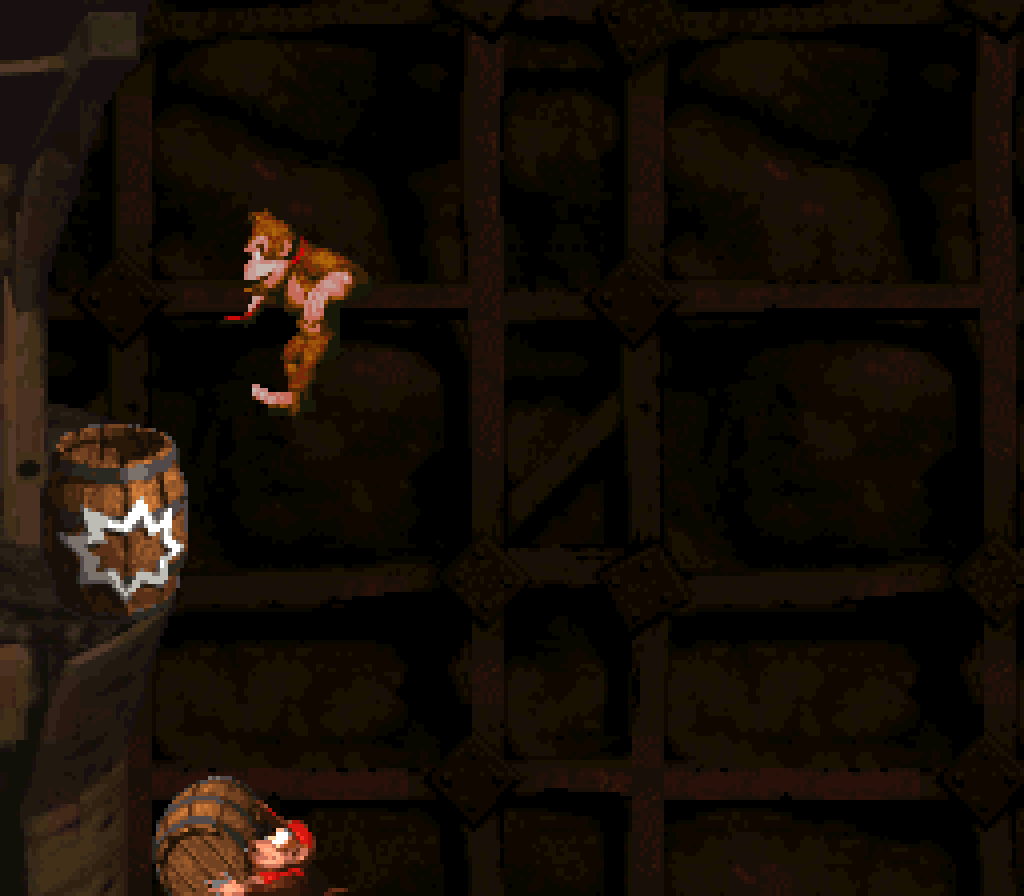
15. Torchlight Trouble

If anything gives this level an advantage, it’s that it knows when to end when other levels with just-as-1-note gimmicks are mo’ likely to stretch their gimmicks out. This level’s gimmick is not the eponymous torchlight, which is mo’ a visual distraction ( specially the screen flashes that happen whene’er you turn, which were removed from the Virtual Console for obvious reasons ). Honestly, I would’ve prefered a fresher palette, specially a blue, white, or purple palette that might have made this level feels like it belongs in “Gorilla Glacier”. In contrast, I do like the flaming oil drums, which makes this level feel like warm shelter ’way from all the other cold levels. 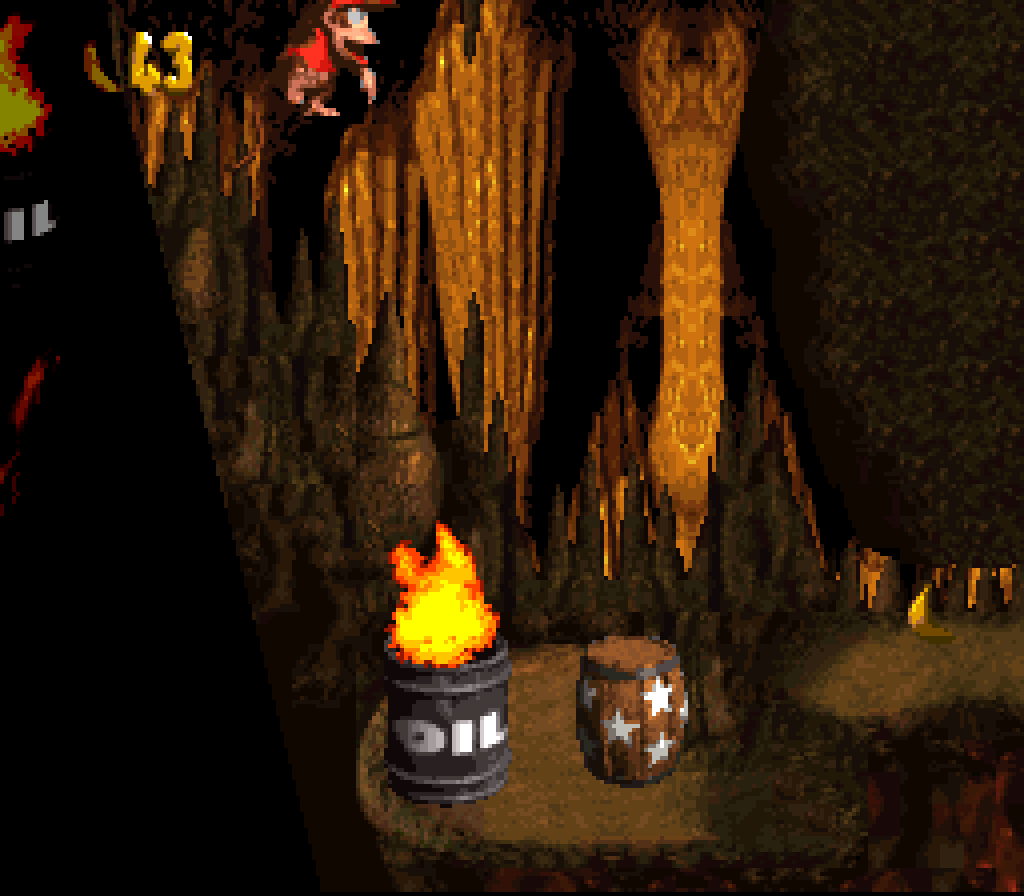
This level’s gimmick, gameplay-wise, are precarious jumps made e’en mo’ precarious if you’re playing the better jumper, Diddy, by the Klumps & Krushas who cause Diddy to bounce back if he lands on them. This forces players into a dilemma: ¿use DK, with his weak jumps that can, for example, barely clear the Mincer & reach the rising & falling small platform @ the end o’ the level, or use Diddy & take extra pains to avoid the Klumps & Krushas?
This level has some great challenges near the end with the Klumps on thin platforms made e’en thinner for players by the harmful torchlit oil drums & round the end with the Krushas & Mincers, but feels like a lulls round the middle. E’en this short, this level runs out o’ ideas rather quickly & could’ve benefited from a bit mo’ variety. They could’ve a’least given a sneak peak o’ moving Mincers ( the lightly gyrating Mincer @ the end doesn’t count, which is 1 o’ the easiest jumps in this level ), who won’t appear till “Manic Mincers” 2 worlds later, in simple arrangements. 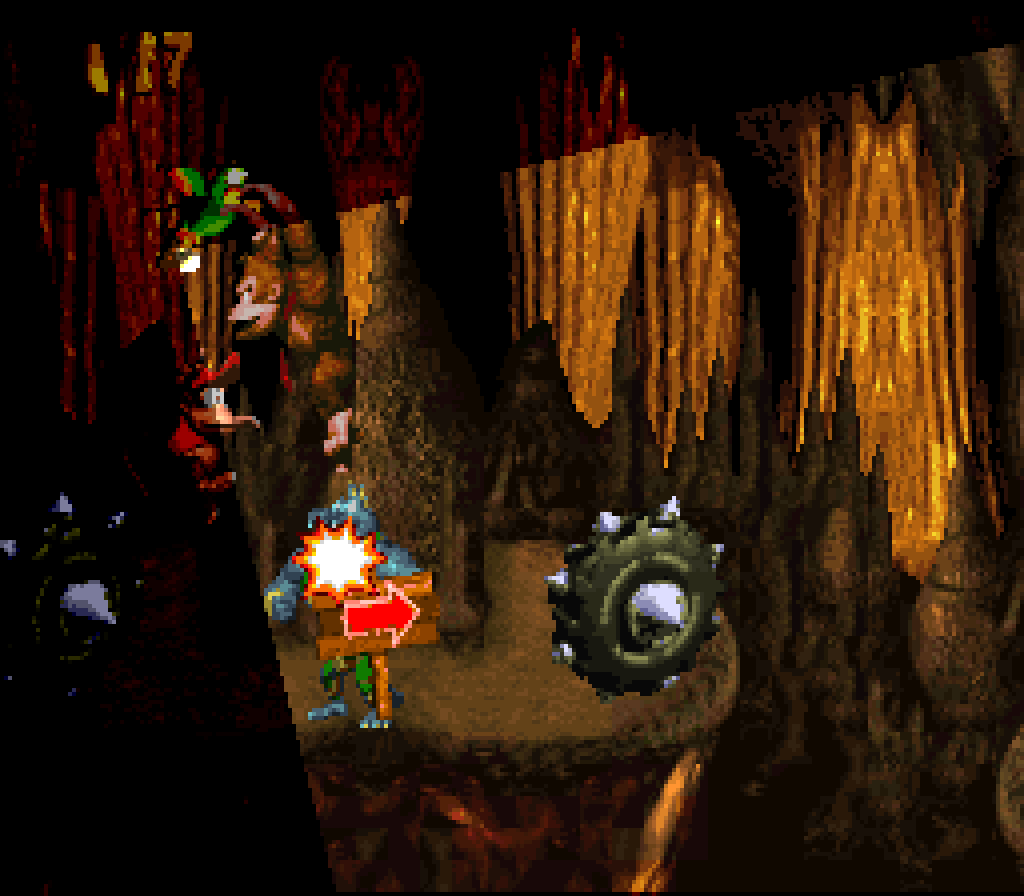
I like the bonuses in this level. The 1st bonus is so obvious, & yet still easy to miss if you’re rushing: the barrel is right on top o’ the breakable wall with a Krusha coming right @ you when you reach it, daring you to waste that barrel on his stupid face rather than on the breakable wall just ’hind you. 
I would’ve made the 2nd bonus harder, tho, by having its barrel earlier, so there is a mo’ extended challenge o’ bringing it past several Krushas. As it stands, you only need to jump o’er a single Mincer, which isn’t e’en a threat to your barrel. I guess the bonus wall itself isn’t in plain sight, but neither are most o’ them; by this point, ¿what player is going to break a barrel for no reason & not notice the obvious wall just after that Mincer? 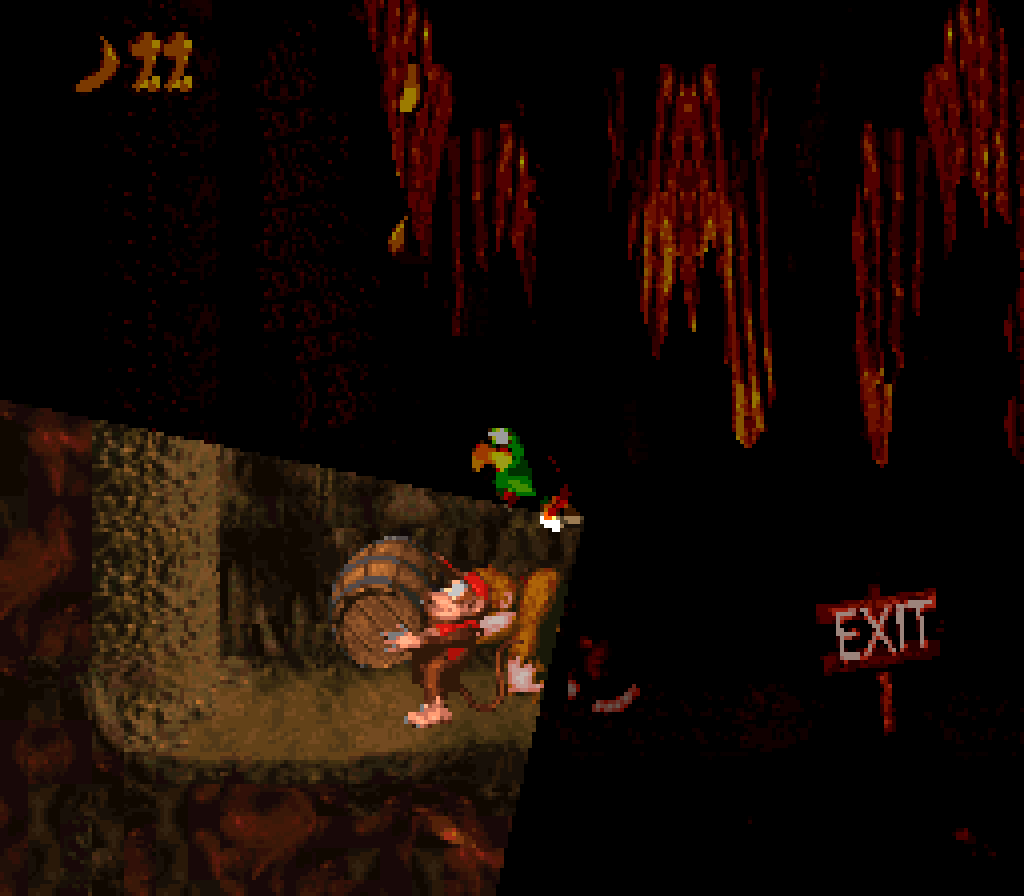
The KONG letters are all great, being tricky but fast to get. The K requires you to roll off the left edge & jump back while possibly dealing with a Klump if you haven’t killed him 1st; the O requires you to make a chancy extra jump in the middle o’ a tiny moving platform’s path & land back on that tiny platform; the N requires you to roll jump off a tiny platform moving up & down; & the G is hidden in the final bonus, requiring you to jump off the Klaptrap to reach it & making this otherwise too-tedious-&-too-low-scoring-to-be-worth-playing bonus interesting for once. 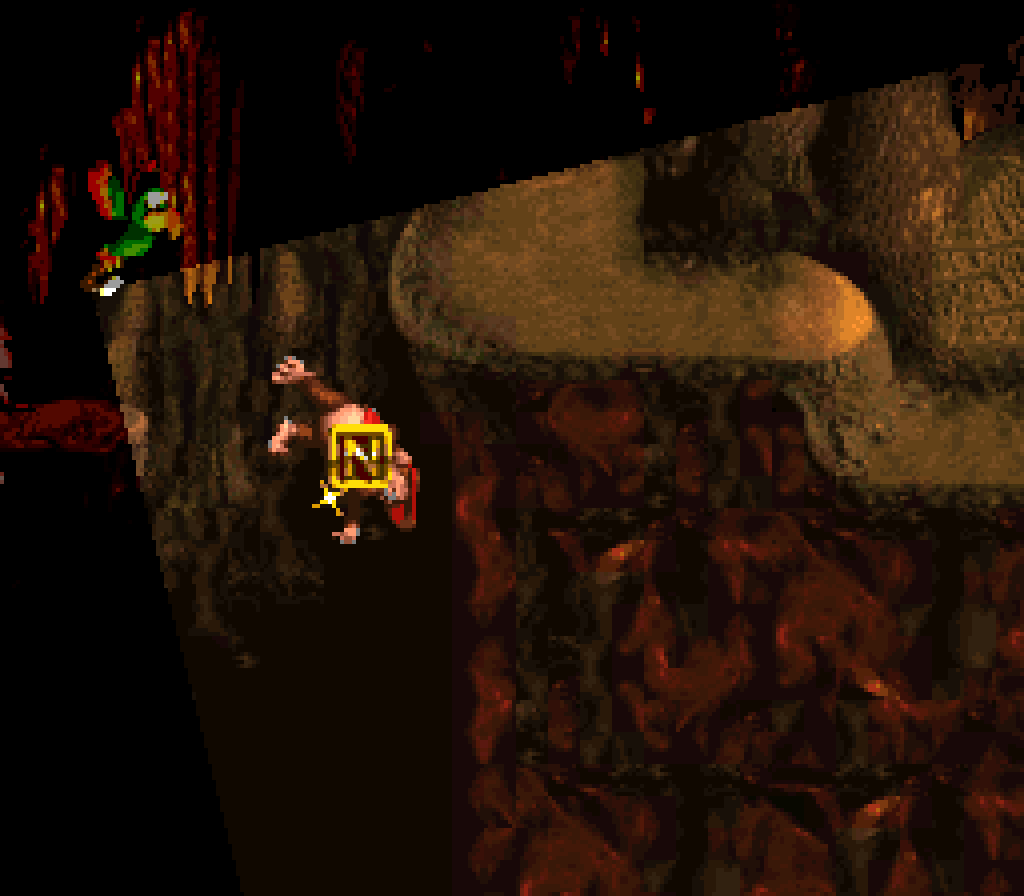
14. Barrel Cannon Canyon
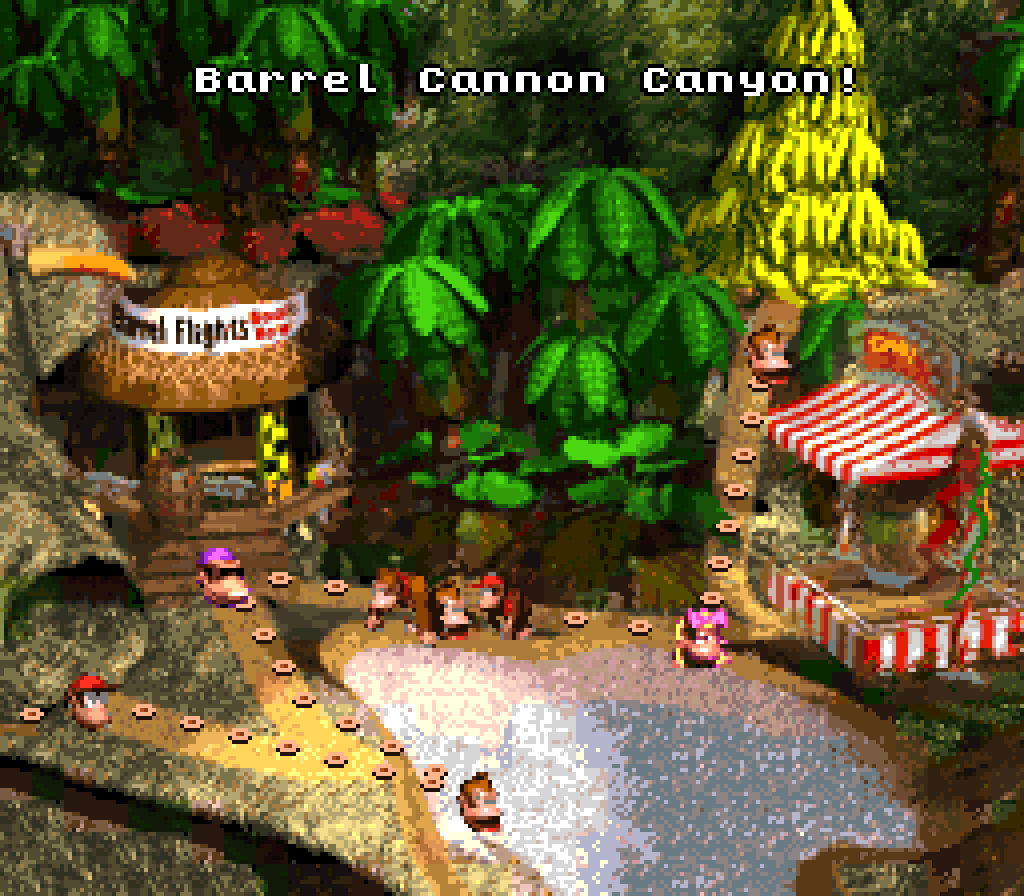
While not the most obscure level in DKC, “Barrel Cannon Canyon” is still less renowned than you’d expect coming from the level that introduces that long-lasting staple o’ the series, the barrel cannon. & as an introduction, it’s no slouch. While the level starts with basic barrel cannons that just shoot you straight upward, 1st stationary & then moving left & right, the level quickly expands into mo’ complex arrangements o’ barrel cannons going up & down, left, & right, & spinning, culminating in a long stream o’ barrel cannons @ the end strewn with Zingers also moving in e’ery direction, an arrangement that’s far closer to the complexity & challenge found in the kind o’ apex this game reaches in “Snow Barrel Blast” in the 4th world, what many consider to be the hardest level in the game, than you’d expect in the 1st world. Granted, the trick that the developers pull to make this level easier than “Snow Barrel Blast” is to make the barrel cannons move much slower, giving you much mo’ time to react. 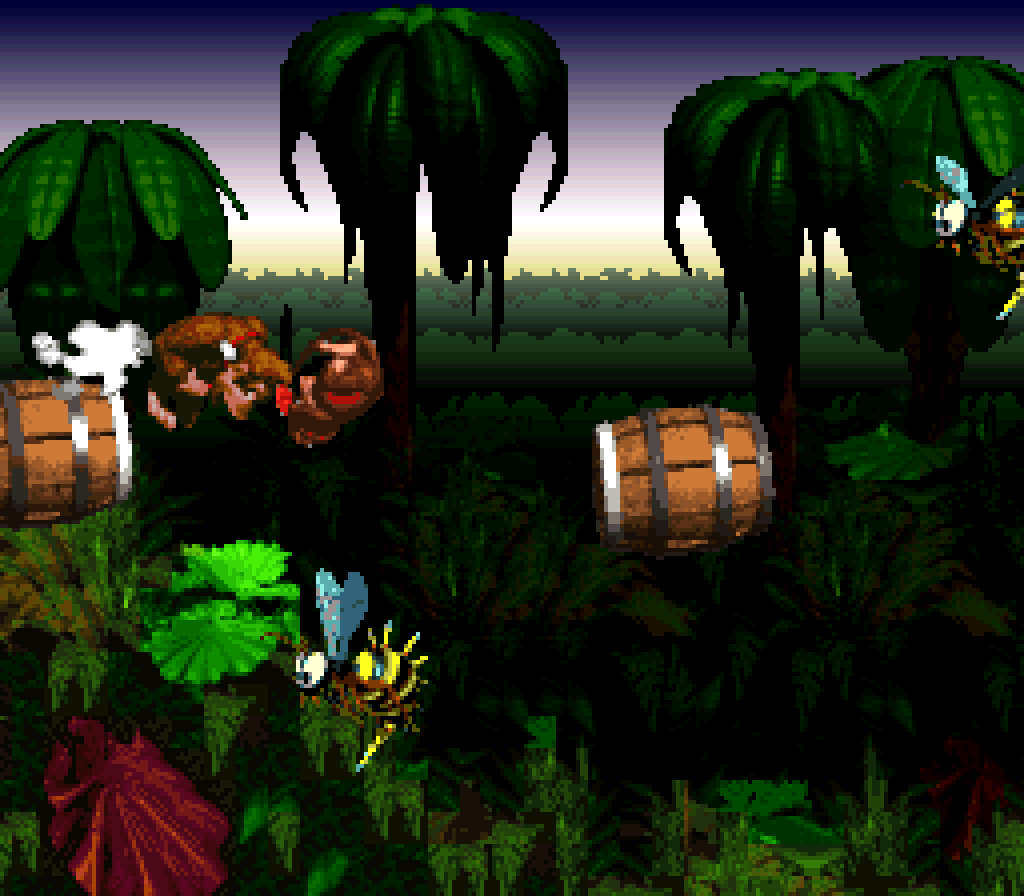
Which is to say, “Barrel Cannon Canyon” is quite a difficulty spike with which to end the 1st world, a spike which wouldn’t be met ’gain till a’least the 3rd world’s “Tree Top Town” ( yes, I’d definitely stand by “Mine Cart Carnage” & “Stop & Go Station” being easier than this level — a’least without shortcuts ). Not only do we have these tricky barrel shooting section, but also plenty o’ sections full o’ hopping Kremlings, making for a rather long level, too — a full 4th longer than the 2nd longest level in the 1st world. Granted, I don’t think I’d consider these sections to be e’en harder than some o’ the arrangements in the 2nd level, “Ropey Rampage” ( itself a minor difficulty spike ).
The developers, ’course, knew what they were doing, as they filled the level with shortcuts that let you skip the hardest parts, including the whole final gauntlet. & unlike the shortcuts in “Mine Cart Carnage” & “Stop & Go Station”, these are not obscure shortcuts, but whose access points, the top palm tree sections, are in plain sight; & players having just played “Jungle Hijinxs” should be well aware o’ the importance o’ the tree tops areas. I think they squander this point, howe’er, by putting a barrel cannon that starts the skip on top o’ the cave entrance @ the beginning. They already do a trick like this in “Millstone Mayhem” ( but with a bonus barrel ), & the 1st normal barrel cannon already shoots you up so high that you can clearly see the tree tops & the next warp barrel cannon, & allows you to reach them without the 1st barrel cannon. 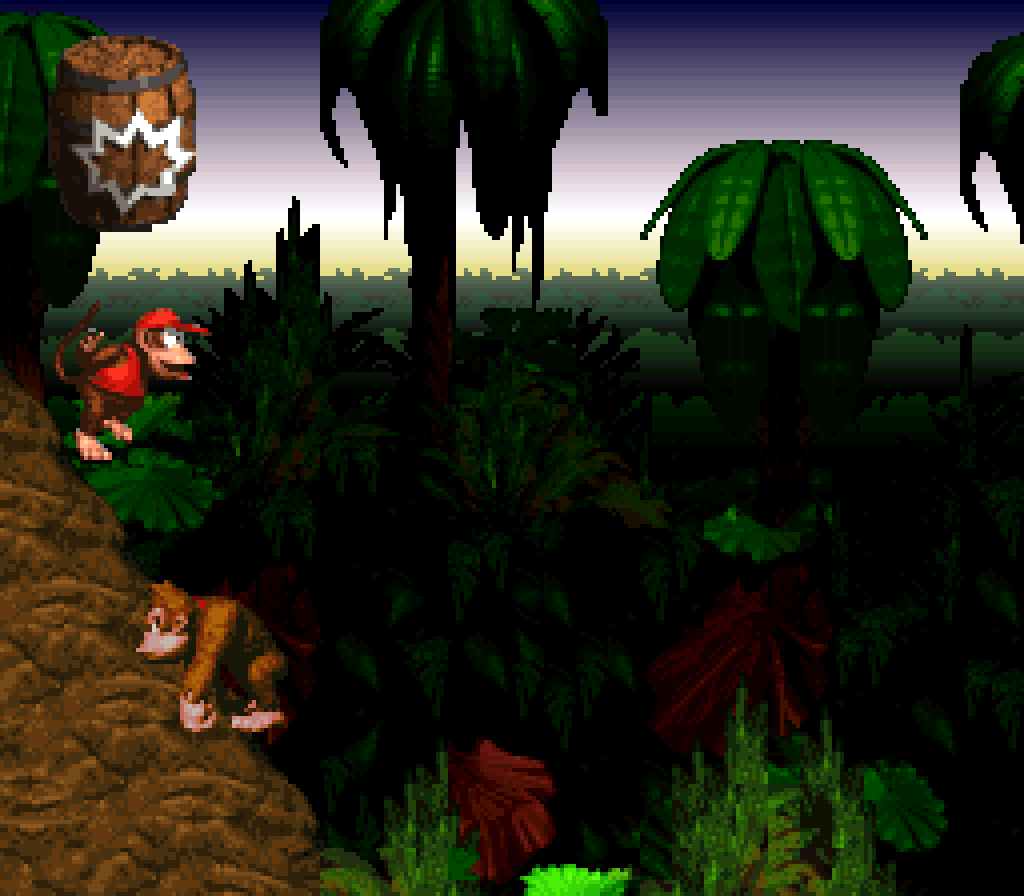
On the other hand, unlike “Mine Cart Carnage”, this doesn’t make the bonuses any freer. The 1st bonus, unforunately, is obscure & requires the player to take a gamble & guess that deliberately missing a barrel cannon going up & down & shooting yourself directly into a wall will make you enter a bonus stage. While it makes sense, given that the game established that there are bonuses in breakable walls, the game also establishes that most walls aren’t breakable, & I’d suspect that most players would assume this’d be mo’ likely the case for a wall with a barrel cannon clearly meant for you to shoot to, with the clear message that failure to do so would end in death like all other misses. I distinctly remember that I had to look this 1 up, as I’d probably try falling into e’ery bottomless pit ( & this is a large level with many pits ) before trying something so unintuitive, specially when the 2nd level, unfortunately, seeded the idea o’ bonus barrels beind down bottomless pits. 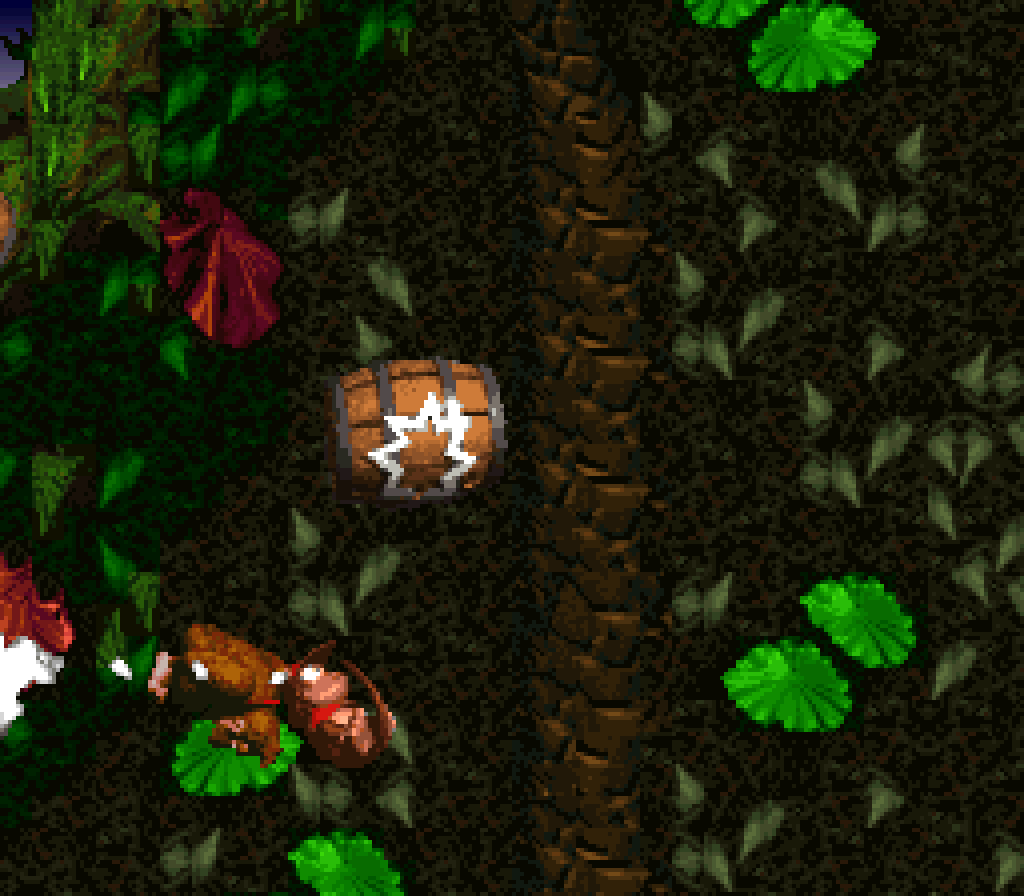
The 2nd bonus is tricky, but a fair challenge where you have to knock out Kremlings so you can bring a TNT barrel to a cave wall. It’d be annoying to try ramming this TNT barrel into e’ery 1 o’ the many walls here, but thankfully 1 o’ the earliest walls you’d be likely to try has the bonus. The only problem is if you make the mistake o’ bringing the TNT barrel in the bottom right area & can’t get back up; but it’s obvious you can’t go back up from there, so any player paying attention & thinking shouldn’t be foolish ’nough to bring the TNT down there till they exhausted all options up ’bove. I ne’er remember making such a mistake, tho I certainly recall accidentally breaking the TNT barrel on a Kremling or despawning the TNT barrel while going off to get rid o’ a Kremling in my way. 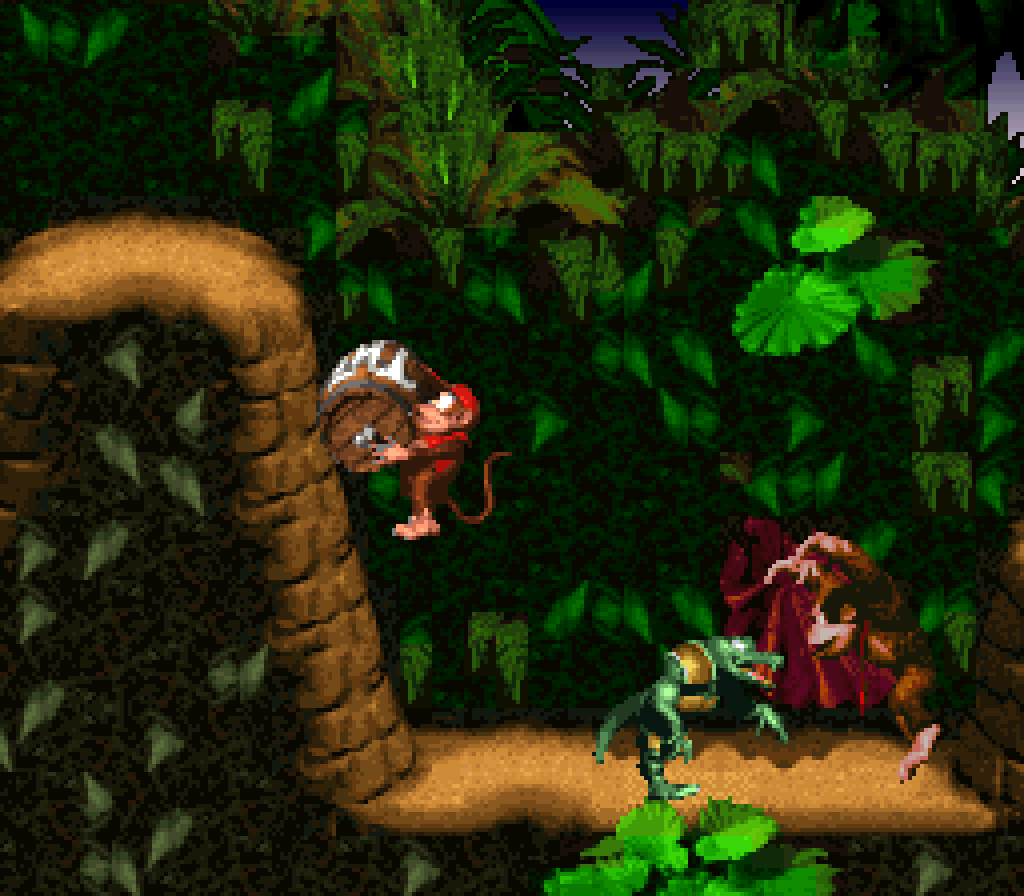
The KONG letter placement is rather strong in this level, tho. While half o’ the KONG letters are virtually impossible to miss, since they’re right in your path, I like how the developers placed them so you can get them whether you take bonus paths or not: the K is in the path o’ both the secret skip barrel cannon & the main barrel cannon, while there are 2 Os, 1 in the secret shortcut path & the regular path. The only exception is the N, for which you have to take a detour to an out-o’-the-way barrel cannon to break it out o’ the ground in which it hides. Finally, the G is hidden up in the treetops @ the end. 
To be honest, this level perhaps has too much content for its own good & can feel kind o’ bloated, specially the Kremling sections, which can feel a bit repetitive. Granted, if you’re not going for the 2nd bonus, hopping from Kremling to Kremling in that middle section is very fun, as can rolling thru the column o’ hopping Kremlings earlier on. But other parts just have regular walking Kremlings that don’t add much. 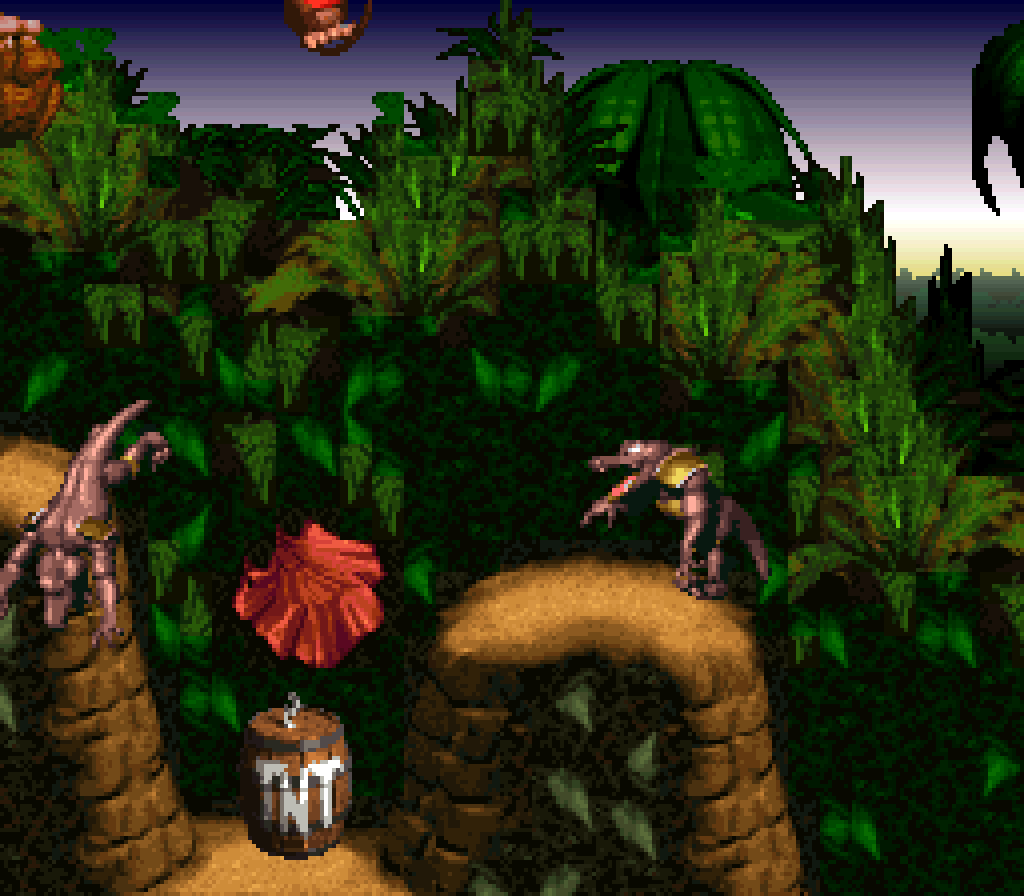
This level has much less variety after “Ropey Rampage” gave us the mo’ complex Army enemy. E’en “Reptile Rumble” gave us Slippa, e’en if it’s just a shorter Gnawty with a different appearance. I’d say this level feels less memorable than “Ropey Rampage” — tho the fact that I would skip o’er large sections in some runs may have contributed to this. & part o’ the problem with the barrel cannon sections, specially the most memorable last part, is that they’re so similar to the sections in “Snow Barrel Blast” — just slower so that timing is easier to time — that it’s easy to forget ’bout them compared to the versions in this level’s mo’ notorious brother. Which is to say, we have our answer as to why “Barrel Cannon Canyon” doesn’t get all that much attention.