

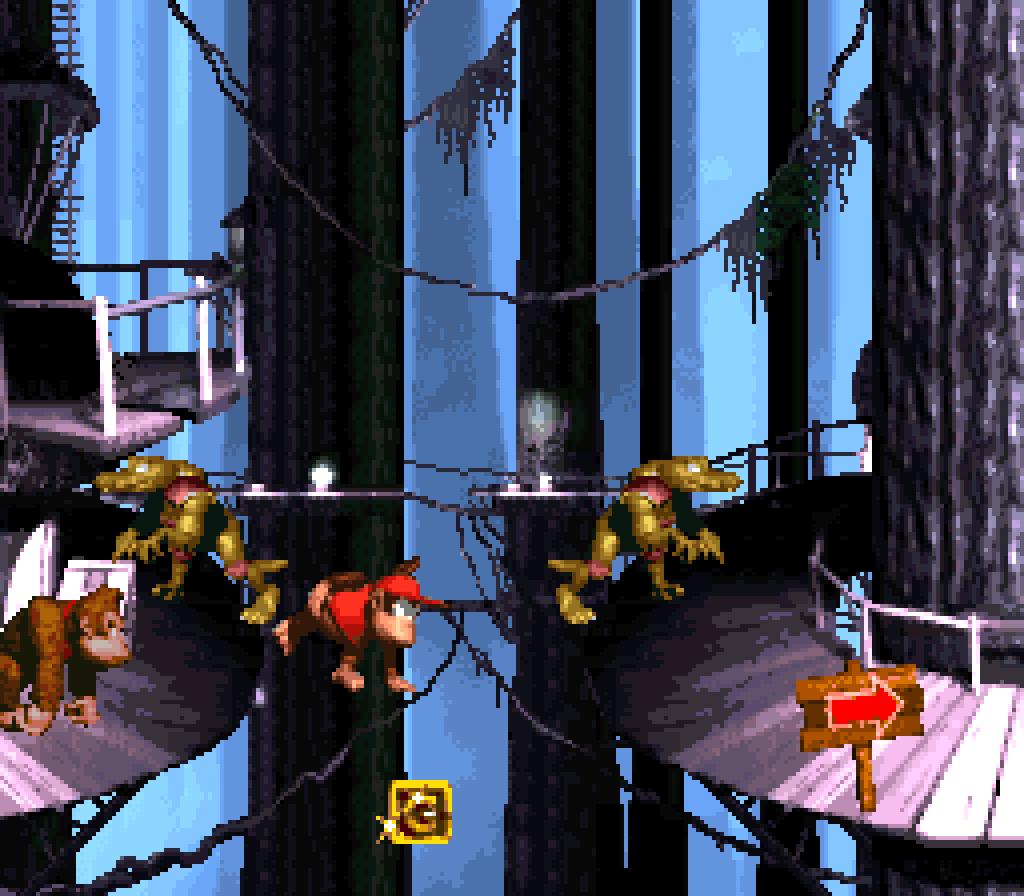
6. Rope Bridge Rumble
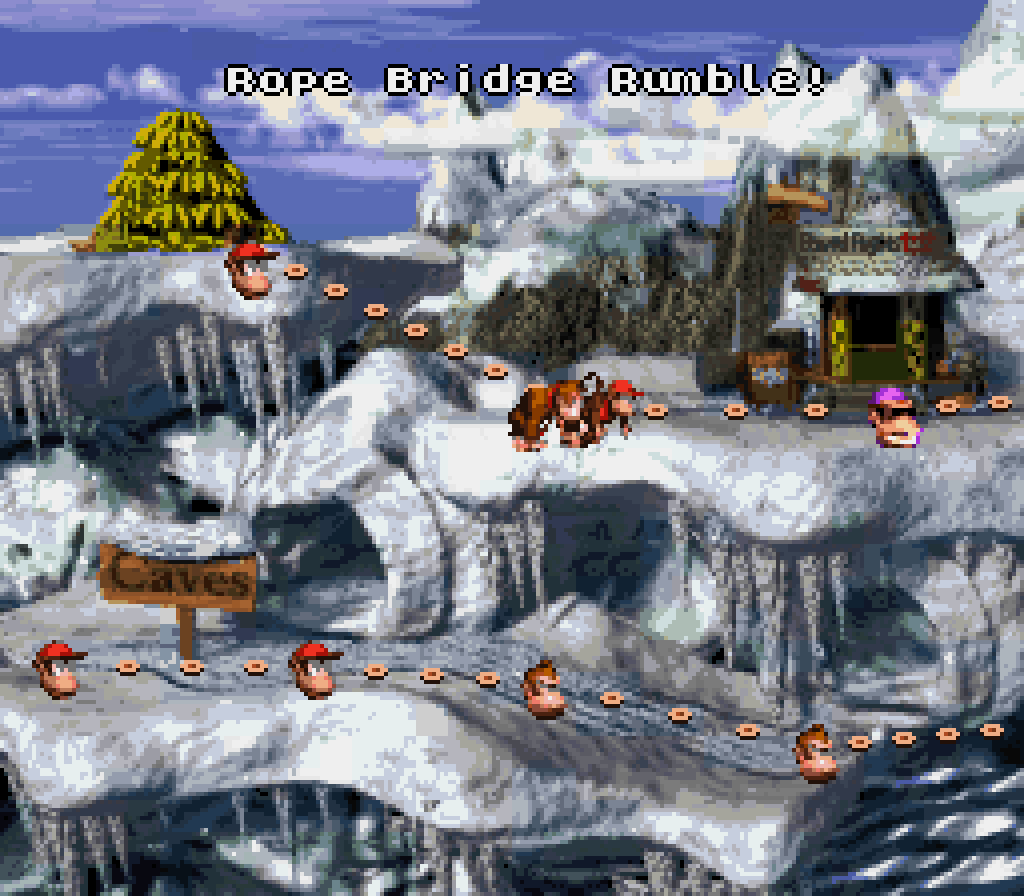
What a simple level, but what a cool level. Sure, moving rocky platforms with stalactites hanging down from them holding rubber tires swarmed with bees has nothing to do with the snowy theme this level has ( nor rope bridges, which appear only a few times & are just a paint job o’er regular ground ); but neither do rotating barrel cannons. A bigger problem is that this level’s focus on dodging Zingers while bouncing on tires & dodging Kritters who hop back & forth makes this level feel dangerously close to “Bouncy Bonanza”, with the only difference being the greatly decreased land mass in this level & making some o’ the tires move o’er bottomless pits. While “Bouncy Bonanza” had a theme that better fit its focus, its theme was also used 5 times, while this level uses a theme only used twice with a unique palette, making this level a lot nicer to look @. That level also has a mo’ complex layout, with a branching path, while this sticks to a straight left to right path & in general feels much mo’ like a fast-paced romp. “Bouncy Bonanza” is only ’bout ⅛th longer than “Rope Bridge Rumble”, but it feels e’en longer, probably ’cause there are mo’ places where you’re s’posed to stop, whereas all the moving objects in “Rope Bridge Rumble” makes it feel like its pushing you to keep going mo’, &, moreo’er, ’cause there are mo’ chasms, so mo’ places where you have to make large leaps o’er a long plot o’ terrain. “Rope Bridge Rumble” certainly feels less bloated, with fewer repeated setpieces.
If anything, I wish they did mo’ with the wall o’ Zingers idea that use twice, with the only variance being 3 ’stead o’ 2 the 2nd time. They probably could’ve gotten something good out o’ having a tire platform with a longer path that challenges the player to bounce round multiple Zinger formations. I’m surprised they don’t do any trickier Zinger formations, like a Zinger high up, challenging you to bounce round & below it to avoid being hit. 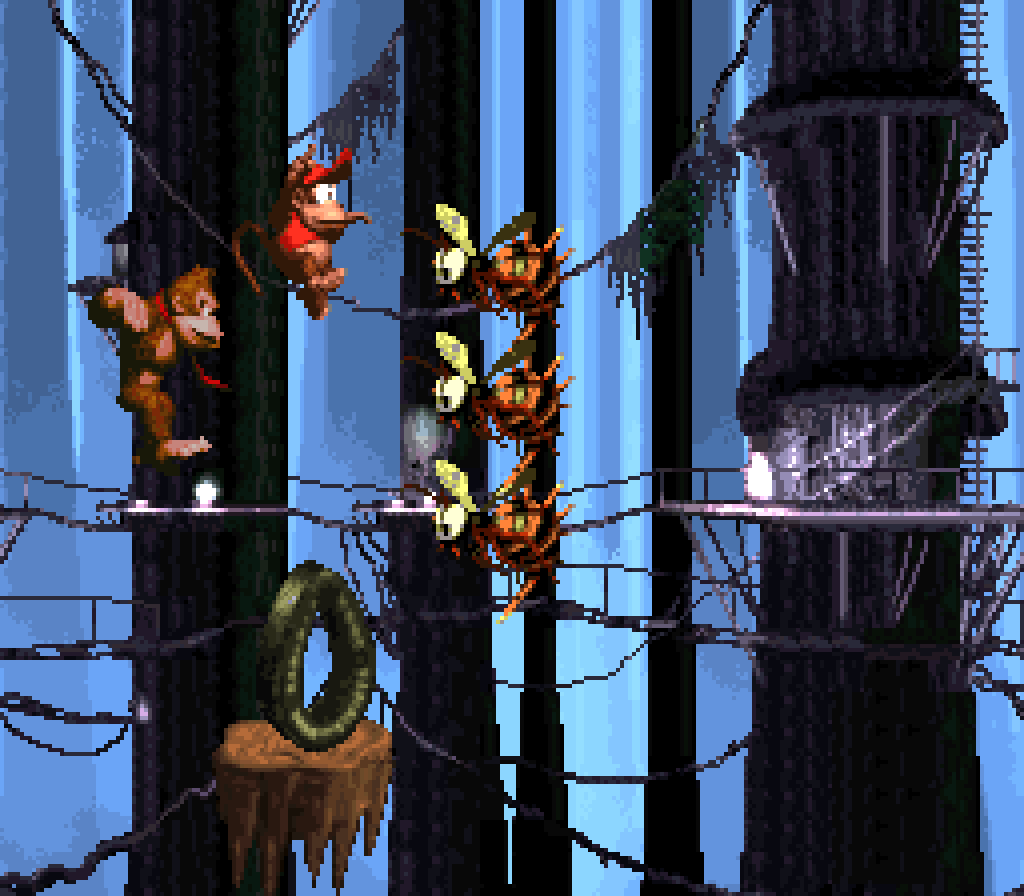
Setpiece highlights include the pits with the Kritters hopping back & forth o’er them, which, due to requiring the player to jump to avoid dying, are much trickier than the variants in earlier levels, & the Army up on the cliff near the end, which is tricky to get past with Diddy — & nice callback to the 2 Armies that appear @ the start o’ the level & then disappear for the whole middle o’ the level. 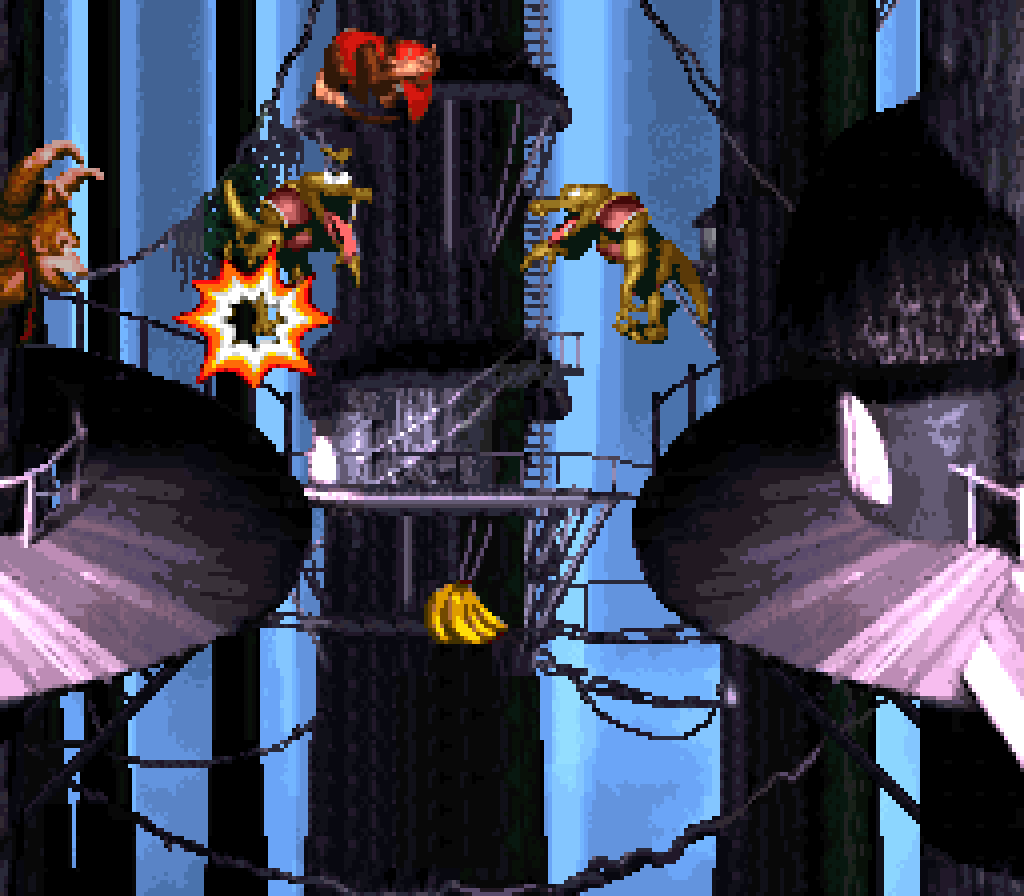

The 1st bonus can barely be seen by the top lip, which is specially noticeably thanks to the camera suspiciously moving down toward it, which isn’t a particularly clever secret, but a’least 1 that they bothered to give some hint to the player. 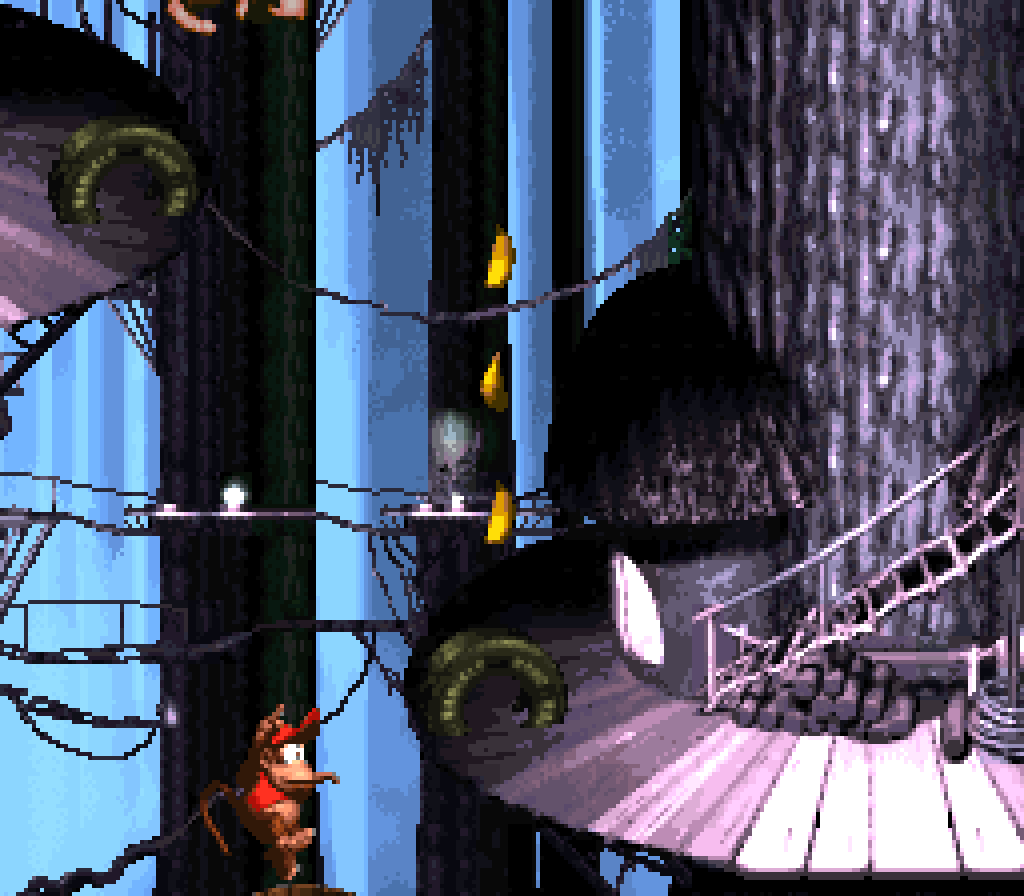
The 2nd bonus is e’en easier to find, given ’way by a banana, indicating that you need to bounce under the banana on the moving tire platforms to reach it. This bonus is mo’ a challenge to aim your player @ the banana while bouncing on the moving tires & not letting the distraction o’ this sudden secret cause you to slip up on your timing & fall into the pit. 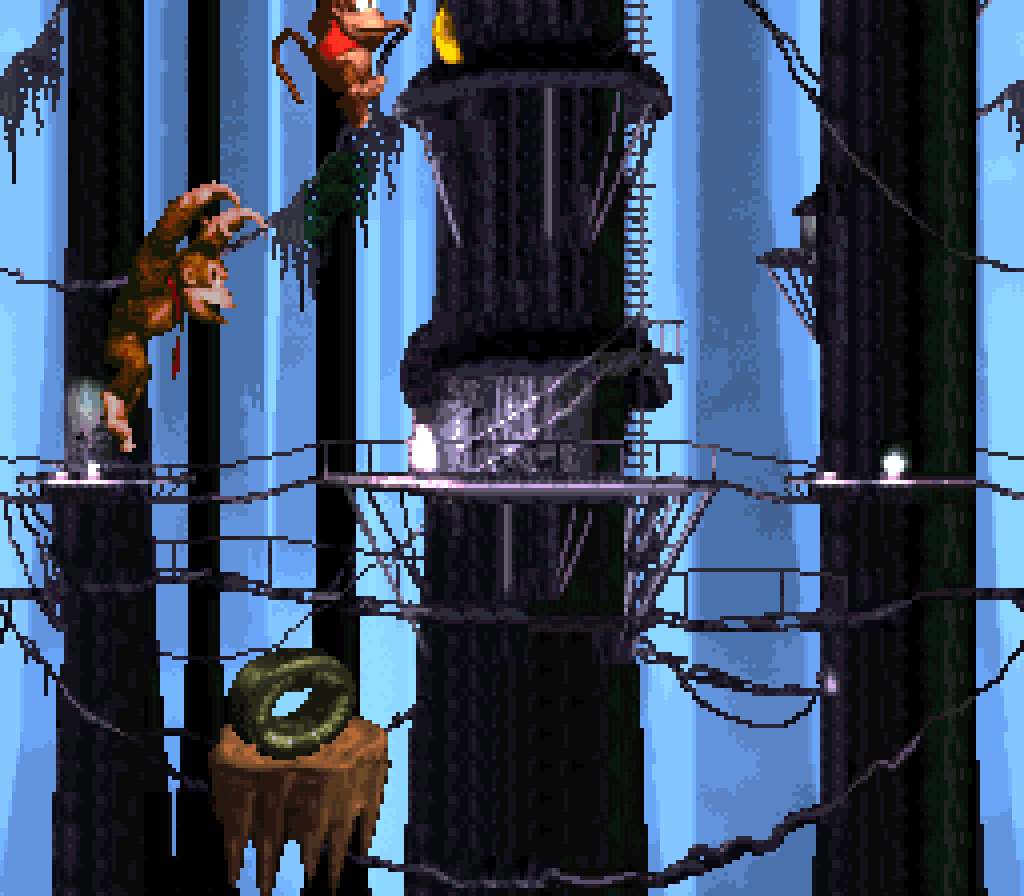
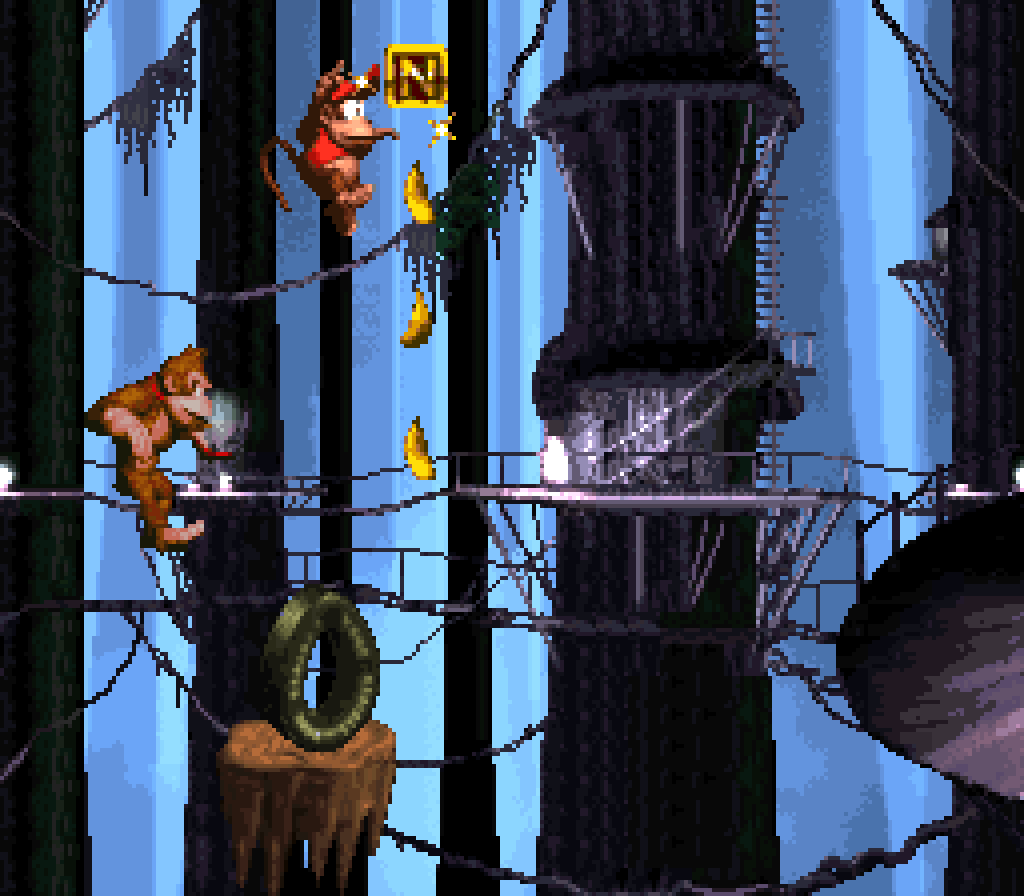
The KONG letters do a great job o’ putting them ’hind challenges, but making them fast-paced challenges rather than long slogs that aren’t worth it. The K is down on an optional lower-down tire with a swirling Zinger guarding it, while the N is up in the air ’bove a moving tire, challenging the player to aim their jump to get it. The O & G are both in pits surrounded by Kritters, forcing the player to defeat the Kritters & do a roll jump off the edge to get them. The G is in a subtly tricky place, a li’l lower than the O was, so that you’re mo’ likely to o’ershoot it as you roll off, sometimes forcing you to change your trajectory a bit back left, & then right ’gain so you can still jump forward to the next platform. 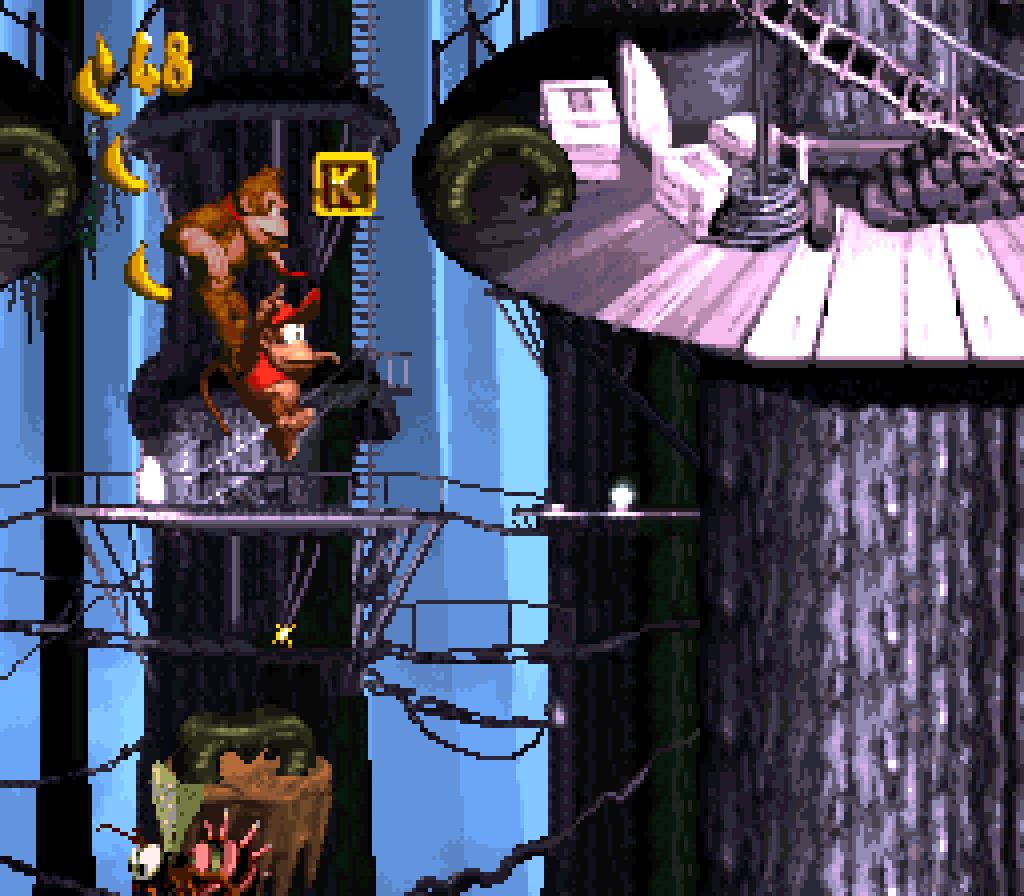
5. Orang-utan Gang
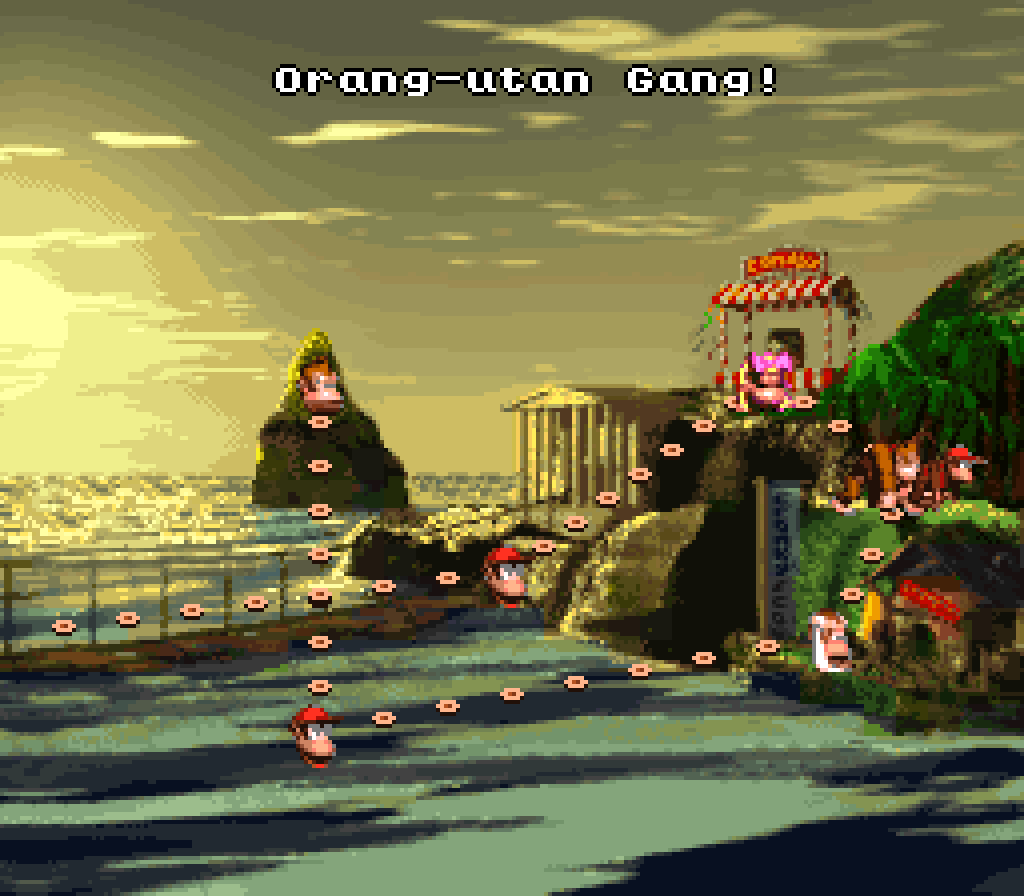
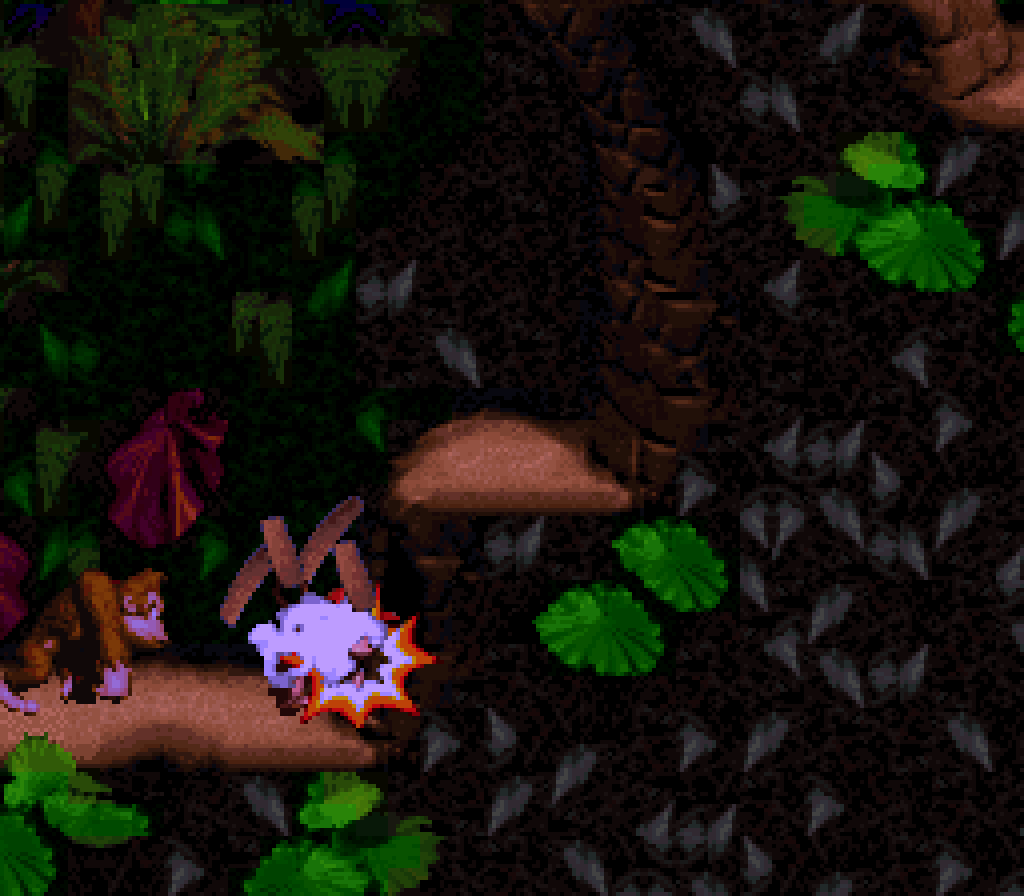
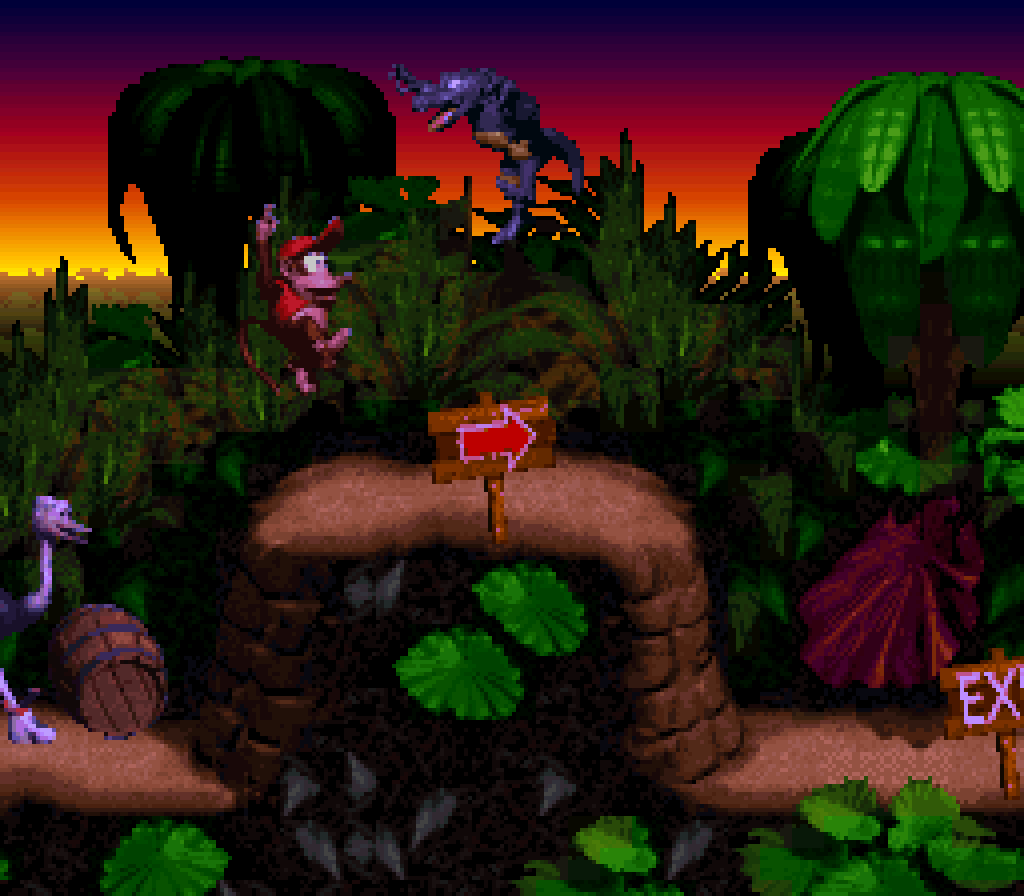
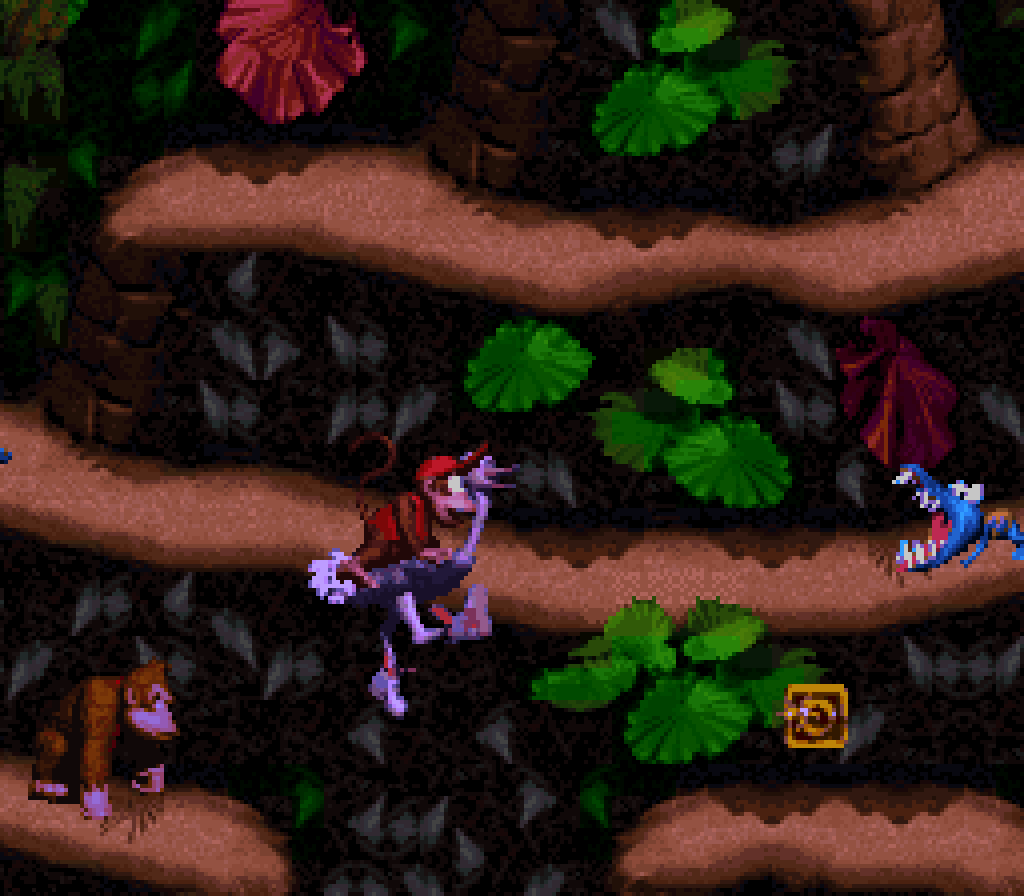
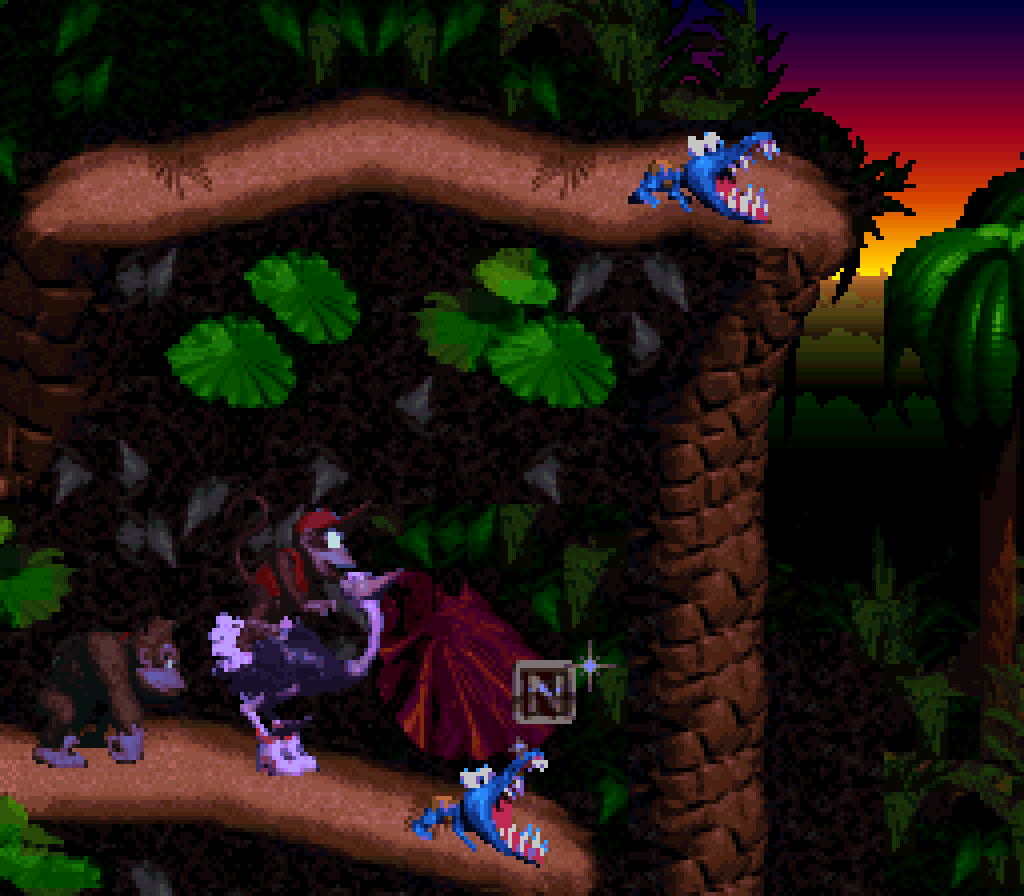
“Orang-utan Gang”, 1 o’ the surprisingly scarce 3 jungle levels in this game, manages to stand out from the thick shadow o’ “Jungle Hijinx”, not only due to its striking purple-to-yellow sunset background, which fits perfectly for a level right in the middle o’ the game, but its complex level layout, making it feel much bigger than most other levels ( tho in terms o’ sheer horizontal length, there are many longer ). & yet despite this, it doesn’t feel like it goes on too long — probably ’cause most o’ the size is thru hidden secrets & niches, up & down, rather than extra terrain spreading out.
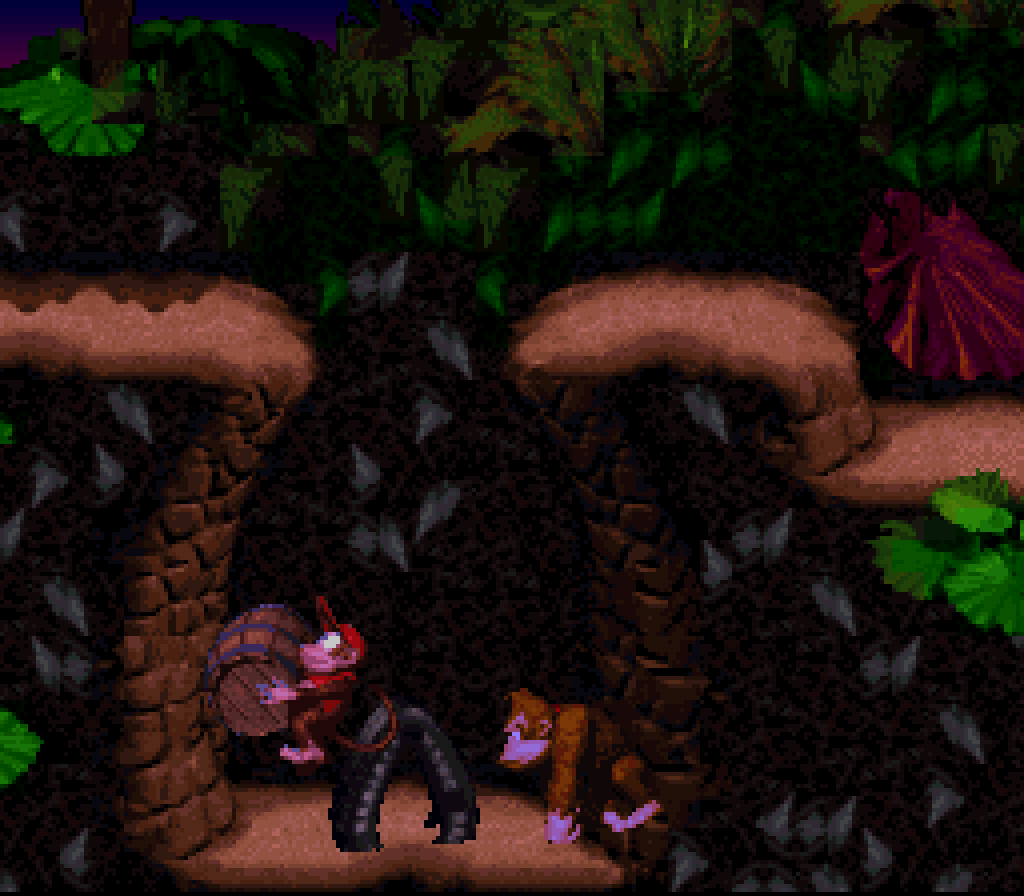
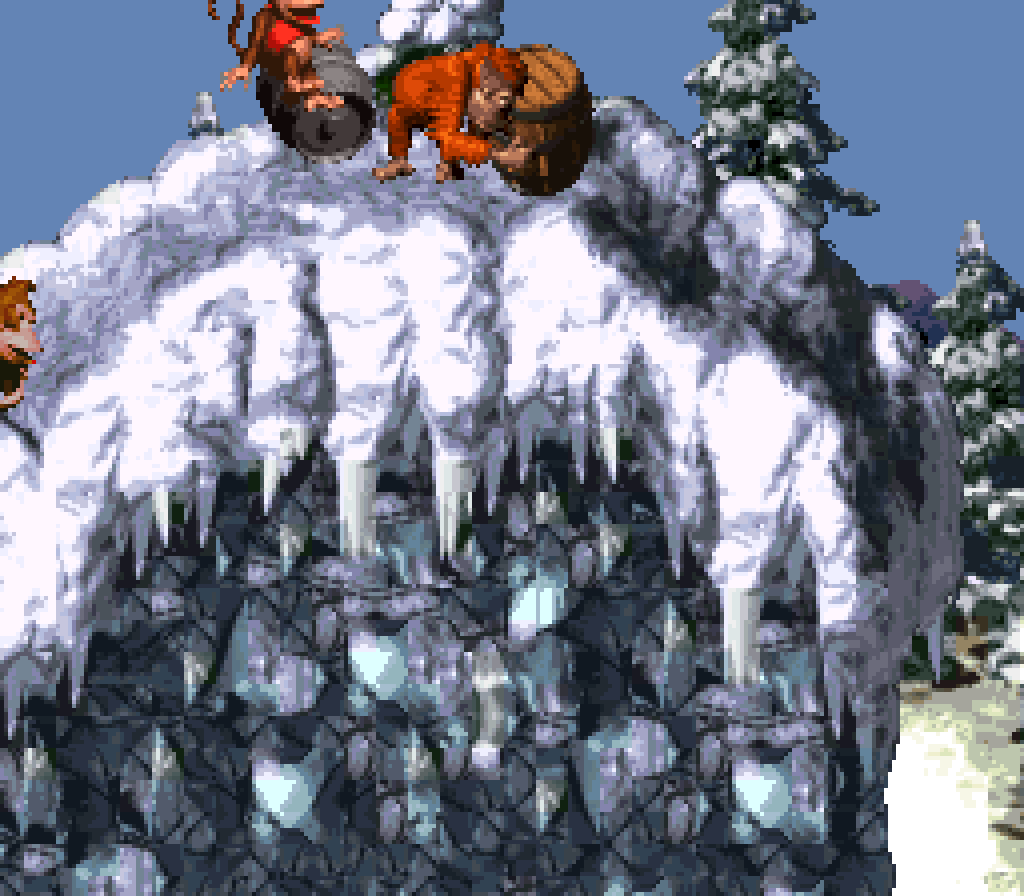
This is also helped by the various means this level offers for speeding thru the level, such as the steel barrel right ’hind the start ( 1 o’ the very few times the game has you go leftward ), which you can ride thru the 1st quarter, — in a specially stylish way, thanks to the way all the elements are perfectly aligned so that they don’t hurt you as you ride thru — & the Expresso you can use to fly thru the 2nd half o’ the level, which has the added bonus o’ alleviating some o’ the monotony o’ the repeated hopping Kritters & barrel-throwing Manky Kongs. O’ all the levels in this game, this level feels like the 1 where Expresso is the least o’ a burden — tho her inability to hop on basic hopping Kritters all o’er the place is still an annoyance. But her ability to go thru Klaptraps unharmed makes her useful during the short land areas where you encounter them, specially while getting the O, down @ the bottom o’ hills swarming with Klaptrap. 
Said Manky Kongs are the new mechanic introduced to this level, & this level certainly uses them mo’ than a couple times to enforce that focus — perhaps a bit too much, specially since they don’t have too many new uses o’ them: this level has a couple instances where the Manky Kong’s barrels are going uphill ( let’s not think too hard ’bout the questionably physics ’hind this ) & then later going downhill, which is a li’l harder, with later variations having longer hills that go up & down. I feel like they could’ve done mo’ with this than that. E’en if it wouldn’t have created much extra challenge, — ’haps it would’ve made it easier & would’ve worked best as an early variation — but having Manky Kongs with li’l space before a hole would’ve a’least added some variety. I also find it odd that they have the 2nd variation with a steel barrel you can use to nullify the Manky Kong & its barrels & not the 1st variation. 
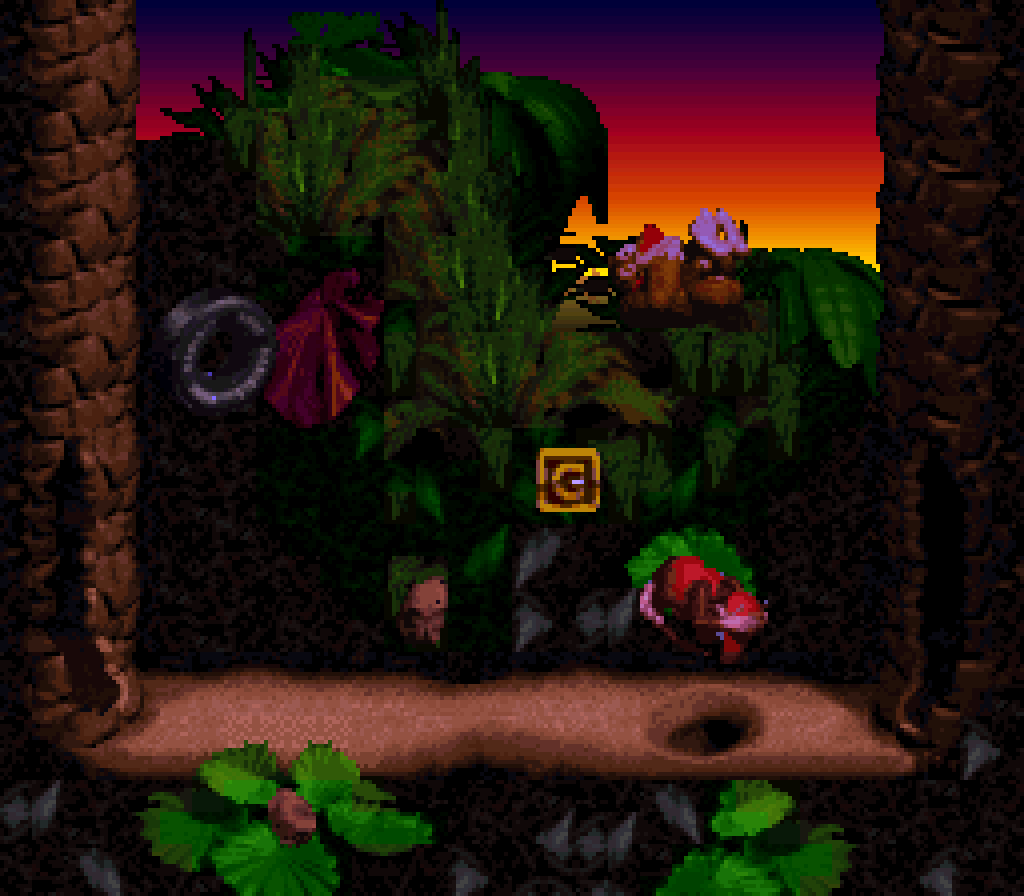
This level is infamous for having a whopping 5 bonuses, mo’ than any other level in the original trilogy ( tho, compare to the Returns games, where 5 jiggies is the minimum ). Most o’ these are found under the eaves o’ trees that make up the main pathway, accessible only by flying with Espresso, an interesting twist on “Jungle Hinjinx”, which had 2 paths, ’bove & below, but had the treetop path be the bonus path. Here, howe’er, the bonus paths feel like obscure beginner’s traps, as there’s not much o’ a way to know that flying a ways under each line o’ treetops will lead to a bonus or just certain death; there are 2 long lines round the middle that do. Despite this, the bonus locations are relatively clever for this game: the 1 @ the beginning rewards players who think to check back thru the 1st half with Espresso after getting her round the halfway point; there’s 2 below the final treetops line just to trip you up; & the final bonus rewards you for keeping the Manky Kong or barrel before it ’live after you pass so you can open 1 mo’ cave opening. 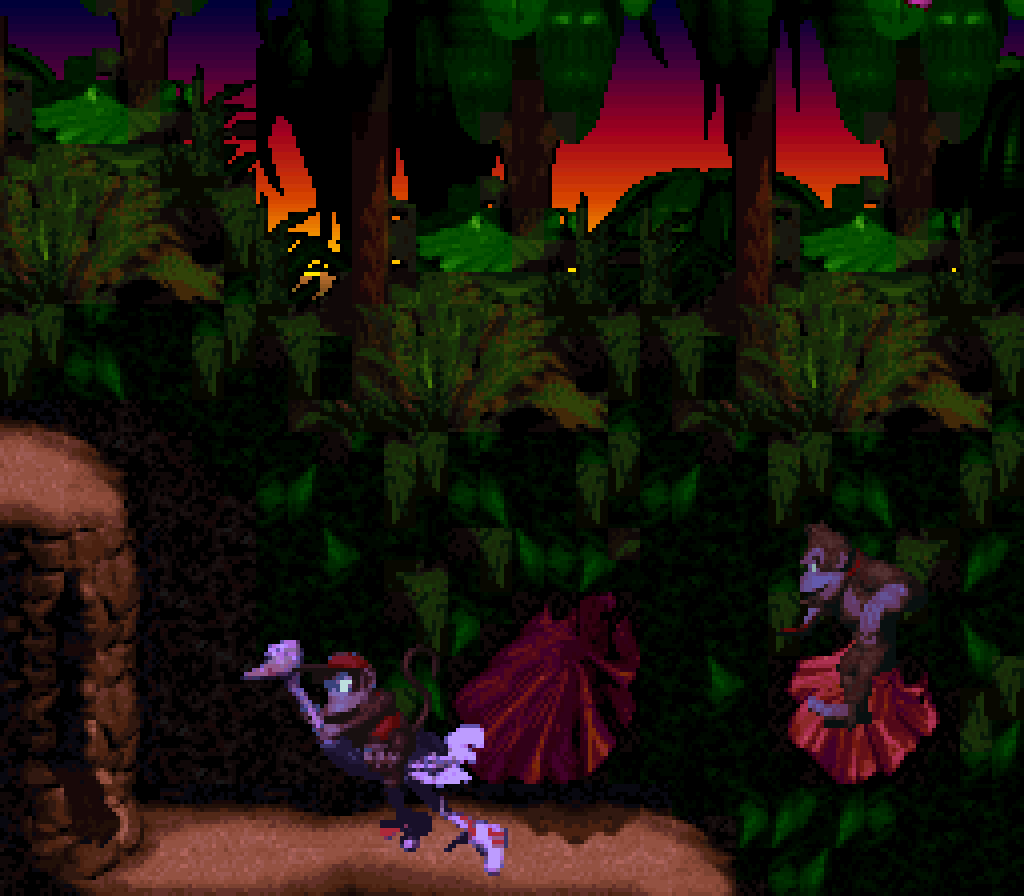
This level probably has the best KONG letter placements in the game: you have the K right in the middle o’ the Zinger, which isn’t that hard to get, specially if you use the steel barrel to kill it, but looks cool when you get it in any case; the O & N are hidden under cliffs; & the G is hidden in 1 o’ the 5 bonuses in this level. 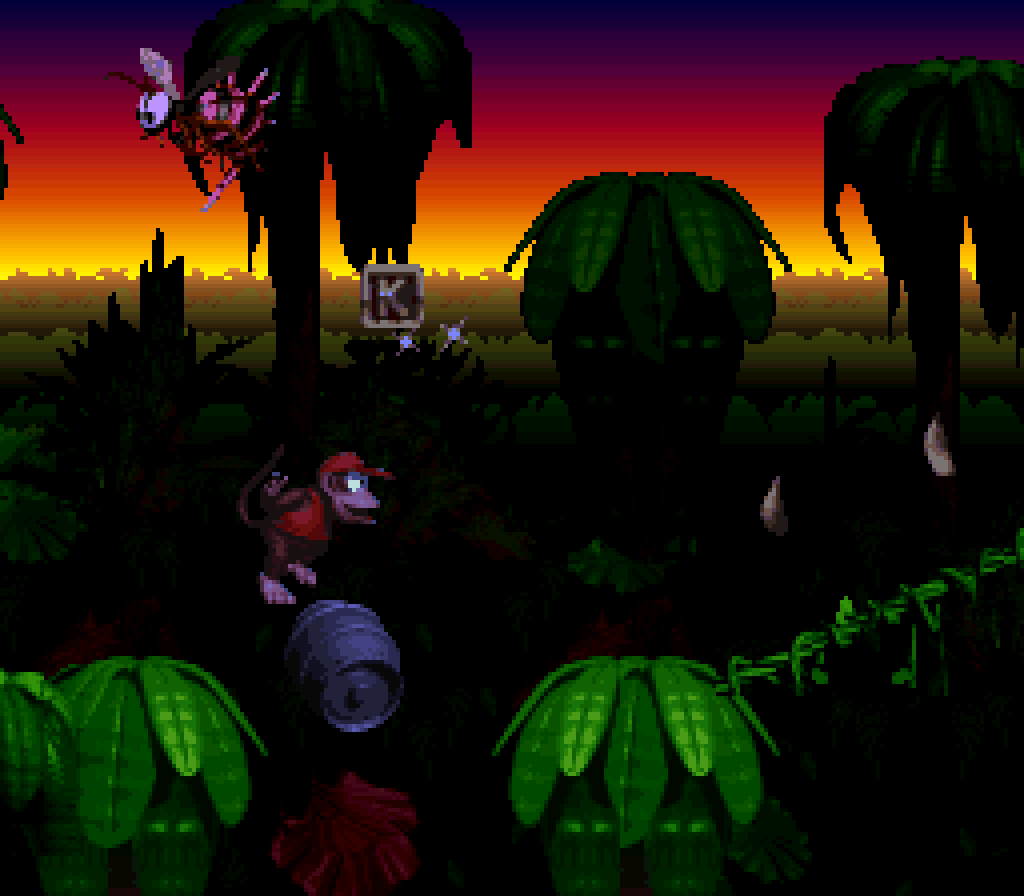
The sunset effect looks nice & fits perfectly thematically right round the middle o’ the game.
4. Stop & Go Station
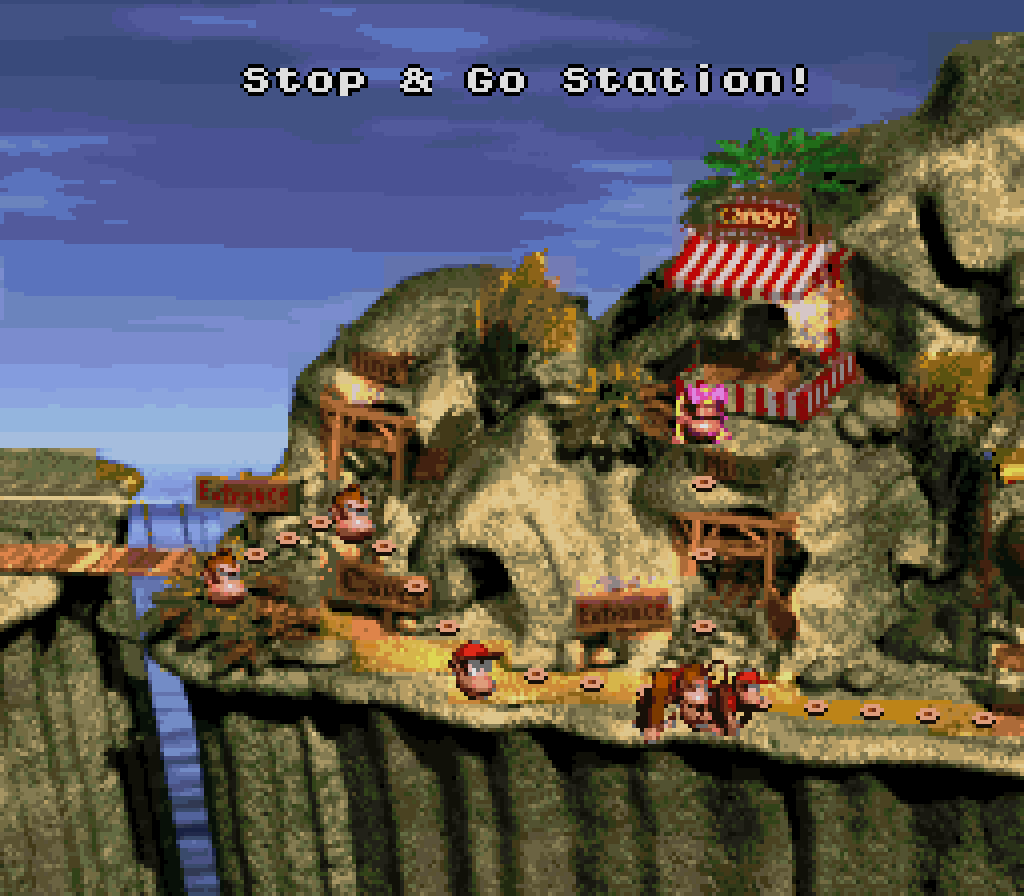
After mine carts & barrel cannons, this level’s gimmick o’ invincible enemies that run back & forth very quickly, who can only be mitigated by turning them off temporarily with the on-off switch barrels ( ’cause e’erything in DKC needs to be a barrel ), is probably the most well-known, & for good reason: it’s both a weird, memorable gimmick, & yet 1 that feels smooth & straightforward to play: hit switches, race on thru before they turn back on. Like DKC does many times, this takes a relatively sterile, abstract idea from Mario ( P-switches & magical switch blocks ) & breathes extra life into it by making it weirder ( now it’s red-eyed crock bots controlled by barrel switches ) — which, considering Mario is already weird, is something. This is also 1 o’ the rare well-known DKC gimmicks that hasn’t been used beyond this level, unlike mine carts & barrel cannons that return so many times, they’re mo’ basic mechanics than gimmicks, making this level feel much mo’ unique. 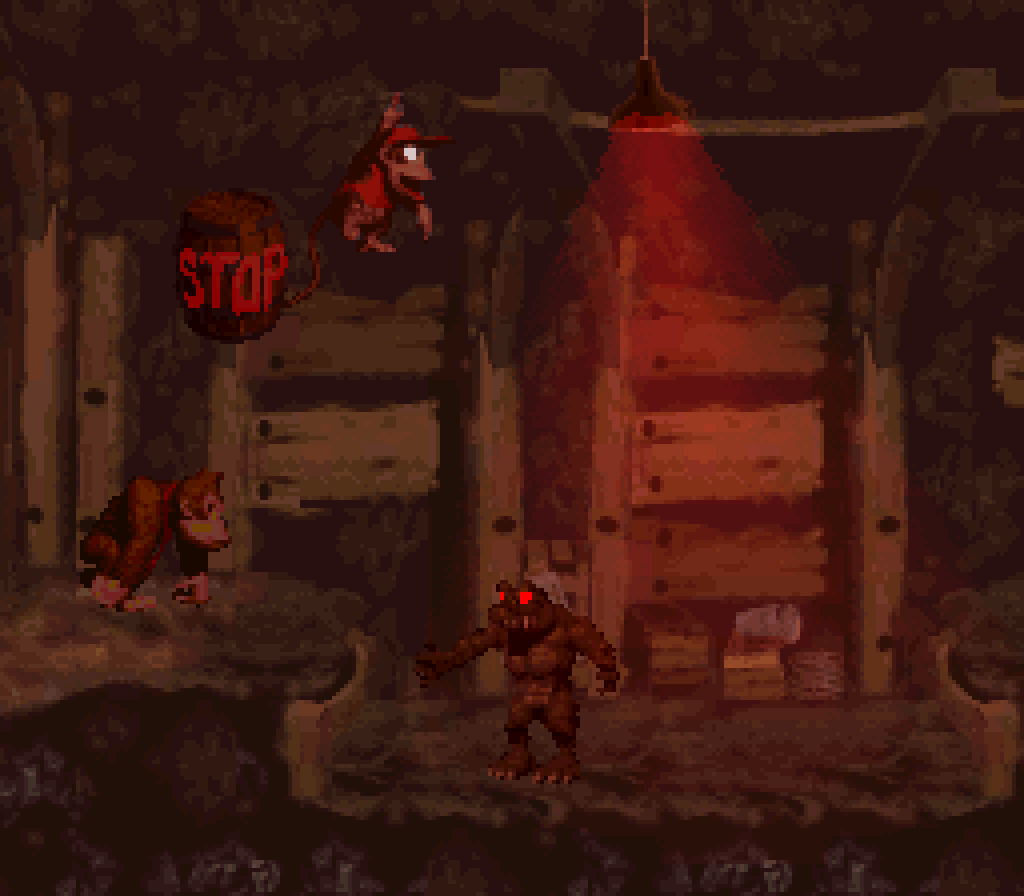
Like “Mine Cart Carnage” the developers created a ’scape hatch for this level in case its exotic gimmick was too difficult for players, offering a secret way to bypass almost the entire level. Howe’er, this level’s version is better in that it isn’t something as obscure as jumping into a random pit & hoping there’s a barrel there, but a clever reward for players curious ’nough to try going back into the entrance whence they came, something that would make some kind o’ sense & wouldn’t threaten the player with death for trying for it. Also, unlike that level, which had no bonuses, & thus could be 100%ed without e’er playing the level proper, this level has bonuses in the middle, so this skip only works for just beating the game, which is mo’ effective @ balancing the need for safety nets for novice players & the need to reward playing thru the actual challenges. 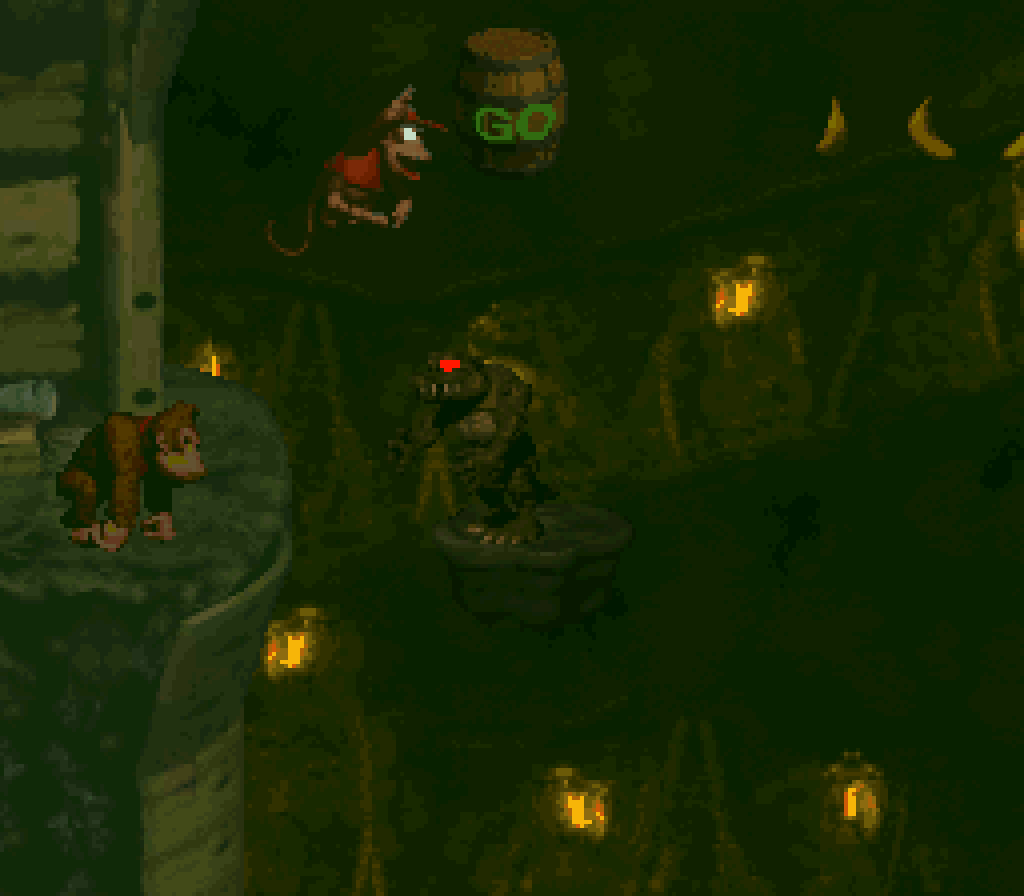
The many uses o’ this gimmick follow textbook level design: it starts by introducing the most easy use o’ the gimmick with a Rockkroc in a small pit, much easier to jump o’er e’en if you don’t hit the switch, & then gradually adds difficulty & extra twists. 2nd you have to jump up stairs after hitting the switch, then you have to jump on a tire to reach a switch, then you have to hop off a Klaptrap to reach a switch, & then they have the area just after the next switch vacant for a while, with 2 enemies father ’head, near when the switch is ’bout to run out, & then later you see mo’ complex arrangements & moving platforms, till the level ends with a wide area full o’ an onslaught o’ Rockkrocs & 2 switches that require a tire, the latter o’ which requires you to roll the same tire o’er to it. I can’t think o’ any arrangement the developers missed, which is a good reason why this gimmick’s only used once. If anything, this level’s biggest flaw is probably that it sticks a bit too closely to its gimmick, with only Klaptraps sprinkled ’long the very linear path to save the level from being nothing but Rockkrocs. But a’least this level is short — which is doubly good, considering how much harder this level is than its surrounding levels. 1 o’ the reasons this level’s gimmick is so well-known is that it’s as infamous for being a sudden difficulty spike early in the game as “Mine Cart Carnage” — & unlike that level, which was just basic jump timing, this level deserves it for its tricky enemy layouts, specially the last part — which, I should add, you can’t skip, since the warp @ the beginning warps you to right before the final onslaught.
This level has an interesting twist to its 2 bonuses where ’stead o’ spreading them ’long the level the developers put them both right next to each other in the middle, but in completely different places. The 1st bonus is telegraphed right to the player with a big wall with a Rockkroc running back & forth in front o’ it, both o’ which you can easily jump o’er & have no use other than to throw a barrel @ that wall — &, hey, there’s a barrel just before it. Granted, there’s still difficulty in not breaking it on 1 o’ the Rockkrocs instead or getting killed on the way there. 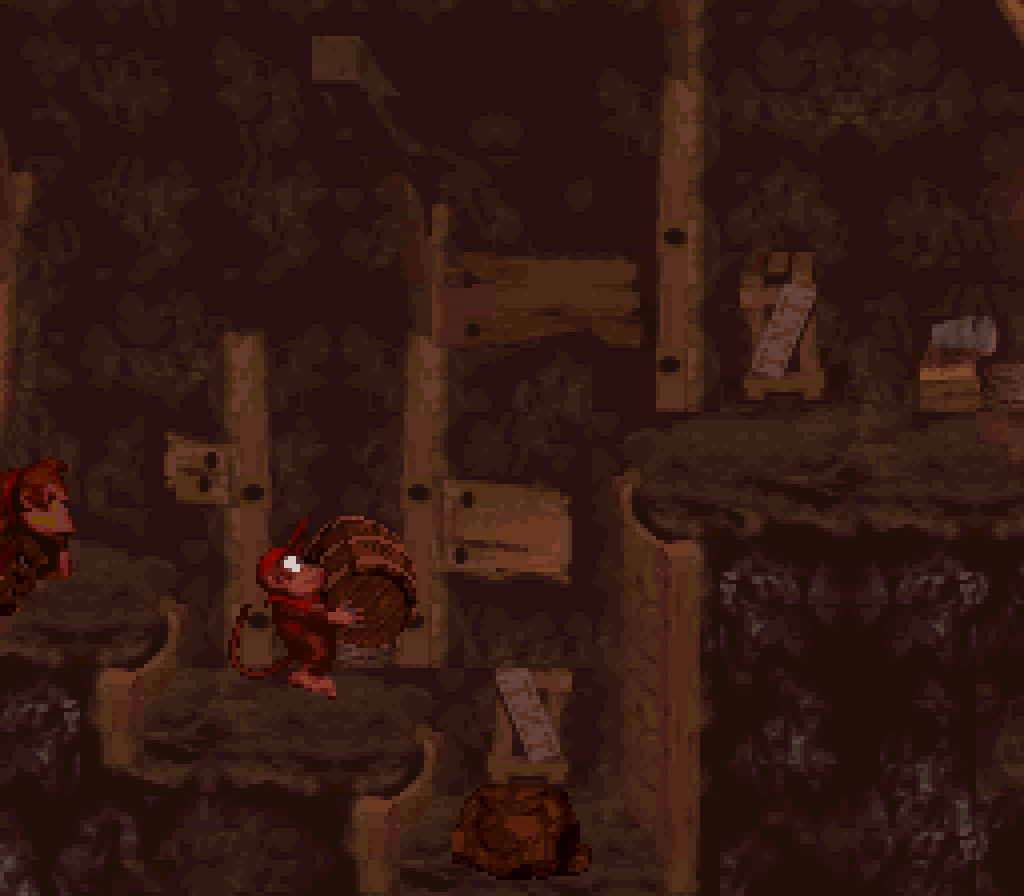
The 2nd bonus is much better hidden, specially since it’s right after the 1st, the last place you’d expect. Its barrel is offscreen, telegraphed only by a banana trail going upward. I think you can maybe reach it using the Klaptrap just below it, but you’re probably s’posed to use the tire after it, ostensibly put there to help you reach a switch farther on, but can be pushed back to the bonus — 1 o’ the rare times the game expects players to go backward. 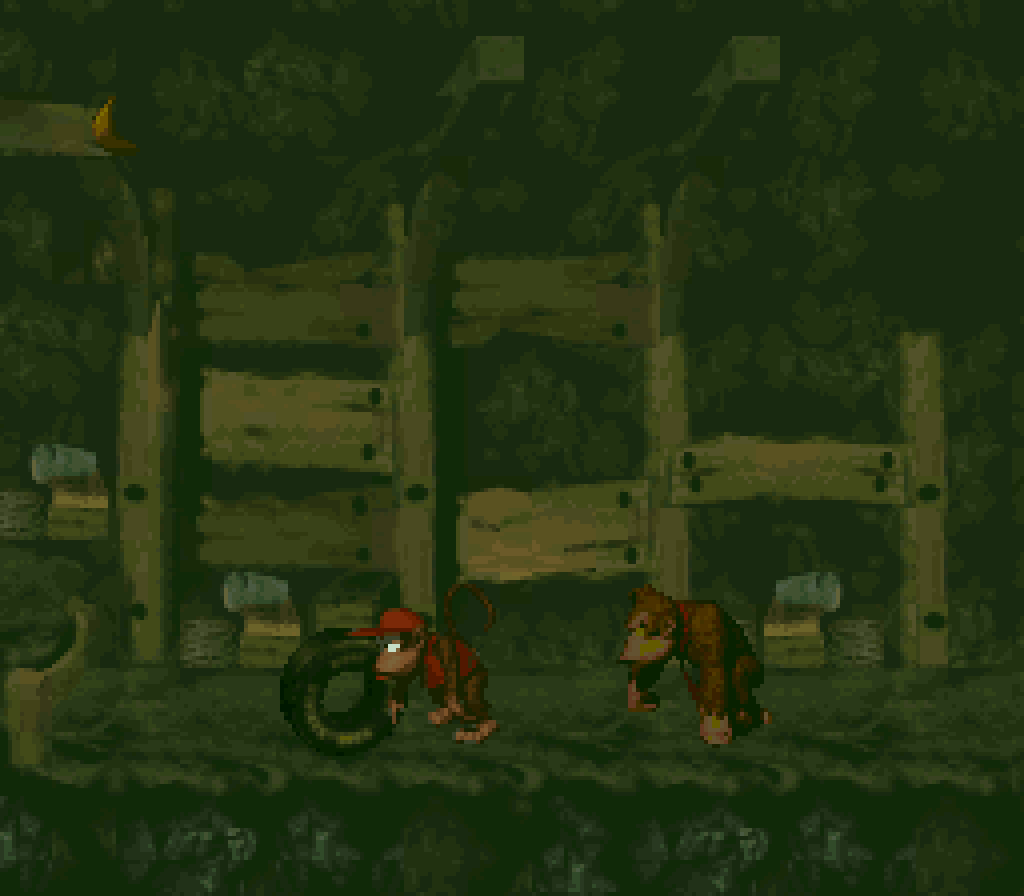
Most o’ the KONG letters are right in your path, ’cept for the O, which is the 1st time a KONG letter is o’er a pit in a way that requires you to roll jump off the air, something, which, as we’ve seen, they do plenty o’ other times. 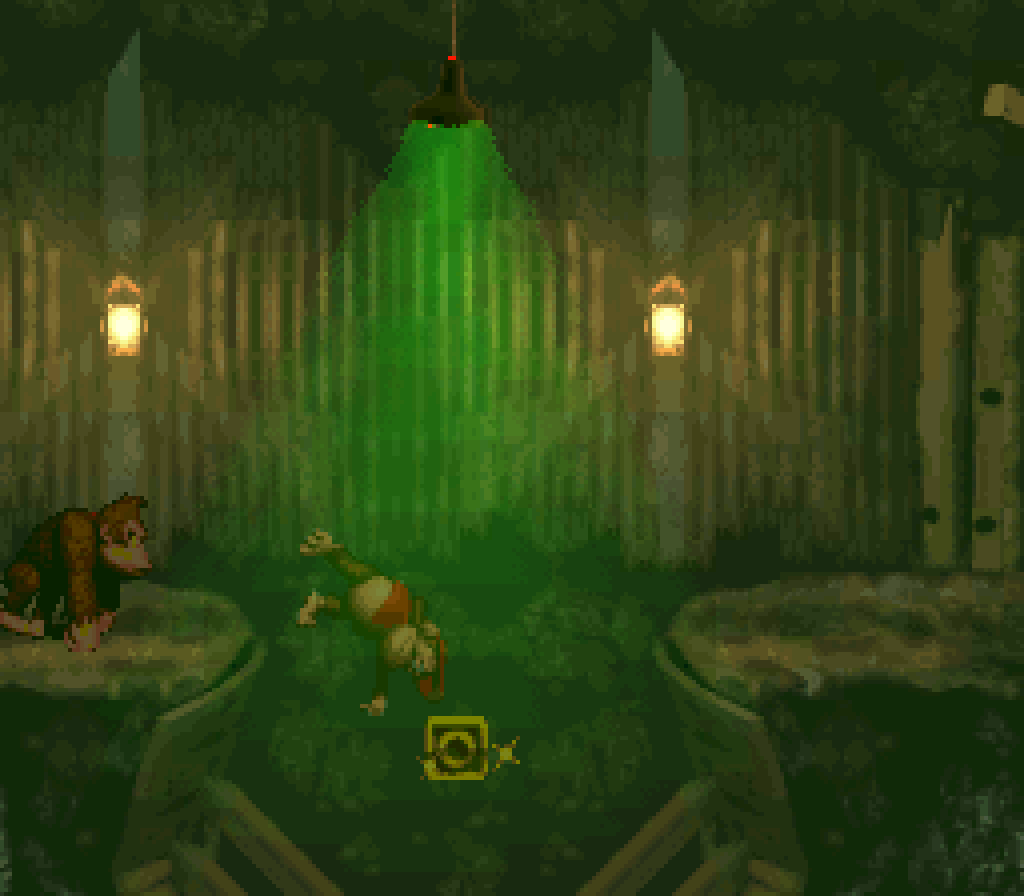
While the mine graphics are 1 o’ the most boring tilesets in the game, the green & red tints showing the switch’s status adds something to make it stand out from the other levels.
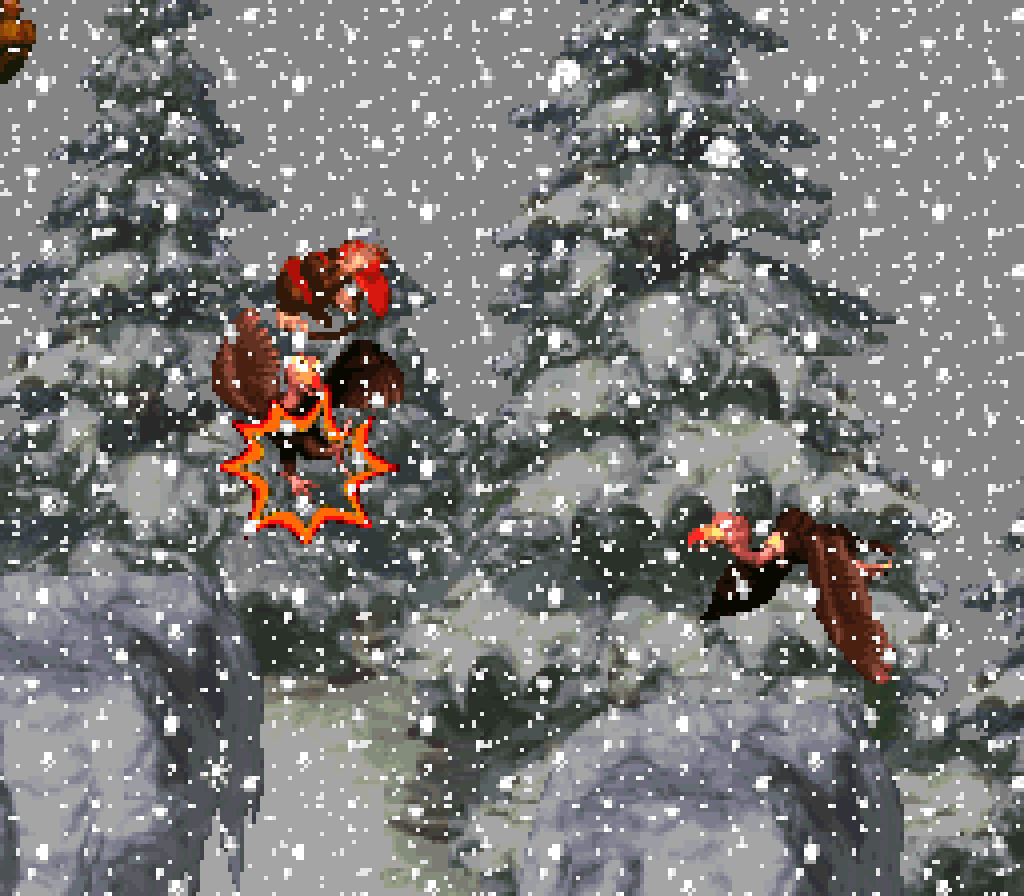
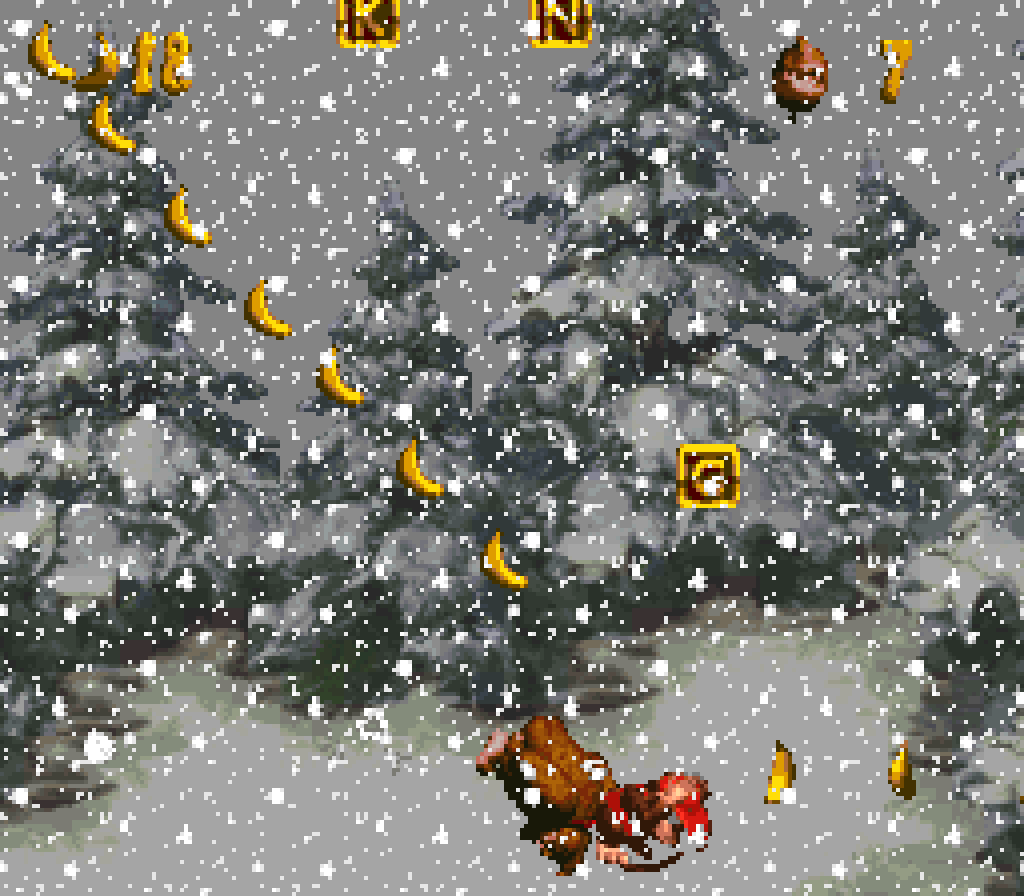
3. Snow Barrel Blast
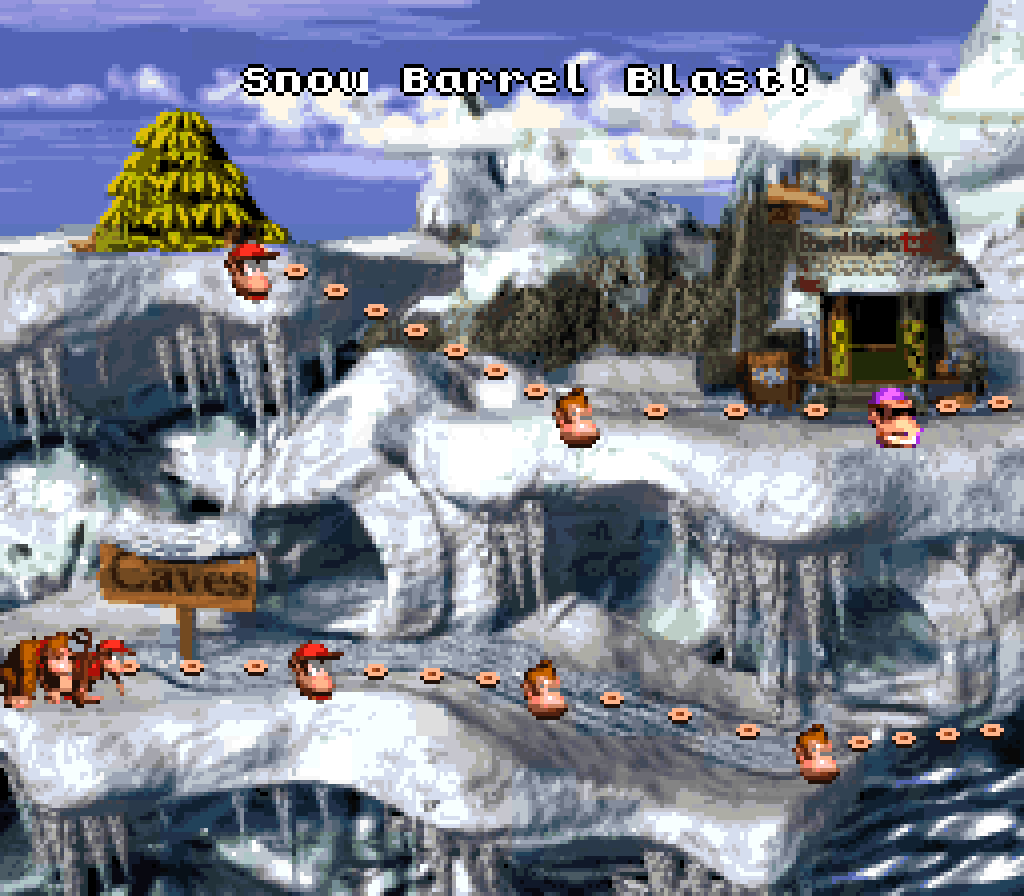
The 1, the only. “Snow Barrel Blast” is a difficulty spike so infamous legend says that Nintendo’s help hotline had a prerecorded message specifically for dealing with this level. This is due to its intricate paths o’ barrel cannons, this time spinning @ electric speed, many o’ which have Zingers swarming round them, making you not only time shots when you’re aligned with the other barrel but also when the Zinger isn’t in your way. I would argue that it is, to this day, the ultimate barrel cannon level.
This level is also a perfect example o’ Gregg Mayles’s technique o’ having timed obstacles passable on the 1st try: you can always shoot from cannon to cannon the 1st time they connect & a Zinger will ne’er be in the way. ’Course, you still need to time them when connected. In this way these levels can still be fast to zip thru if the player’s reflexes are fast ’nough without sacrificing challenge. 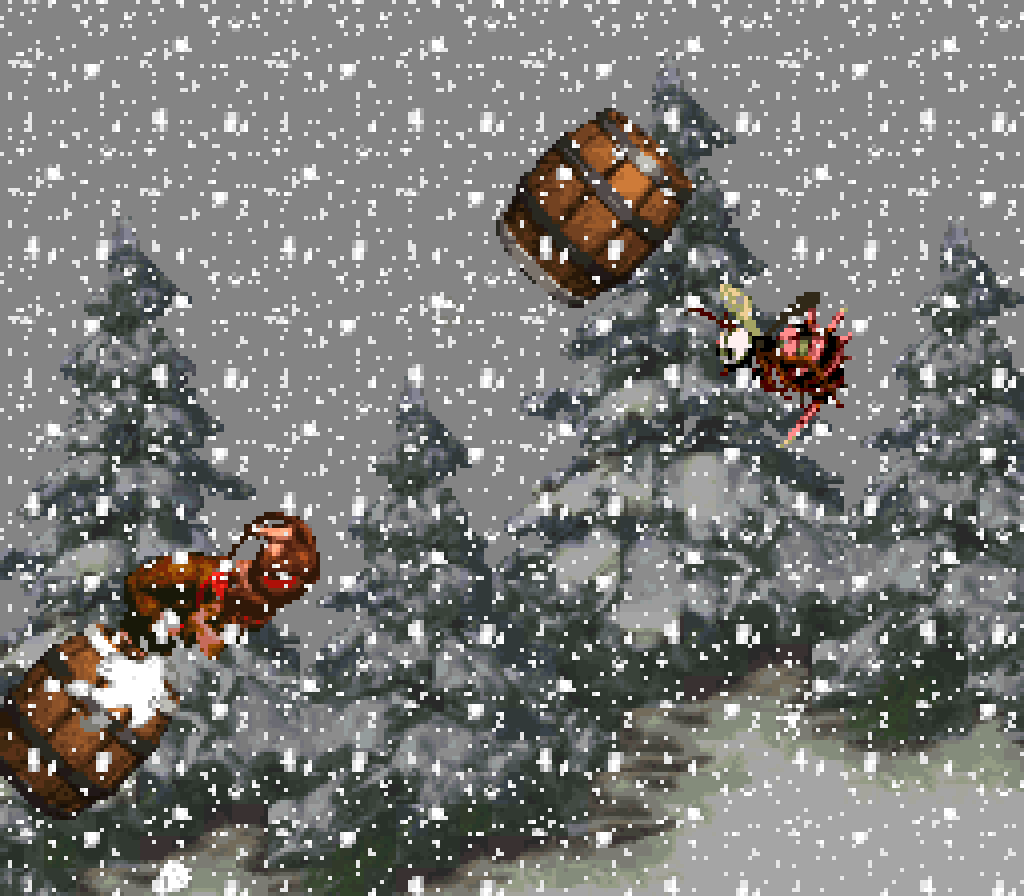
If the player is clever ’nough, they can skip large sections by aiming ’way from the main path, such as a few places where shooting up & right will skip a few cannons. This is trial-&-error, ’course, but since it’s off the developer-intended route ( indeed, other than the obvious shortcut @ the beginning o’ the final gauntlet, these minishortcuts may have been unintended & unknown @ development ), it’s not the kind o’ trial-&-error I usually criticize. A bit o’ risk & reward is fine if the “reward” isn’t basic success, ’less the game is specifically catered toward chance, like a board game or an RPG. That said, I think the shortcut near the beginning o’ the final onslaught cheapens the level a bit, since that final onslaught is the main attraction. Without it, this level’s mostly normal platforming with slippery physics. While the “Mine Cart Carnage” shortcut makes sense for how early in the game that level is, this is a late-game level; by this point the player doesn’t need hand-holding. 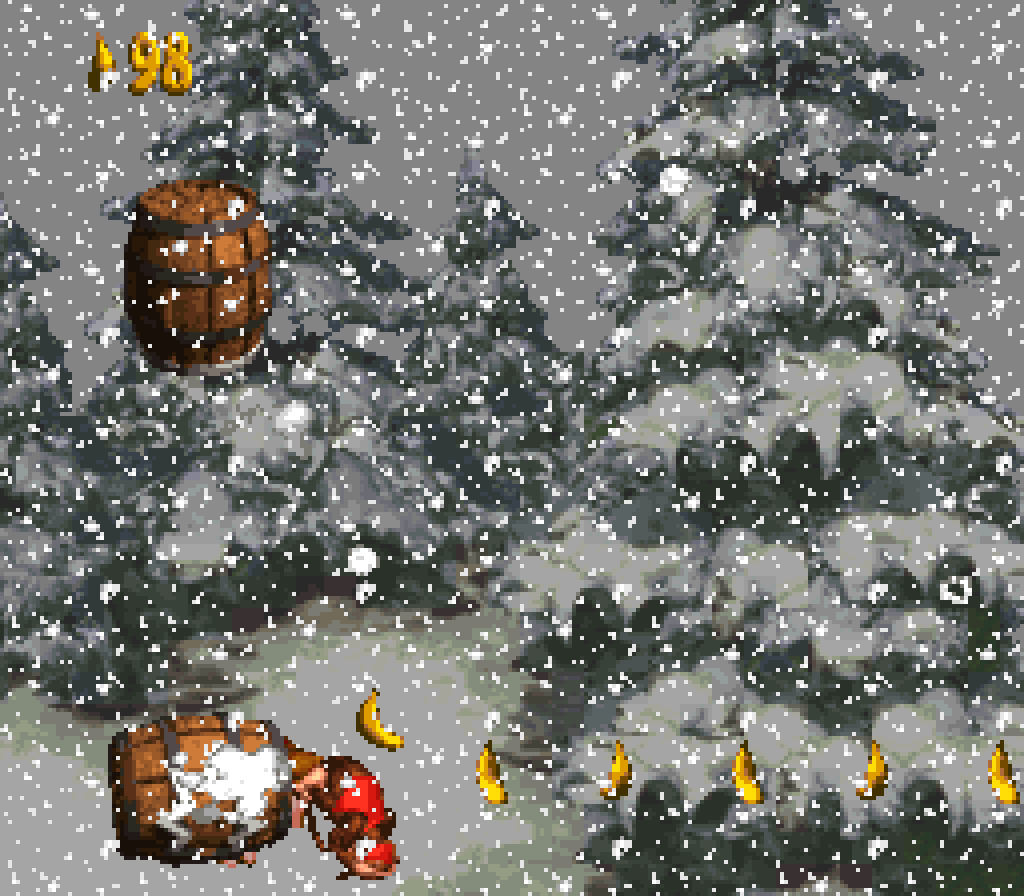
I like that they don’t focus too much on the barrel cannons, since players will have already seen them used prominently in 3 previous levels before, saving the main onslaught for the end, while balancing out with interesting layouts o’ Neckies, Klaptraps, & Gnawties thruout the 1st half o’ the level. For instance, this level introduces Klaptraps on slippery slopes, where they’re the hardest to hit, which will be further expanded on in “Ice Age Alley”. Tho not the most jaw-dropping layouts, there are a few interesting setups, like some upward staircases o’ Neckies near the beginning & the onslaught o’ Neckies on the steep downward slope not long before the final barrel cannon bonanza. E’en Gnawties, the Goombas o’ this level, are spiced up with a steel barrel you can roll on thru them. It’s not as memorable as the 1 in “Orang-utan Gang”, but it’s something. & e’en the the midway point has some pizazz to it in that you’re blasted into it from a blast barrel — a clever integration with this level’s focal mechanic, which is rare in this game. 
That said, e’en tho I’ve mostly ignored animal tokens thruout these reviews, since they’re completely useless — a hindrance, in fact, if you accidentally get 3 & get sent back to the start or midway point after a pointless bonus game — I want to bring up this silly setpiece right before the final barrel cannon bonanza: a barrel cannon surrounded by Zingers with a Rambi token up ’bove. ¿Who’s going to go for this? It’s so risky & tricky to get & the reward is nothing. It doesn’t hurt the level in any way, really; it’s just funny to me. 
The bonuses are all right. The 1st is up ’bove the start, accessible by jumping off a slow-moving Necky, an ironic twist gainst the fast-moving enemy you jump off to reach a bonus barrel @ the start o’ “Tree Top Town”, ’cept here they outright hide the bonus barrel, so it arguably takes advantage o’ the way DKC repeats setpieces by rewarding players clever ’nough to remember “Tree Top Town”’s 1st bonus & put 2 & 2 together. 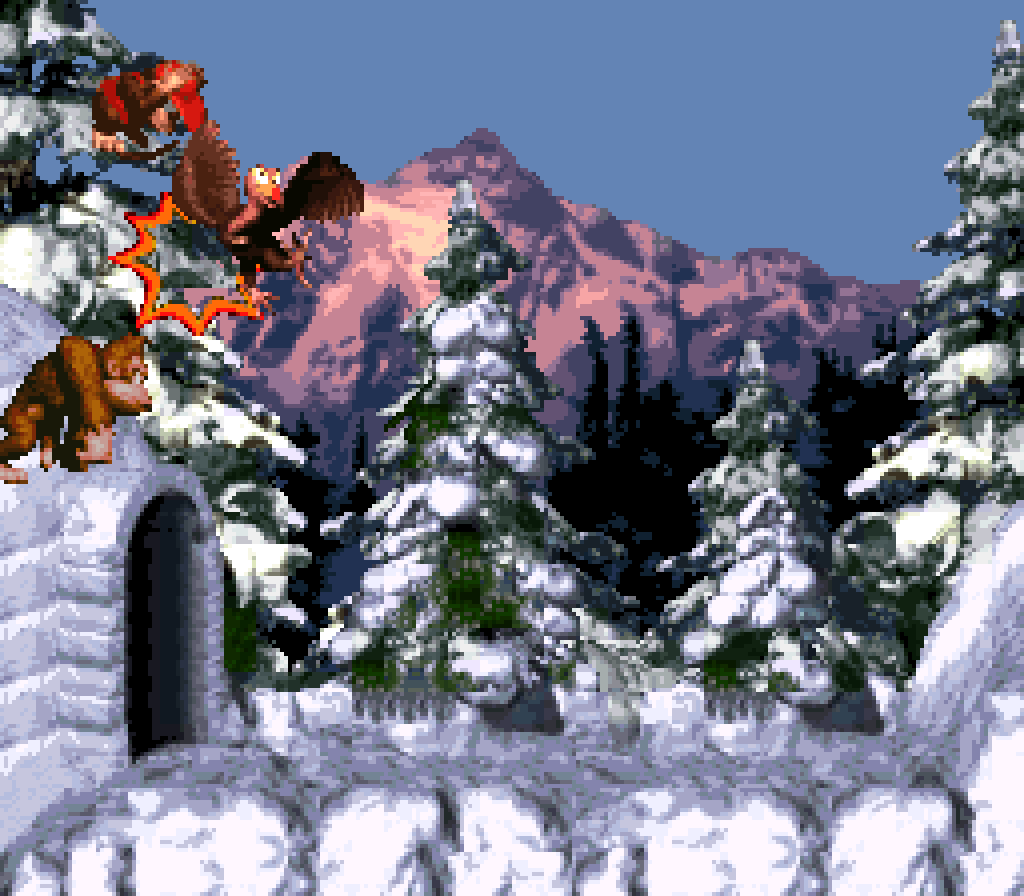
The 2nd bonus is 1 o’ the rare times DKC expects players to go backward, thanks to a blast barrel that shoots you past a lot o’ area. It’s all to easy in a game that’s mostly just going left to right to keep going right afterward, but the map designers reward suspicious players who investigate what they missed. Granted, I feel the barrel way below the camera in a pit with just a single banana pointing it out was a bit much. Since the blast barrel shoots you way ’bove, out o’ sight o’ the ground, they could’ve just had the bonus barrel be on the ground in plain sight. It’s not that much more obvious, & is still hidden, & also doesn’t risk the player missing the bonus barrel they can’t see & falling into the pit round it, which I can say from experience is definitely a possibility. 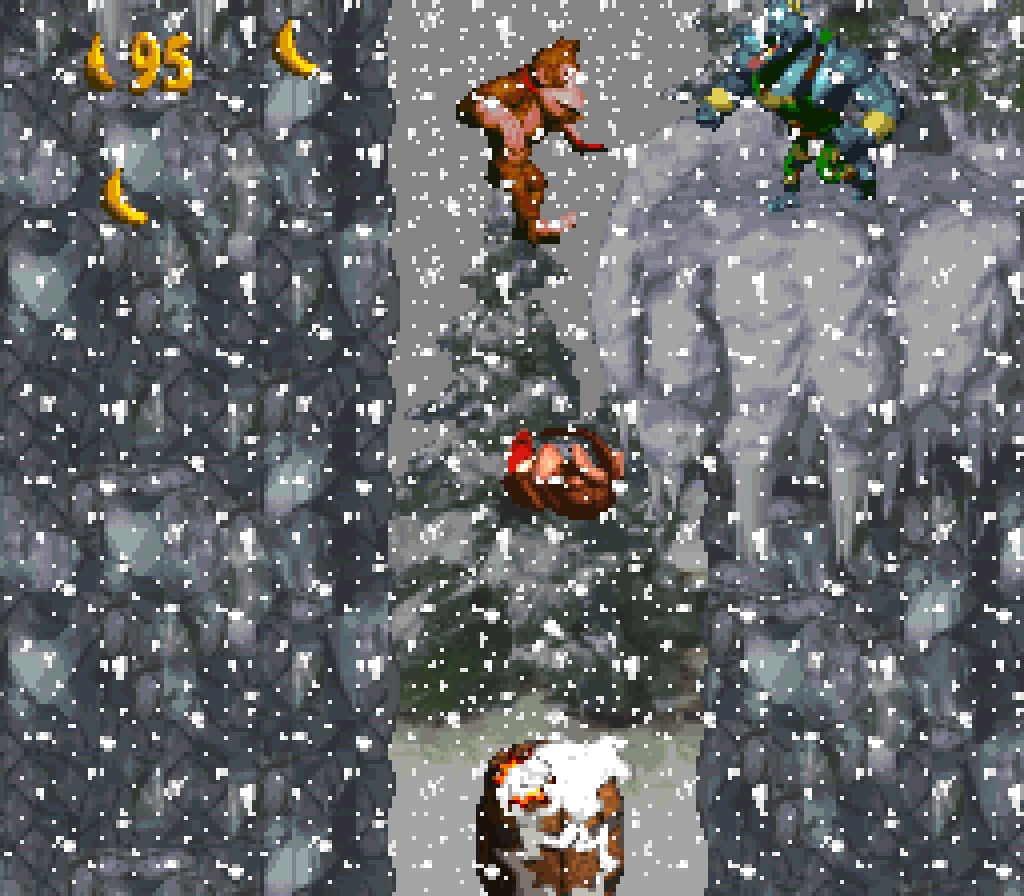
I’m not fond o’ the 3rd bonus location, tho, which is 1 o’ the few outright obscure bonuses, wherein you have to shoot downward from a barrel cannon without any hint to find hidden platforms with a bonus barrel in the middle. Since there are already 2 other perfectly find bonuses, I don’t see why this needed to be here @ all — it’s fluff that sticks out awkwardly in an otherwise well-put-together level. 
Most o’ the KONG letters are right in your path, where I feel like you have to try to avoid them, with the exception o’ the O, which requires actual effort in the 2nd bonus, forcing you to time blasting up round the center to get it, making it 1 o’ this game’s strongest letter placements, tho it’s just a repeat o’ what they did in “Tree Top Town”. 
Like “Barrel Cannon Canyon”’s K & O, the N & G in this level can be gotten on both the shortcut paths & the regular paths, which is always a nice thing to do. 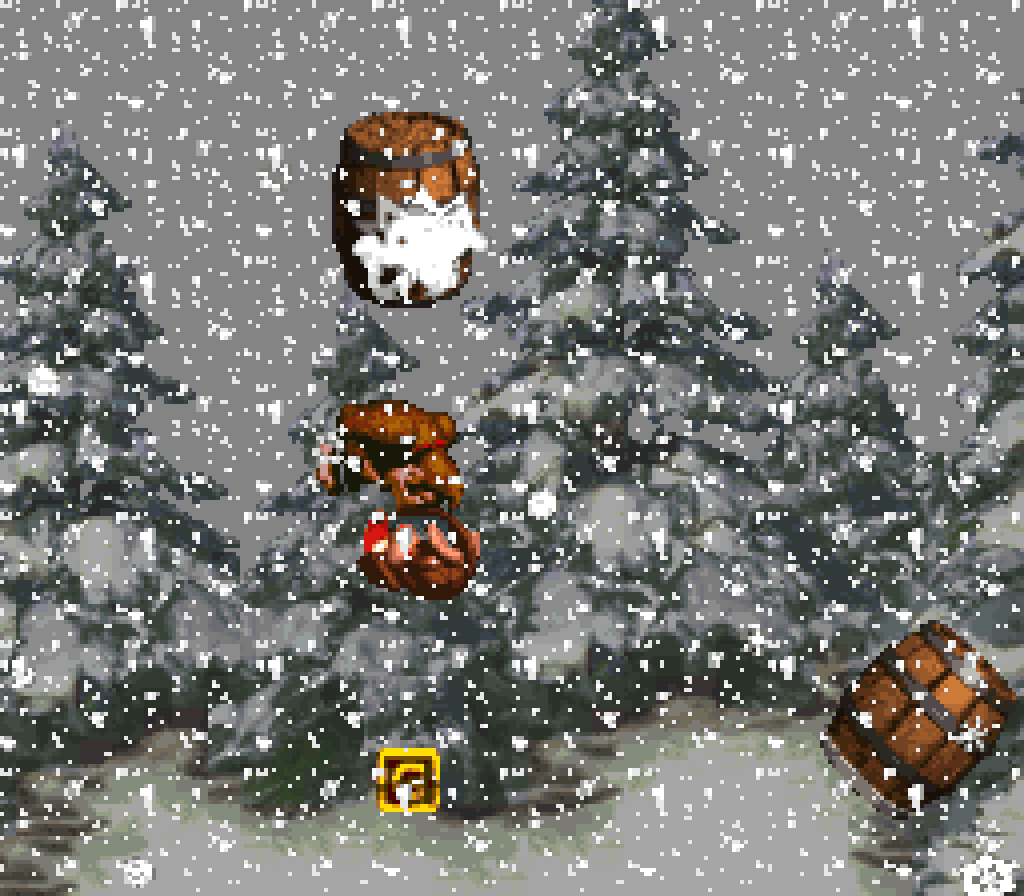
If this level’s infamous challenge wasn’t foreboding ’nough, this level enhances that aesthetically by gradually adding mo’ & mo’ snow, starting in the background & then smothering the foreground, — tho thankfully not to the extent o’ actually making it hard for me to see — & making the level grayer & grayer till its full grayscale as the level goes on & becomes harder. ’Hind only the main forest levels, I think the snow levels are probably the best-looking areas in the game, & I still feel torn on that decision. & while “Northern Kremisphere” is nowhere near as famously catchy as, say, “Forest Frenzy” or “Treetop Town” ( don’t ask me why they make the song name 2 words & the level name 3 words ), it’s menacing atmosphere perfectly fits this infamous level. For as much as people talk ’bout DKC2’s “Stickerbrush Symphony” & the famous/infamous bramble levels that have it, I’m surprised & disappointed that not as much talk is given to the match o’ “Northern Kremisphere” & “Snow Barrel Blast”.
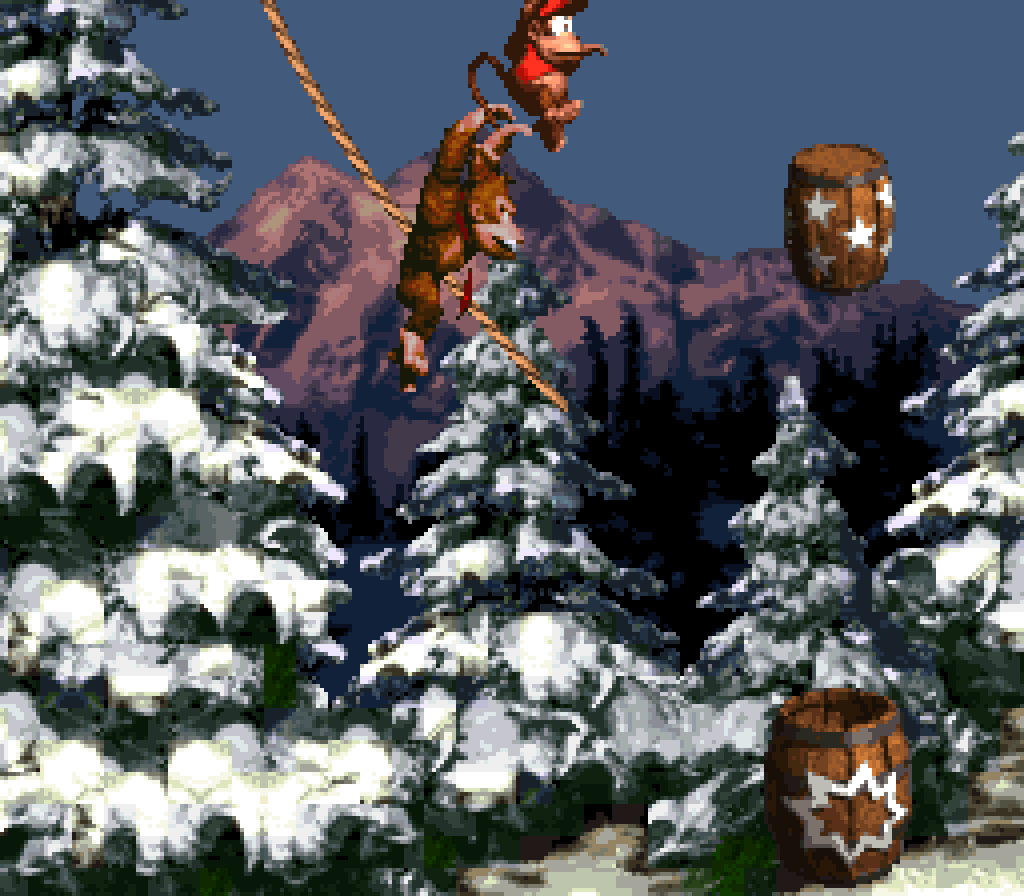
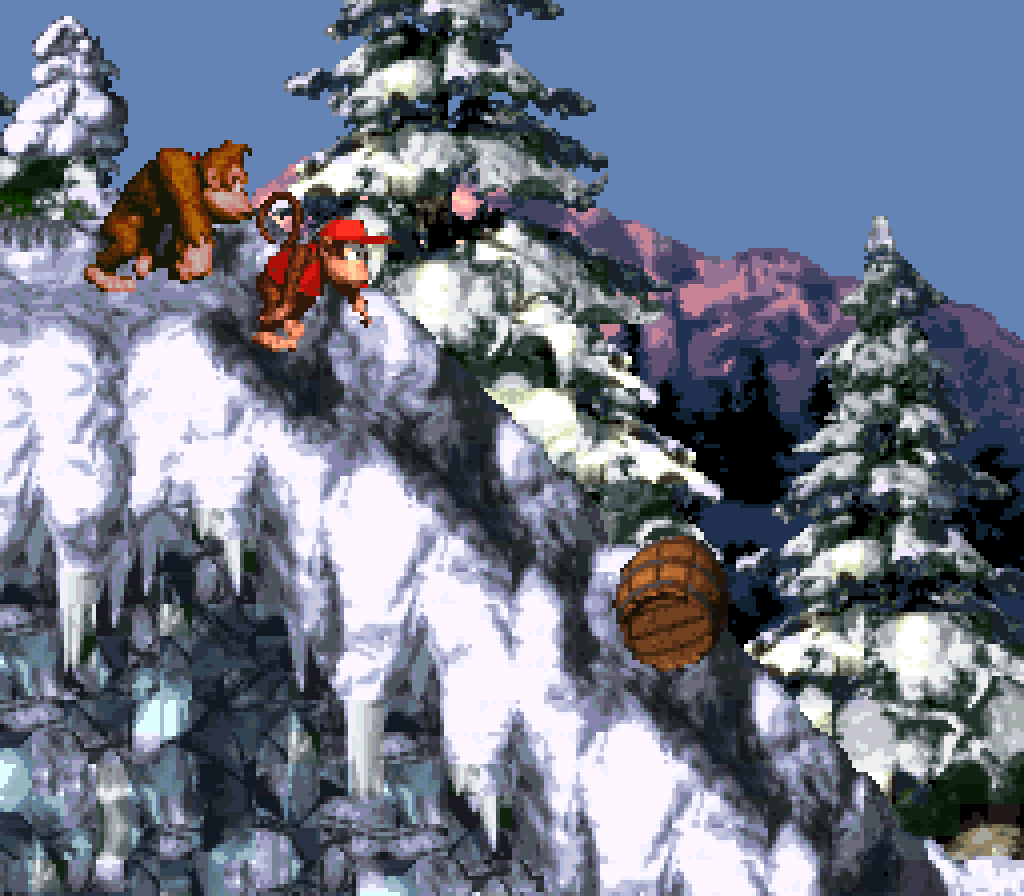
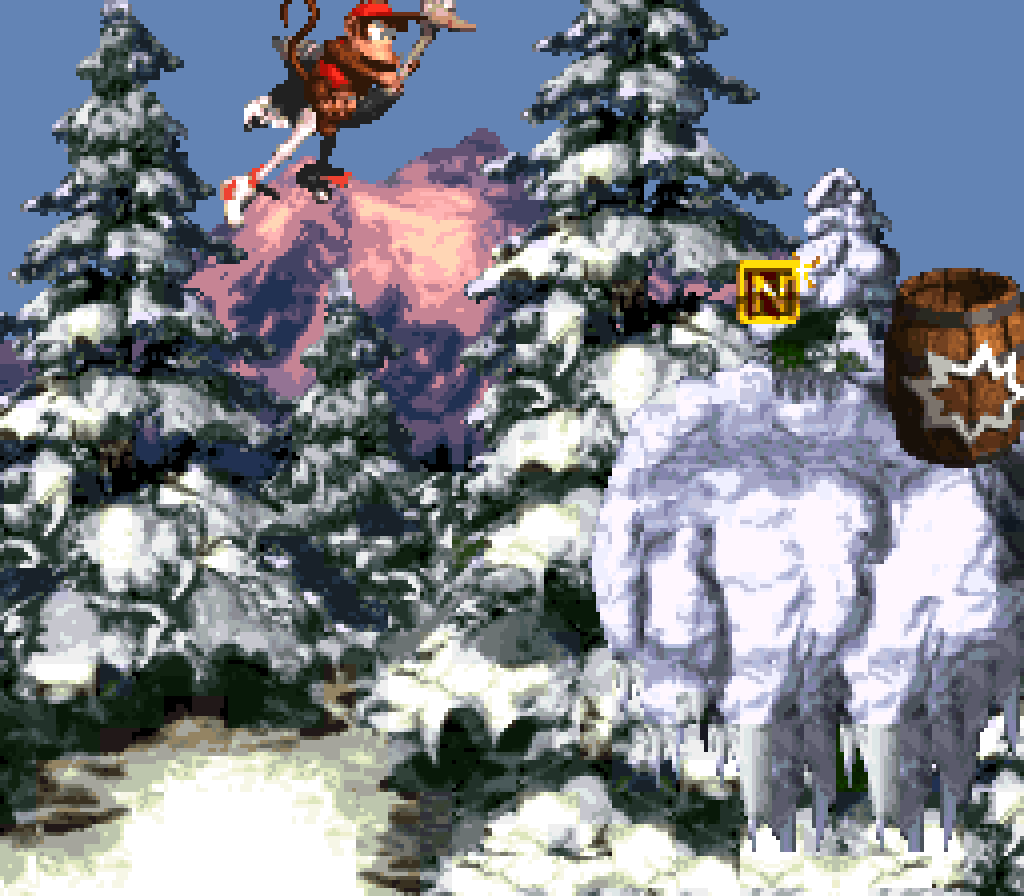
2. Ice Age Alley
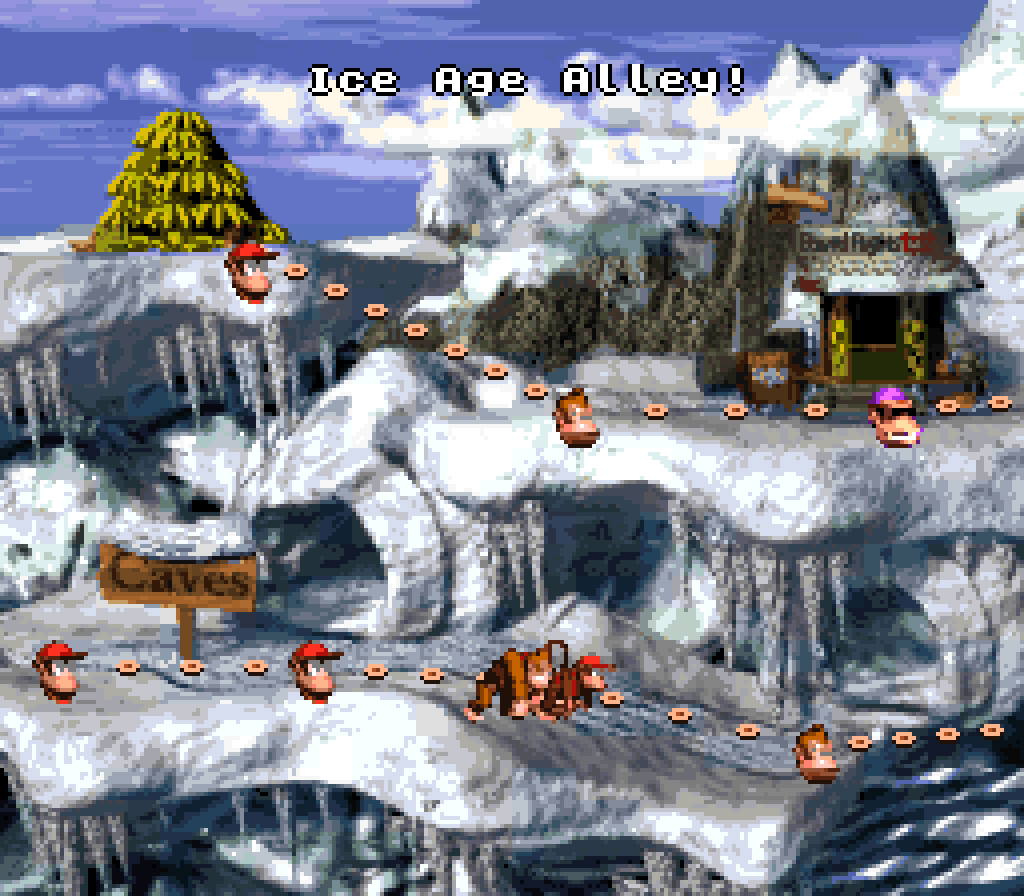
A much better “Snow Barrel Blast”. While “Snow Barrel Blast” arguably had a mo’ memorable gimmick with its barrel cannons, said gimmick was used in 3 other levels; while this level lacks a strong gimmick, it makes up for that with much stronger terrain layout & enemy placements that do a better job o’ testing your actual platforming skills, with plenty o’ precarious steep cliffs pocked full o’ holes. This level also has a better variety o’ enemies, with Kremlings, Mini-Neckies, & Manky Kongs thrown in with the usual Neckies & Klaptraps. These enemies are balanced out well, with only a few instances o’ each, which keeps this level from feeling o’ersatured & for mechanics to outstay their welcome, specially since all o’ these enemies have been used before. 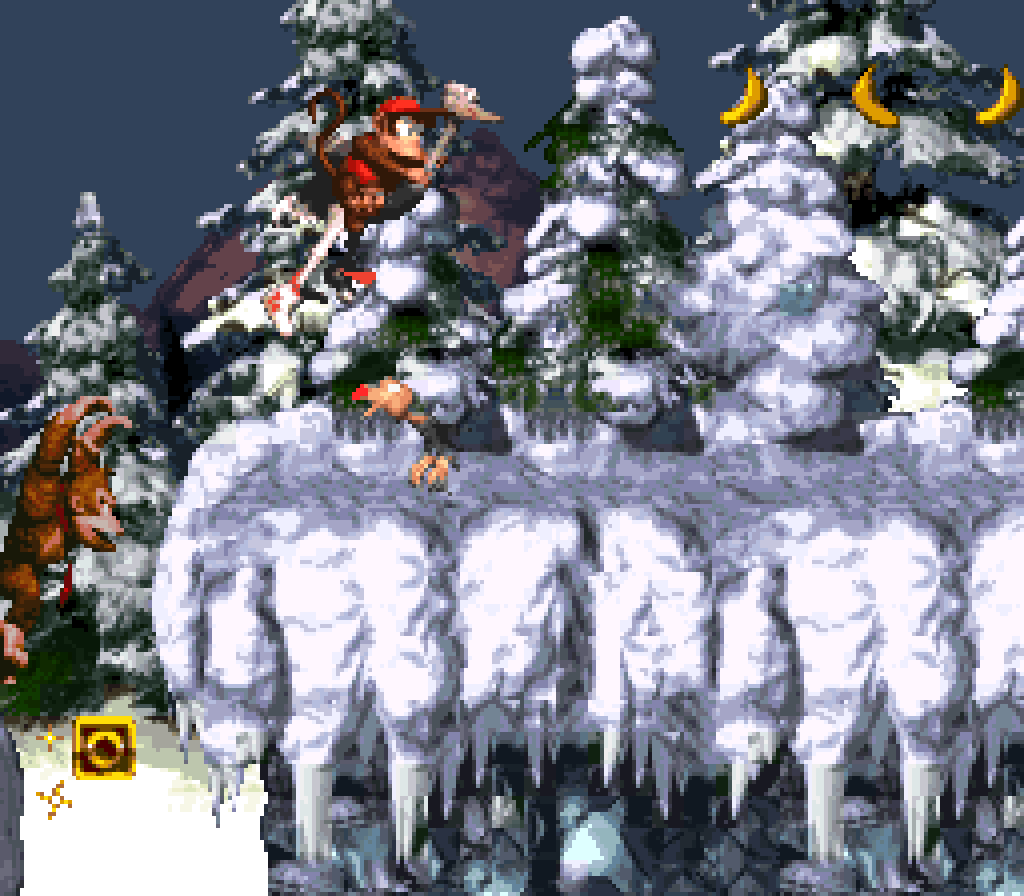
Probably the weakest part o’ these setpieces are the ropes, returning from “Ropey Rampage”, which are timed, & therefore sometimes requiring waiting for them to swing back to you. Unlike most levels in this game, the ropes don’t seem to be consistently timed with the setpieces that come before them, so there are times where you have to wait for them to come back if you don’t want to fall in the pit as the ropes go ’way from you. This is particularly annoying after the steel barrel section, when trying to jump off the steel barrel to the rope after the edge. Plus, I would argue that their use here is less interesting than in “Ropey Rampage”, as this level doesn’t make you time jumps round Zingers or anything beyond just jumping from rope to rope or rope to platform. A’least they managed to integrate the midway point into it by having you jump into the midway point from a rope. 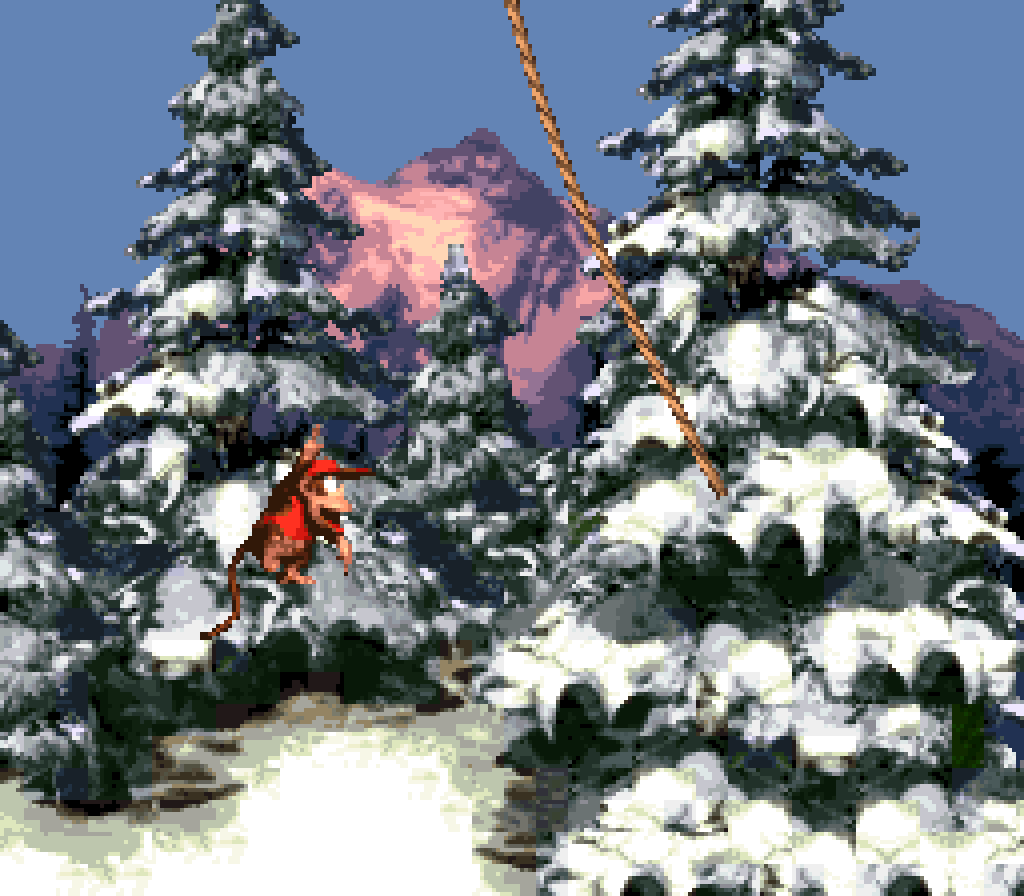
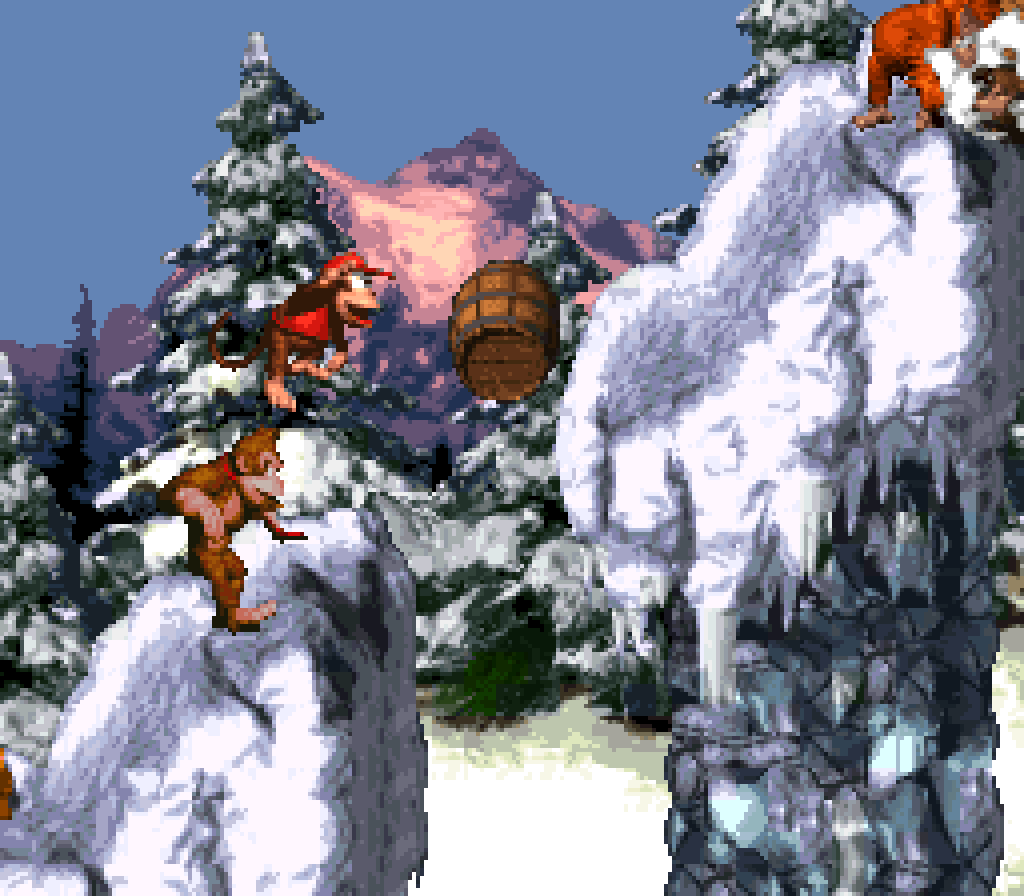
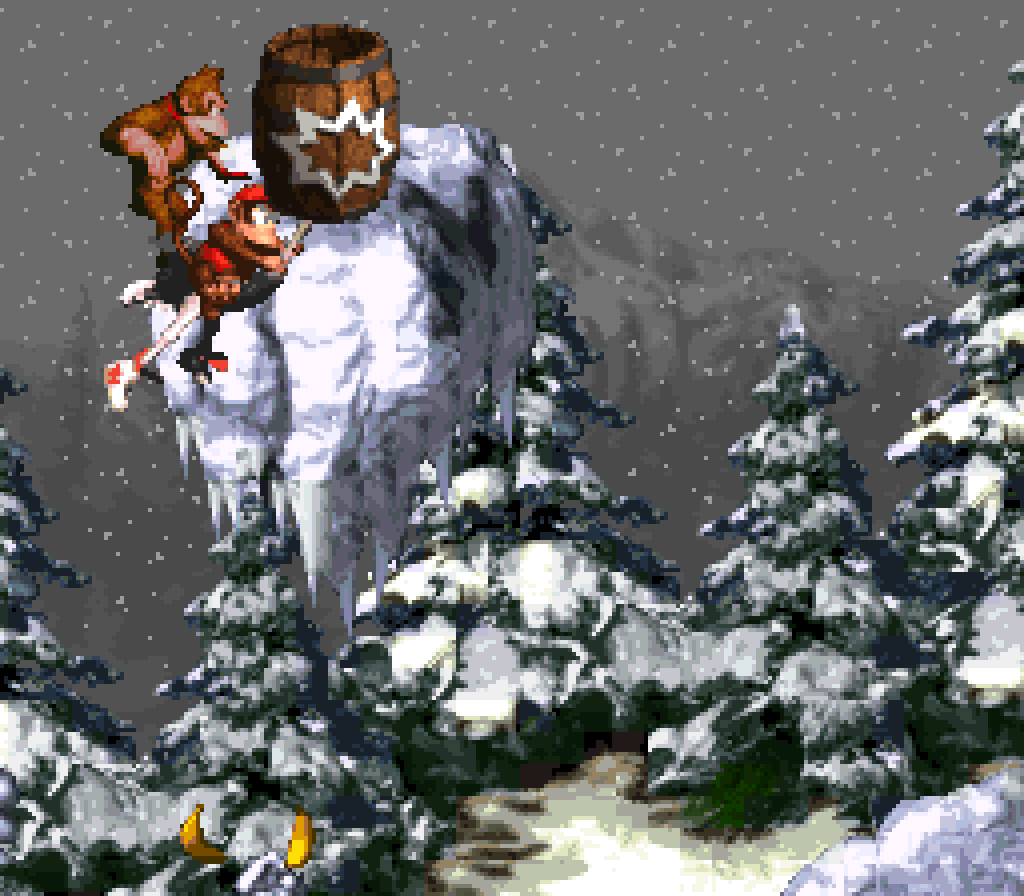
This level’s most interesting setpiece is near the end with the set o’ icy steps barely wide ’nough for DK to fit on, followed by 2 short upramps divided by a gap with a Manky Kong @ the top o’ the top ramp, tossing a ne’er-ending stream o’ barrels into the gap, giving li’l space to jump onto without running into either Manky Kong or his barrels & short time to weave ’tween the stream o’ barrels. To make it e’en better, the Manky Kong is standing in front o’ a hole before a 3rd upramp, which you’re liable to fall into if you try rolling into the Manky Kong & don’t jump or adjust just afterward. 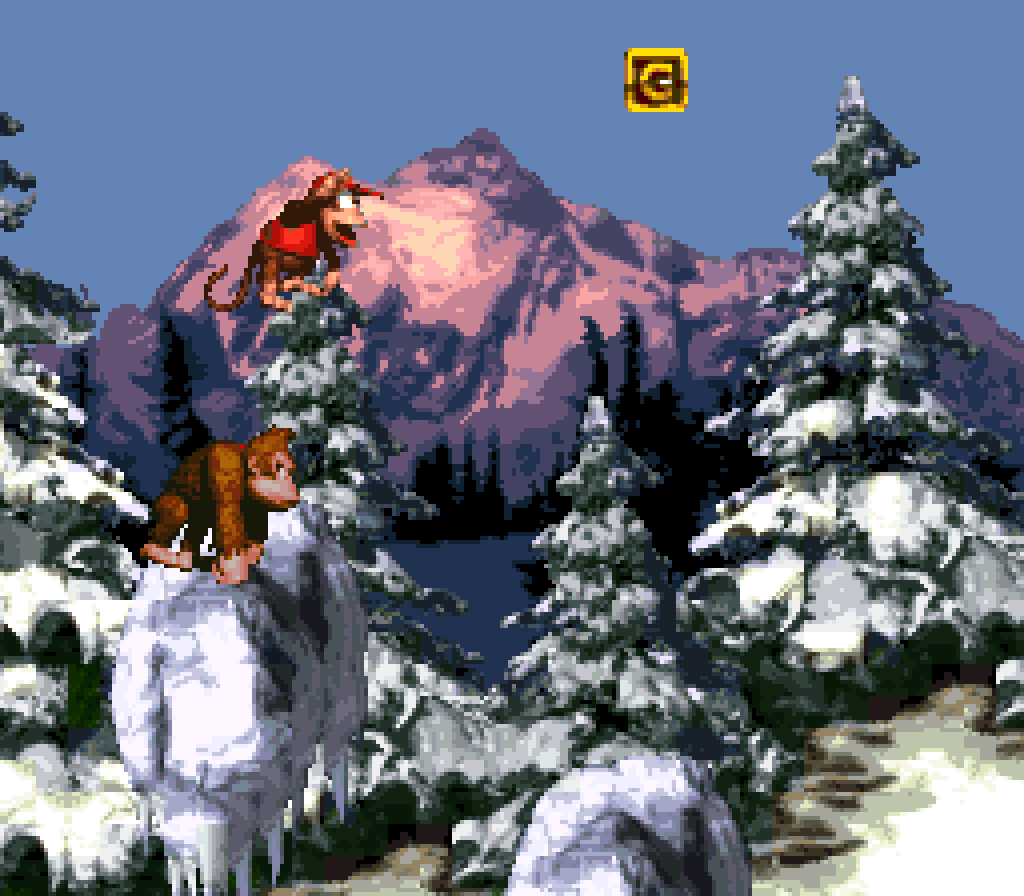
This setup is preceded by a straight rampup with a Manky @ the very top, but no holes. 1 anal-retentive quibble I have is that I feel like this is too close to the last Manky Kong area: I think putting the section with similar upward slopes with gaps ’tween them but with a Klaptrap ’stead here & putting the 2nd Manky Kong area before that would’ve been stronger & would’ve also introduced this slope formation. Then ’gain, it would’ve been hard to connect these 2 upward-sloping sections ( specially since DKC was probably limited in how high its levels could be ), so this setup might’ve been chosen mo’ ’cause its general shape fit better rather than its elements. In any case, unlike the last Manky Kong setup, this penultimate 1 you can skip thru by rolling on the steel barrel conveniently placed @ the top o’ the slope, as well as the small steps with Klaptrap on them. 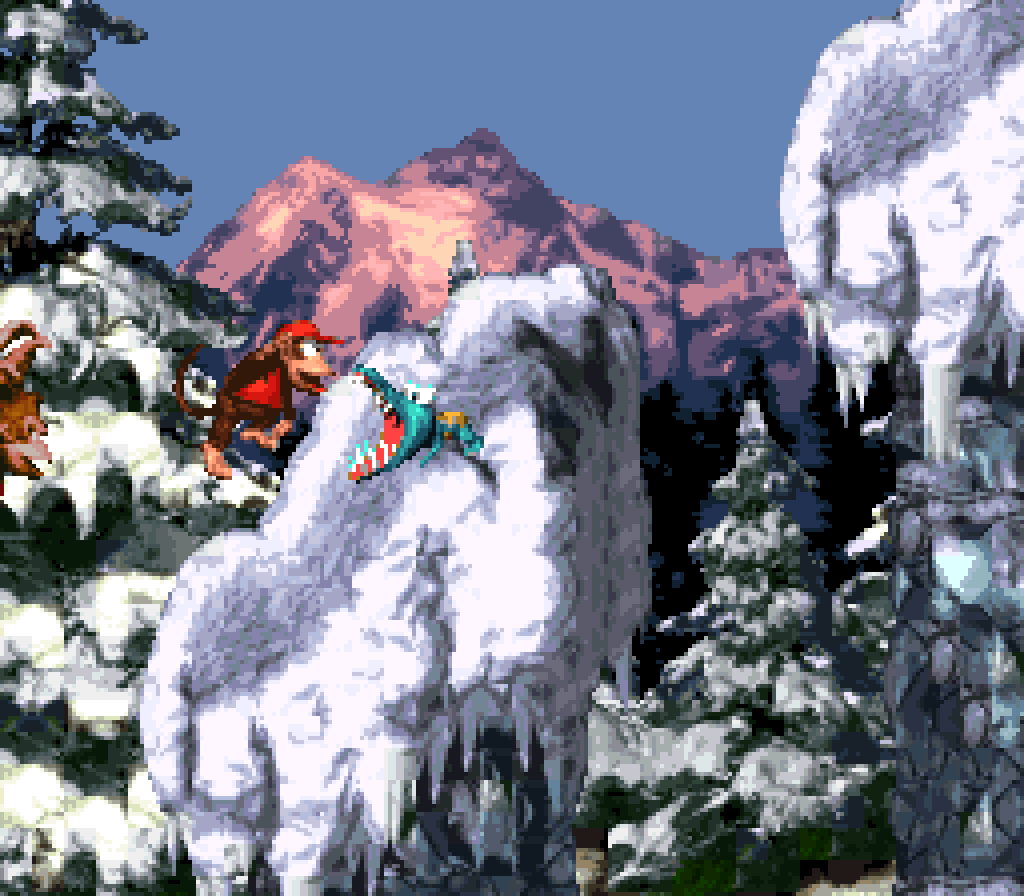
Before that a mo’ interesting setpiece where you have flat platform steps going upward with a Klaptrap, & then down a slope with the Manky @ the bottom. Like the 1st uses o’ Manky Kong in “Orang-utan Gang”, it’s much easier going down-slope, where you get mo’ air o’er the barrel, but the part before that with the steps & Klaptrap are harder. But the best part is the way they introduce Manky Kong by moving barrels coming from offscreen, rather than showing Manky immediately, which is quite a shock in a snow level, where you wouldn’t expect this jungle-dwelling enemy. 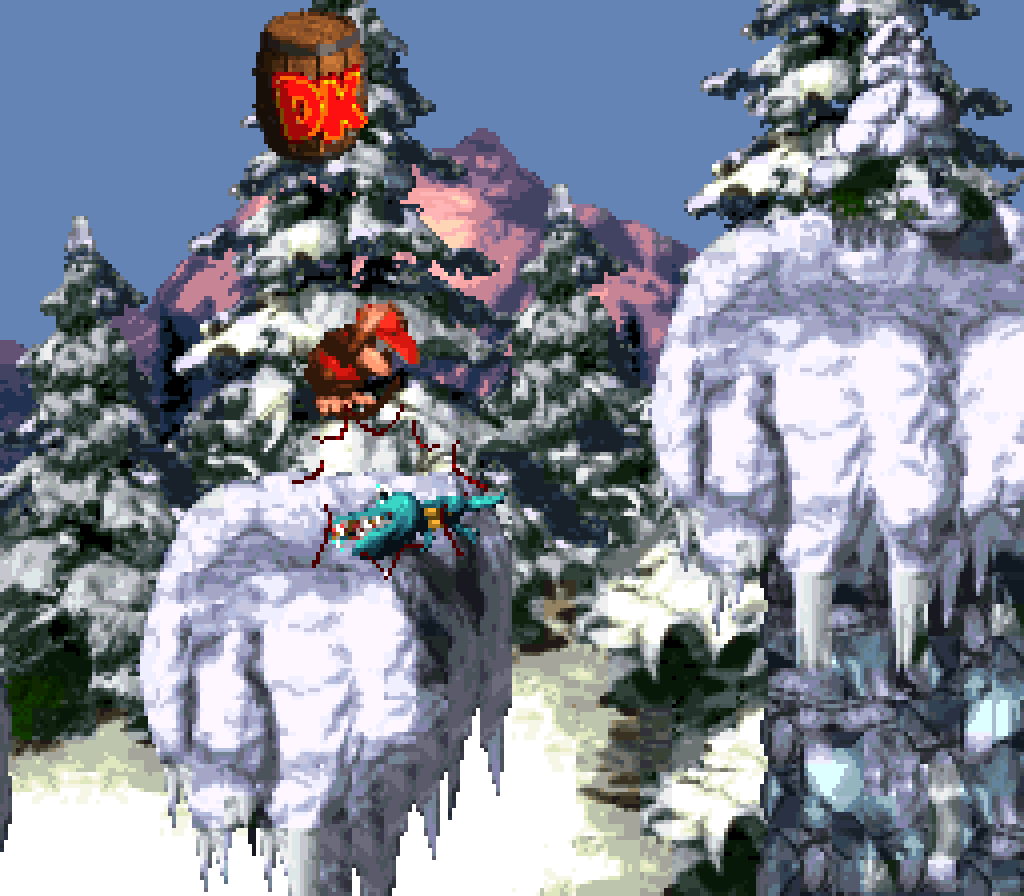
’Nother unexpected similarty ’tween this level & “Orang-utan Gang”: this level also starts with a secret section to the left, ’cept this 1’s mo’ precarious, with a high-up Mini-Necky guarding the path. The reward is mo’ important than the steel keg, albeit not exactly better, but is ’nother similarity to “Orang-utan Gang” in a different way: it’s Espresso, who adds extra challenge to the level by forcing you to go past the middle o’ the level without losing Espresso to fly high ’nough to reach the 2nd bonus. 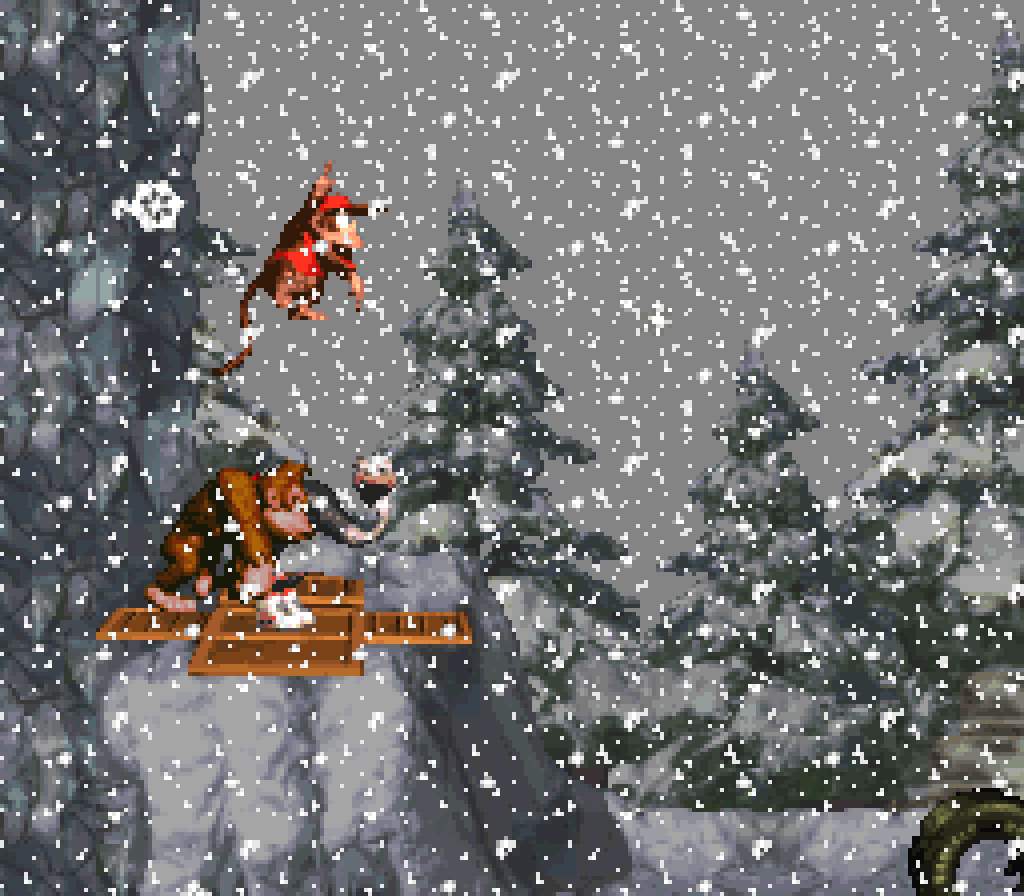
The other bonus in this level is interesting in that it’s also high-up, but can be reached with the regular Kongs using conveniently-placed Neckies. You would think you could also reach this bonus with Espresso, & maybe you can, but I for some reason had trouble getting ’nough height with Espresso to reach it, so I would have to dismount Espresso & use the Neckies to reach the 1st bonus. Luckily, this bonus has an extra Espresso crate @ the end, so I don’t have to restart the level to get the 2nd bonus. 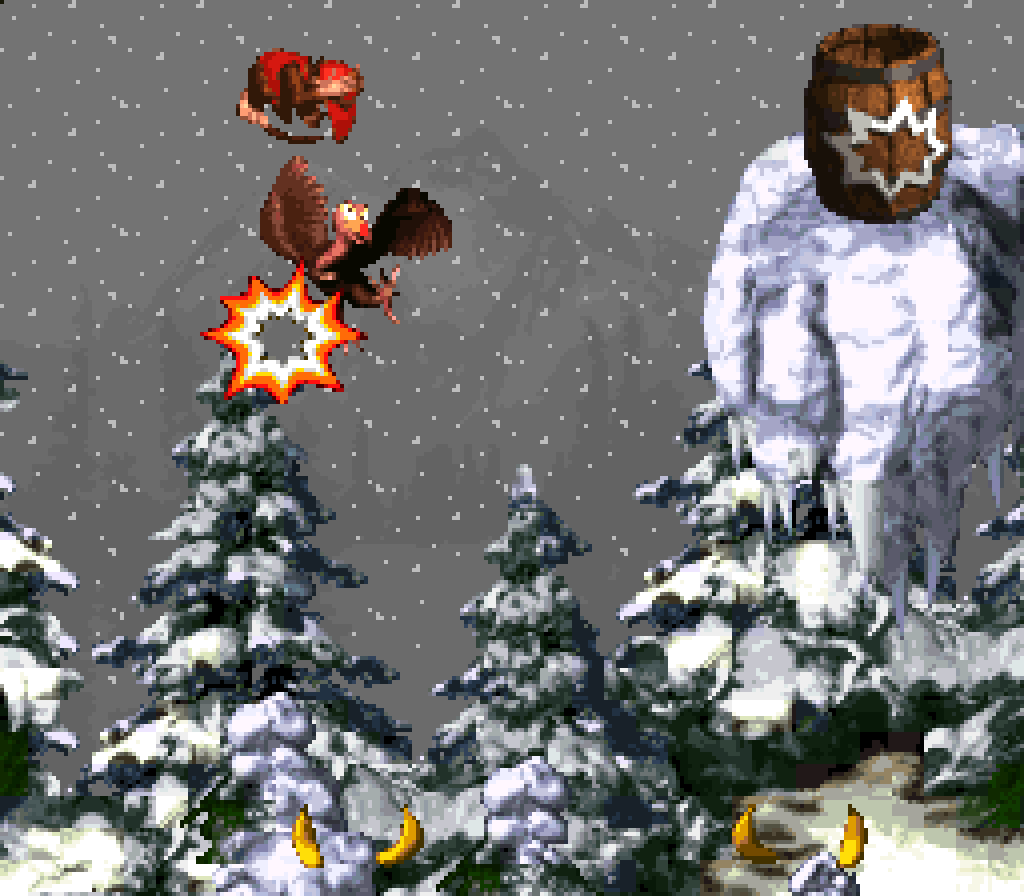
To be honest, I don’t think Espresso adds much to this level. Yes, it adds extra challenge to some parts, by, well, sucking, being unable to jump on enemies & having a terrible hitbox ( e’en Klaptrap sometimes hurt Espresso, e’en tho that’s the 1 enemy Espresso’s s’posed to be safe from ), but that’s not a fun kind o’ challenge, as it feels janky & inconsistent; meanwhile, you can still skip large plots o’ interesting setpieces. Playing this level with just Diddy & DK is much funner than with Espresso & I find I dump Espresso as soon as I’m done with the 2nd bonus. Which made ranking this level tricky: without Espresso, it belongs @ #2, with Espresso thruout the whole thing, I think I would rank it below “Snow Barrel Blast”. Since Espresso isn’t manadatory ’less going for the 2nd bonus, & since there’s an extra quality to having the same level change so dramaticlly by whether or not you use Espresso, adding a bit o’ replay value to it, I went with the former. 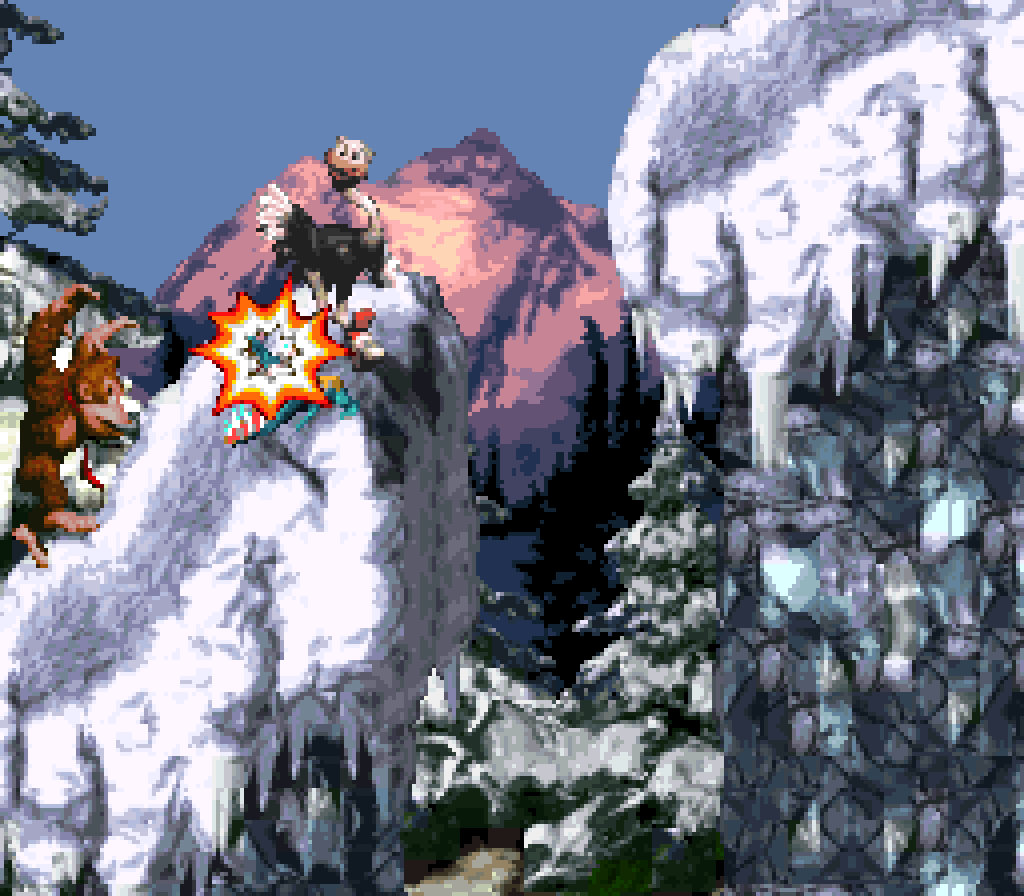
The letter placements are uninspired: the K & N are in places with the Espresso & 1 o’ the bonuses, which arguably is redundant — tho the N does add extra annoyance by requiring using Espresso while getting the letters, too. The O is in a hole that requires rolling off, like a few other levels, & the G is in a random place in the air. I think there were far mo’ interesting places to put letters, like in the path o’ a Manky Kong’s barrels. 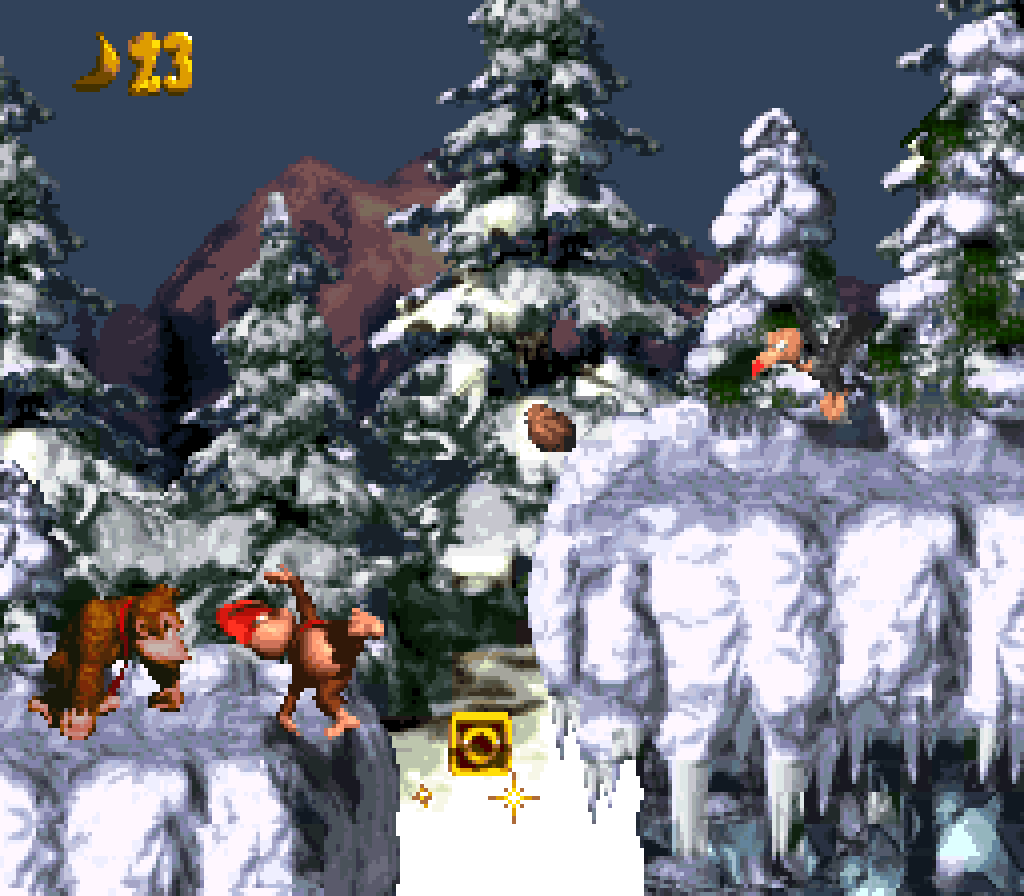
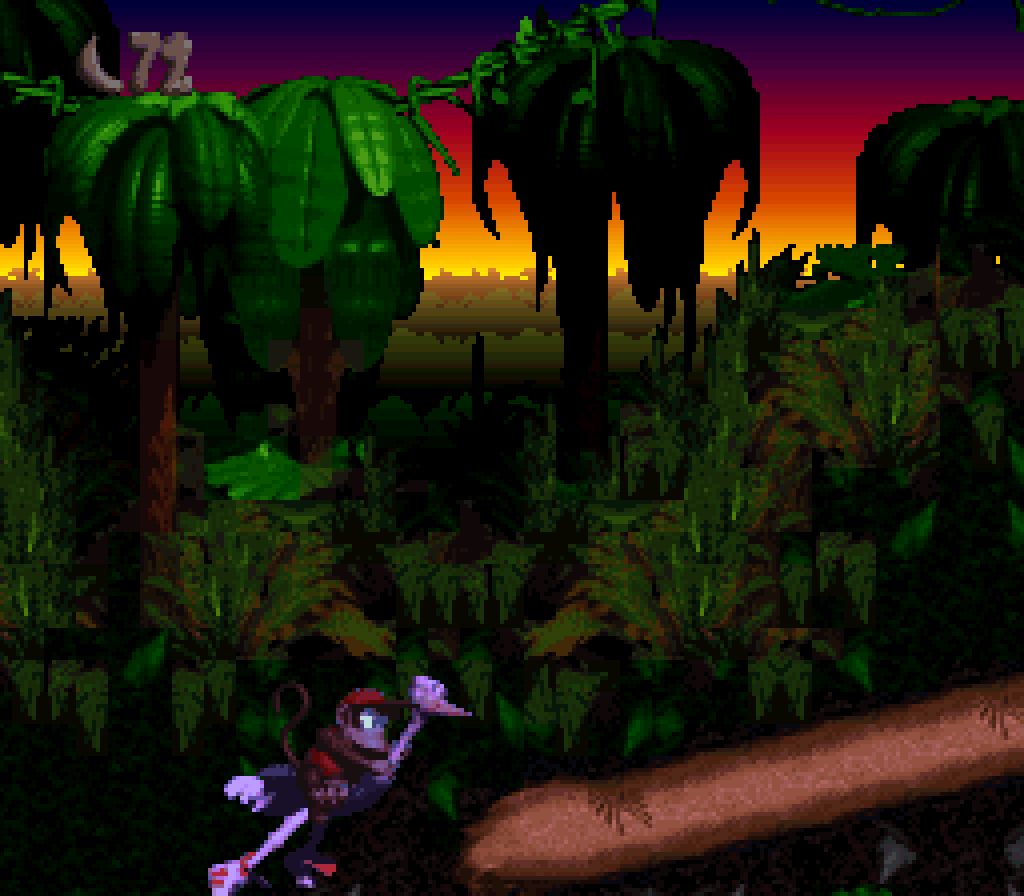
Aesthetically, this level does the opposite o’ “Snow Barrel Blast”: it starts snowy & grayscale & then warms up & becomes clearer & brighter as you reach the end. Since this is the last snow level ( not including the ice cave level, “Slipslide Ride”, there’s only 2 ), this is a fitting way to show the Kongs leaving the snowy areas. 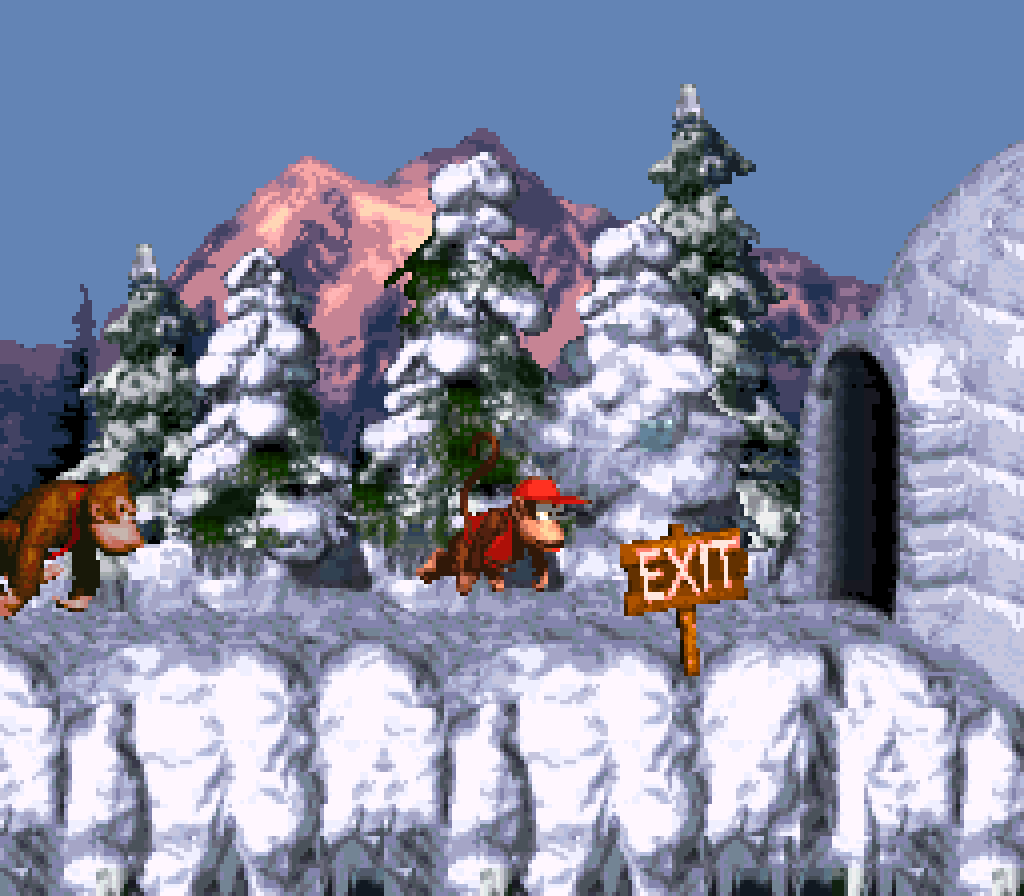
1. Slipslide Ride
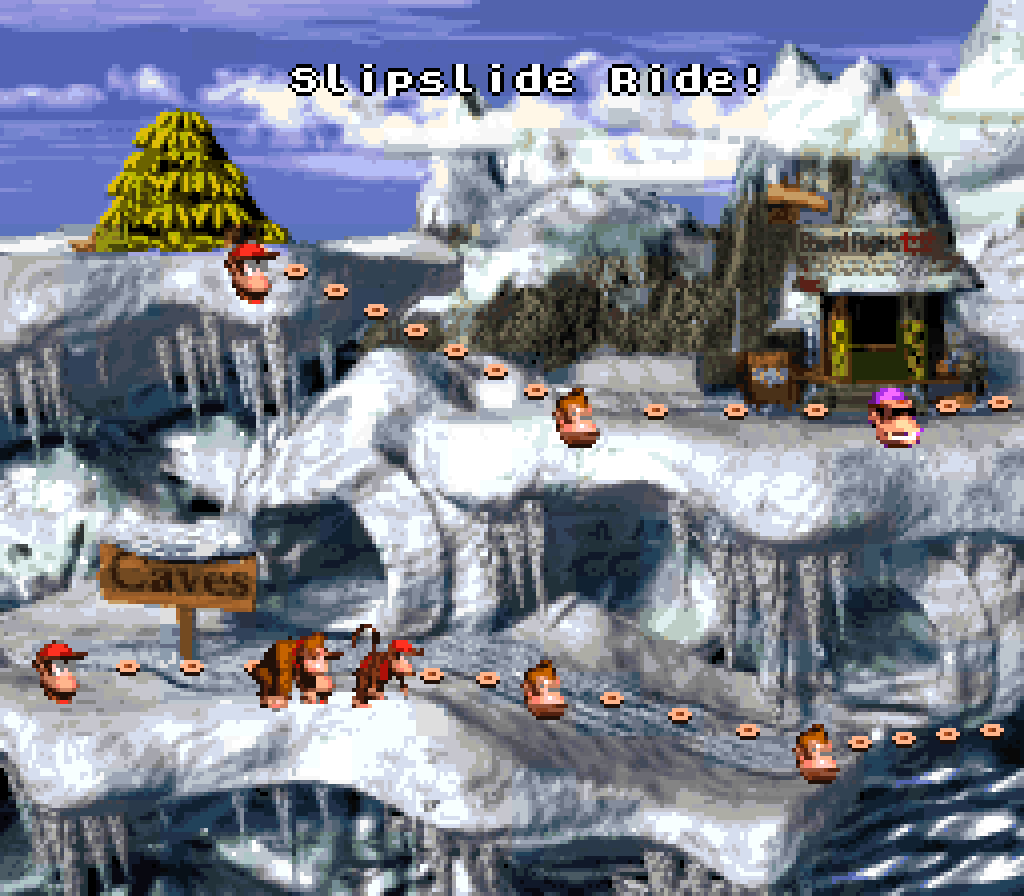
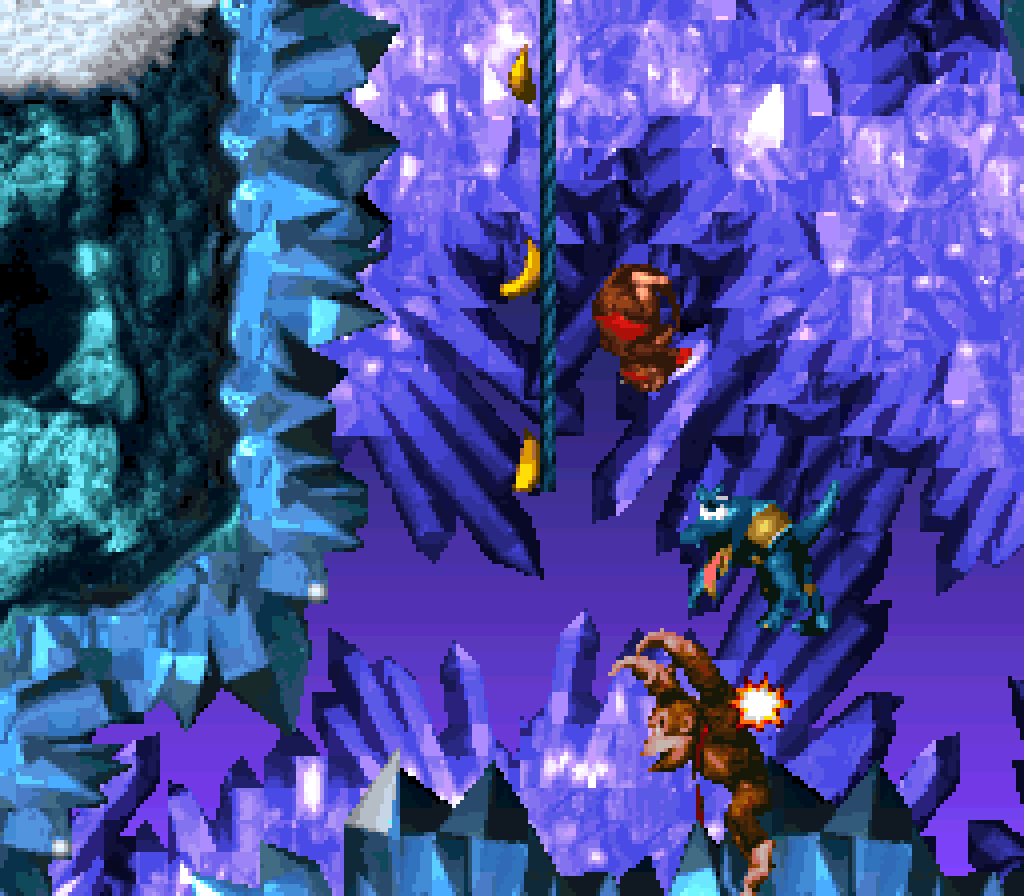
O’ all the levels in this game, this is the most like a DKC2 level, & is strikingly different from all the others in DKC1. In addition to the much brighter, mo’ colorful, mo’ fantastical tileset reminiscent o’ DKC2’s ice levels or mine levels with its purple ( a rare color in this game that normally sticks to natural greens & browns ) crystalline background, unique to this level, you have a level that completely breaks ’way from the straight left-to-right layout that all other non-water levels have. ’Stead, here you have to go up & round in a zigzagging pattern — a mo’ intricate kind o’ layout that’ll become mo’ common in the next 2 games. In particular, I like this weird series o’ downward slopes, going right & left, all going downward, only to continue leftward & back upward ’gain. There’s no challenge to it, but it’s such a breath o’ fresh air after so many levels just going from left to right. 
As if that weren’t ’nough, this level adds a unique gimmick as well: ropes that automatically slide you upward or downward, depending on their color. While these start safe, they soon become e’er mo’ swarmed with Zingers, forcing you to jump ’tween them as you’re pushed upward or forcing you to jump ’long downward-moving ropes fast ’nough so that you don’t hit the Zingers below or to jump on upward-moving ropes low ’nough to not hit the Zingers ’bove but high ’nough not to fall off the bottom. They use virtually e’ery variation for these ropes one could probably do. Tho this level is broken up a few times with regular enemies like hopping Kritters & Armies ( particularly dangerous here, with how slippery it is, specially the 1 near the edge @ the top o’ a slope near the end o’ the level ), the level keeps its focus on its gimmick mo’ than almost any other level, but thanks to all the clever variations, it ne’er feels tired. The way it’s all tied together in a sequence that folds onto itself, rather than a straight line, makes it e’en mo’ impressive. 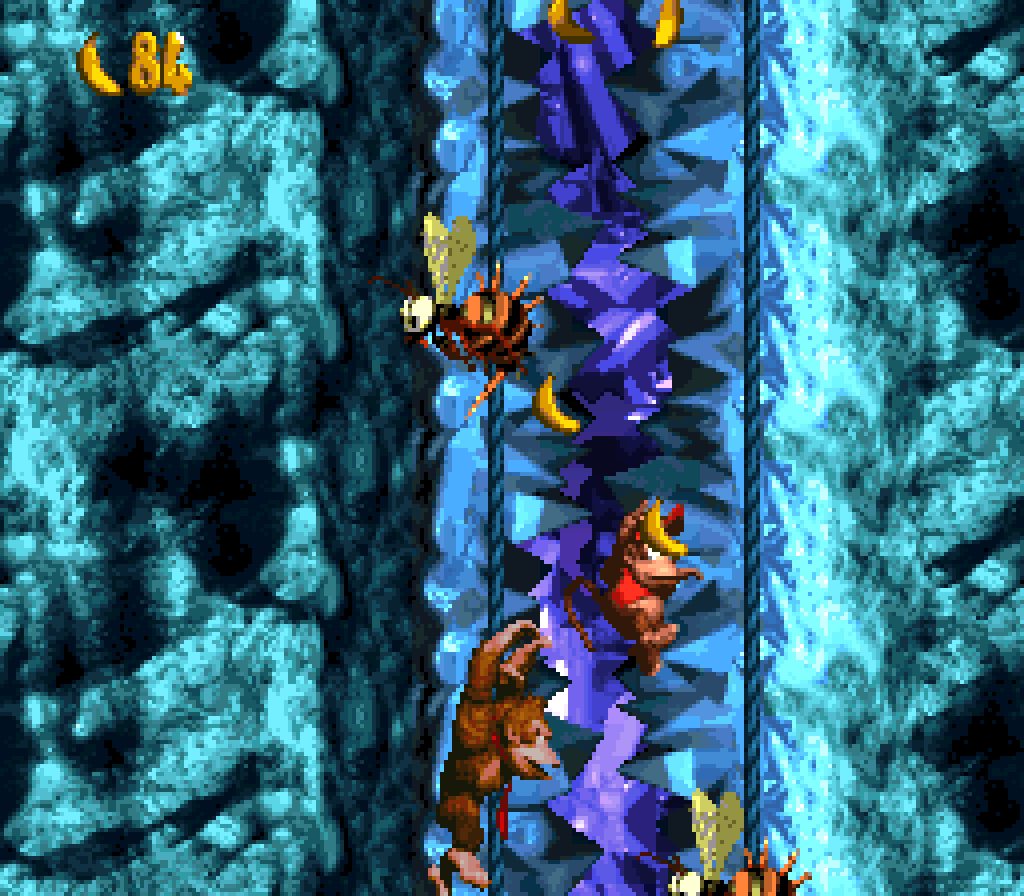
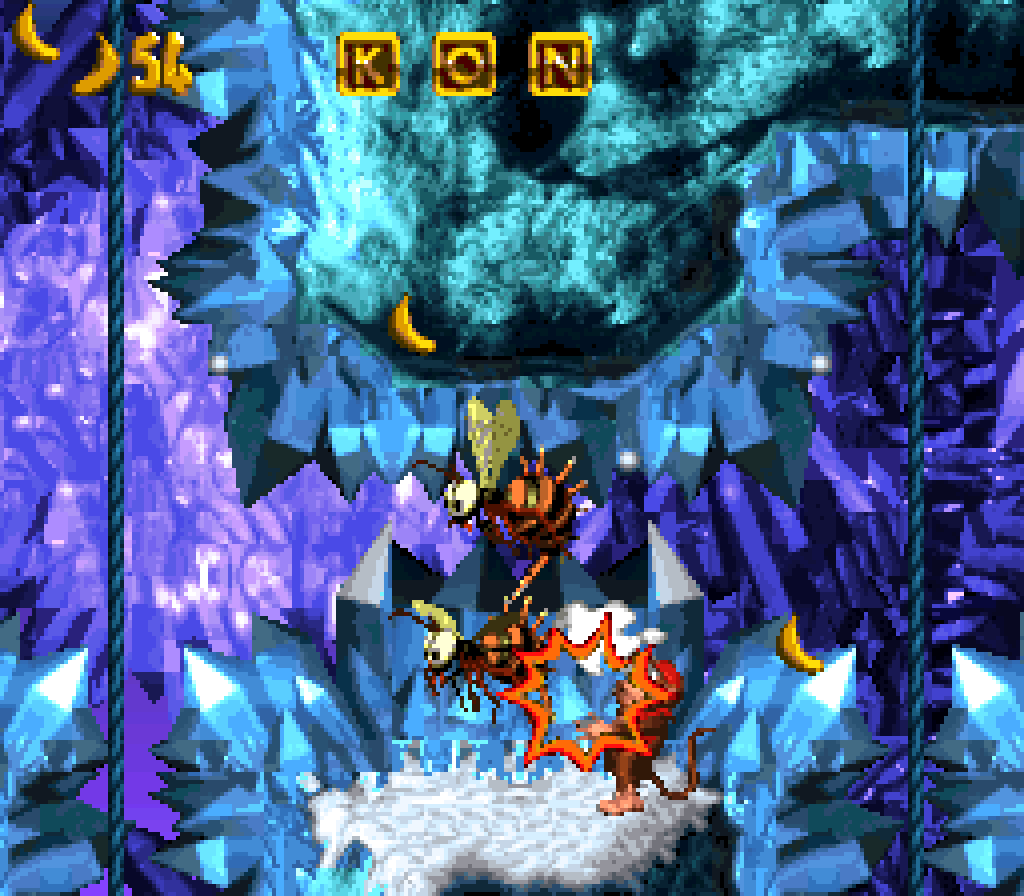
I particularly like how the 1st Zingers are only dangerous if you try to jump ’tween them for a barrel necessary to break open a bonus door just below ( tho the player may be tricked into using it to safely dispatch the Army, just like the player likely did with the DK barrel & Army just before this section ). 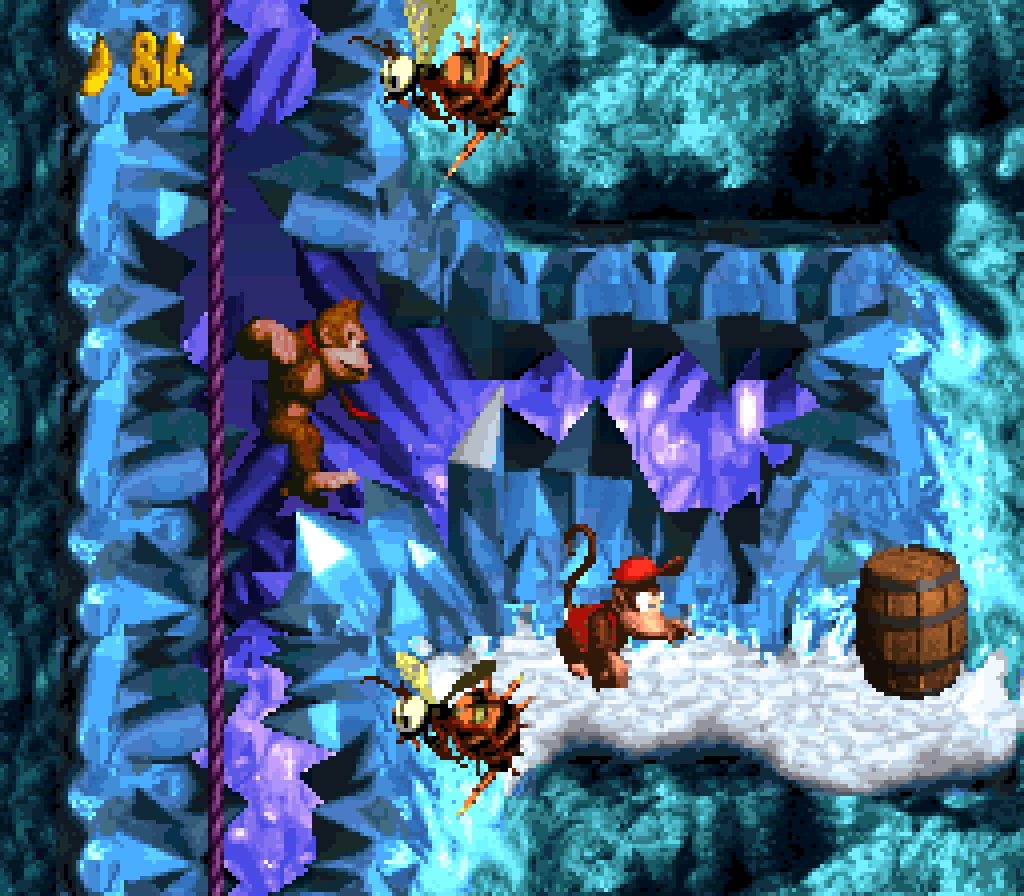
An e’en better bonus is 1 round the middle o’ the level, @ the top o’ an upward-moving rope with Zingers ’long the top, ’cept for the 3rd rope, which also has a small gap ’tween its Zinger & the Zinger @ the top o’ the 4th rope, allowing players who notice it a way to squeeze thru & reach the true top o’ the 3rd rope. 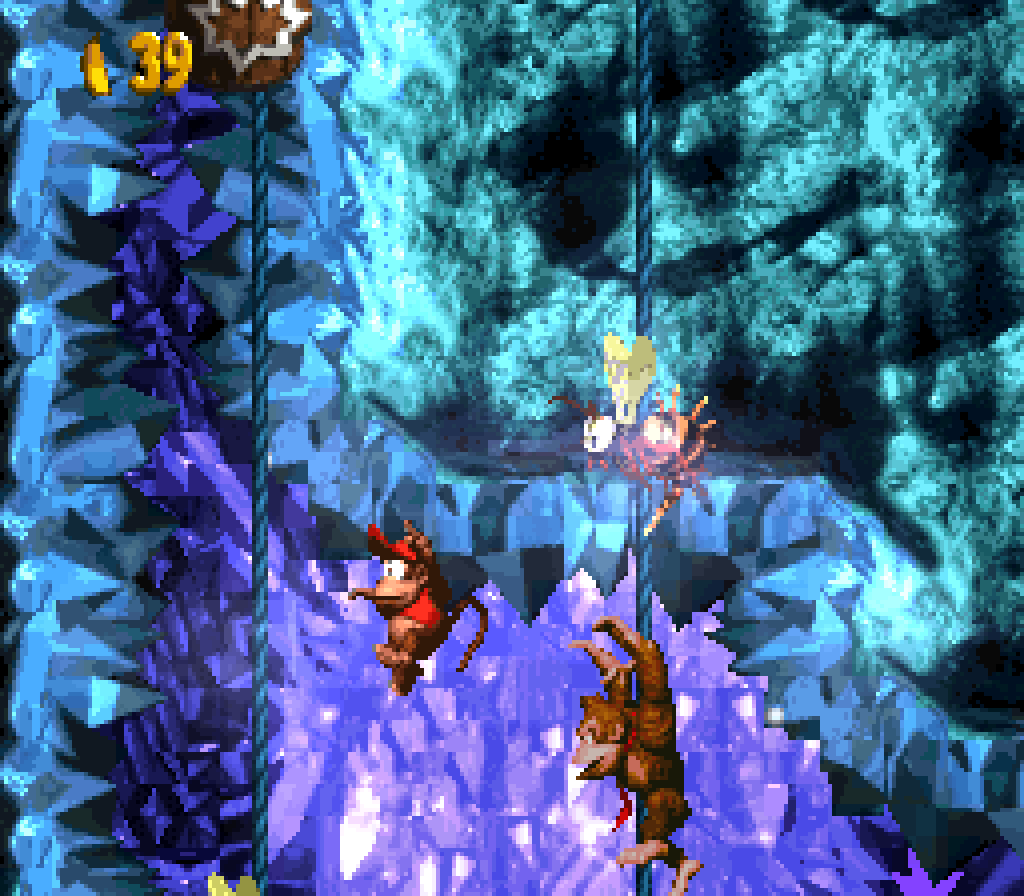
The only bonus I quibble ’bout is the 1st, @ the top o’ the very beginning — not for that reason, but ’cause it redundantly requires you to bounce off a Kremling to reach the rope, a puzzle they repeat later to reach the O. I think you should be able to reach this rope without a Kremling as a sneak preview to the gimmick before its proper use & replace the 1st bonus with a letter ( tho, now that I think ’bout it, this would make the K just afterward, which also has you just ride a rope upward, redundant ) & replace the “O” with the bonus. This would better spread out the bonuses, too. 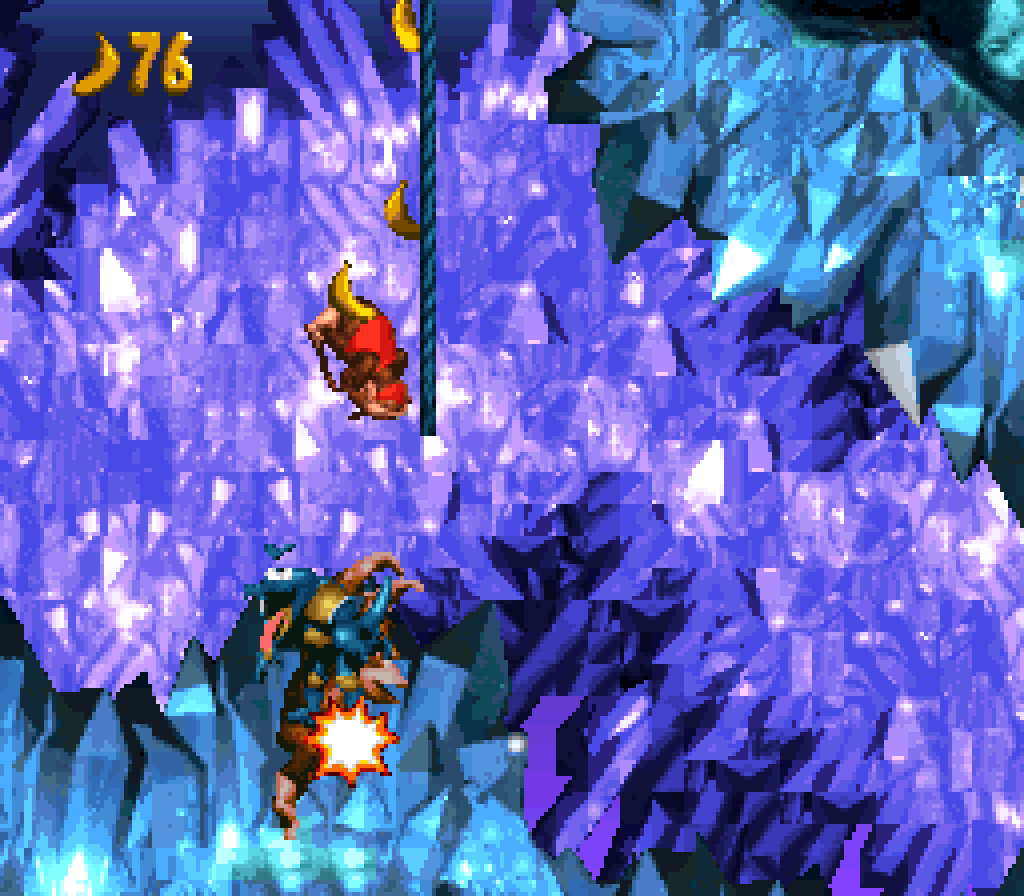
Speaking o’ the KONG letters, they all require using the ropes in various ways to reach them, making this have 1 o’ the strongest, if not the strongest, KONG letter placements in the game. The N is in a particularly precarious place where you have to time riding up ropes while horizontally-moving Zingers are out o’ the way & then use the DK barrel to break a way thru a wall o’ Zingers to go left & continue. Part o’ me thinks this would’ve been a better place for a bonus; but I think players not going for KONG letters are thankful they don’t have to go here. 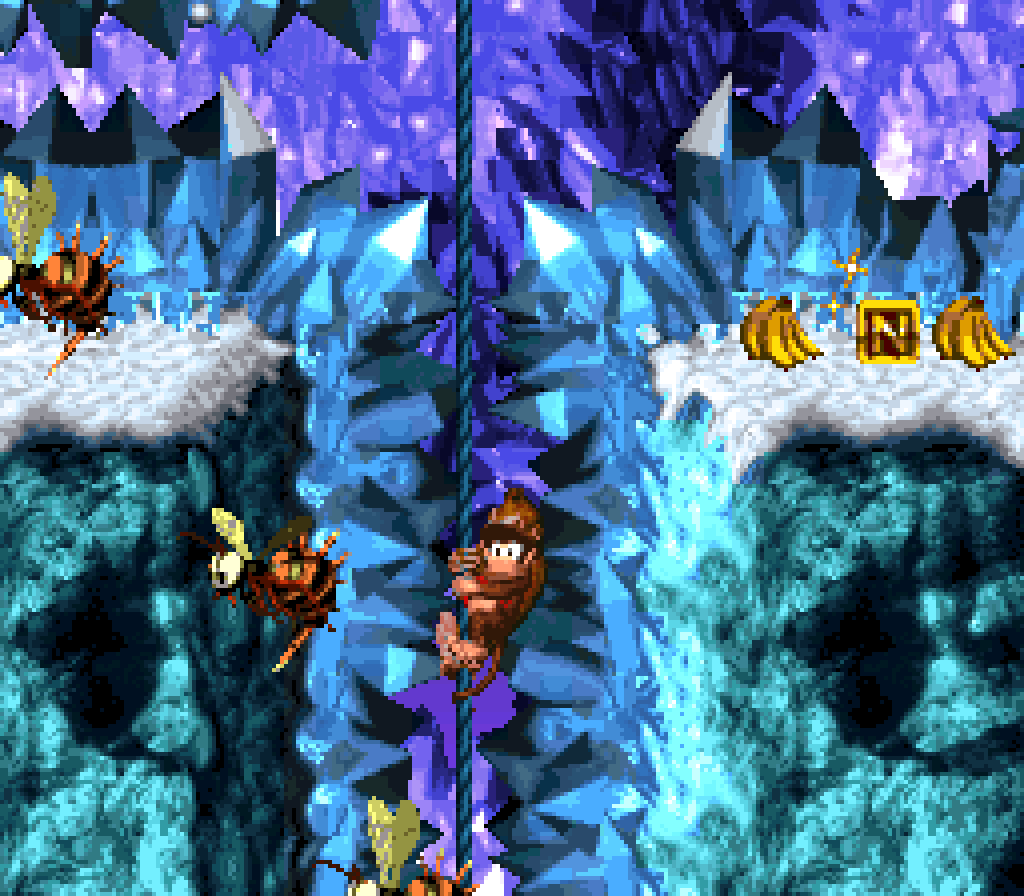
The G is @ the top o’ downward ropes forcing the player to keep hopping up & left & quickly twisting back to the rope fast ’nough that you go up mo’ than you fall back down, gradually rising. This is such an interesting use o’ the rope that I’m surprised they squandered it on just a KONG letter. 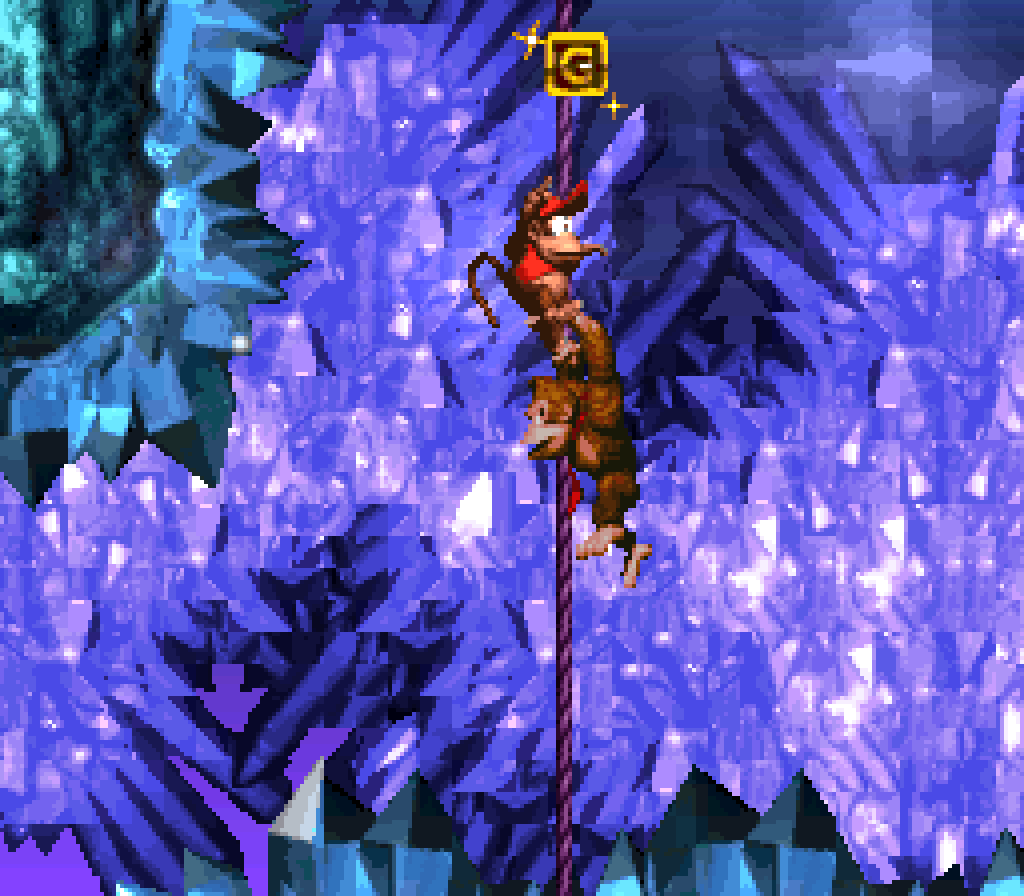
Worlds Worst to Best
6. Kremkroc Industries, Inc.
Yes, it’ll probably come as a surprise that “Chimp Caverns” isn’t @ the bottom; but as bland as its repeated cave theme is, its level layouts are far mo’ interesting & well-constructed, while “Kremkroc Industries” is, as cool as the toxic, factory theme is, — & as great as the song “Fear Factory” is — full o’ weak levels, including the 2 worst levels in this list. To put it into perspective, if not for “Mine Cart Madness”, “Kremkroc”’s only high-ranking level, the highest ranking level is 20th place, with “Elevator Antics”. When “Elevator Antics” is your 2nd best level, you’re not a strong world. Moreo’er, as cool as the toxic factory theme is, this world doesn’t utilize it well: there is 1 factory level where you can actually see the factory mo’ than half the time. Its theme is so halfheartedly implemented that one could argue that “Chimp Caverns” fits the industrial theme just as well. Hell, all o’ its levels involved mechanical things, too.
5. Monkey Mines

I would argue that this is a mo’ forgettable world than “Chimp Caverns”. E’en with such famous levels as “Mine Cart Carnage” & “Stop & Go Station”, those levels are surrounded by mid levels like “Winky’s Walkway”, “Bouncy Bonanza”, & “Millstone Mayhem”. Plus, e’en that world kept a mo’ cohesive theme o’ industrial caves than this world, which mixes in metal walkways, mines, electrified caves, natural caves, & a temple @ the end. E’en “Kremkroc Industries” could be said to have levels that all have some technology in them. ¿What does all the levels in this world have? ¿Rocks?
4. Kongo Jungle
Speaking o’ incoherent worlds, let’s have a jungle world with a cave & water level. While one could praise it for variety, — I praised the 1st world o’ Super Mario Bros. for its variety — here it’s not as impressive. For 1, Super Mario Bros. didn’t have themes to its worlds beyond “night” & “day” &, mo’ importantly, when it did introduce variety into worlds, it didn’t eat into underutilized themes. The underground & tropical levels were rare & ate up not-@-all-rare o’erworld levels; this world eats up a potential jungle level in a game where one would expect jungle levels to be the most dominant theme for yet ’nother entry into the actual dominant theme, a cave level, e’en tho there are already 2 cave worlds. But mo’ importantly, while “Jungle Hijinx” is a great start & “Barrel Cannon Canyon” is arguably underrated, the rest o’ the levels are very forgettable: the blandest cave level in the game, a bland water level just like ’nother, & a bland rope level whose only point o’ interest are its rainy weather & which did a lot o’ harm to DKC’s reputation with its obscure bonuses.
3. Chimp Caverns
Yes, the world that most people would put @ the bottom is in 3rd place in my rankings. But if you look thru my level rankings you will see its levels silently creeping round the top: “Platform Perils”, “Loopy Lights”, & “Manic Mincers” are all strong levels, while “Misty Mine” & “Tanked Up Trouble” are merely mid. Yes, it treads the same level themes as previous worlds; but it does so better than previous worlds. If you had to scrap walkway levels, ¿which would you rather scrap? ¿“Platform Perils” with its intricate layouts & interesting Gray Krusha gimmick or the utterly forgettable “Winky’s Walkway” or tedious & lazy “Trick Track Trek”? & as my rankings show, if you wanted to remove cave levels, “Manic Mincers” would be the last I’d want to remove. Plus, as I said in previous world reviews, “Chimp Caverns” has greater coherency to its theme than most other worlds, including the other cave world, “Monkey Mines”; & for as much as people declare this world forgettable, I find it far mo’ memorable than “Monkey Mines”.
2. Vine Valley
Honestly, I think “Chimp Caverns” has o’erall better levels than this world, but @ a certain point its drab, o’erused themes drag it down, while the forest levels — both the treetop & regular forest levels — are some o’ the best looking levels in a game already renowned for its beautiful graphics & have the best music in the game. Plus, while this world only has maybe 1 or 2 great levels, the only level I’d call weak is “Clam City”, & maybe “Temple Tempest” if I’m being particularly picky.
1. Gorilla Glacier
This should be no surprise given the rankings ’bove, with the top 3 levels coming from this world & 5 / 6 o’ its levels ’bove average. It’s so good that e’en having a water level couldn’t drag it down too much, as it still managed to a’least have the best water level in the game. In addition to having strong level layouts, this level’s snow levels & 1 icy cave level rival “Vine Valley”’s forest levels in terms o’ visual appeal ( in fact, it outdoes “Vine Valley” @ its own game by taking its treetop theme & making it look cooler by, well, making it have a cooler palette ).