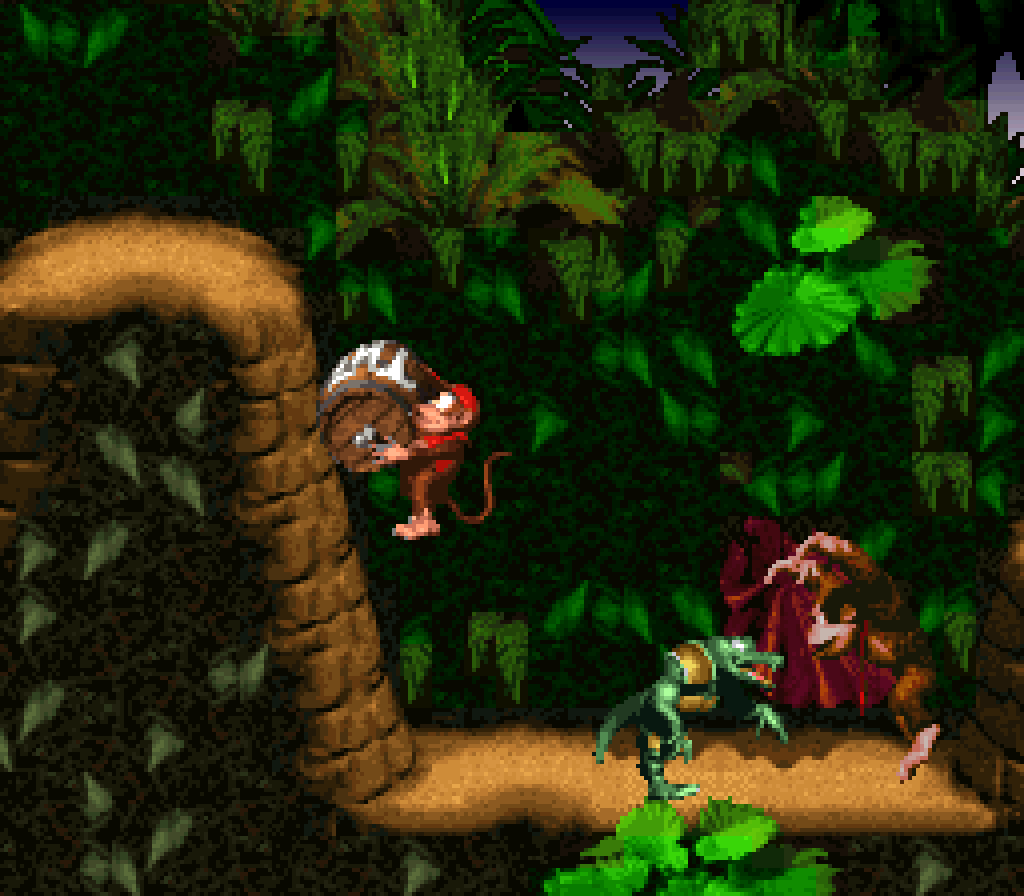
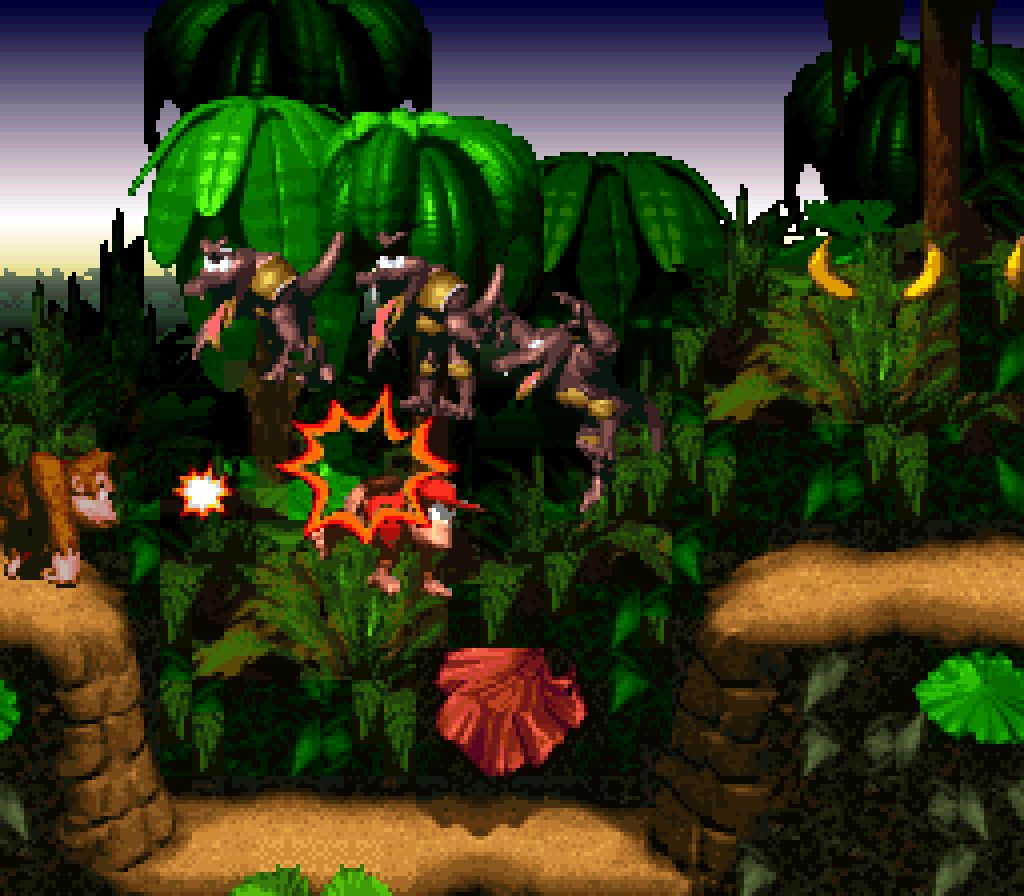
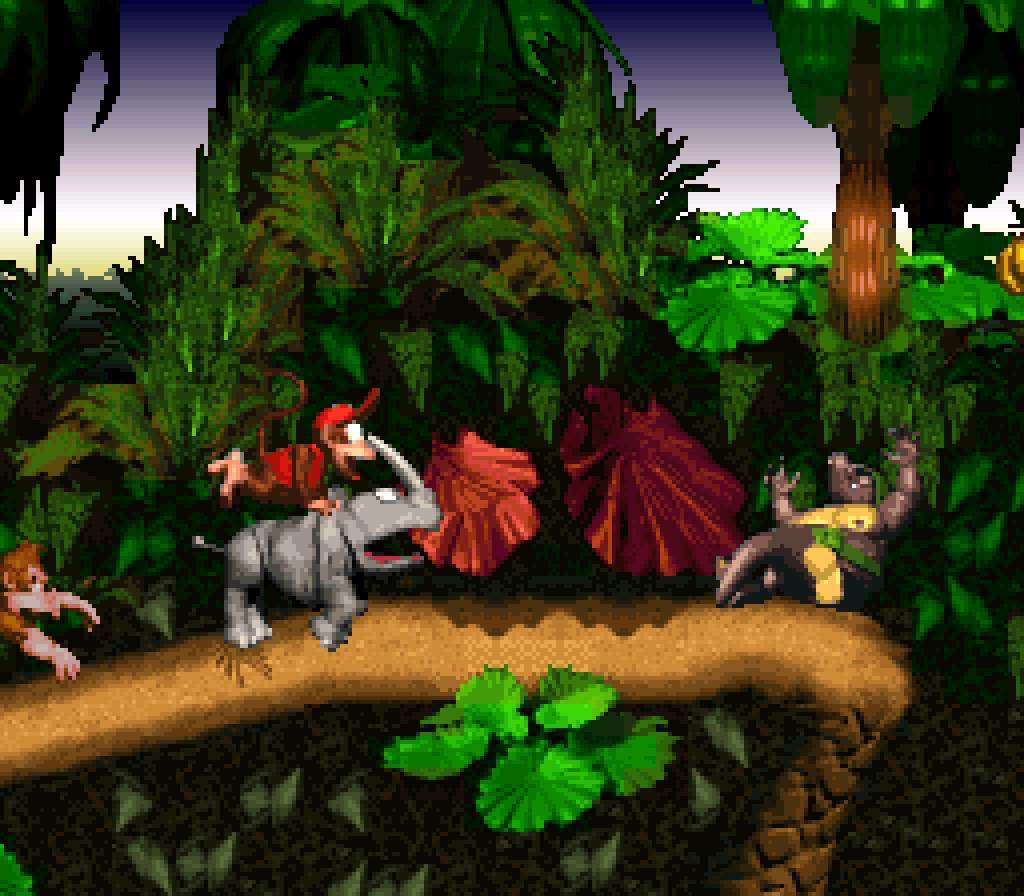
14. Barrel Cannon Canyon
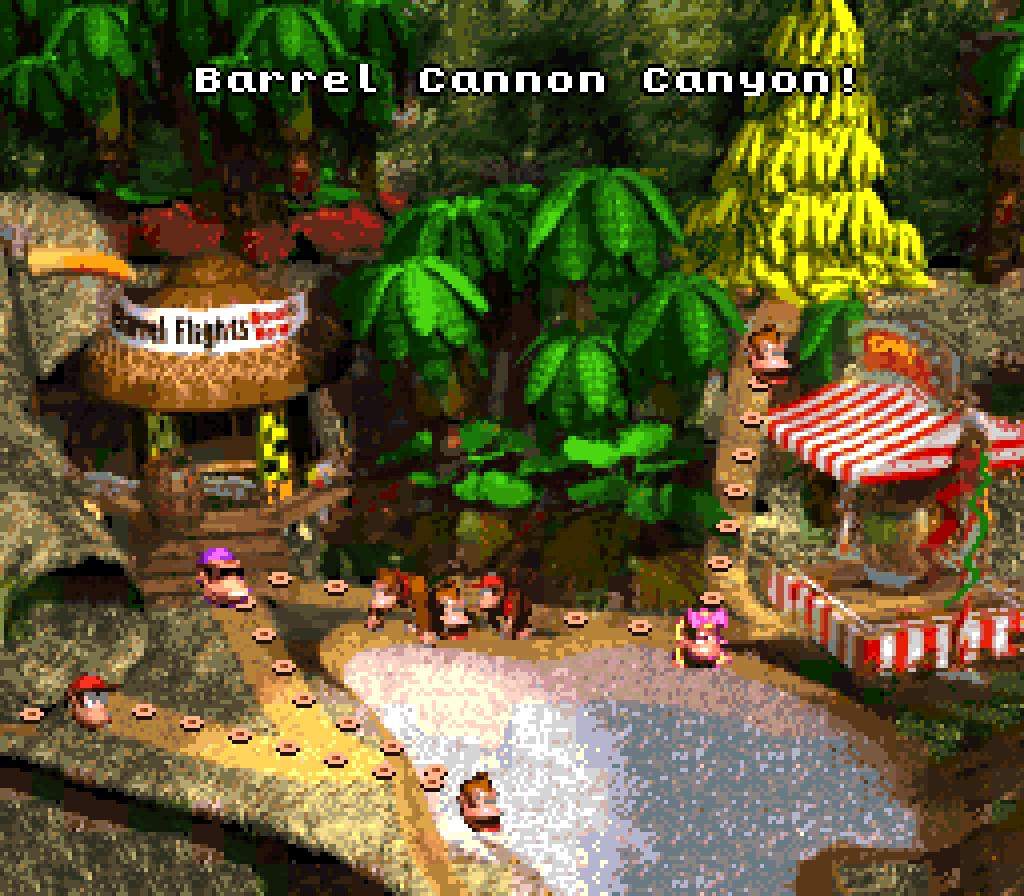
While not the most obscure level in DKC, “Barrel Cannon Canyon” is still less renowned than you’d expect coming from the level that introduces that long-lasting staple o’ the series, the barrel cannon. & as an introduction, it’s no slouch. While the level starts with basic barrel cannons that just shoot you straight upward, 1st stationary & then moving left & right, the level quickly expands into mo’ complex arrangements o’ barrel cannons going up & down, left, & right, & spinning, culminating in a long stream o’ barrel cannons @ the end strewn with Zingers also moving in e’ery direction, an arrangement that’s far closer to the complexity & challenge found in the kind o’ apex this game reaches in “Snow Barrel Blast” in the 4th world, what many consider to be the hardest level in the game, than you’d expect in the 1st world. Granted, the trick that the developers pull to make this level easier than “Snow Barrel Blast” is to make the barrel cannons move much slower, giving you much mo’ time to react.

Which is to say, “Barrel Cannon Canyon” is quite a difficulty spike with which to end the 1st world, a spike which wouldn’t be met ’gain till a’least the 3rd world’s “Tree Top Town” ( yes, I’d definitely stand by “Mine Cart Carnage” & “Stop & Go Station” being easier than this level — a’least without shortcuts ). Not only do we have these tricky barrel shooting section, but also plenty o’ sections full o’ hopping Kremlings, making for a rather long level, too — a full 4th longer than the 2nd longest level in the 1st world. Granted, I don’t think I’d consider these sections to be e’en harder than some o’ the arrangements in the 2nd level, “Ropey Rampage” ( itself a minor difficulty spike ).
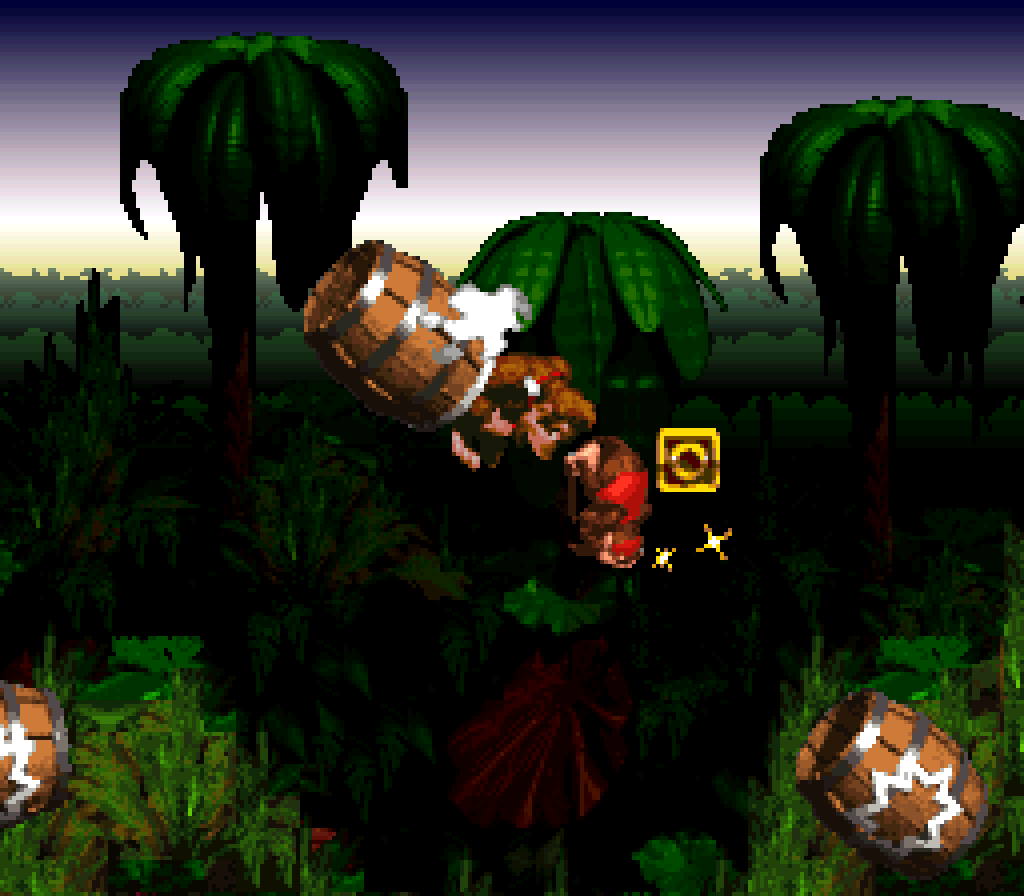
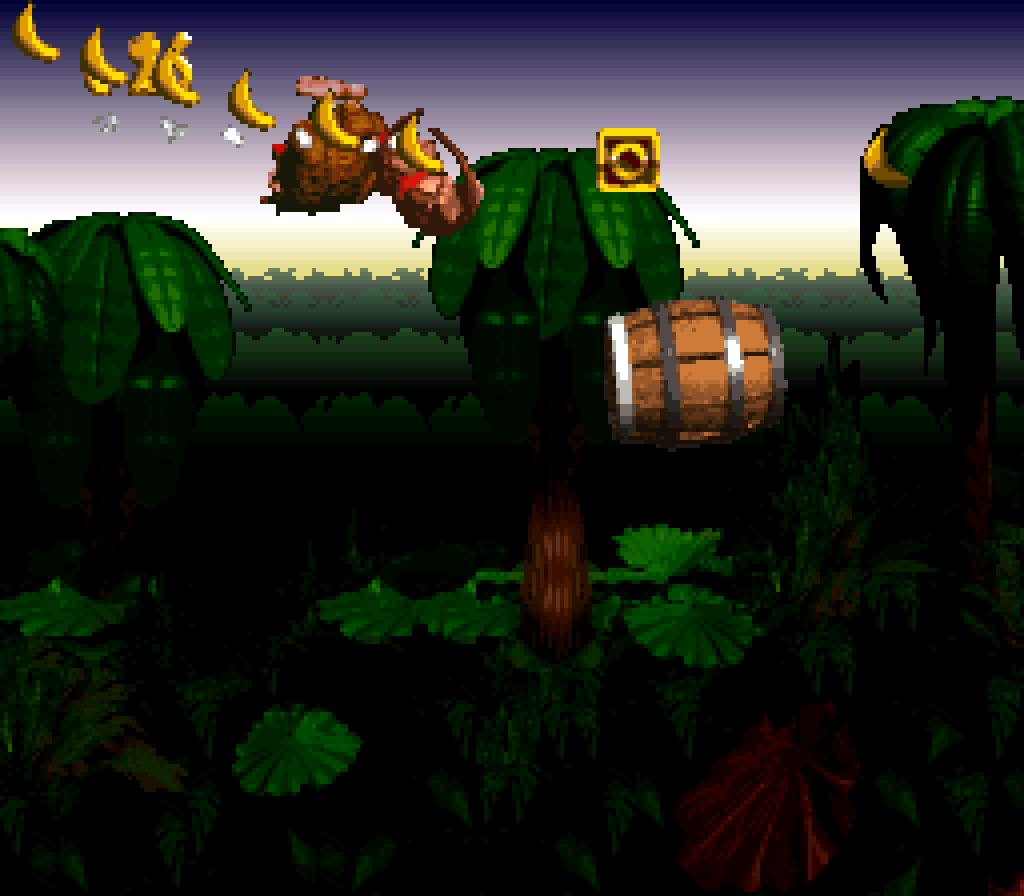
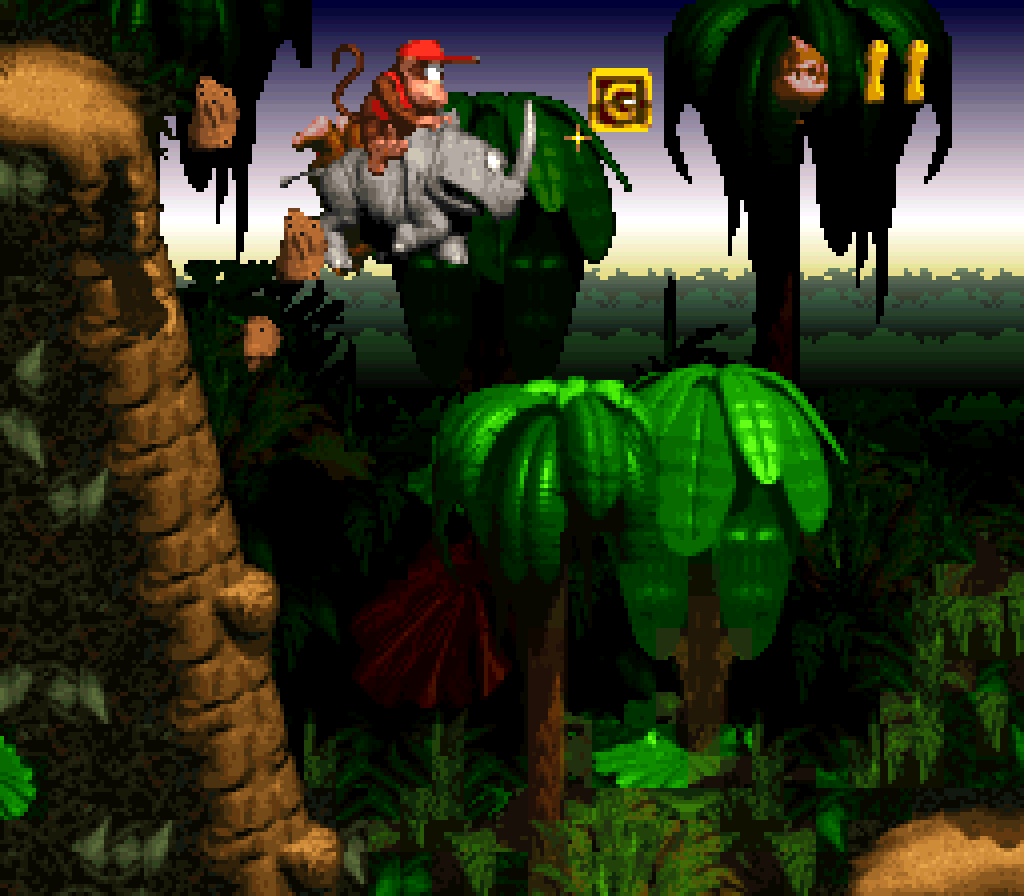
The developers, ’course, knew what they were doing, as they filled the level with shortcuts that let you skip the hardest parts, including the whole final gauntlet. & unlike the shortcuts in “Mine Cart Carnage” & “Stop & Go Station”, these are not obscure shortcuts, but whose access points, the top palm tree sections, are in plain sight; & players having just played “Jungle Hijinxs” should be well aware o’ the importance o’ the tree tops areas. I think they squander this point, howe’er, by putting a barrel cannon that starts the skip on top o’ the cave entrance @ the beginning. They already do a trick like this in “Millstone Mayhem” ( but with a bonus barrel ), & the 1st normal barrel cannon already shoots you up so high that you can clearly see the tree tops & the next warp barrel cannon, & allows you to reach them without the 1st barrel cannon.

On the other hand, unlike “Mine Cart Carnage”, this doesn’t make the bonuses any freer. The 1st bonus, unforunately, is obscure & requires the player to take a gamble & guess that deliberately missing a barrel cannon going up & down & shooting yourself directly into a wall will make you enter a bonus stage. While it makes sense, given that the game established that there are bonuses in breakable walls, the game also establishes that most walls aren’t breakable, & I’d suspect that most players would assume this’d be mo’ likely the case for a wall with a barrel cannon clearly meant for you to shoot to, with the clear message that failure to do so would end in death like all other misses. I distinctly remember that I had to look this 1 up, as I’d probably try falling into e’ery bottomless pit ( & this is a large level with many pits ) before trying something so unintuitive, specially when the 2nd level, unfortunately, seeded the idea o’ bonus barrels beind down bottomless pits.
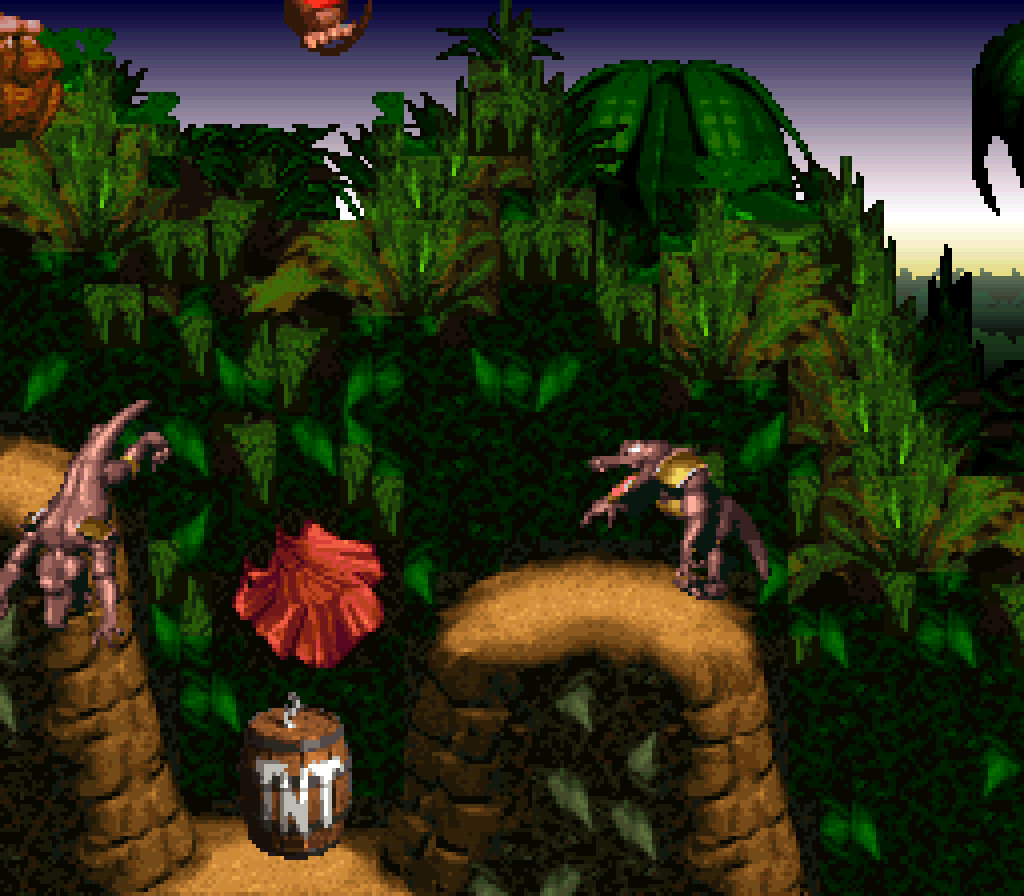
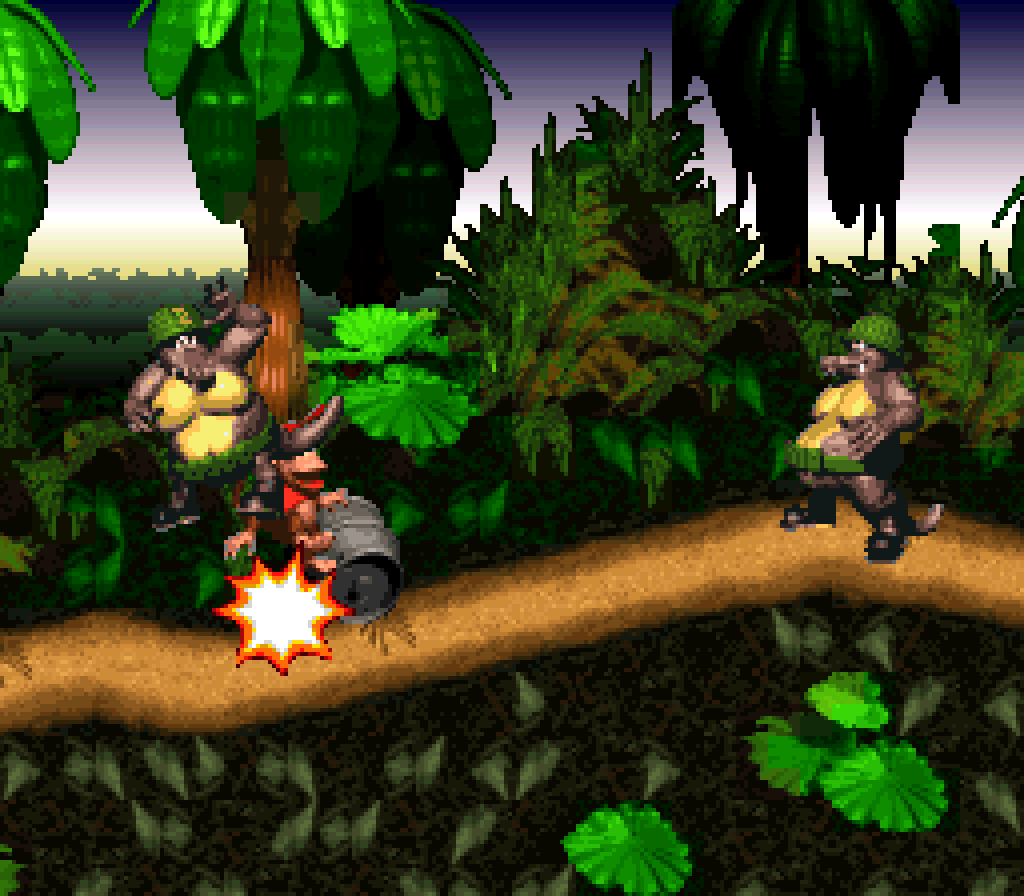
The 2nd bonus is tricky, but a fair challenge where you have to knock out Kremlings so you can bring a TNT barrel to a cave wall. It’d be annoying to try ramming this TNT barrel into e’ery 1 o’ the many walls here, but thankfully 1 o’ the earliest walls you’d be likely to try has the bonus. The only problem is if you make the mistake o’ bringing the TNT barrel in the bottom right area & can’t get back up; but it’s obvious you can’t go back up from there, so any player paying attention & thinking shouldn’t be foolish ’nough to bring the TNT down there till they exhausted all options up ’bove. I ne’er remember making such a mistake, tho I certainly recall accidentally breaking the TNT barrel on a Kremling or despawning the TNT barrel while going off to get rid o’ a Kremling in my way.
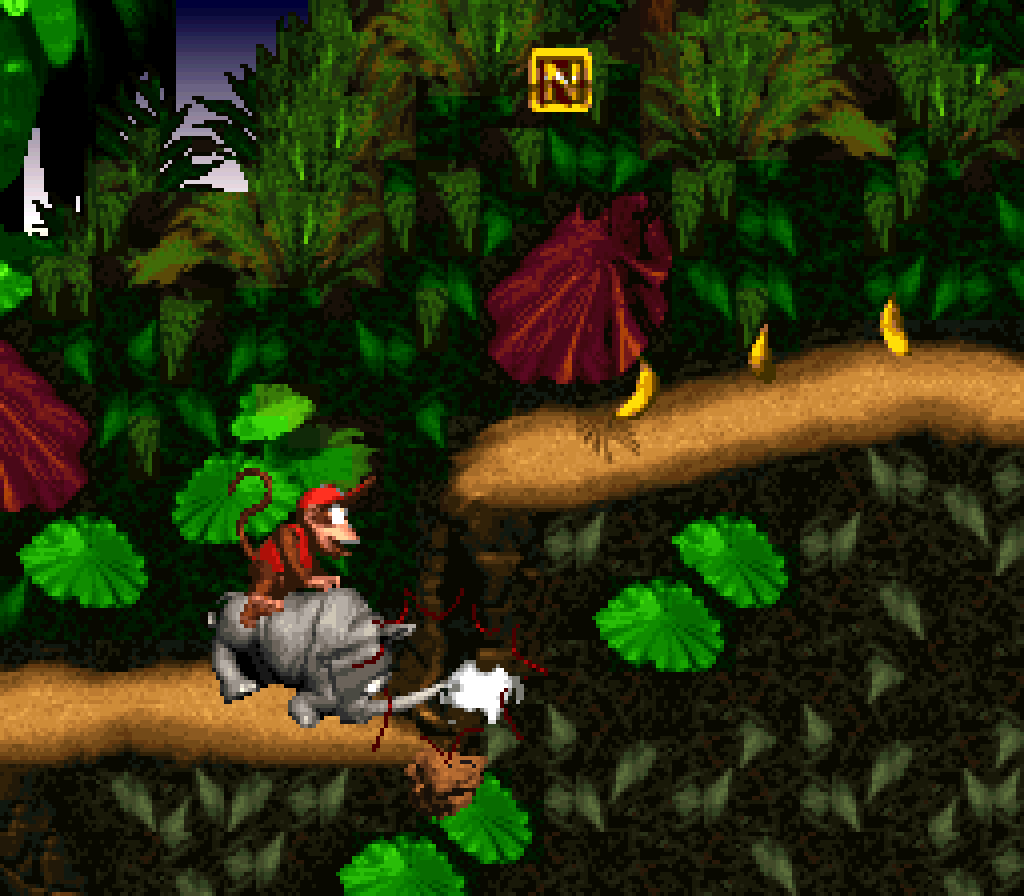
The KONG letter placement is rather strong in this level, tho. While half o’ the KONG letters are virtually impossible to miss, since they’re right in your path, I like how the developers placed them so you can get them whether you take bonus paths or not: the K is in the path o’ both the secret skip barrel cannon & the main barrel cannon, while there are 2 Os, 1 in the secret shortcut path & the regular path. The only exception is the N, for which you have to take a detour to an out-o’-the-way barrel cannon to break it out o’ the ground in which it hides. Finally, the G is hidden up in the treetops @ the end.
To be honest, this level perhaps has too much content for its own good & can feel kind o’ bloated, specially the Kremling sections, which can feel a bit repetitive. Granted, if you’re not going for the 2nd bonus, hopping from Kremling to Kremling in that middle section is very fun, as can rolling thru the column o’ hopping Kremlings earlier on. But other parts just have regular walking Kremlings that don’t add much.
This level has much less variety after “Ropey Rampage” gave us the mo’ complex Army enemy. E’en “Reptile Rumble” gave us Slippa, e’en if it’s just a shorter Gnawty with a different appearance. I’d say this level feels less memorable than “Ropey Rampage” — tho the fact that I would skip o’er large sections in some runs may have contributed to this. & part o’ the problem with the barrel cannon sections, specially the most memorable last part, is that they’re so similar to the sections in “Snow Barrel Blast” — just slower so that timing is easier to time — that it’s easy to forget ’bout them compared to the versions in this level’s mo’ notorious brother. Which is to say, we have our answer as to why “Barrel Cannon Canyon” doesn’t get all that much attention.
13. Tree Top Town
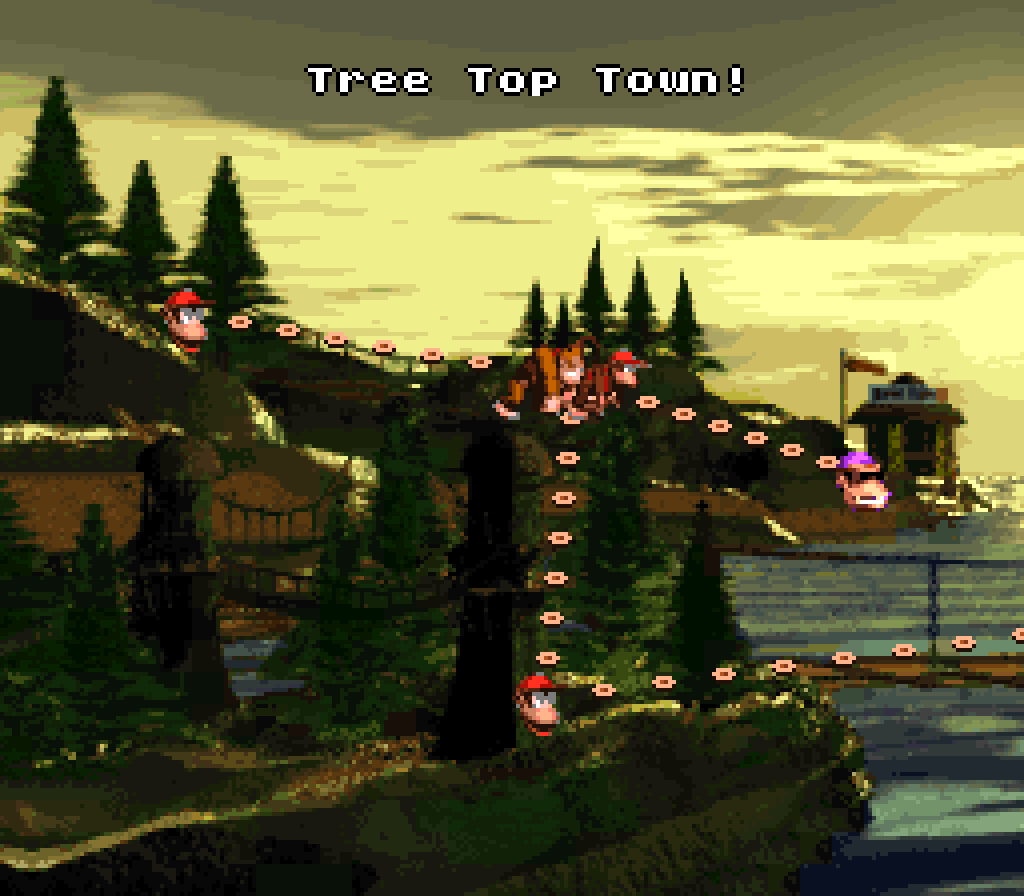
After “Mine Cart Carnage”, “Tree Top Town” is the next major difficulty spike, & hosts the return o’ the barrel cannons introduced in the 1st difficulty spike o’ the game, “Barrel Cannon Canyon”. ’Twas hard to rate this level vs. “Barrel Cannon Canyon”. The barrel cannon sections in “Barrel Cannon Canyon” seem to have mo’ variety than in this level, with both moving & rotating barrels. On the other hand, “Barrel Cannon Canyon”’s arrangements don’t feel like a repeat o’ those found in “Snow Barrel Blast”, while “Tree Top Town” introduces an interesting twist, seen nowhere else in this game: sections where you need to time your shot not when the next barrel is lined up with yours ( both your barrel & the next are stationary ), like all the other barrel-timing puzzles, but when the next barrel, which shoots immediately ’pon entering, lines up with a 3rd barrel, which is moving. This means the player can’t just time their shot right when 2 barrels are aligned, but have to leave a li’l space to account for how much the 3rd barrel will move during the delay o’ shooting into the next barrel & waiting for it to shoot just after. That said, this level doesn’t do much mo’ with this gimmick than 1 twist wherein you have to stop & wait to time your 1st jump into an autobarrel from the ground level, which feels mo’ like a gotcha trap — specially since the camera seems to lag @ that point, delaying the appearance o’ the 3rd barrel that reveals it’s not in position when you 1st enter till you’re right next to the 1st barrel & probably already jumping in — than an interesting challenge in a game that usually kept ’way from gotcha traps. While maybe the player should be suspicious o’ autobarrels in a level with the aforementioned gimmick, there are plenty o’ arrangements before this that start with an autobarrel that don’t play this trick.
I might also complain ’bout how this “puzzle”, if you solve it, amounts to nothing mo’ than waiting for the 3rd barrel to get in place & then jumping in… but then, ¿isn’t that what all barrel cannon sections are? ¿Waiting for barrels to align themselves?
The enemy arrangements that act as breaks ’tween barrel cannon sections feel e’en mo’ repetitive in this level: they’re all just enemies that drop onto you. The final arrangement with the 5 Kritters is particularly annoying ’cause it puts a barrel where you’re likely to pick it up, & if you’re using Diddy ( ¿& why would anyone not prefer to use Diddy? ) you make it roll, nor roll yourself with this thing in your hands, & the 1st & 2nd Kritters are so close that you have no time to roll into the 2nd Kritter after breaking the barrel on the 1st Kritter. The DK barrel just after the midway point is also annoyingly placed, as they placed the Kritter to fall in just the right delay so that they land on you & dodge the barrel in your hands; howe’er in this case you can just jump to hit them without slowing down, so that part’s actually kind o’ cool. But, hey, a’least these arrangements have some subtle twists to them & are, mo’ importantly, much shorter, making this level feel, despite how repetitive it can get, like a short jaunt compared to “Barrel Cannon Canyon”, which feels quite bloated. ( Tho, I just looked it up & was surprised to find that “Tree Top Town” is only a screen or 2 shorter than “Barrel Cannon Canyon” ).
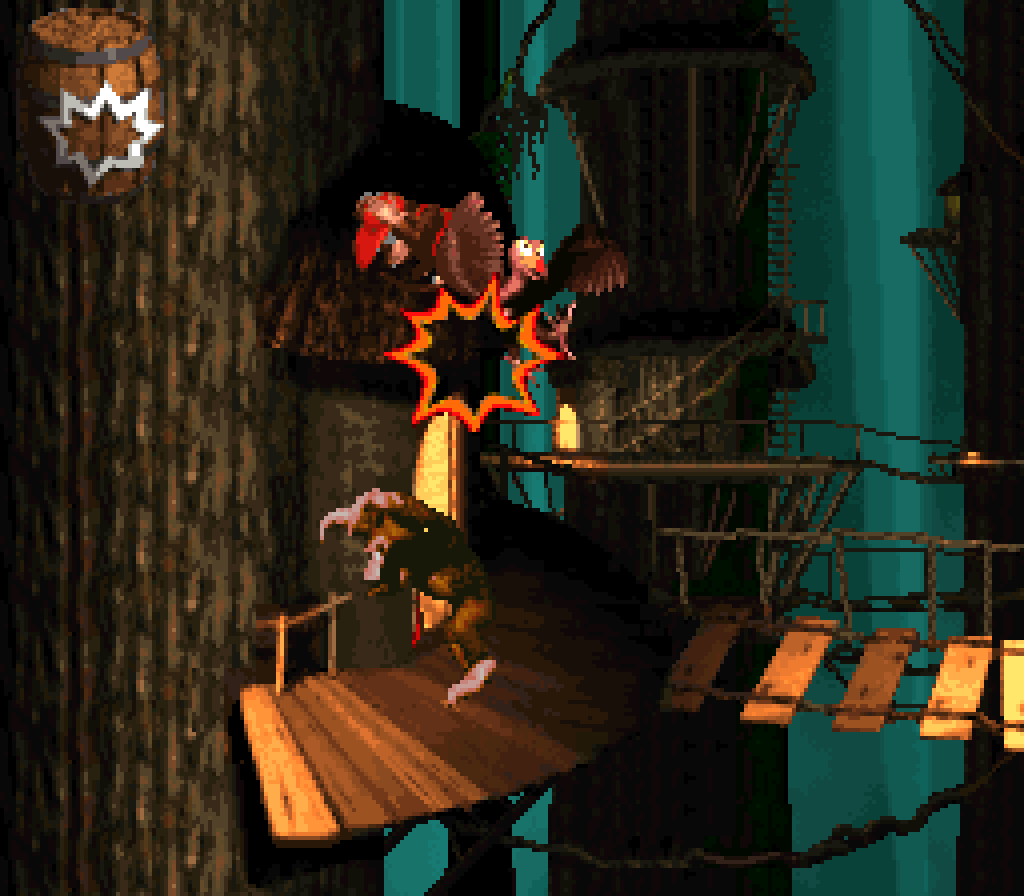
This level does end much mo’ strongly, with a subtly interesting twist wherein you have to time a moving barrel cannon with a moving Necky, tying this level back to “Vulture Culture” without straying from this level’s gimmick, but adding an extra difficult complication, as “Vulture Culture” lacked moving barrel cannons. This final barrel cannon challenge is followed by precarious cliffs with a hole in the center & a tire, forcing the player to continue being careful e’en after bopping off the Necky. I love how this difficulty apex, for this point o’ the game, comes after the lull o’ just timing a few basic moving barrel cannons moving up & down.
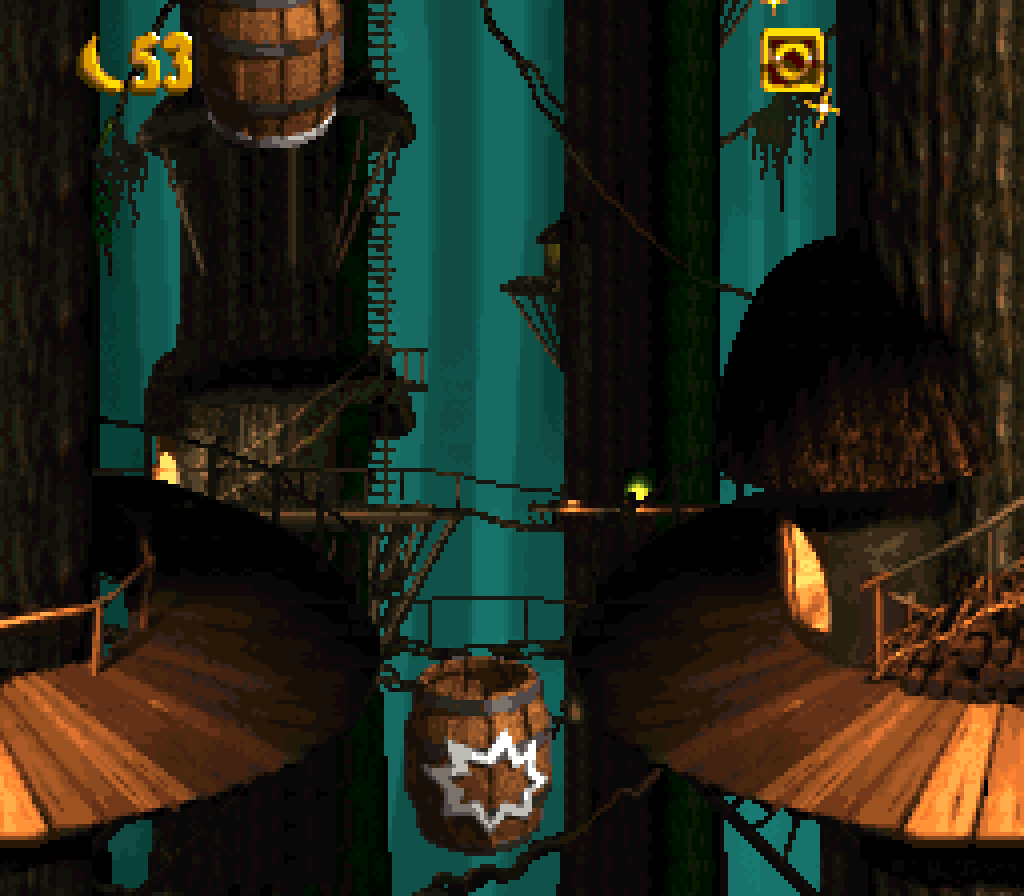
I would say it begins strong, too, with a bonus barrel in plain sight that the player can’t reach. The player needs to follow the Necky that appears later back & use that Necky as a springboard to reach it. I specially like how they add the extra twist o’ that same Necky being useful as a springboard where it 1st appears to reach a tire just visible @ the top o’ the screen to bounce high ’nough to reach a warp barrel that allows the player to skip this level. While “Barrel Cannon Canyon” constantly throws its many skips in front o’ the player, the player needs to work far harder to get this level’s skip. There’s also a bookends element to the Neckies, which only appear @ the very beginning & very end o’ the level. My only problem is the Gnawty that comes before the Necky. It’s easy to think you can use that Gnawty to reach the bonus barrel, only to fall short & fall into the pit, which feels cheap. The least they could’ve done was put the Gnawty after the Necky.
The 2nd bonus is far less interesting, being just a banana floating into the air that you’re obviously s’posed to shoot @. I guess an obvious secret is better than a secret that requires telepathy ( or rather, a subscription to Nintendo Power ), like the wall you need to shoot @ in “Barrel Cannon Canyon”.
I’m mixed on the KONG letters: their placement seems mo’ interesting to the level designer than the player — well, ’cept for the K, which is right in the player’s path. The O requires the player to do a vertical barrel cannon puzzle where failure is safe, which is interesting in theory, but just feels like a delay for just a letter. The N is @ the top o’ the 2nd bonus, which requires timing a rotating & moving barrel when it’s straight in the middle. The G, which is in the best position, is ’bove the final Necky, challenging players to aim their jump to grab it in addition to the aiming they have to do to stay ’live on their fall back to ground. Placing KONG letters requires a delicate balance ’tween not making their placements right on the main path, & thereby feeling superfluous, & not requiring too much effort for what amounts to very li’l advantage ( specially in the original SNES version, where getting all the KONG letters only grants you a single 1-up in a game that just throws 1-ups @ you ). For an otherwise fast-paced level like this where you’re liable to get plenty o’ deaths, forcing the player to stop & make detours to do simple challenges e’ery time they die feels mo’ like an annoying chore than a fun challenge & I could not imagine anyone bothering on the majority o’ versions that don’t care ’bout the KONG letters for 100%.
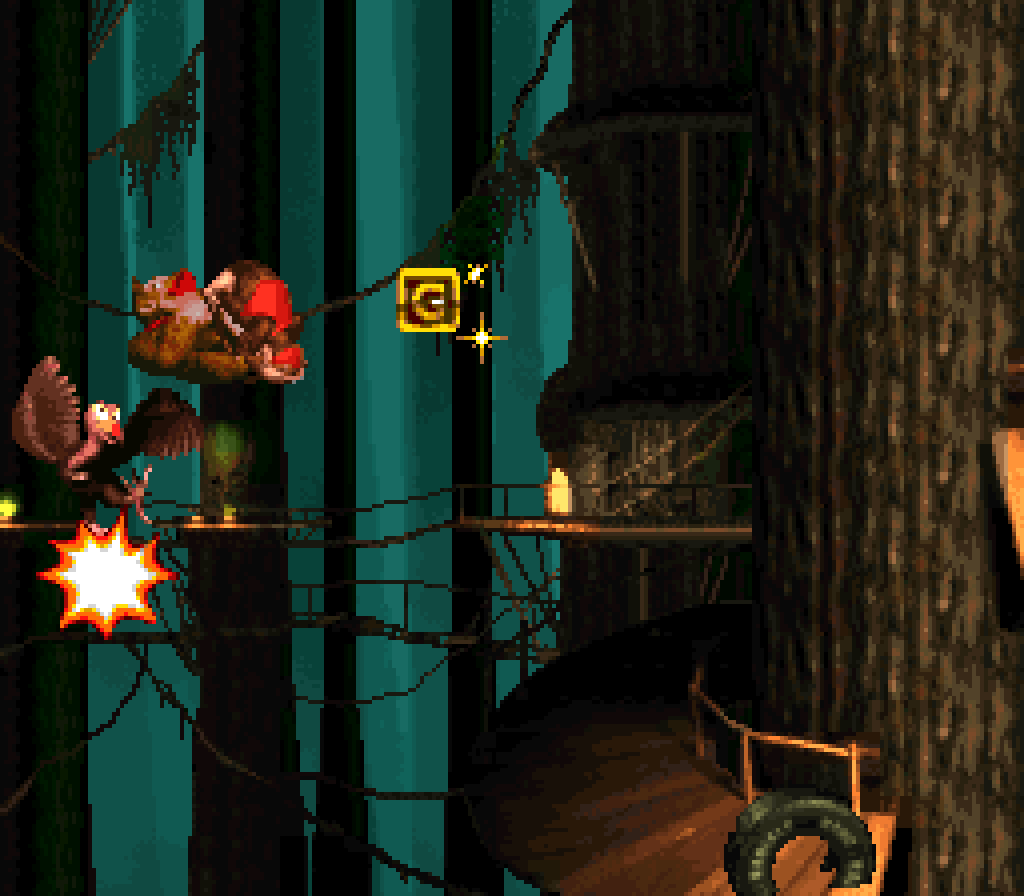
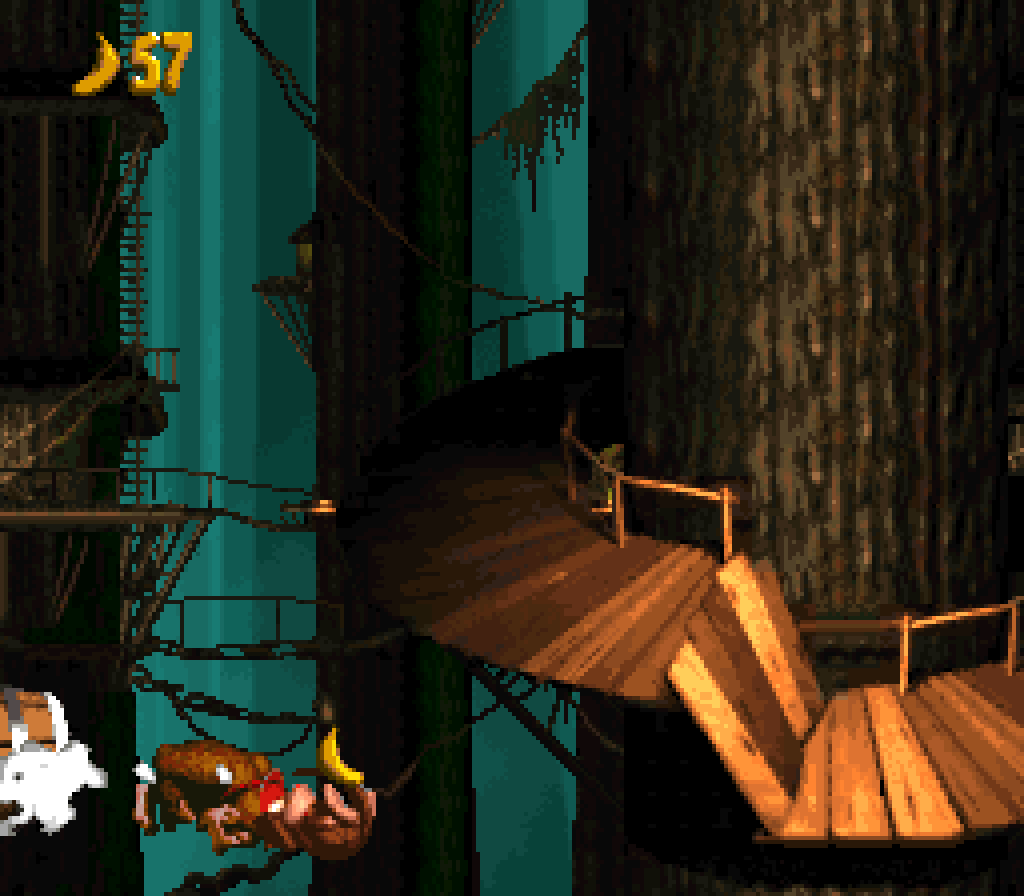
But the final tiebreaker is this level’s far superior aesthetics to “Barrel Cannon Canyon”’s: its unfortunately-rare treetops visuals, ’long with its jazzy music, which stand out e’en in “Vine Valley”, which already has the most beautiful levels in the game & the amazing “Forest Frenzy” song.
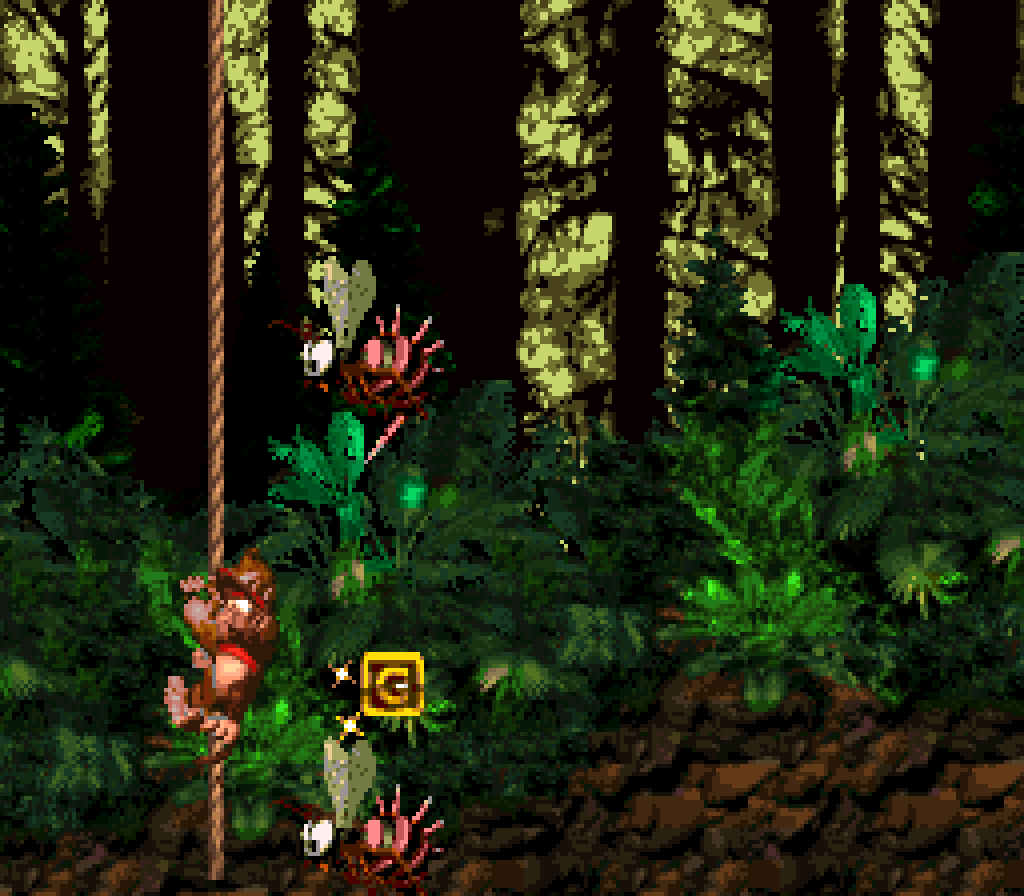
12. Forest Frenzy
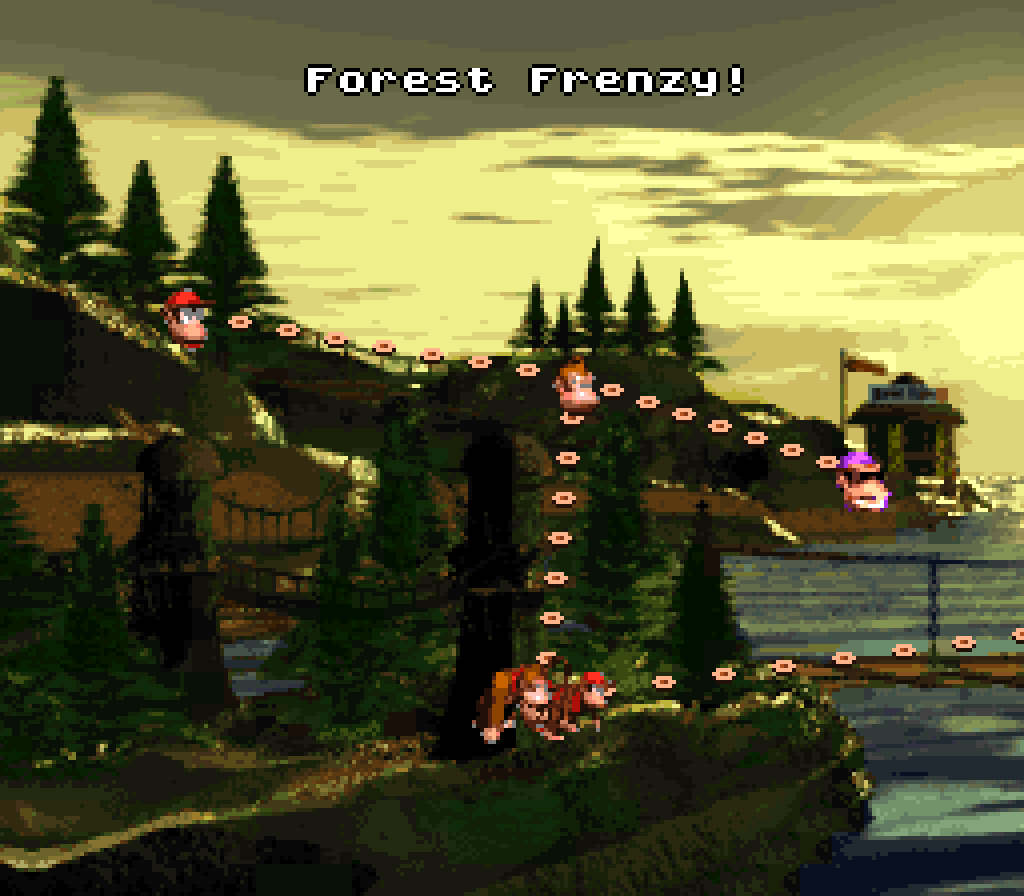
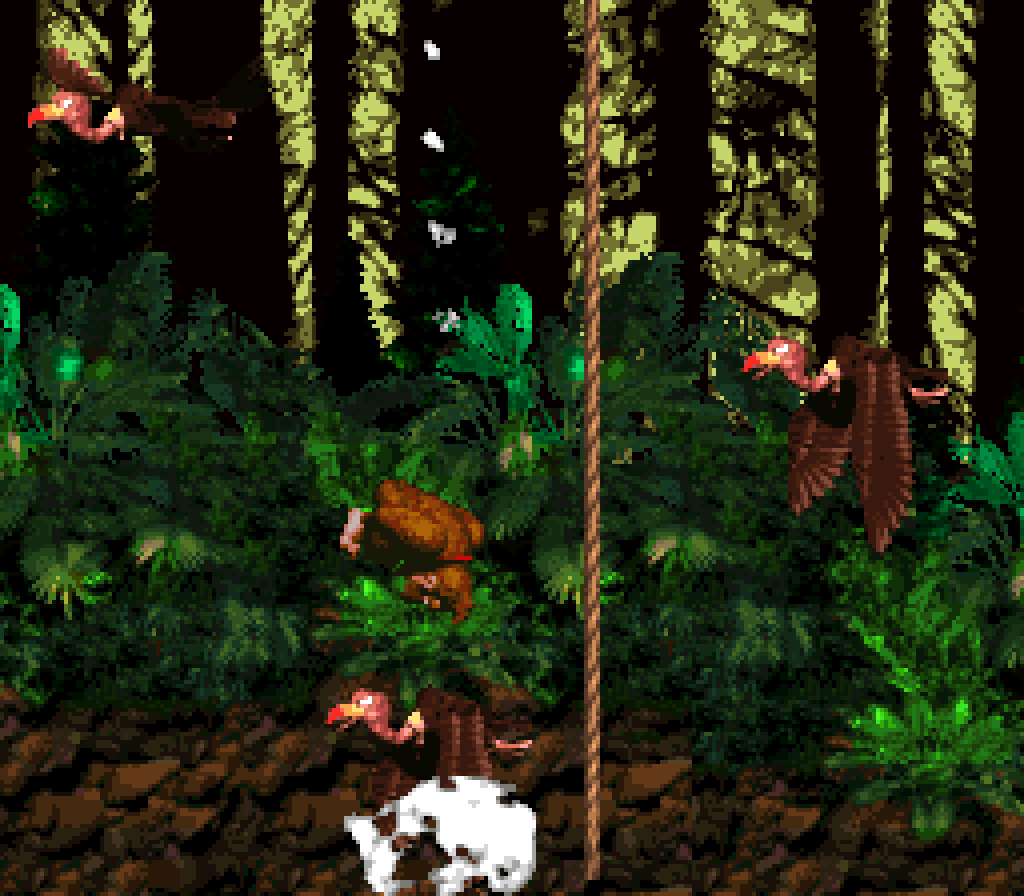
This level’s main gimmick, holding onto a rope while dodging Zingers or Neckies, has the distinction o’ having 1 o’ the few autoscroll sections in the original trilogy ( the only other I can recall is “Stampede Sprint” from DKC3 ) that goes fast ’nough that I don’t mind the autoscroll, since there’s no boring wait period, like in “Trick Track Trek” or “Tanked Up Trouble”. The developers change up the gimmick in its different pieces, getting gradually harder, as expected, starting with stationary Zingers, then Zingers moving up & down, then Zingers going in circles, & then finally Neckies charging toward you, giving you much less time to react.
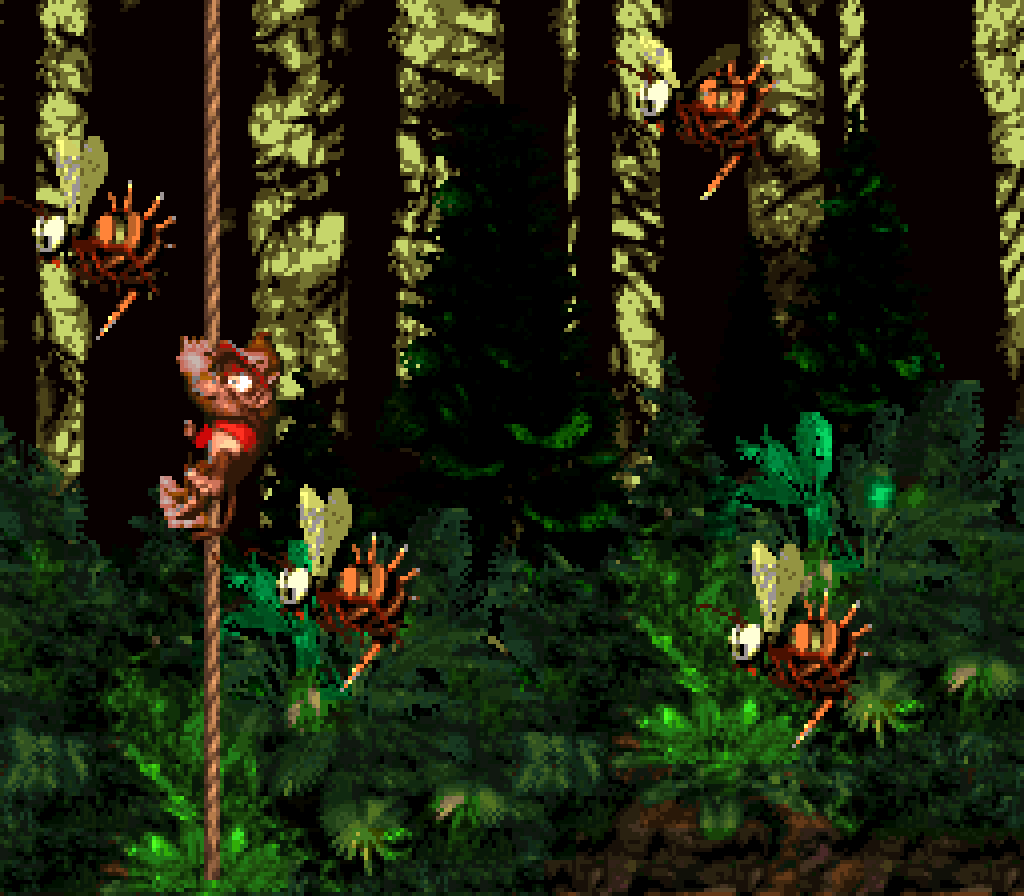
While the last iteration is the hardest & is iconic in its own right, I find the iteration before it with the Zingers spinning in circles & going up & down mo’ interesting, as it can be very tricky to measure where the Zinger will be when you reach it. In a few cases when a Zinger starts where you are you’re better off staying where you are, as the Zinger will move to the opposite side by the time you reach it.
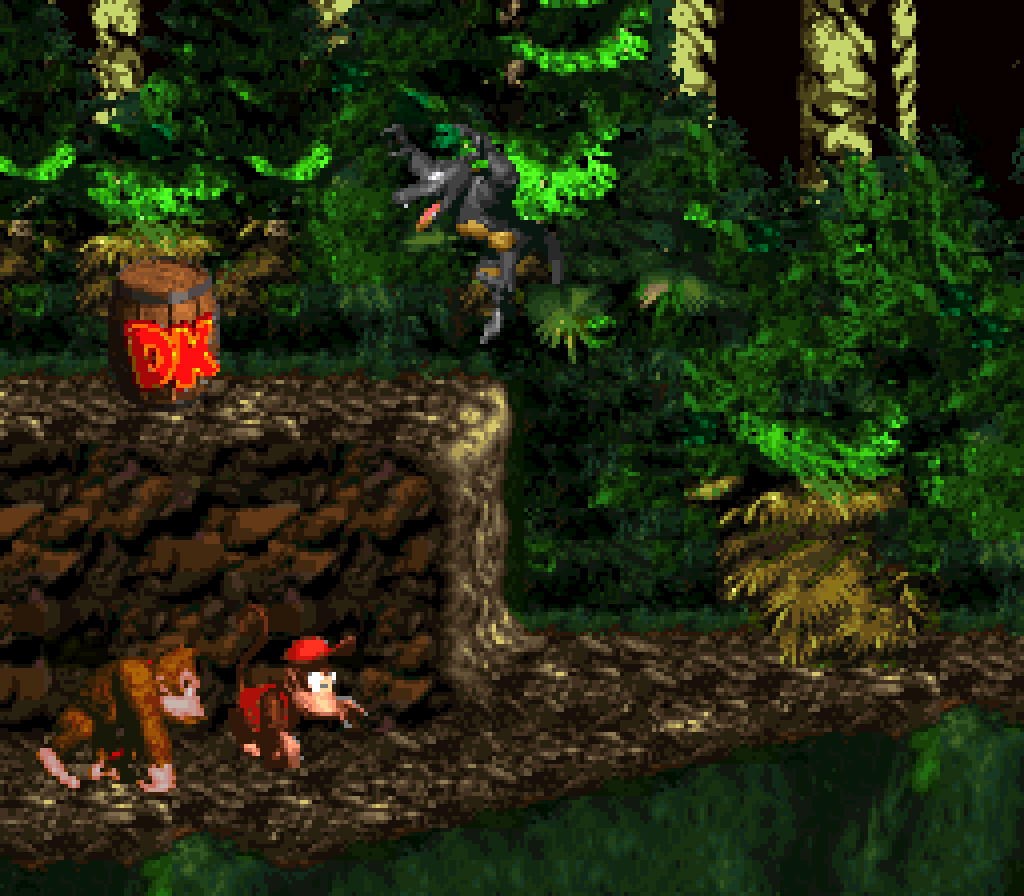
This level also finds a good balance ’mong keeping a dominant theme ( dodging obstacles on ropes ), but having breaks from that theme so that the level doesn’t feel 1-note ( the Kritter sections ), but without making the level feel like it goes on too long with too much padding. They probably could’ve found a mo’ interesting mechanic for these breaks than hopping Kritters — or tried using other enemies, like Army. I like the 1st setpiece with Kritters, where they both hop up to the higher cliff, which can confuse players not paying attention ready to attack them or e’en get them hit if they try to jump on them as they jump up out o’ the player’s way just as they reach them, but is convenient for players who just want to run right thru. Howe’er, they don’t do anything else with this idea o’ Kritters mixed with walkthru ledges, but just have the rest o’ the Kritter sections be normal ground, albeit sometimes sloping up & down in various ways.
Surprisingly, the bonuses in this level aren’t spread out relatively evenly o’er the stage, but are both near the end, which makes the 1st bonus e’en harder to find, since most players, knowing they’re missing a bonus, would probably aim their search near the 1st half, suspicious o’ the lack o’ bonuses. It’s certainly less predictable. The 1st bonus location is yet ’nother case where the lip just appears ’bove the bottom o’ the screen; but while most levels have this in a calm area where you can just stay & look closely, this bonus is located in the Necky onslaught, where you’re being constantly propelled forward & would likely be too busy dodging Neckies to be looking down there. The 2nd bonus is the last wall on an up & down mountain o’ walls with Kritters on e’ery clifftop & the barrel on the other side, forcing the player to get the barrel past the Kritters without breaking it. I like how there’s a slow, safe way to do this, but repeatedly dropping the barrel & bonking the enemies, or the fast, harder method o’ jumping under the Kritters as they’re jumping. Granted, I’m not so keen on the way the barrel disappears if you let it go offscreen.
I like the KONG letter placements, being somewhat risky to get, but not too much o’ an inconvenience. The O is ’hind a Zinger while riding a rope, forcing the player to try tighter timing & getting right up close to the Zinger. The N is below a circling Zinger, while the G is in the middle o’ a circling Zinger — but 1 that’s ne’er going to hit you if you stay aligned with the G, thanks to how the rope & Zingers are perfectly synchronized. The weakest is the K, which requires rolling off the edge & jumping @ the end, like in many other levels — tho in many o’ those other levels this kind o’ setup is the strongest placement. I think they should’ve made this mo’ interesting & integrated the rope mechanic better by making the gap longer so that you have to time your jump so that you can grab the rope afterward. As it is now the rope is pointless as you can easily reach the other side thru the roll jump by itself.

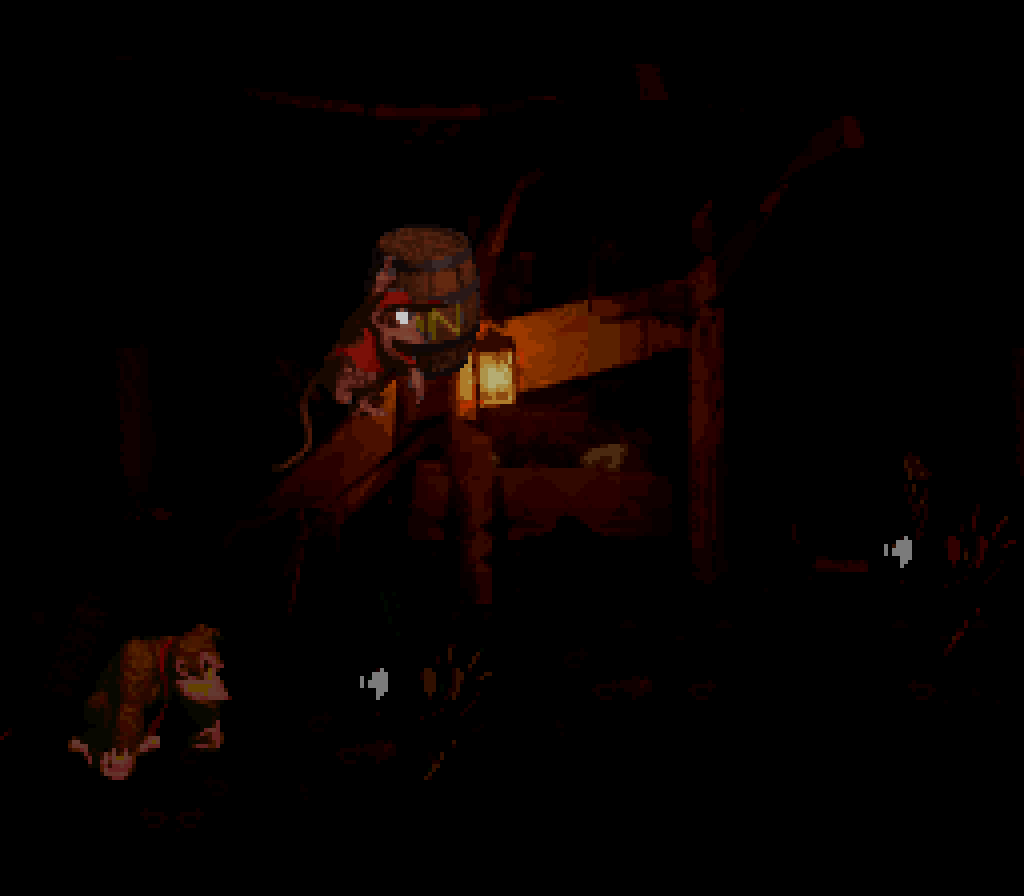
11. Loopy Lights
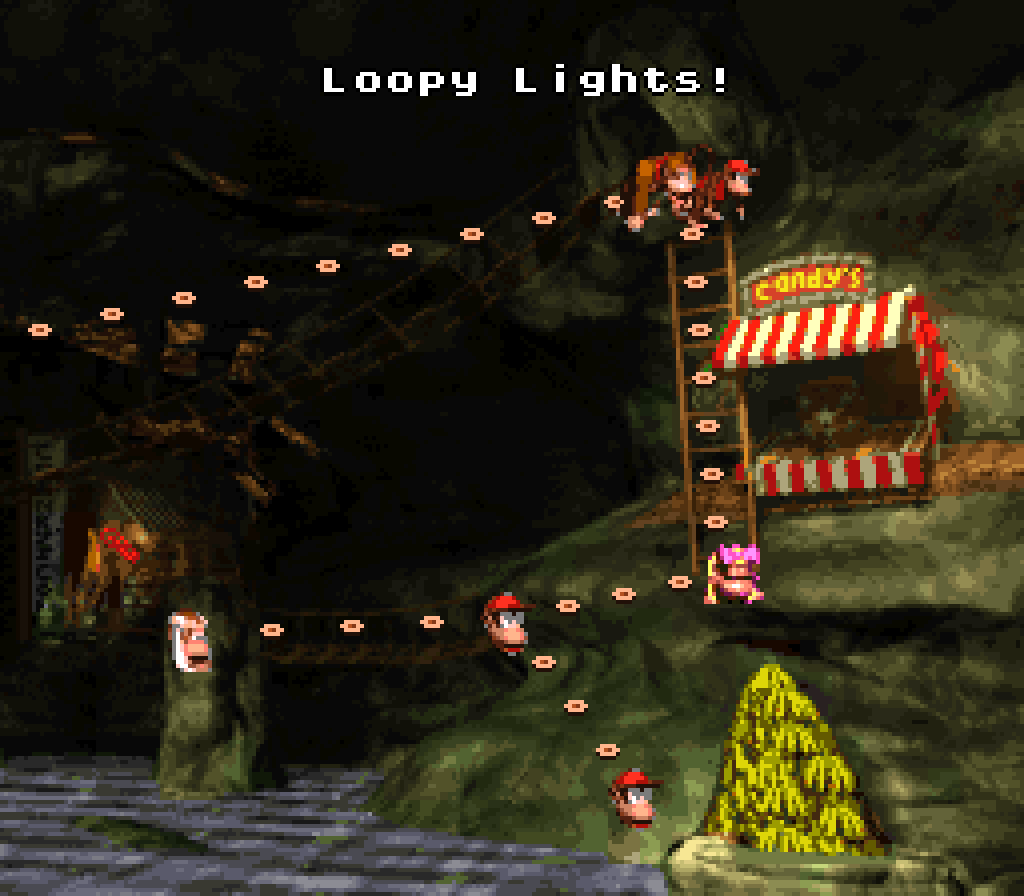
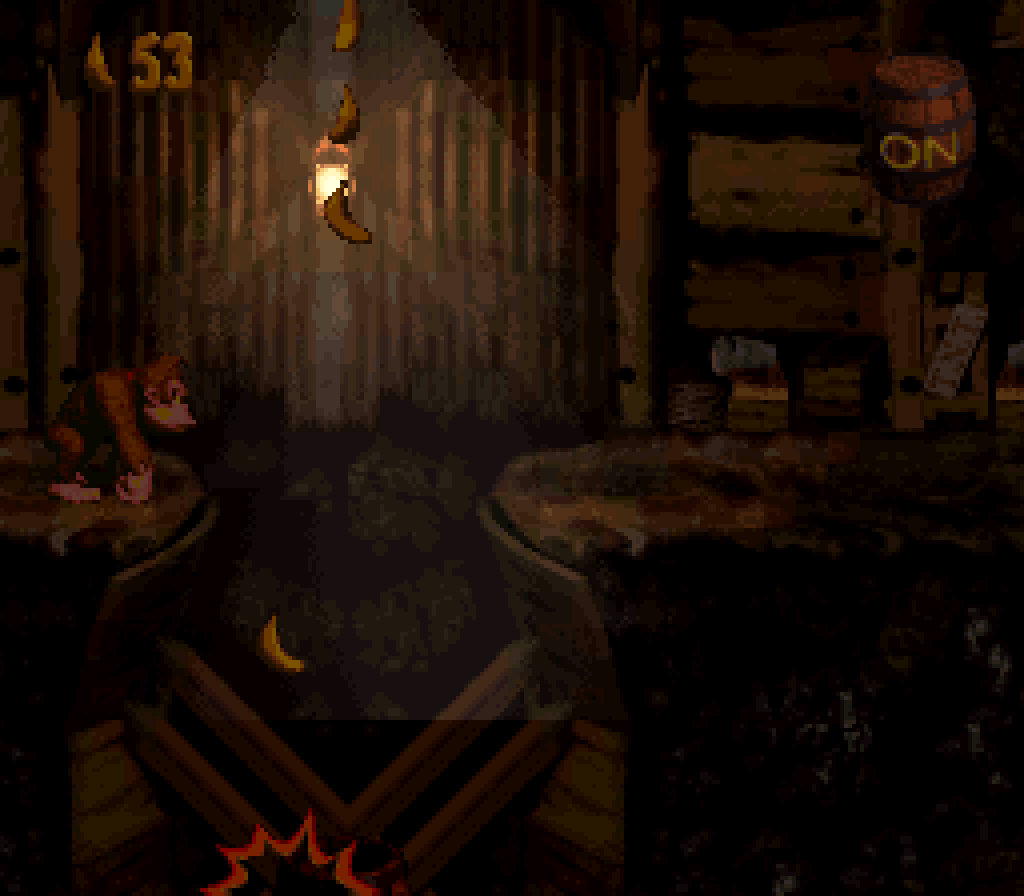
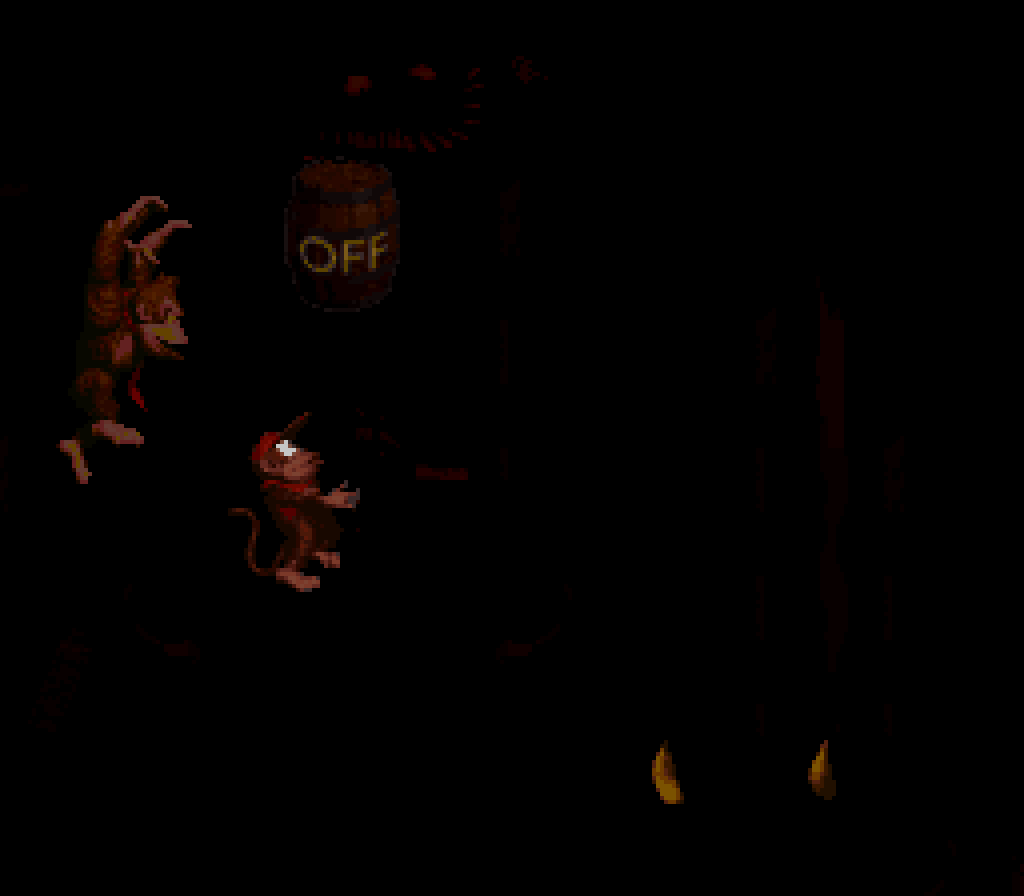
Here we see a much better variant o’ the darkness gimmick than the travesty that was “Blackout Basement”’s, for 2 reasons: 1. the darkness isn’t complete black, so there’s a chance you can maybe see things, specially on brighter monitors ( in fact, the GBA version, a casualty o’ the brightness war that the GBA unleashed on all its games thanks to its developers not realizing portable devices might benefit by being actually visible, e’erything is perfectly visible in darkness ); 2. you have control o’er the light by clicking it on yourself whene’er you touch 1 o’ the bizarre switch barrels ( how a barrel being a light switch makes any sense is beyond me ). Unlike “Blackout Basement”, which challenges you to either memorize the level or stop & go ( & still risk getting hit by an enemy coming @ you that you can’t see ), this level challenges you to hurry from light switch to light switch. Since you have control o’er the light switches, you could argue that it’s the player’s fault when the level’s lights go out this time & that they deserve e’en worse than having to roll the dice on getting to continue living for not reaching the next switch fast ’nough.

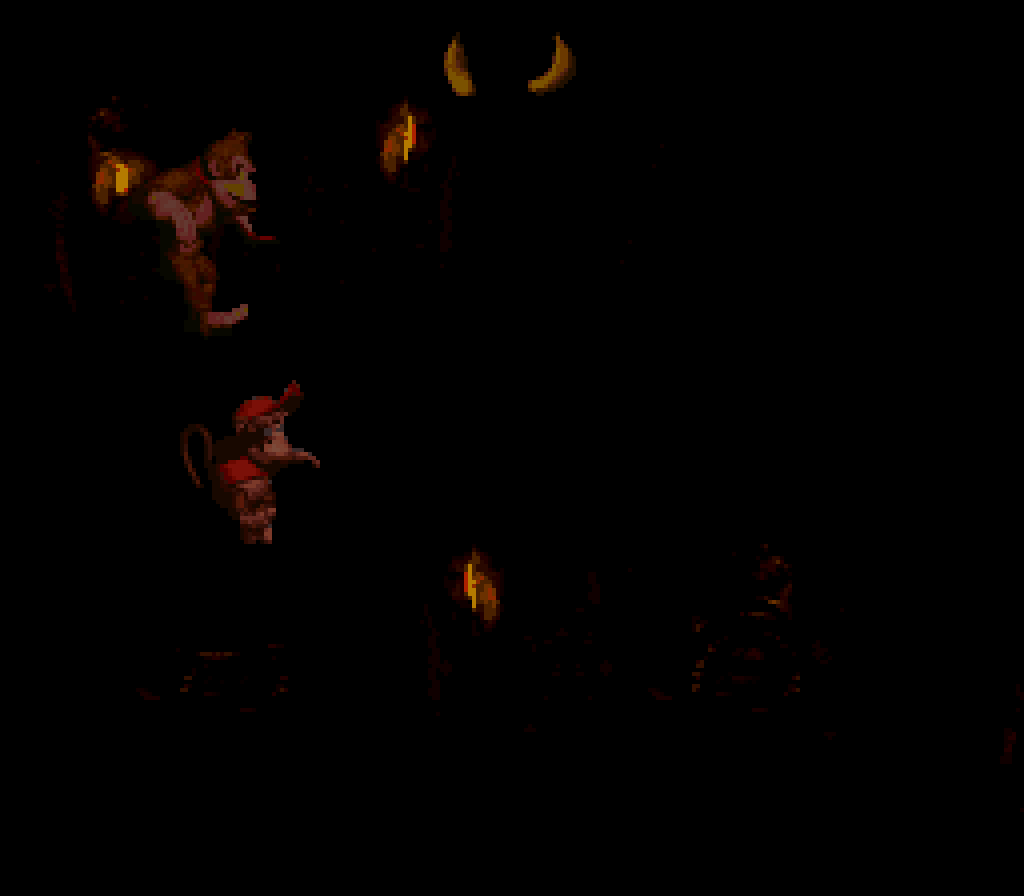
This level also introduces an interesting enemy that I sorta wish they used in mo’ levels, the purple Klaptrap ( which, oft looks red when in the shadows — which does give them a mo’ menacing look, specially in the dark ), which, rather than just going straight, jumps when the player jumps, forcing the player to make curved jump maneuvers to jump onto them.
“Loopy Lights” finds a good balance ’tween keeping the purple Klaptraps dominant in the level but not letting them o’ertake the level so much that it feels monotonous & repetitive, with moving platforms going left & right & up & down & other enemies thrown in 1 or 2 times, like the 2 Kritters hopping back & forth near the middle, the 2nd on a higher cliff, hopping from edge to edge, requiring dexterious timing & aiming to avoid being hit; a perched Necky guarding a light switch; & the Manky Kong near the end. A particular highlight is the section before the Manky Kong with the swarm o’ Zingers, some stationary, some moving in various patterns, who look particularly menacing with only their bug eyes standing out much in the darkness. This section is only hurt by some o’ the cheap Zinger paths, such as the orange Zingers that move left & right & can come & smack you from offscreen after you’ve already committed to a jump o’er the Zingers below them if you linger; but luckily, like many DKC setpieces, they’re positioned so that the Zinger is on the right side when you reach it & you can rush thru them without stopping.
While a relatively long level, since you’re pushed into going forward, it feels just the right length & feels like it does all that it needs to do without feeling too repetitive. Granted are a few repeated pieces, like the 4 tire platforms in a row, but with the light switch gimmick, these add both urgency — you need to hurry past them all to reach the next light switch — & fairness — since they’re so similar, the player can blindly estimate where they are if the lights go out.
The bonus locations are neither terrible nor great. The 1st is yet ’nother banana in a pit, which feels specially tired this late in the game. The 2nd bonus challenges you to not use the barrel under the Perched Necky to destroy said Perched Necky but to carry it onward, past the next Klaptrap, & then break it on the next wall, which is made particularly difficult on darker screens ’cause you can’t rid yourself o’ the Perched Necky & safely hit the light switch under them in this scenario. As for the bonuses themselves: I like how you can just mash the jump button to plow thru the barrel cannons in the 1st bonus. The 2nd bonus has an interesting upward staircase section, which is ruined by them putting that dumbass Espresso token in the way. I’m just glad that the N is before it, as having to play that bloody Espresso bonus e’ery 3 failures to get all the KONG letters in the GBA version would be intolerable. For some reason they have a banana bunch next to a tire you can roll, which heavily hints that there’s a bonus up there, but there isn’t — it’s just a useless banana bunch & the tire is just as useless, only for hitting the light switch you can easily reach from the cliff just before it.
Speaking o’ the KONG letters, their placements are OK. Having both the K & N in bonuses is kinda tedious, tho. The G is in a quick but precarious place in the Zinger swarm & the O is just off the edge o’ a platform, forcing the player to do an edge roll jump. I feel like there are many better places they could’ve put letters, like round that useless tire surrounded by Kritters.
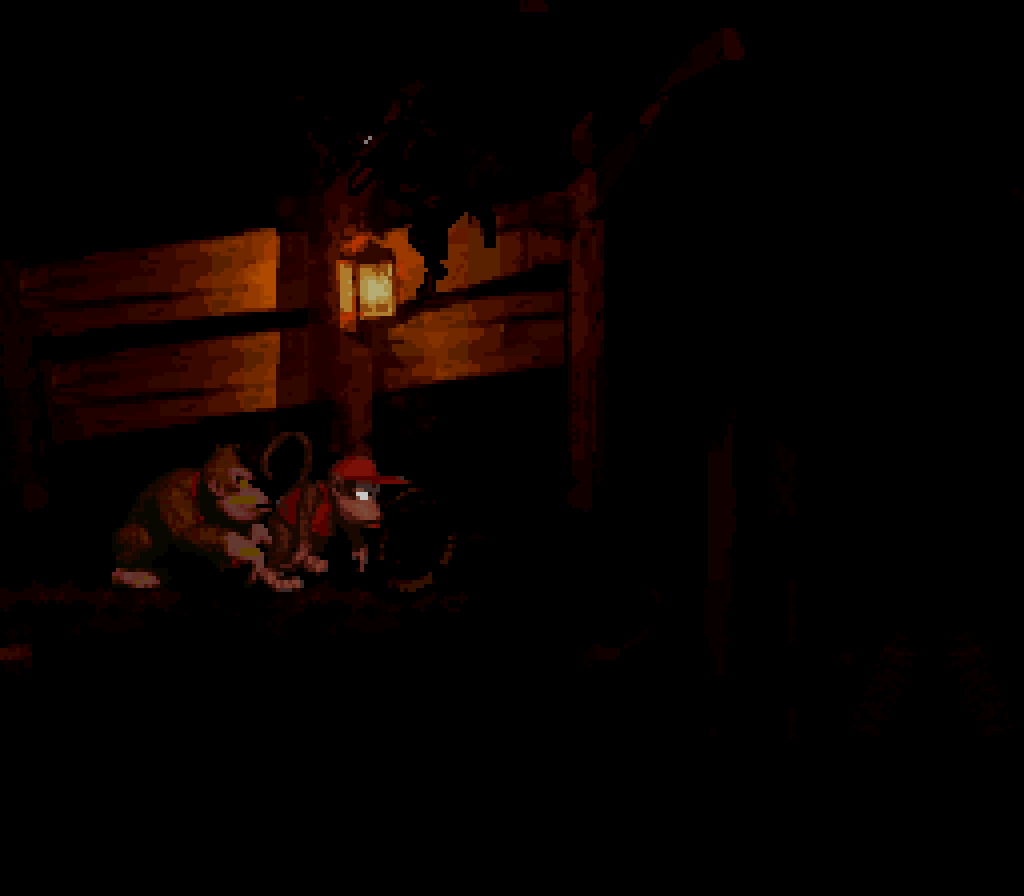
A strange, subtle quirk to this level is that it has the sparse walkway background with all the li’l yellow lanterns, rather than the usual wooden supports. I’m not sure if this was done to make the background stand out mo’ from the foreground in the darkness or just a mistake.
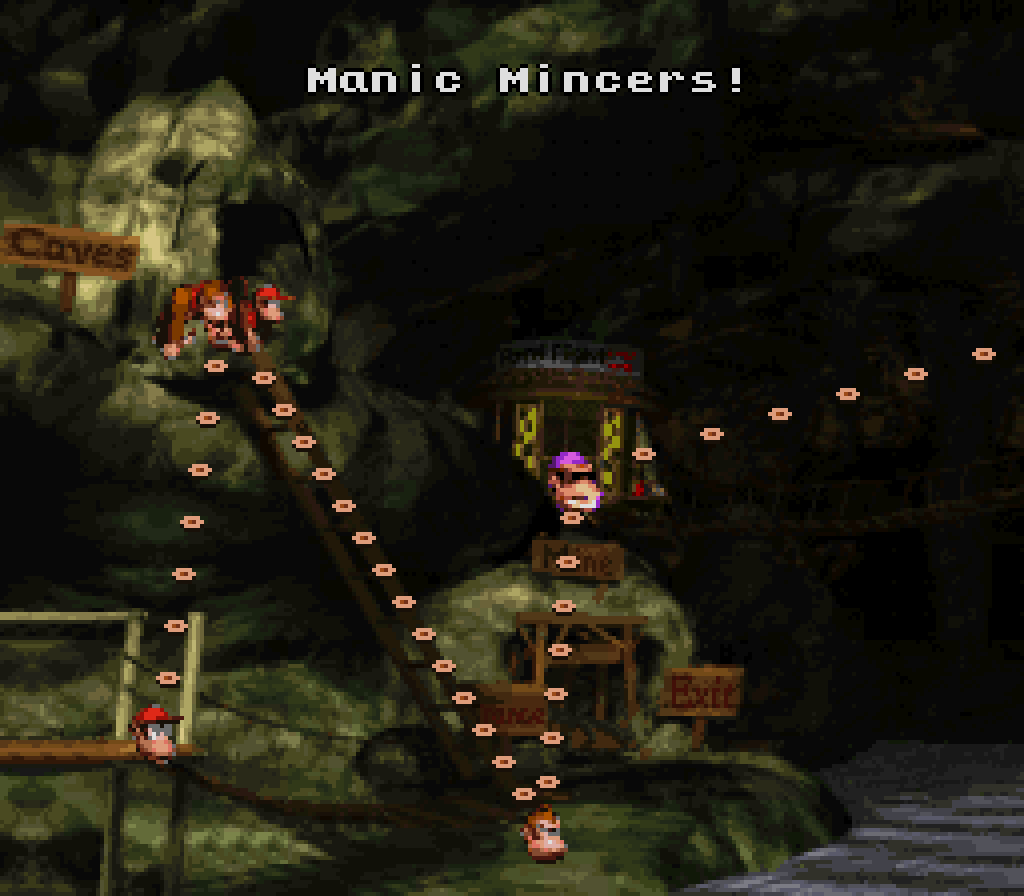
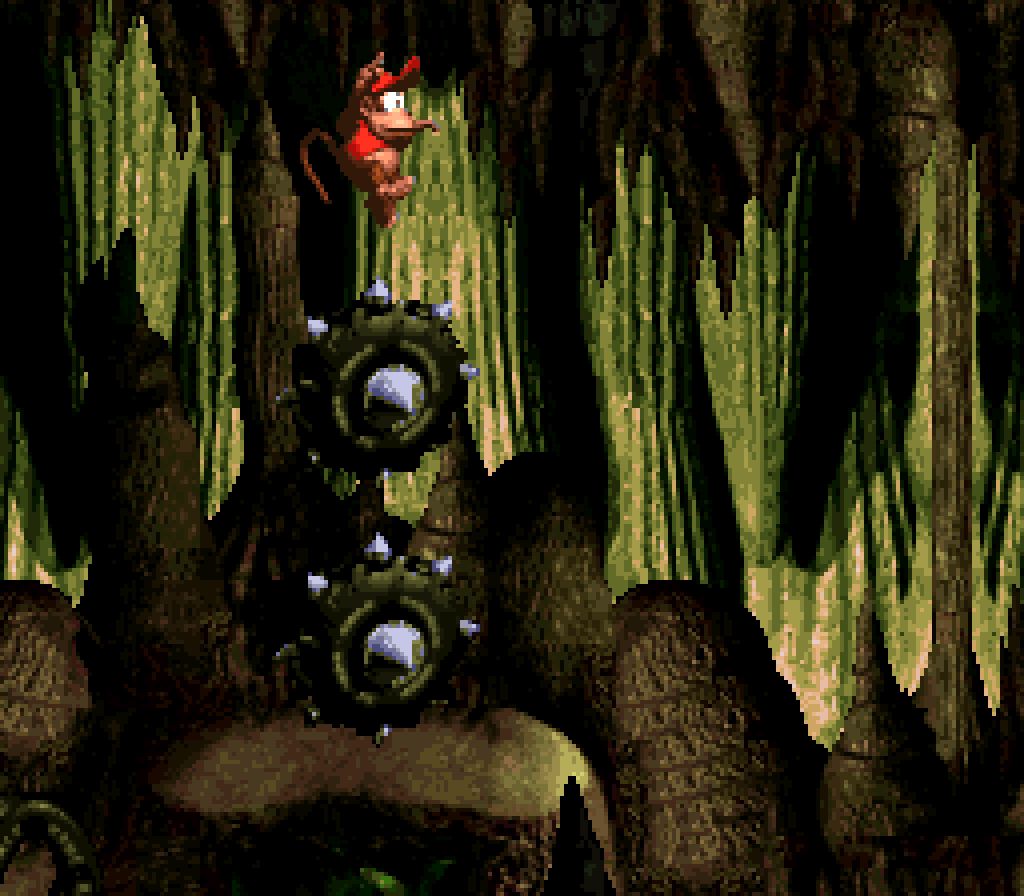
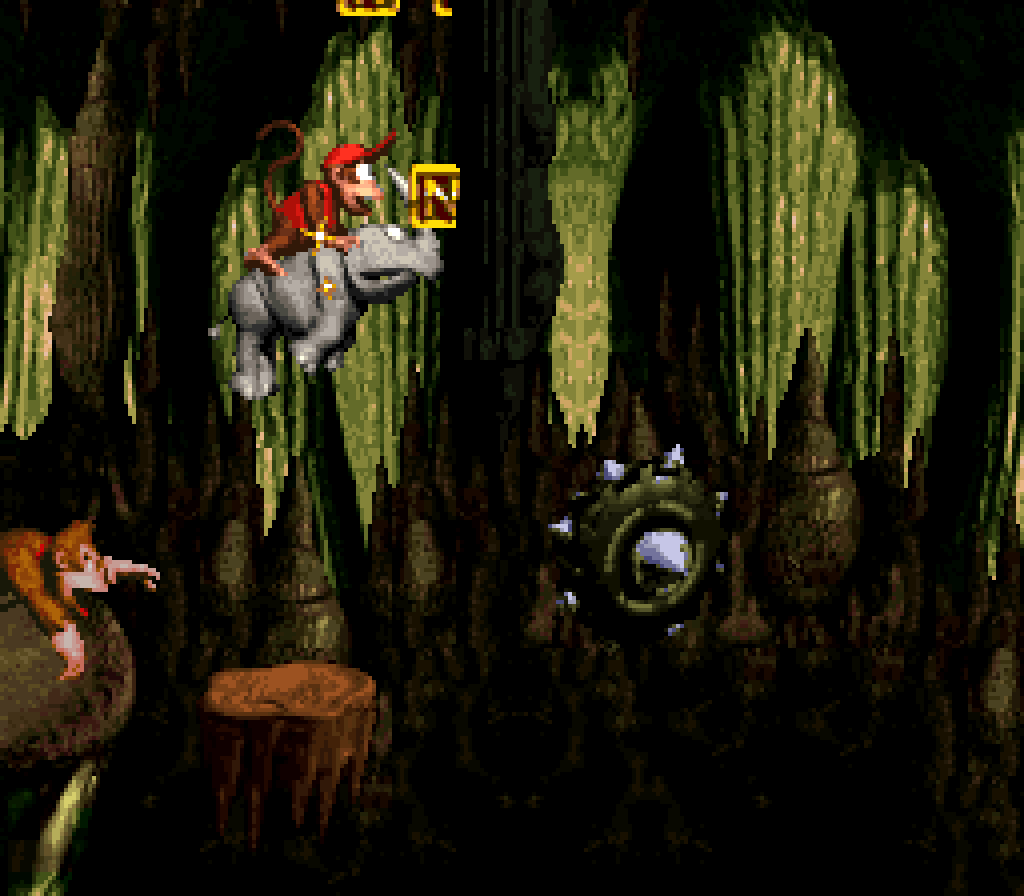
10. Manic Mincers
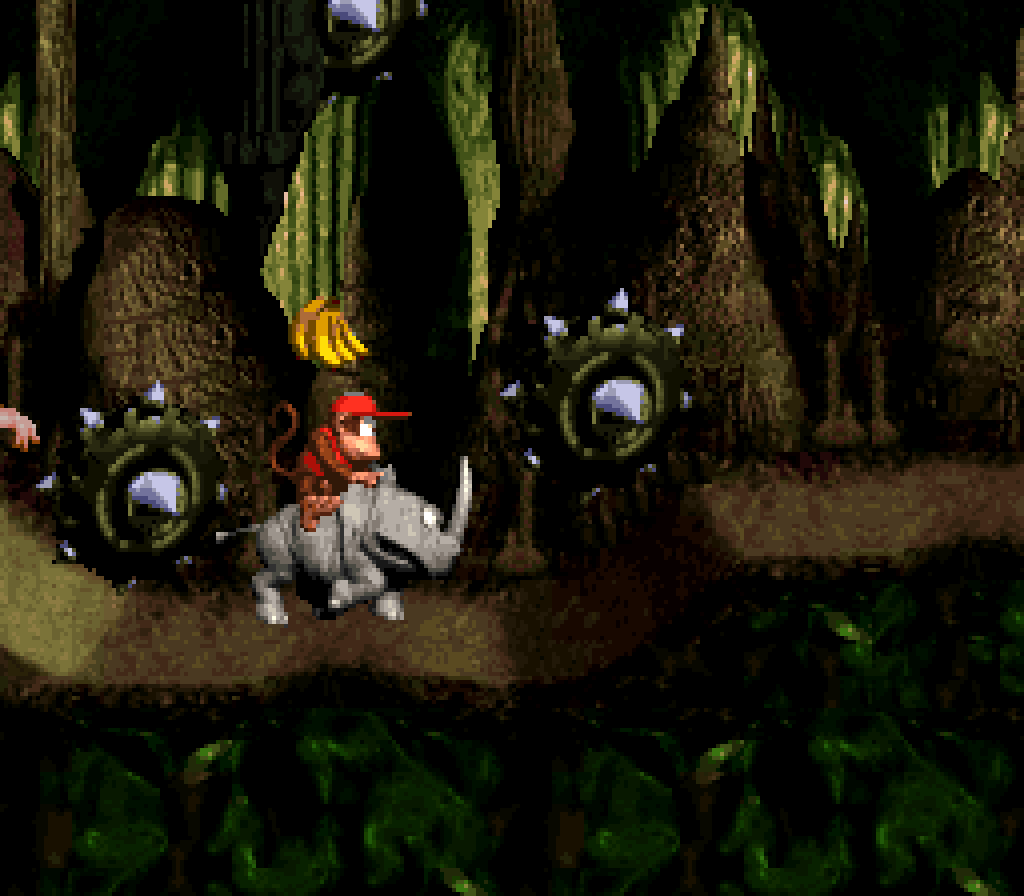
“Manic Mincers” gives us the ultimate challenge for Rambi in his final appearance in the 1st DKC. Unlike most enemies, who Rambi can plow thru effortlessly, the eponymous Mincers plow thru Rambi ’stead. Add to that Rambi’s mo’ slippery movement ( specially on the GBA version, where he feels like he’s ice-skating all the time ) & his large hitbox, & we have an animal buddy who’s not worth keeping round all that much, specially thru those sections with the small moving platform that Rambi can’t e’en fit completely on & the tight jumps round the giant Mincers.
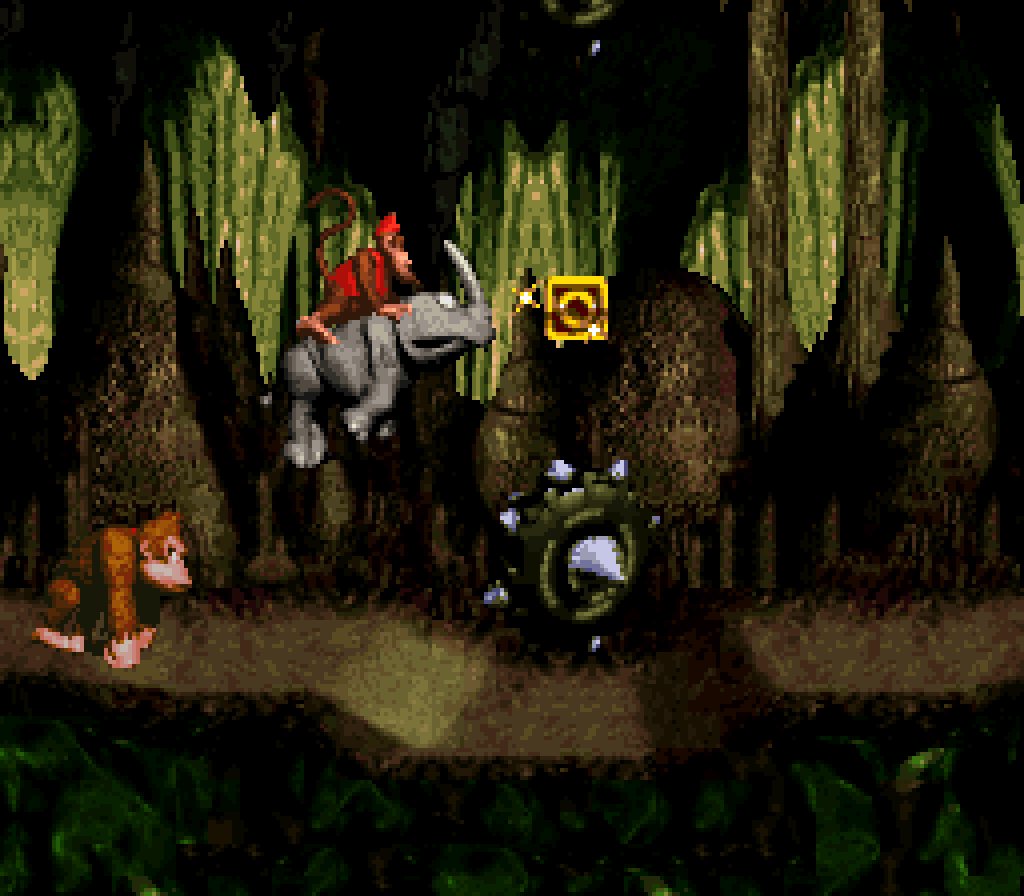
Tho there are 2 bonus caves you can open with Rambi, 1 near the start & 1 right @ the end, you don’t need him for either, as the game gives you plenty o’ barrels. I’m not sure why: as a final-world level, it would’ve been perfectly fair to force the player to bring Rambi all the way to the end. The cave that leads to the TNT barrel that can be used for the final wall is particular: the cave room is a sorta bonus, sorta not a bonus: it doesn’t count toward your percentage, but if you get hit by a Mincer, it just kicks you out. The only thing @ the end is a G, so ’less you’re playing the GBA version, getting hit by the 1st Mincer just speeds things up.
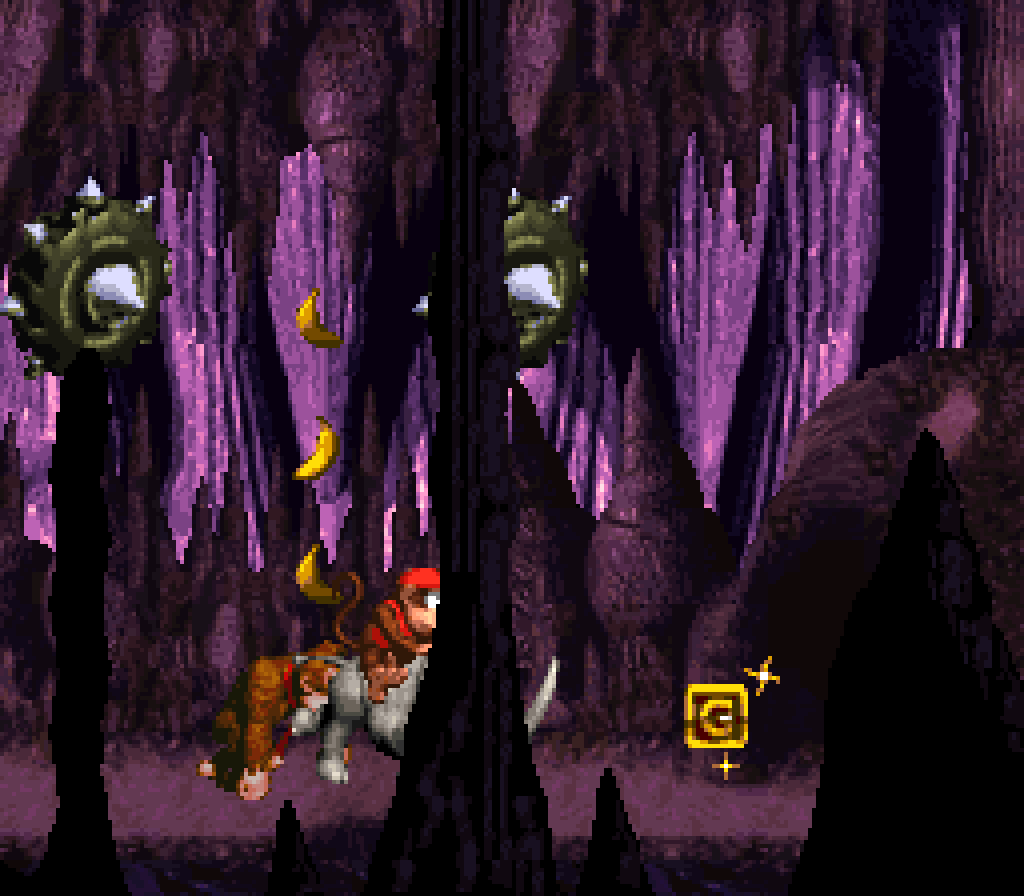
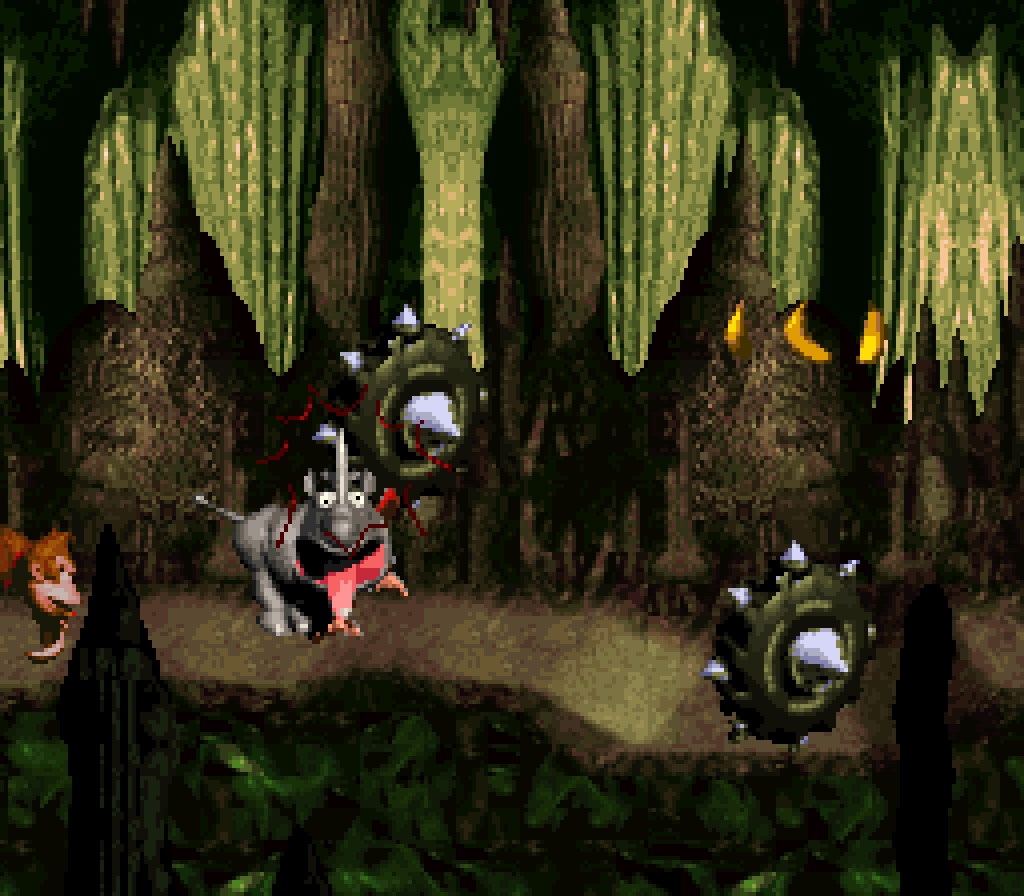
Tho this level focuses on its gimmick to such an extent you wouldn’t see till DKC3, this level doesn’t feel repetitive or that it goes on too long. The developers were able to create plenty o’ interesting arrangements to dodge. In addition to the aforementioned moving small platform sections, I like the tire before the wall o’ 2 Mincers & the rotating Mincers where you have to weave ’tween them. This is like an actually good version o’ the Boo carousels from Super Mario World. Boo carousels are painfully slow & have holes ’tween almost all the Boos so tiny it’s a virtual crapshoot whether you can make it thru them without being hit & 1 large hole where there’s no challenge getting thru, forcing the player to choose ’tween waiting & getting guaranteed success or making a mad gamble, neither o’ which feel fun, & the latter was clearly not intended. DKC’s Mincer carousels, howe’er, are clearly designed for weaving ’tween the holes, which are large ’nough that it’s not a gamble getting thru, but are small ’nough that it still takes skill to weave ’tween them: there’s not nearly as long a wait for the carousel to line up correctly & still the fun challenge o’ timing your movement thru, a win-win in all cases.
That said, thanks to how big & fast the Mincers are, & how small the camera feels, there are a few cheap hits if you’re rushing thru: in particular, during the section with the Mincers & Gnawties on the ground. You have 3 Mincers with gaps ’tween them, only for the gap after them to have a Mincer that zooms in from offscreen. If you don’t wait, you’re guaranteed to get hit by it, which you won’t realize till you already commit to a jump. There’s also that weird rotating Mincer with a wide radius near the end that can just pop in & slam down on you without warning.
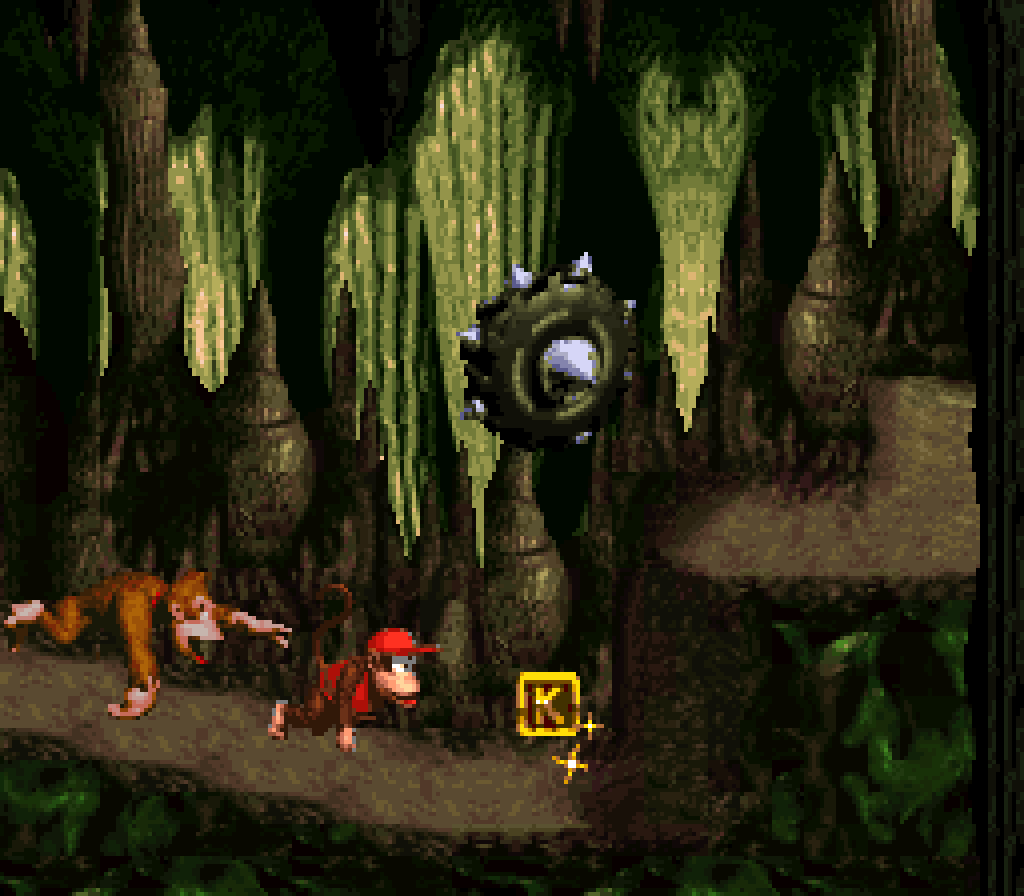
The KONG letters is half & half. The K is right in you path & I don’t e’en know if it’s possible to avoid the O without taking damage, as it’s in the only spot ’tween 2 Mincers. I do like how the N requires an extra jump on the already precarious small moving platform section. I’m glad it’s the G @ the end o’ all those Mincers moving up & down in that weird cave, so you ne’er have to do it ’gain, e’en if you die ( well, ’less you missed the other letters ).
This level’s green palette is refreshing after all the brownish palettes in all the other cave levels.
9. Platform Perils
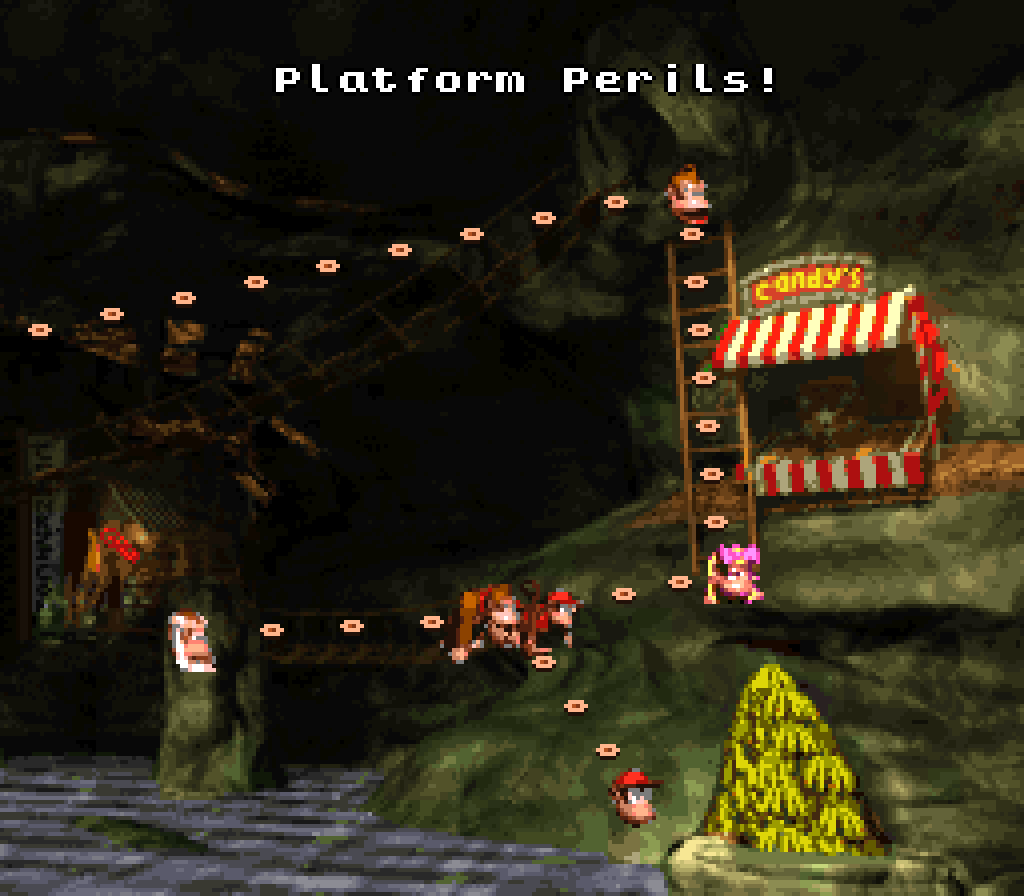
As a final level, “Platform Perils” is rather underrated. A part o’ the problem is the underwhelming nature o’ this game’s general final world, “Chimp Caverns”. Caverns are ne’er the most exciting level theme, which is why games rarely have them as the final world theme, but usually have them early in the game, but in this game this isn’t e’en the 1st cavern world — the 2nd world, “Monkey Mines”, is basically a cave world, too — & cave levels are the most common level theme in this game. The aesthetics — which are, after all, what most people talk ’bout when discussing this game — doesn’t help. “Platform Perils” uses the particularly common & particularly bland walkway theme. While many level themes are full o’ lush scenery, this theme’s background is mostly black, with the same li’l cave wall with a light copy-pasted many times; & with the foreground being thin platforms, full o’ holes ( this is the last level o’ the game, after all ), there’s a lot o’ background to see. Add to that that same droning “Life in the Mines” music, & you have a level that feels like just ’nother level, rather than the grand finale. Contrast that with the sequel’s final level, which was a particularly challenging bramble level with a rotting autumnal palette.
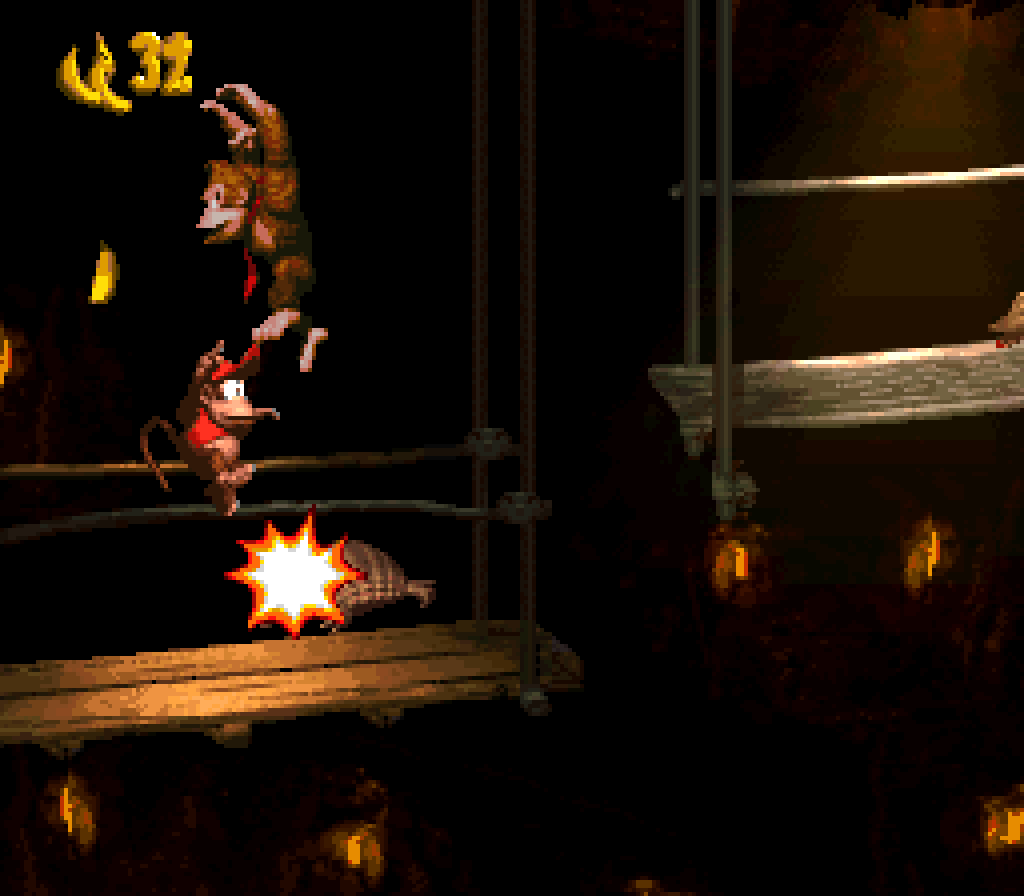
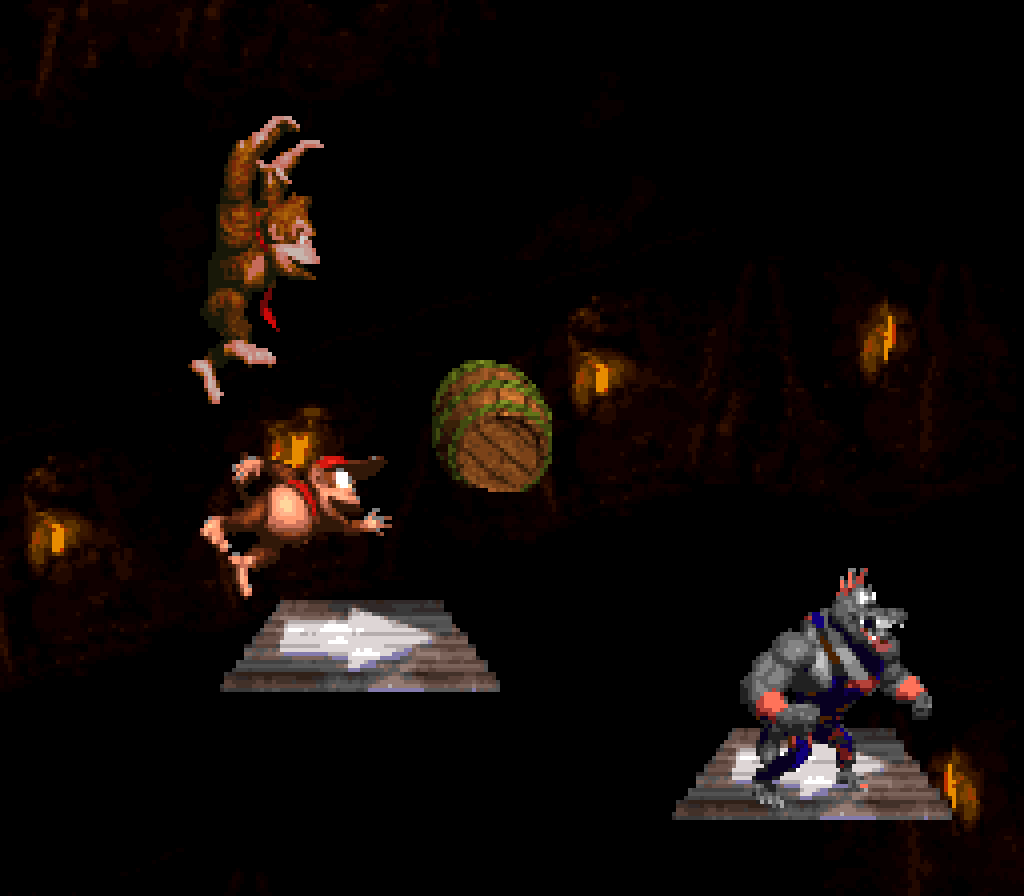
But the familiarity o’ this level hides the subtle way it ramps up difficulty. E’en this level’s main gimmick is subtle: this level introduces a unique new enemy, Gray Krushas, which can’t be defeated thru rolls or jumping on them by either Diddy or Donkey, but can only be defeated by a barrel. In an interesting twist to how gimmicks are handled in most DKC levels, Gray Krusha is introduced in his simplest form, on a flat platform with a barrel right there to try out on him, & then he goes ’way for the 1st half o’ the level while the level ’stead inflicts moderately tricky jumps on thin platforms with Armies, & e’en easier jumps on platforms that move in the direction o’ the arrows painted on them, some surrounded by a Zinger to add a li’l difficulty.

This 1st half has nothing beyond what players had experienced yet, but feels like just a warm up for the 2nd half. Granted, the Armies, Zingers, & Klumps, common in so many other levels, are made mo’ precarious here with such short platforms pocked by so many holes, but hardly much mo’ precarious than in the icy world 2 worlds ago.
The 3rd quarter ramps up the difficulty o’ the moving platforms, with the N token requiring a particularly tricky jump to get it without hitting the Zinger. While almost all levels before this, like “Forest Frenzy”, positioned circling Zingers round their treasure in a way that you’d be able to grab it without much threat o’ hitting this Zinger spinning too quickly to go all the way thru while it’s still on the top or bottom sides, this N is an exception, requiring a precise jump to the side to maneuver round the Zinger timed just as the Zinger is going on the other side. ’Less you’re playing the GBA version, which requires getting all the letters for 100%, it’s not e’en worth going after just for an extra life.

Then, when the 4th quarter arrives, Gray Krusha reappears, but this time on the moving platforms you saw all thruout the level, & we get to the true challenge o’ the level. These moving platforms don’t have nearly ’nough room to fit both your Kong & him, & as established, you need to throw a barrel @ the Krusha to defeat them. Adding to this challenge, you’re also likely riding a moving platform that has a short lifespan, which usually ends right as you near the Krusha. So this part’s challenge is timing a barrel throw @ just the right moment & then jumping off your platform just before it falls to jump onto the next platform newly freed from the Gray Krusha. This is played with a few mo’ times, making you go backward @ 1 point, & @ ’nother making you go downward & forcing you to time a barrel throw as your platform sinks, right as the Krusha appears, as if you wait too long, you won’t have time to jump onto the next platform.
This then culminates into 1 last barrel & 1 last moving platform with 1 last… Gnawty. When I saw this I thought ’twas an intentional joke — & I’m still not entirely convinced it’s not. Honestly, I think the ruin this by having 1 mo’ Klump in a tricky place @ the left edge — not nearly as hard as the Krushas before, but not free — before the end. Ending the game with the same basic Goomba-like enemy with which it started would’ve been a great troll to end this goofy game.
For the most part, “Platform Perils” is the original DKC @ its best. It’s far from having the most exotic gimmicks in the world, nor does it have what anyone would call an intricate or creative map, being just a straight series o’ platforms. But damn is it fun to seamlessly jump from platform to platform, bopping down a staircase o’ Gnawties, weaving thru spinning Zingers on falling platforms, expertly positioned so that you don’t have to stop & wait for them to get out o’ your way. In a way, it’s like the temple levels from the modern Returns games, but with the expert timing o’ the classic trilogy. In a way it’s fitting that the most straightforward DKC — some would say 1 o’ the most straightforward platformers — ends with a level that focuses on, ¿what else?, platforms in their purest form.

Unfortunately, the bonus locations are a less savory kind o’ challenge. I guess since this was the last level they truly wanted to ramp up the meanness, &, sadly, obtuseness was their main trick. While the 1st barrel’s existence is obvious, since it is right in plain sight under the starting platform, getting to it requires one to take a guess &, after jumping on a moving platform going right just after the 1st platform jump back to the spot the moving platform started to land on a platform just off the bottom o’ the screen which goes left. What kind o’ person would assume such a thing, I don’t know. My 1st instinct is always to try doing a roll jump off the visible top platform, only to quickly learn that there’s no way e’en the best-timed jump could make it there. I think on my most recent attempt & failure the secret under platform managed to unlodge itself from my subconscious; but if I had to guess, I probably had to look it up when I 1st tried to 100% this level nearly a decade ago.

Then we have the 2nd bonus, right @ the end, which is quite the perverse place to put it, right below the final platform. I guess this has a bookends quality to it, tho that’s quite a logical leap to make, ’less one has searched e’erywhere else & tried that out o’ desperation. Unlike the 1st bonus barrel, the 2nd bonus barrel is nowhere in sight from ’bove the final platform. I think the idea is that you’re s’posed to find the falling platform with the Gnawty so high up suspicious & guess that riding it down must lead somewhere. The previous falling platform expected you to ride it down, after all. But that was the last platform in sight, so you didn’t have any other choice, while all other falling platforms near other platforms lead only to a bottomless pit. Most would expect this final platform to do the same.
In summary: o’ all the DKC levels, “Platform Peril” is the DKCiest — for better & for worse.
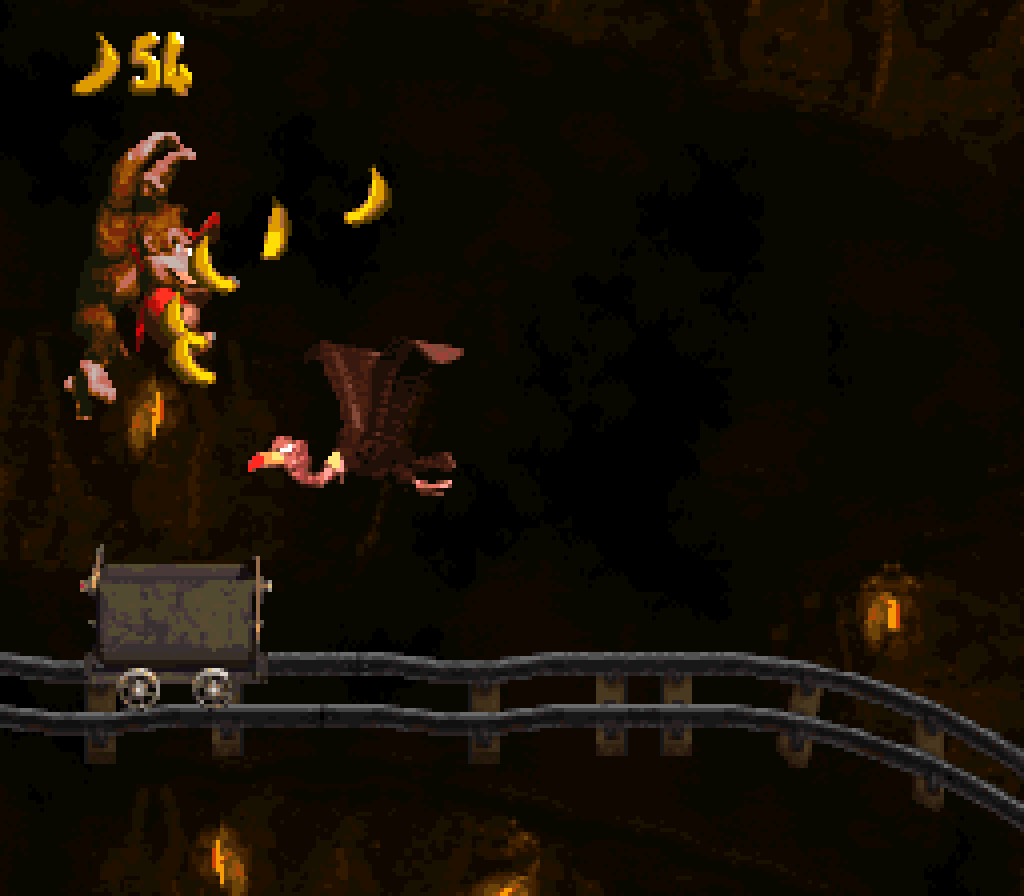
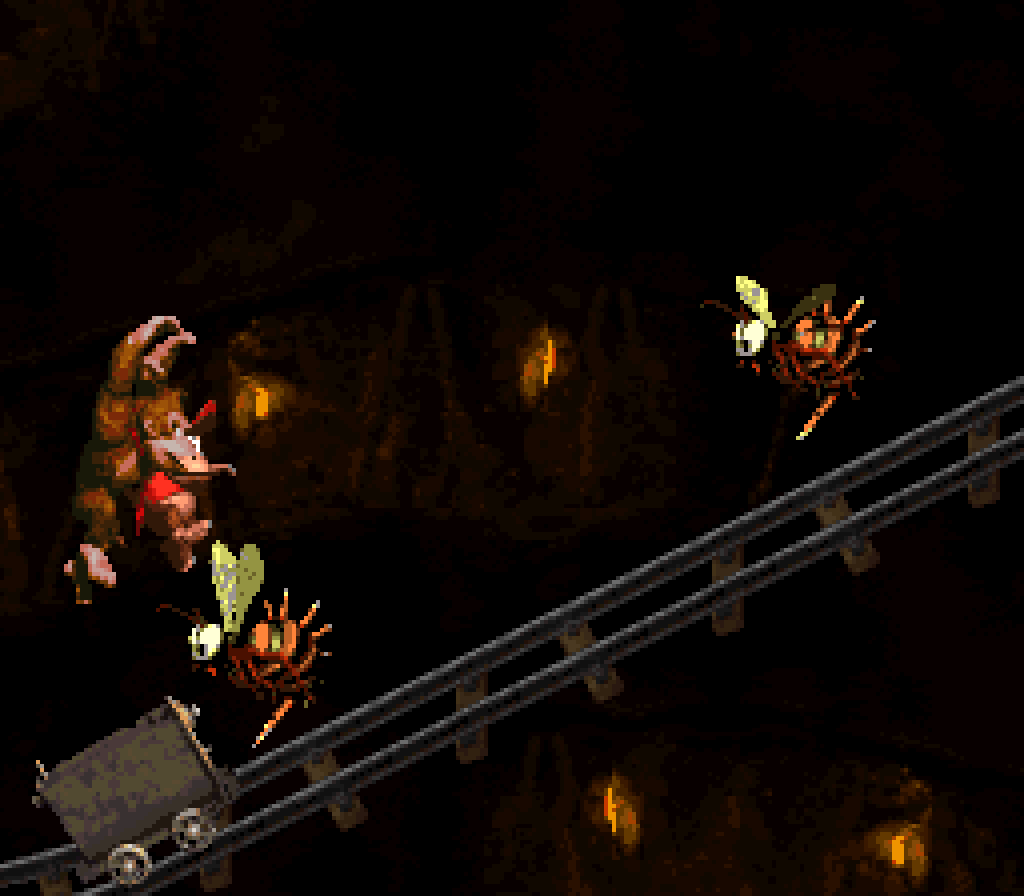
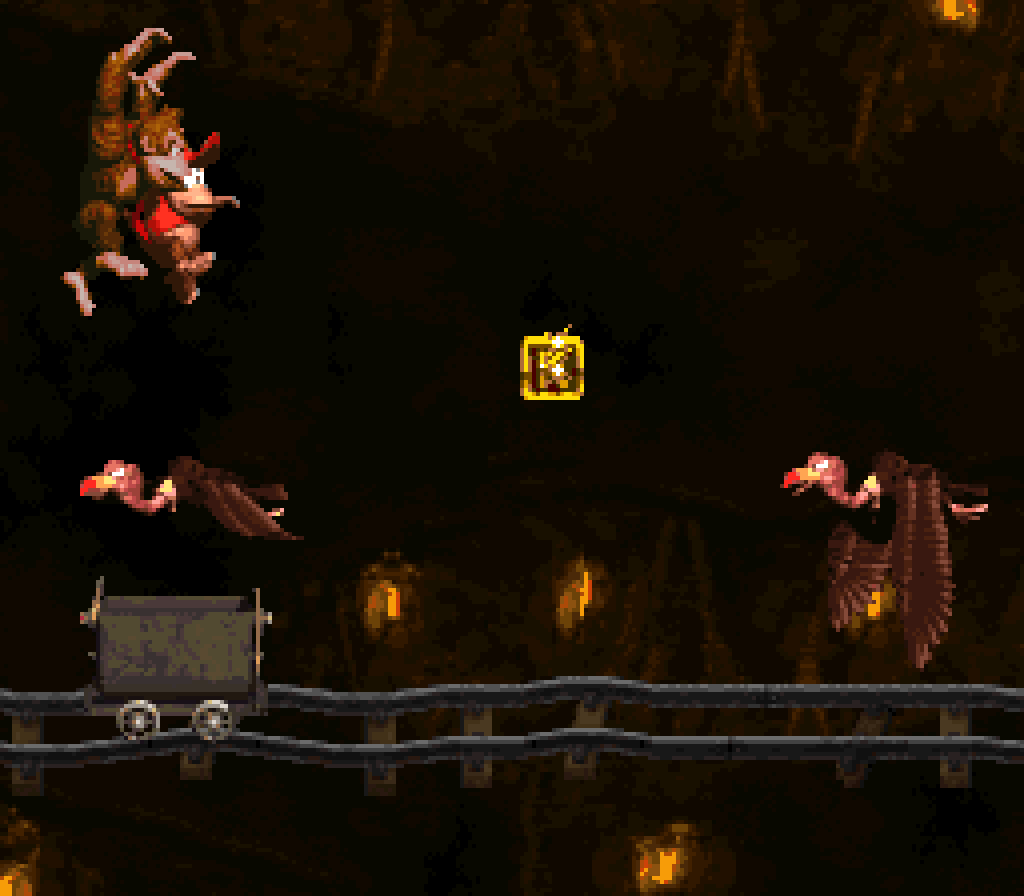
8. Mine Cart Madness
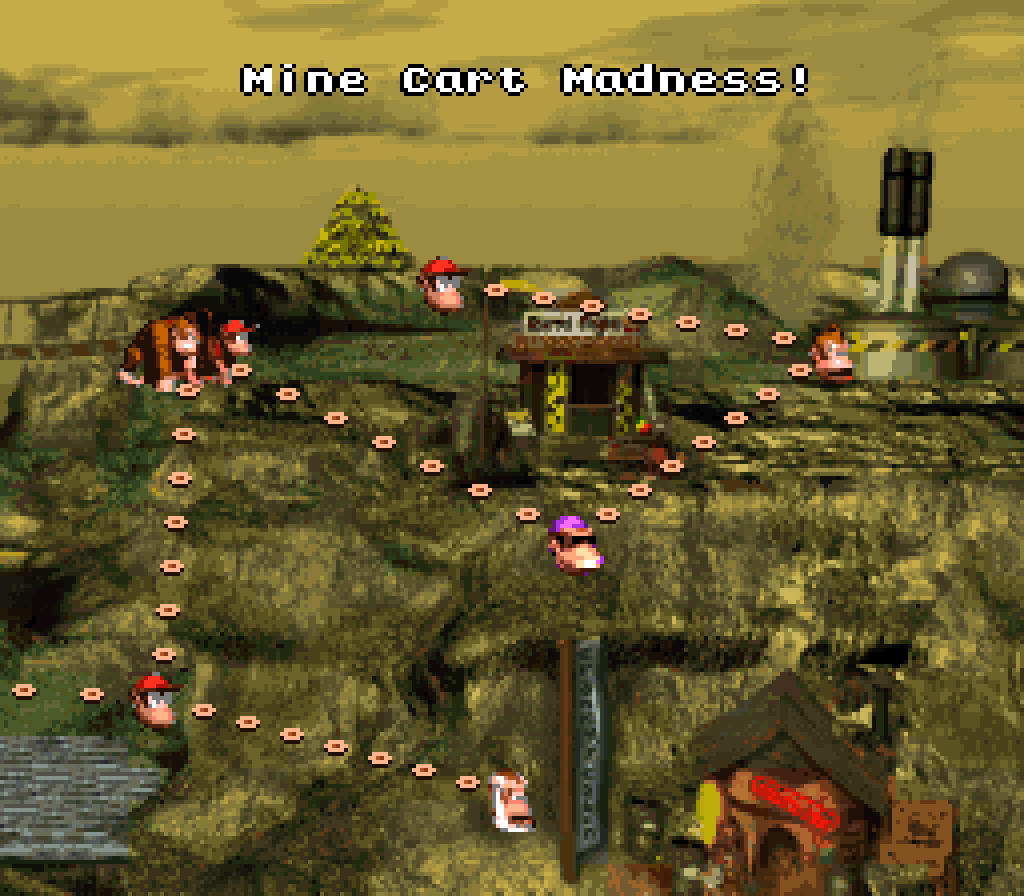
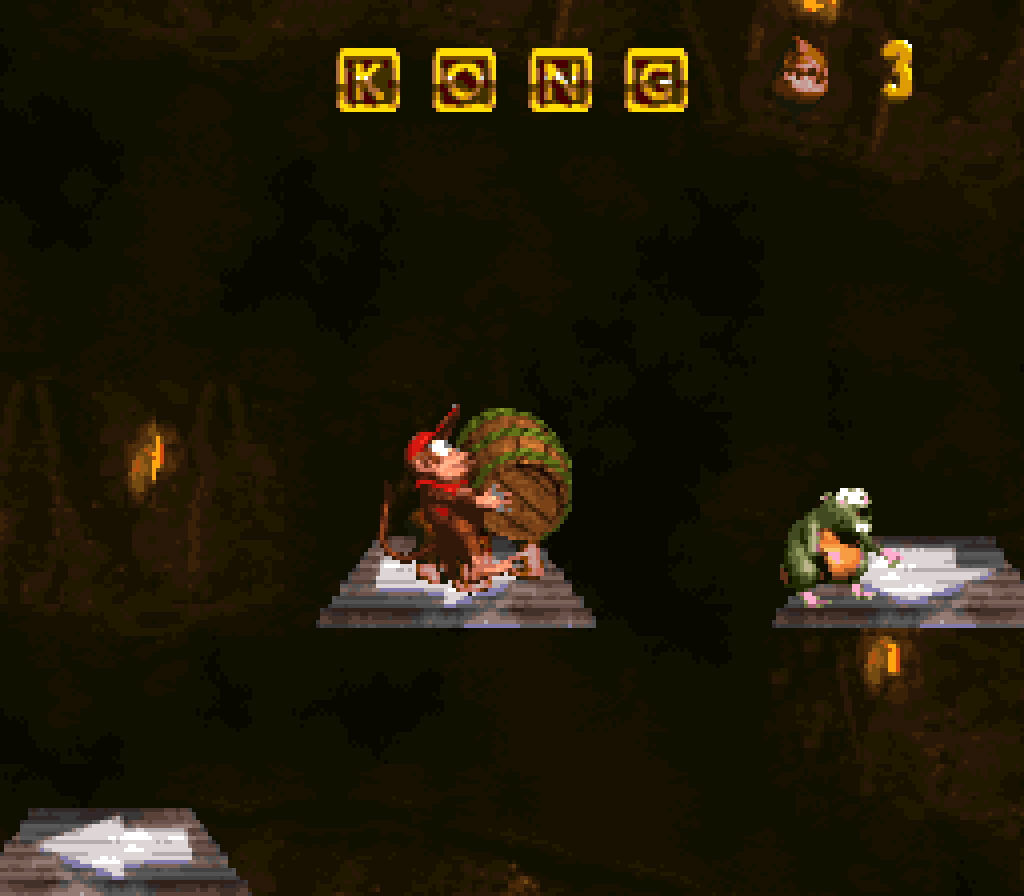
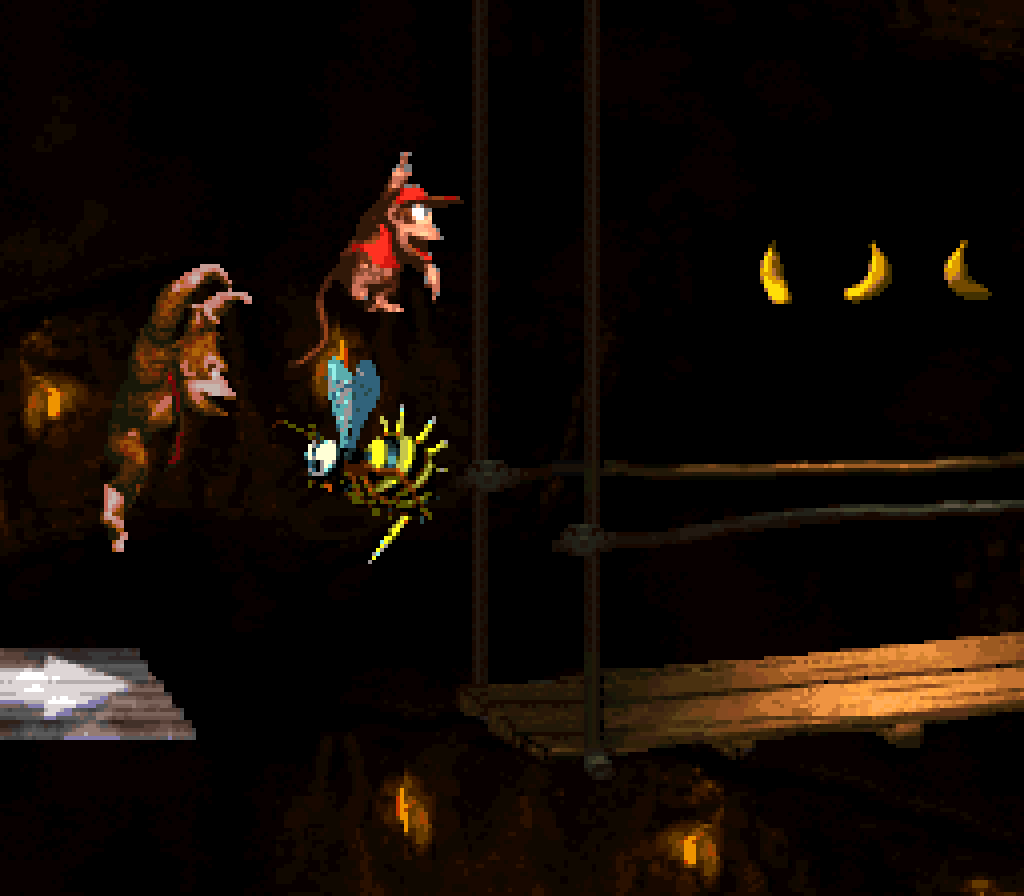
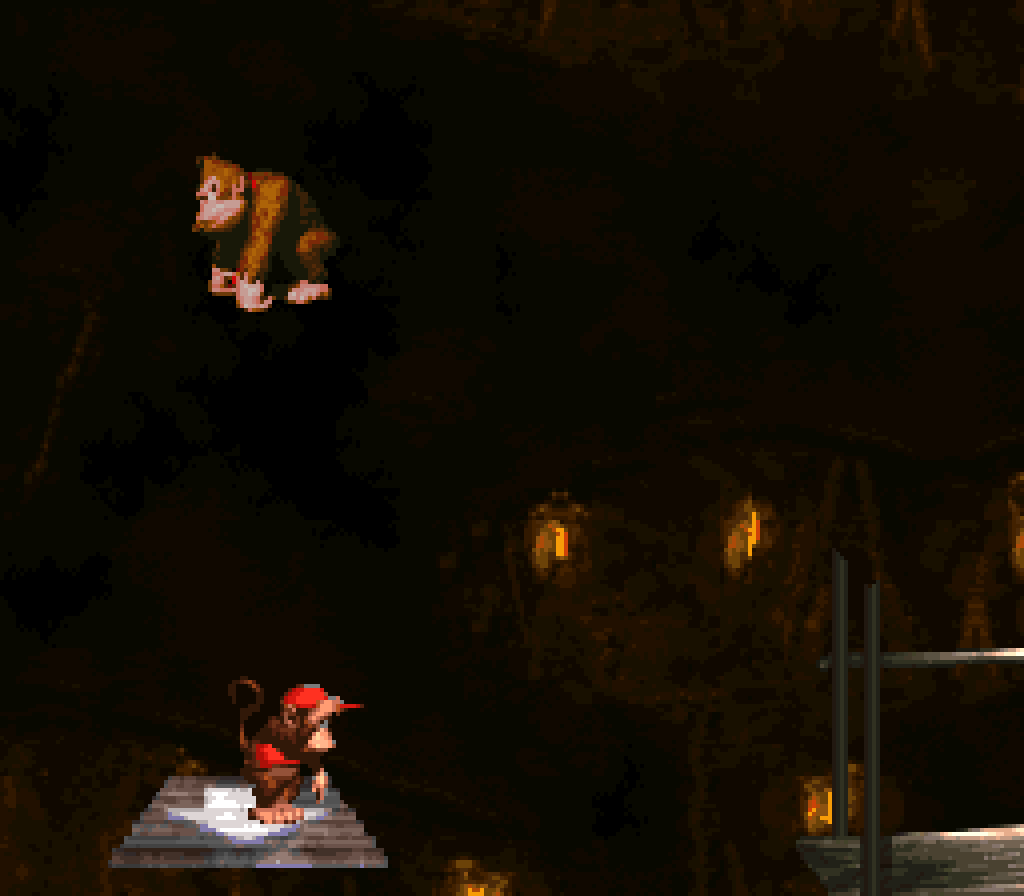
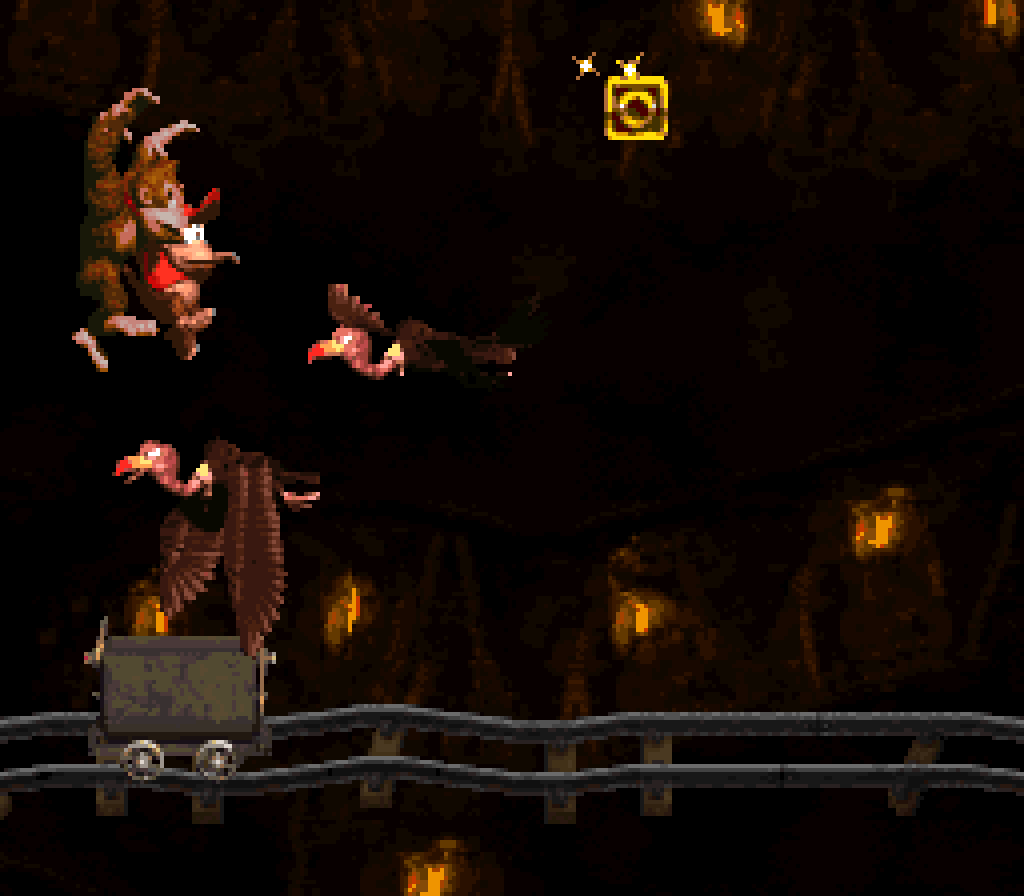
If any place deserves a breather level, it’s right after the sequence o’ slogs, “Trick Track Trek”, “Elevator Antics”, & “Poison Pond” & before the dreariness o’ “Blackout Basement”. In fact, this is such a breather level that it’s arguably easier than infamous difficulty spike, “Mine Cart Carnage”, way back in world 2, due to being shorter ( & feeling e’en shorter, thanks to your faster speed ) & having mostly stationary obstacles: while “Mine Cart Carnage” had Krashes charging right @ you @ high speed, “Mine Cart Madness” has only Krushas who just sit in 1 place, letting you bop them & steal their carts. Tho do have Neckies flying toward you, but most o’ the time they’re flying so slow, they may as well be stationary. Also, while you going faster does make things a bit harder to react to, it also makes jumps easier to make, as you get mo’ distance. Strangely, while the level “Mine Cart Carnage” itself is better known that this level, the name “Mine Cart Madness” is mo’ well-known than “Mine Cart Carnage” ( probably ’cause it sounds better ), which lead me to mix their names up for a large part o’ my youth.
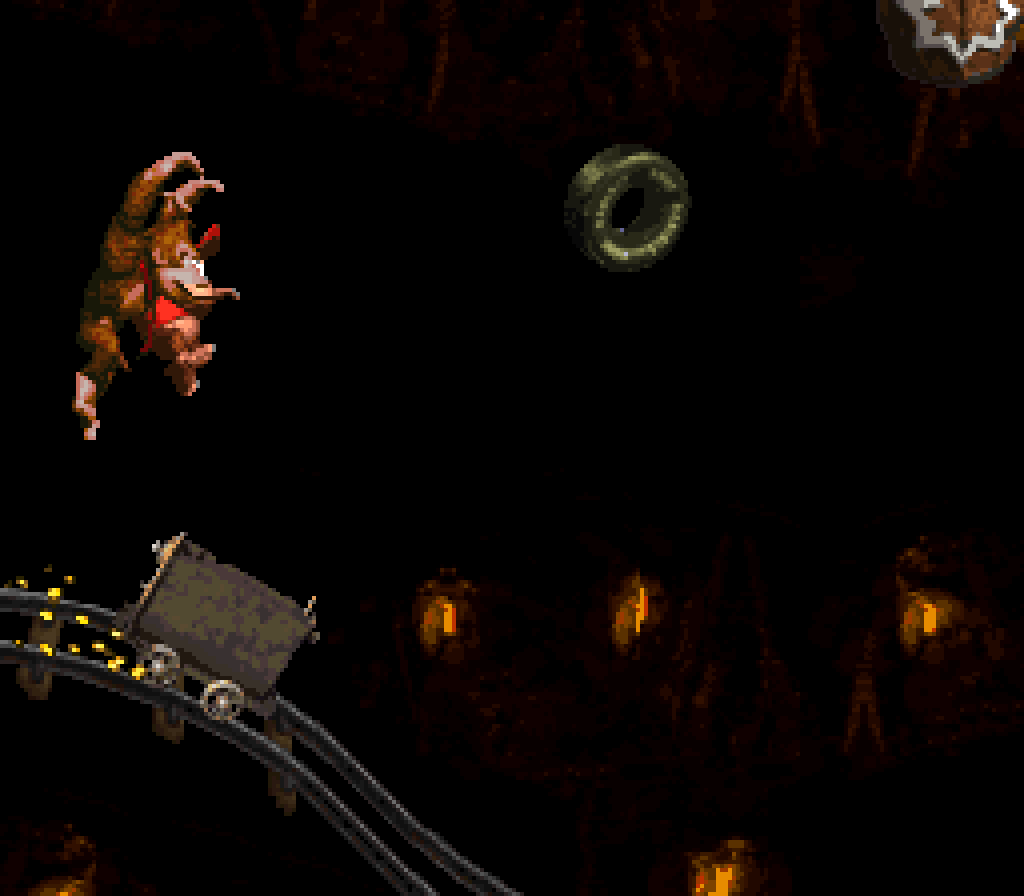
Despite this level being easier than “Mine Cart Carnage”, it’s much mo’ interesting. In addition to the greater speed @ which you move making this level mo’ thrilling & makes the controls feel less stiff, there’s a greater variety o’ obstacles, tho without feeling like distracting from the level’s focus or o’ercomplicating it. Since you now jump out o’ your cart ’stead o’ keeping your cart with you as you jump, there are breaks where you jump out o’ your cart to jump on tires. Granted, there’s not much intricacy to them: e’en the Zingers that circle some o’ them are mostly cosmetic, since they’re perfectly placed so that you’ll avoid them your 1st time thru, ’less you somehow flub a tire jump.
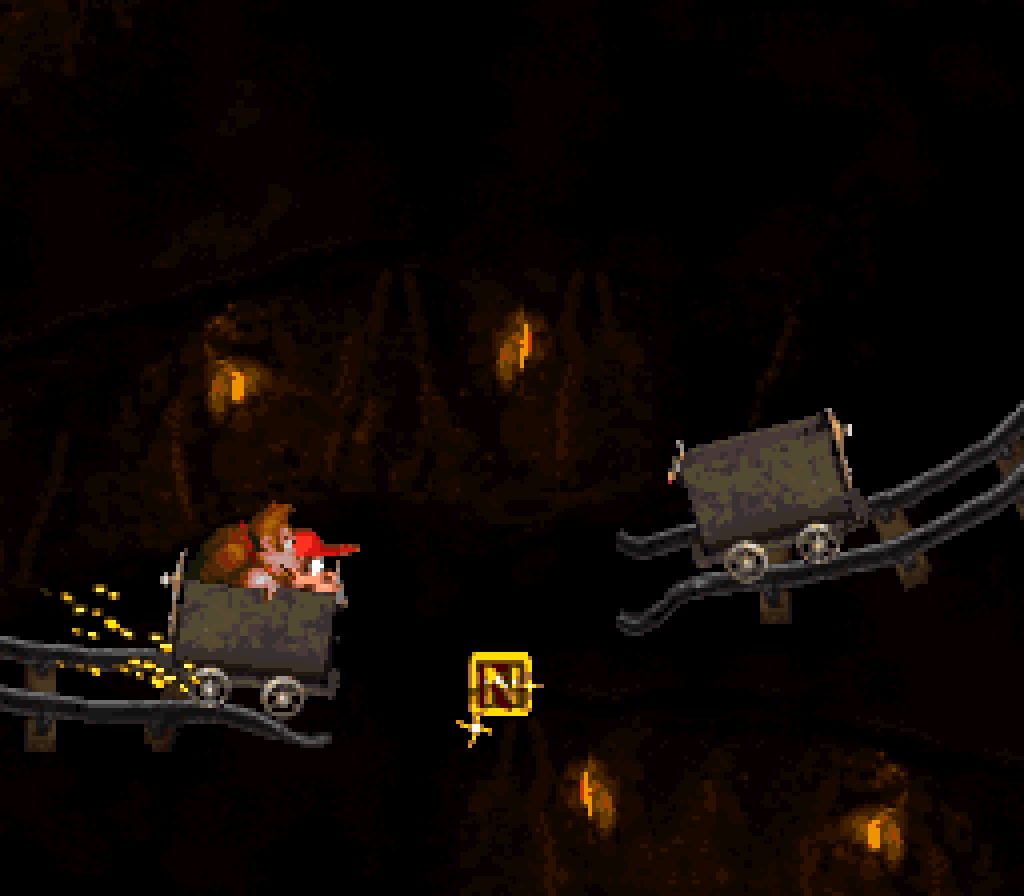
Also, since you’re jumping out o’ the cart, jumping holes means you need to aim & land in the next cart after holes, making these parts a li’l harder than “Mine Cart Carnage”.
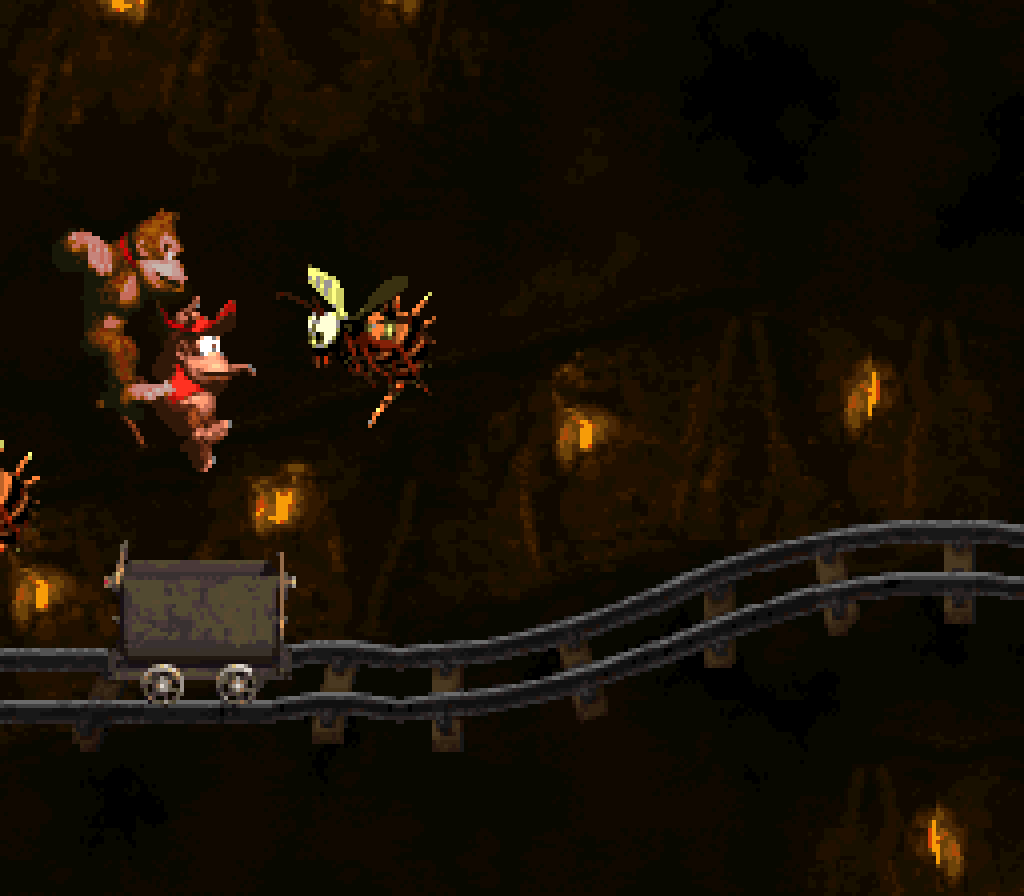
While Zingers are arguably o’erused in this game, I think I still prefer their 20th use in this game o’er the turned o’er minecarts in “Mine Cart Carnage”: since Zingers can fly, the map designers were able to place them @ different places, allowing for mo’ interesting placements that just always on the ground, creating places where you have to weave ’tween Zingers, jumping o’er 1 but keeping under ’nother. The Zingers e’en beat the toppled mine carts @ providing on-track obstacles on the uphill track with a sequence o’ 3 Zingers close together, which can be somewhat tricky to jump o’er @ such a steep angle & somewhat tricky to land ’tween them in rapid succession.
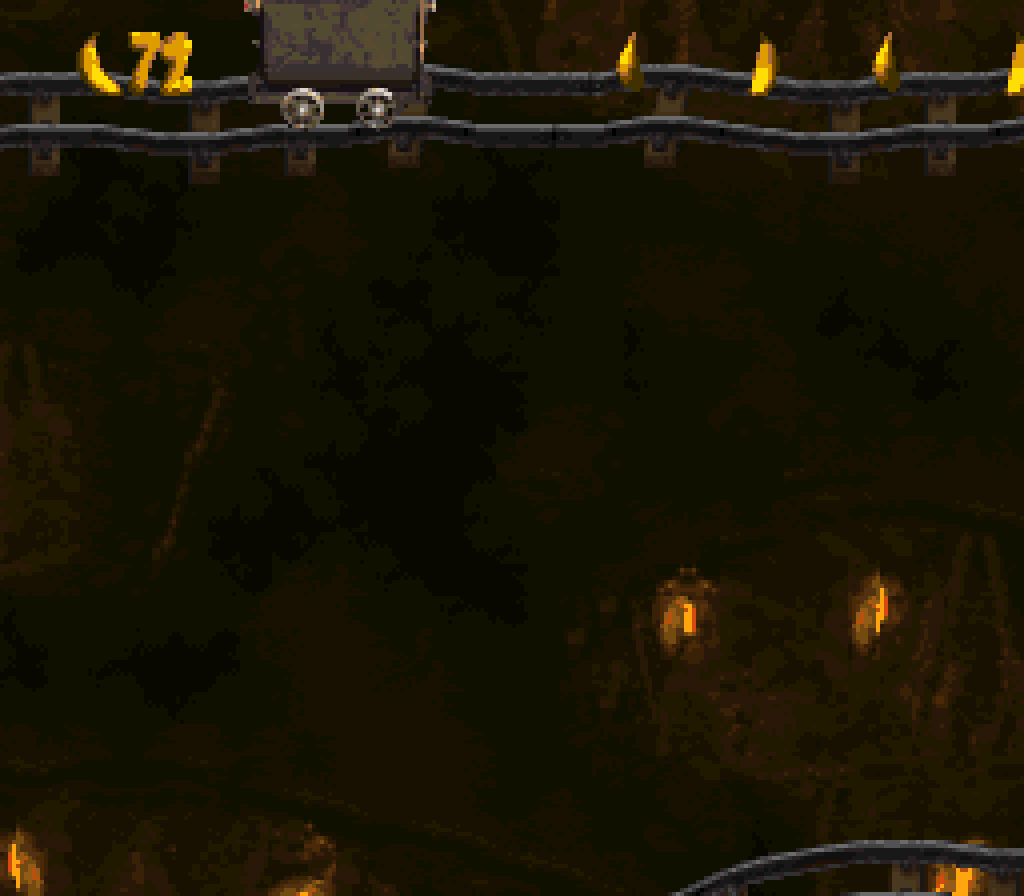
I can’t vouch for the bonuses, howe’er. The 1st is hidden off the top o’ the screen & indicated by a lack o’ bananas ’mong a row o’ bananas, a reverse o’ the normal pattern. The 2nd bonus is just a tire floating in the air with a bonus barrel next to it, which can be tricky to reach due to the wonkiness o’ jumping out o’ the mine cart.
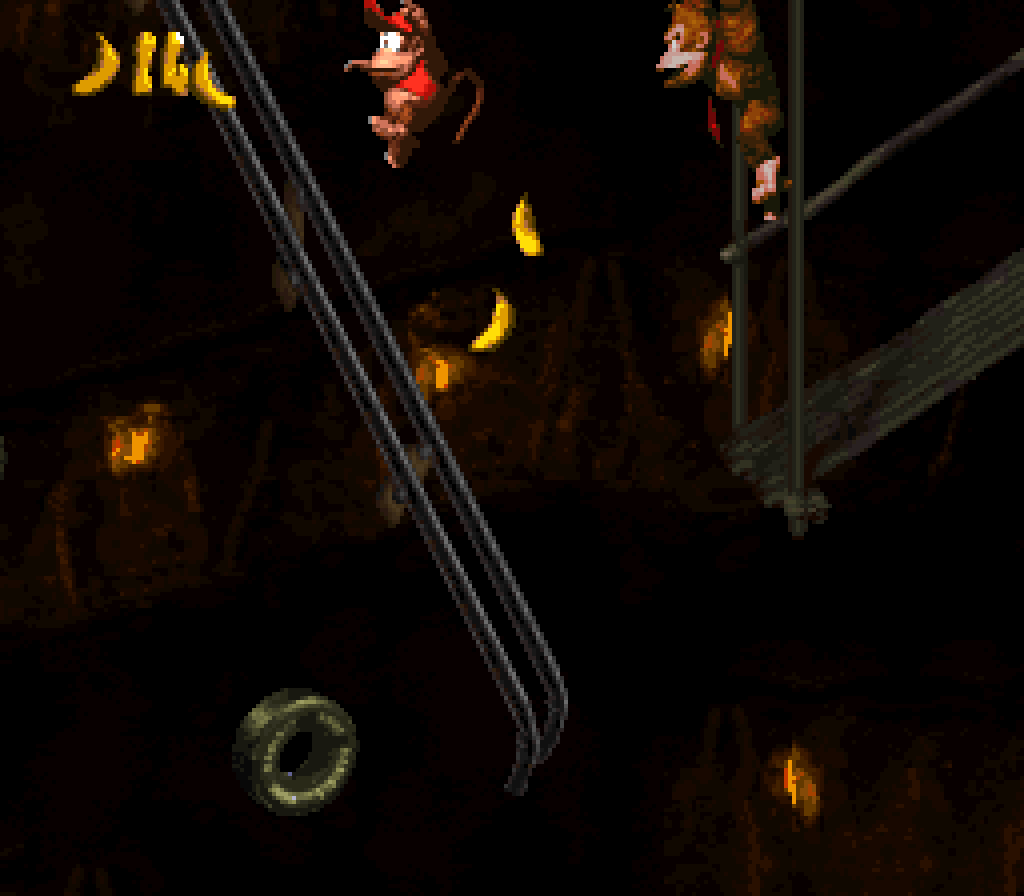
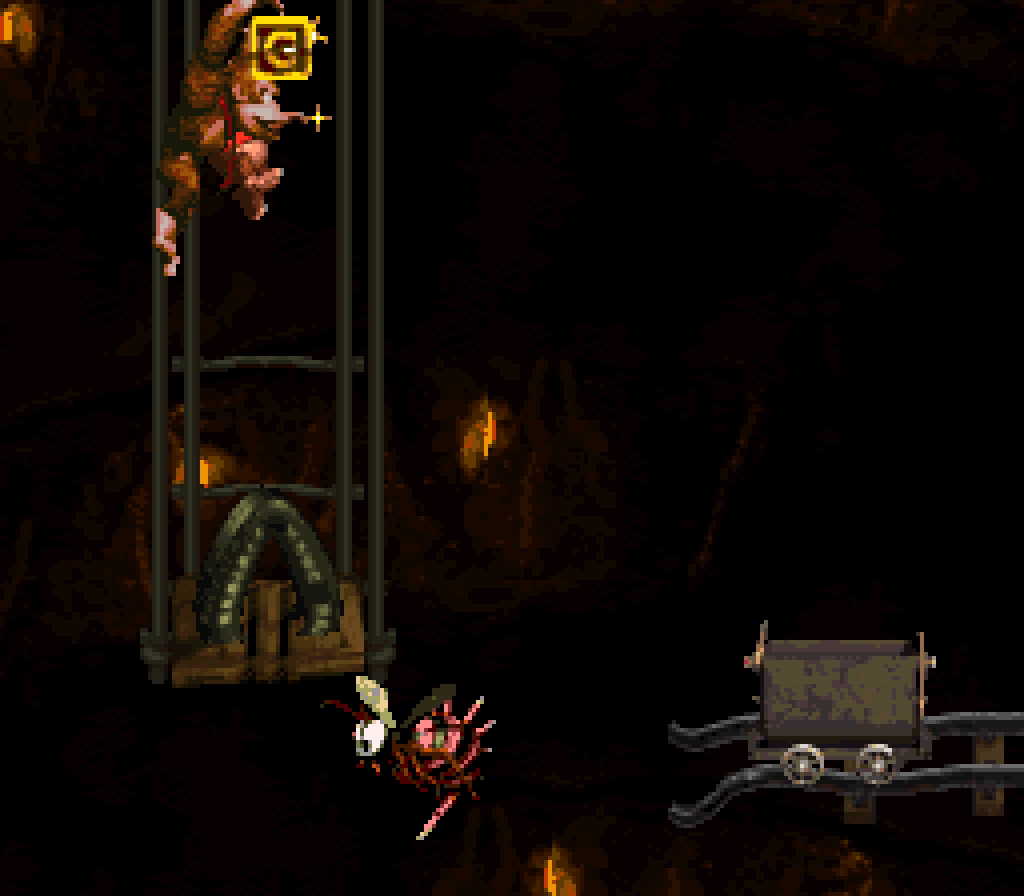
The 3rd bonus is the strongest, challenging you to go back from the beginning o’ the walkway where the mine cart leaves you & jump up a staircase o’ tires, with all o’ this foreshadowed as you go up the final crest o’ the mine cart’s path. My only qualm with this bonus is that it’s easy to think you have to jump down from where you 1st see the bonus, only for the mine cart to mess with your momentum on the SNES version ( you continue moving forward with the mine cart e’en after you jump, which is actually mo’ realistic than how most games handle jumping off moving objects ) & cause you to either fall right back into the mine cart as you’re going up or fall right into a pit with no way to go backward onto a tire if you jump while the mine cart starts going down. None o’ the bonus rooms themselves are worth participating in. The GBA strengthens this momentum so you can jump straight into the bonus barrel. Howe’er, this is balanced gainst by the fact that the final jump shoots you so far forward that you’re liable to smack into the Gnawty @ the end, making what was originally an easy jump into a cheap hit.
The KONG letters are much stronger, with the K in a tricky place ’tween 2 Neckies, forcing quick tight jumps to get it without jumping on the 1st Necky & bouncing past it or smacking into the 2nd Necky after getting the K, & the O is atop a staircase o’ Neckies. The N requires the player to delay their jump from 1 cart to ’nother till after the cart has already left its track, which feels trickier with the urgency o’ the constant movement o’ the cart than the usual safe, stationary platform in other levels. The weakest placement, tho still stronger than the placement o’ most letters in most levels, is the G, which is @ the top o’ a tire jump with a Zinger, which you’d likely get without trying as you bounce from the tire to the next cart. For some reason, the GBA version lowers the G to right ’bove the tire — ¿maybe for fear o’ the G being hidden by the top o’ the smaller screen?
1 thing this level does have that’s worse than “Mine Cart Carnage” is its aesthetics: it’s the return o’ the sparse, repetitive cave backgrounds found in most walkway levels ’stead o’ “Mine Cart Carnage”’s marginally better, multicolored mine background.
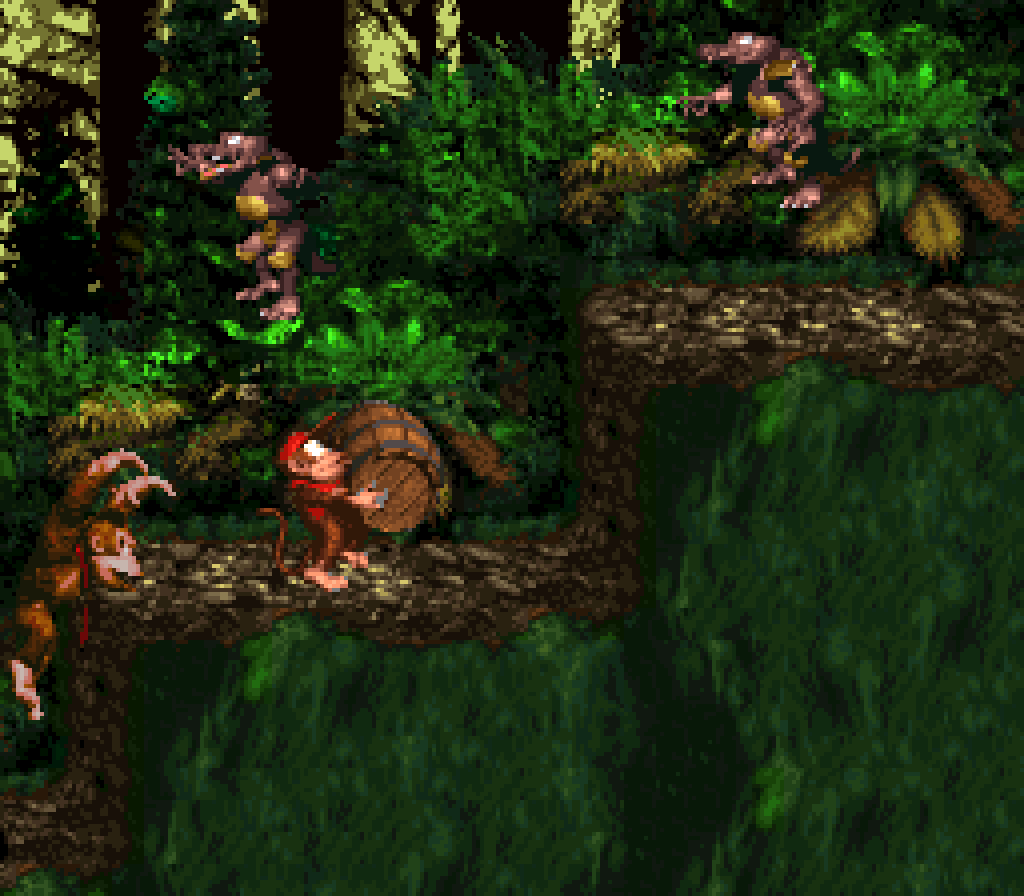
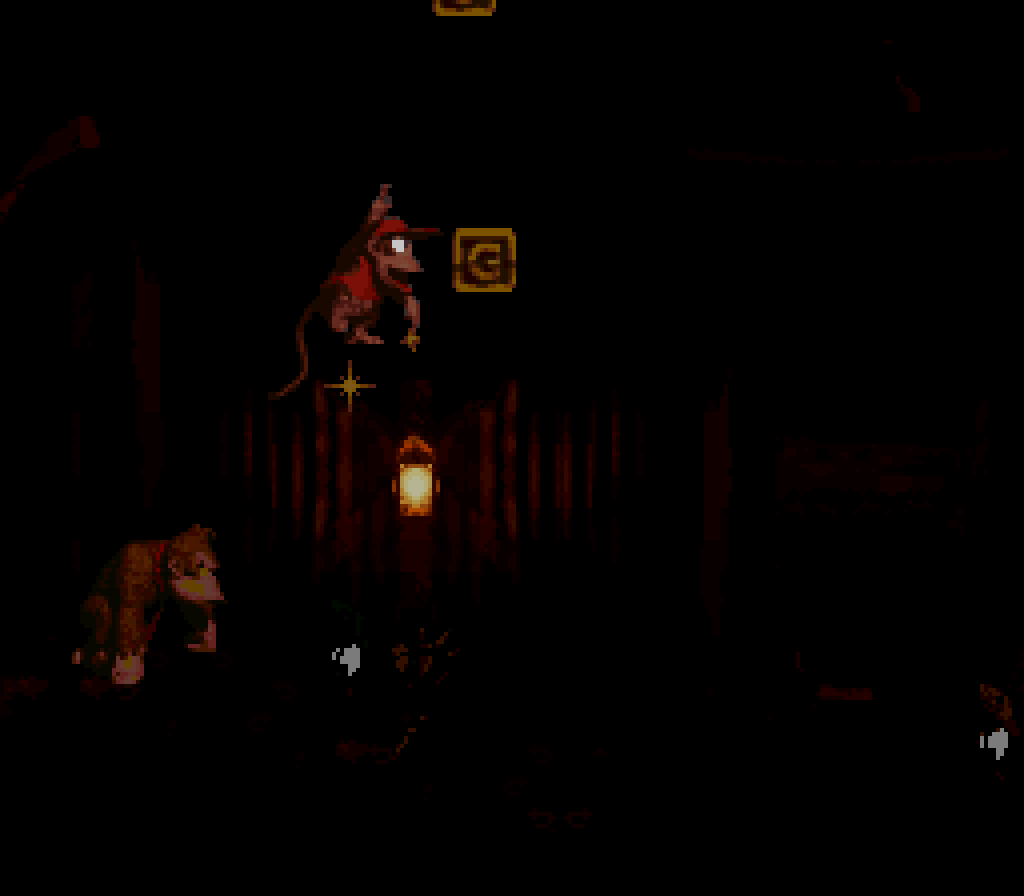
7. Jungle Hijinxs
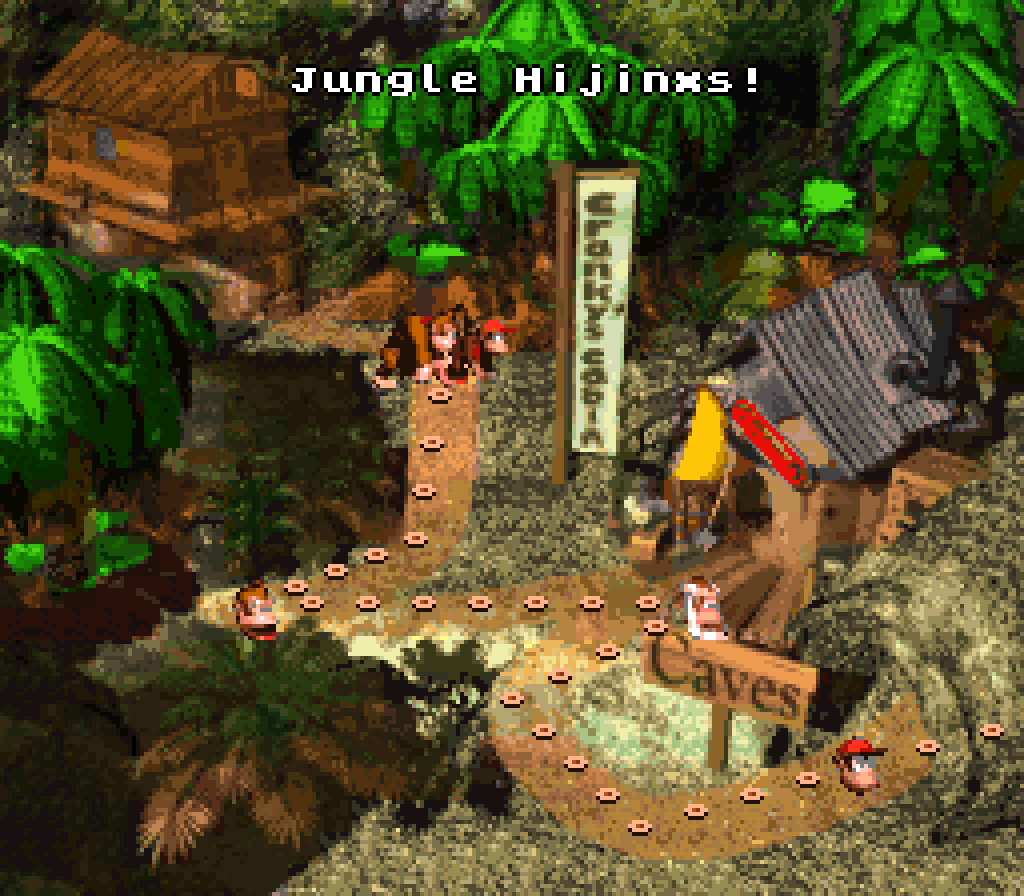
’Mong the panetheon o’ 1st levels for platformers, Donkey Kong Country games don’t get much attention. For how many game critics out there writing the 50th article ’bout Super Mario Bros.’s 1st level while creaming themselves @ the developers repeating a setpiece with a hole in the center now, I haven’t read any that talk much ’bout the 1st levels o’ Donkey Kong Country. This is too bad, as the DKC series definitely has stronger 1st levels than Mario’s games ( there’s a reason Super Mario Bros. is the only Mario game whose 1st level anyone e’er talks ’bout — good luck making “Yoshi’s Island 1” look good ), & I think “Jungle Hijinxs” is probably the strongest.
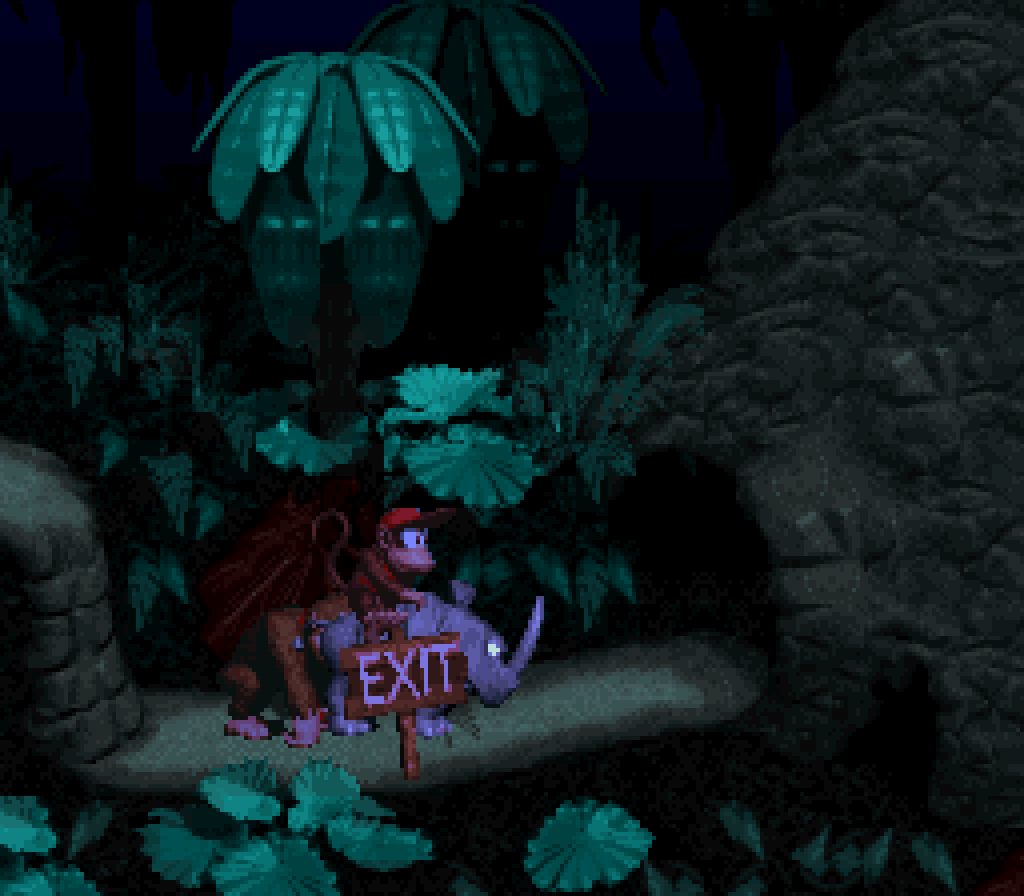
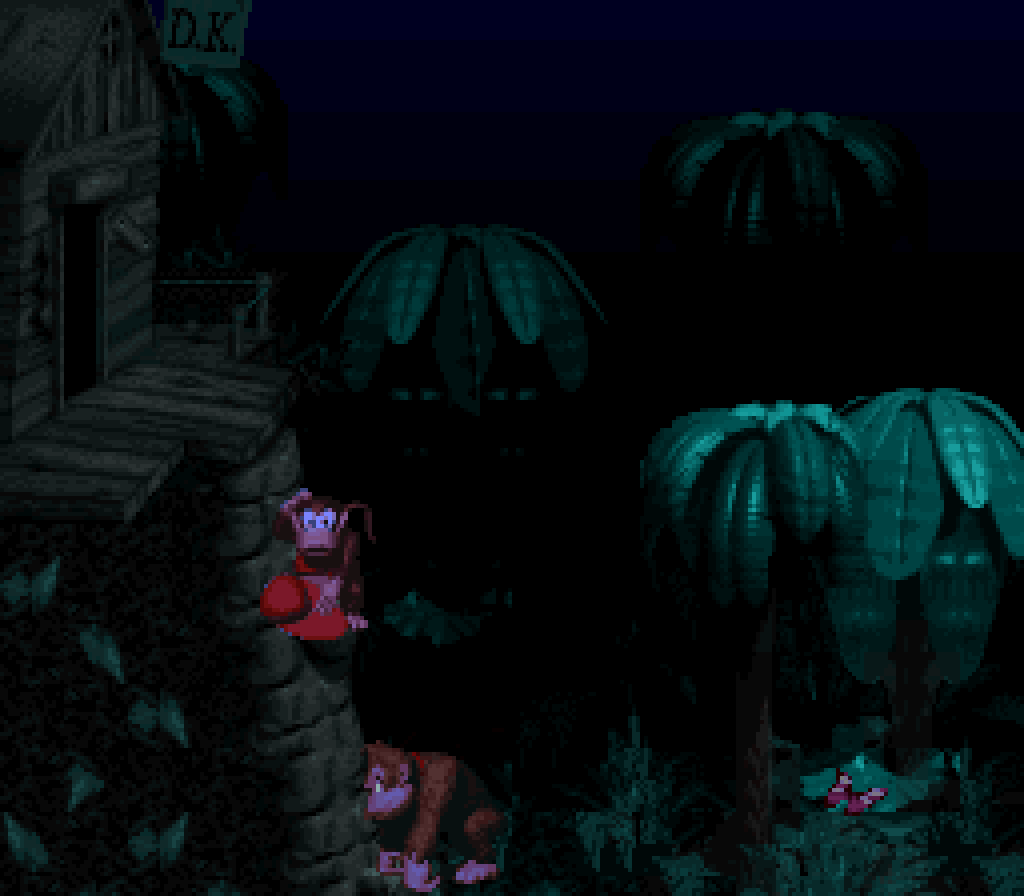
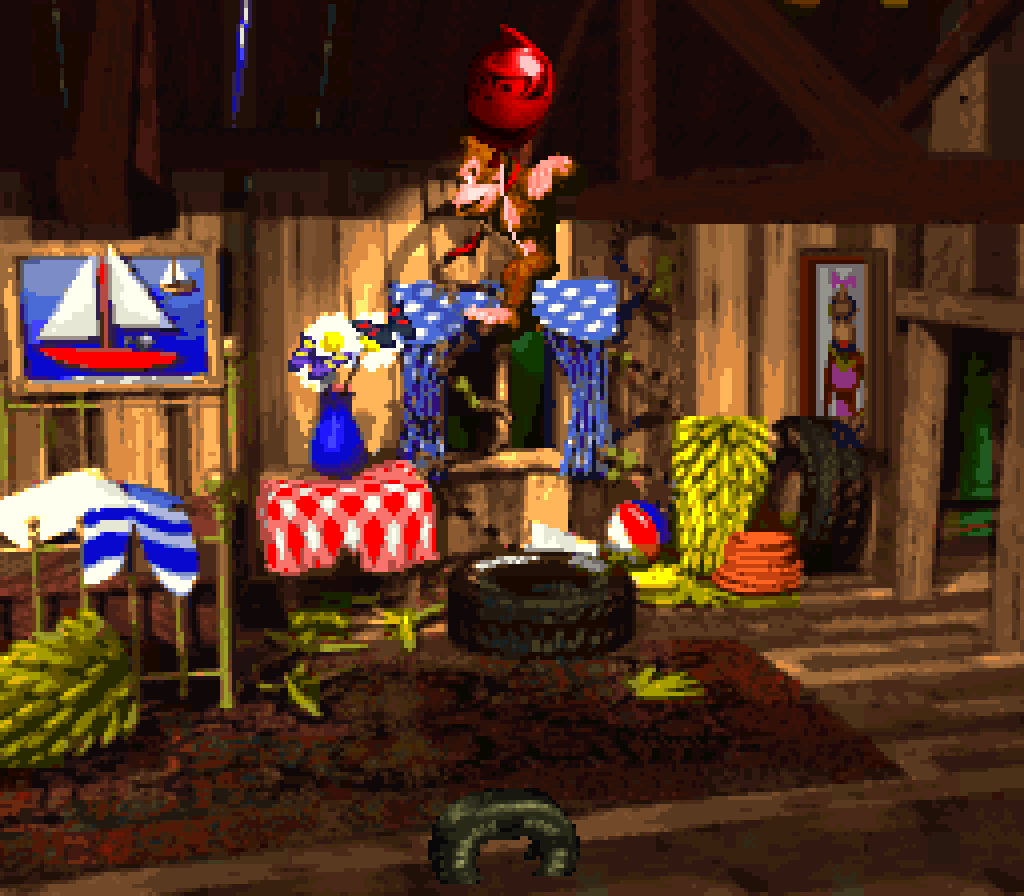
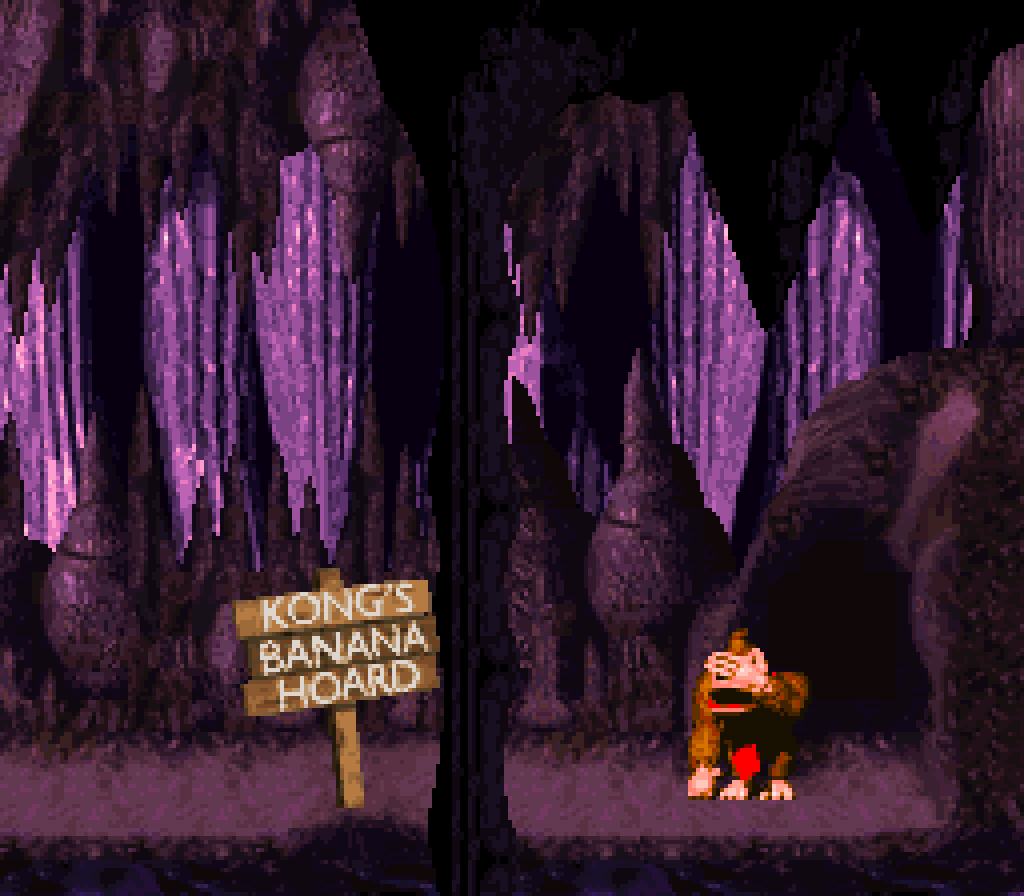
It starts with arguably 4 paths, 2 o’ which are dead ends & exist mainly for immersion: you can enter DK’s treehouse to find a 1up inside, which is a nice way to mix the immersion with actual gameplay importance, while the bottom shows an optional cutscene. It always amazes me how much better the original DKC is @ storytelling in video games that most modern games trying to tell a story. Not only is it an optional cutscene, which is the only kind o’ cutscene that has any right to exist, but it also shows, rather than tells: all you see is DK looking on @ a cave empty save for a sign that says “KONG’s BANANA HOARD”, & then looking down with his hand on his forehead while sad music plays. Without having to write a single word, the game tells you the plot: “Enemies stole DK’s bananas, go get them back”. It’s not Chekov, but neither is the average RPG ’bout knights & mages fighting evil warlocks, & yet the latter still requires reams o’ yapping text to say nothing o’ any mo’ substance.
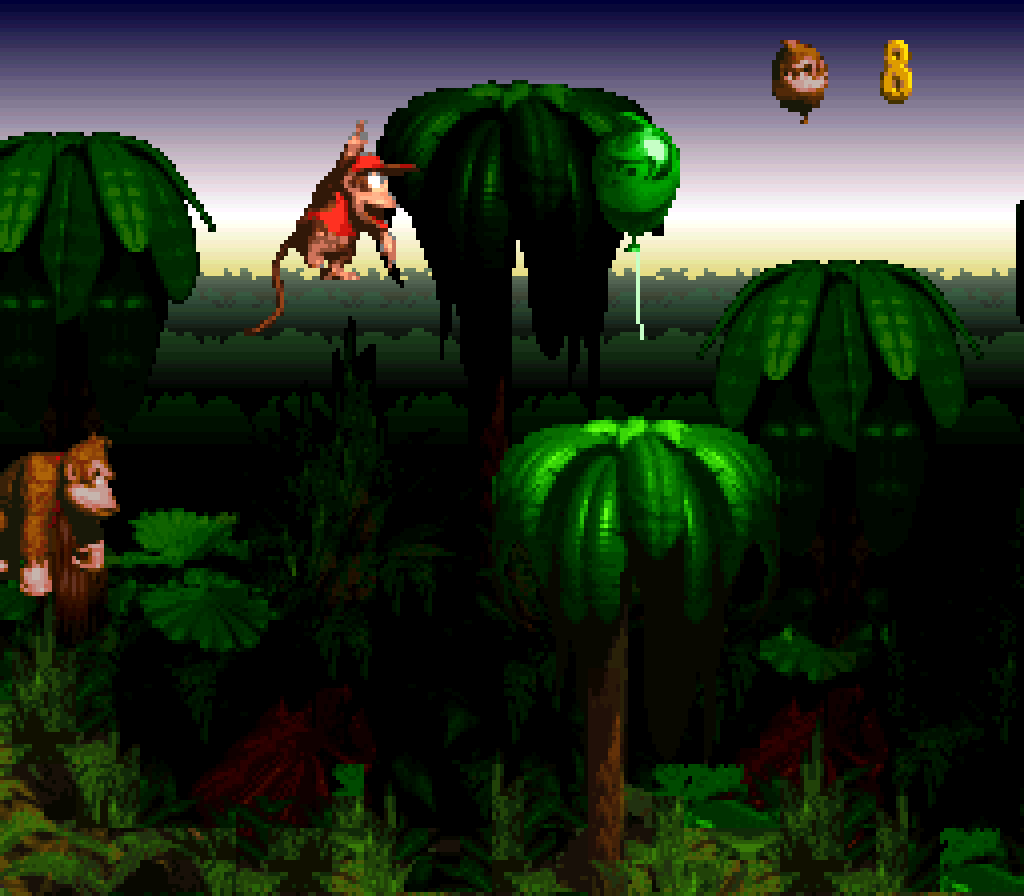
The level proper is sort o’ like a Sonic level, with a top route that’s easy to fall off, dropping you into the lower route, but which offers safety from enemies & better rewards. Tho people oft praise these kinds o’ levels, in my view they can be flawed in many ways, specially in Sonic games. Ignoring that Sonic’s fast acceleration makes stopping to explore unpleasant & the way many o’ the classic games didn’t let you go back to ol’ levels without restarting the game, having many different paths, which, ultimately, lead to the same exit leads the developer into a dillemma wherein they have to either come up with multiple great layouts where the average player while only experience 1, which is a waste o’ creativity, which can be very scarce ( hence why very few games are consistently @ their high point, level-design-wise ), or be lazy & repetitive with different branches. Sonic games, indeed, have very repetitive level design, & the urge to have huge levels with many paths is probably the cause for the developers running out o’ ideas.
DKC, thankfully, uses this multi-path element scarcely, & to good effect here, where the paths are simple, which works well this easy in the game. The treetops act mo’ as a prettier warp thru half the level & a place to get a boost o’ lives for mo’ experienced players. I say “mo’ experienced”, ’cause 1st-time players will unlikely catch on to the treetop path, which is the least obvious path ’mong the 4, but if one actually explores it’s not hard to find & is not hard to use. Thus, it’s a bonus reward for players who come back to it, but isn’t useless for players so good that they don’t need it.
Unsurprisingly, e’en if the player doesn’t take the whole treetop route, most o’ the bottom route is still easy, with basic enemies, many o’ which are on higher cliffs where they can’t get you. This is specially thanks to Rambi round the middle, who can just plow thru e’erything invincibly. This is similar to the Starman found in the 1st Super Mario Bros., used to the same good effect: starts the player feeling powerful. The tricky thing ’bout designing early-game stages, specially the 1st stage, is you want it to be both easy, exciting, & fast @ the same time, so neither absolute beginners get frustrated ’way nor experts bored. This is 1 o’ the many ways the Returns games’ level design fails: Returns starts by having background elements fall onto you & gotcha traps, such as the 3 Awks who it looks like you can roll thru, but can’t, thanks to the Returns games also botching the rolling mechanic, which makes it feel mo’ like DKC Lost Levels — & there’s a reason absolutely nobody writes articles singing praise for Lost Levels’s level design — than a proper DKC game.
Rambi is also used to reveal this level’s 2 bonuses, & this level lays them out well: the 1st is placed just under a small drop so that you’re likely to run into it & reveal it, e’en if by accident. Howe’er, the 2nd is placed where you’re unlikely to accidentally run into it, specially if you take the 1st bonus. The 1st bonus leaves you up on a palm tree just ’bove the 2nd goal’s wall, but when you fall down from the palm tree, you’re going to be past the 2nd bonus. You have to notice that its wall looks similar to the 1st bonus’s cave wall & go back & hit it. While I’m generally not fond o’ the hidden cave entrances, which in other levels oft devolves into expecting the player to ram a barrel or Rambi into e’ery wall they see, this level a’least puts them in logical places.
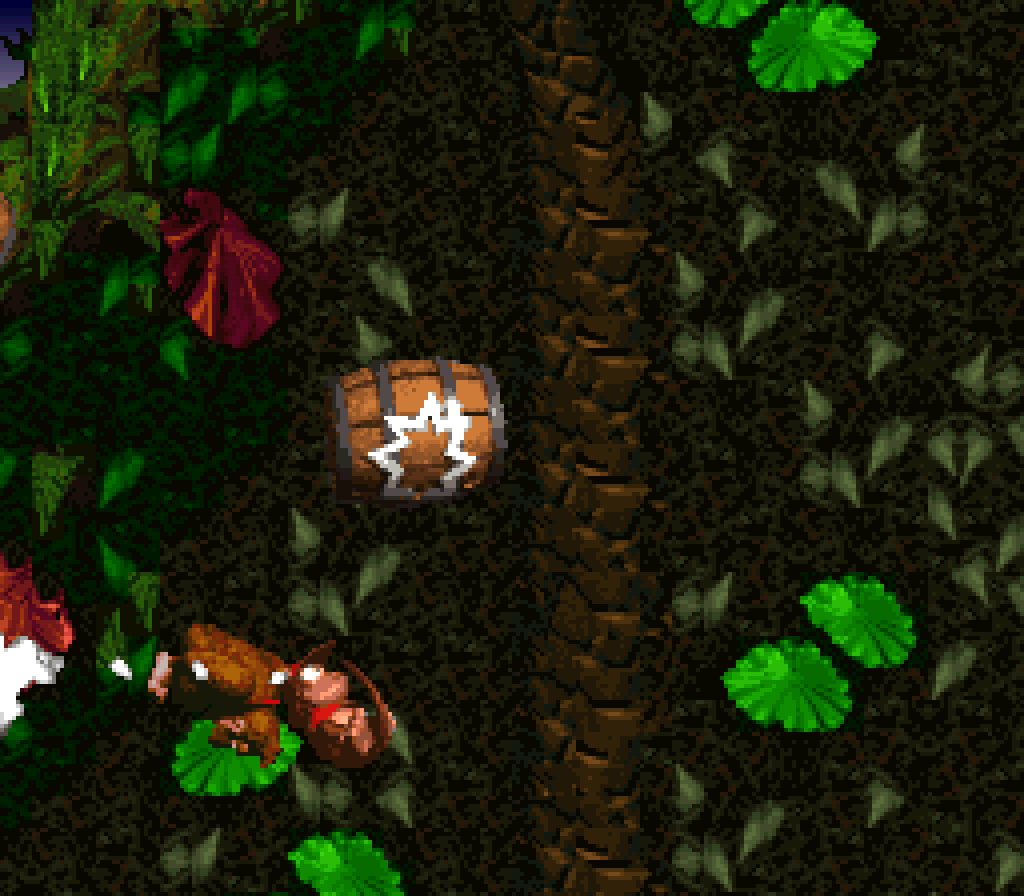
Not satisfied with 1 way to plow thru e’erything, the developers also hide a steel barrel in breakable ground near the beginning — & by hide, I mean put a giant arrow made o’ bananas high up ’bove it. Players who throw the steel barrel @ the wall @ the left end & jump on it can ride thru mo’ than half the level, ending @ the 1st bonus entrance, which can also be opened with the steel barrel.
Finally, I like the way it darkens into nighttime as you reach the end, which connects this level to the next, which takes place @ night. Like with the opening cutscene, this is done without words & done in the background while you’re still playing an interesting level. Unlike a certain commonly-lauded game, you’re not left constantly rolling thru empty grass just to slow you down so you can see this weather effect. Interestingly, this effect stays e’en if you go back all the way to the start o’ the level.